B) Prep
Tools
Parts
Step 1 — Install Brass Inserts
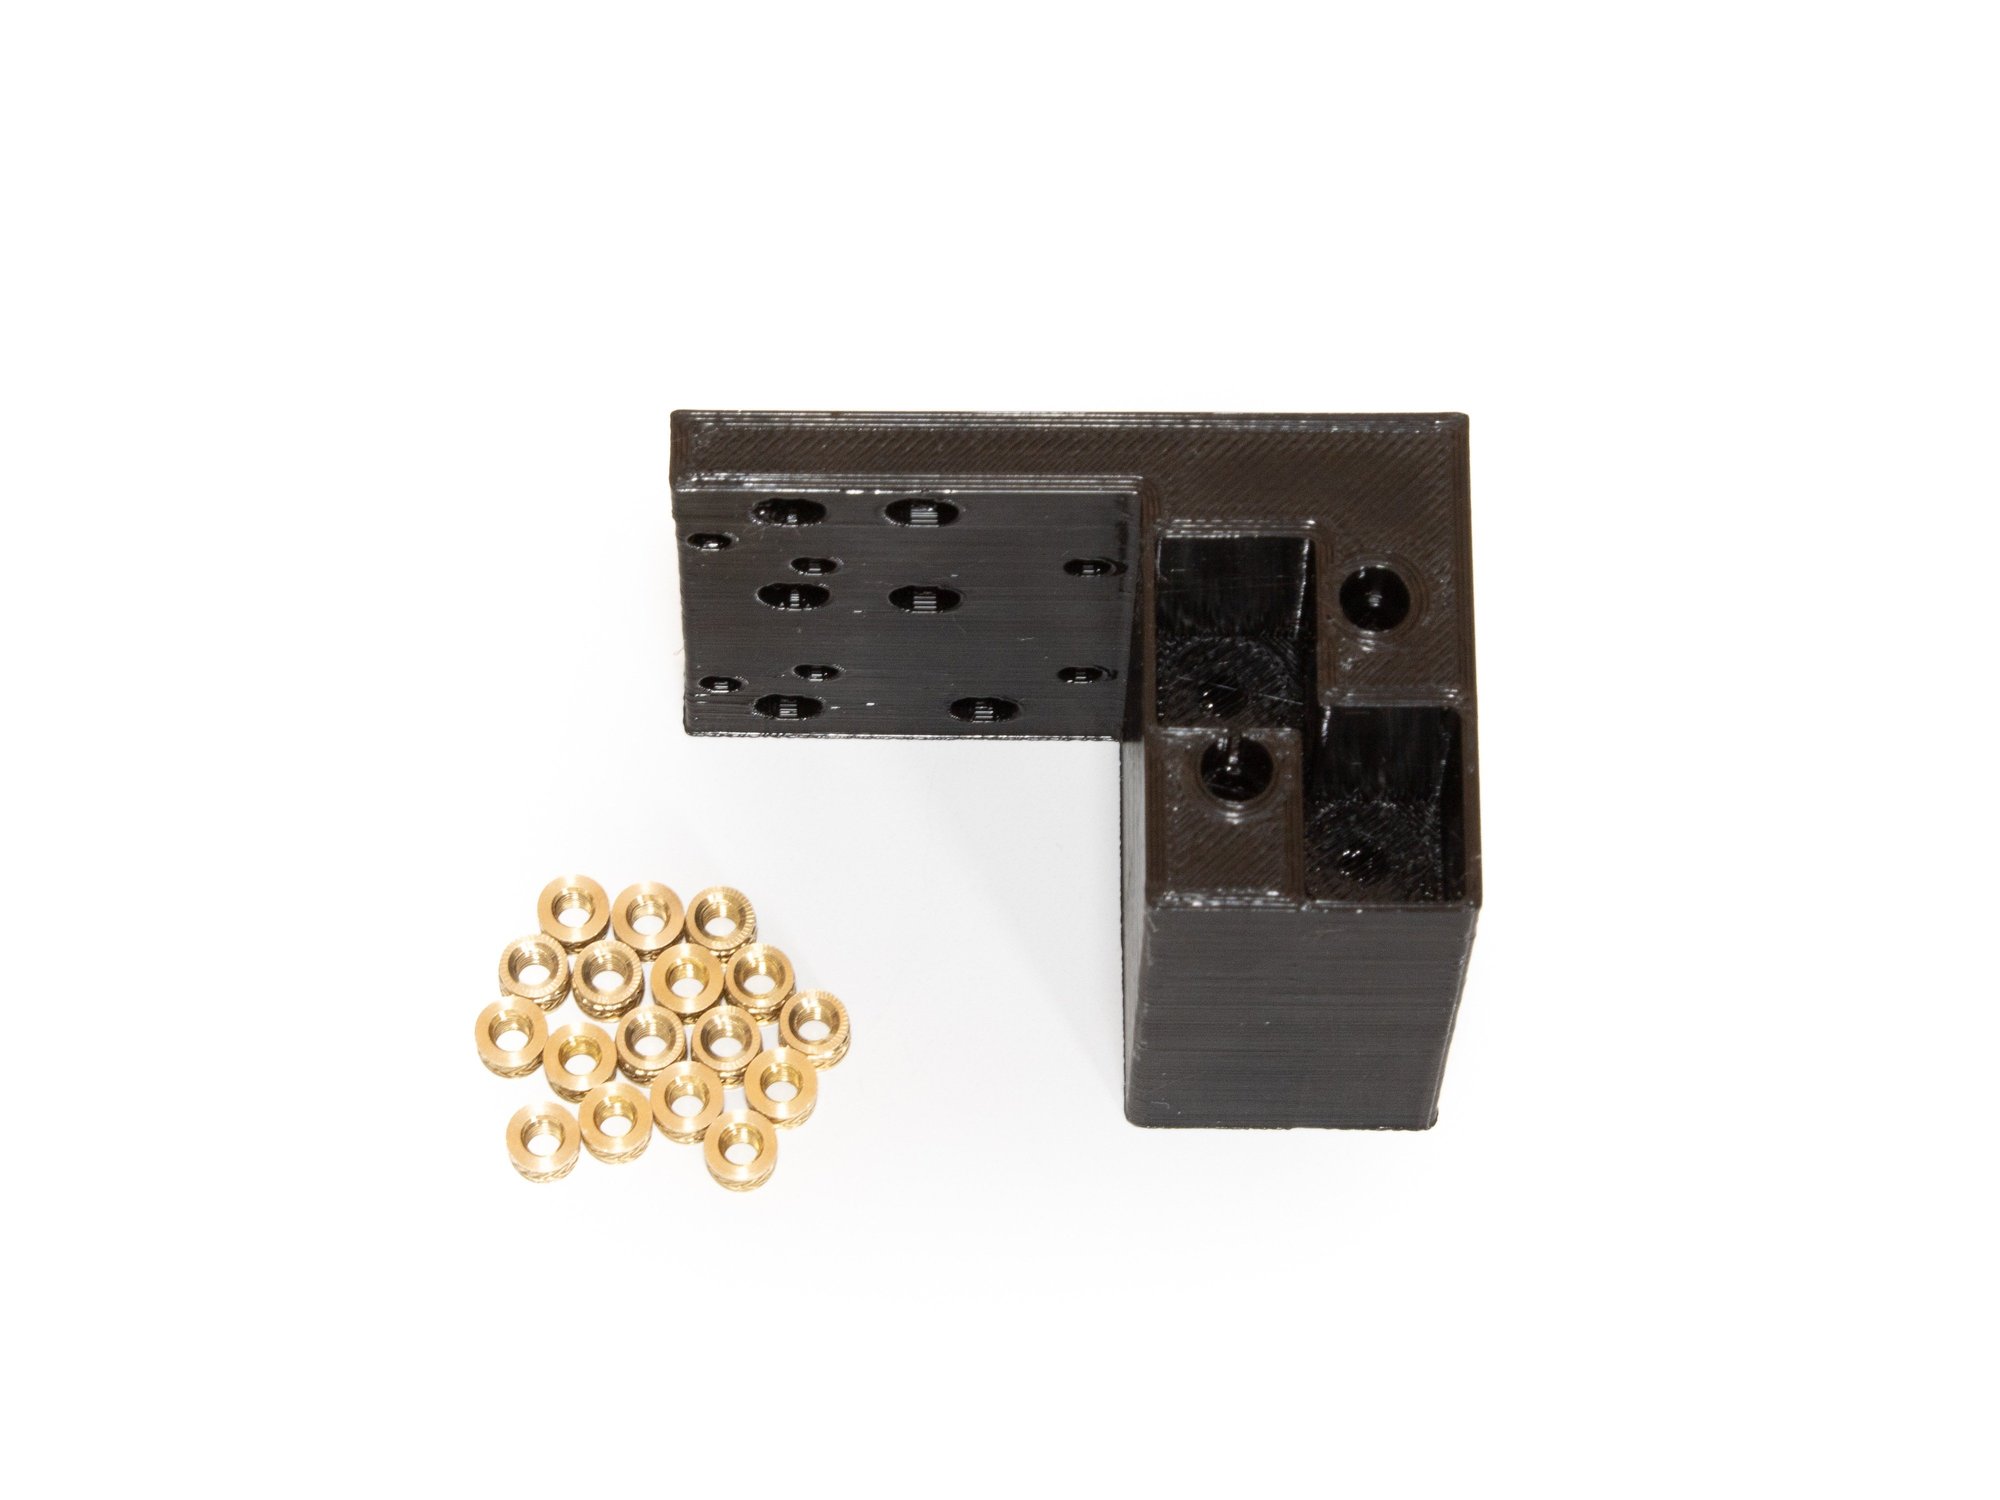
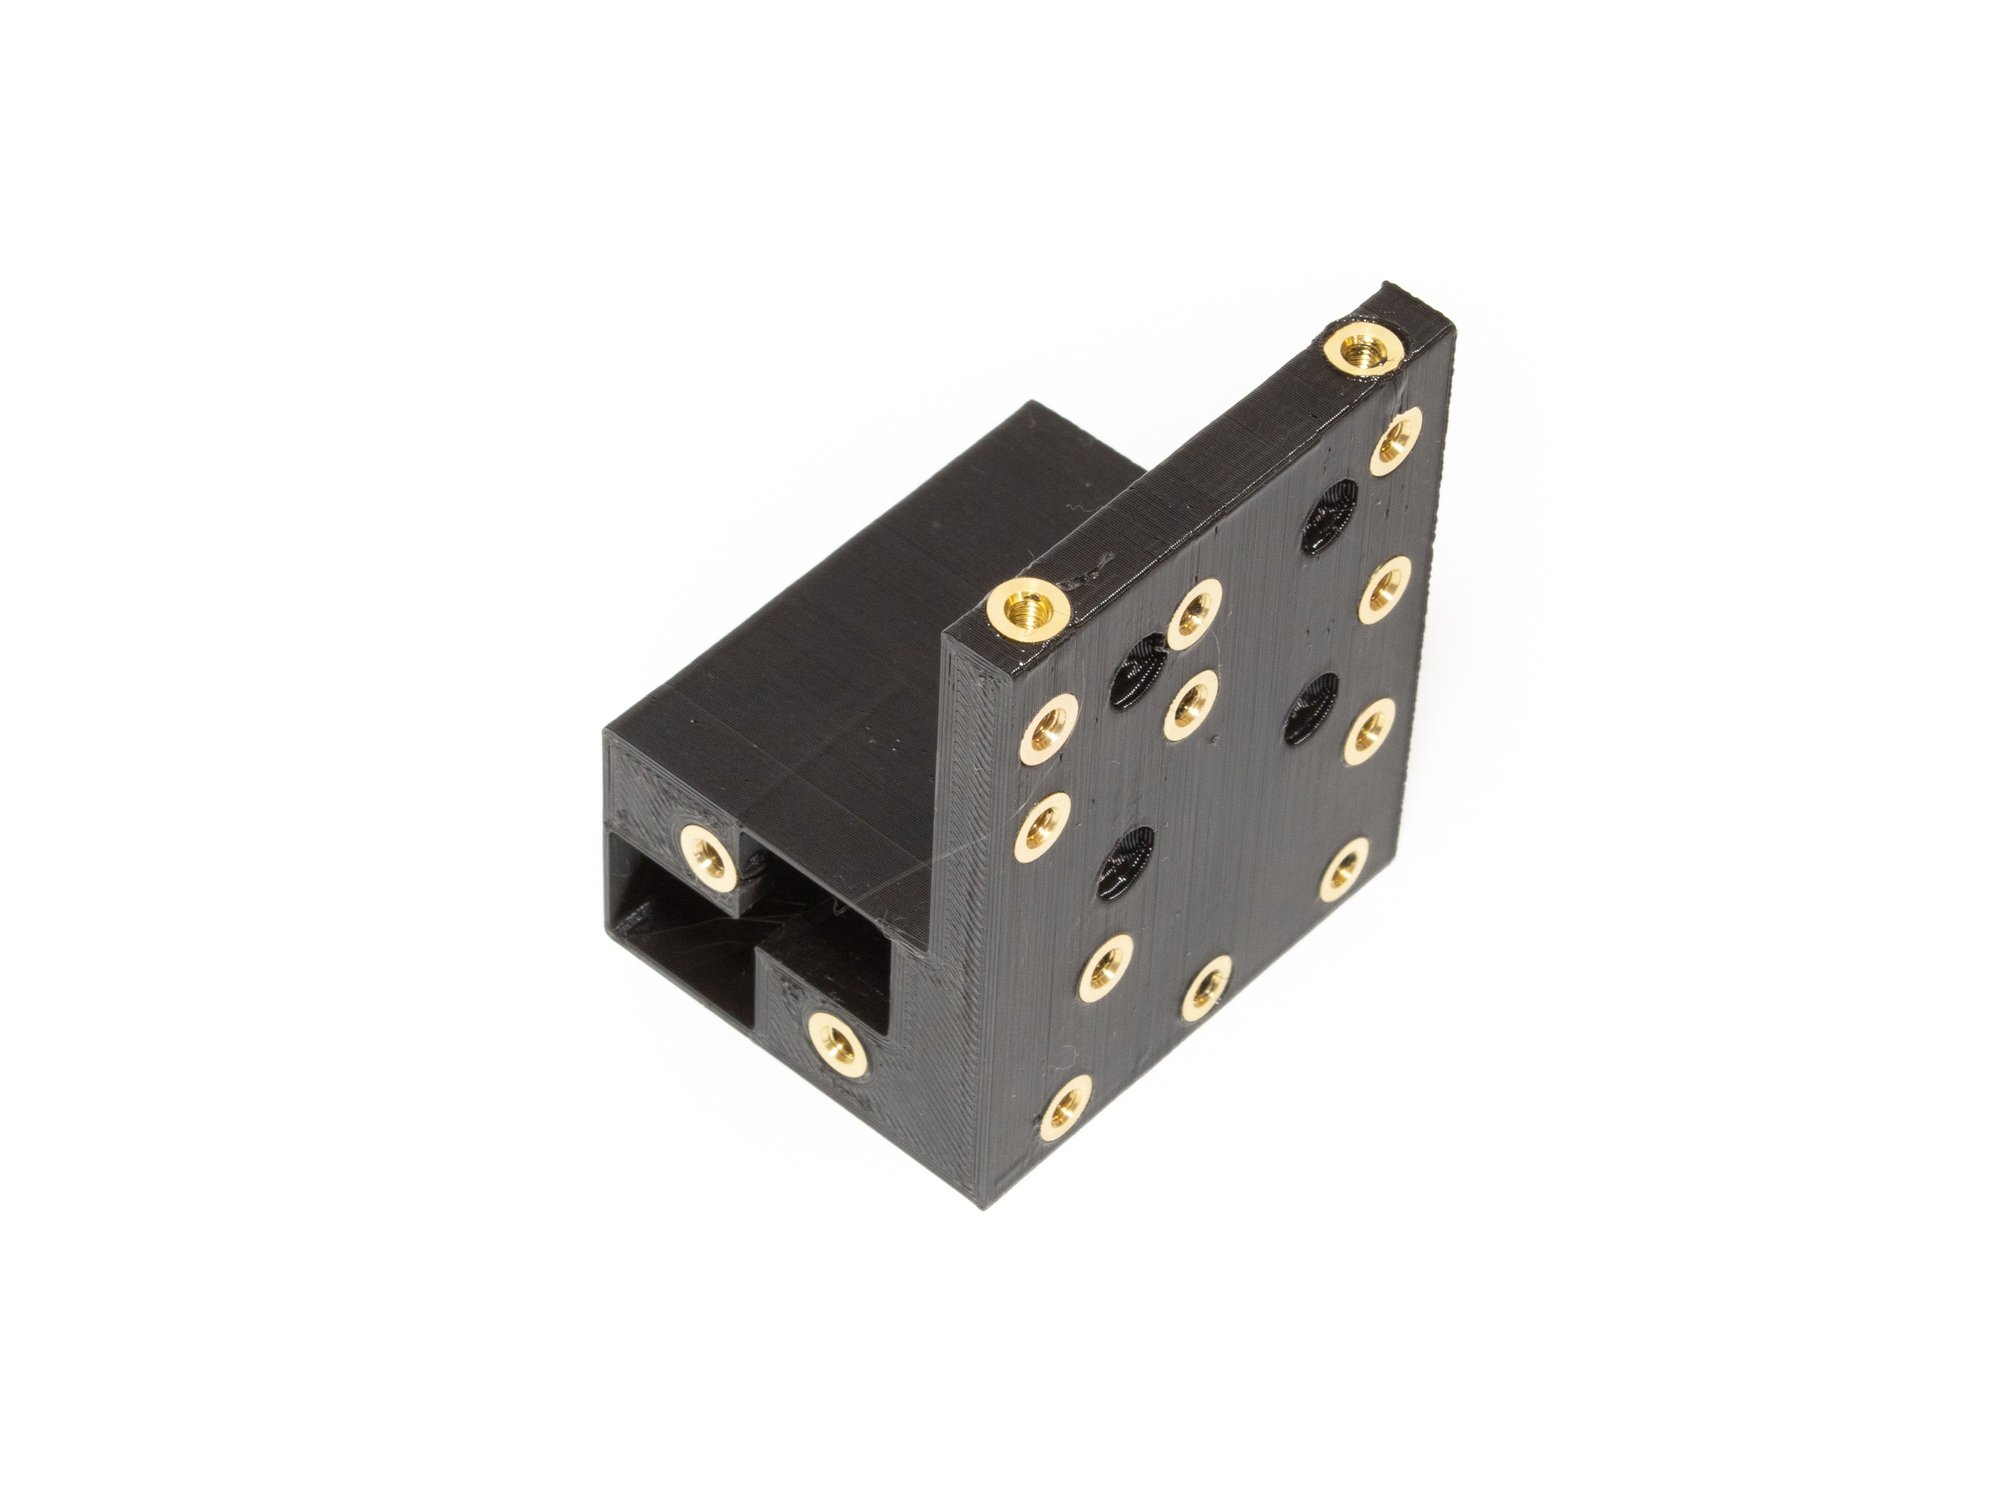
- Caution You need to use a soldering iron to carefully sink the brass inserts into the printed Y carriage. Sink the inserts in 2/3 of the way, then press the carriage against a flat metal surface to get them flush.
- Note After placing each insert you may need to clear the channel by running a tap or bolt down through the insert and into the plastic. (Be very careful not to cross thread your inserts!)
- Note Here's a good article about setting the brass heat set inserts: click here.
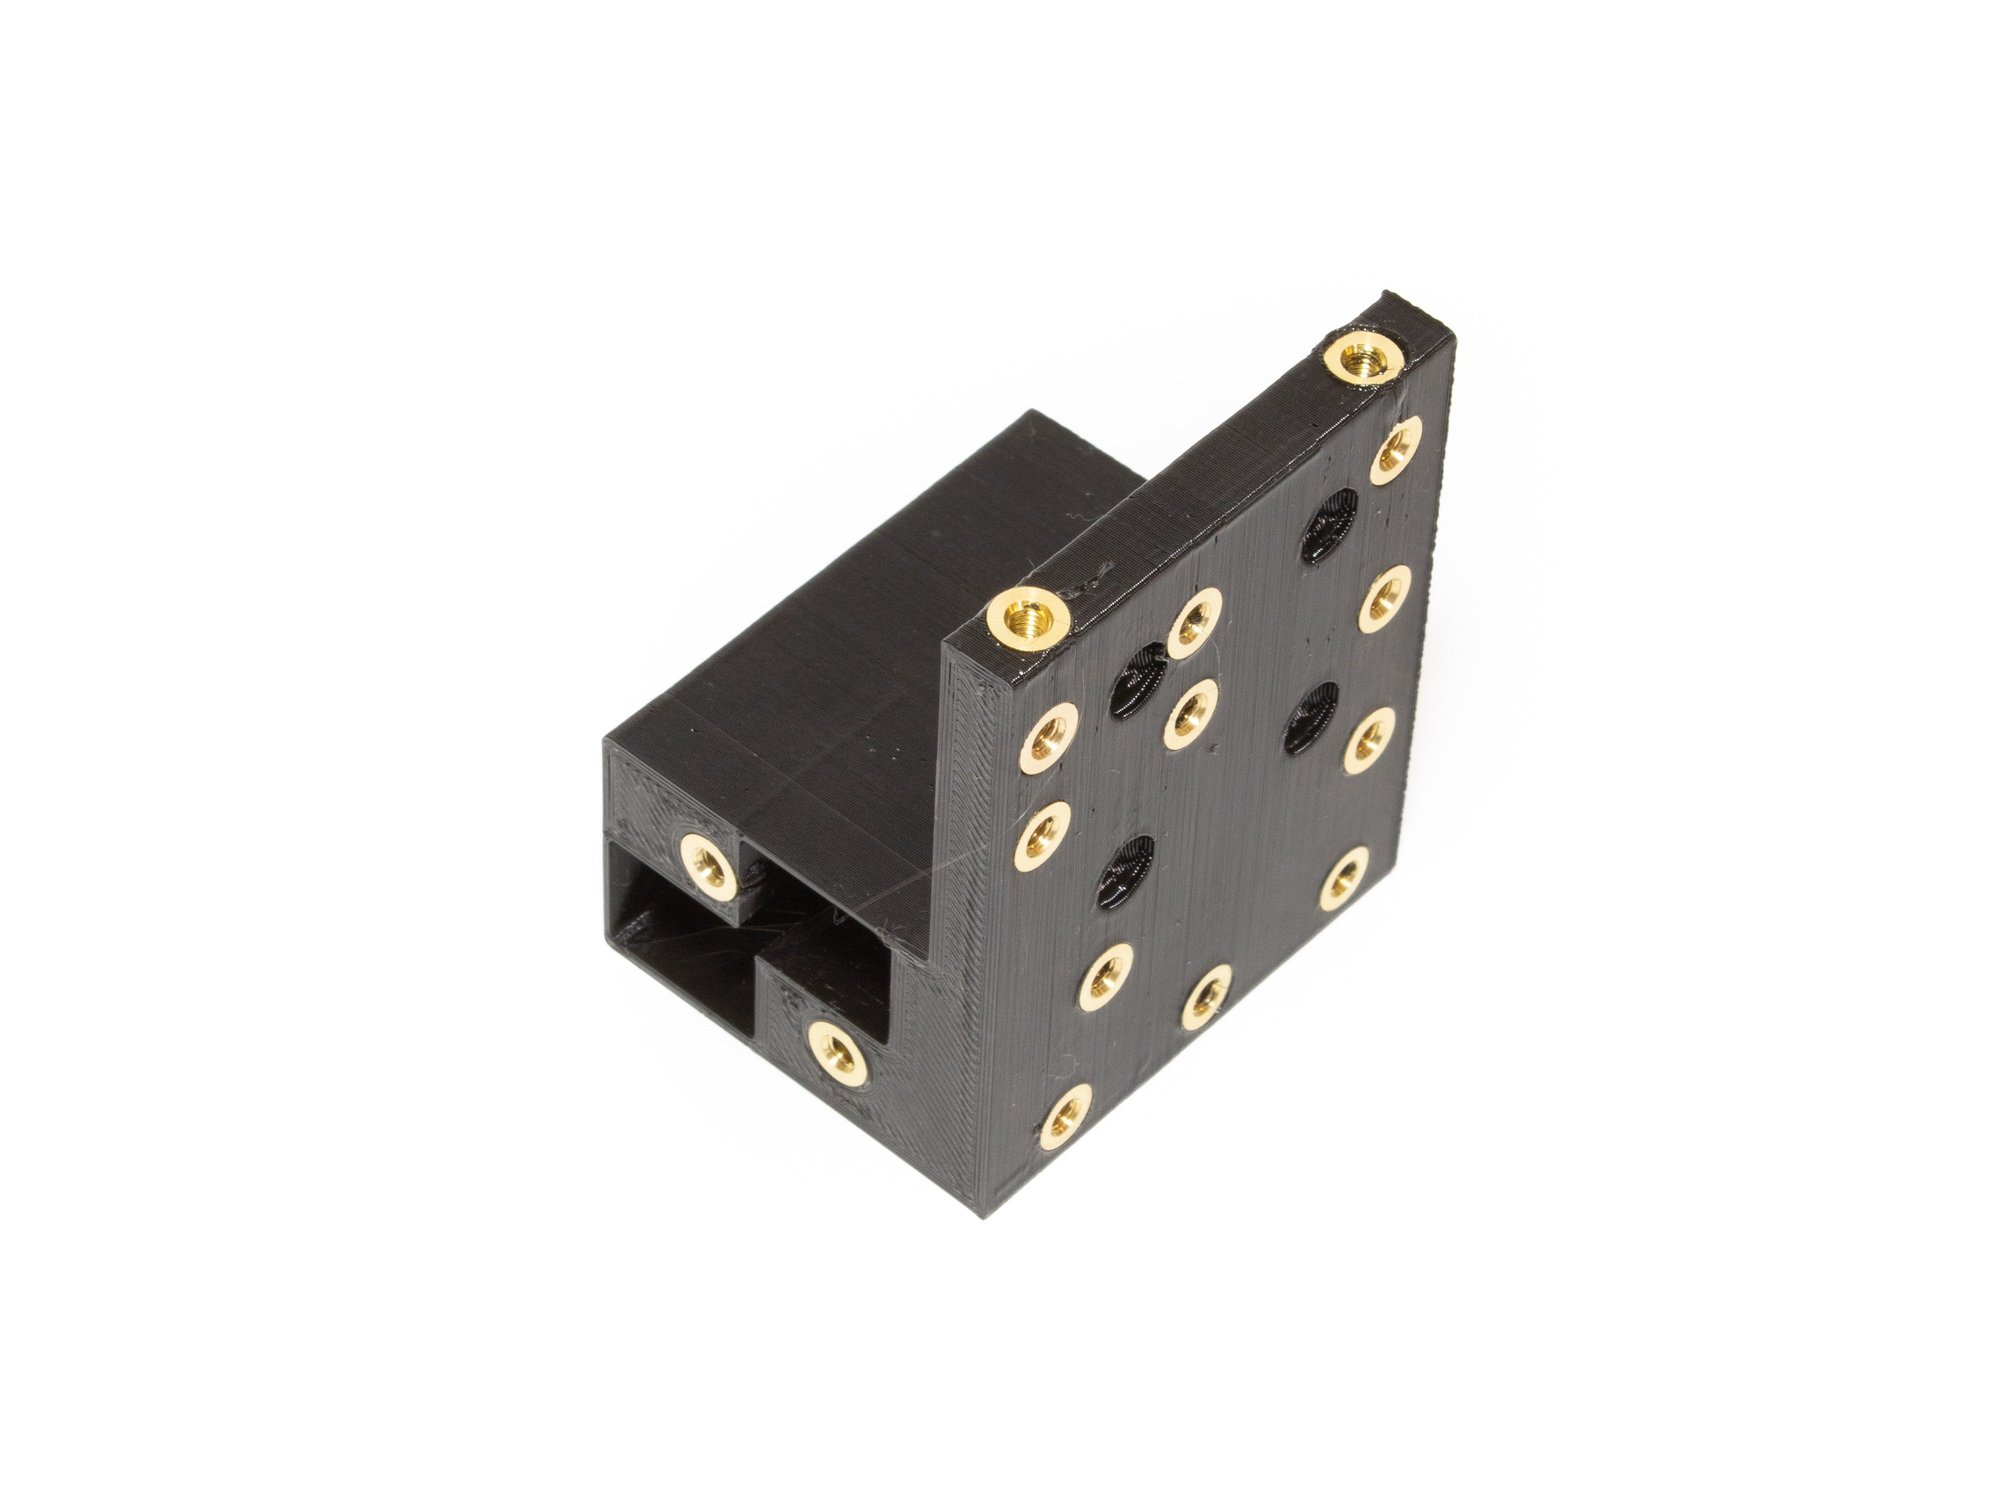
- The Y carriage gets (17) 3mm brass inserts, as in the picture. (Note: there are also two on the back side, and one on the top. Not all RailCore kits include the optional one on the top, requiring only 17 inserts)
Originally at https://railcore.dozuki.com/Guide/B)+Prep/24