K) Y Carriage
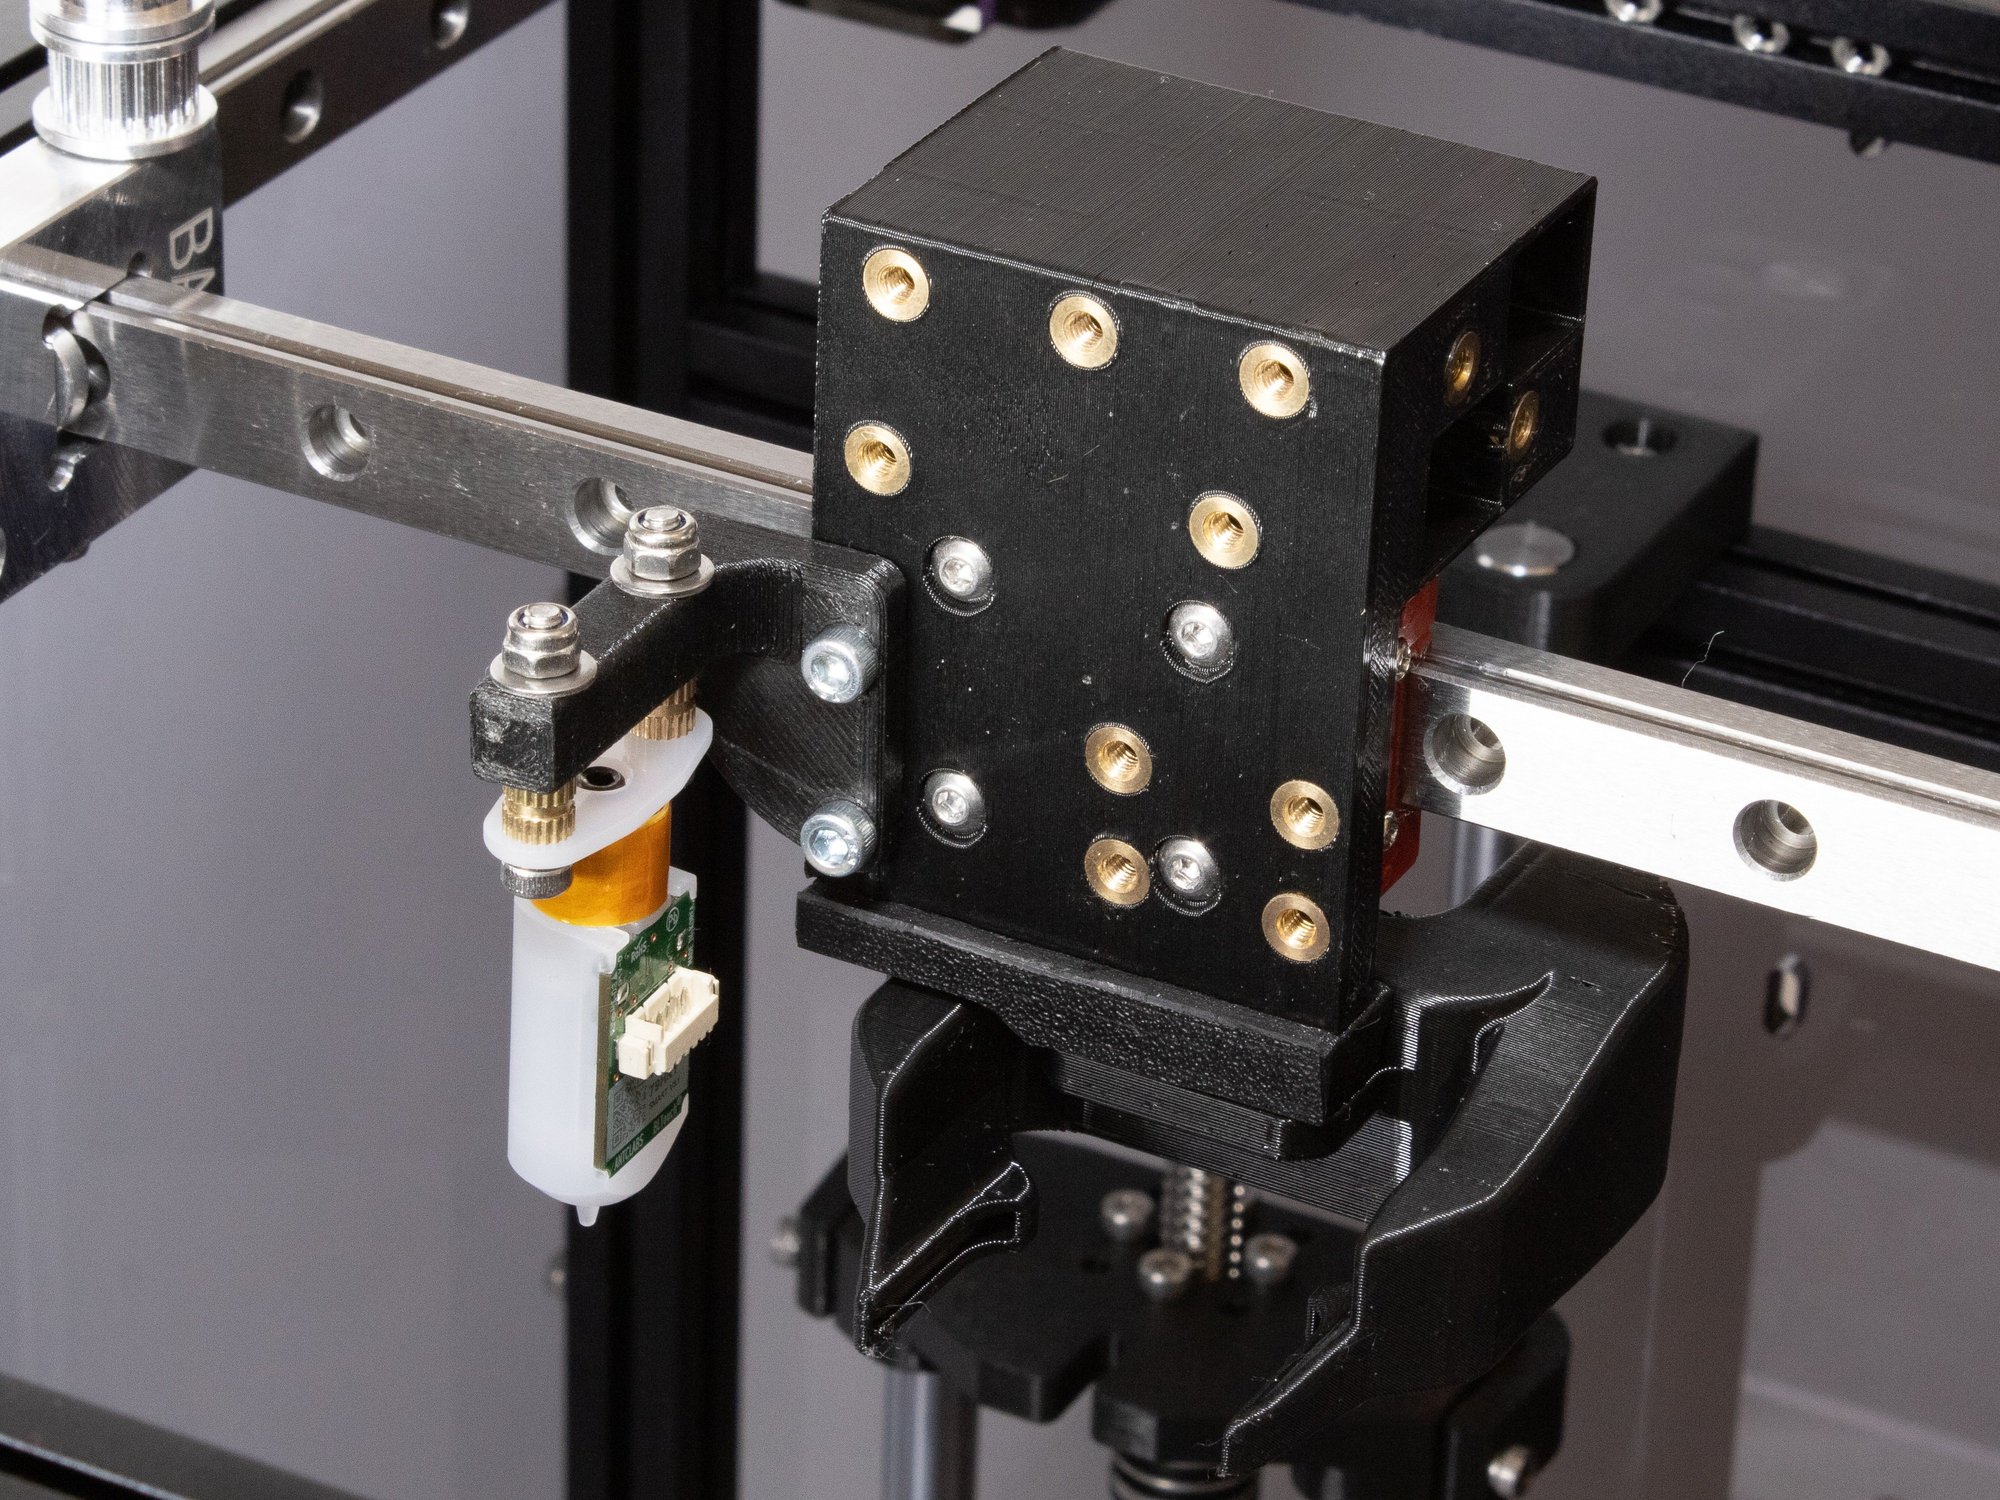
Parts
- Mini Harness W16
- Printed Mini Y Carriage
- Printed Layer Fan Adapter
- Printed Cooling Shroud
- BLTouch Sensor
- M3 Washer ×2
- Y Endstop Mount
- M3 Brass Insert ×2
- M3 x 20 Socket Head Screw ×2
- M3 x 8 Socket Head Screw ×4
- M2 Nut ×2
- M2 x 12mm Bolt
- M3 Nut ×2
- M3 x 6mm button head bolt
- M3 x 12mm Button Head Bolts
- M3 x 8mm Button Head Bolt ×4
- M3 Nylock Nut ×2
Step 1
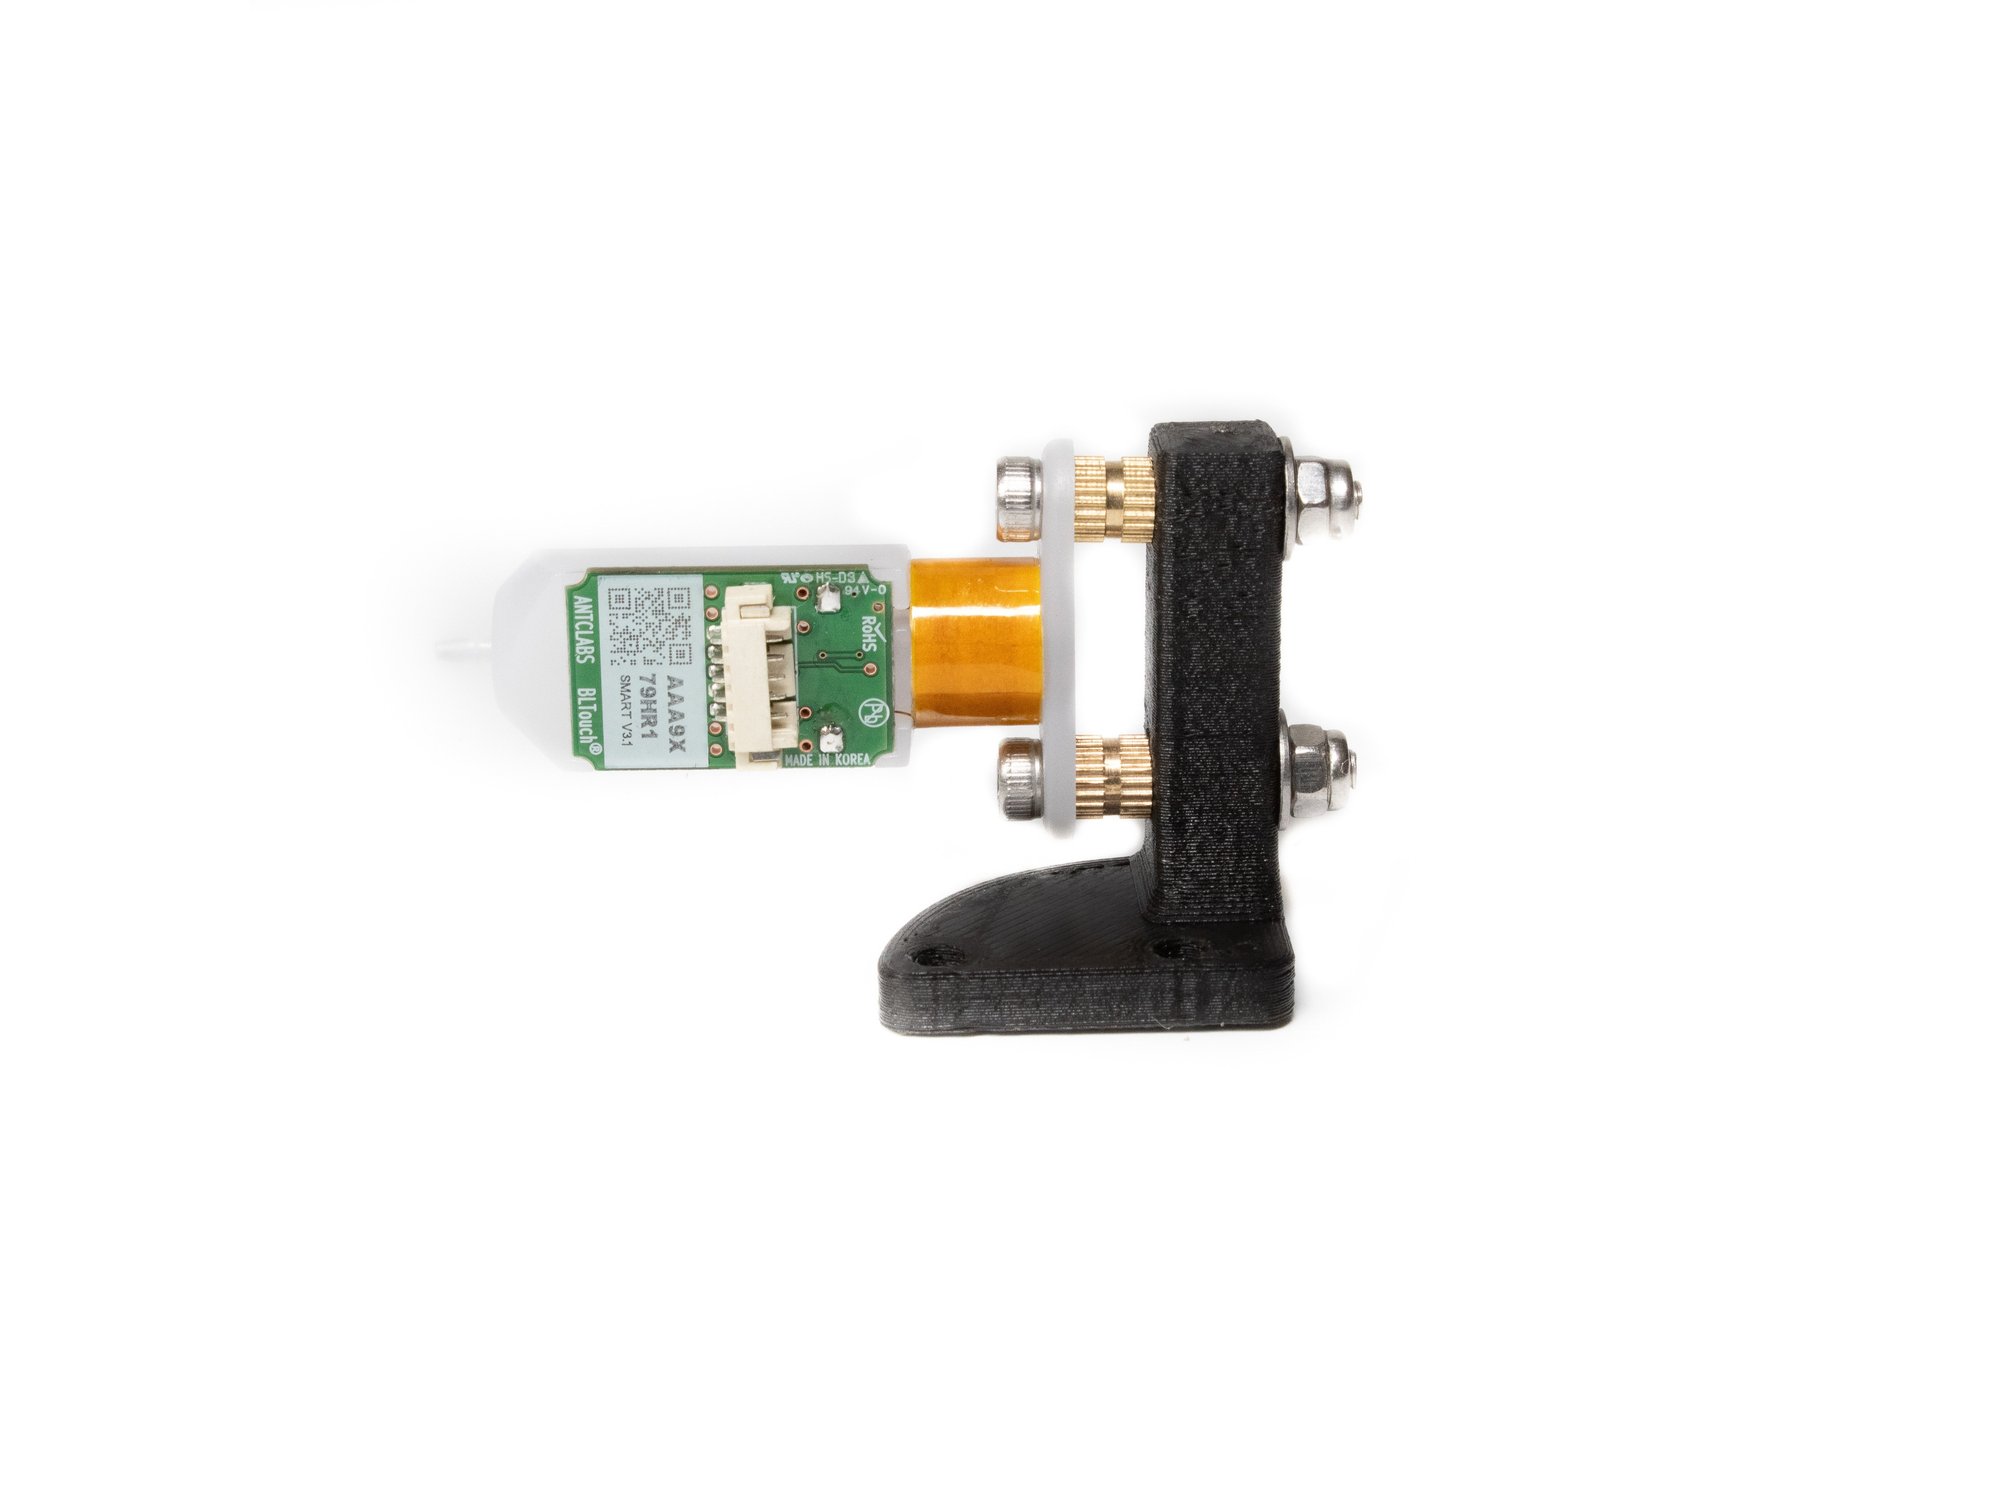
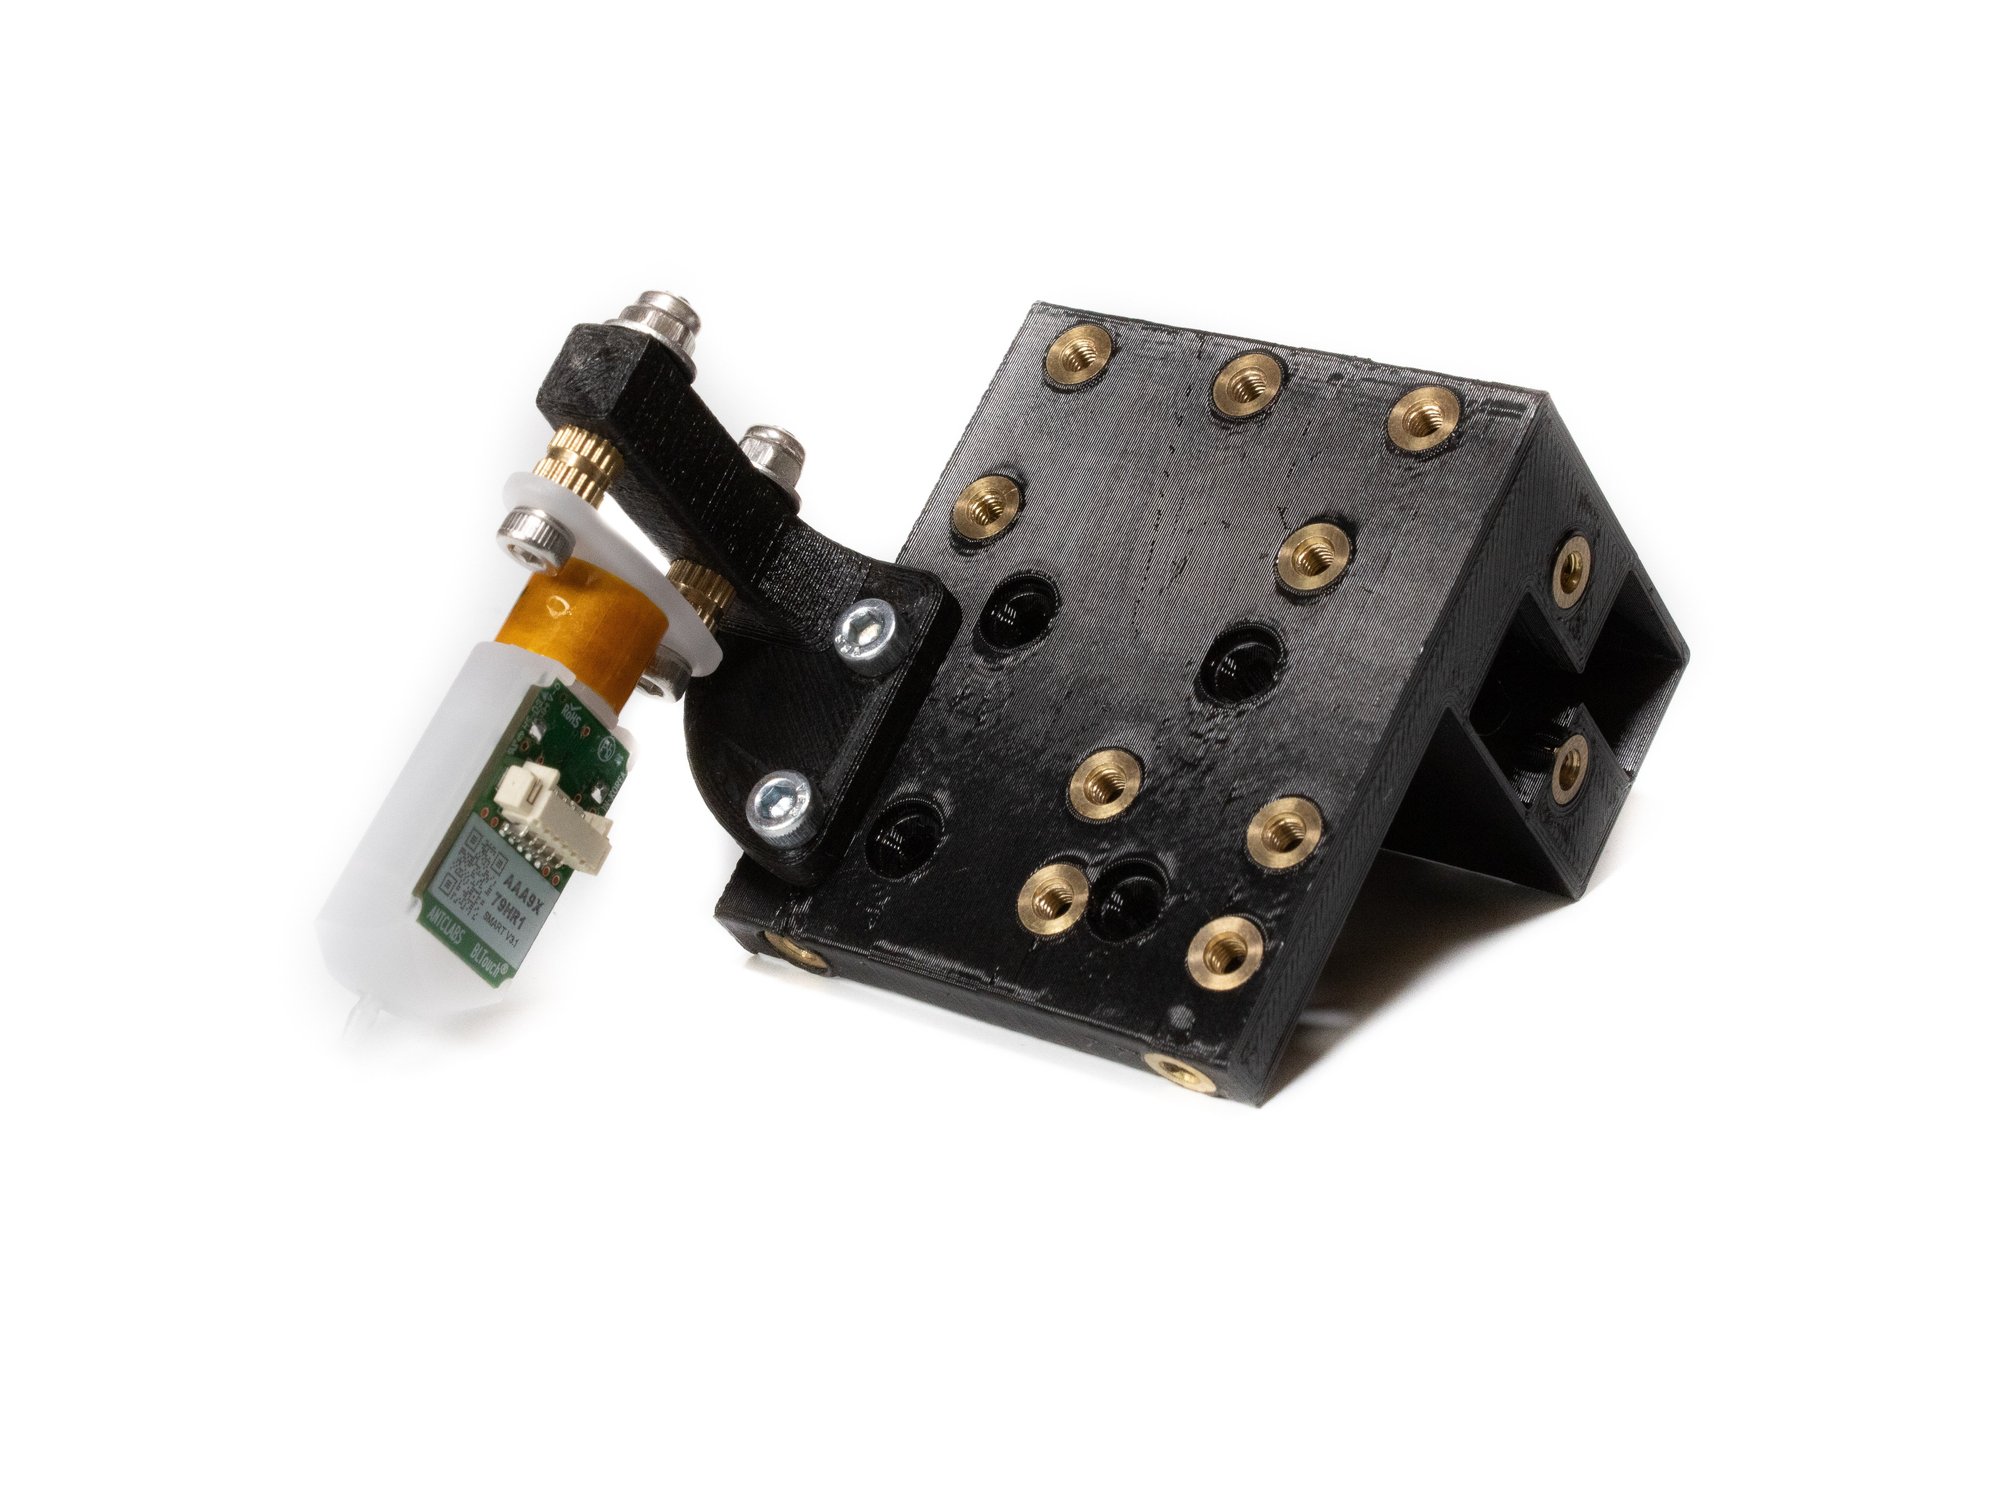
- Note Before you anything to the Y carriage, double check that all the brass inserts are in.
- Remove the wiring that comes pre-installed on the bltouch by disconnecting the connector. The kit wiring harness has a connector, these wires are not needed.
- Put (2) m3 x 2 socket head screws pointing up through the holes in the BLTouch.
- Thread a brass insert down on the bolt, tight against the BLTouch.
- Pass the bolt up through the BLTouch mount.
- Put a single M3 washer on each screw, and then an M3 nylock nut.
- Attach the BLTouch mount to the printed Y carriage using (2) M3 x 8 socket head screws.
Step 2 — Prep Layer Fan Install
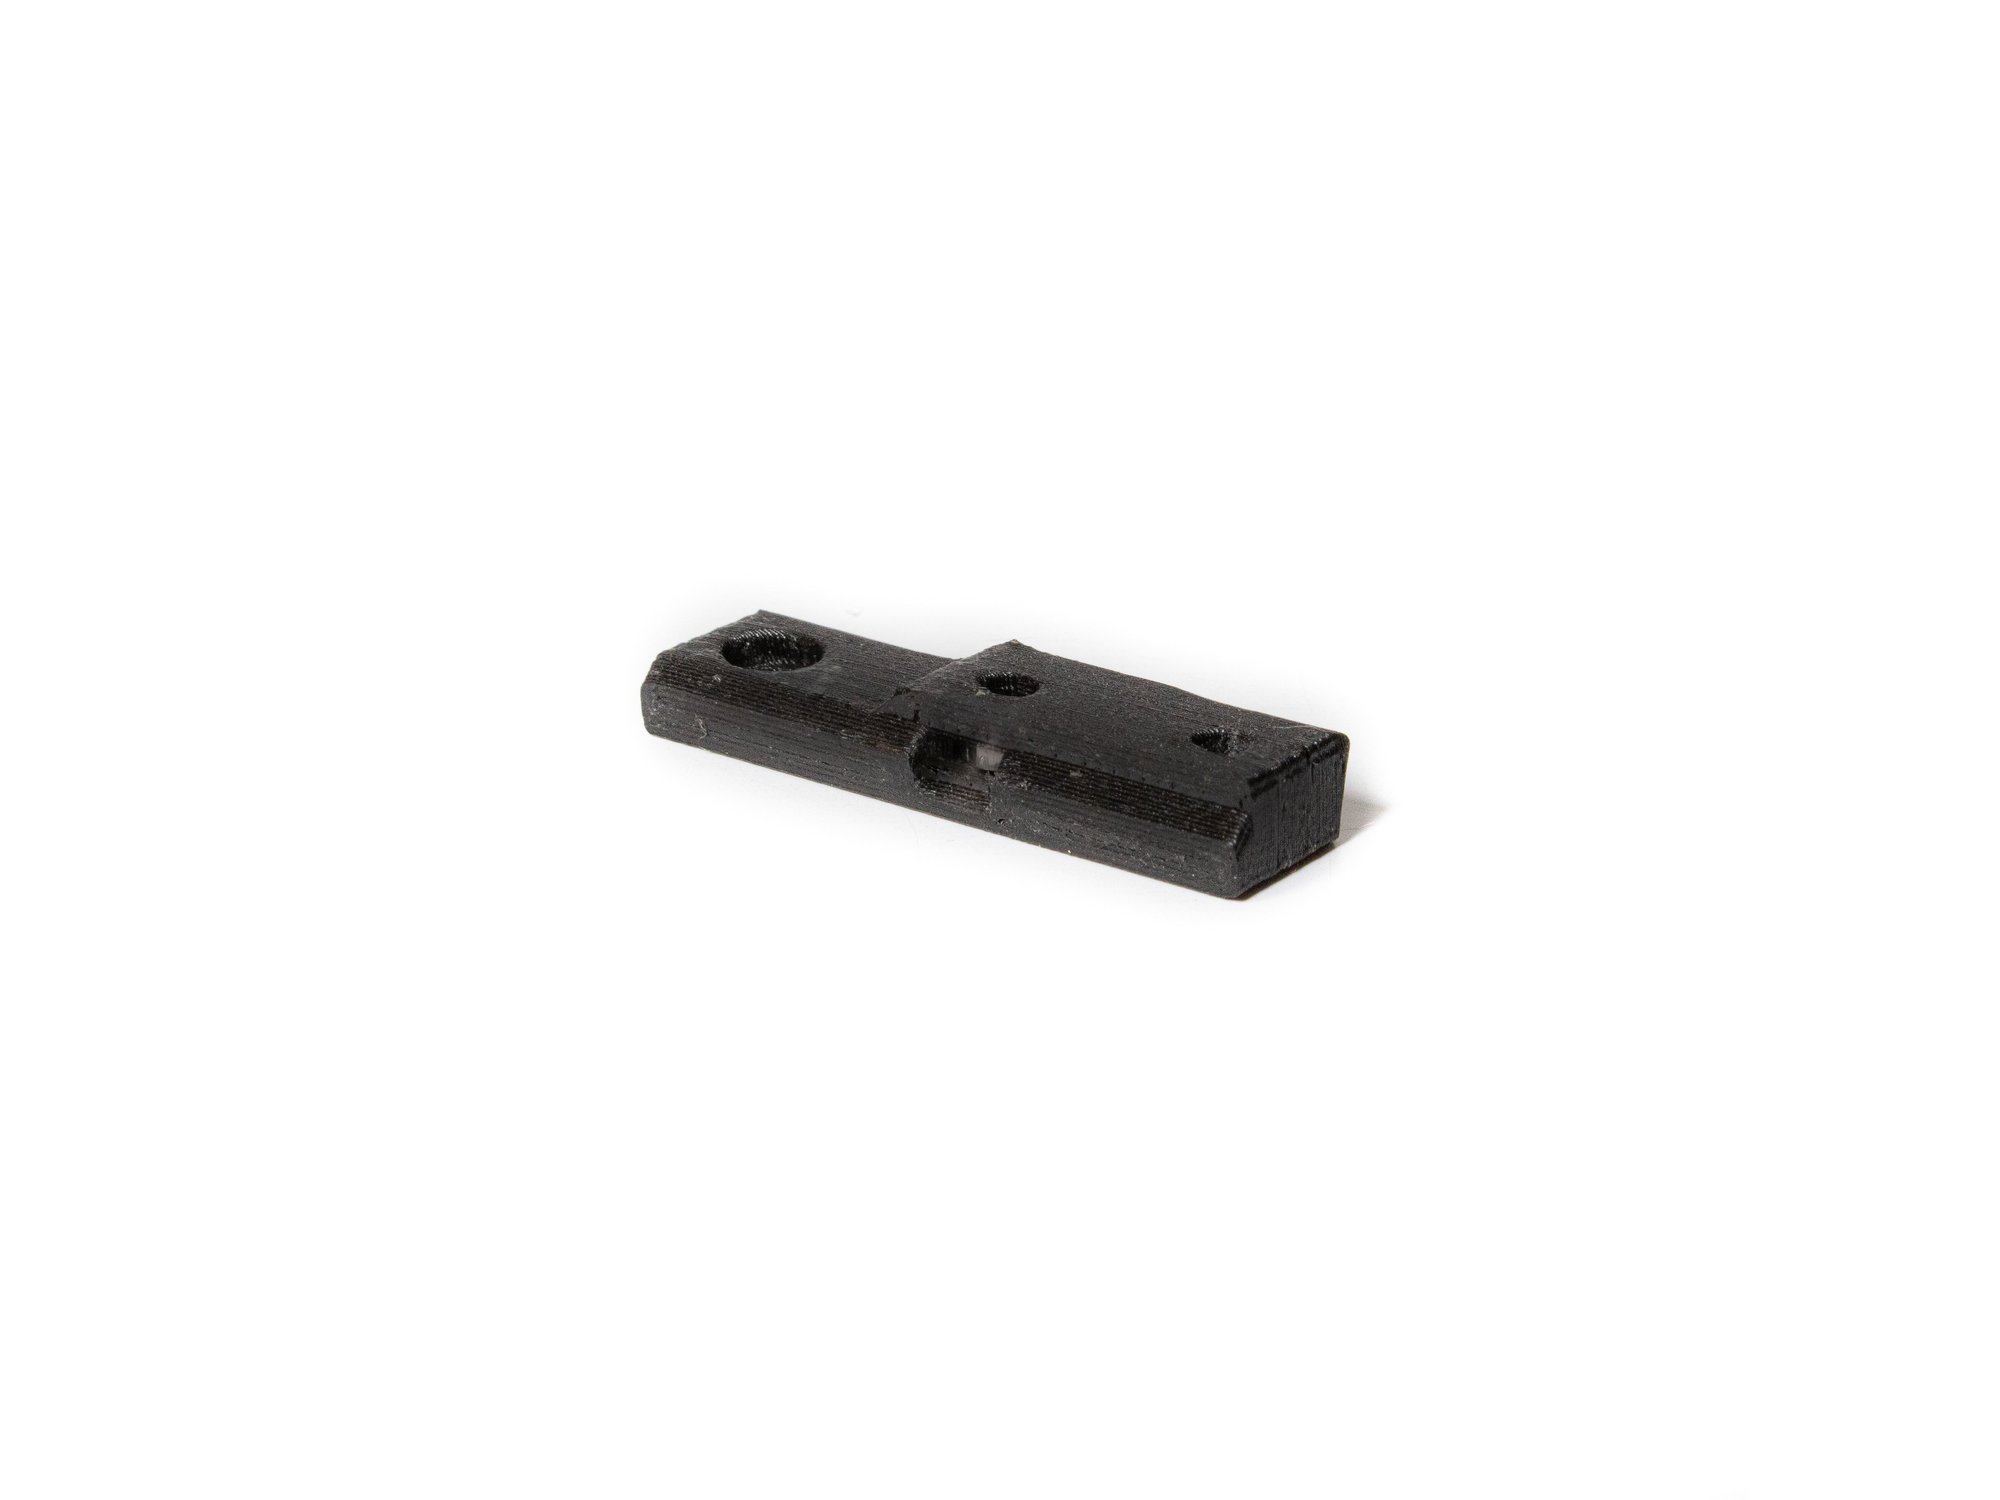
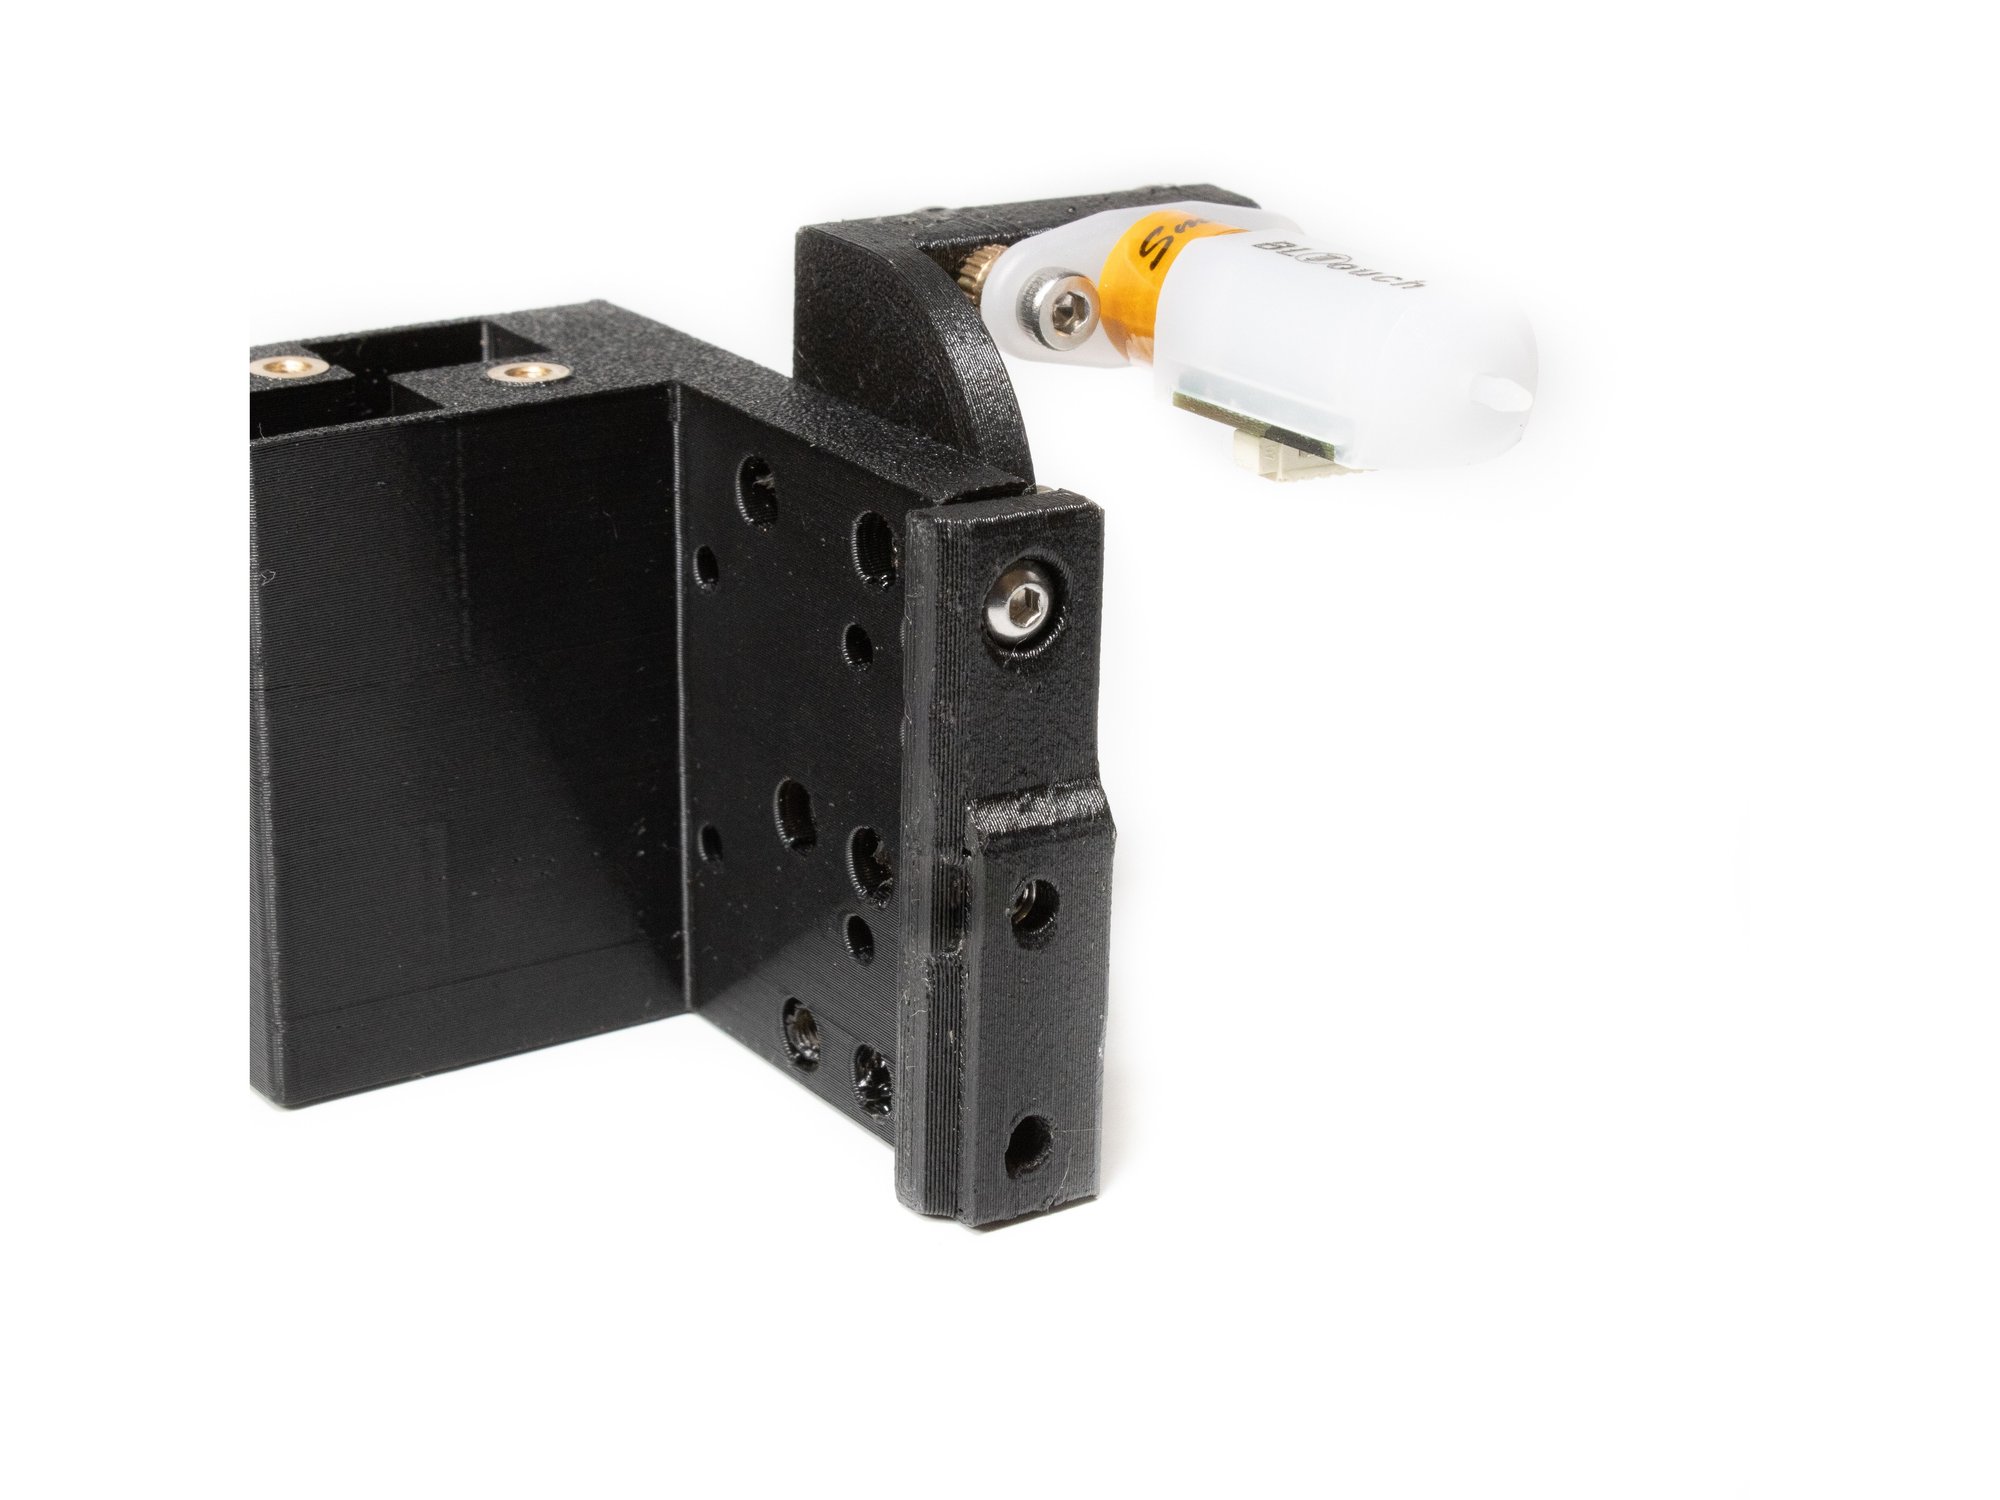
- Locate the printed layer fan adapter, and insert an M3 nut into the slot on it as shown.
- Attach the layer adapter to the bottom of your Y carriage using a single M3 x 6 button head bolt.
Step 3 — Attach Part Cooling Fan Shroud
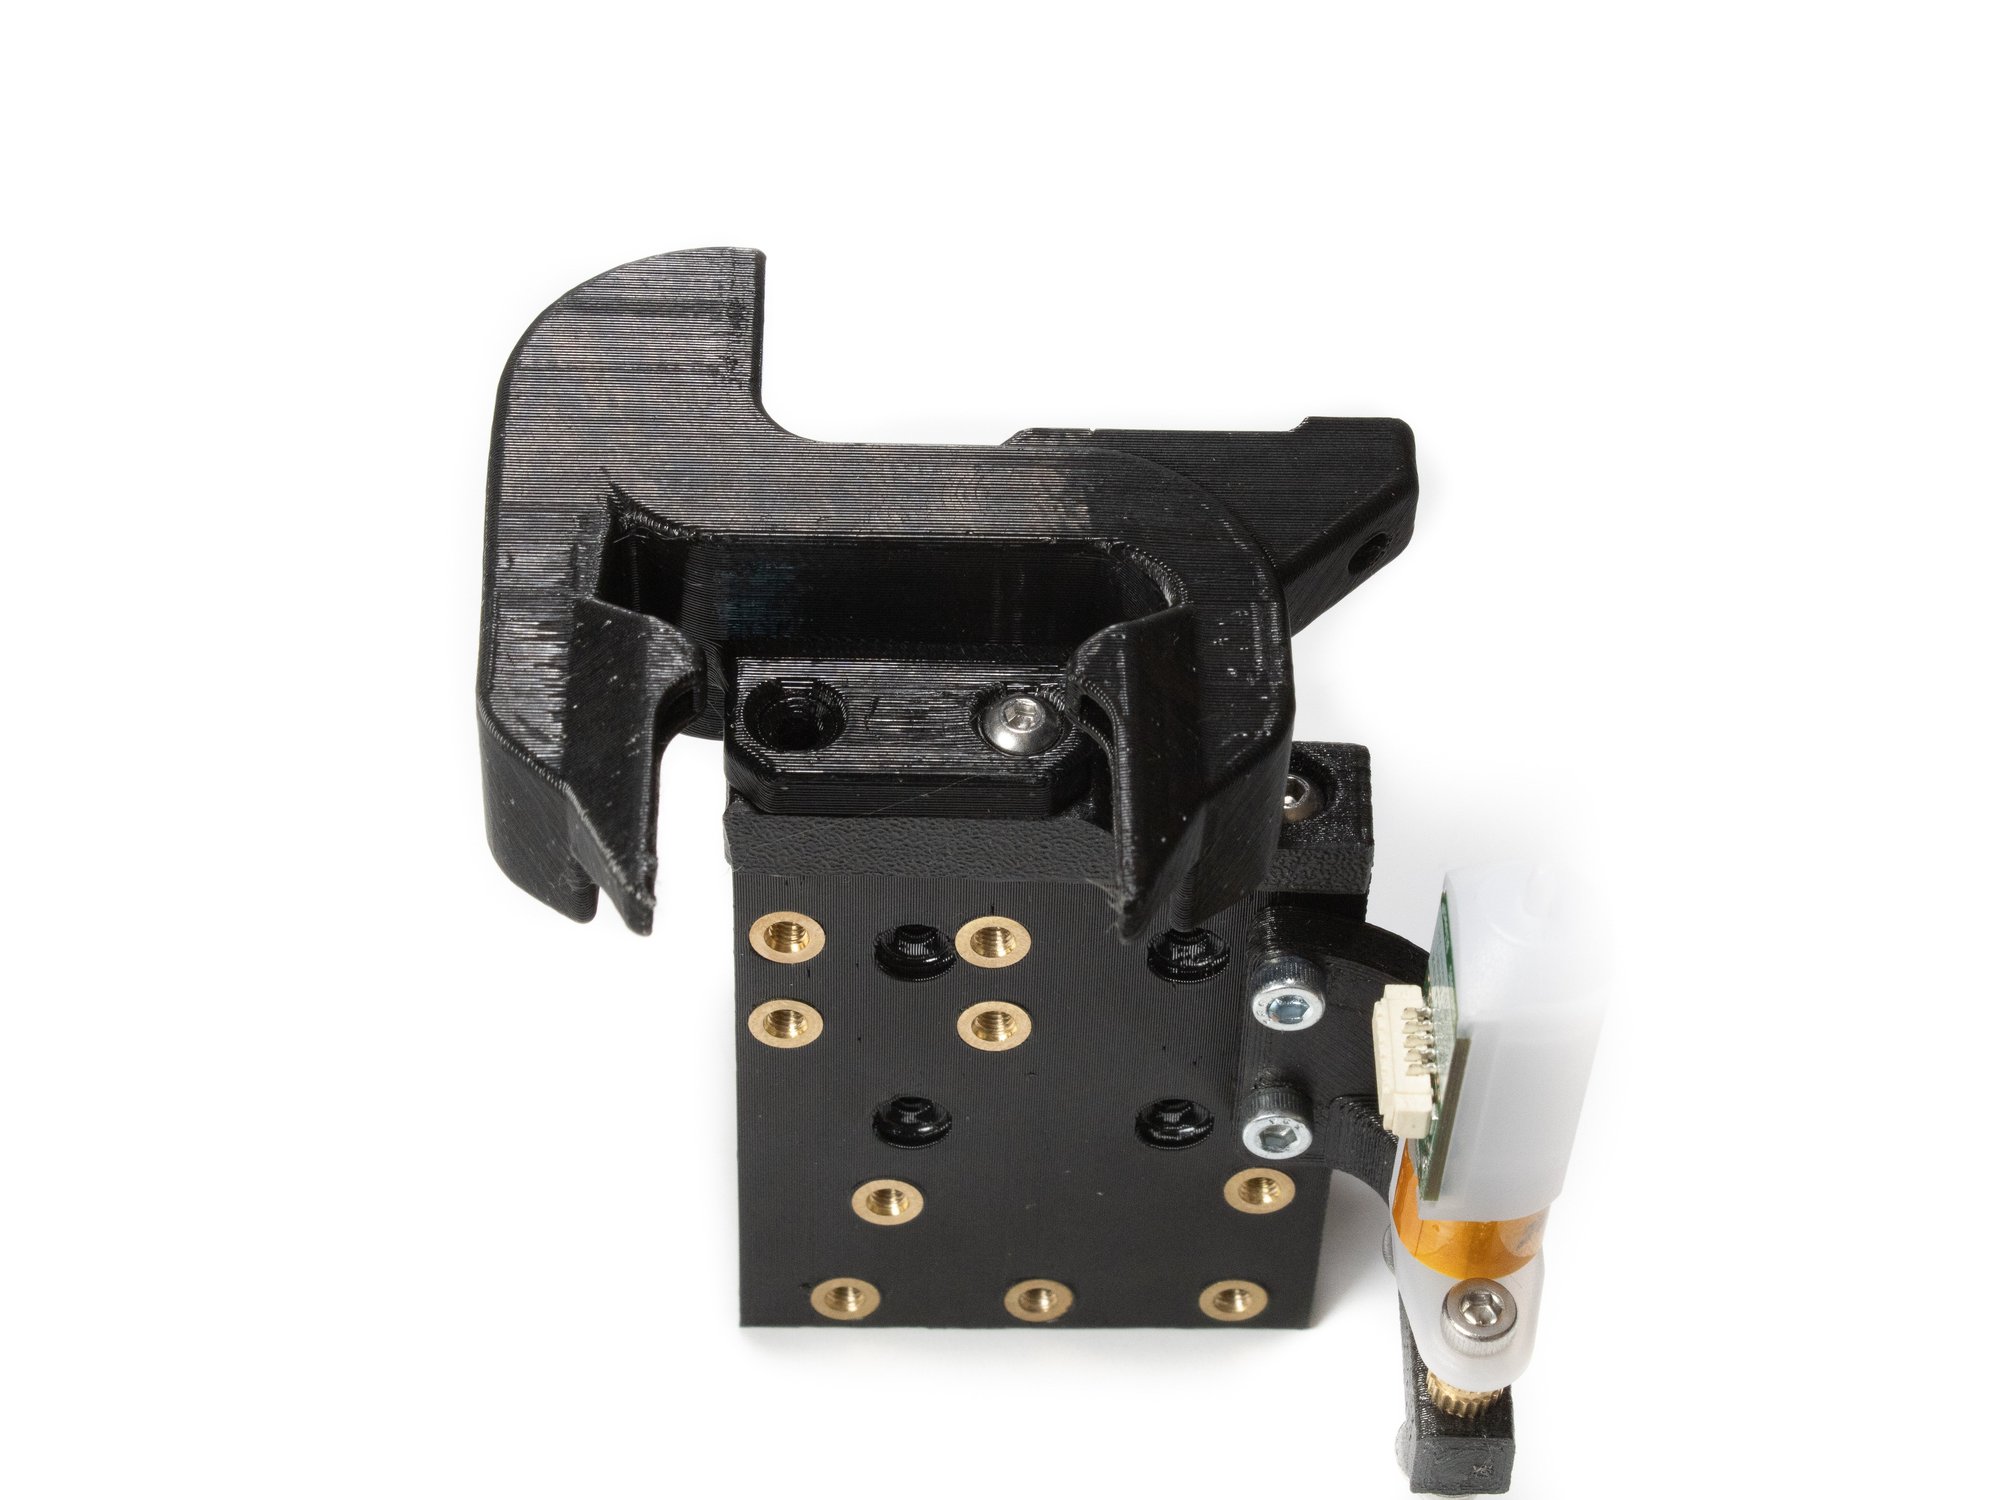
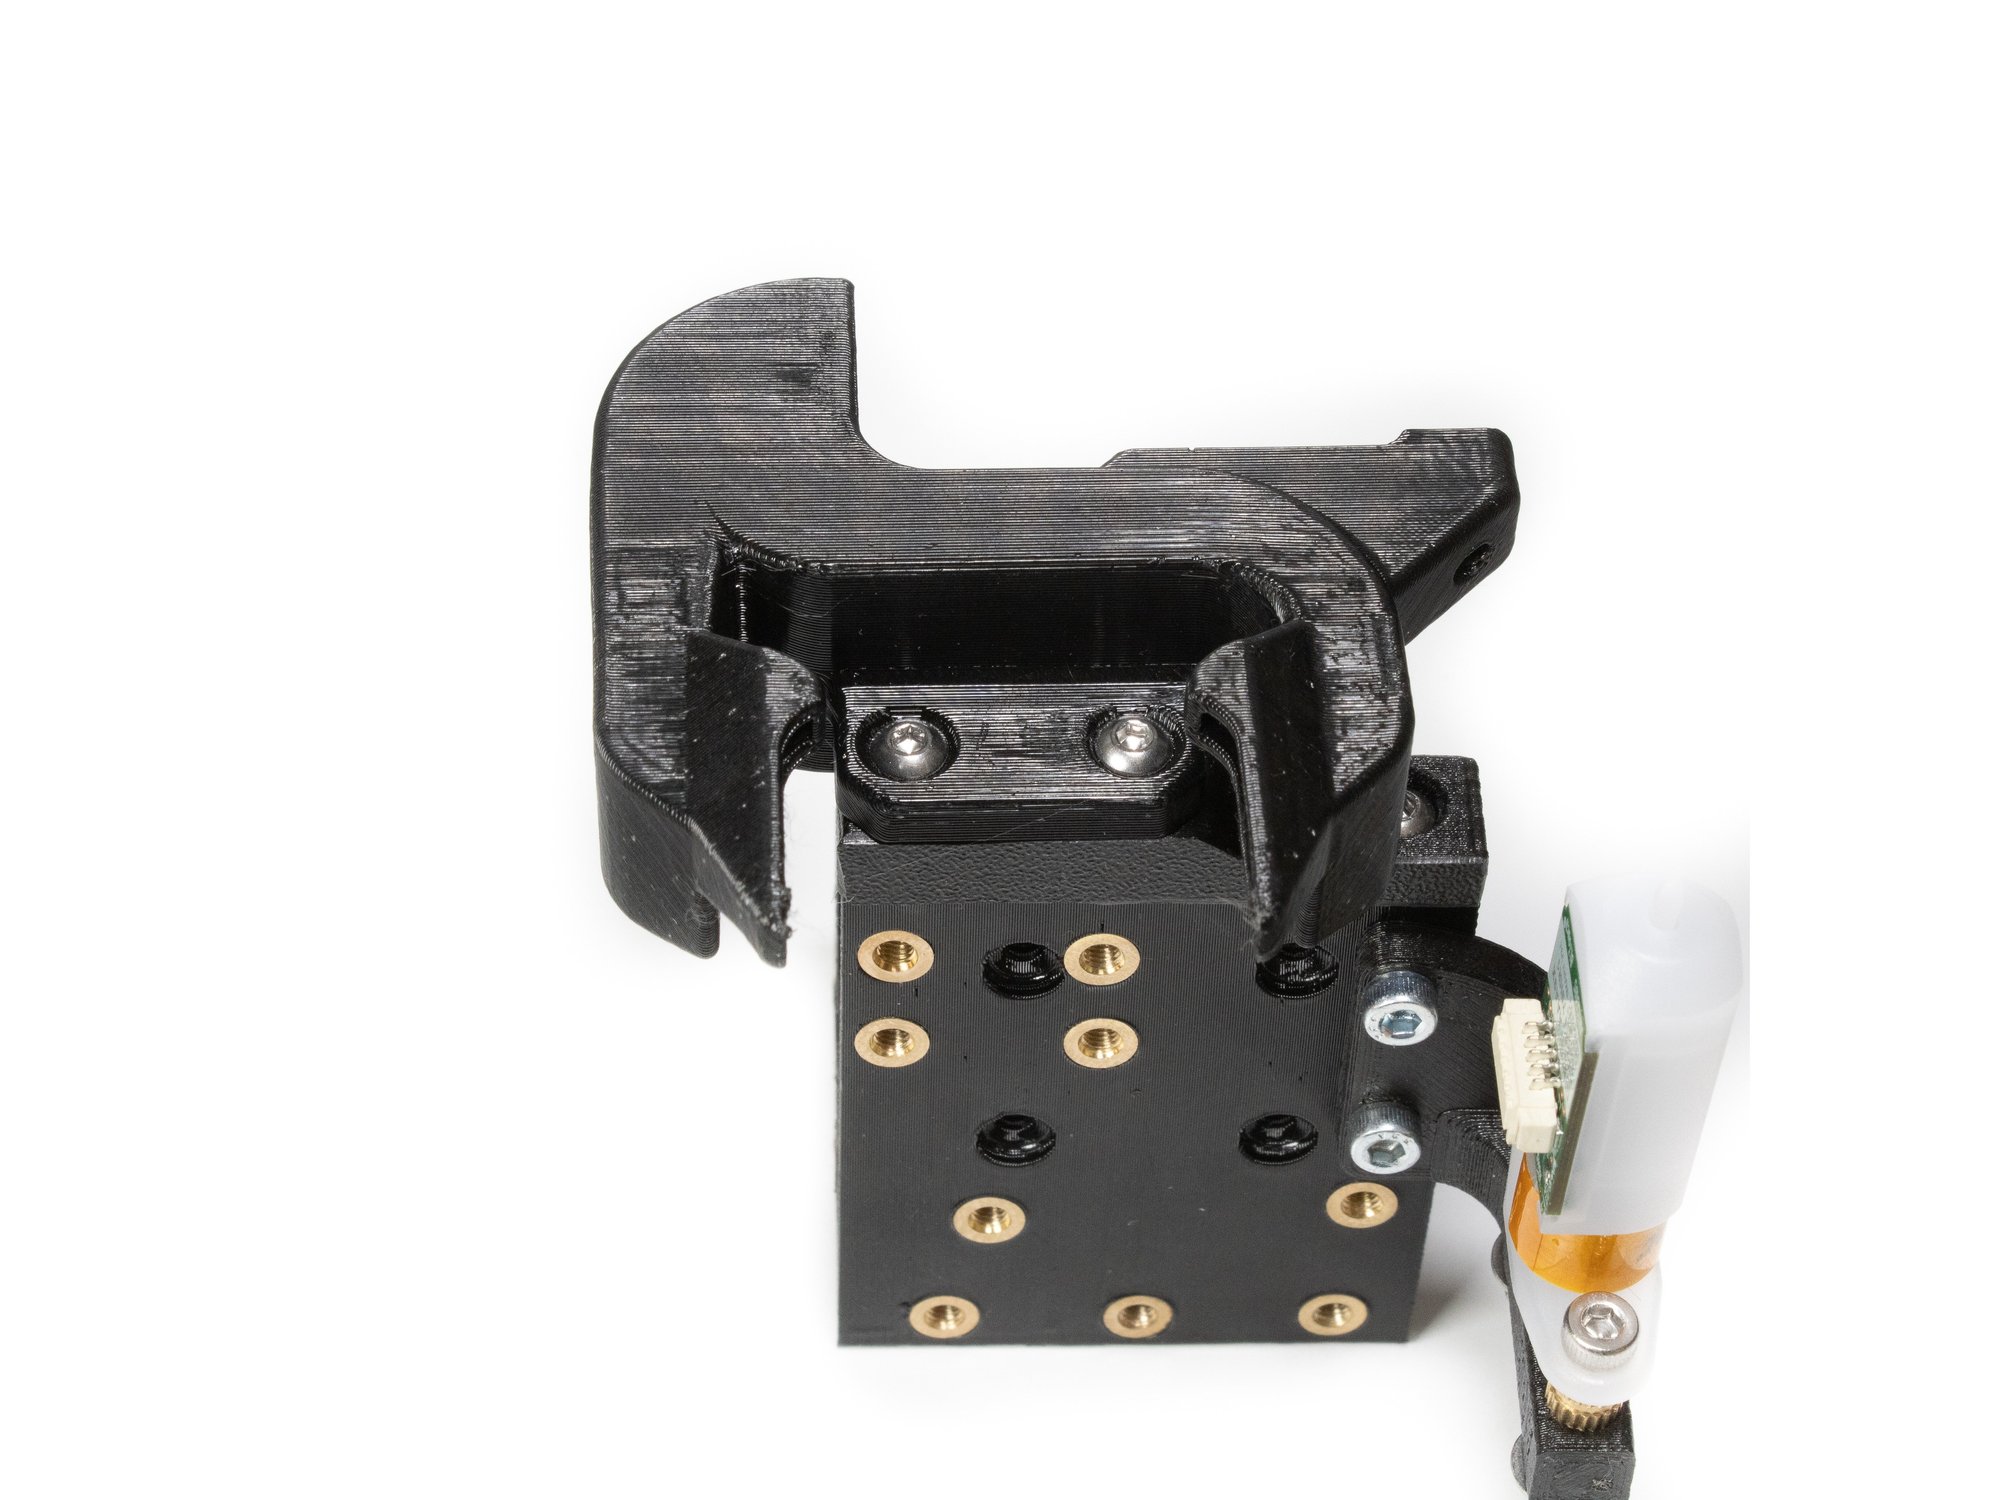
- Attach the printed layer fan shroud to the adapter using (1) M3 x 8 button head screw into the hole that has the M3 nut you installed earlier.
- Insert (1) M3 x 12 button head screw in the remaining hole to finish installing the layer fan shroud.
Step 4 — Y Endstop Prep
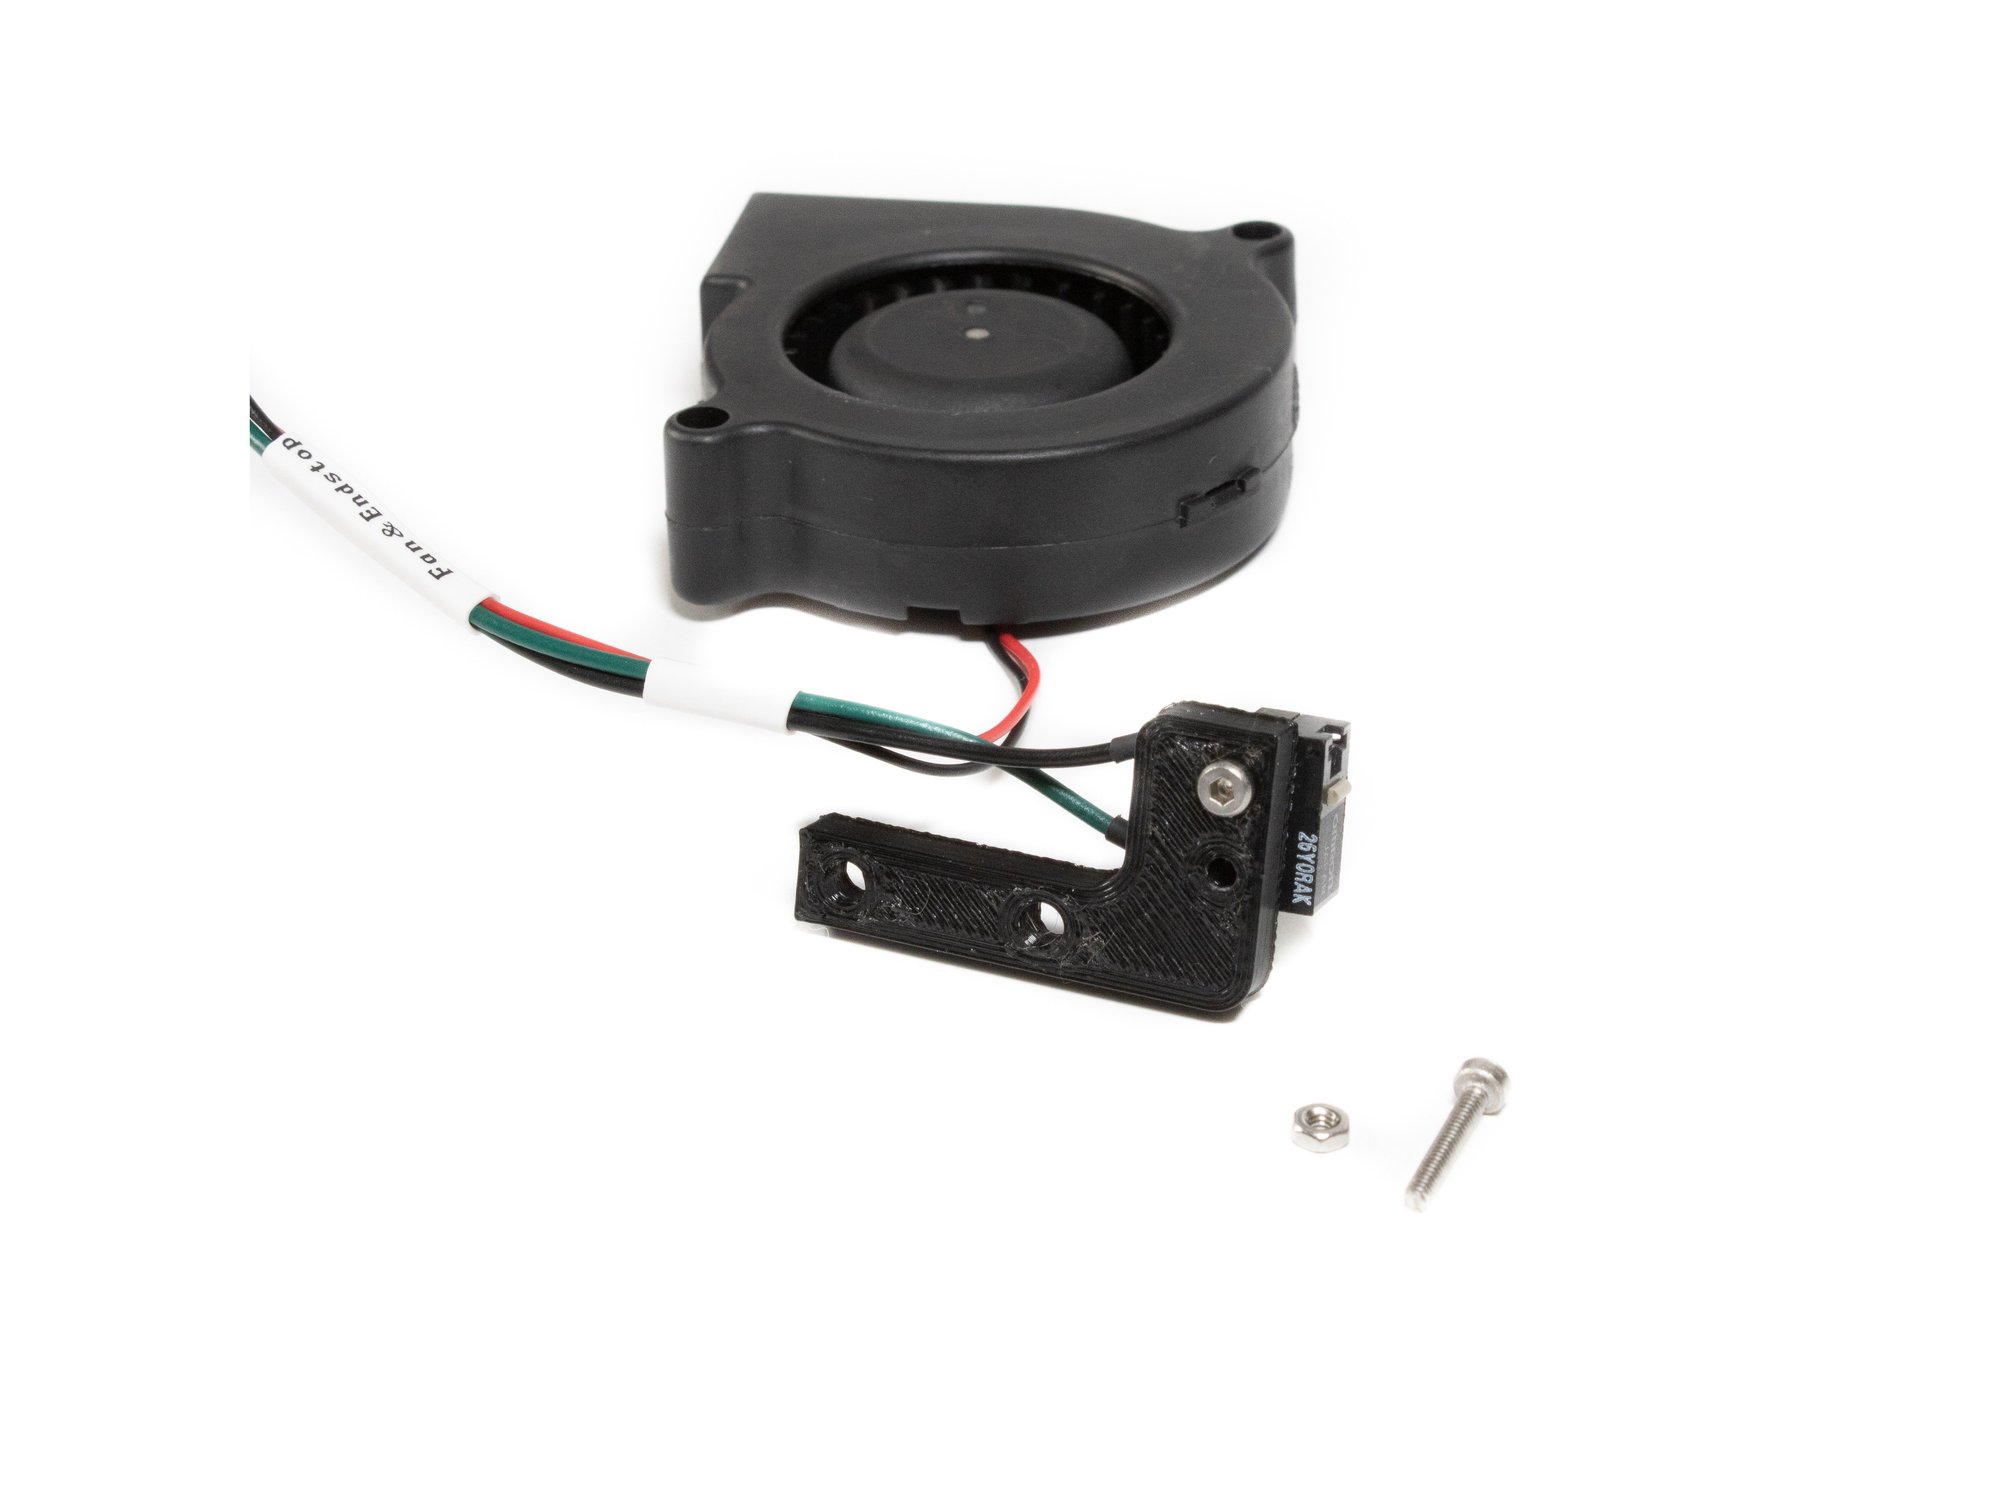
- The Y endstop and part cooling fan share a cable harness (W16).
- Attach the Y endstop switch to the Y endstop mount using (2) m2 x 12mm Bolts and (2) m2 nuts.
Step 5 — Y Carriage Installation
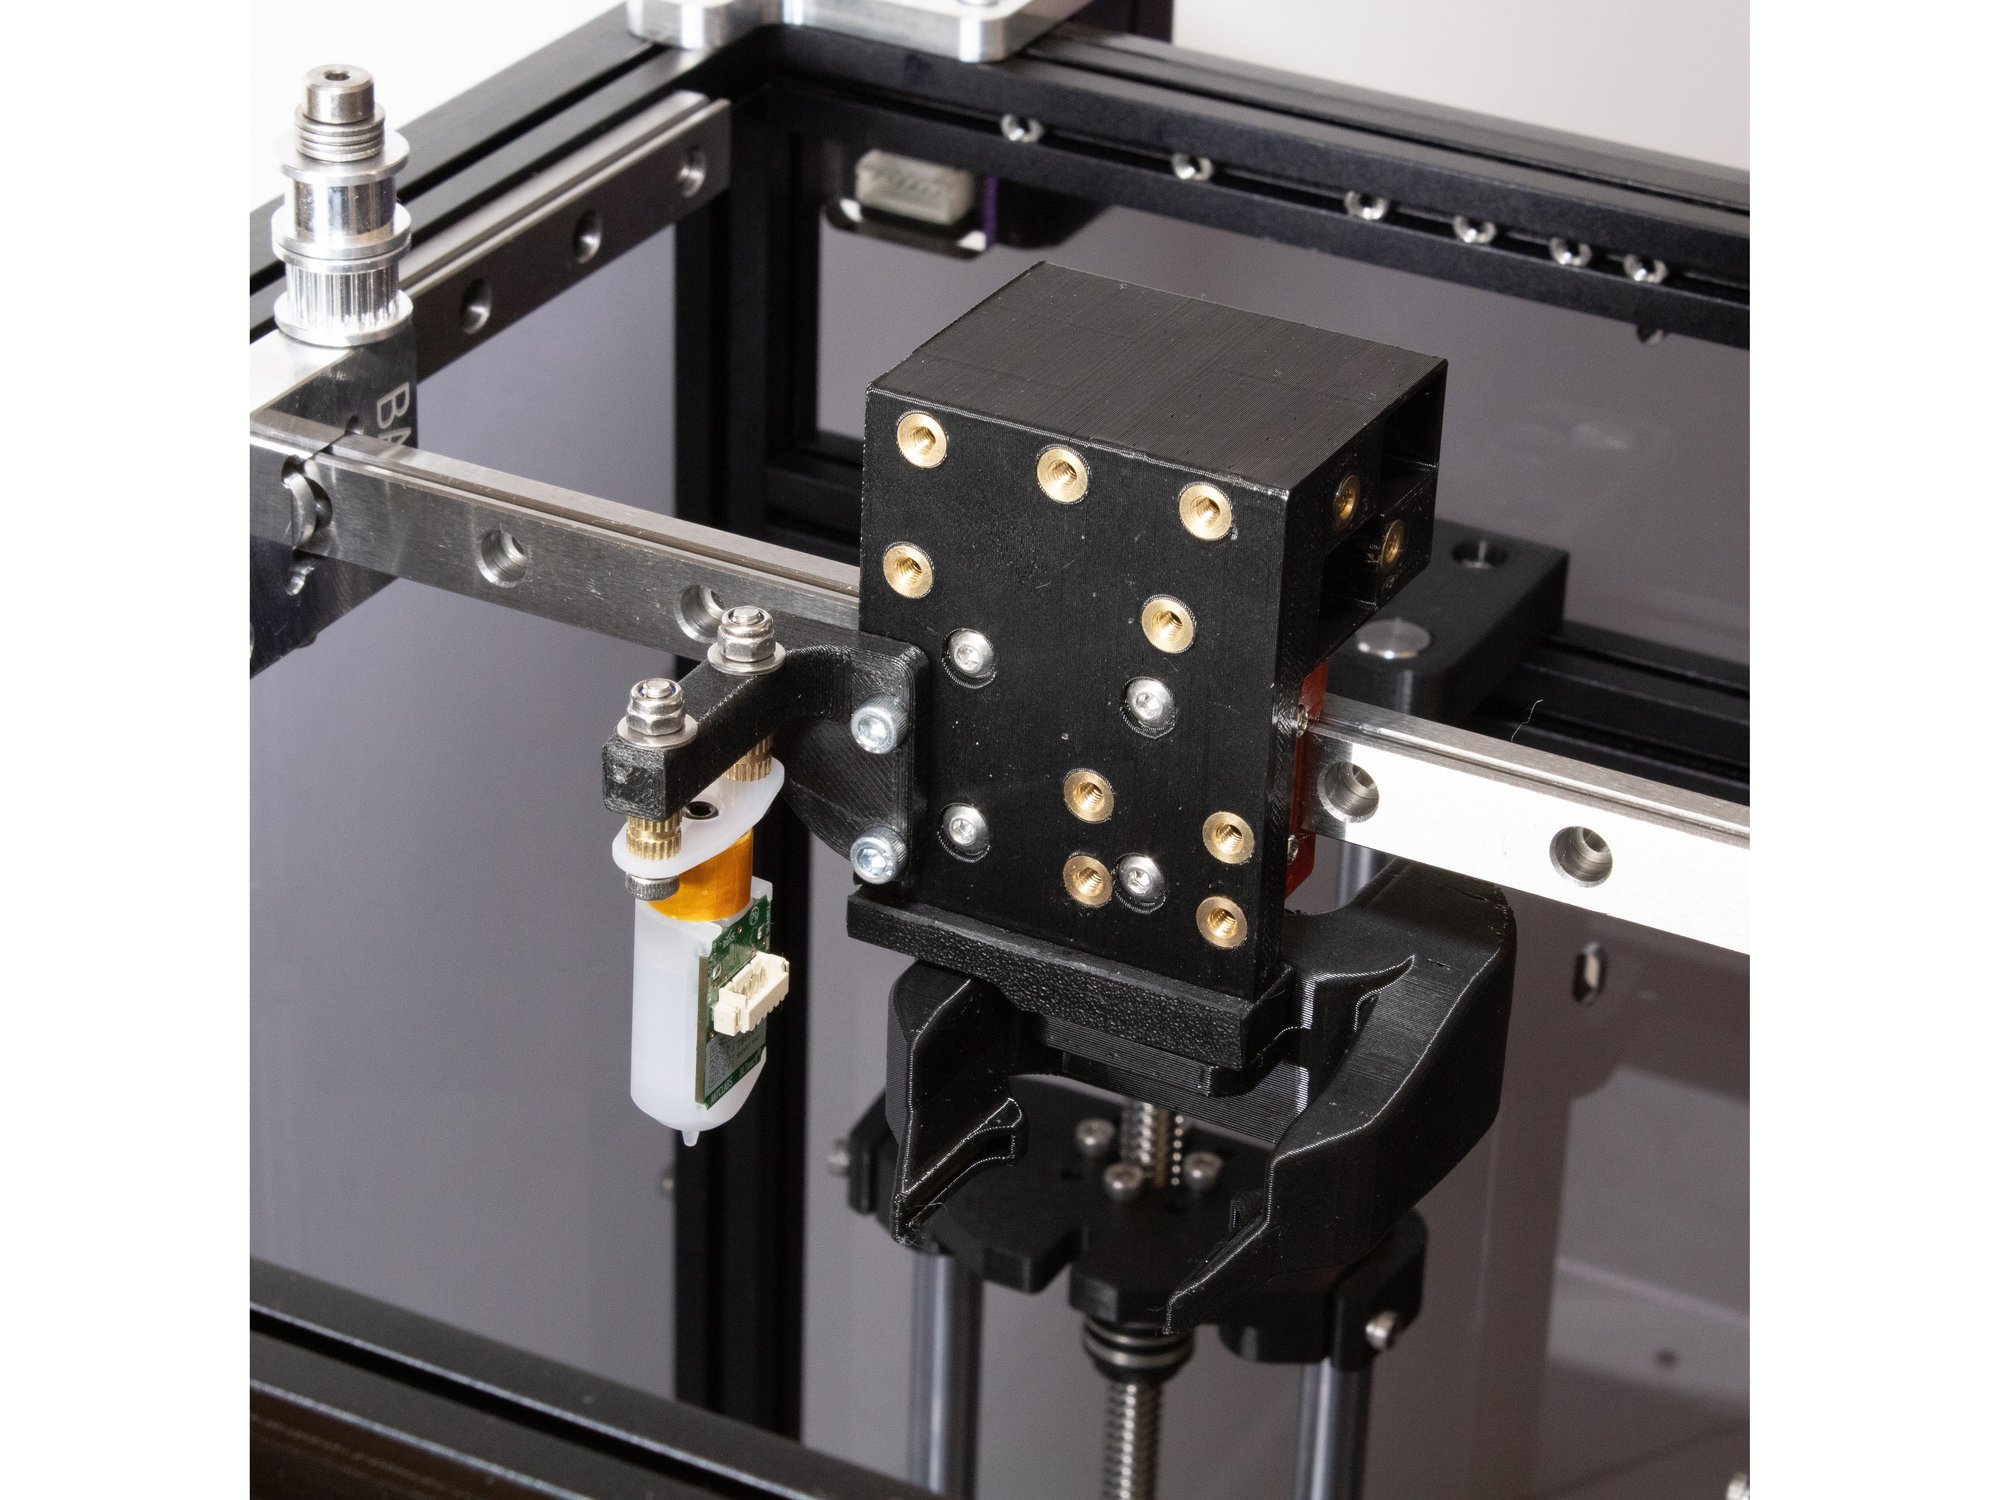
- Bolt the Y Carriage to the Y rail using (4) M3 x 8mm button head screws. (Socket Cap Head Screws will not work here, use button head regardless of the kit you're building).
- Note You may want a dab of loctite on the bolts for attaching the Y carriage to the Rail, they're hard to get to later.
Step 6 — Install Layer Fan and Y Endstop
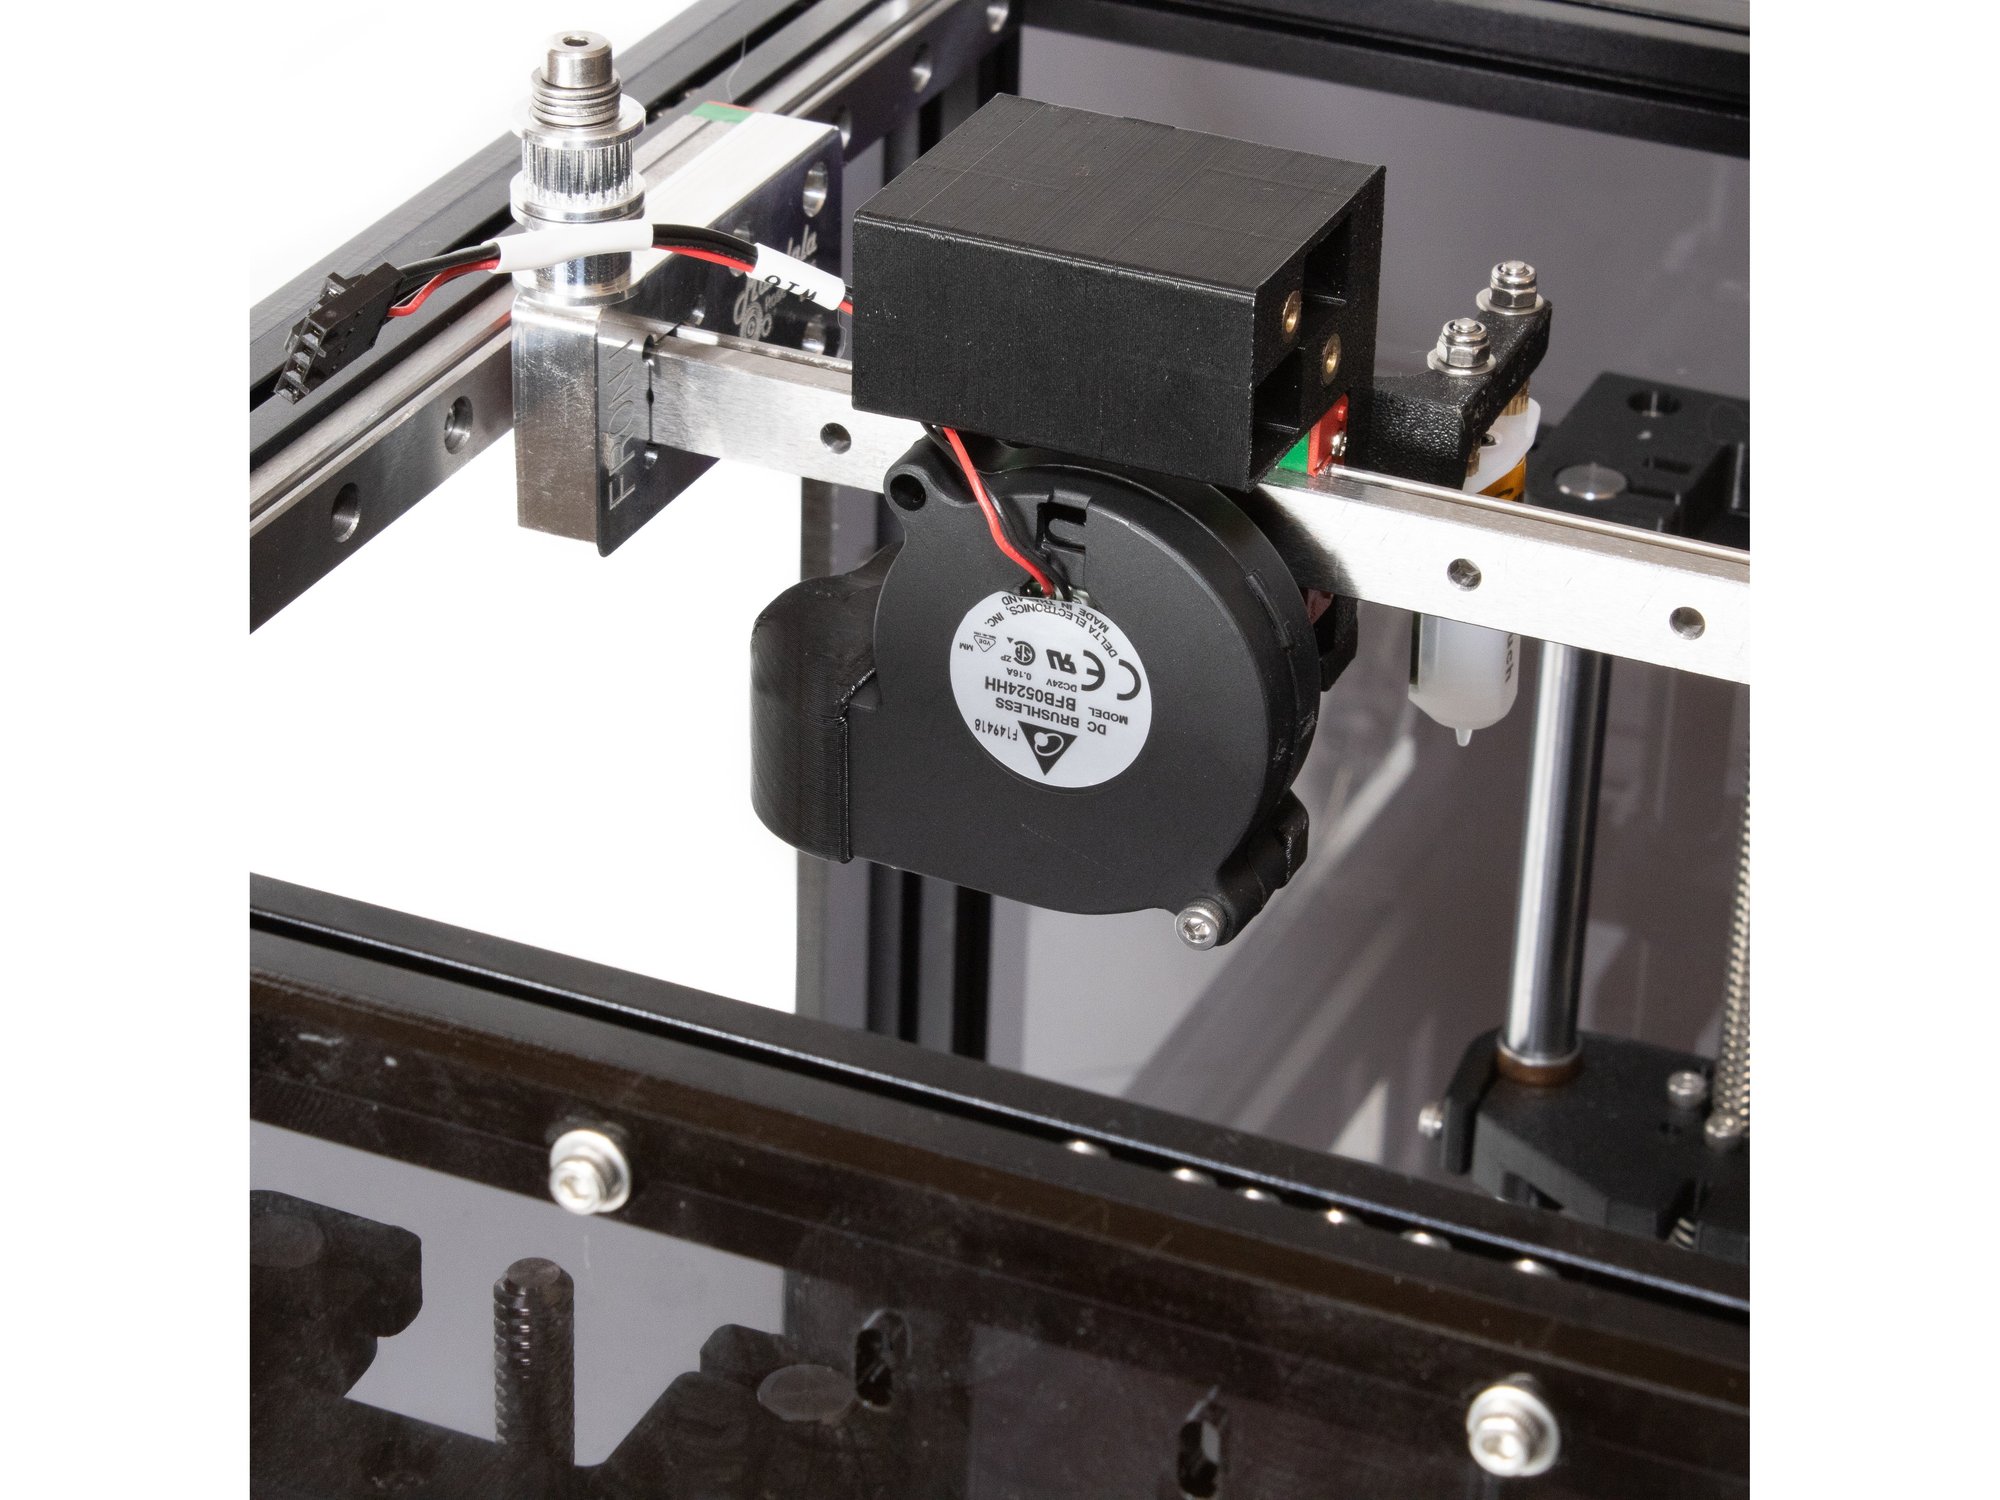
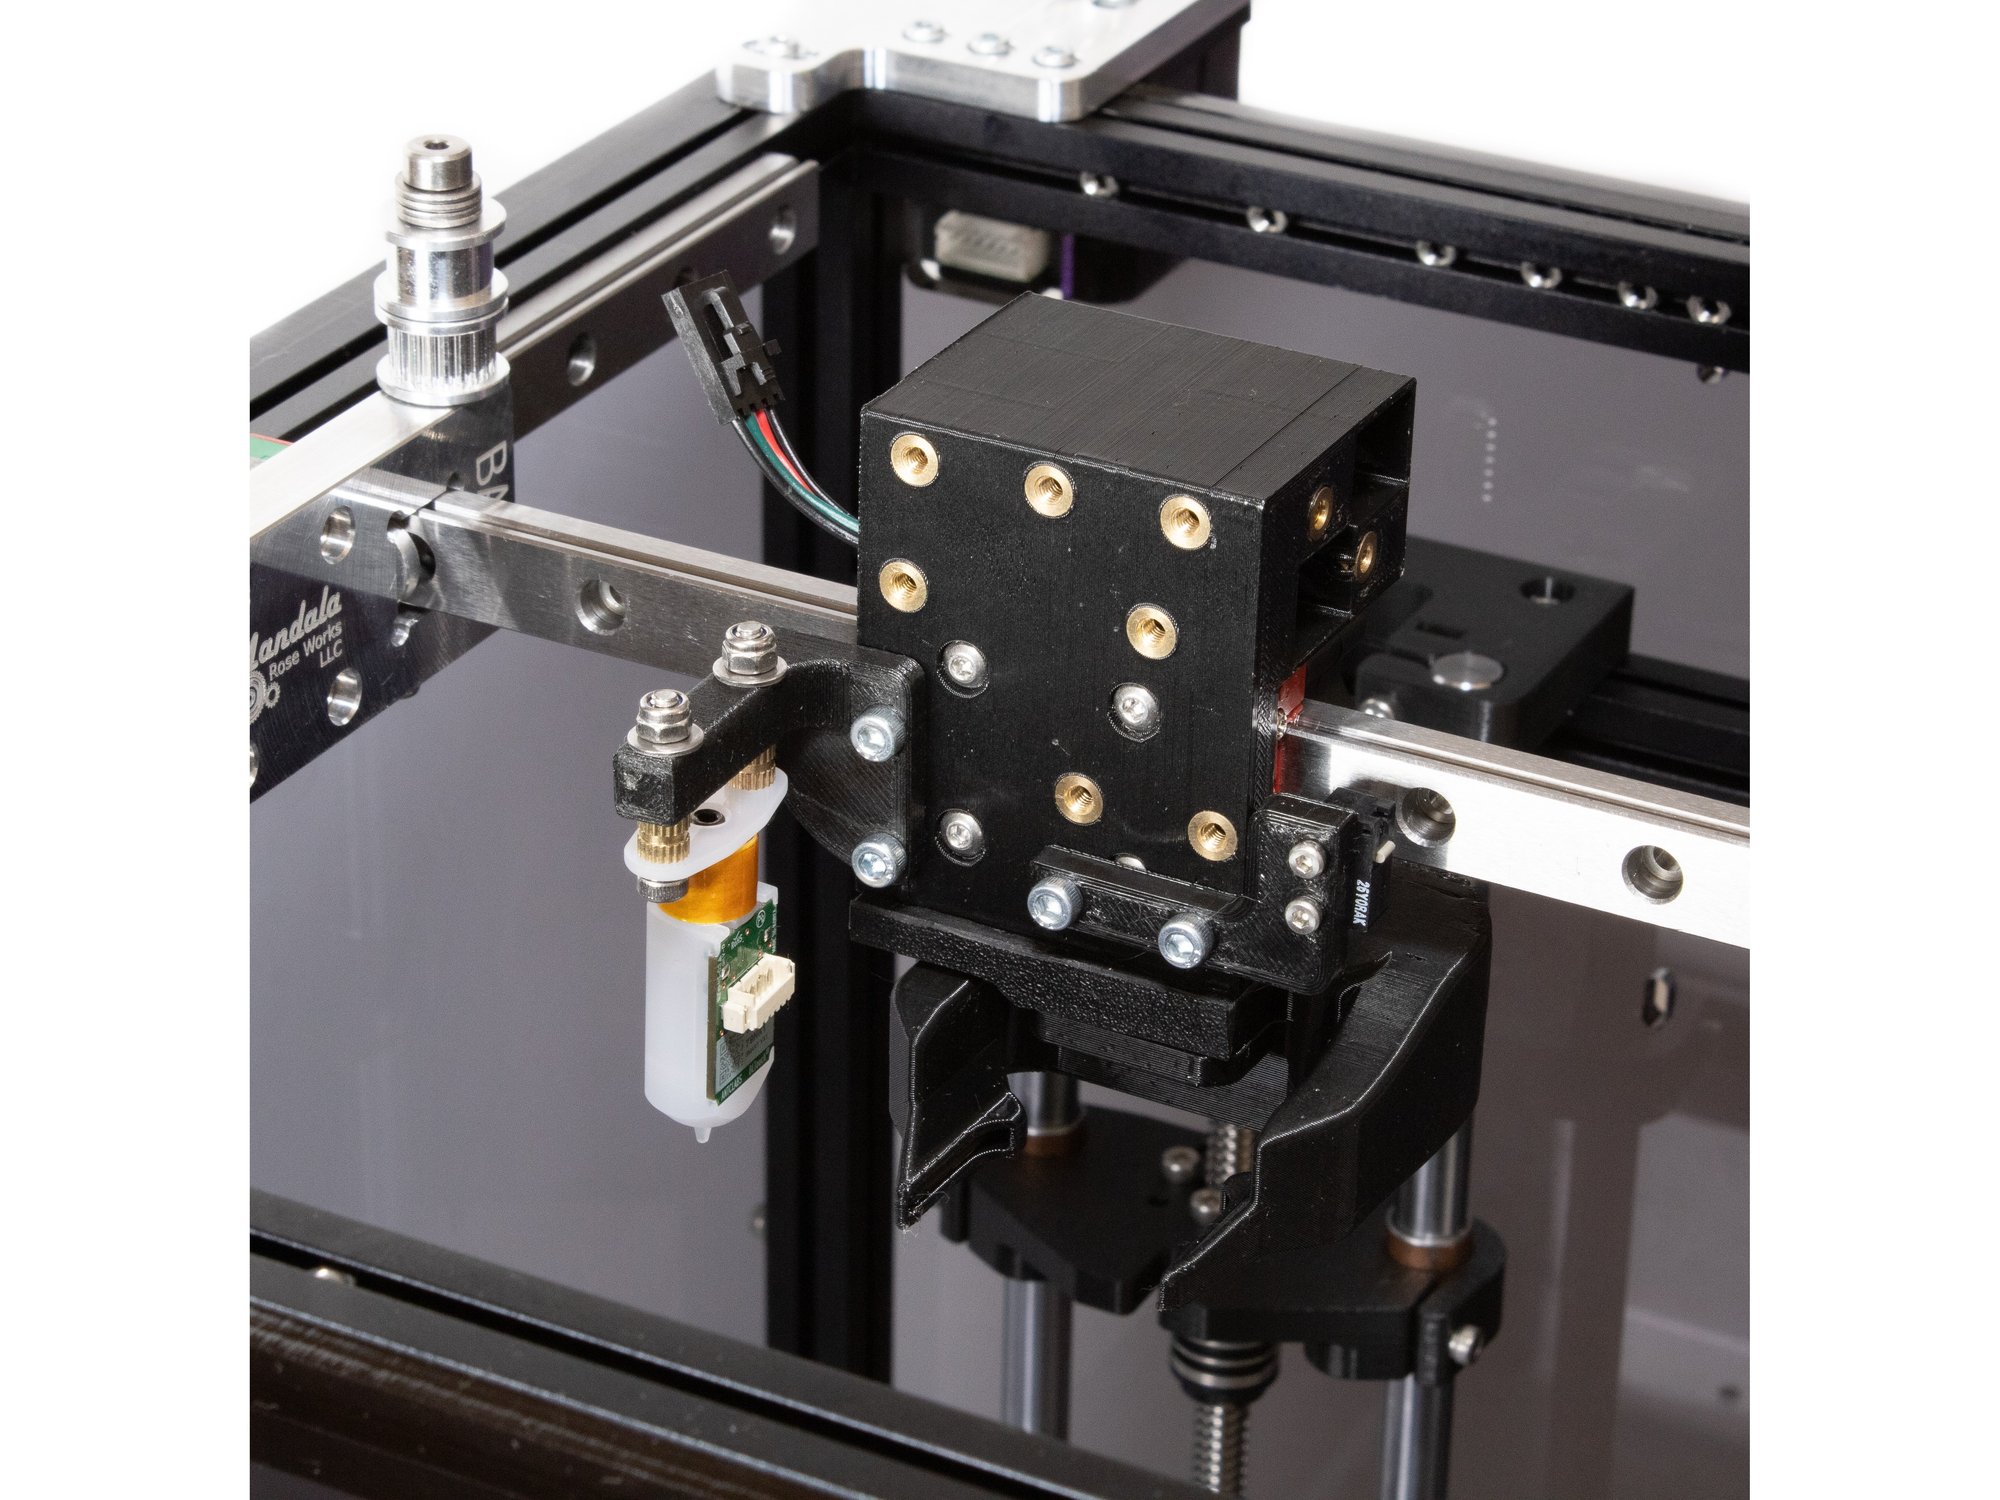
- Attach the 5015 blower to the layer fan shroud using (1) M3 x 20 socket head screw.
- Attach the Y endstop mount to the bottom right two holes in the Y carriage using (2) M3 x 8mm socket head screws.
Step 7 — Attach Revo Micro Mount
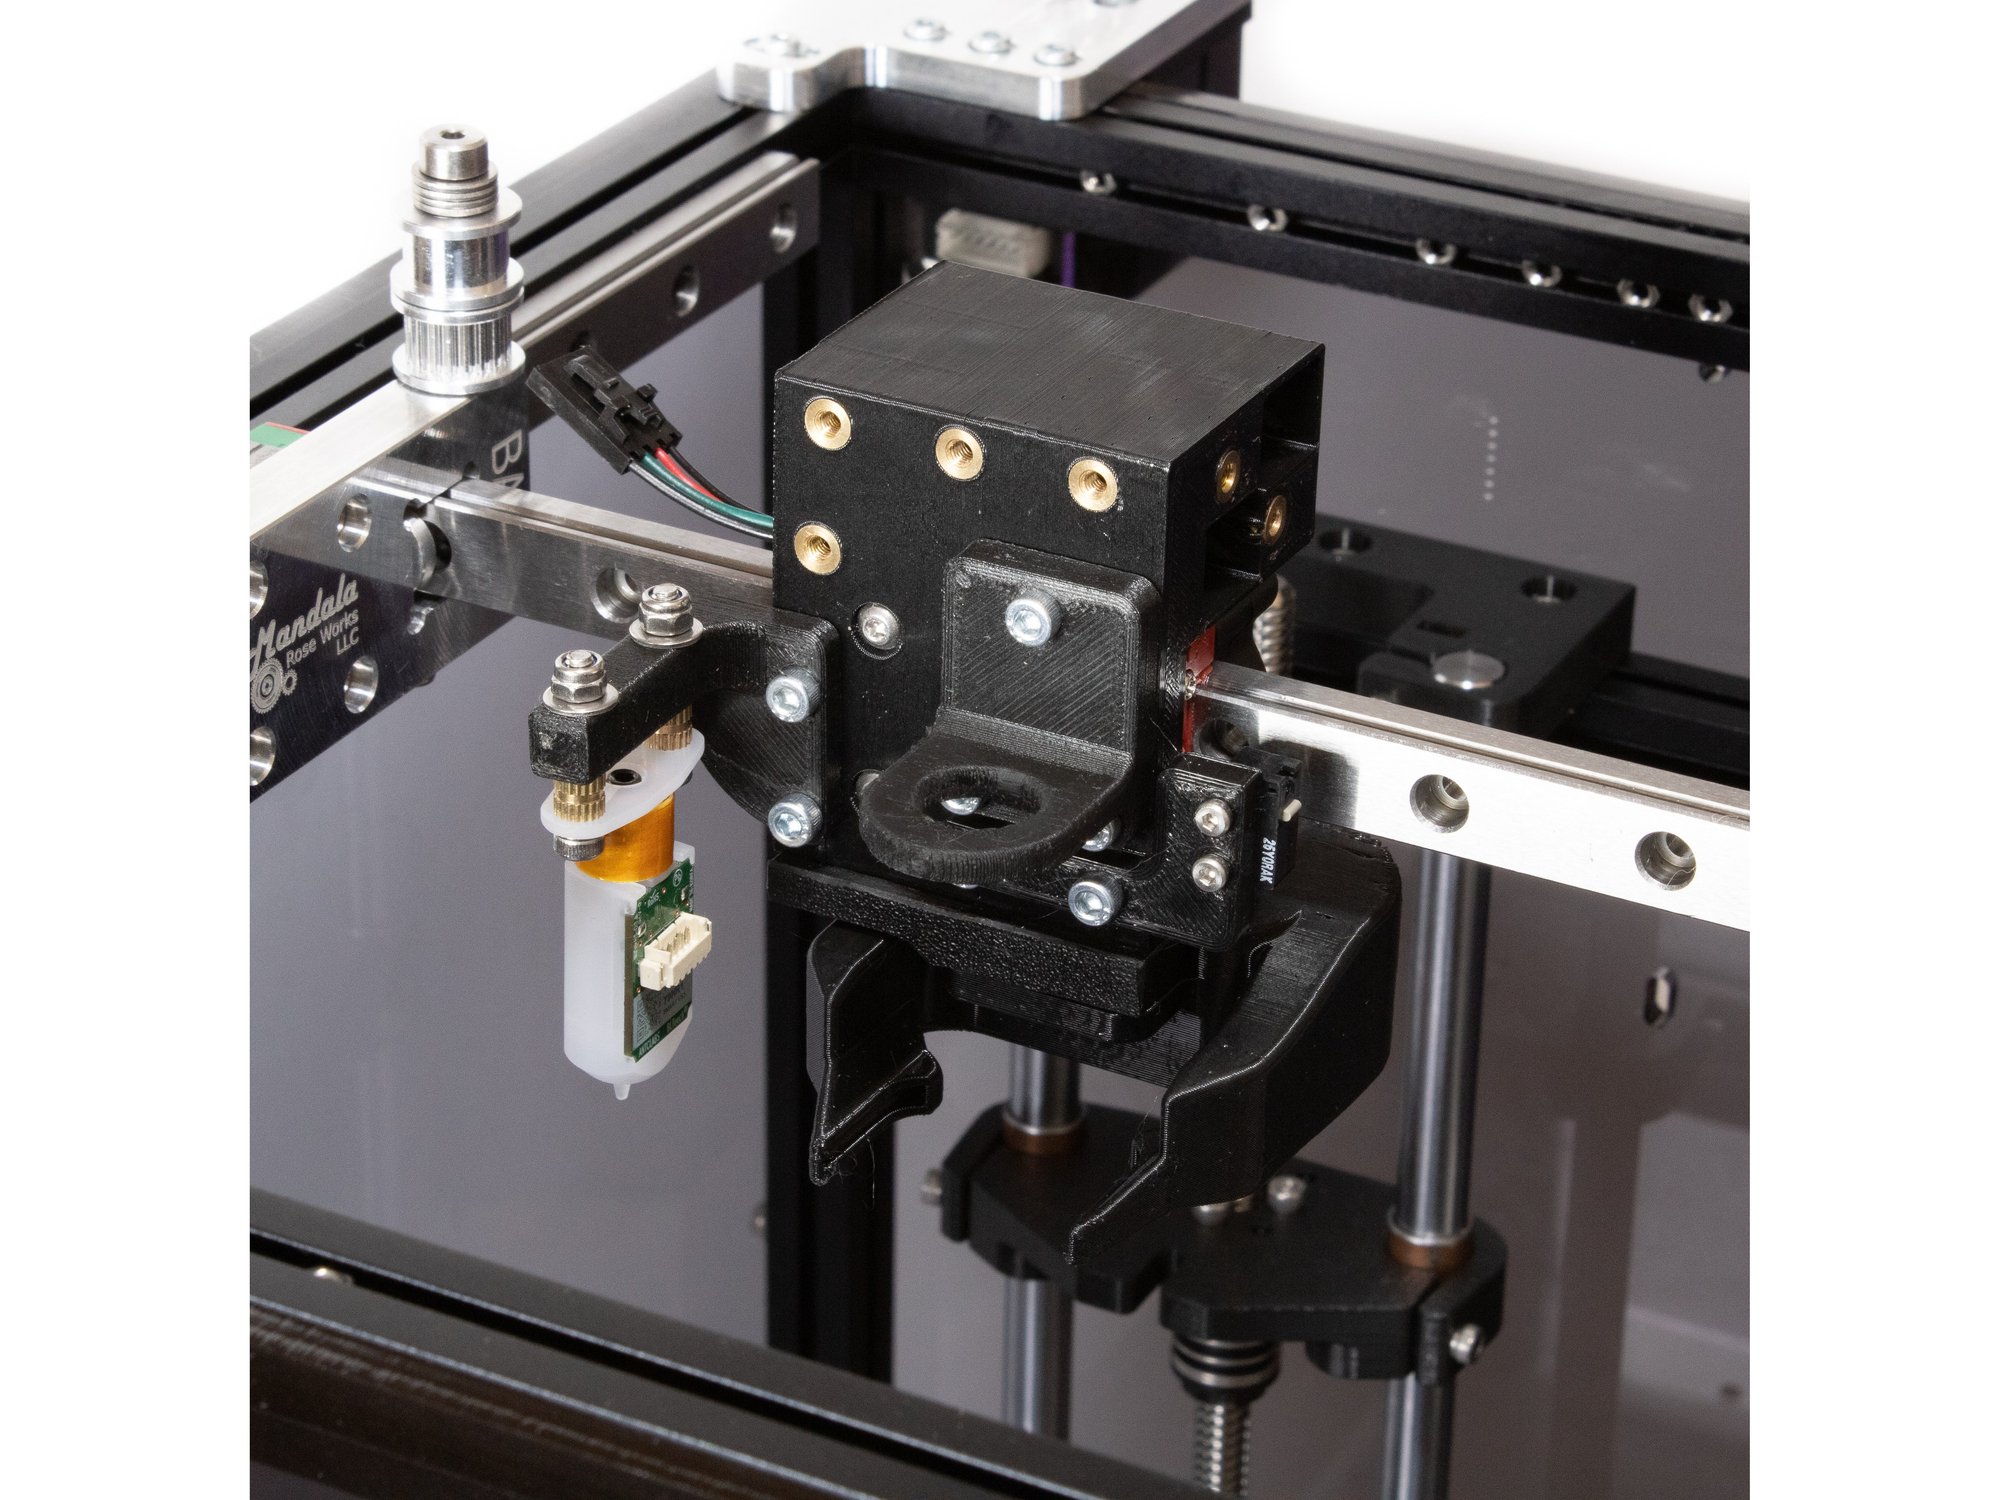
- Attach the Revo Micro mount to the carriage using (3) M3 x 8 socket head screws.
Originally at https://railcore.dozuki.com/Guide/K)+Y+Carriage/33