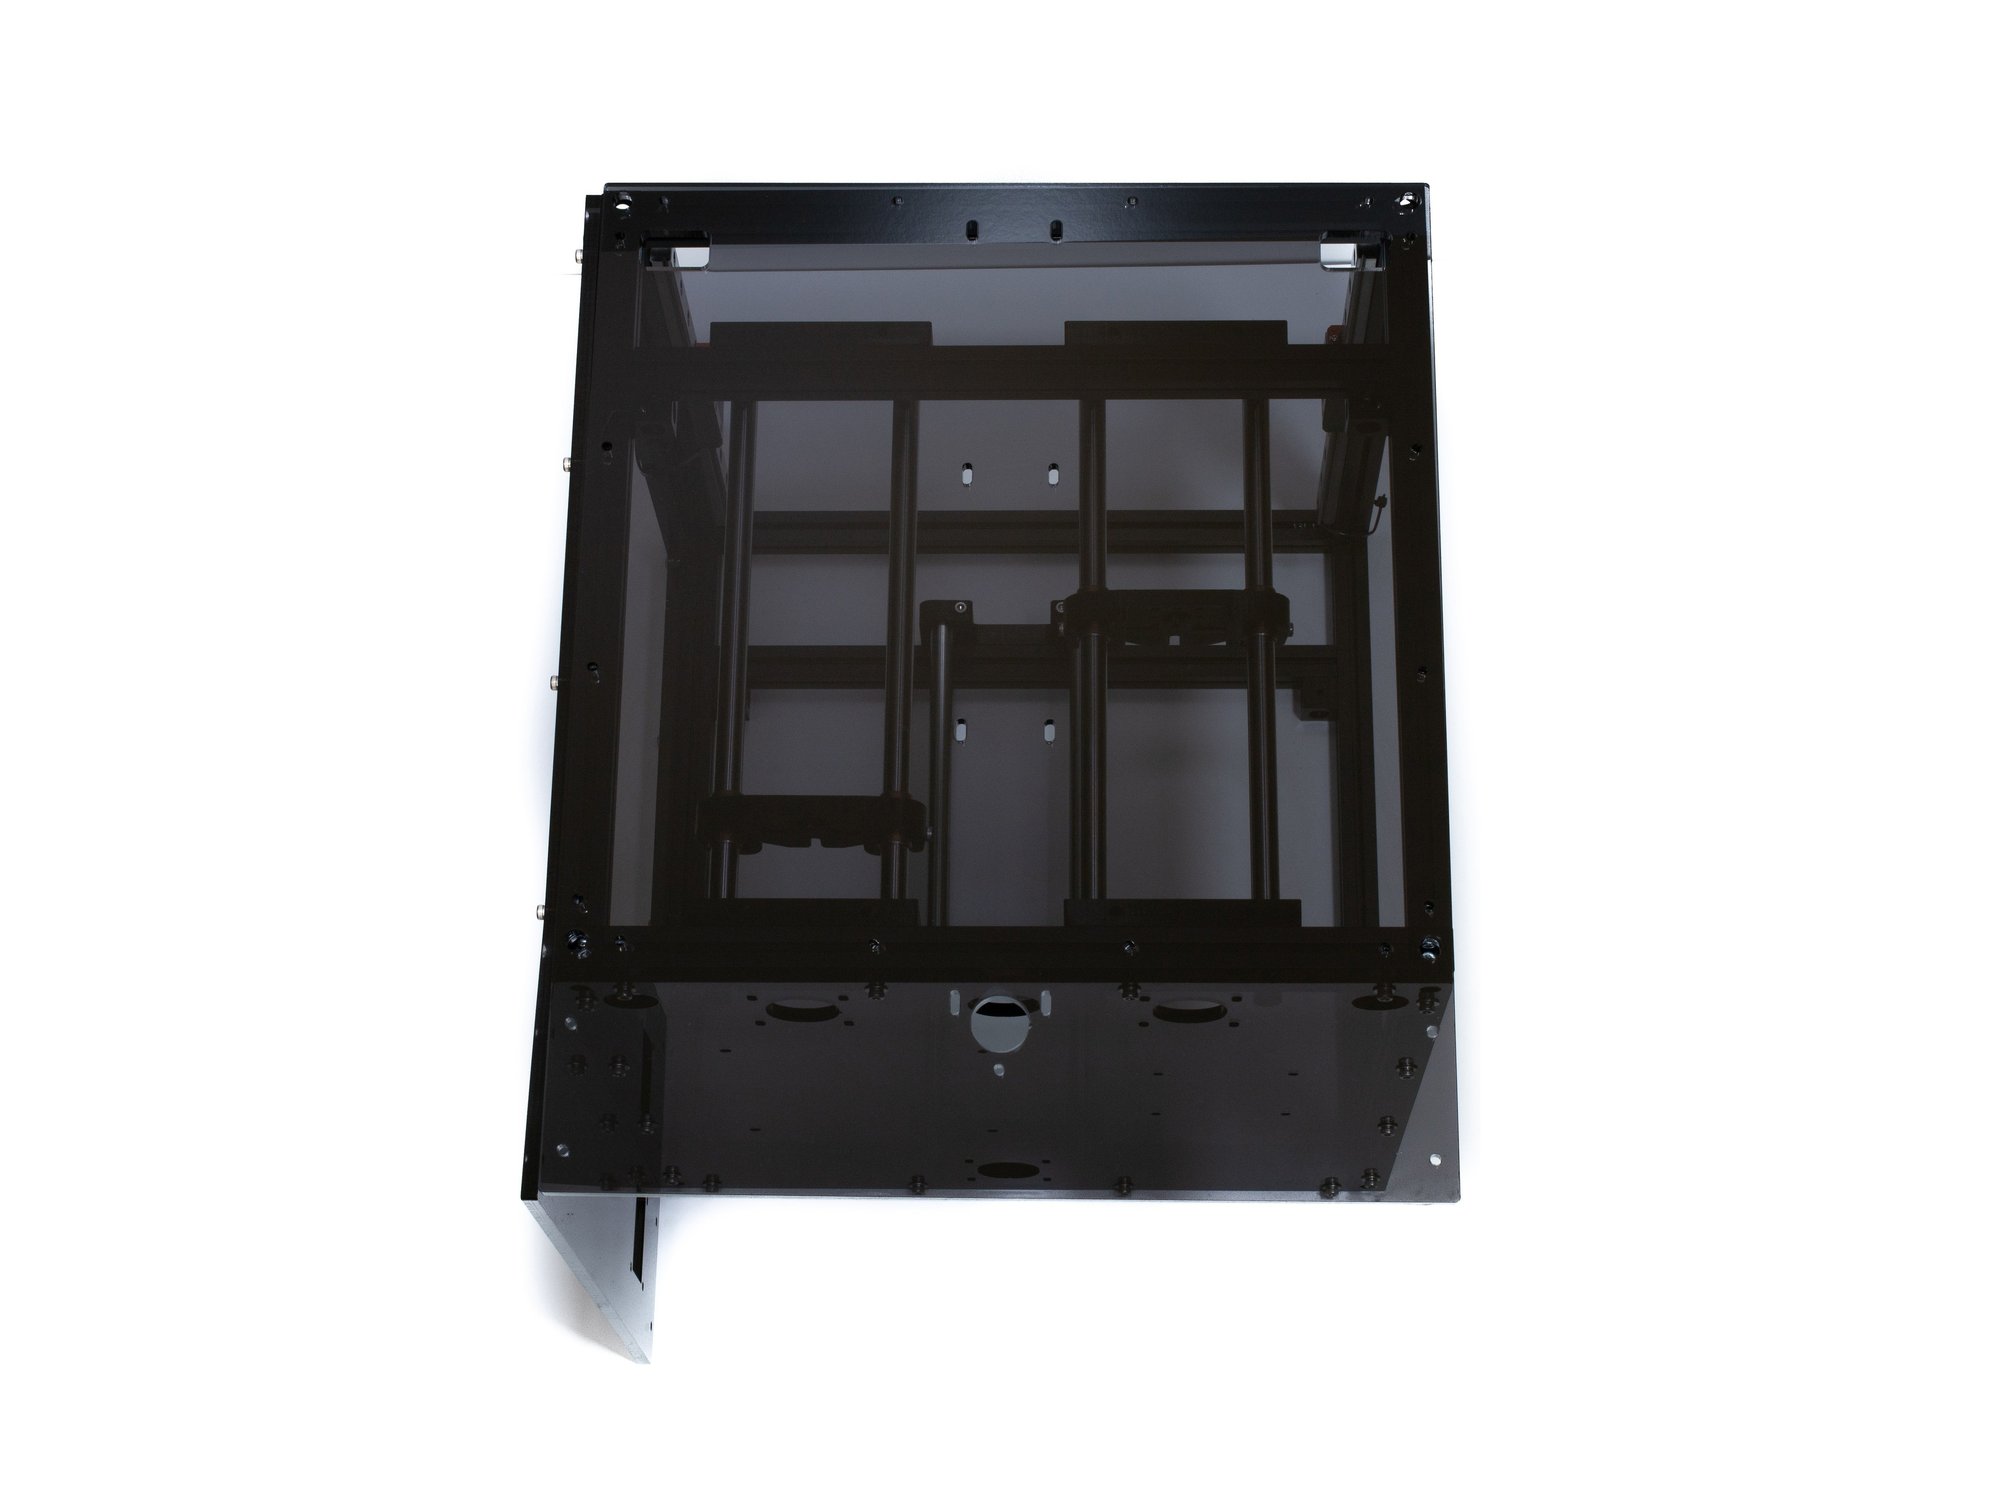
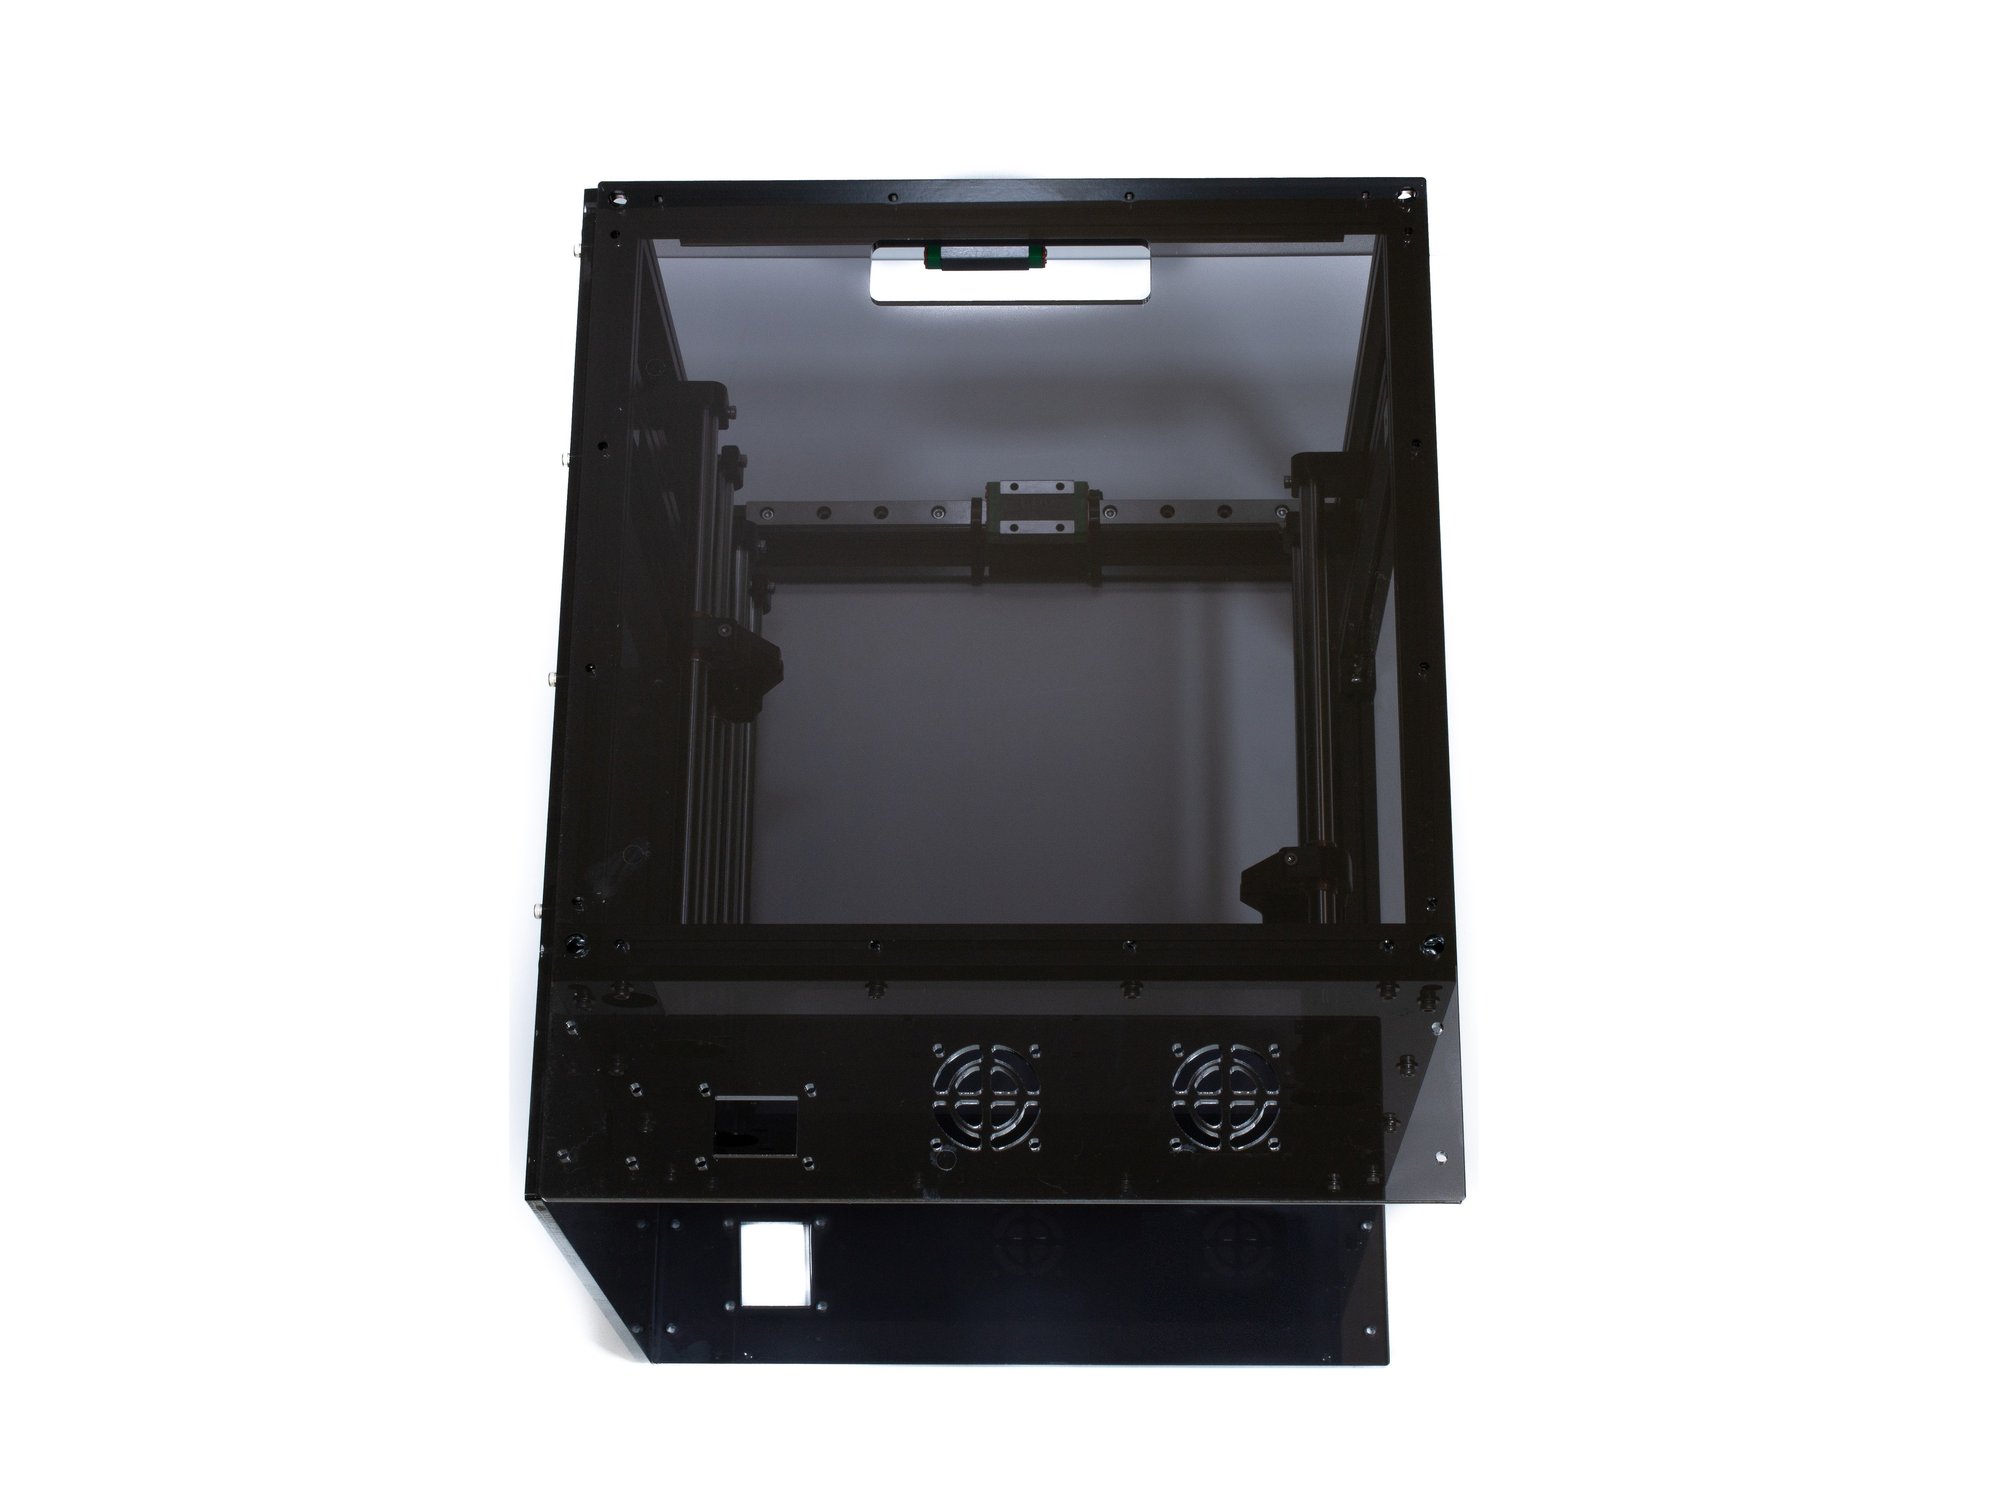
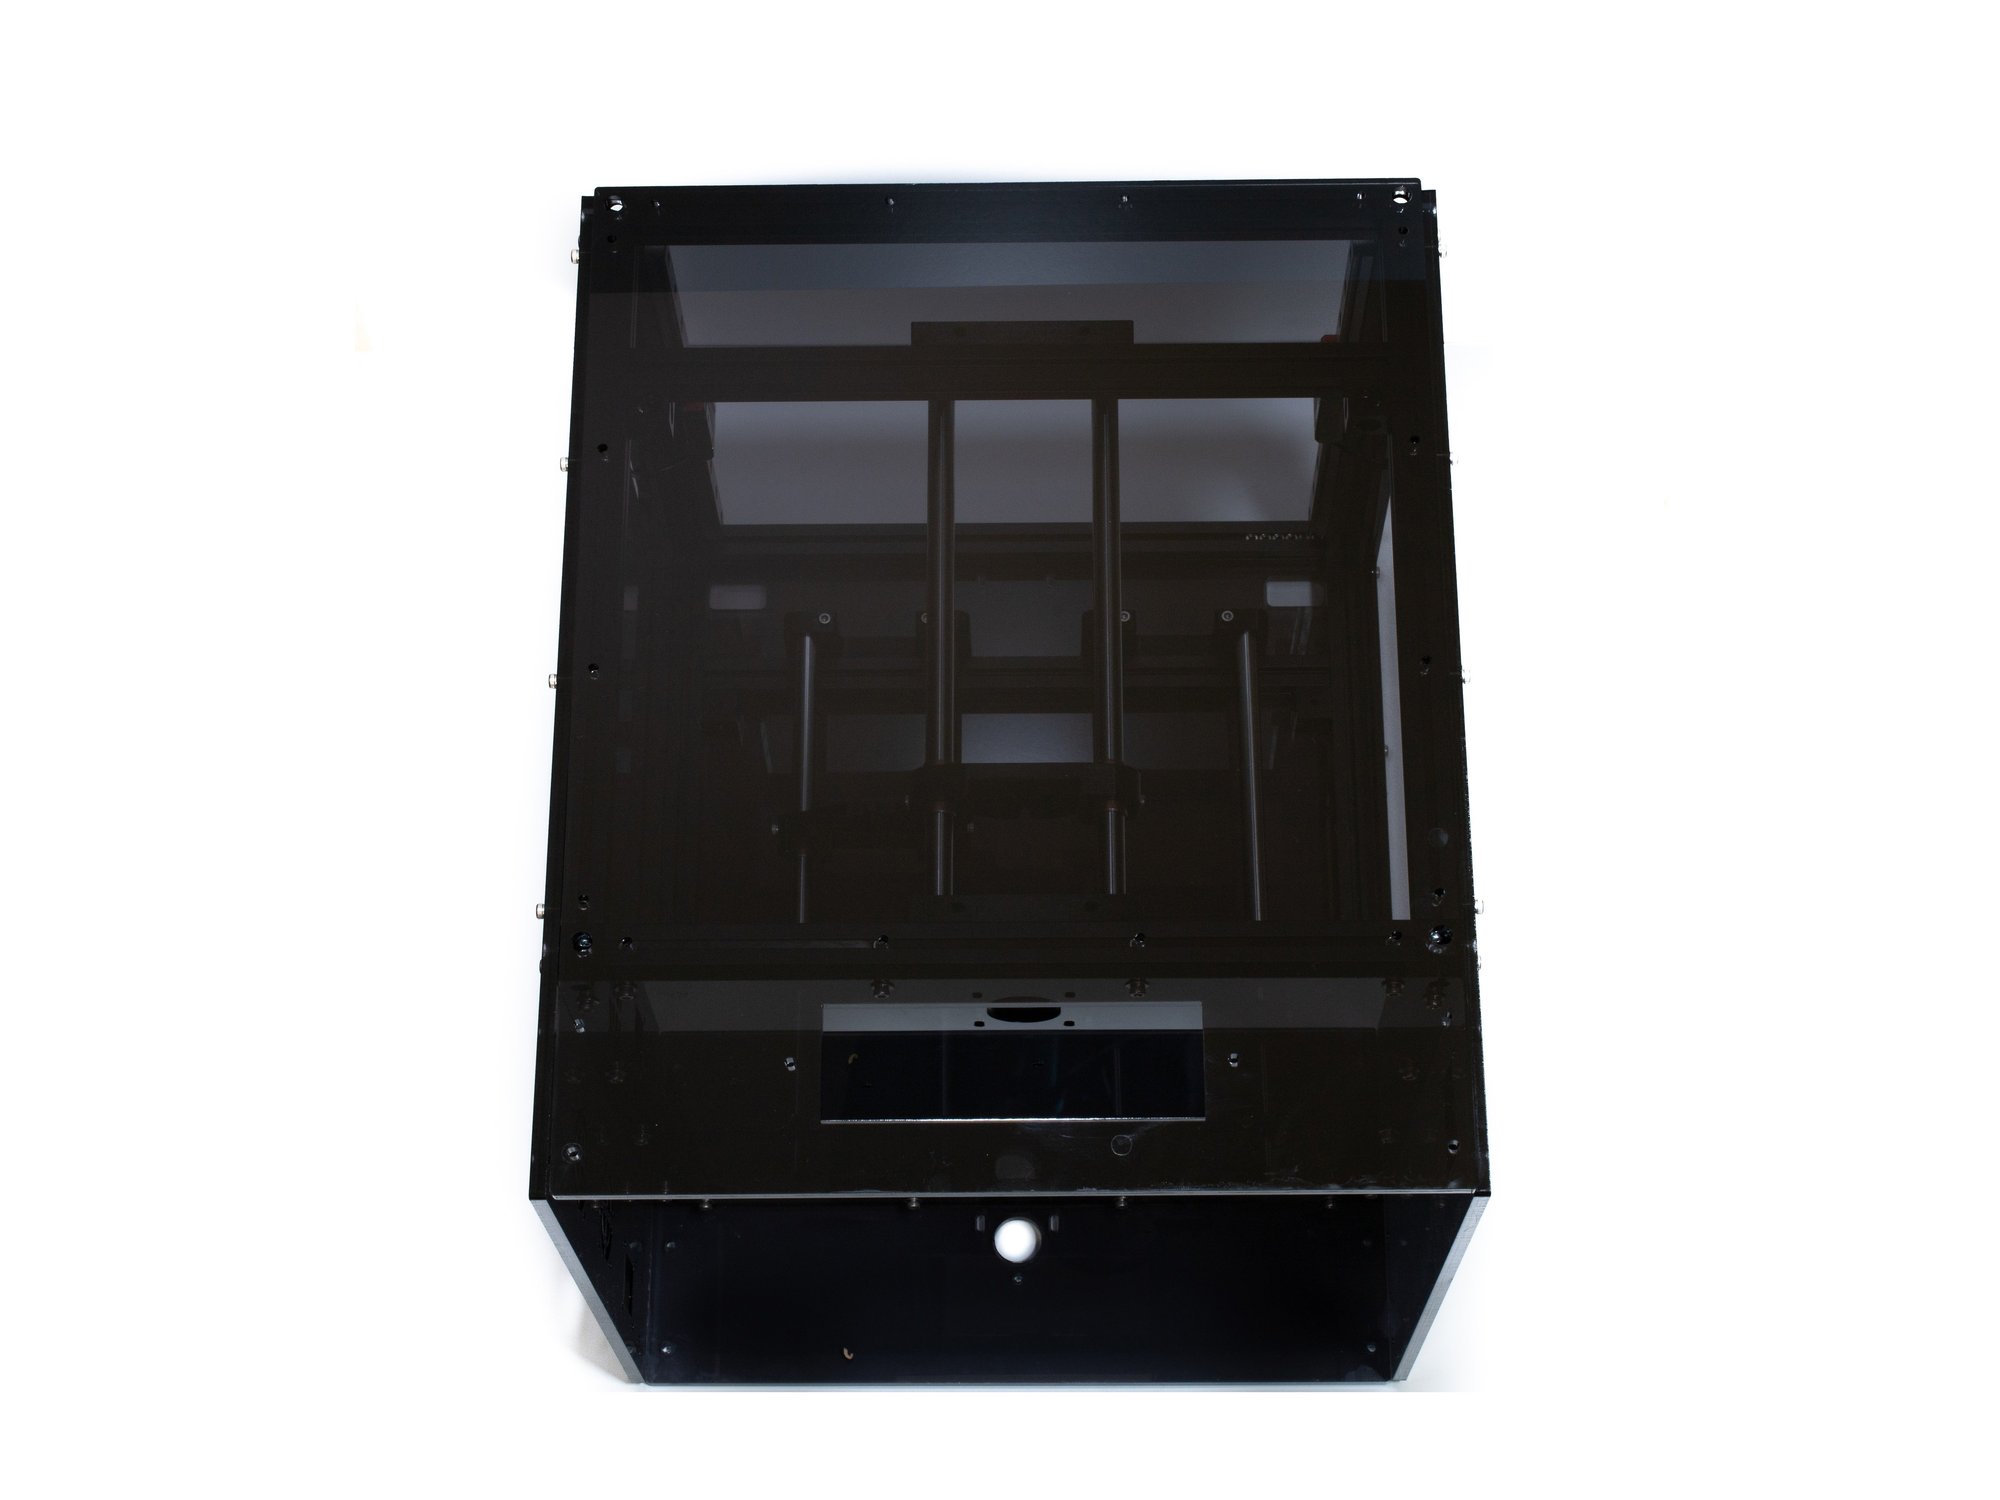
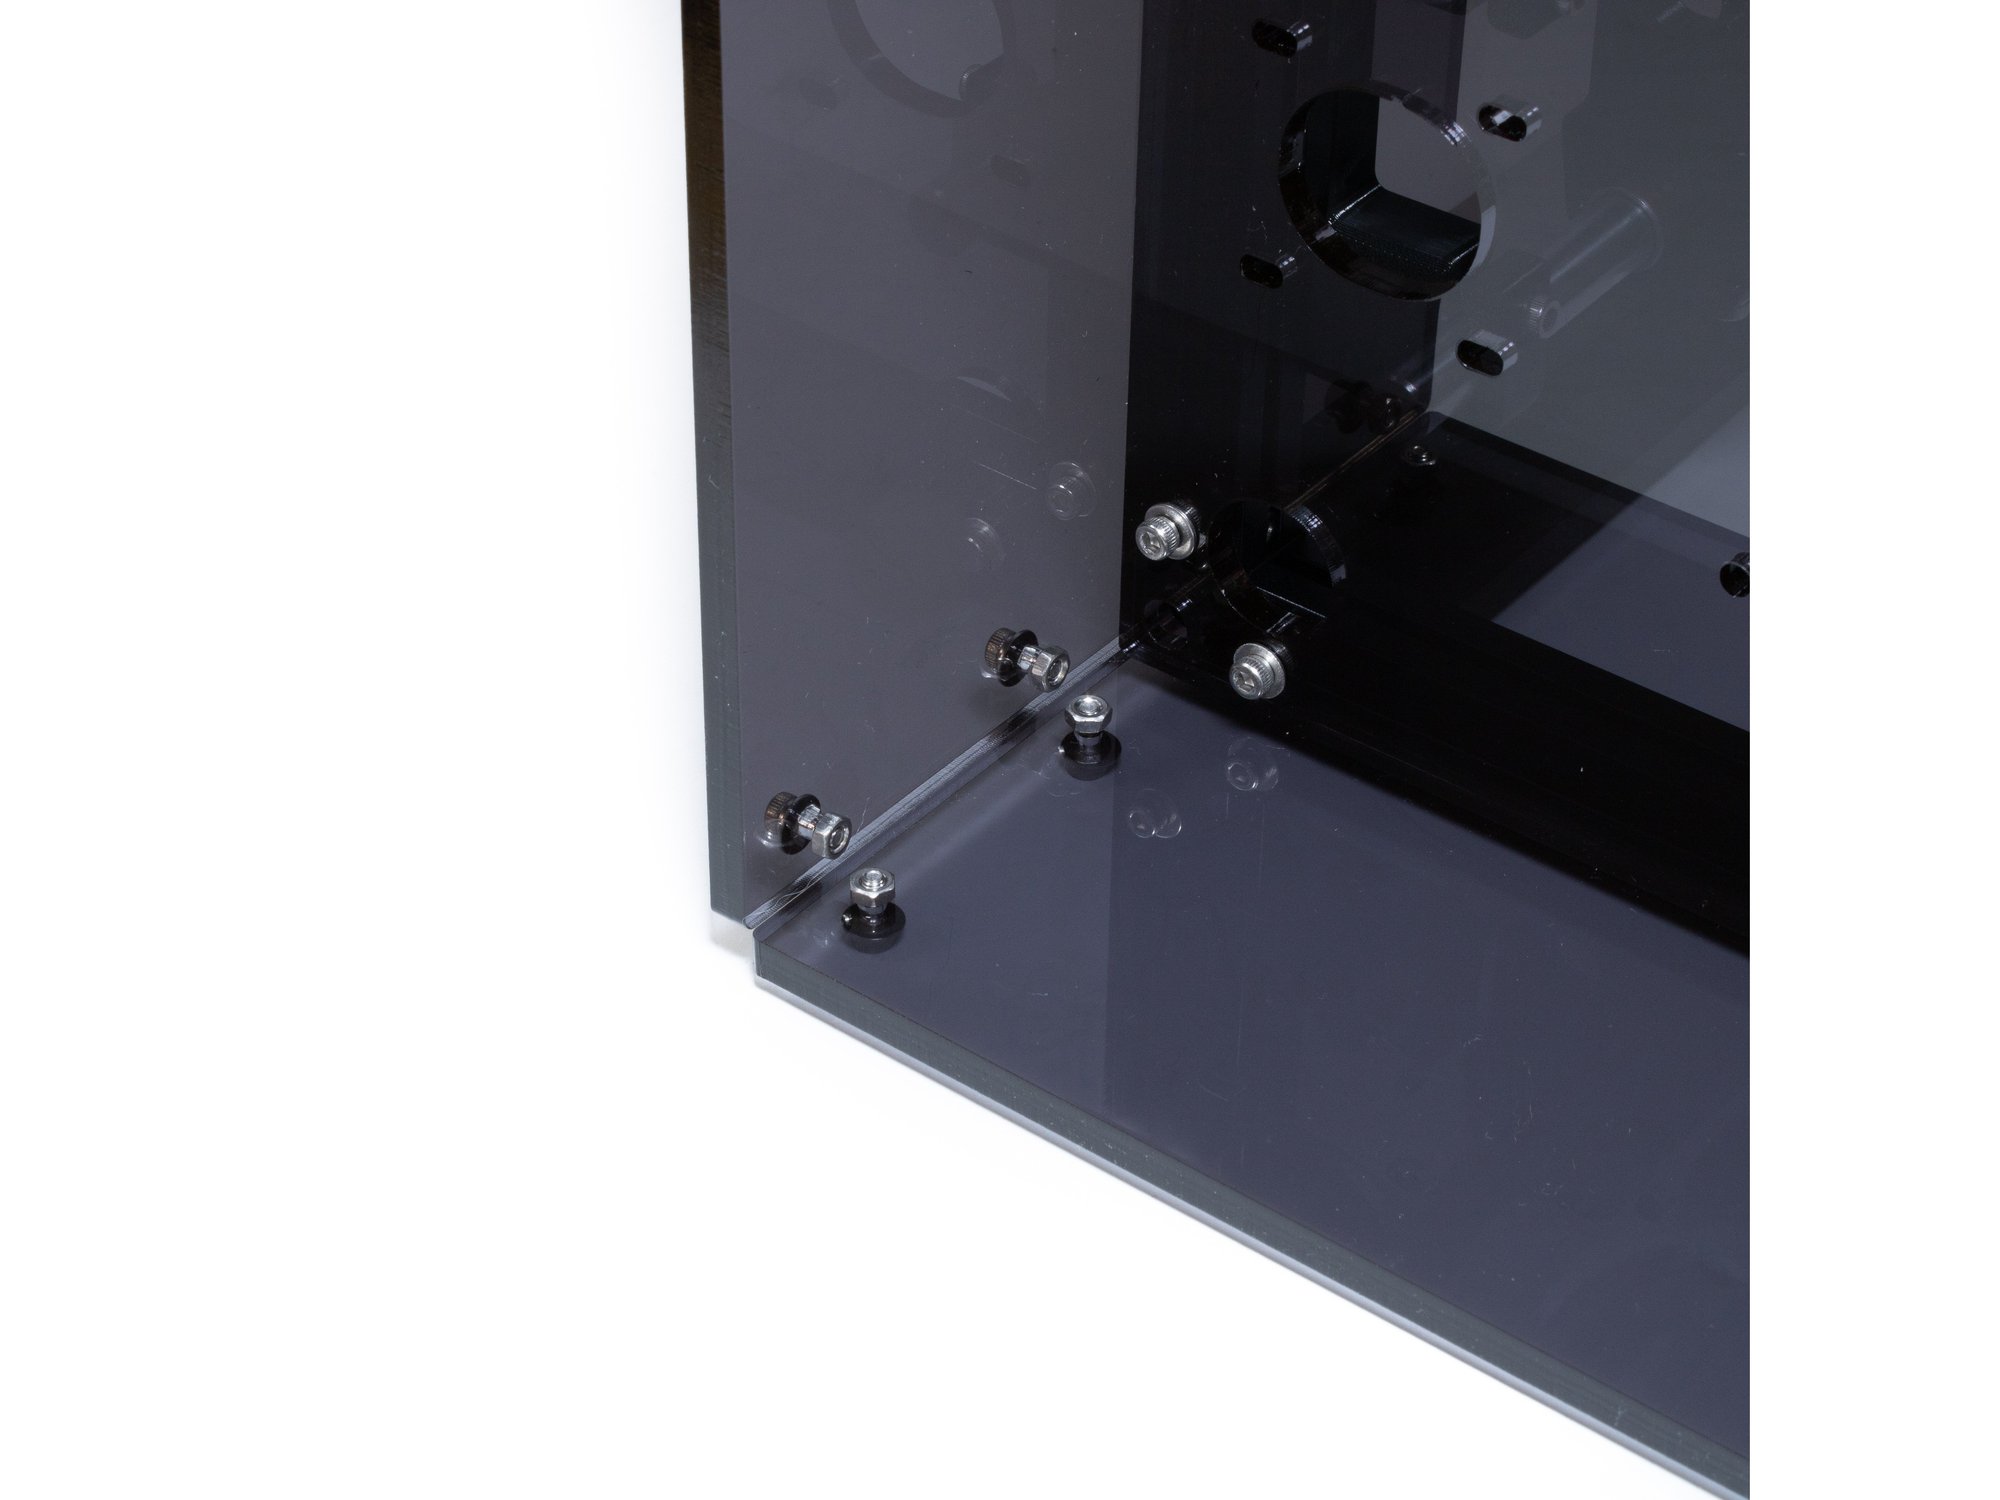
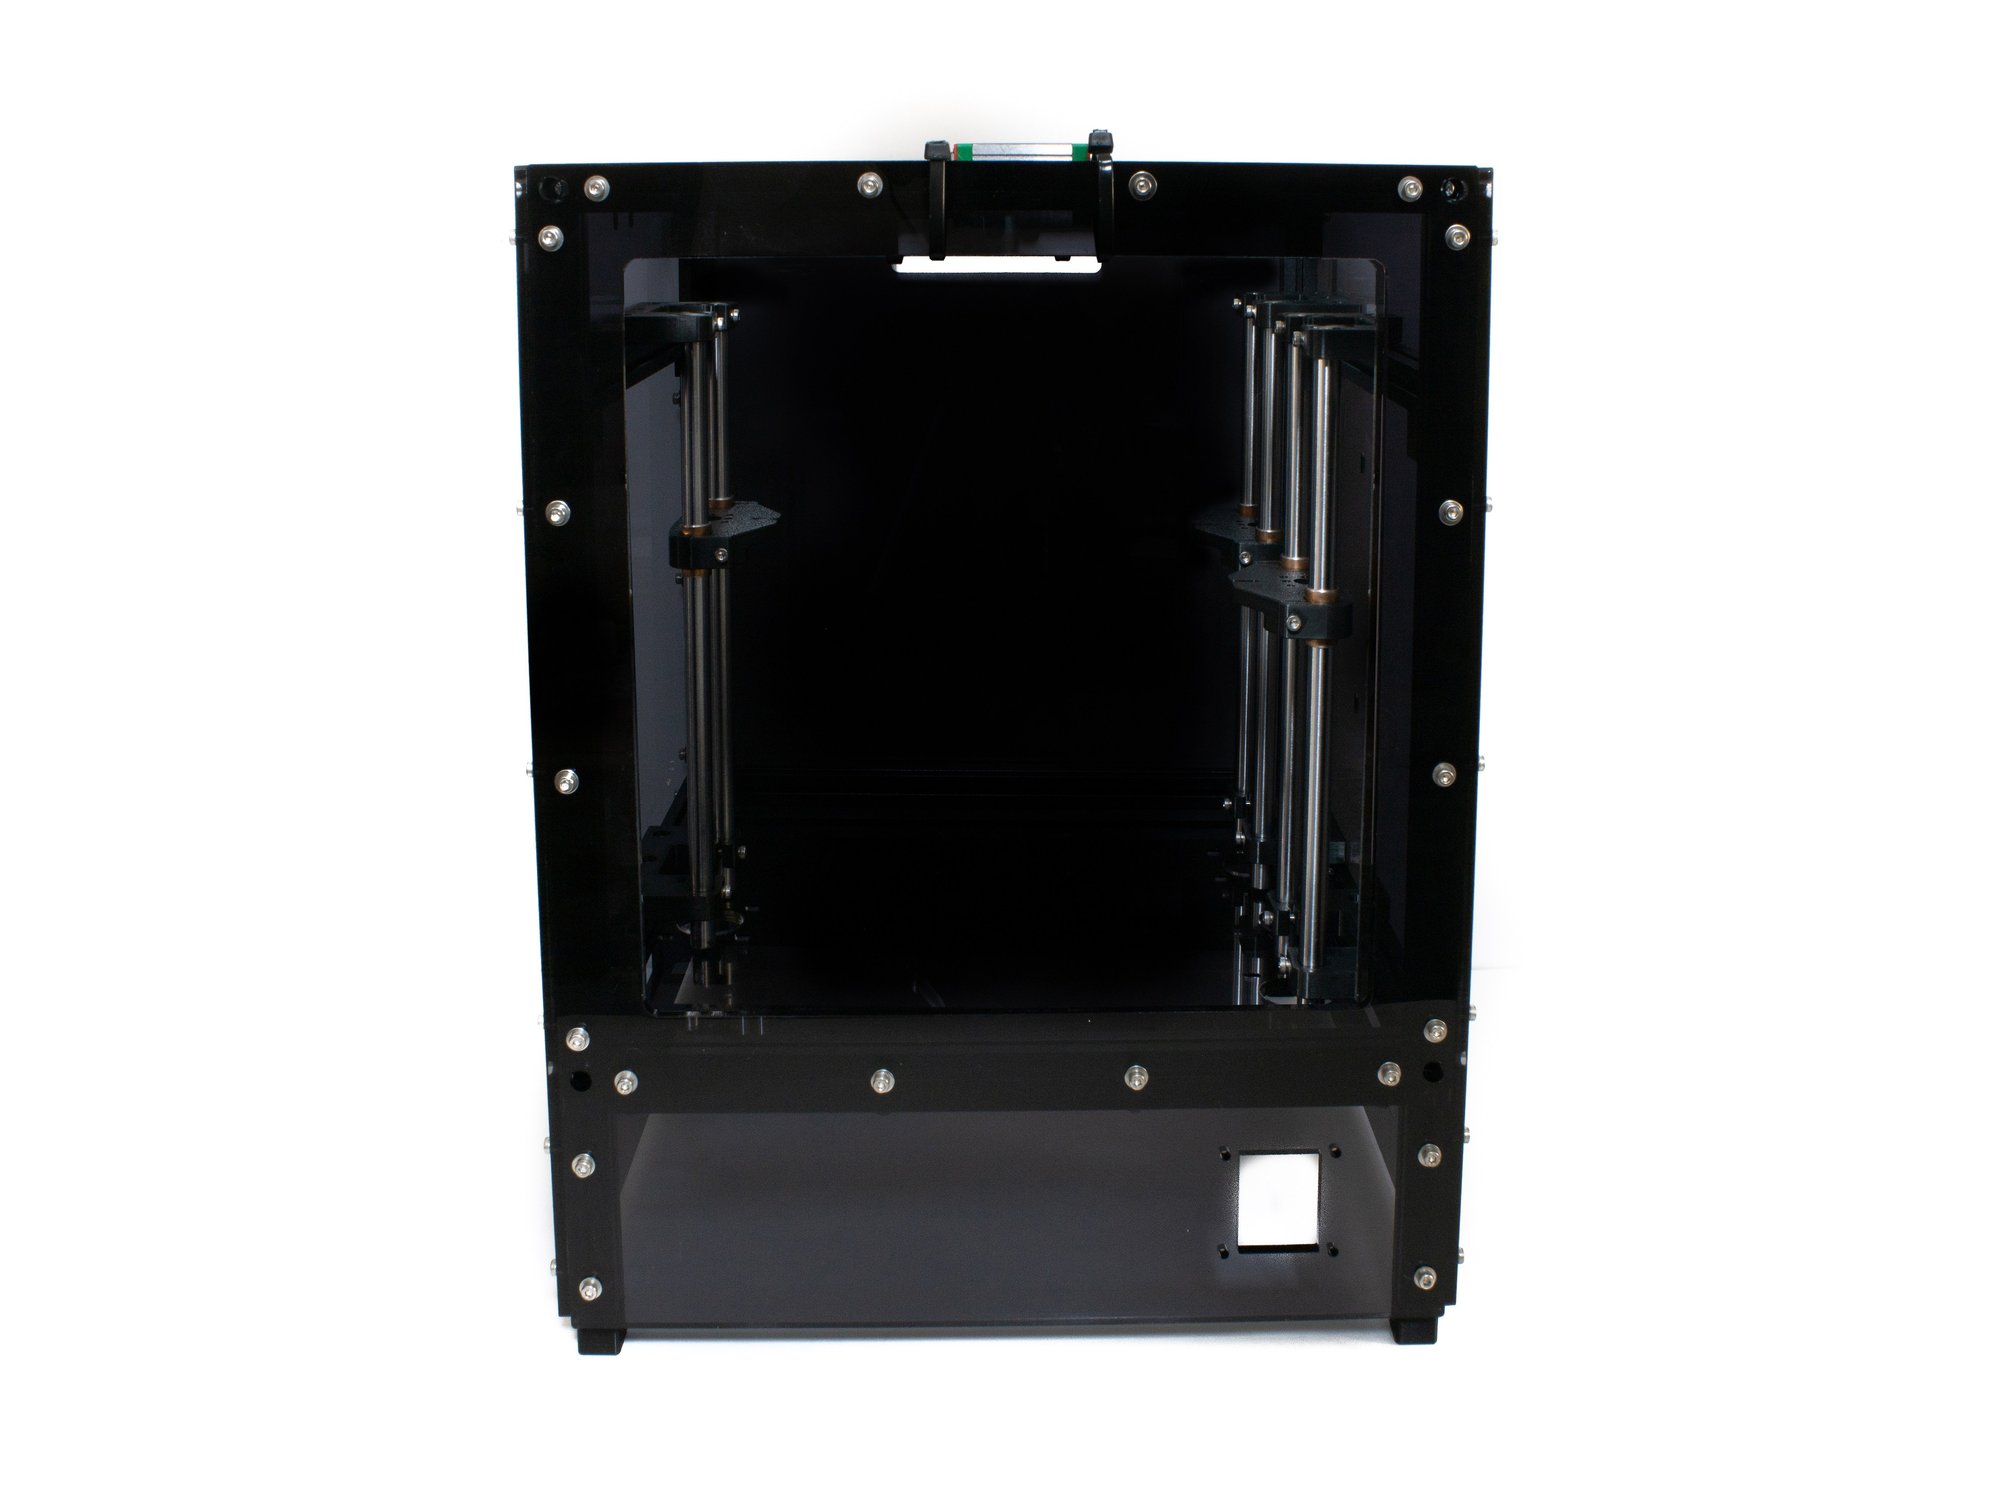
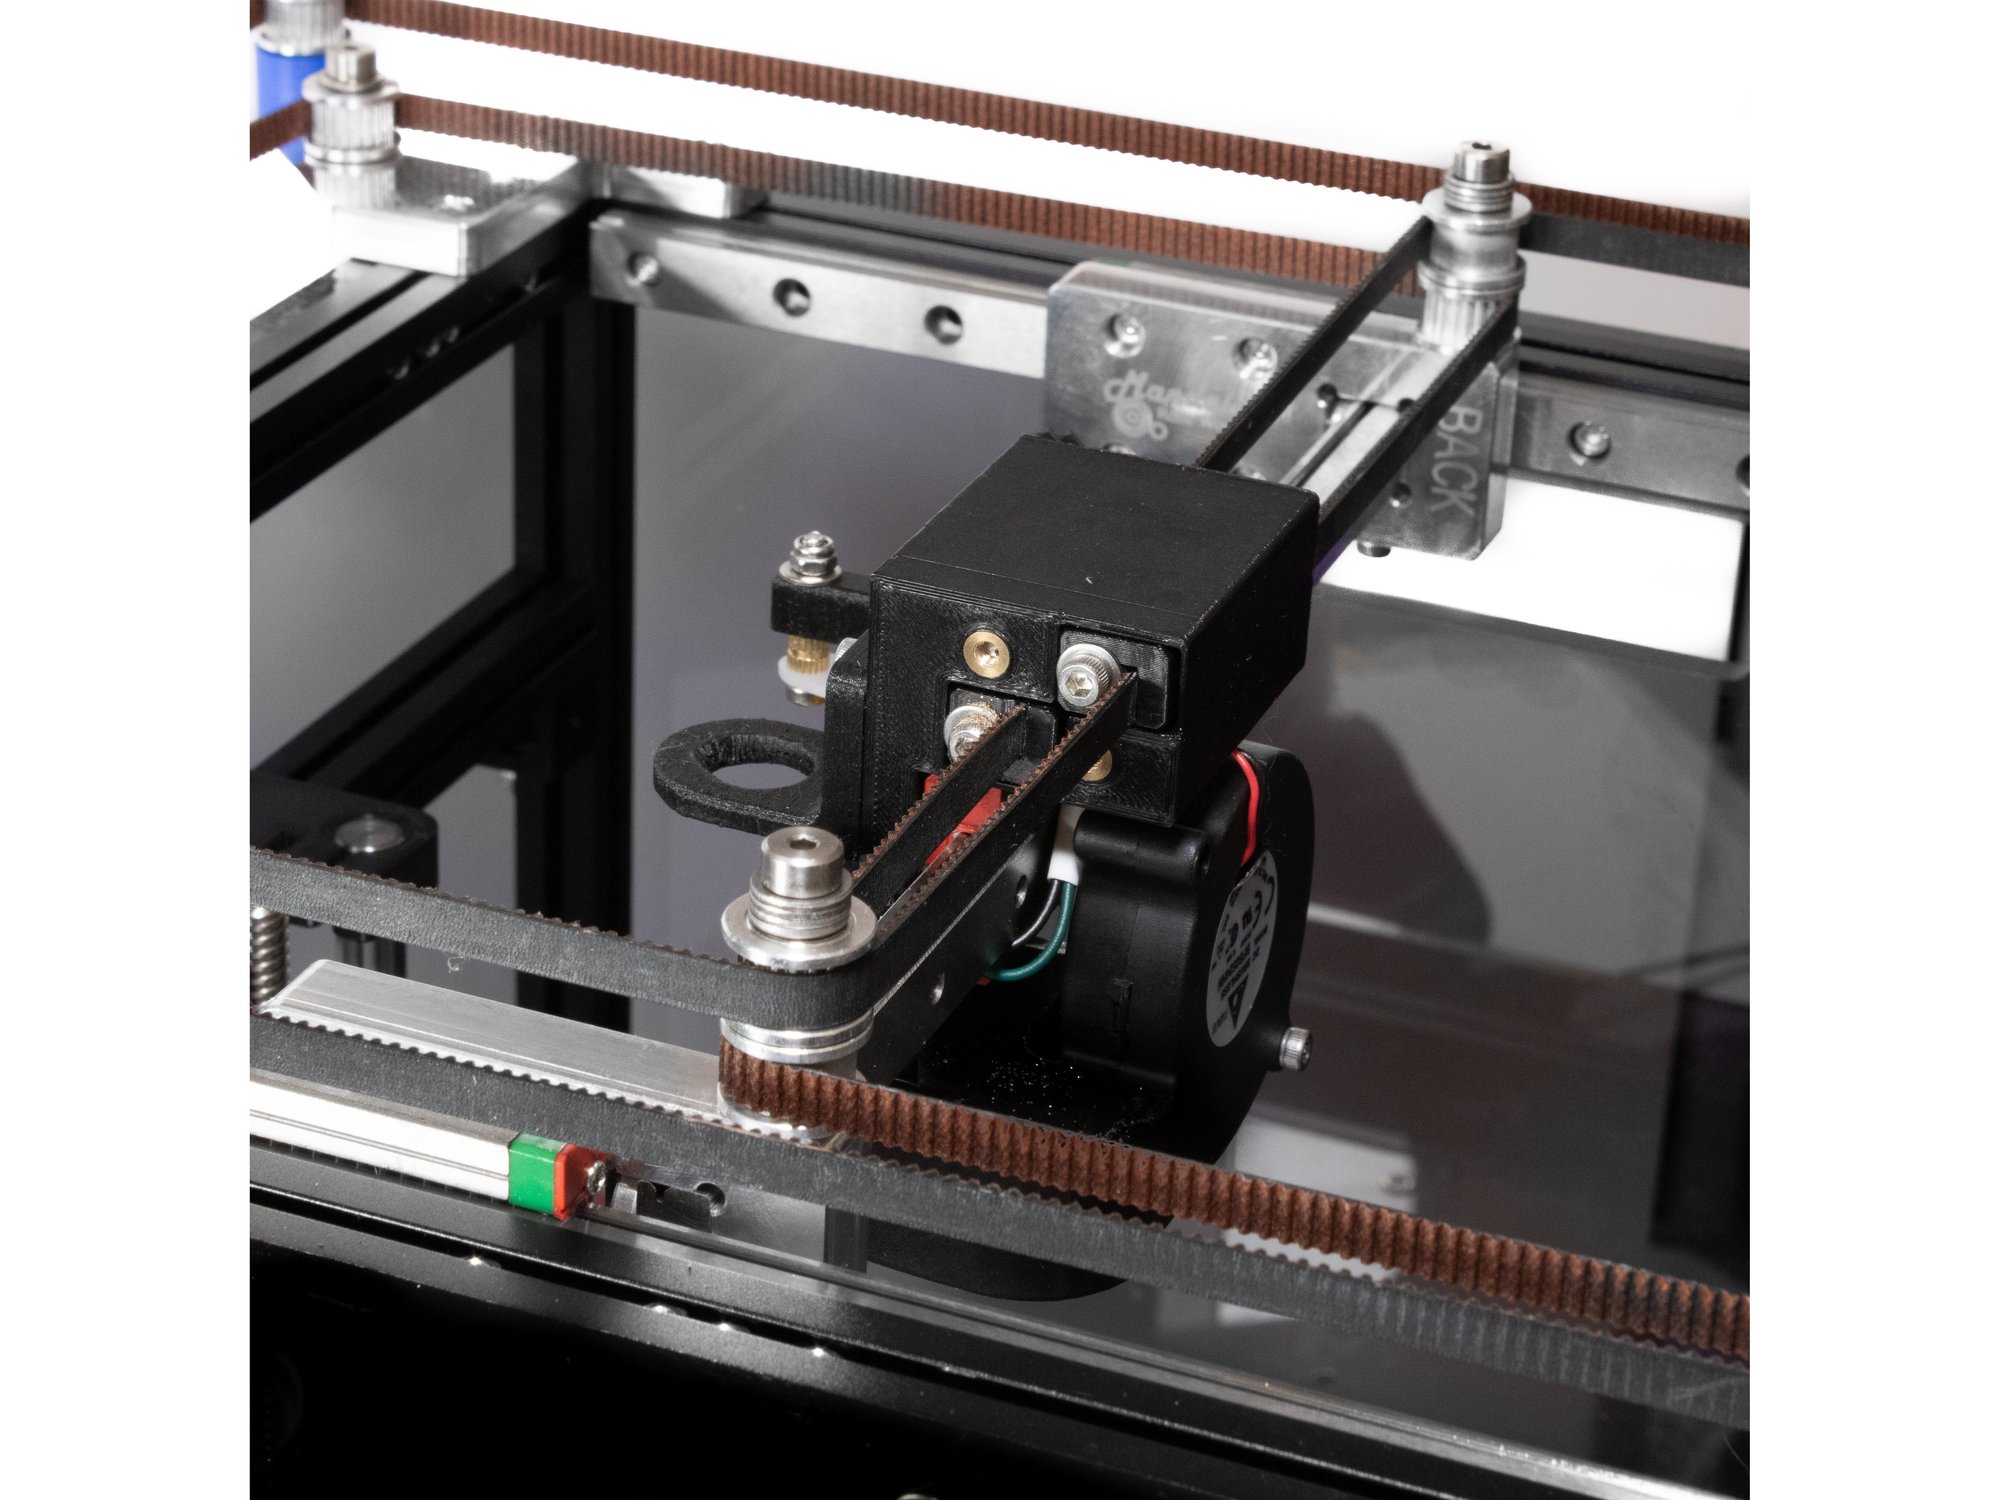
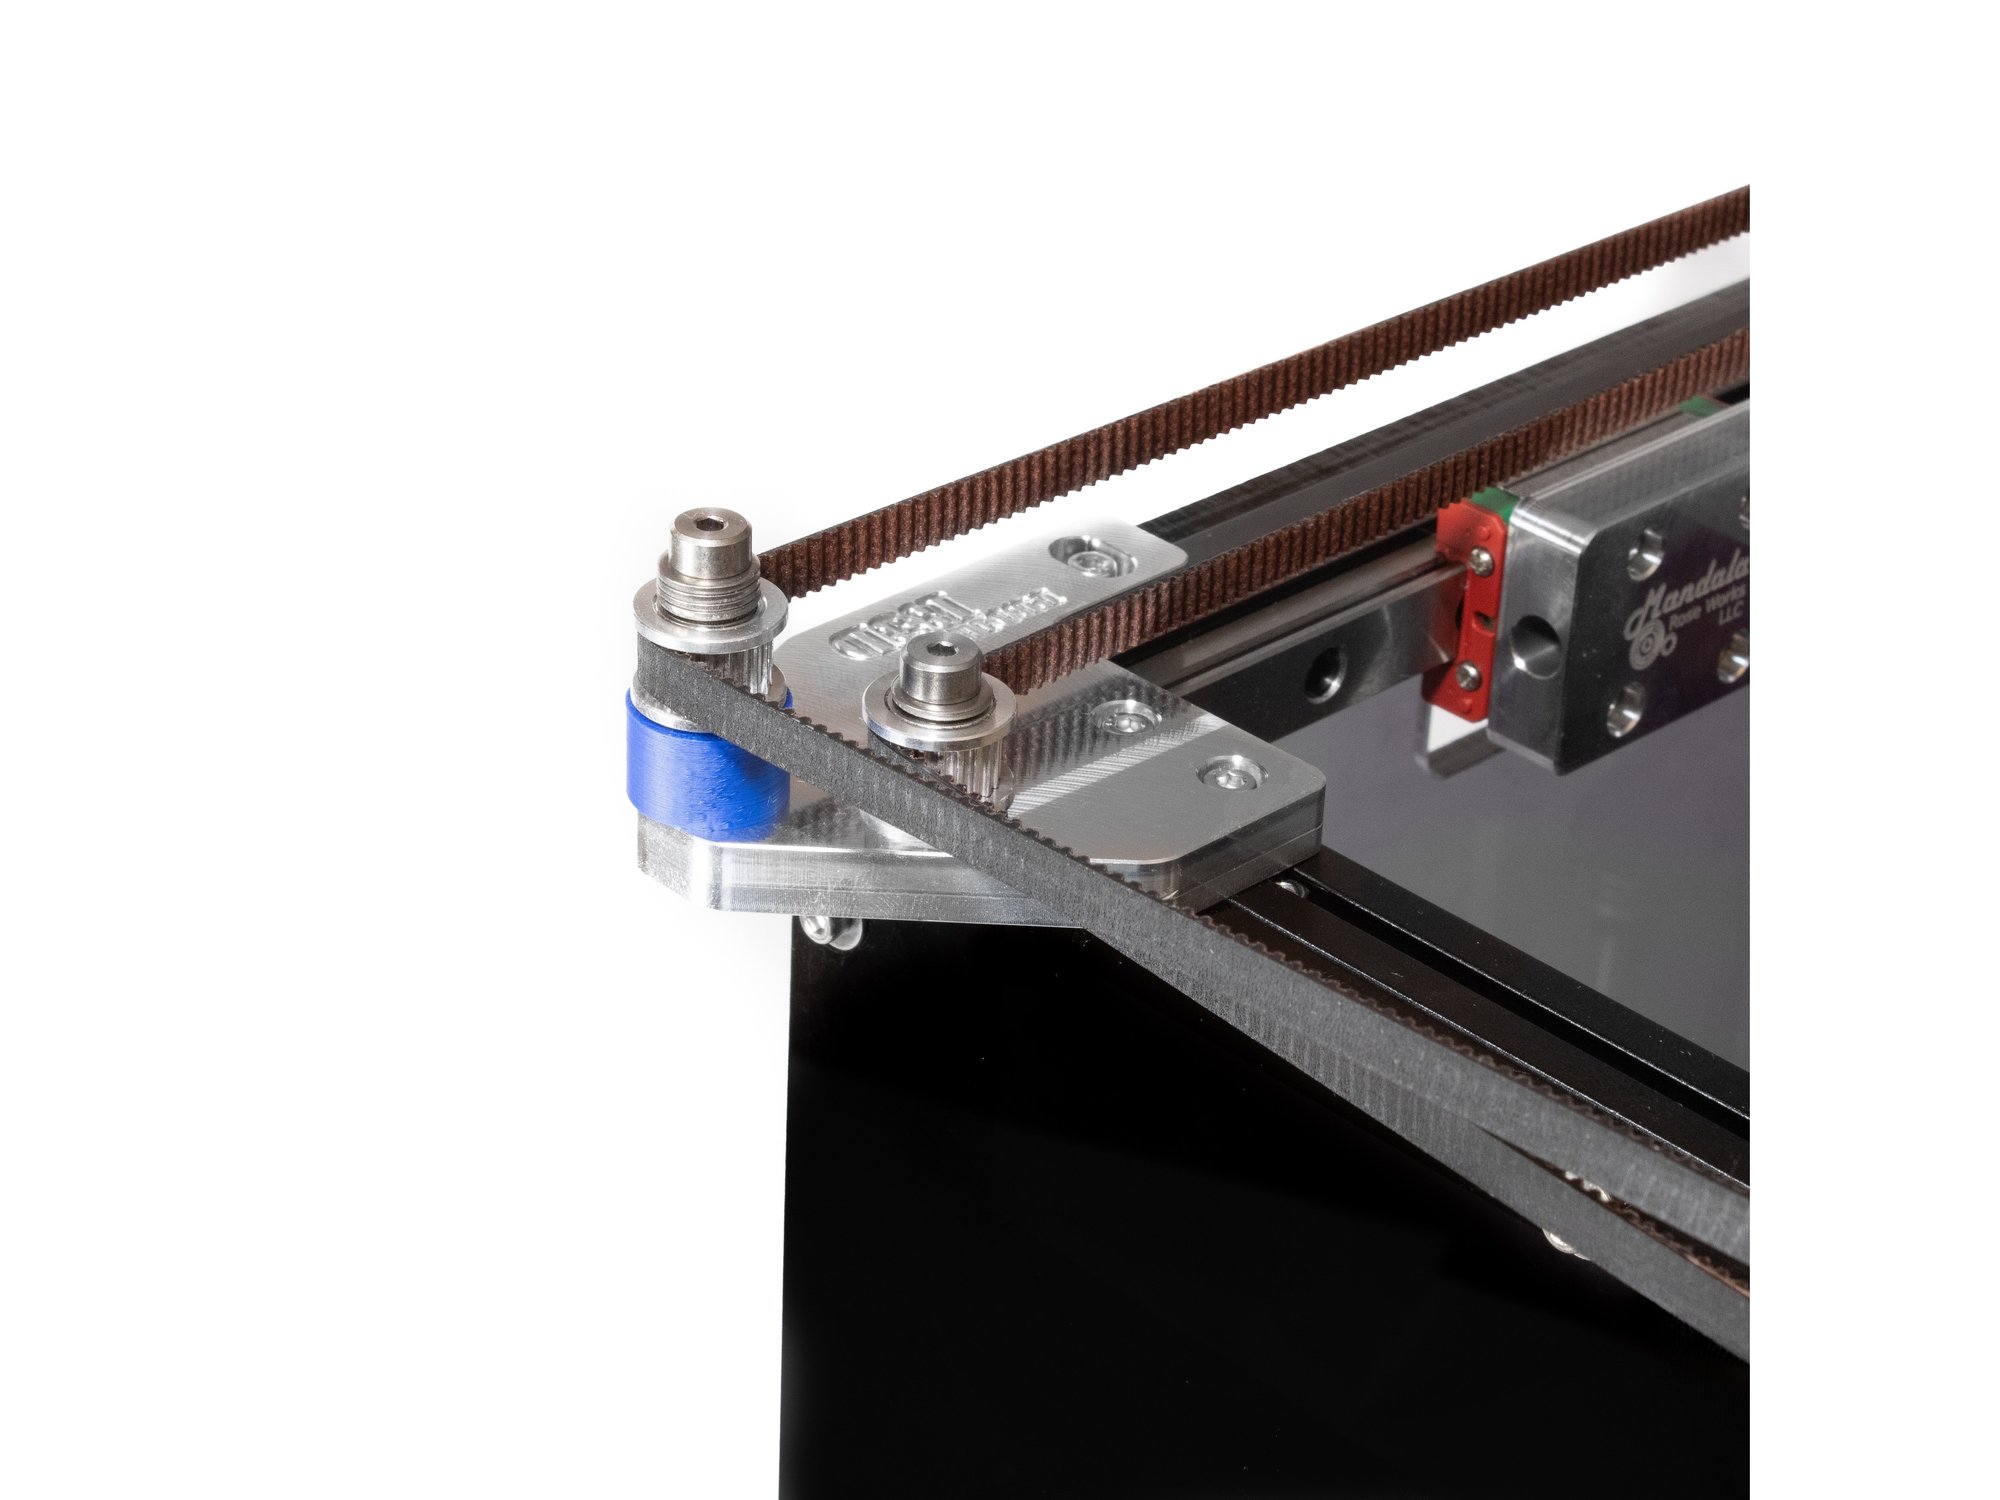
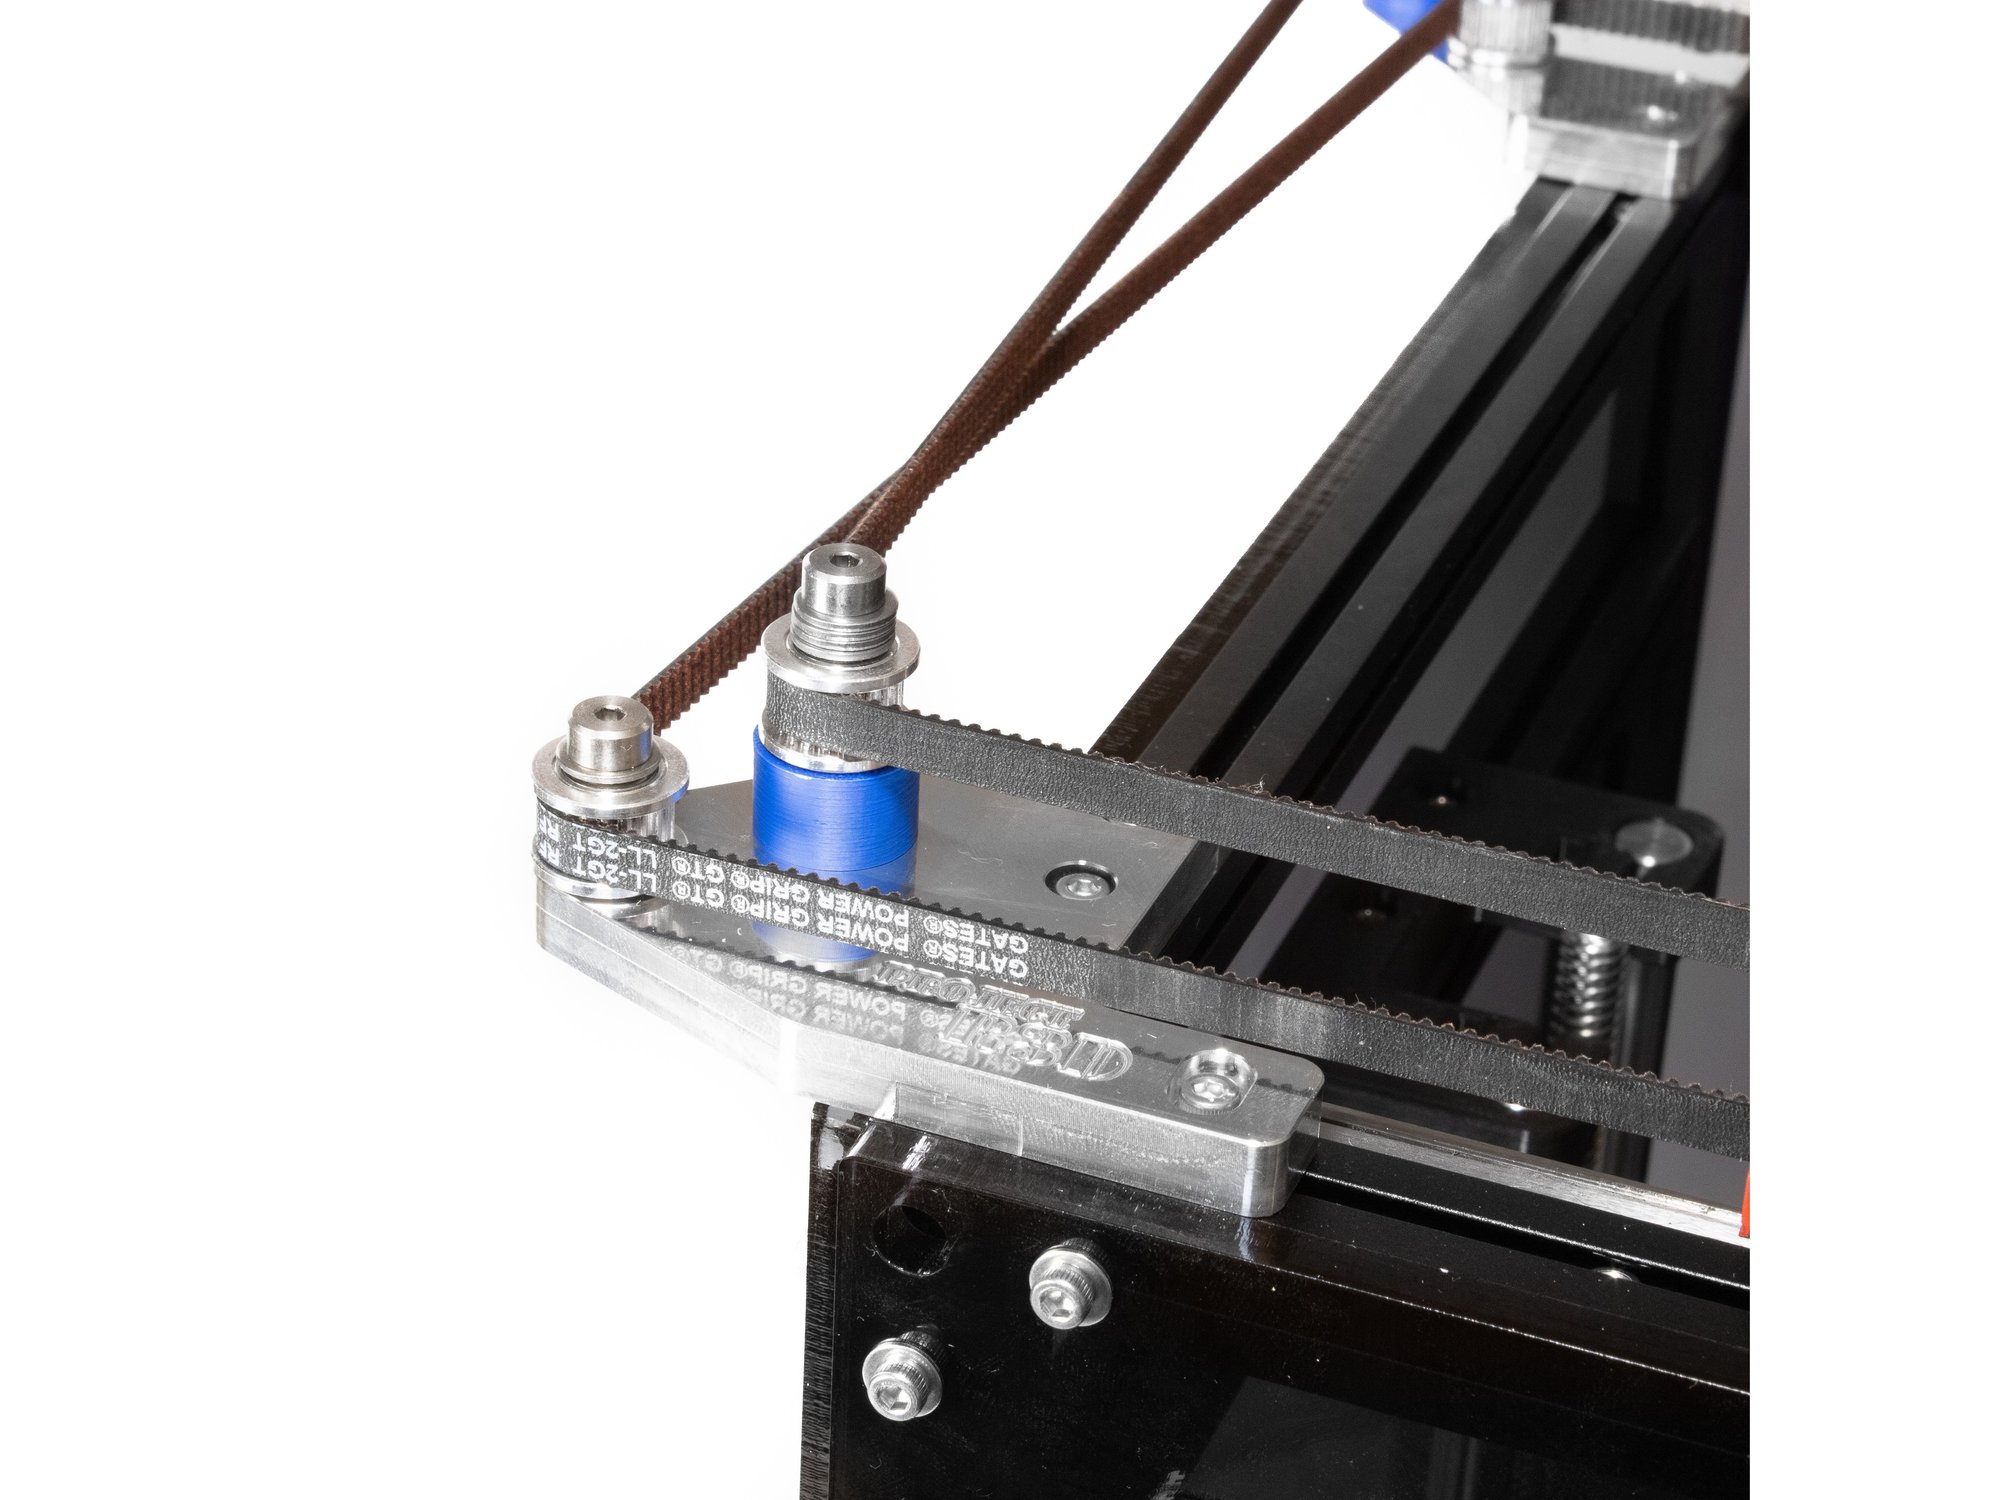
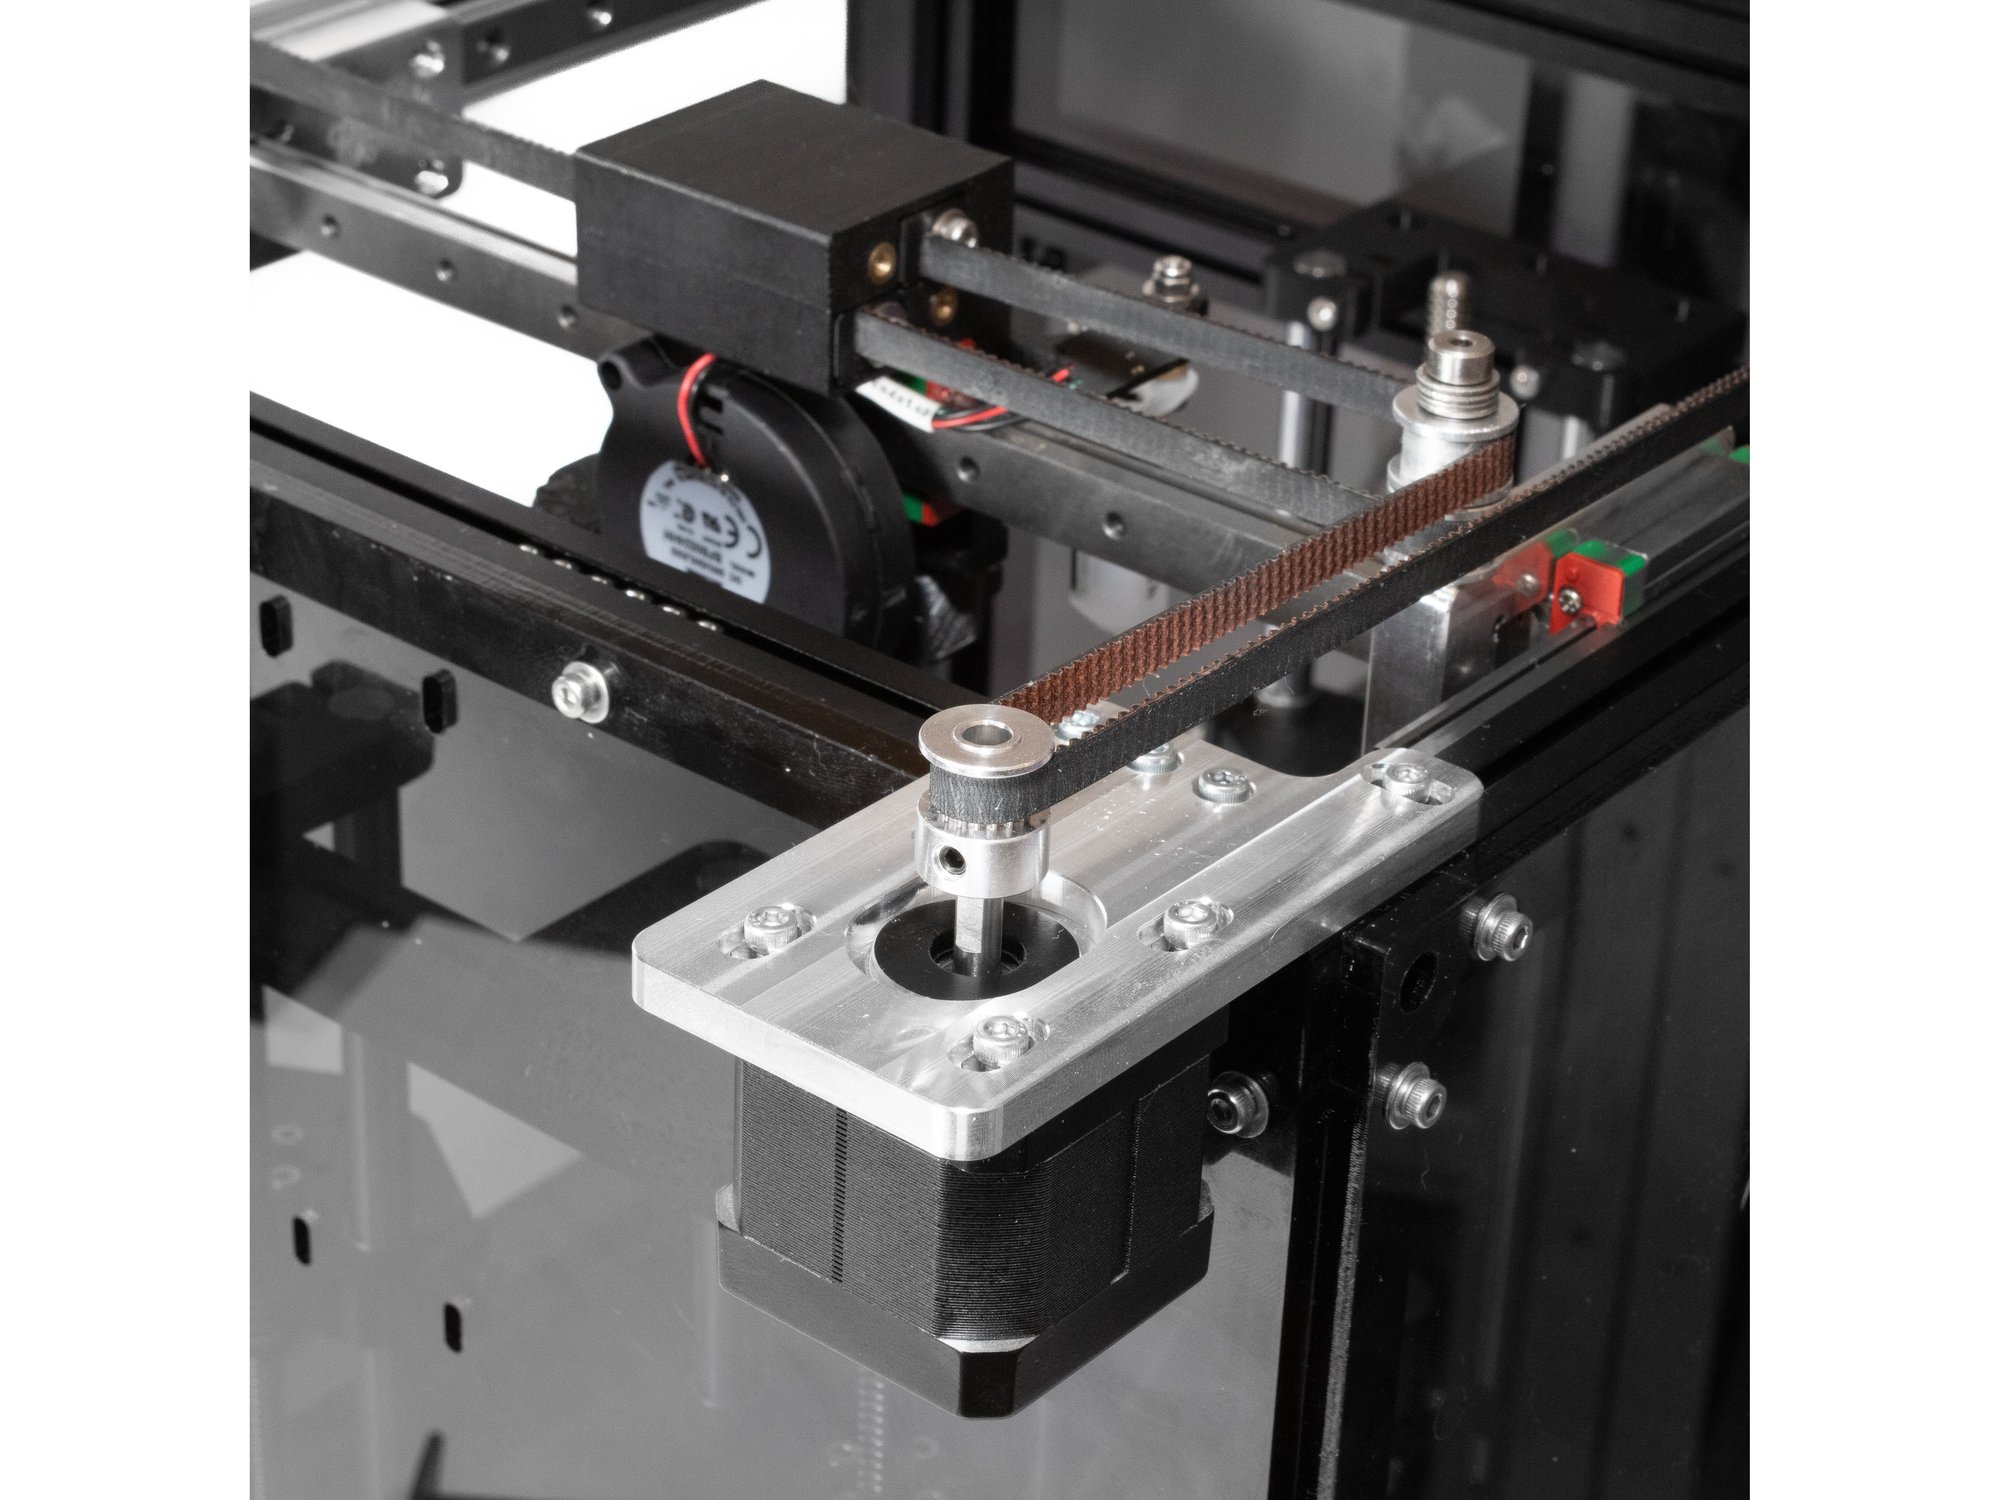
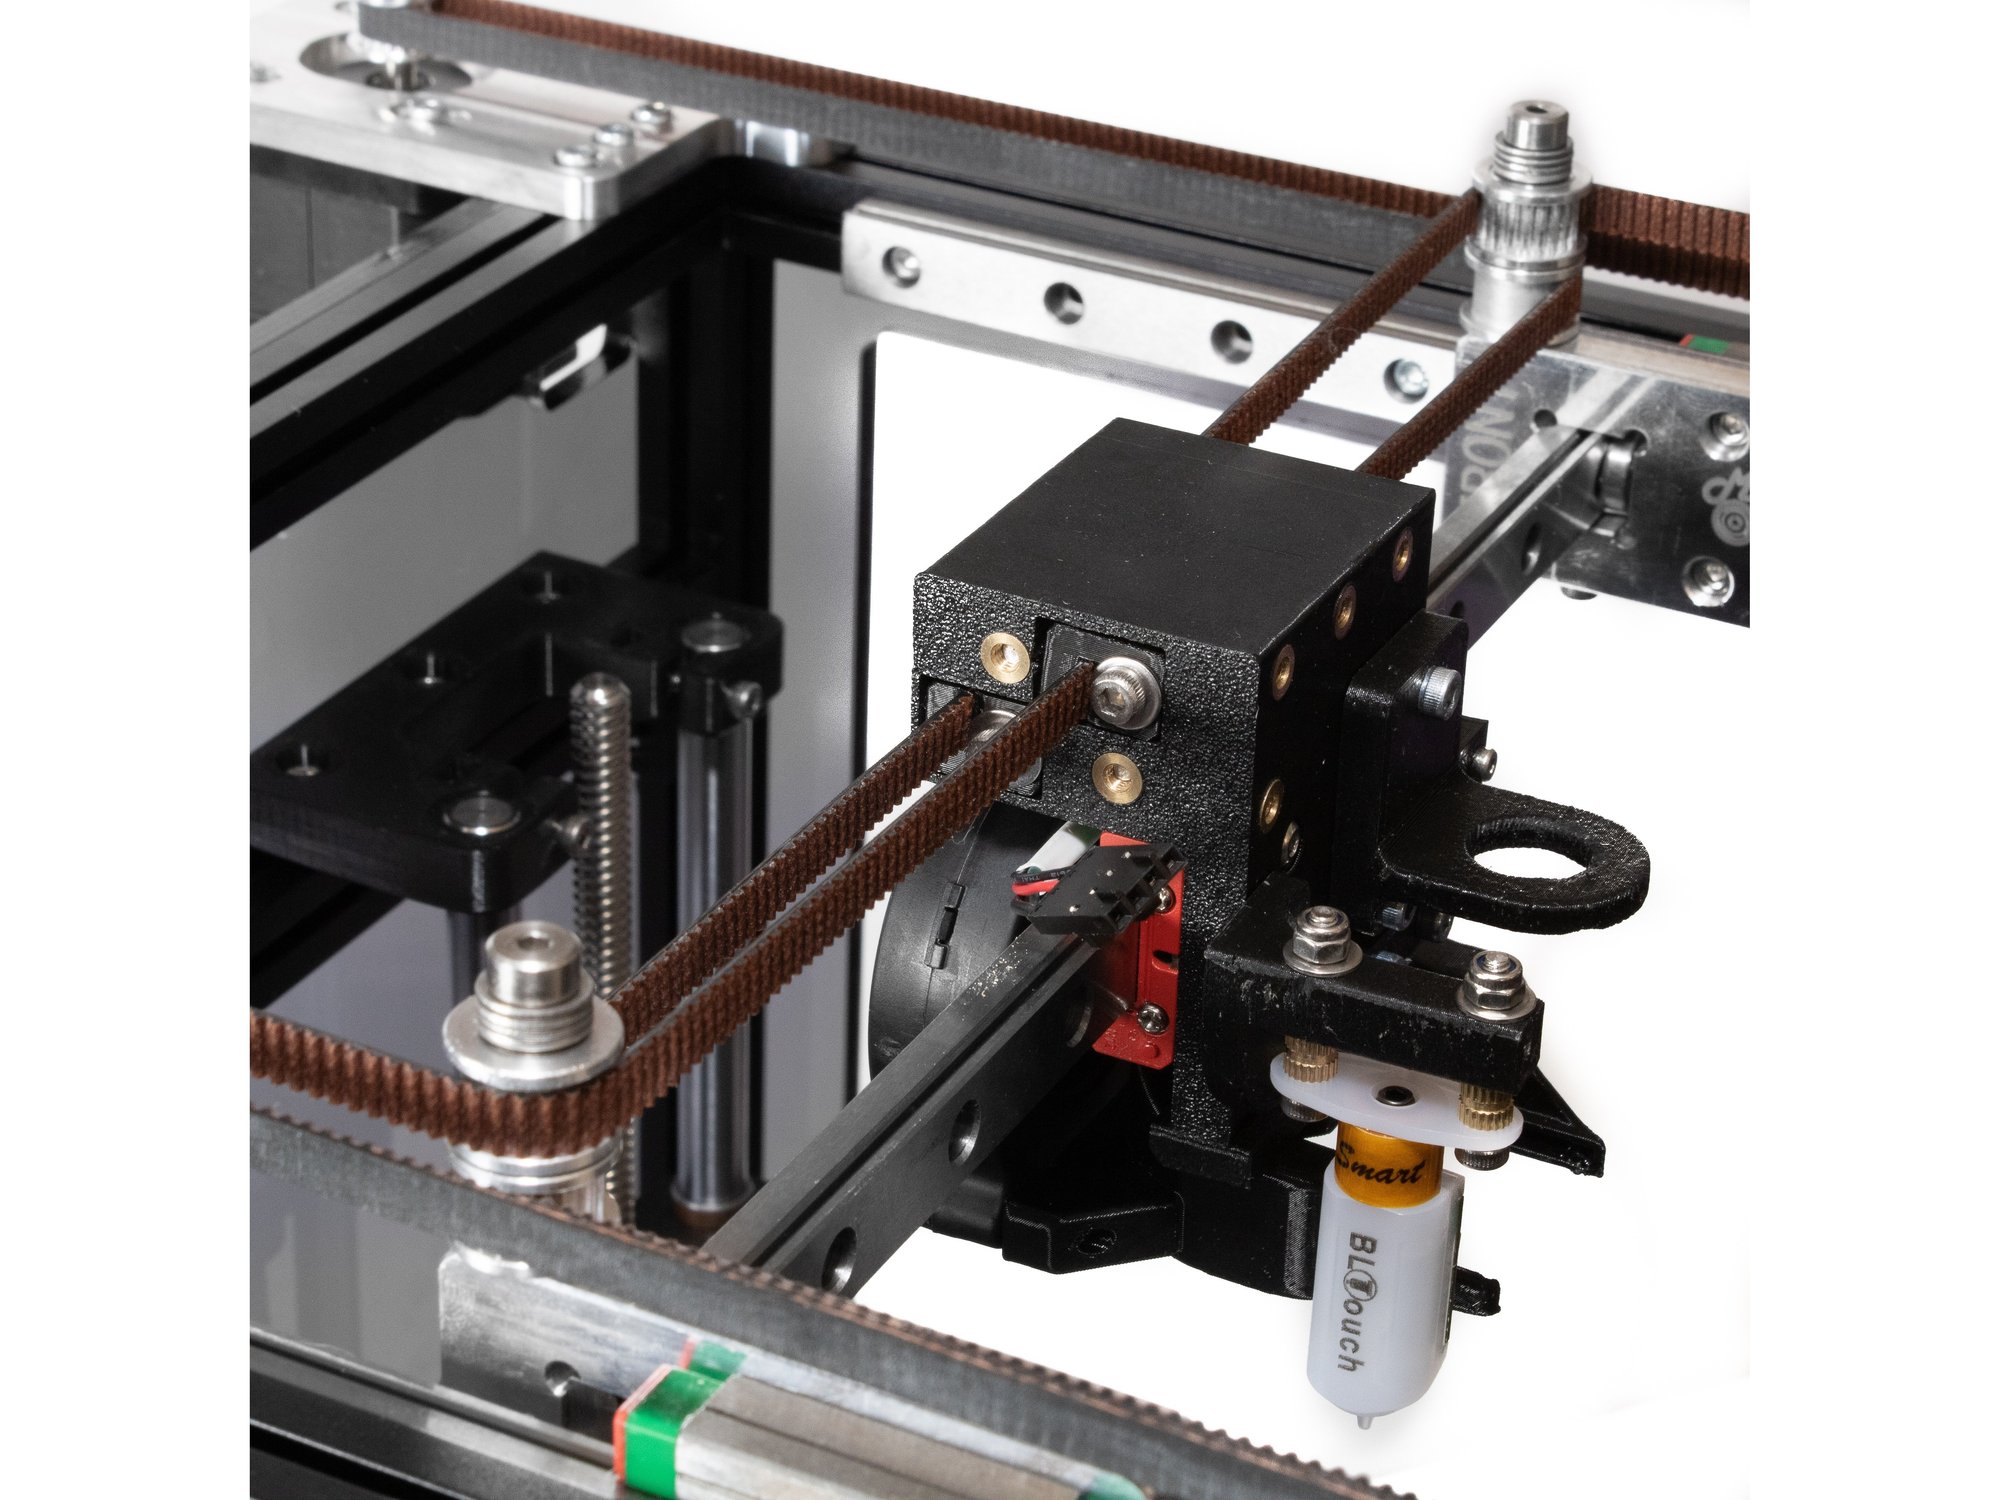
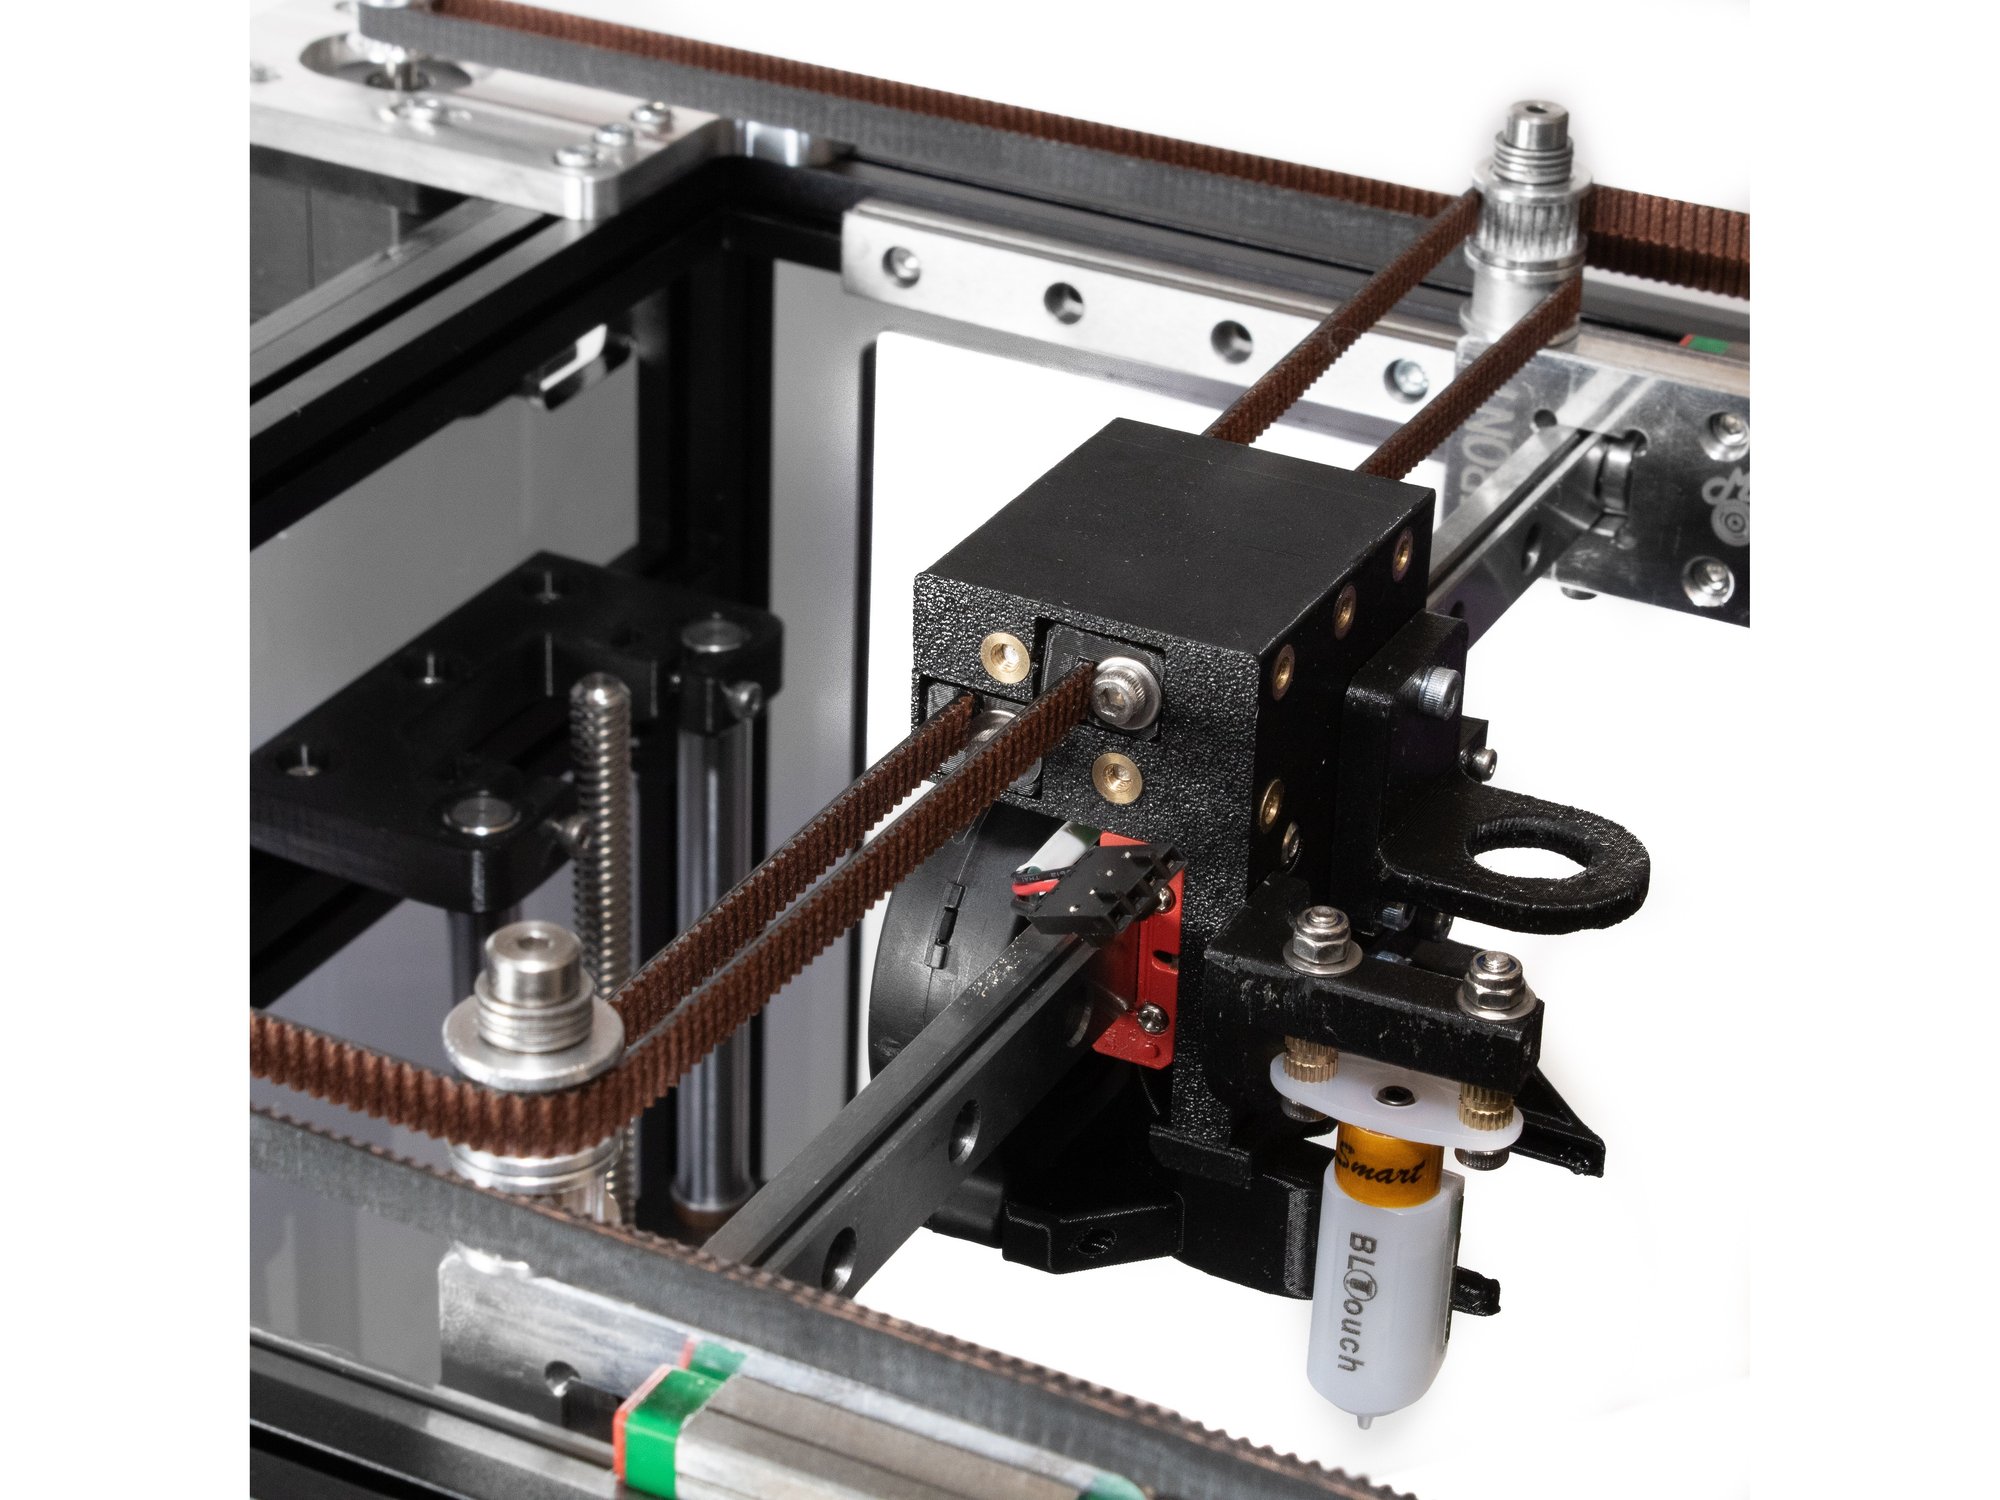
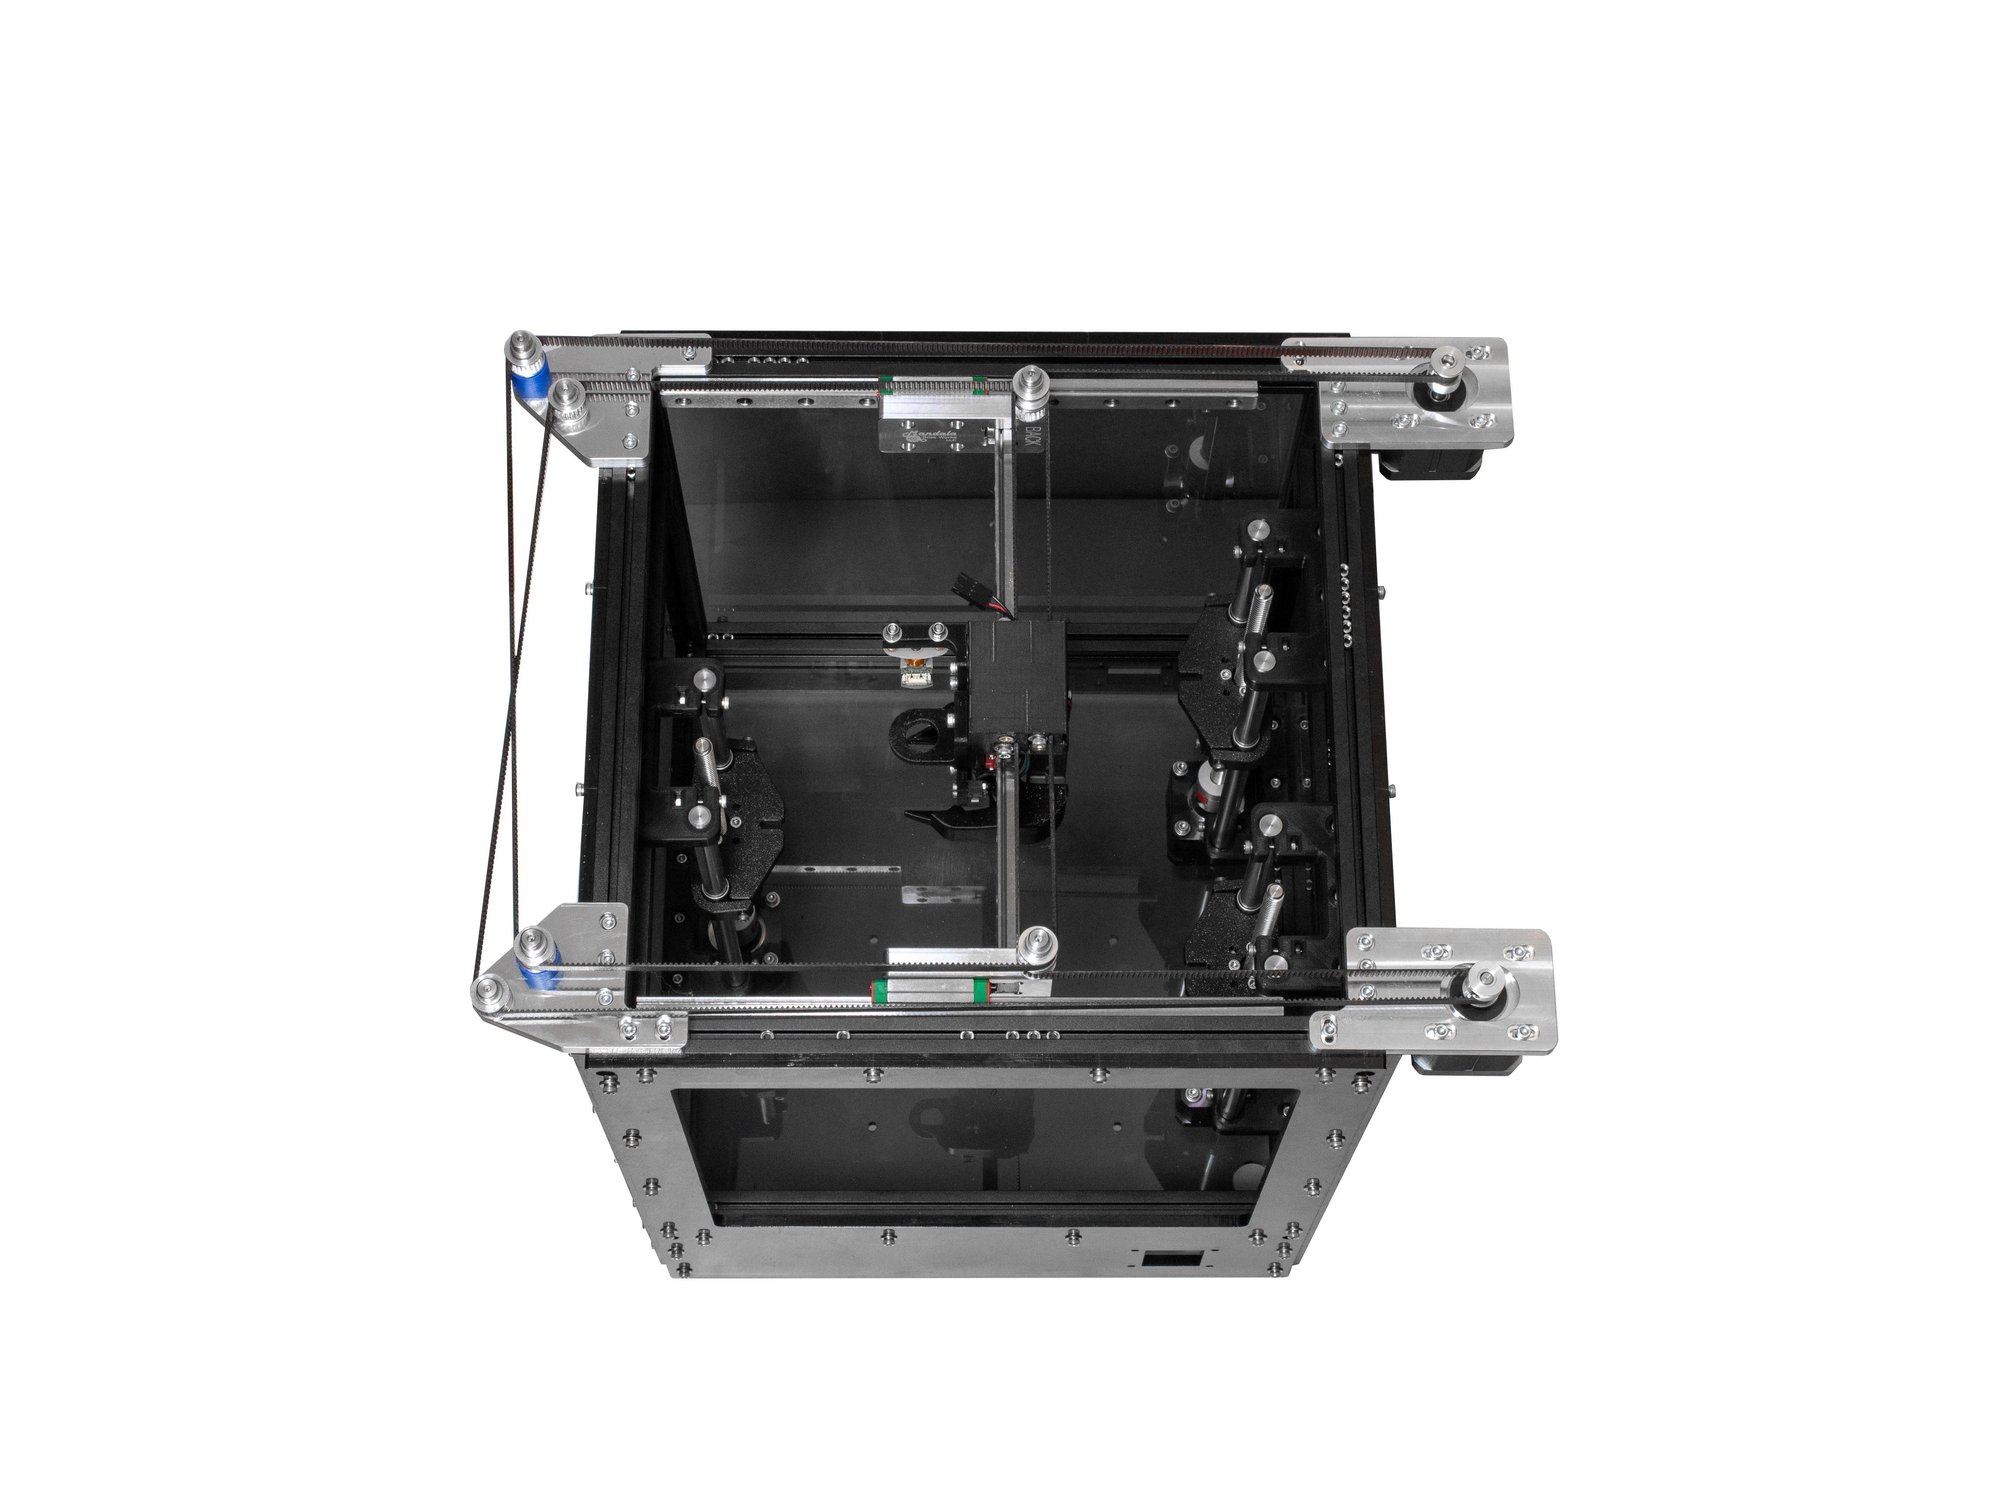
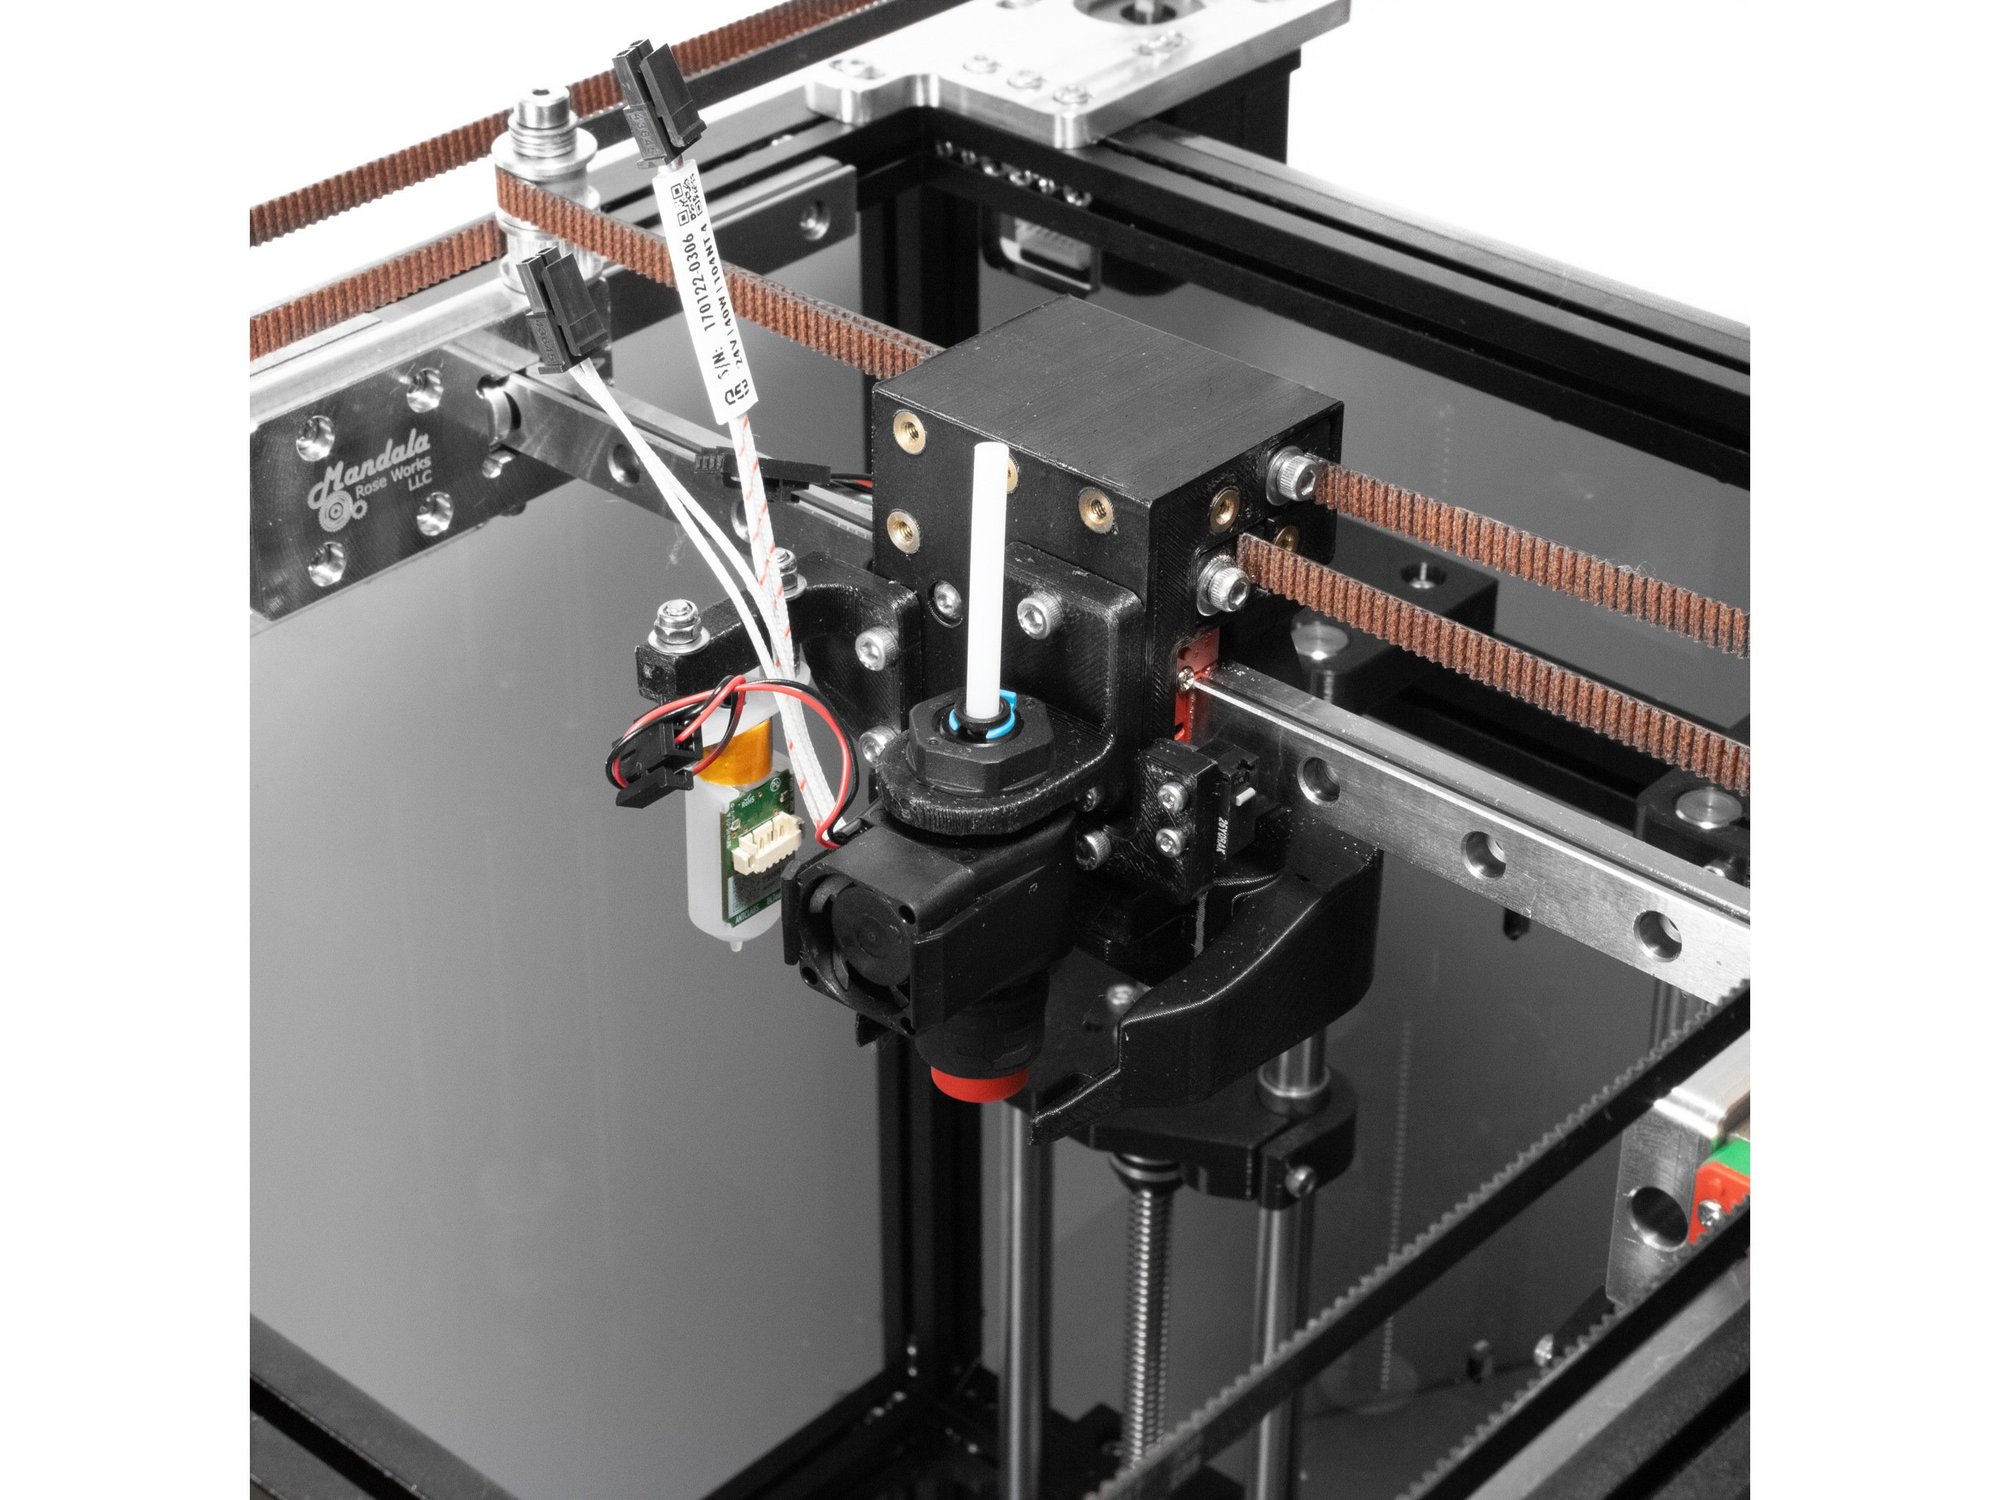
RailCore® Mini Kit — complete build

A) Introduction

Background

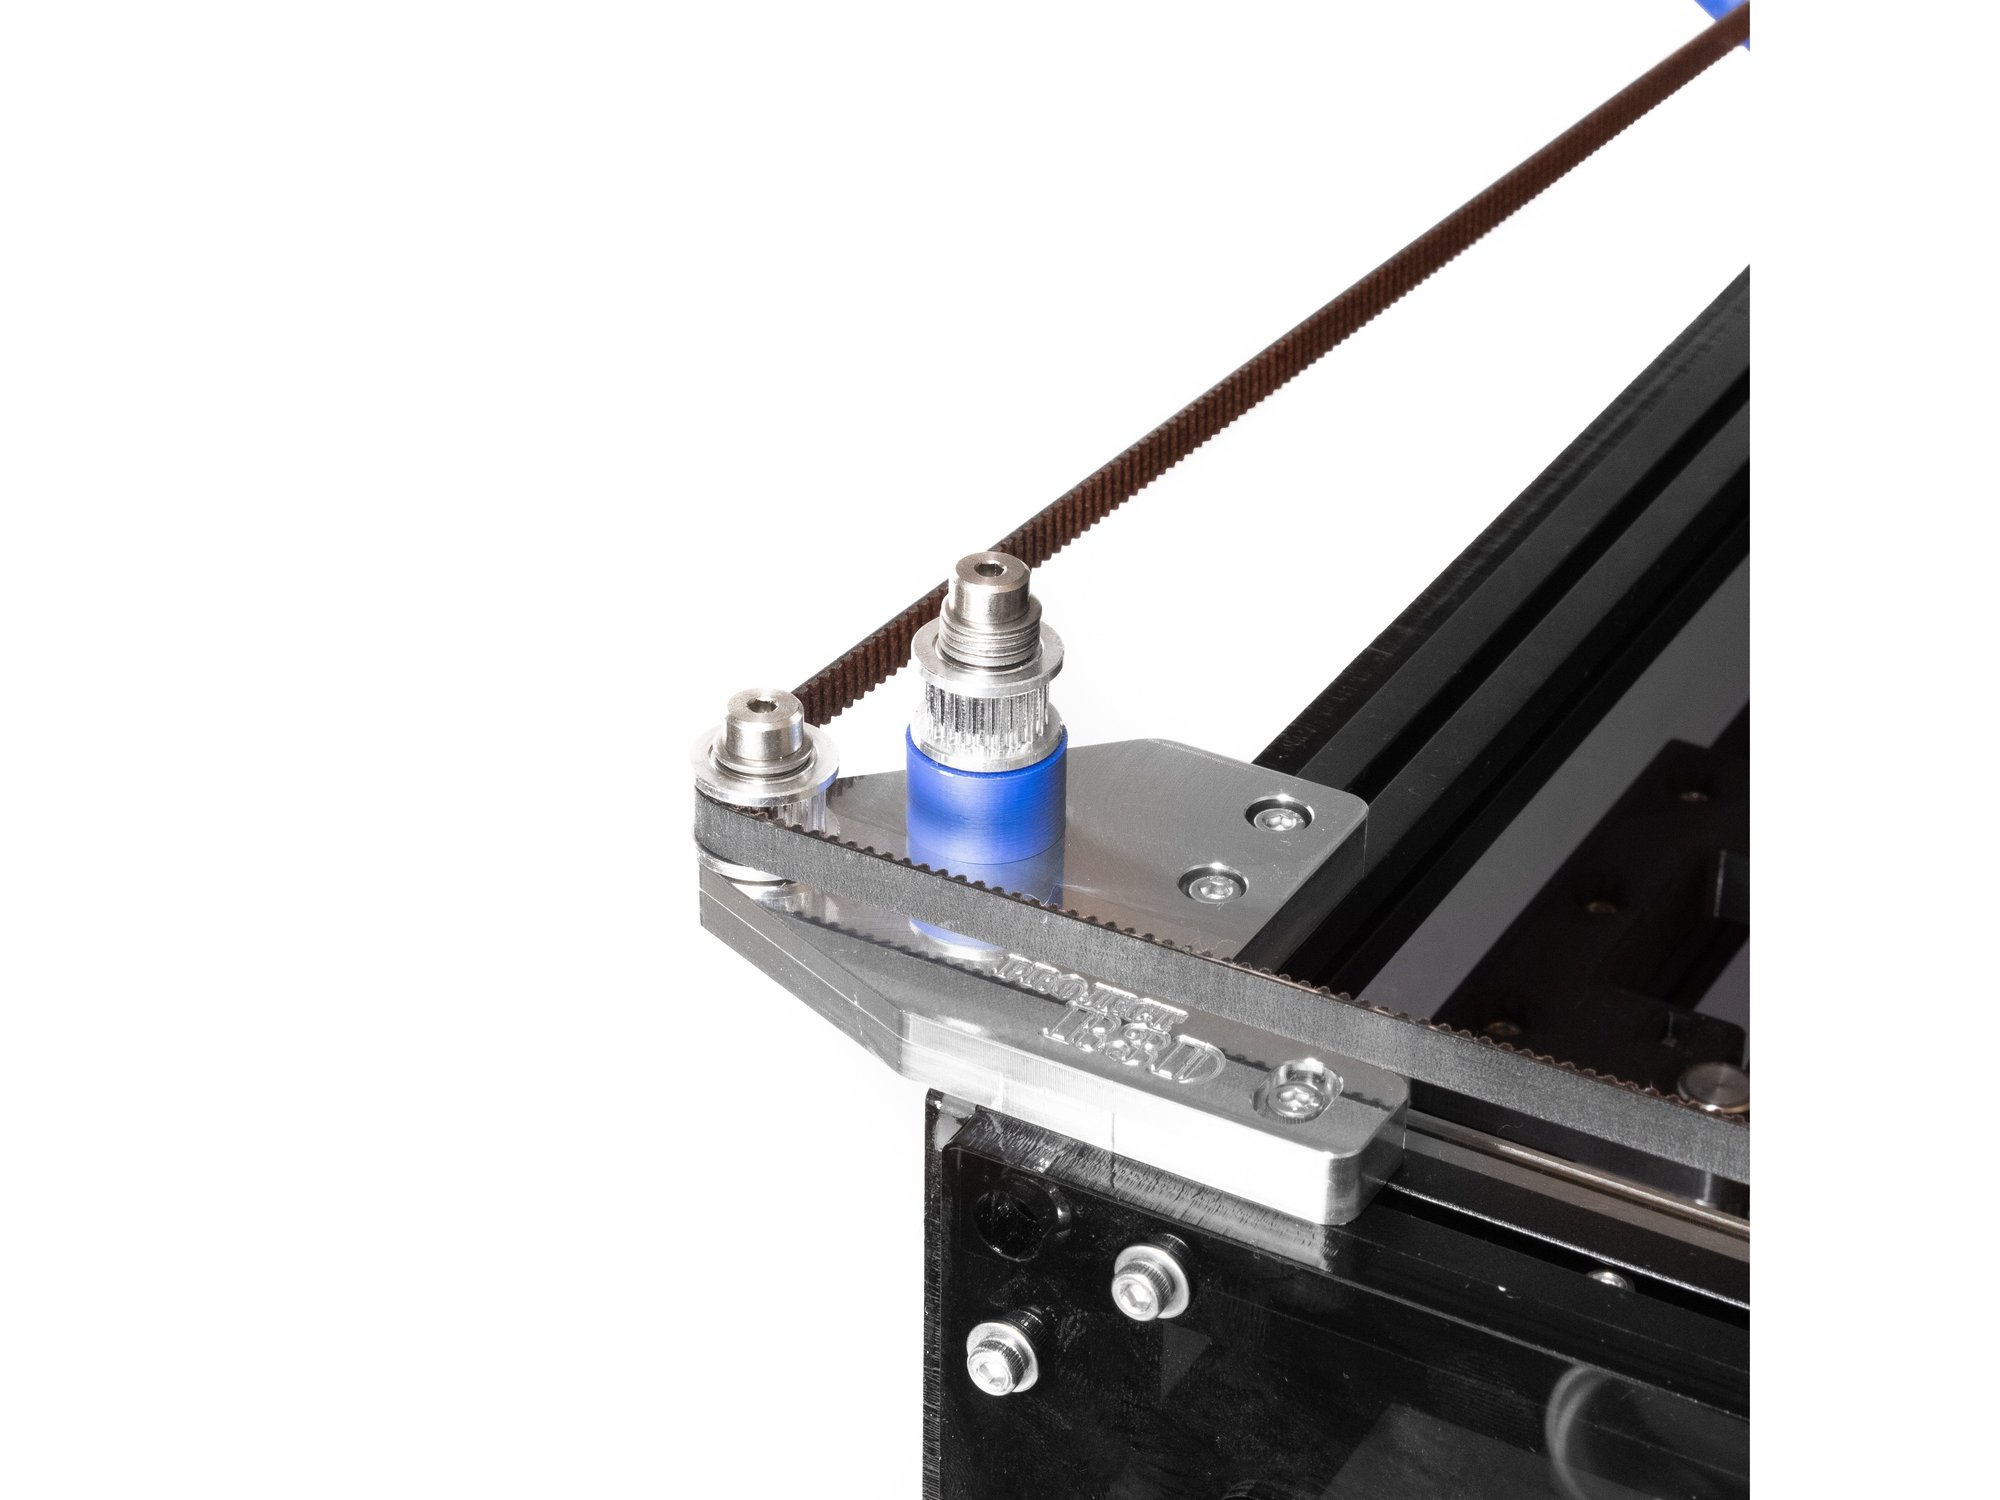
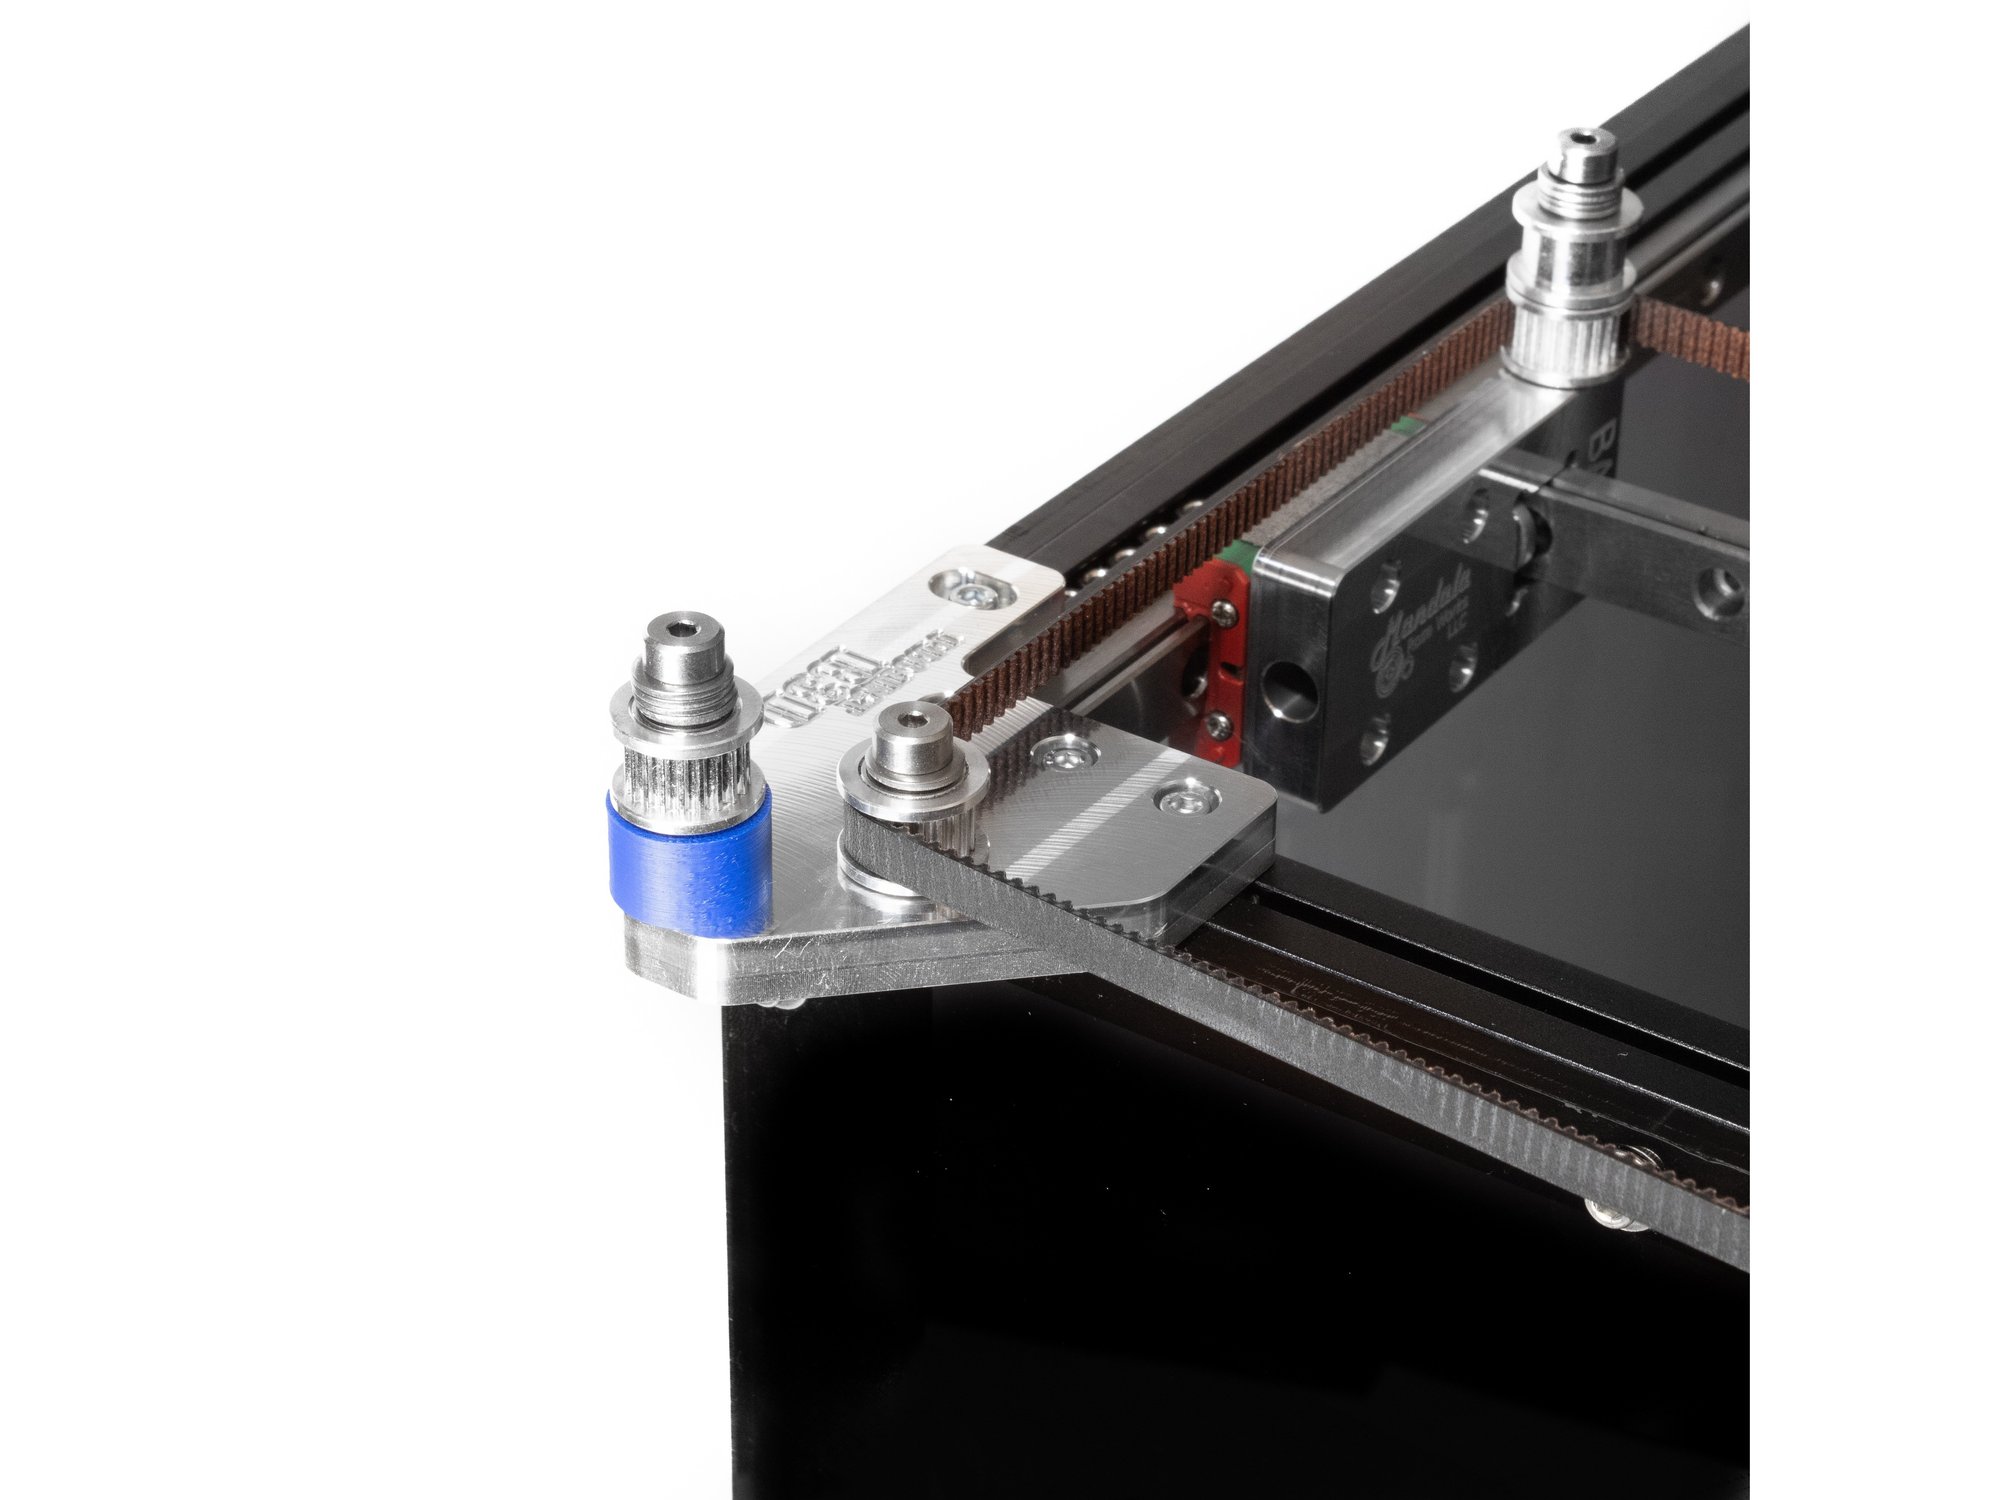
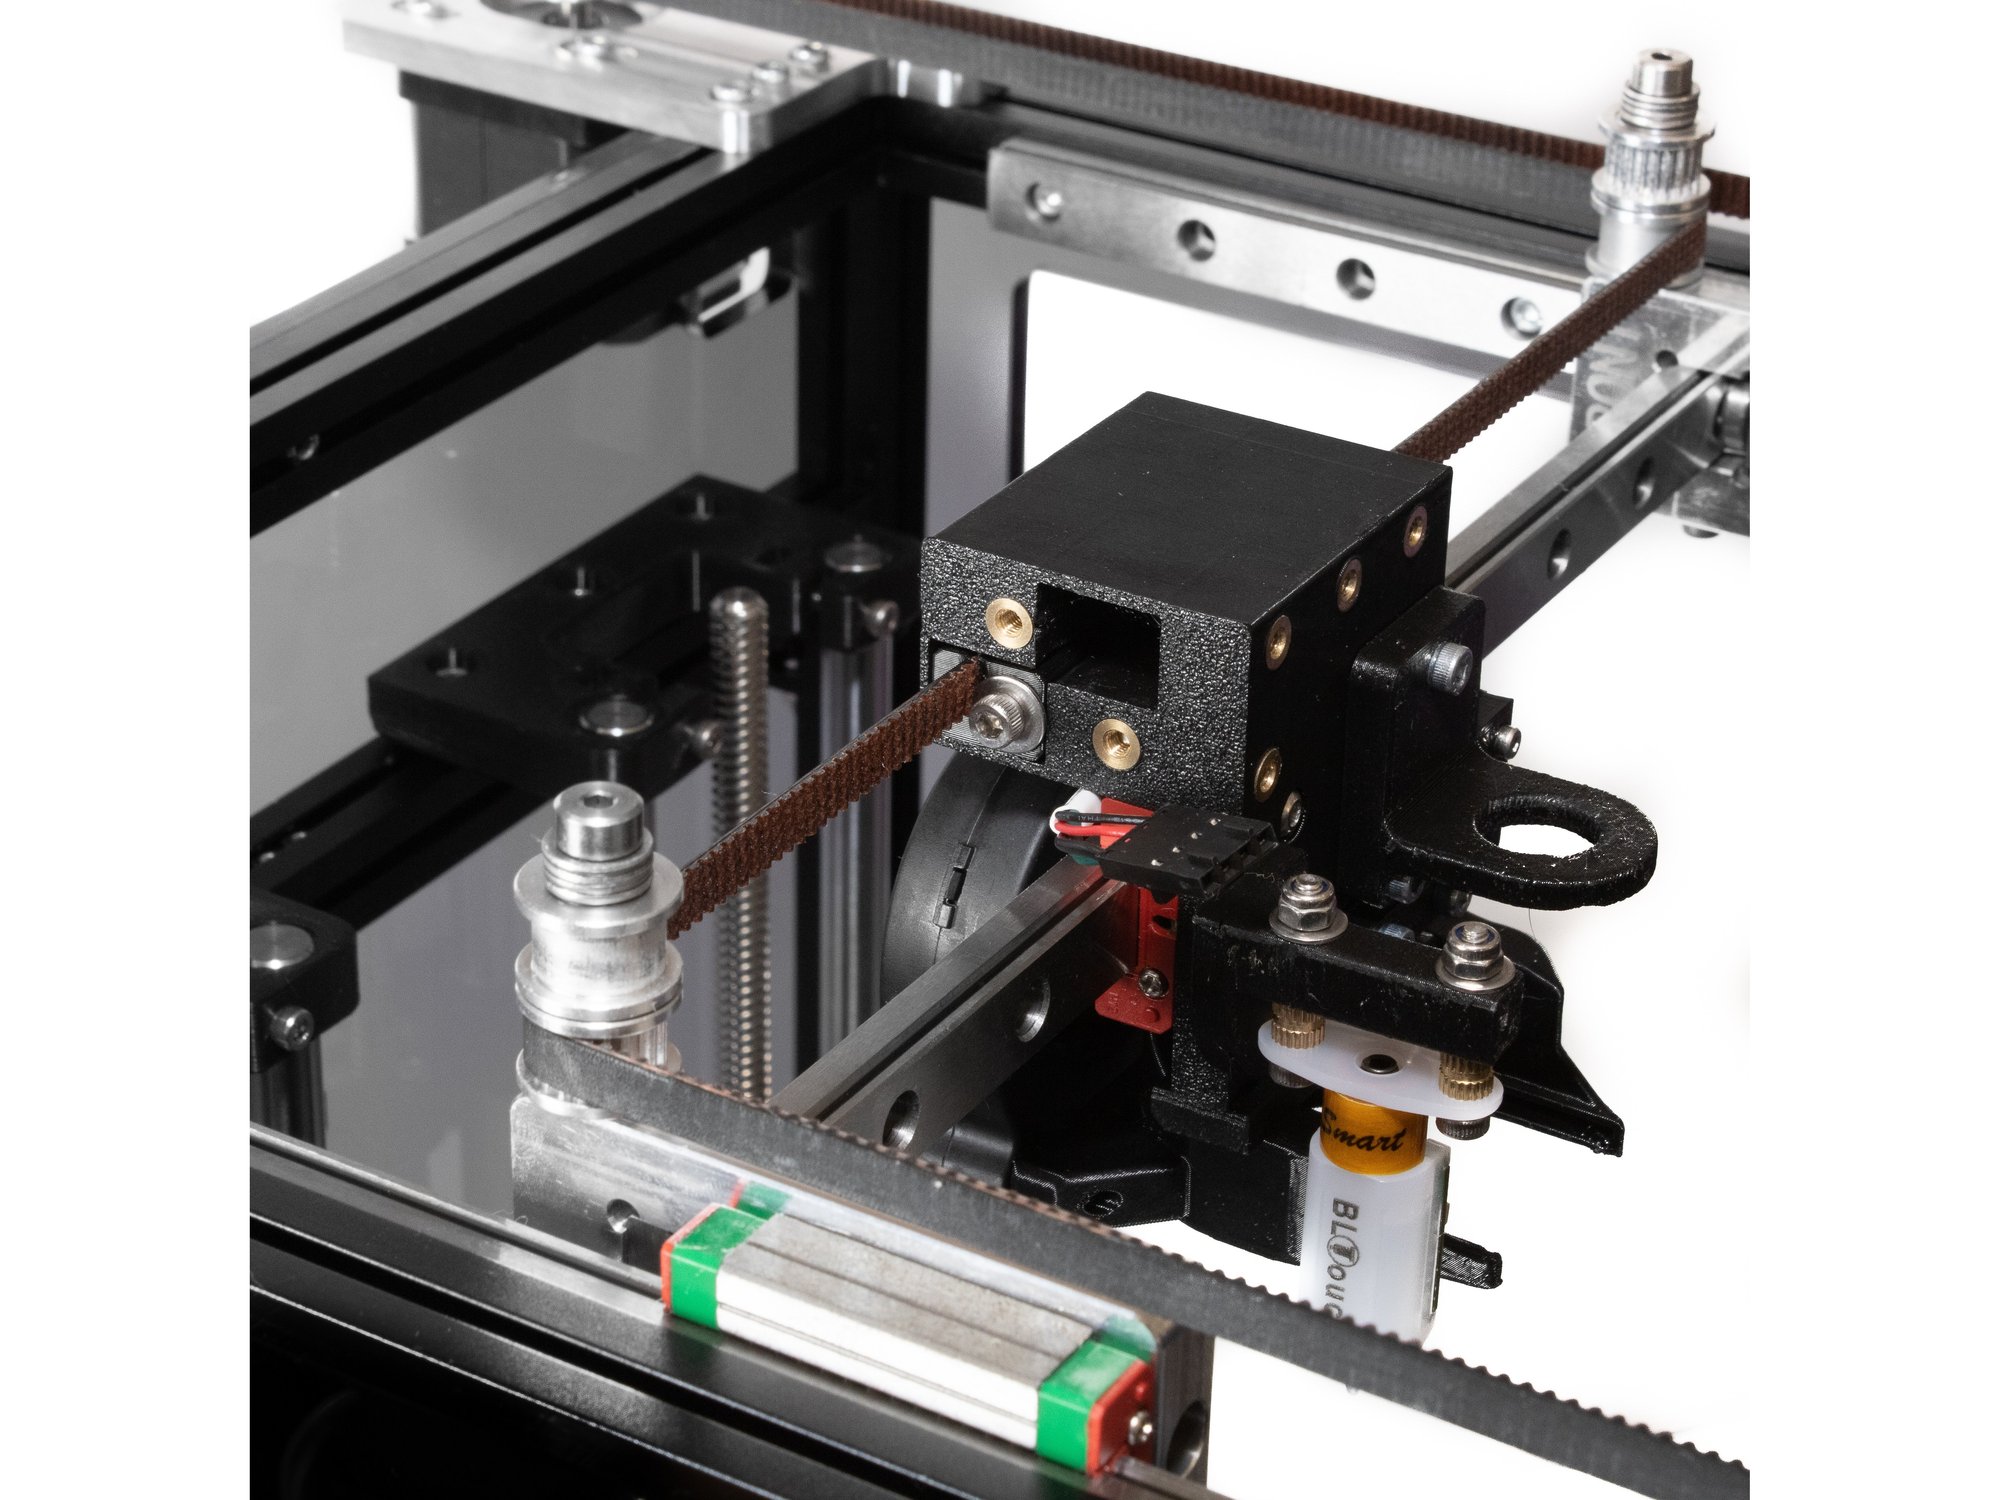
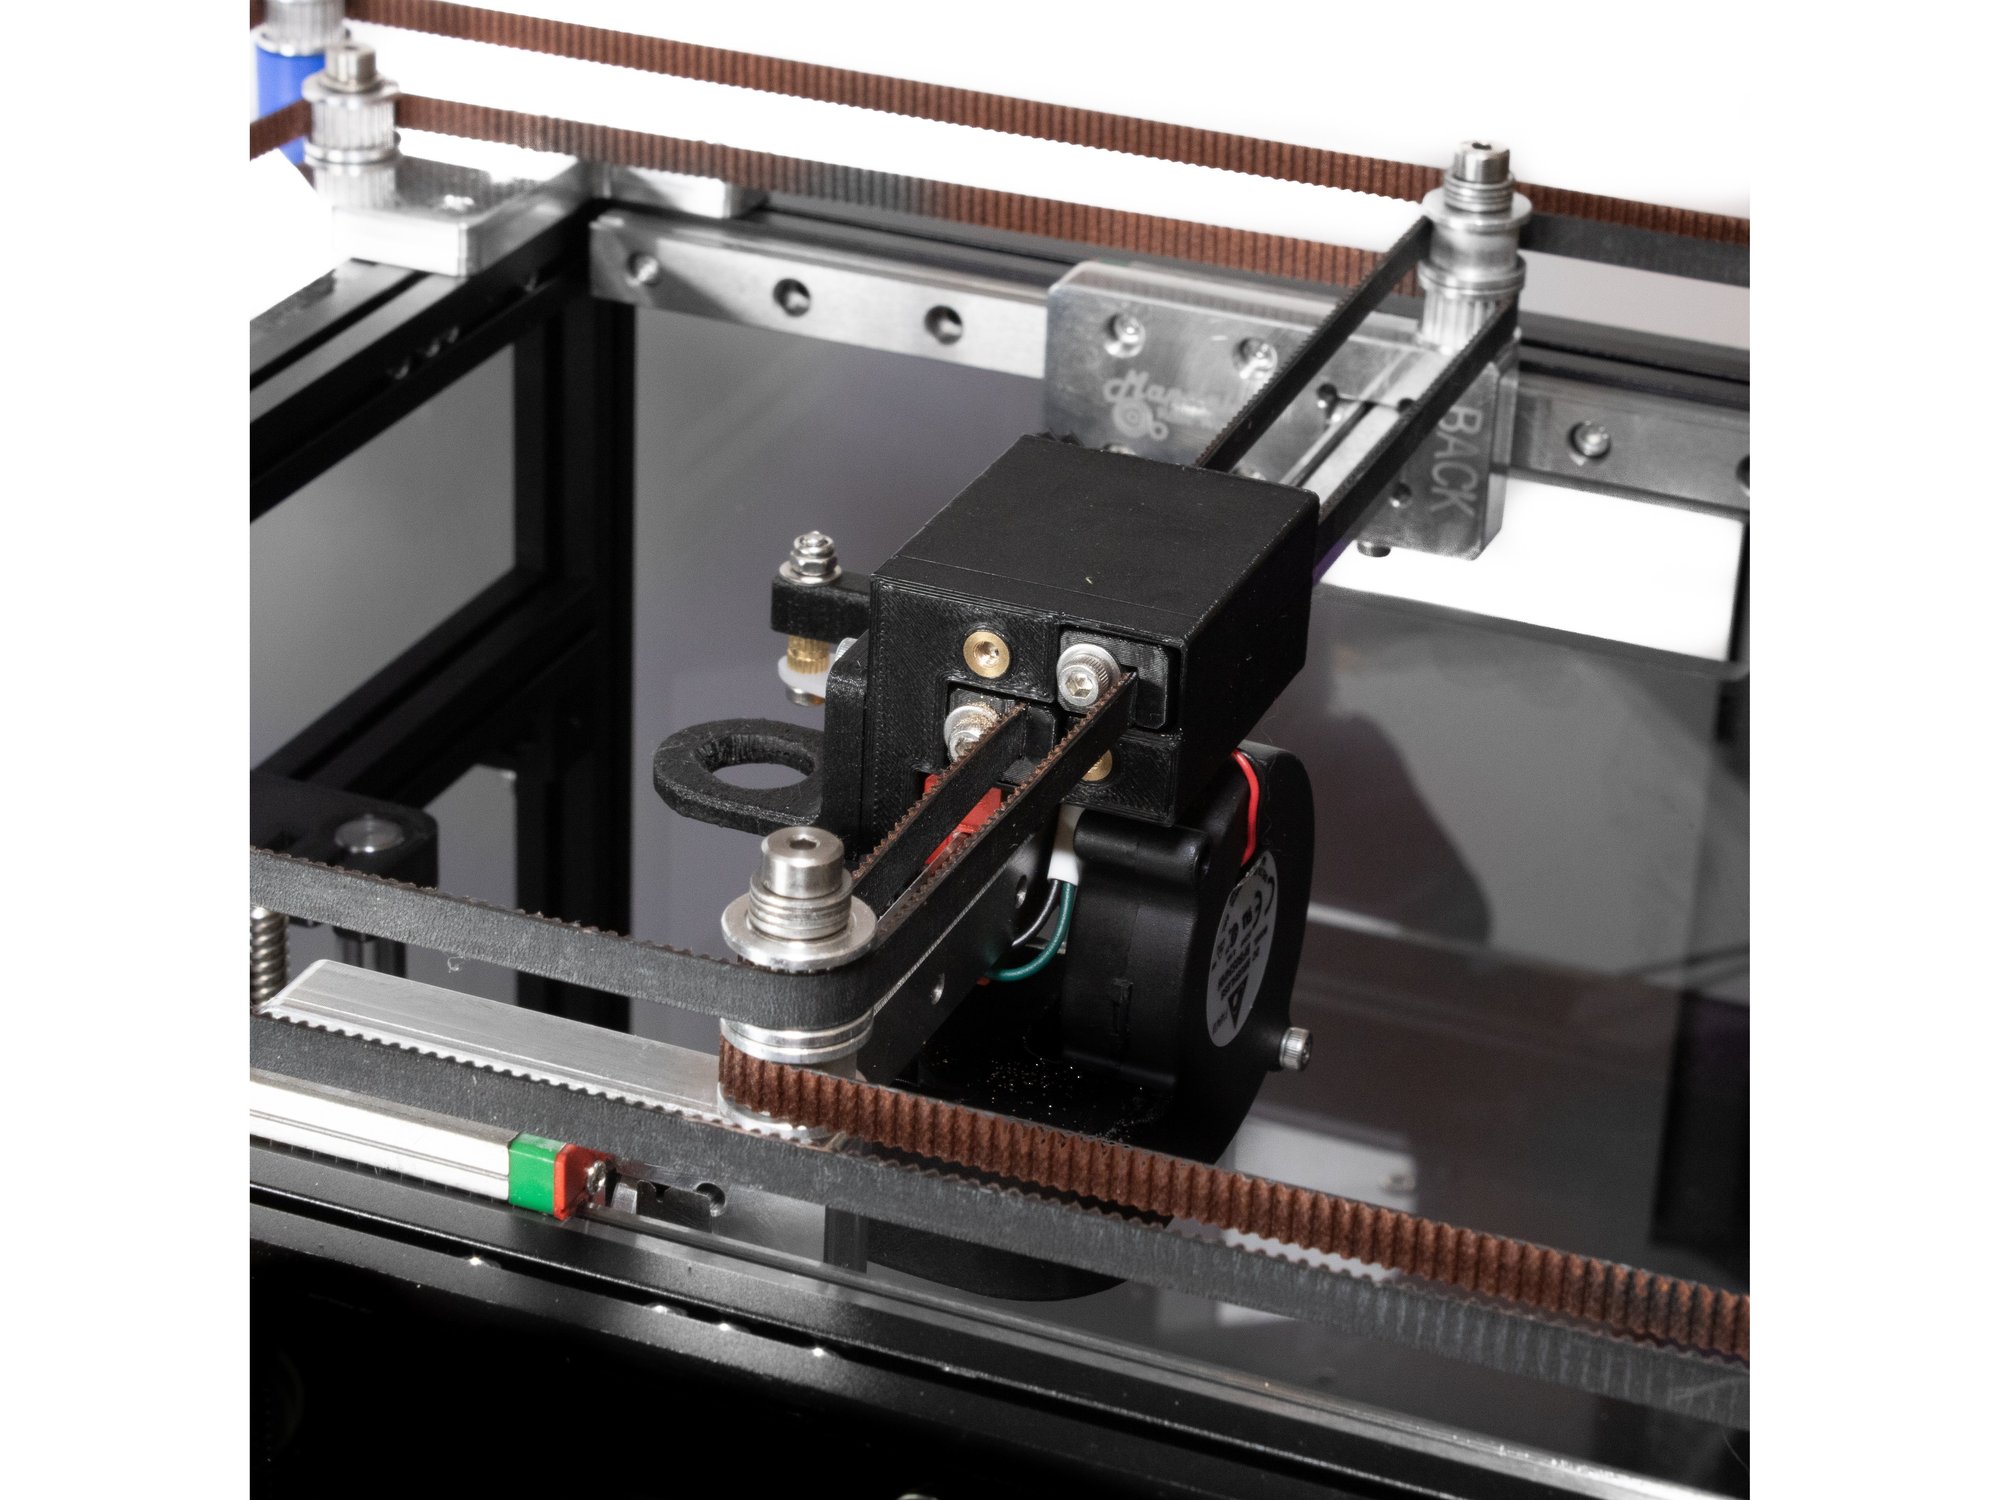
RailCore® Mini is a CoreXY-based RepRap 3D printer designed by J. Steve White and Tony Akens and published under the CC Attribution Only license.

The Mini is based on the RailCore® II ZL and features many of the same landmark features of it's bigger brothers.

Overview

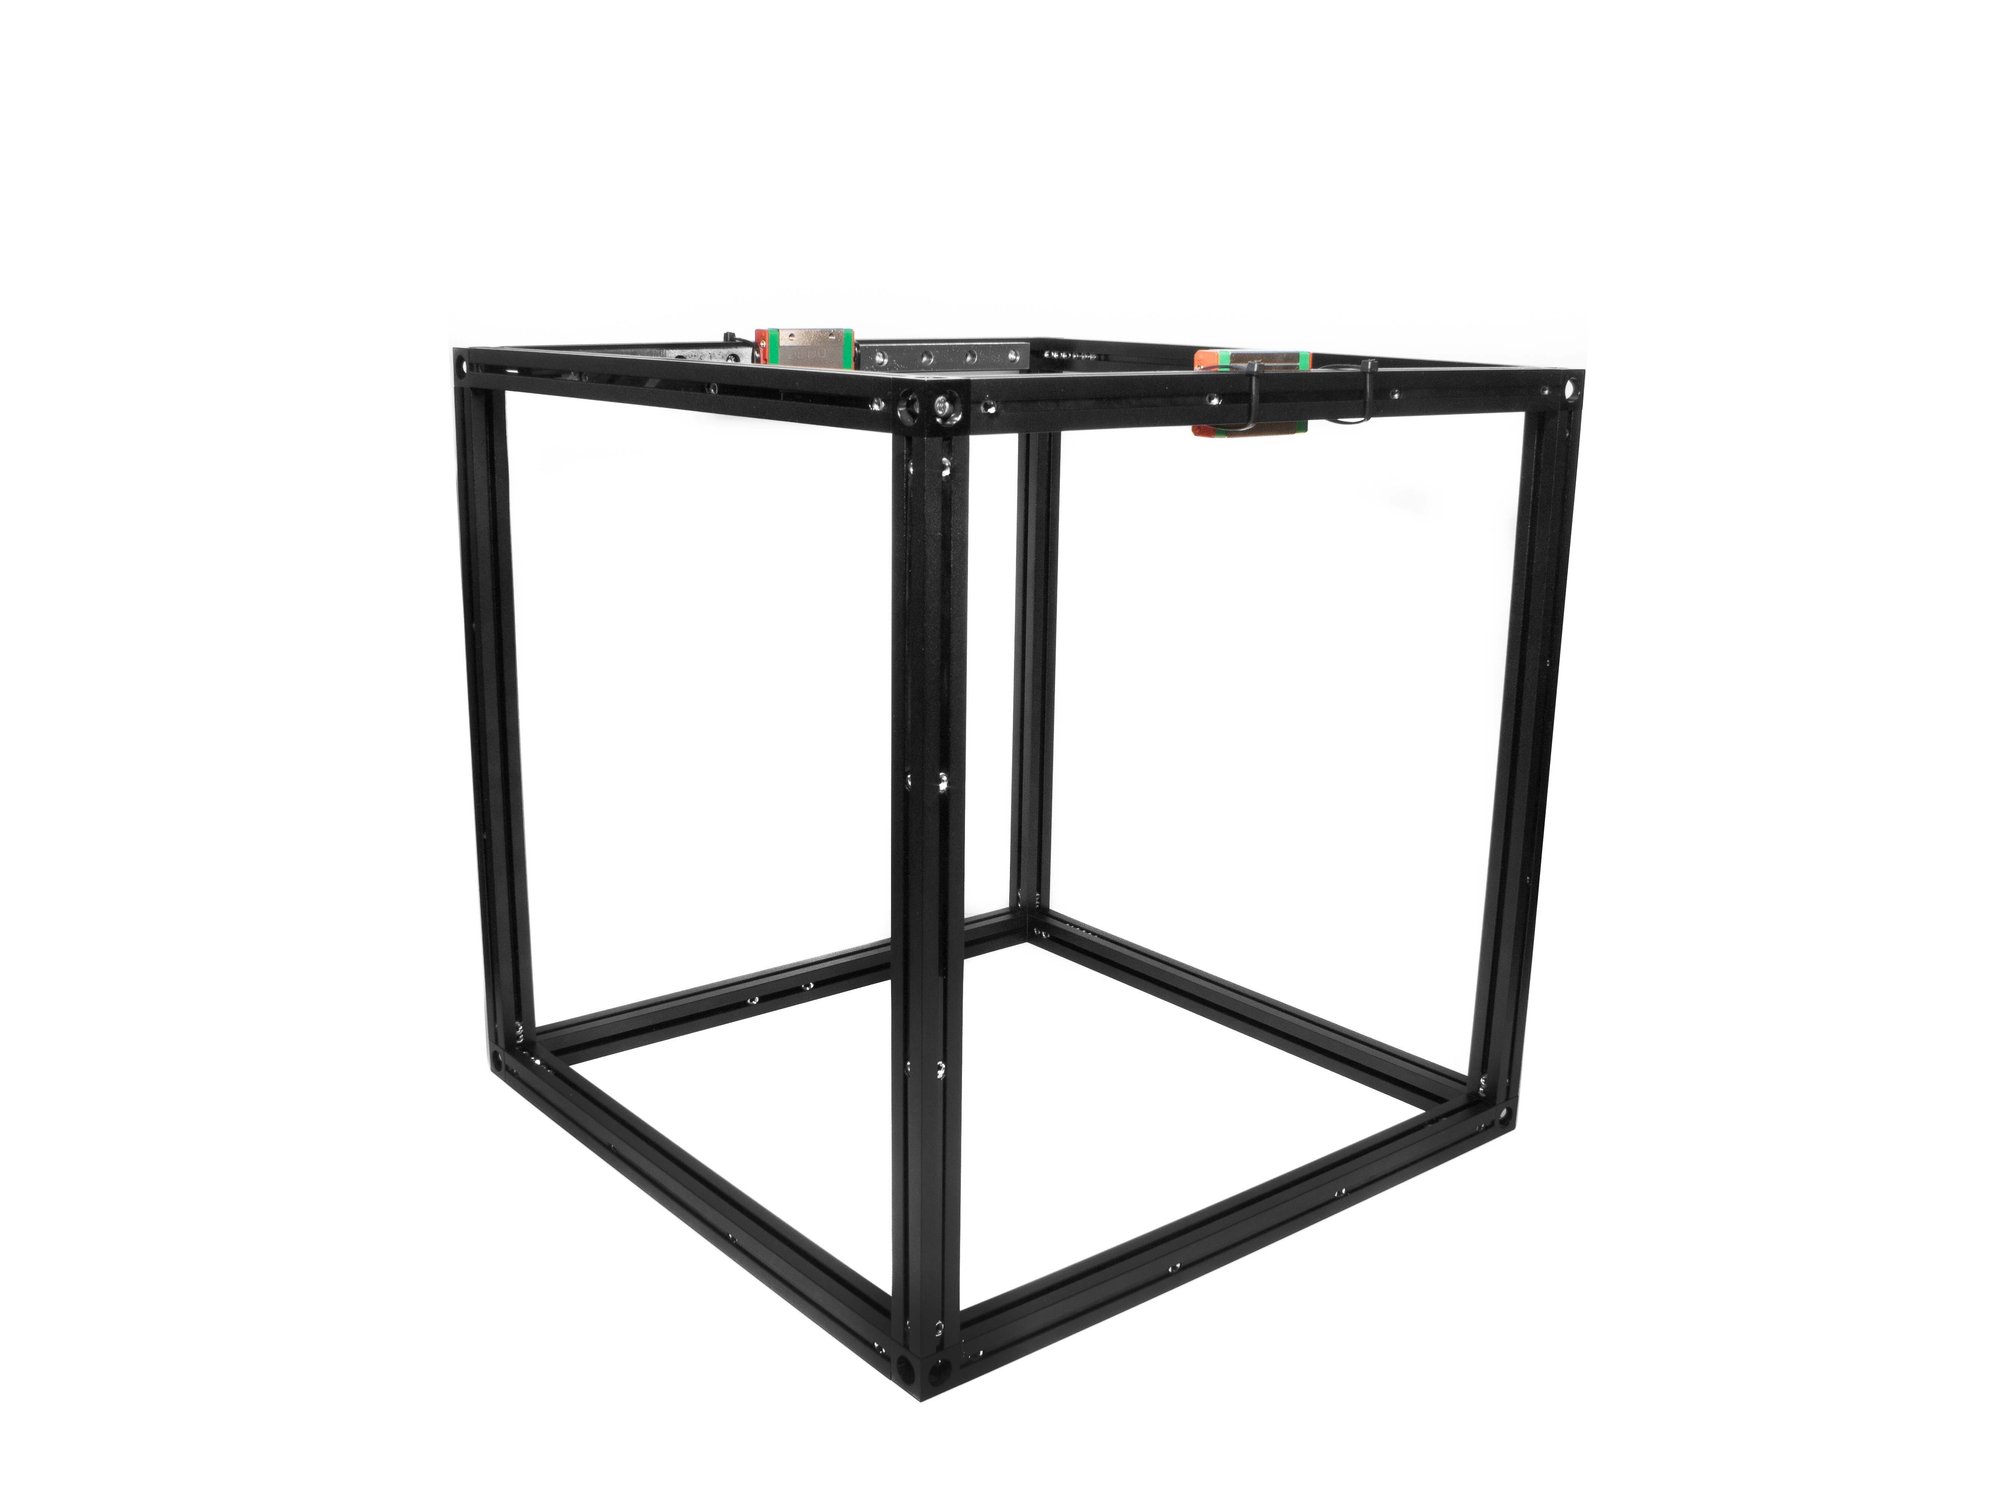
The frame is designed to use 1515 aluminum extrusions. This was a space-efficient choice, which makes building the printer easier, as standard M3 hardware fits nicely into the extrusion like T-Nuts would. To add rigidity, we use sides made from Acrylic or HDPE to stiffen the frame. (These can alternatively be cut out of any material you prefer, including melamine, plywood and aluminum.) The total cost for the actual frame components (extrusion, corner cubes, and sides) is roughly $100 USD.

Notable aspects of the design include:

  • 3 trapezoidal lead screw Z-axis, stacked idlers, and duo-planar belt path
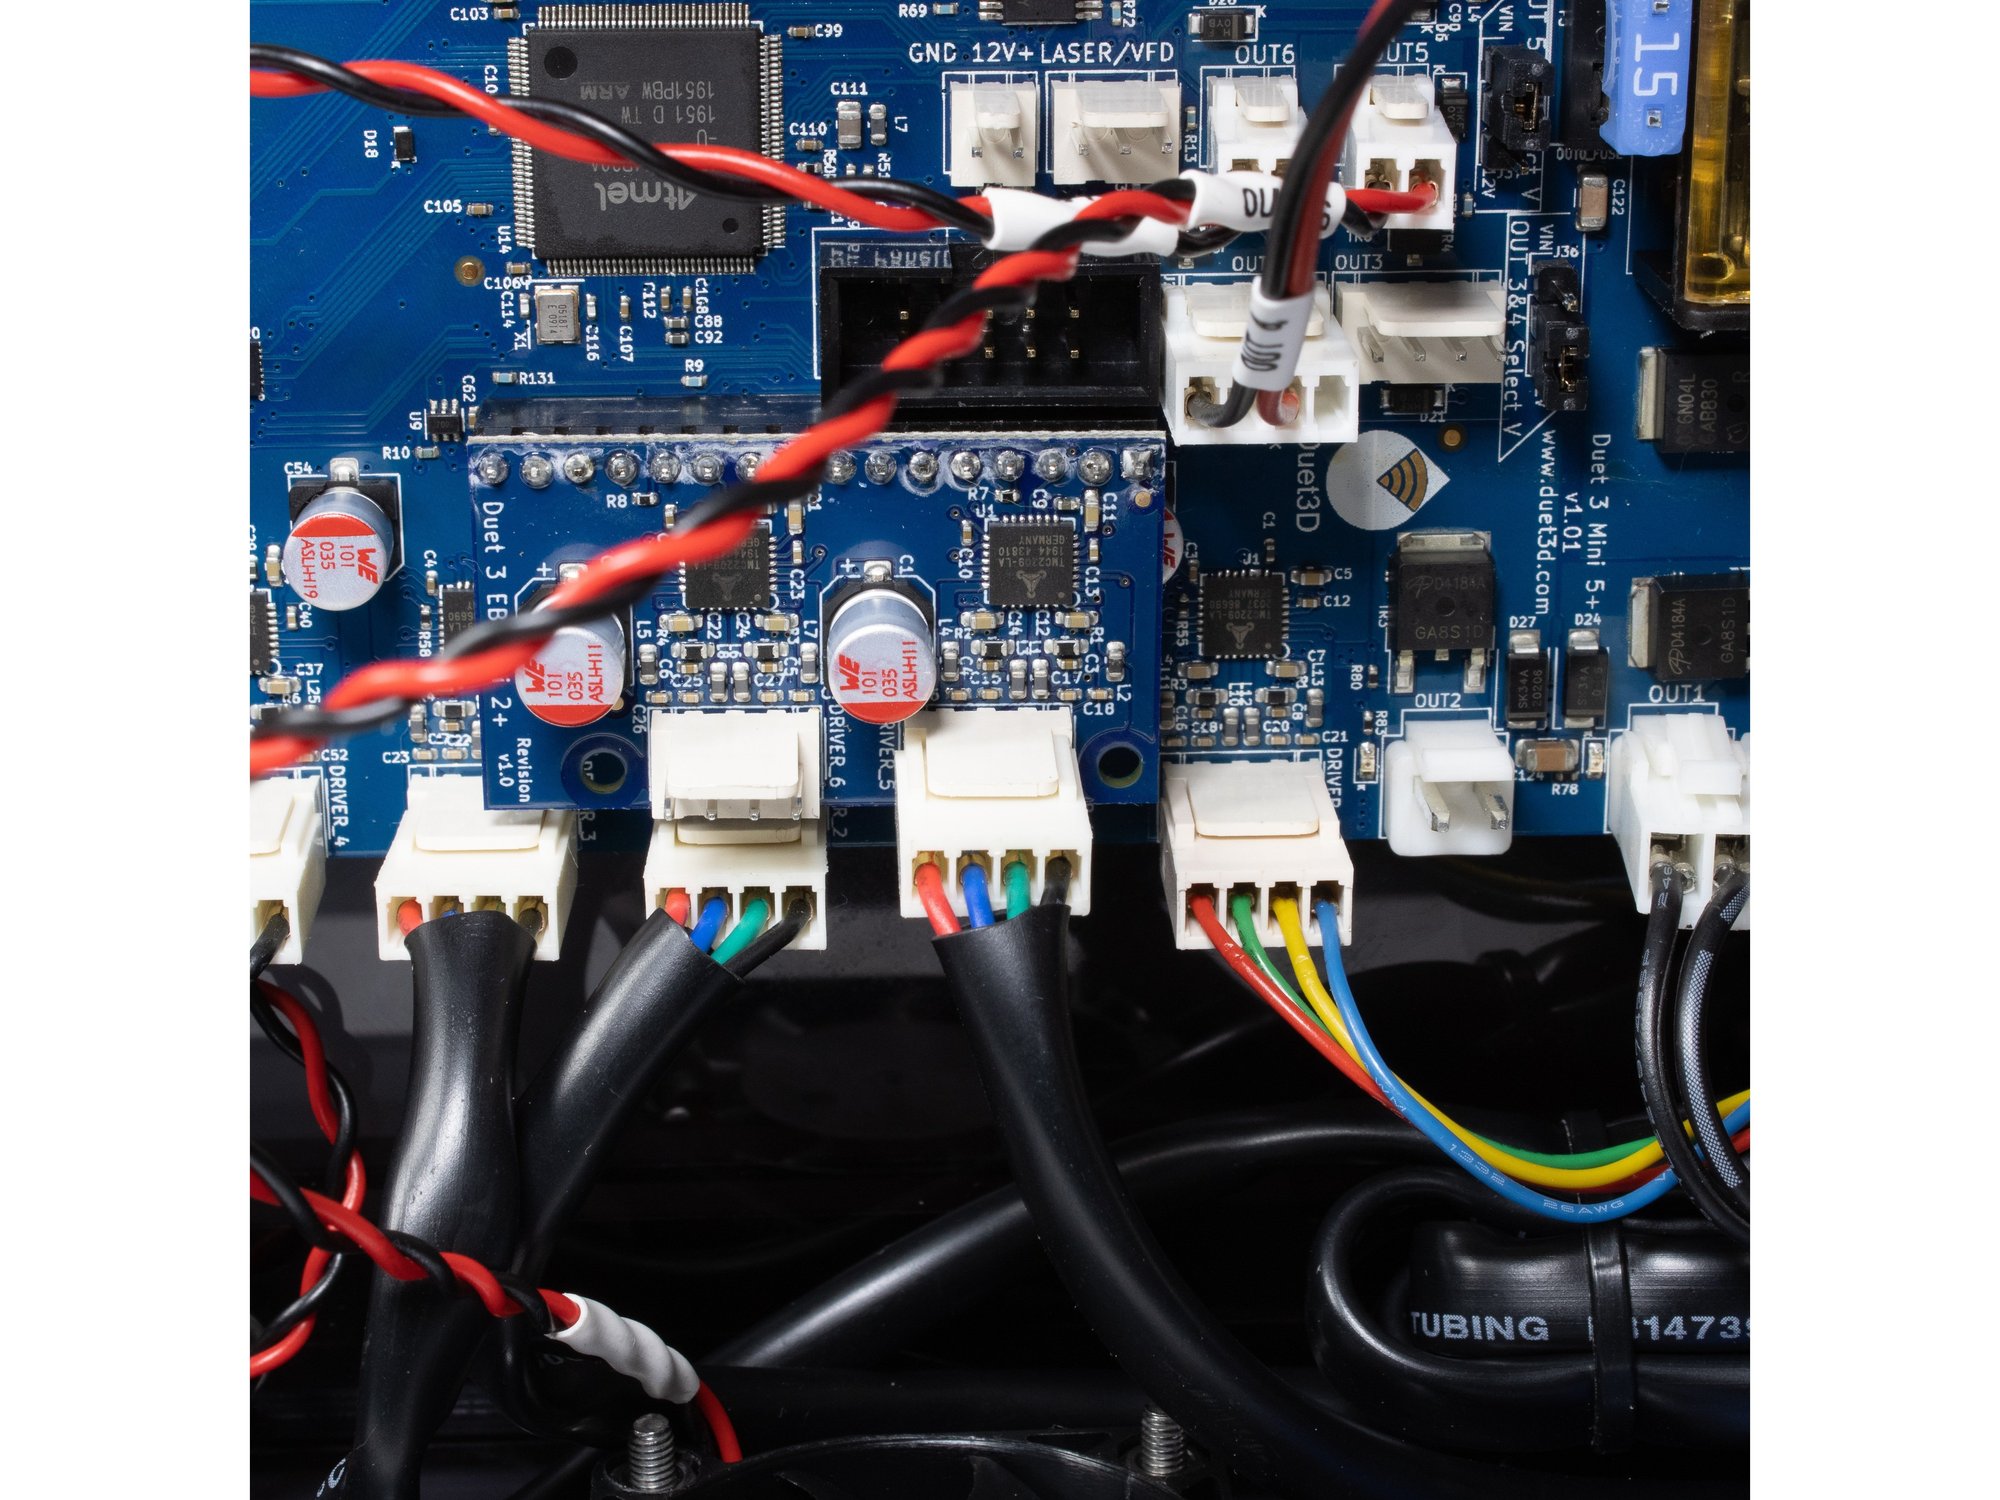
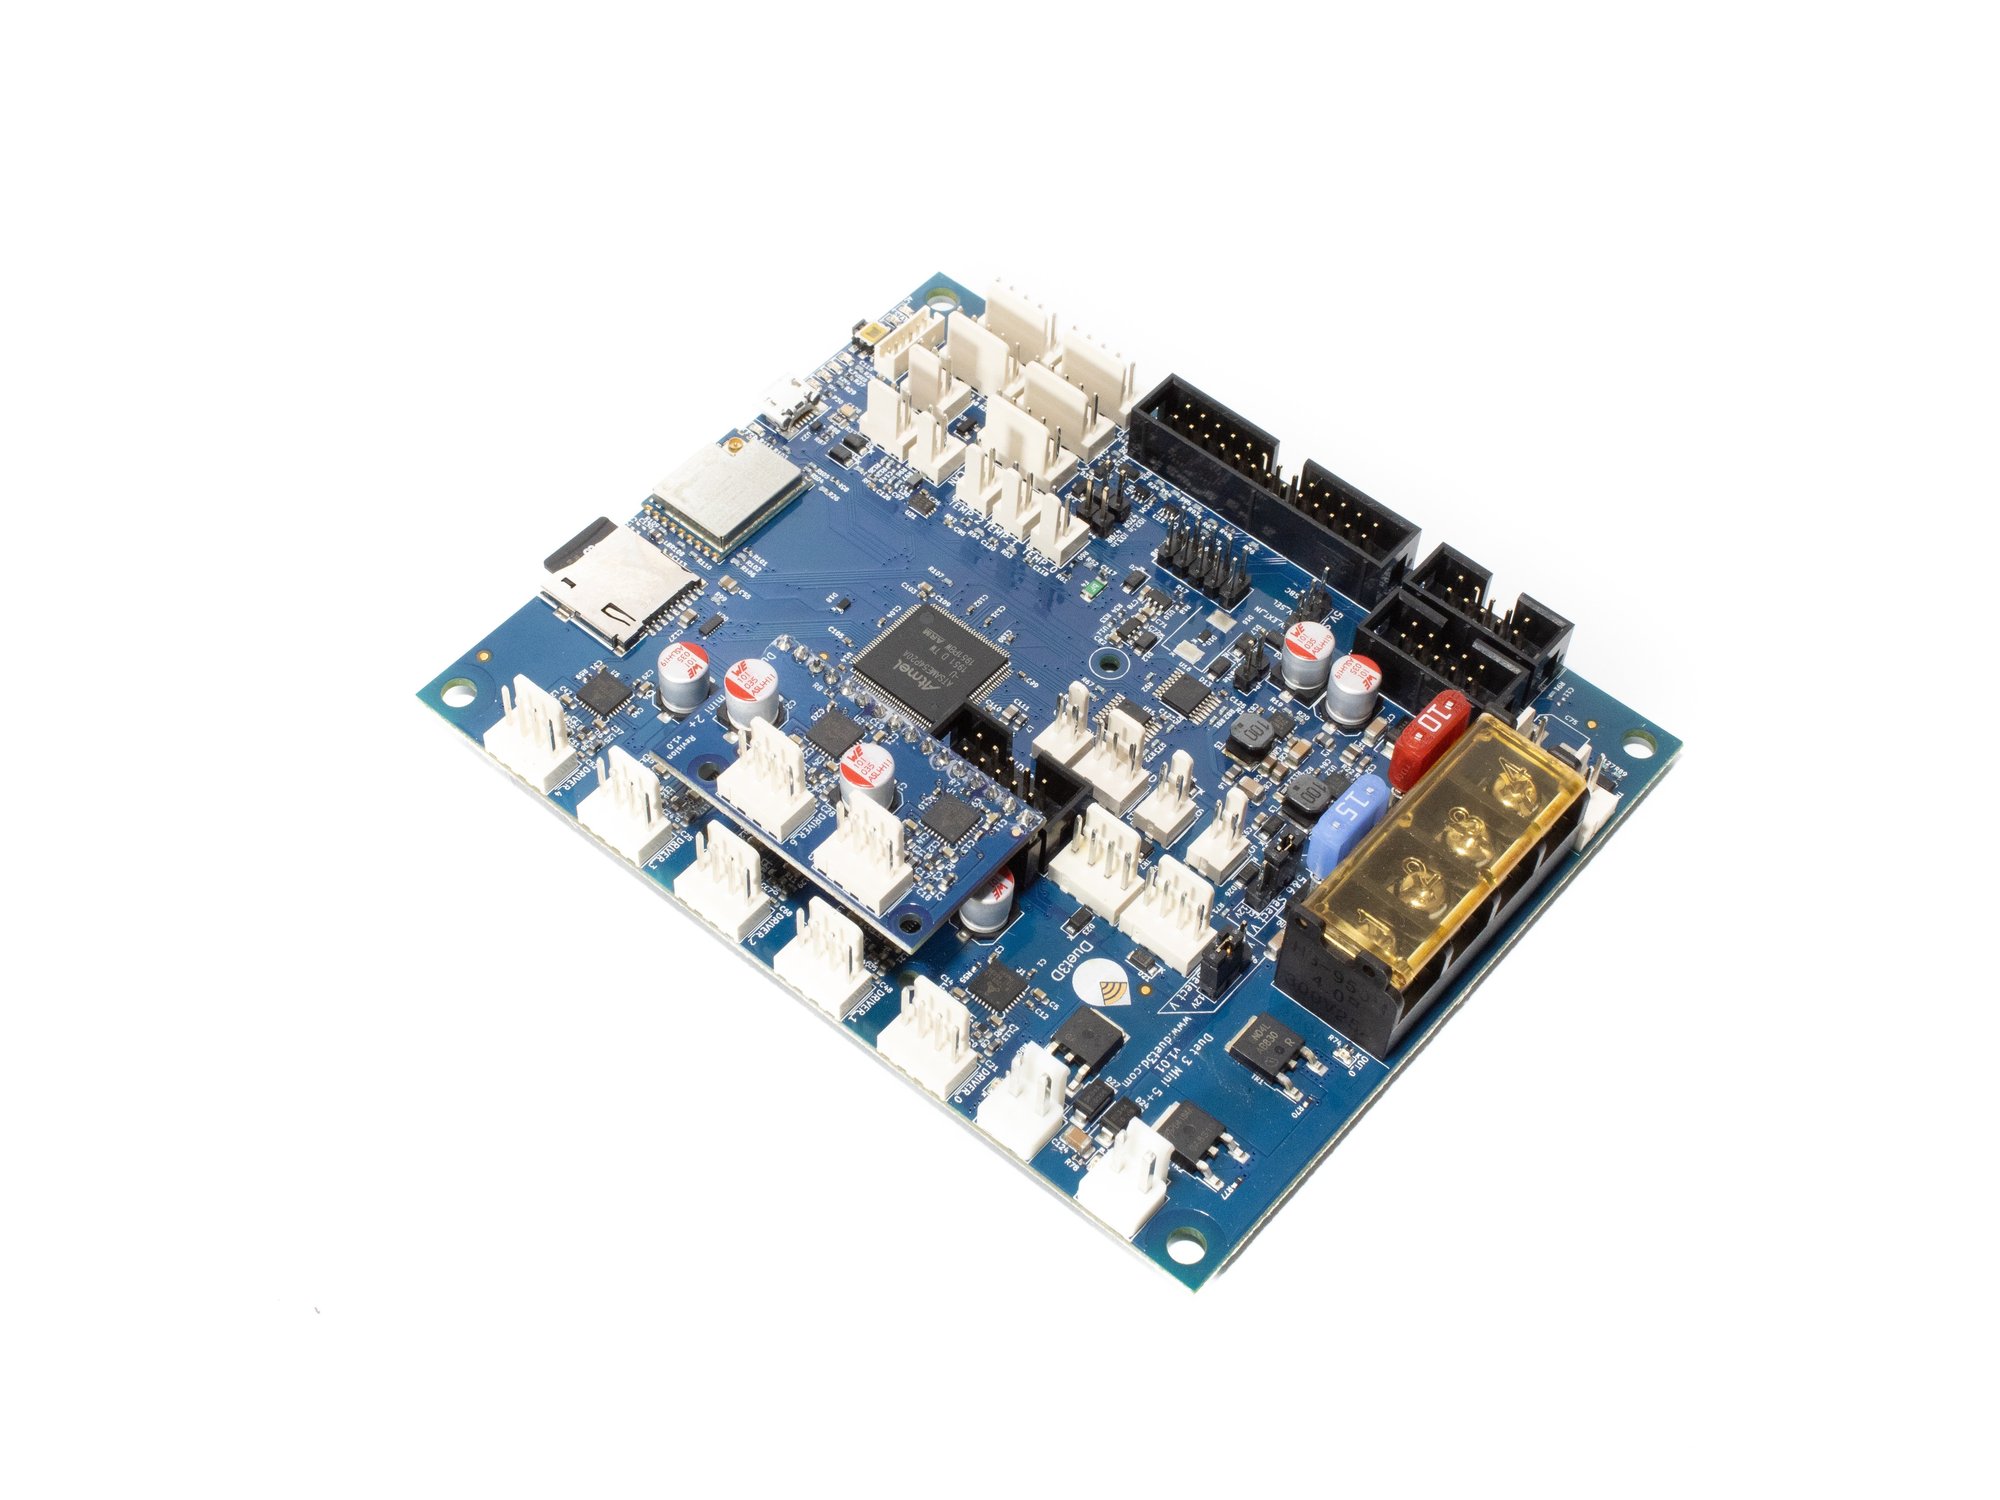
  • The electronics in the design are the Duet 3 Mini 5+, Duet 3 Expansion Mini 2+, Options Raspberry Pi, 24v PSU and 0.9 degree steppers.
  • We use an E3D Revo Micro for the design, as it’s the lightest avaliable at this time.
  • Support for other hotends such as E3D Revo 6, V6, Volcano, Slice Mosquito, and many others are also available.
  • Semi-direct drive or full bowden are both supported
  • The current Mini kit is assembled and sold by Filastruder. This guide should cover the "standard" kit configurations they sell. It may work with other variations including self source builds, and "add-ons", with minor variation.

If you need assistance with your build, a strong community of support is available at our Discord channel.

A special thanks to Filastruder, Duet3d, E3D, 713Maker, and Mandala Roseworks for supporting the project.

RailCore® is a registered trademark of RailCore Labs, LLC.
B) Prep

Step 1 — Install Brass Inserts

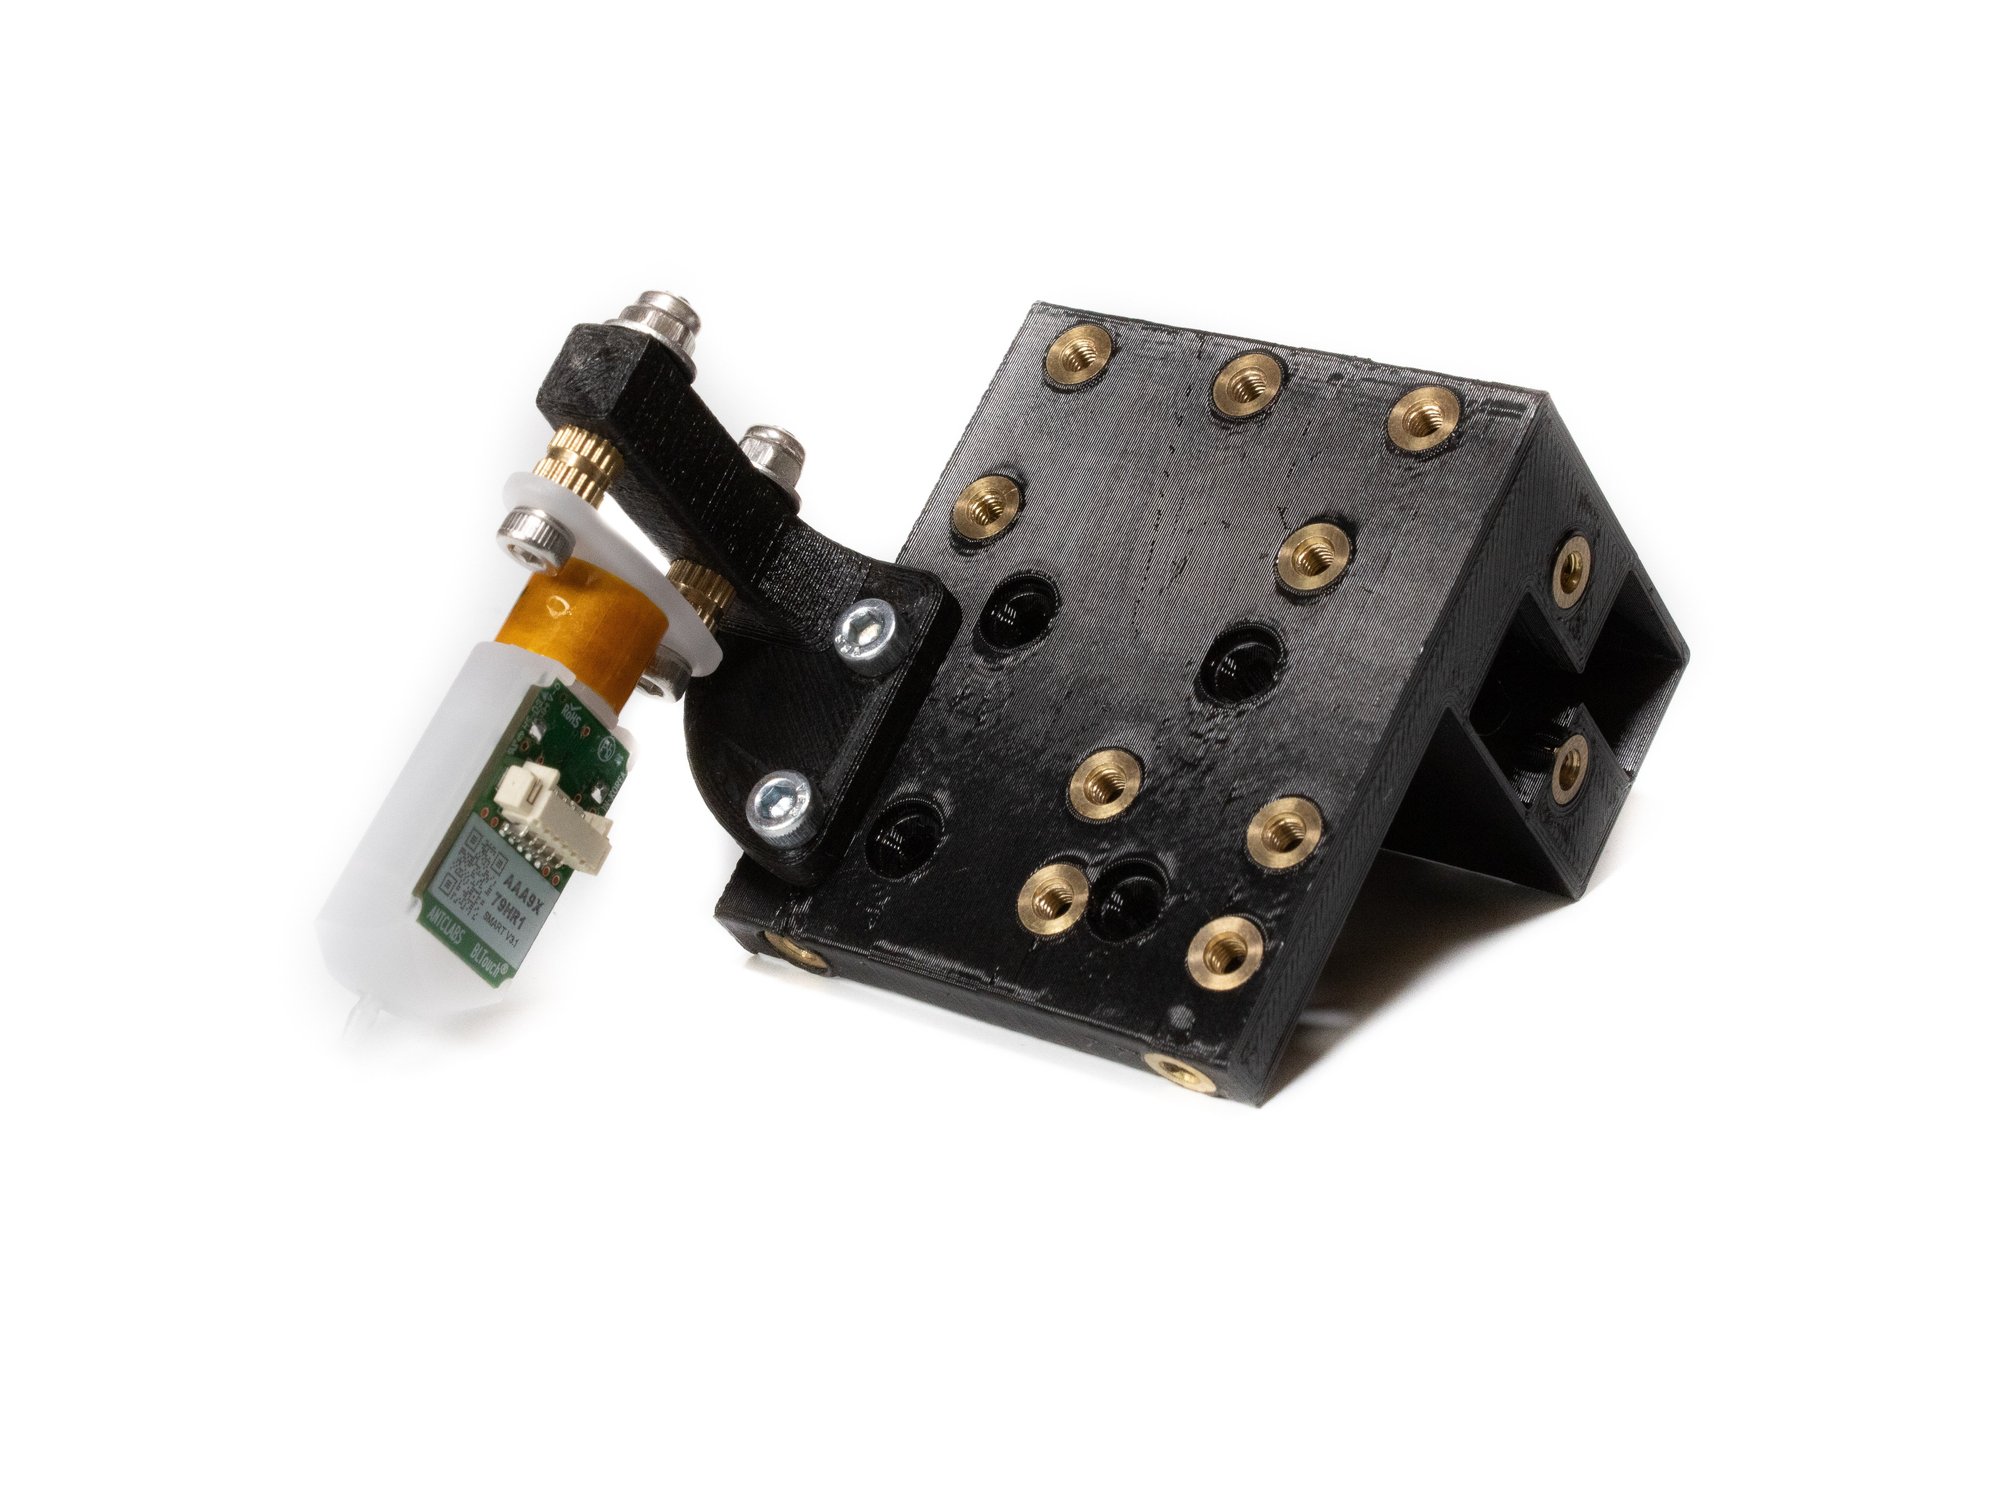
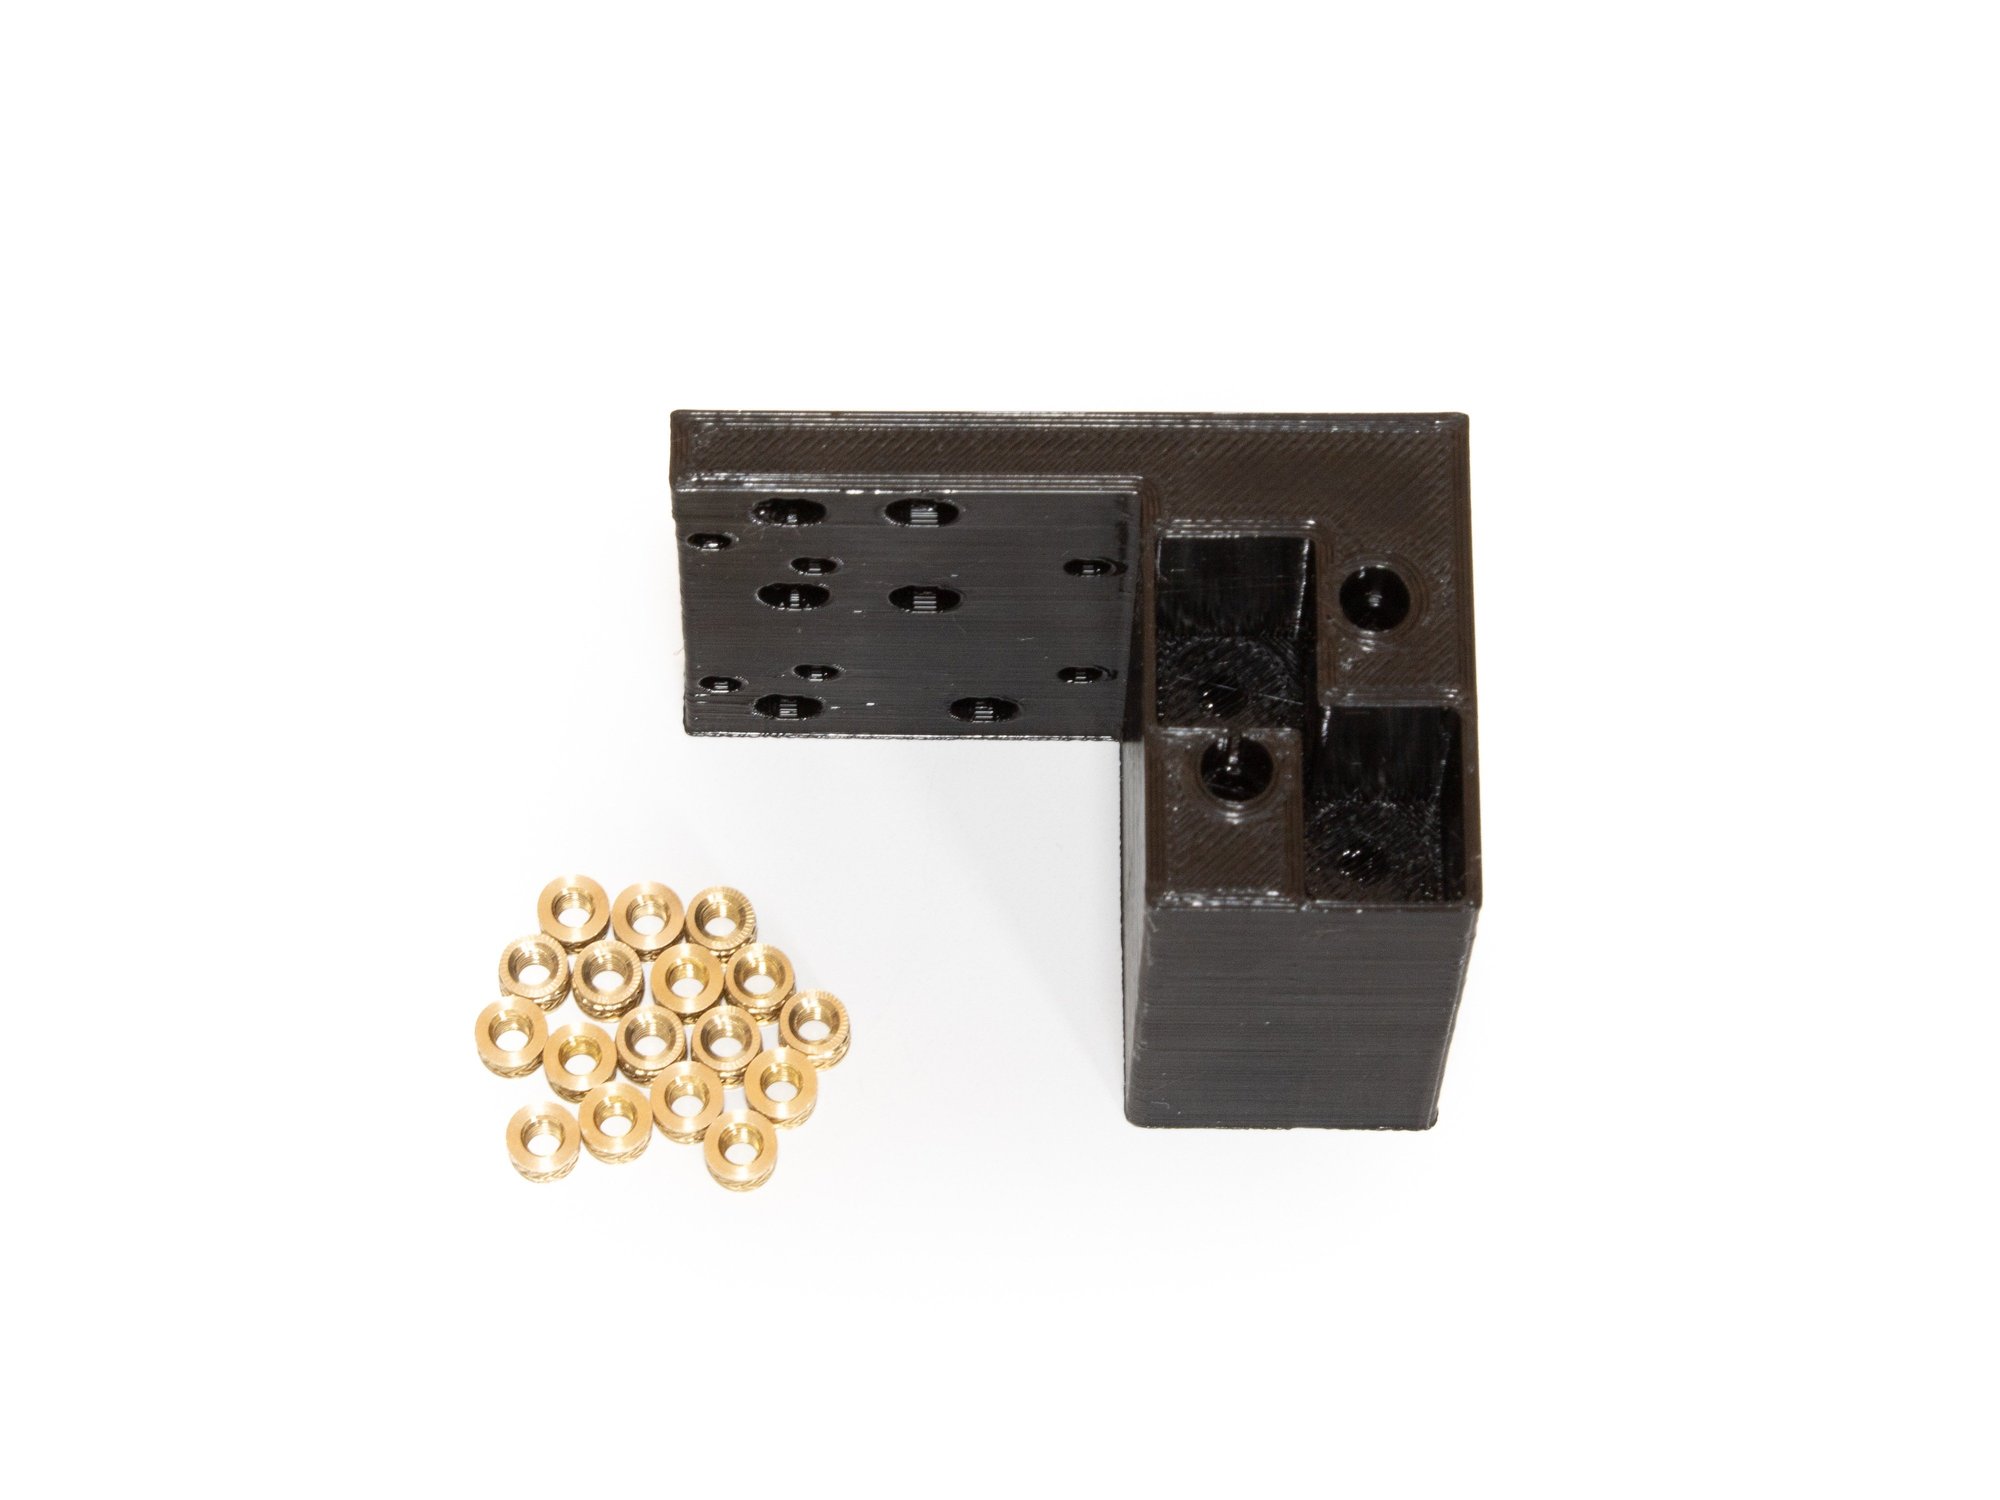
  • Caution You need to use a soldering iron to carefully sink the brass inserts into the printed Y carriage. Sink the inserts in 2/3 of the way, then press the carriage against a flat metal surface to get them flush.
  • Note After placing each insert you may need to clear the channel by running a tap or bolt down through the insert and into the plastic. (Be very careful not to cross thread your inserts!)
  • Note Here's a good article about setting the brass heat set inserts: click here.
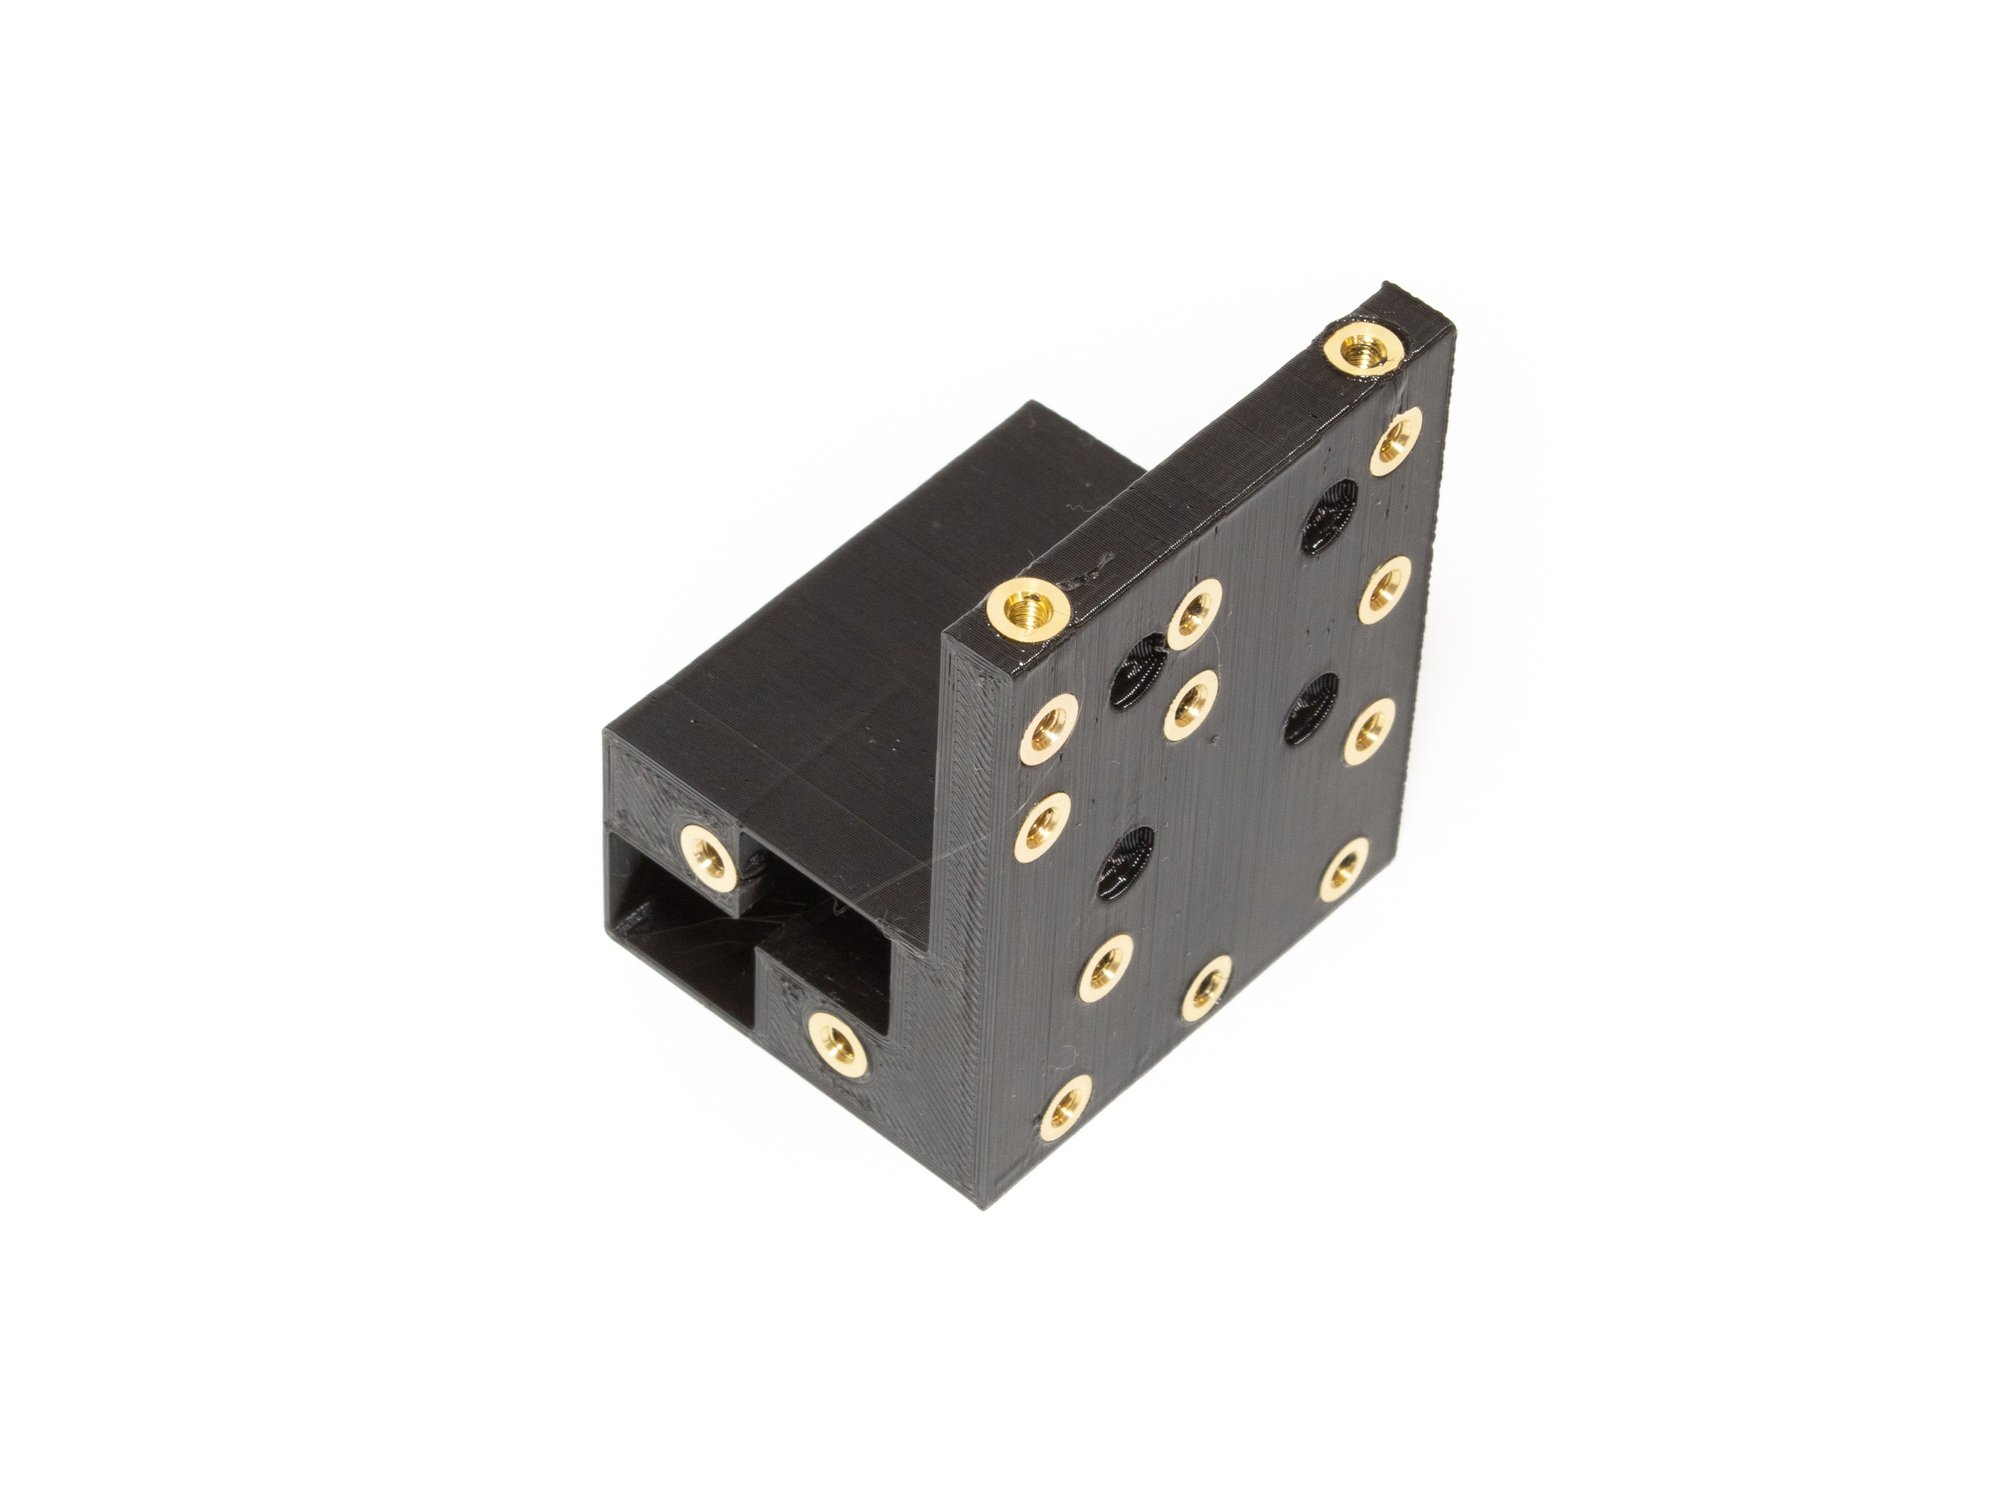
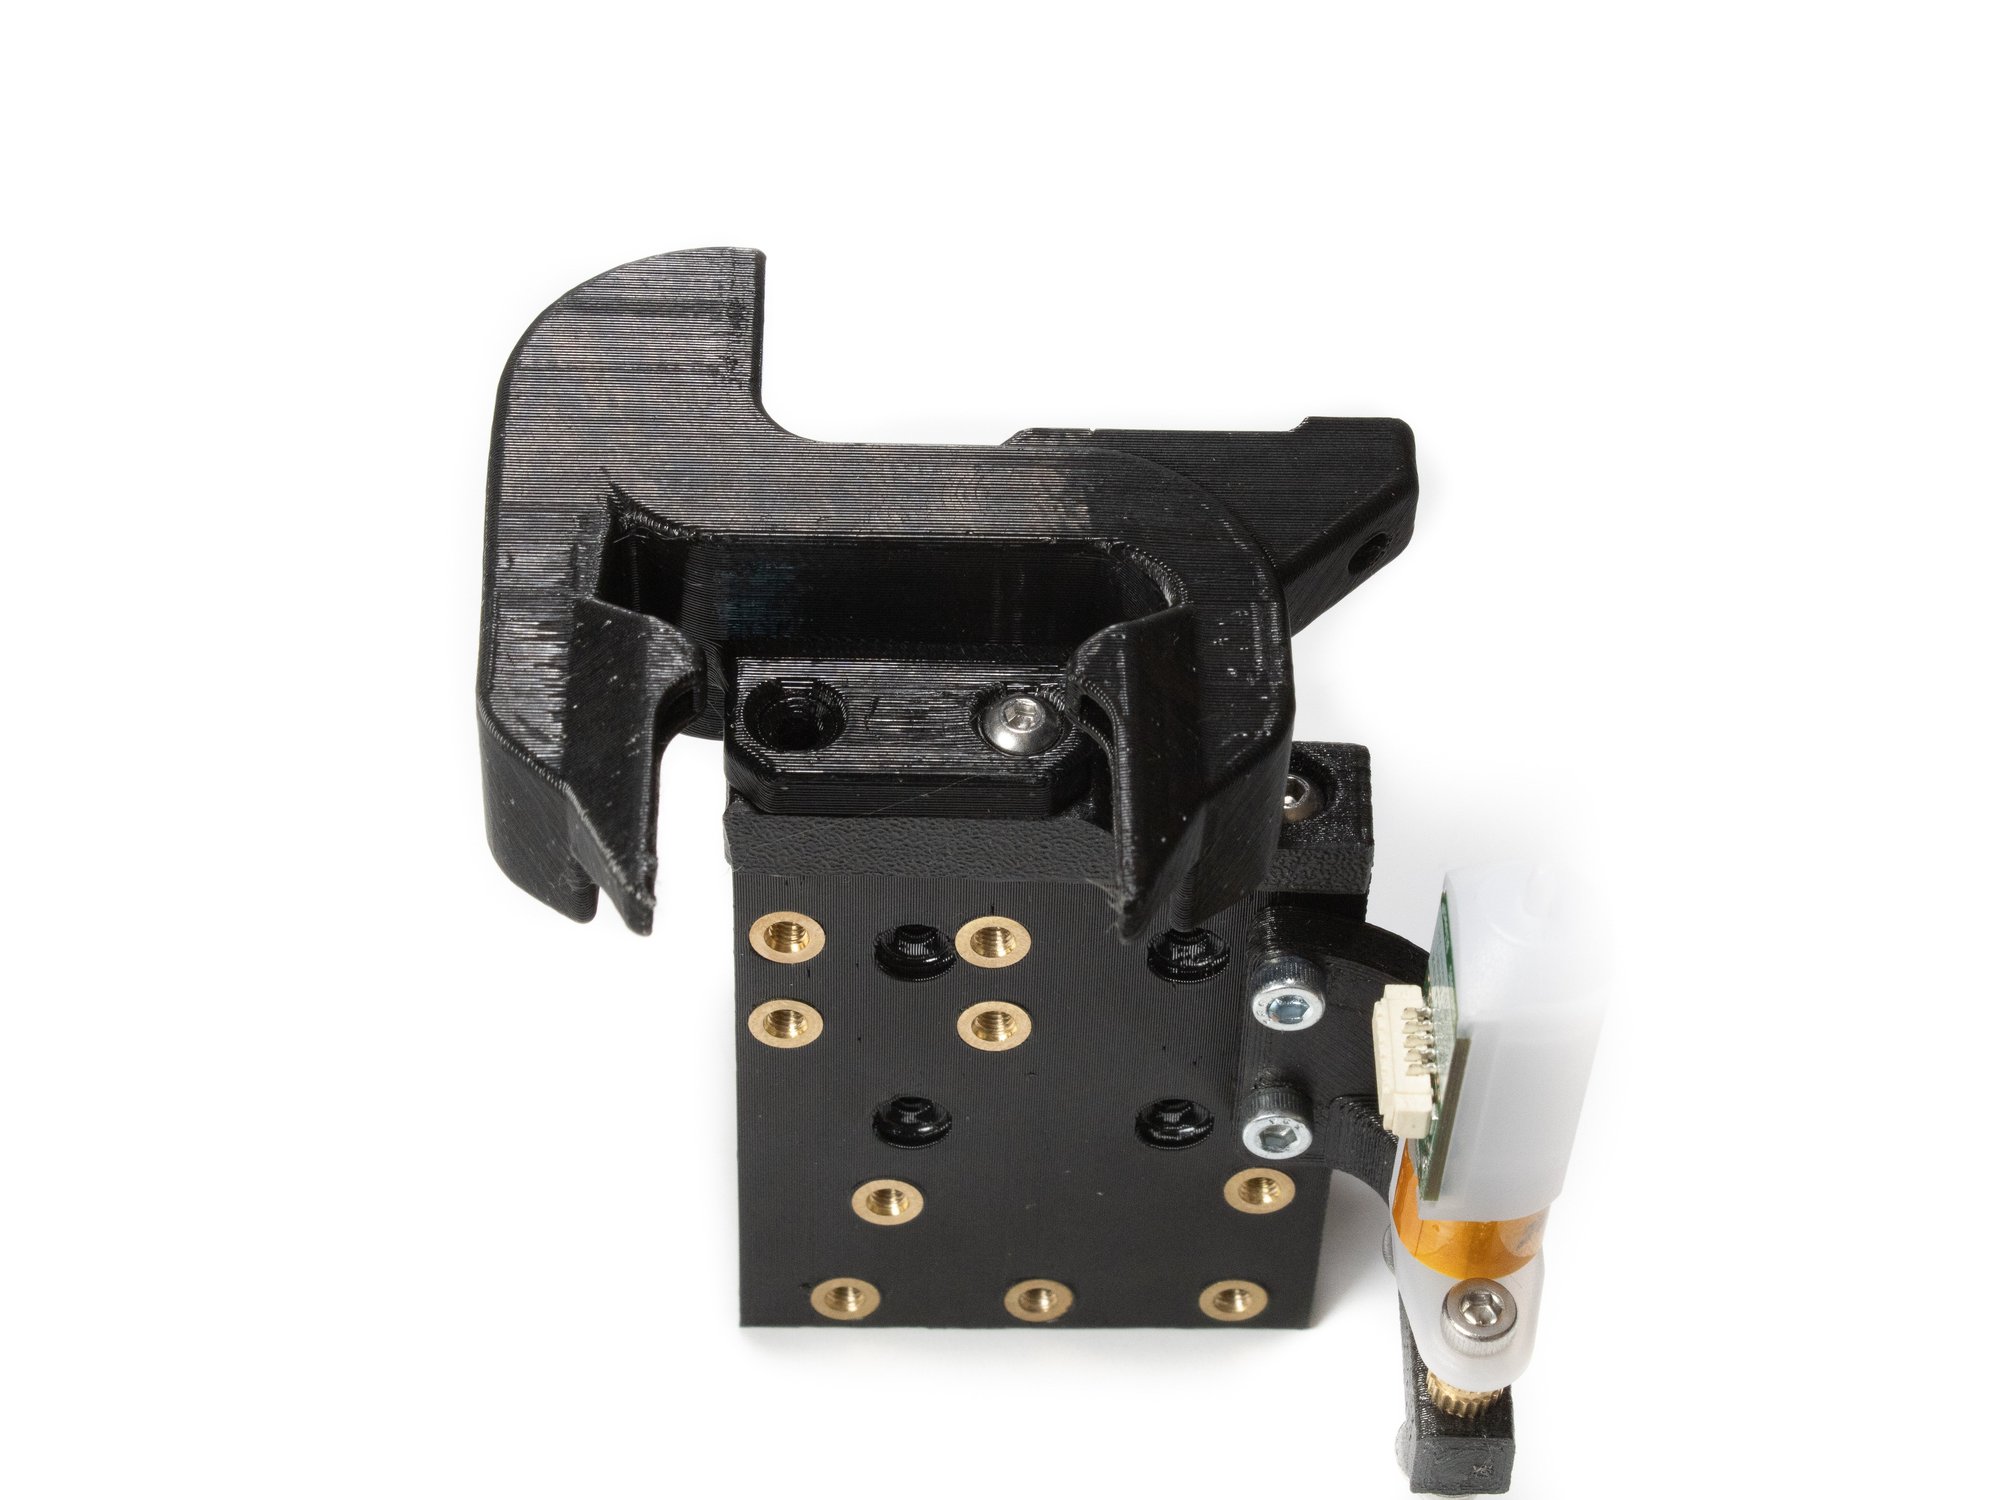
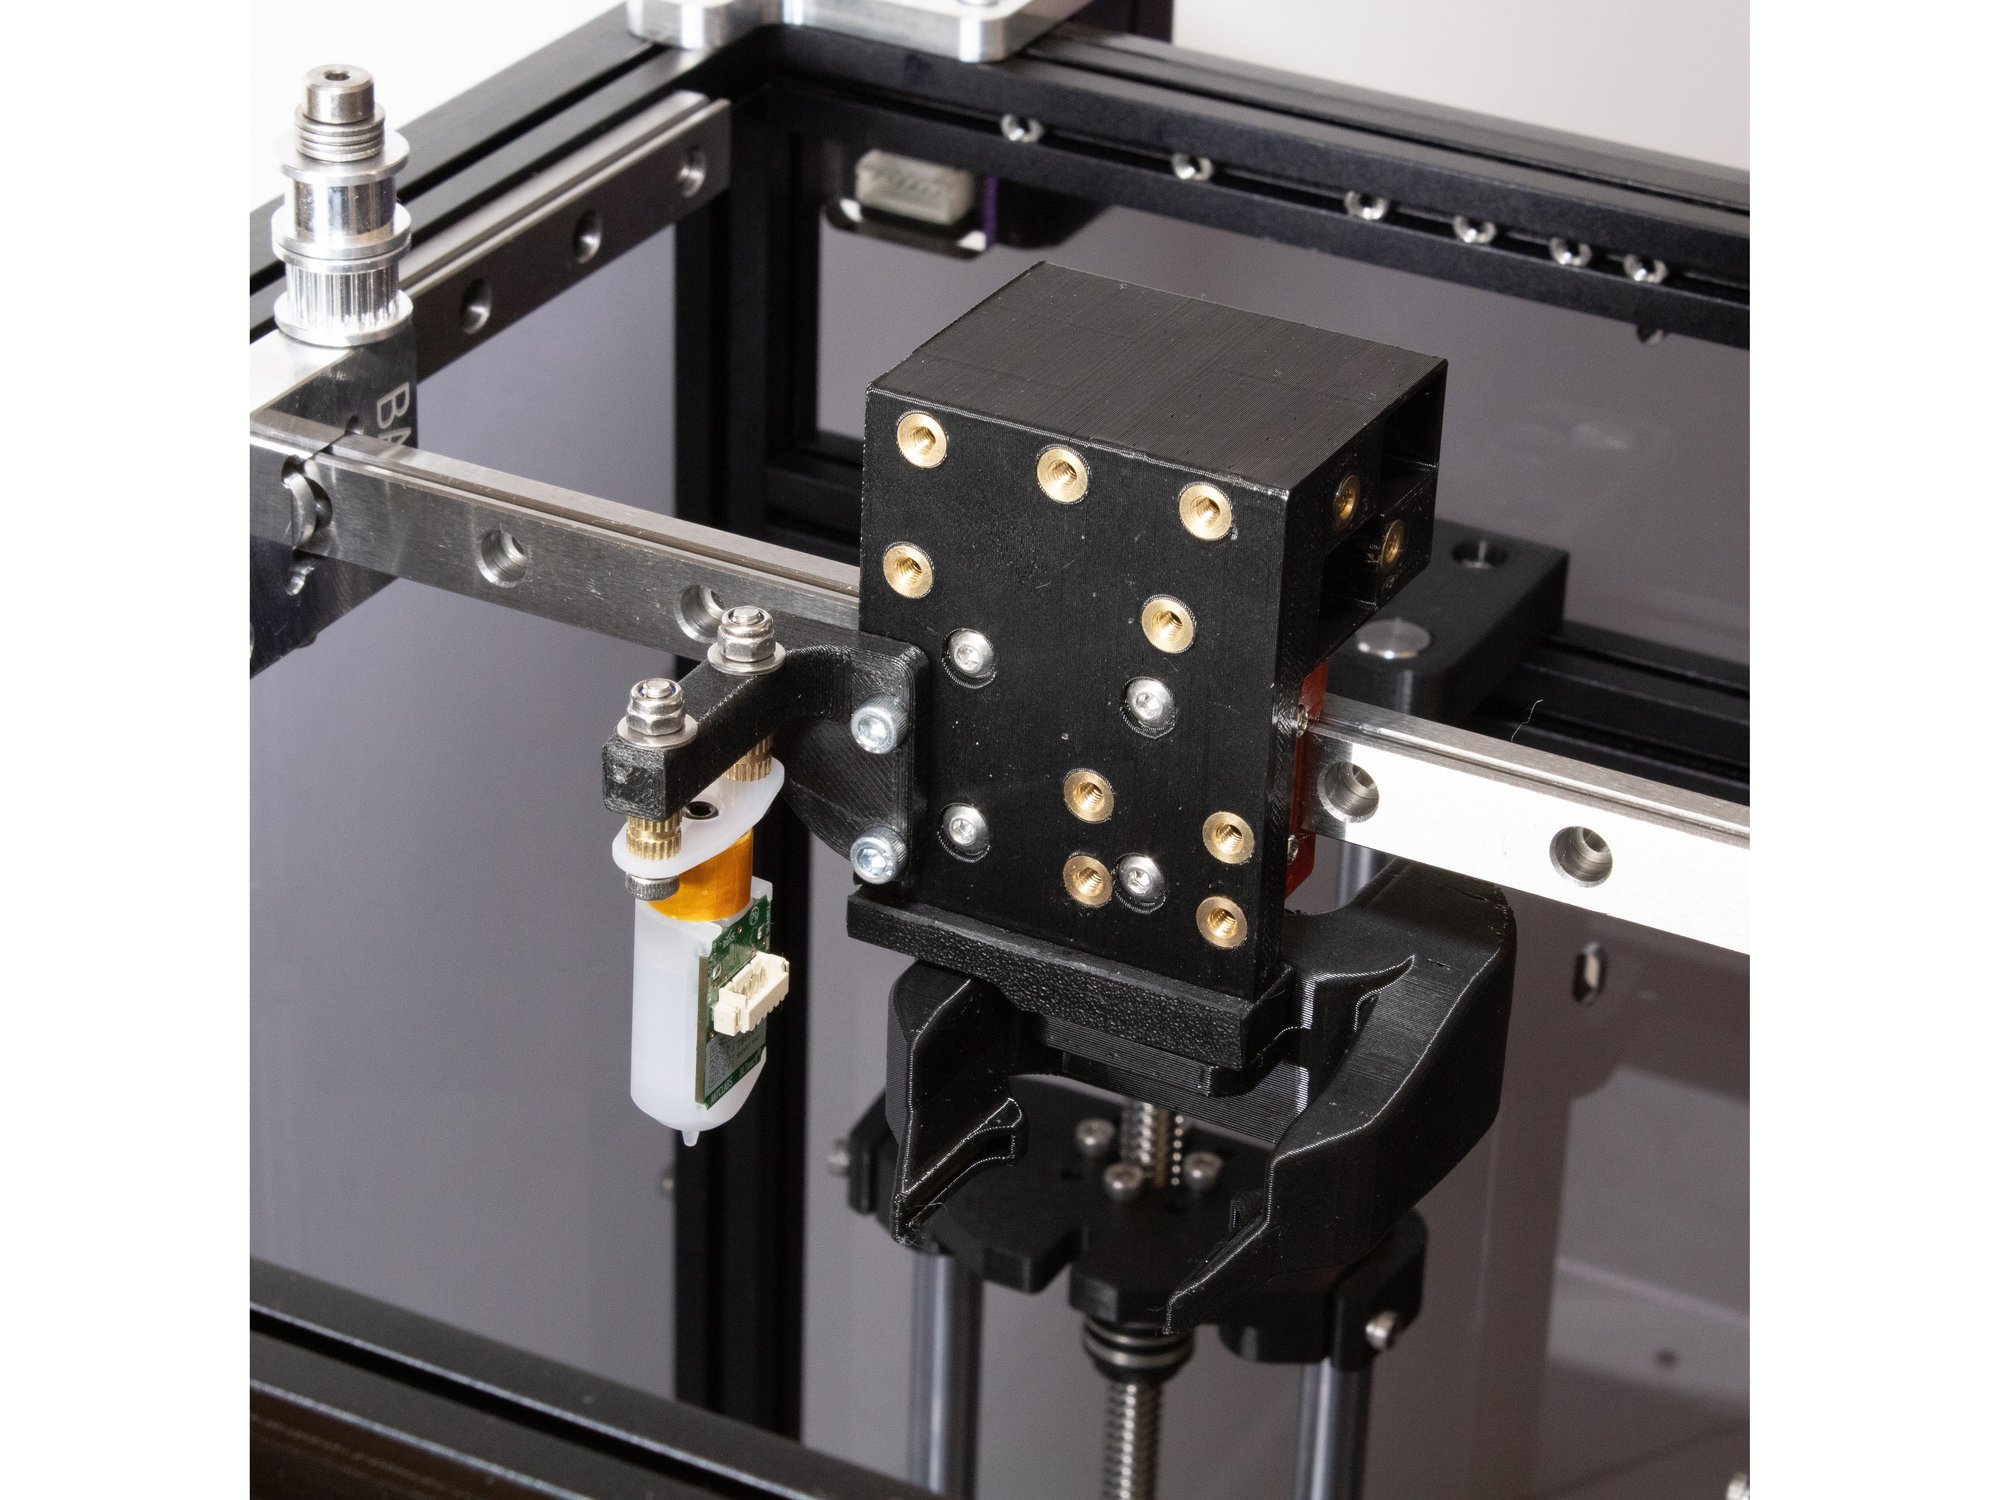
  • The Y carriage gets (17) 3mm brass inserts, as in the picture. (Note: there are also two on the back side, and one on the top. Not all RailCore kits include the optional one on the top, requiring only 17 inserts)

C) Top Extrusions Assembly

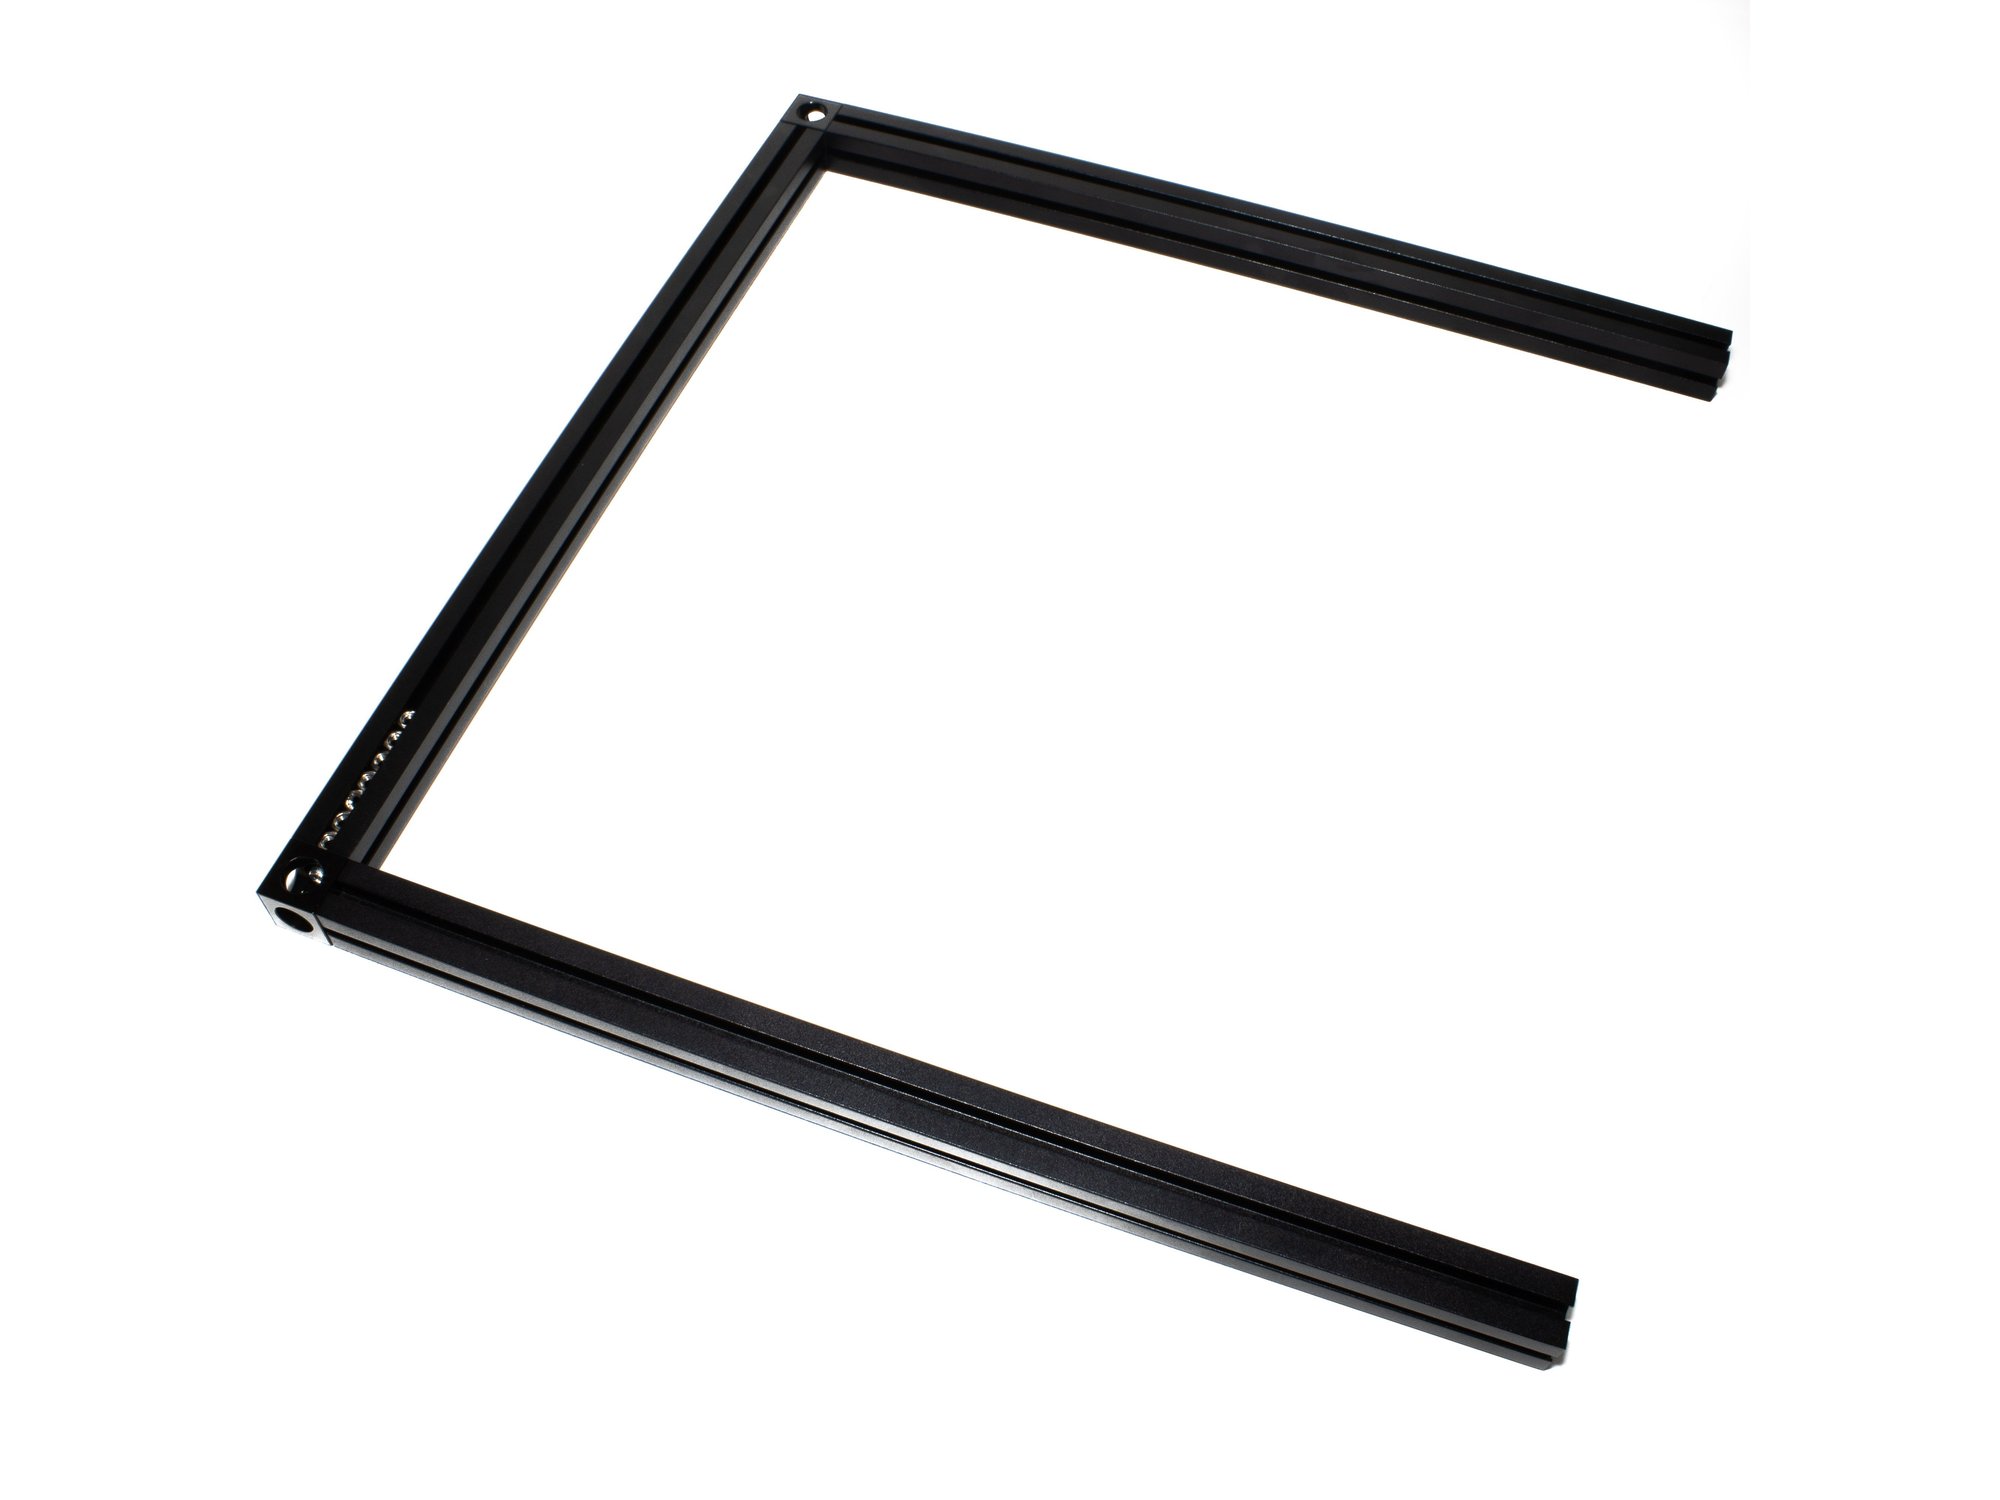
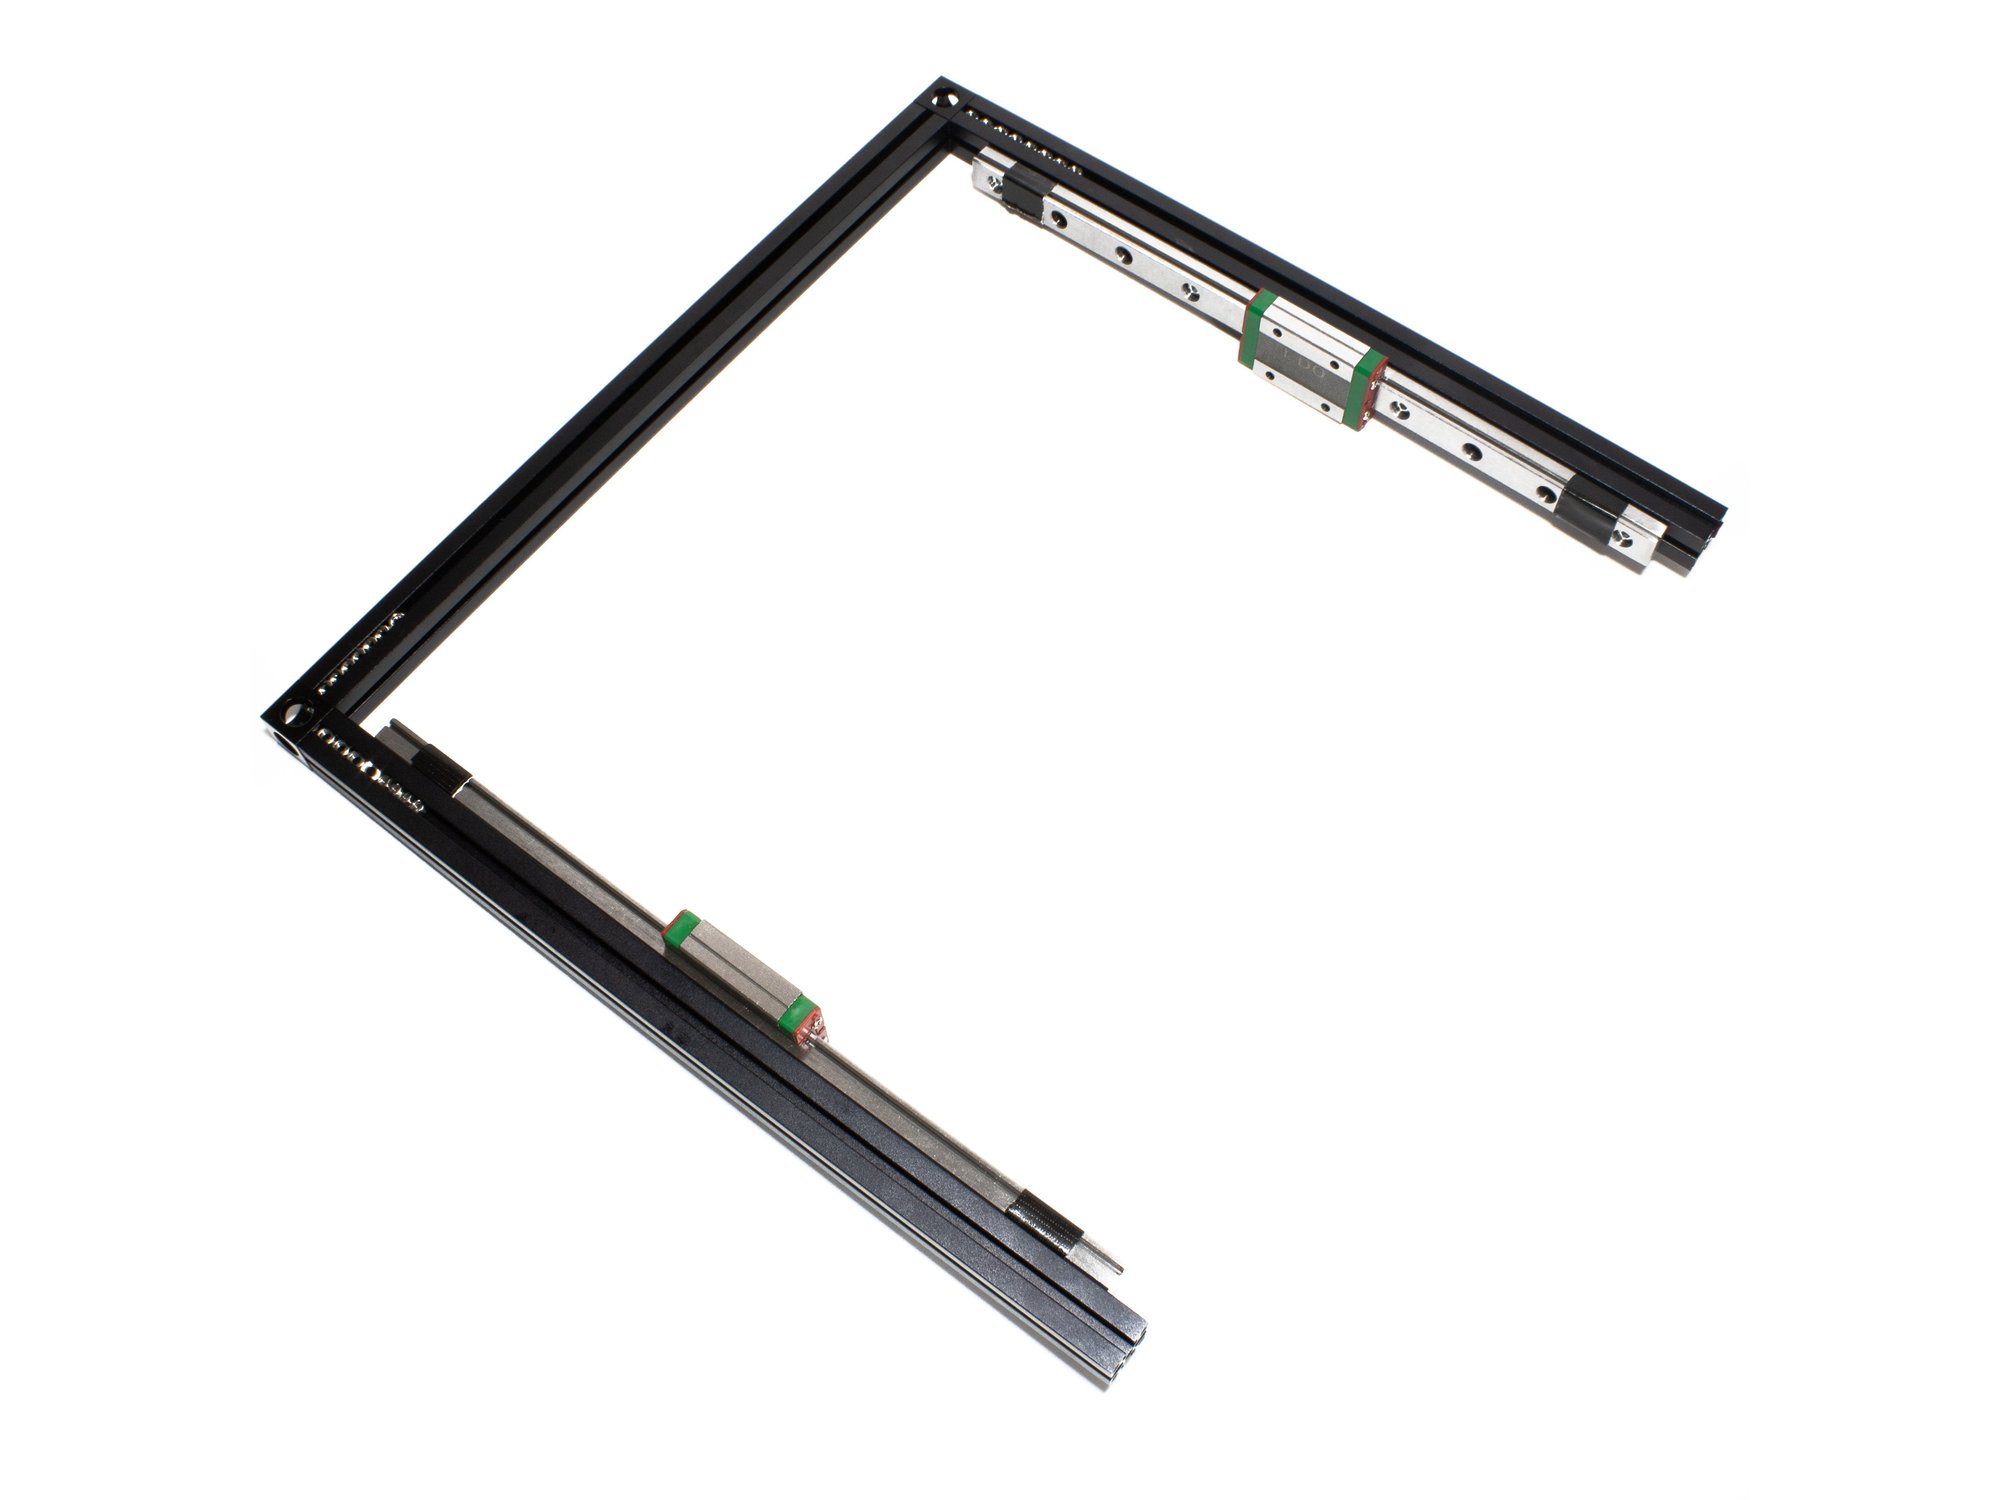
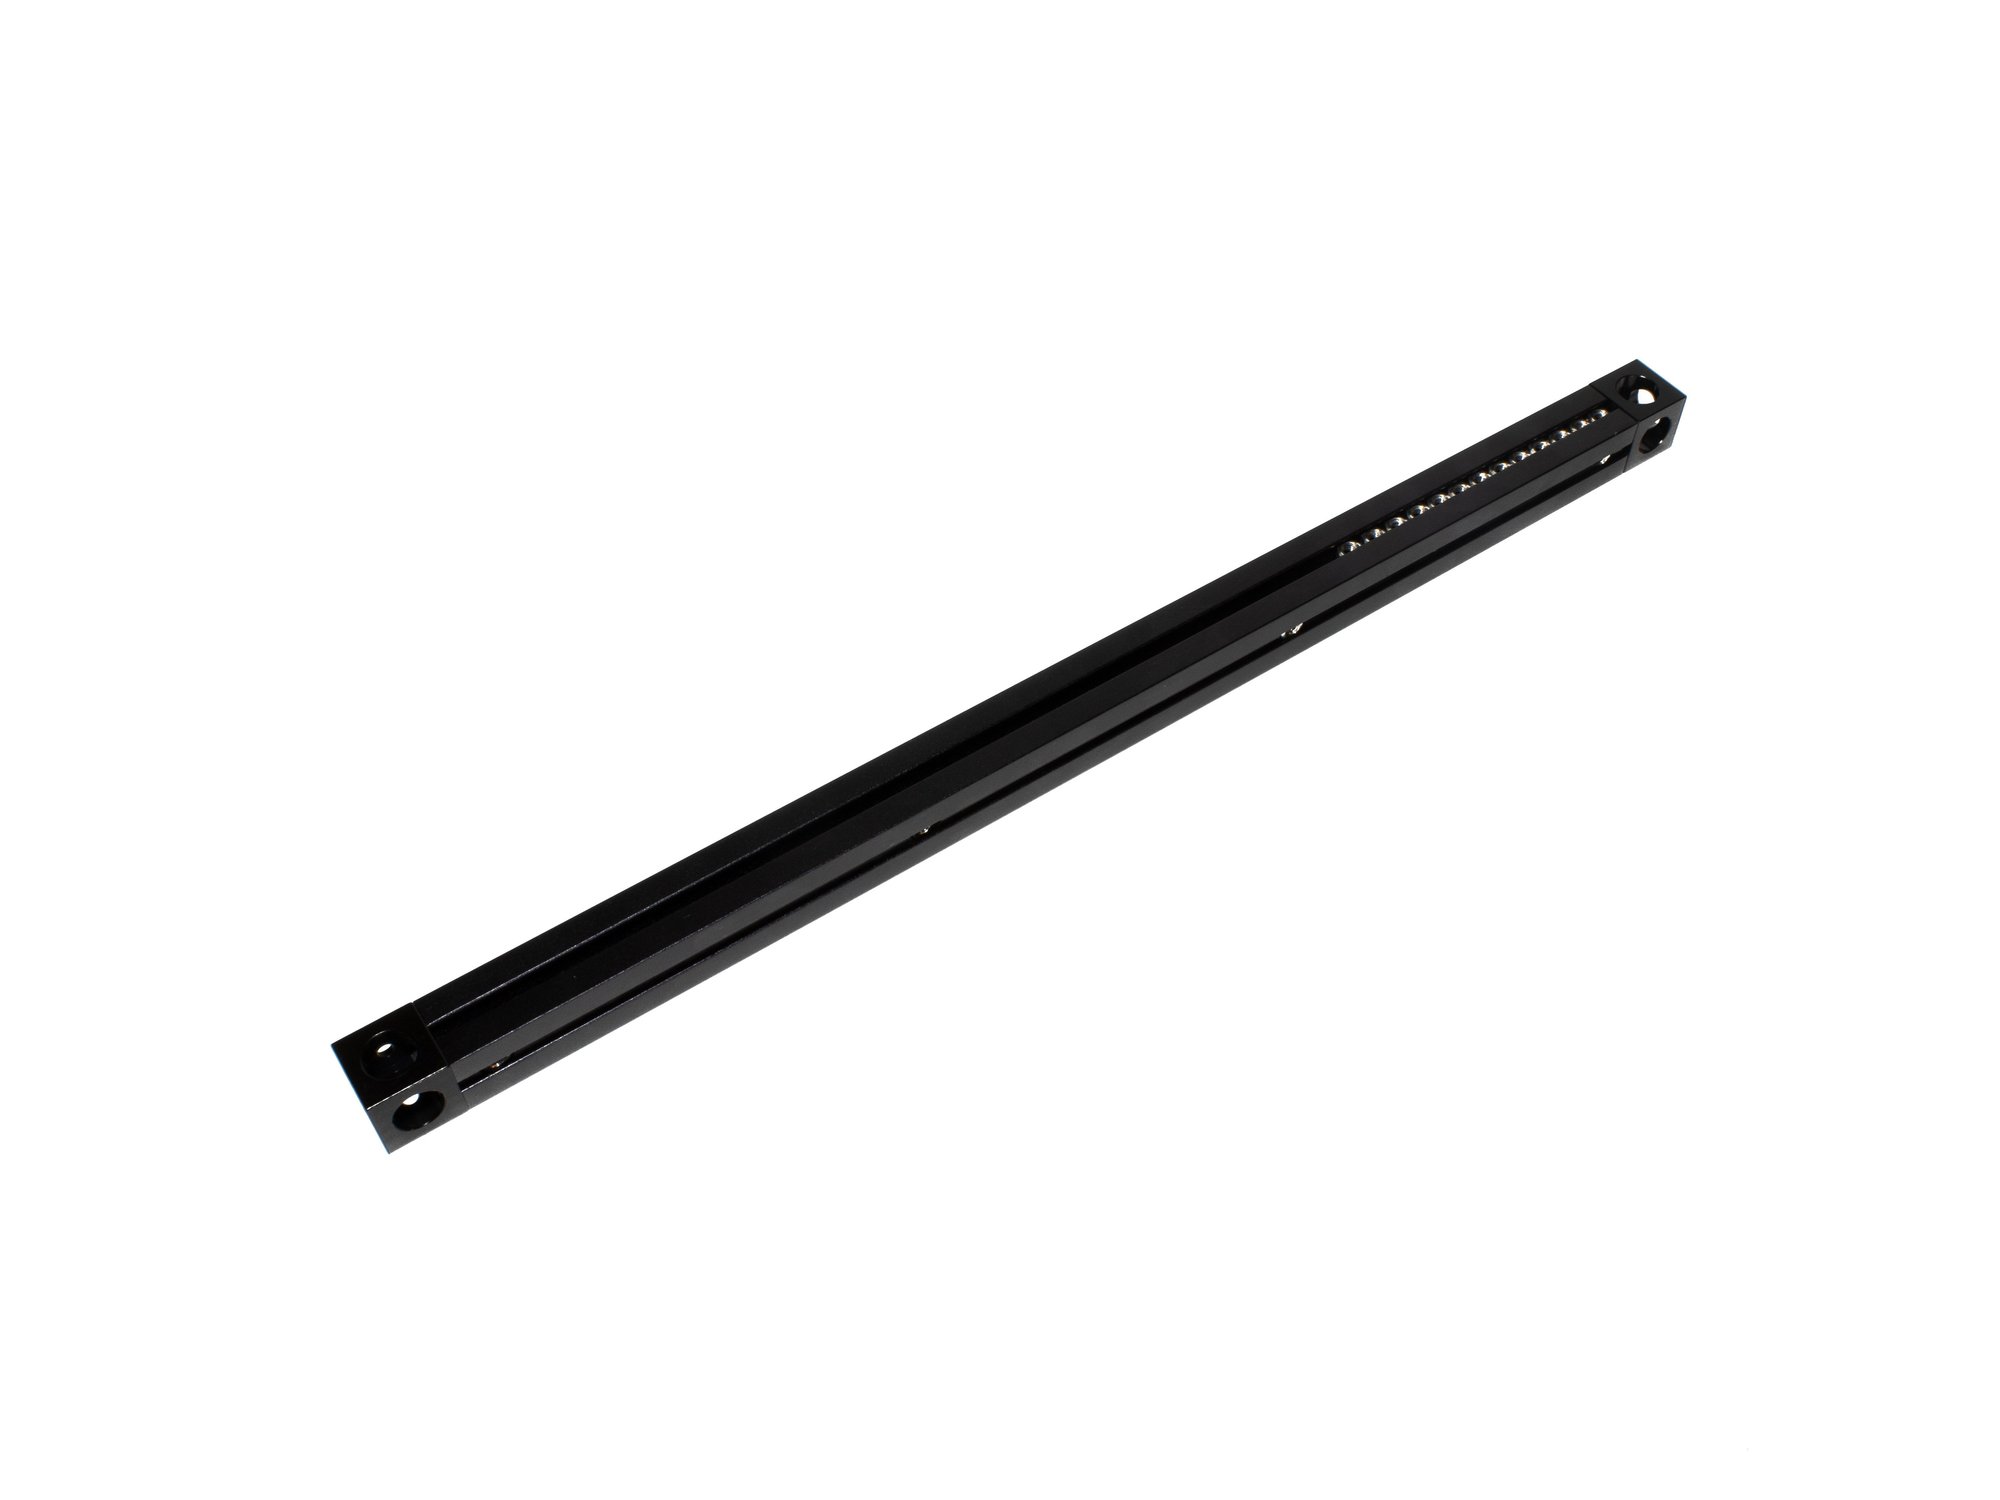
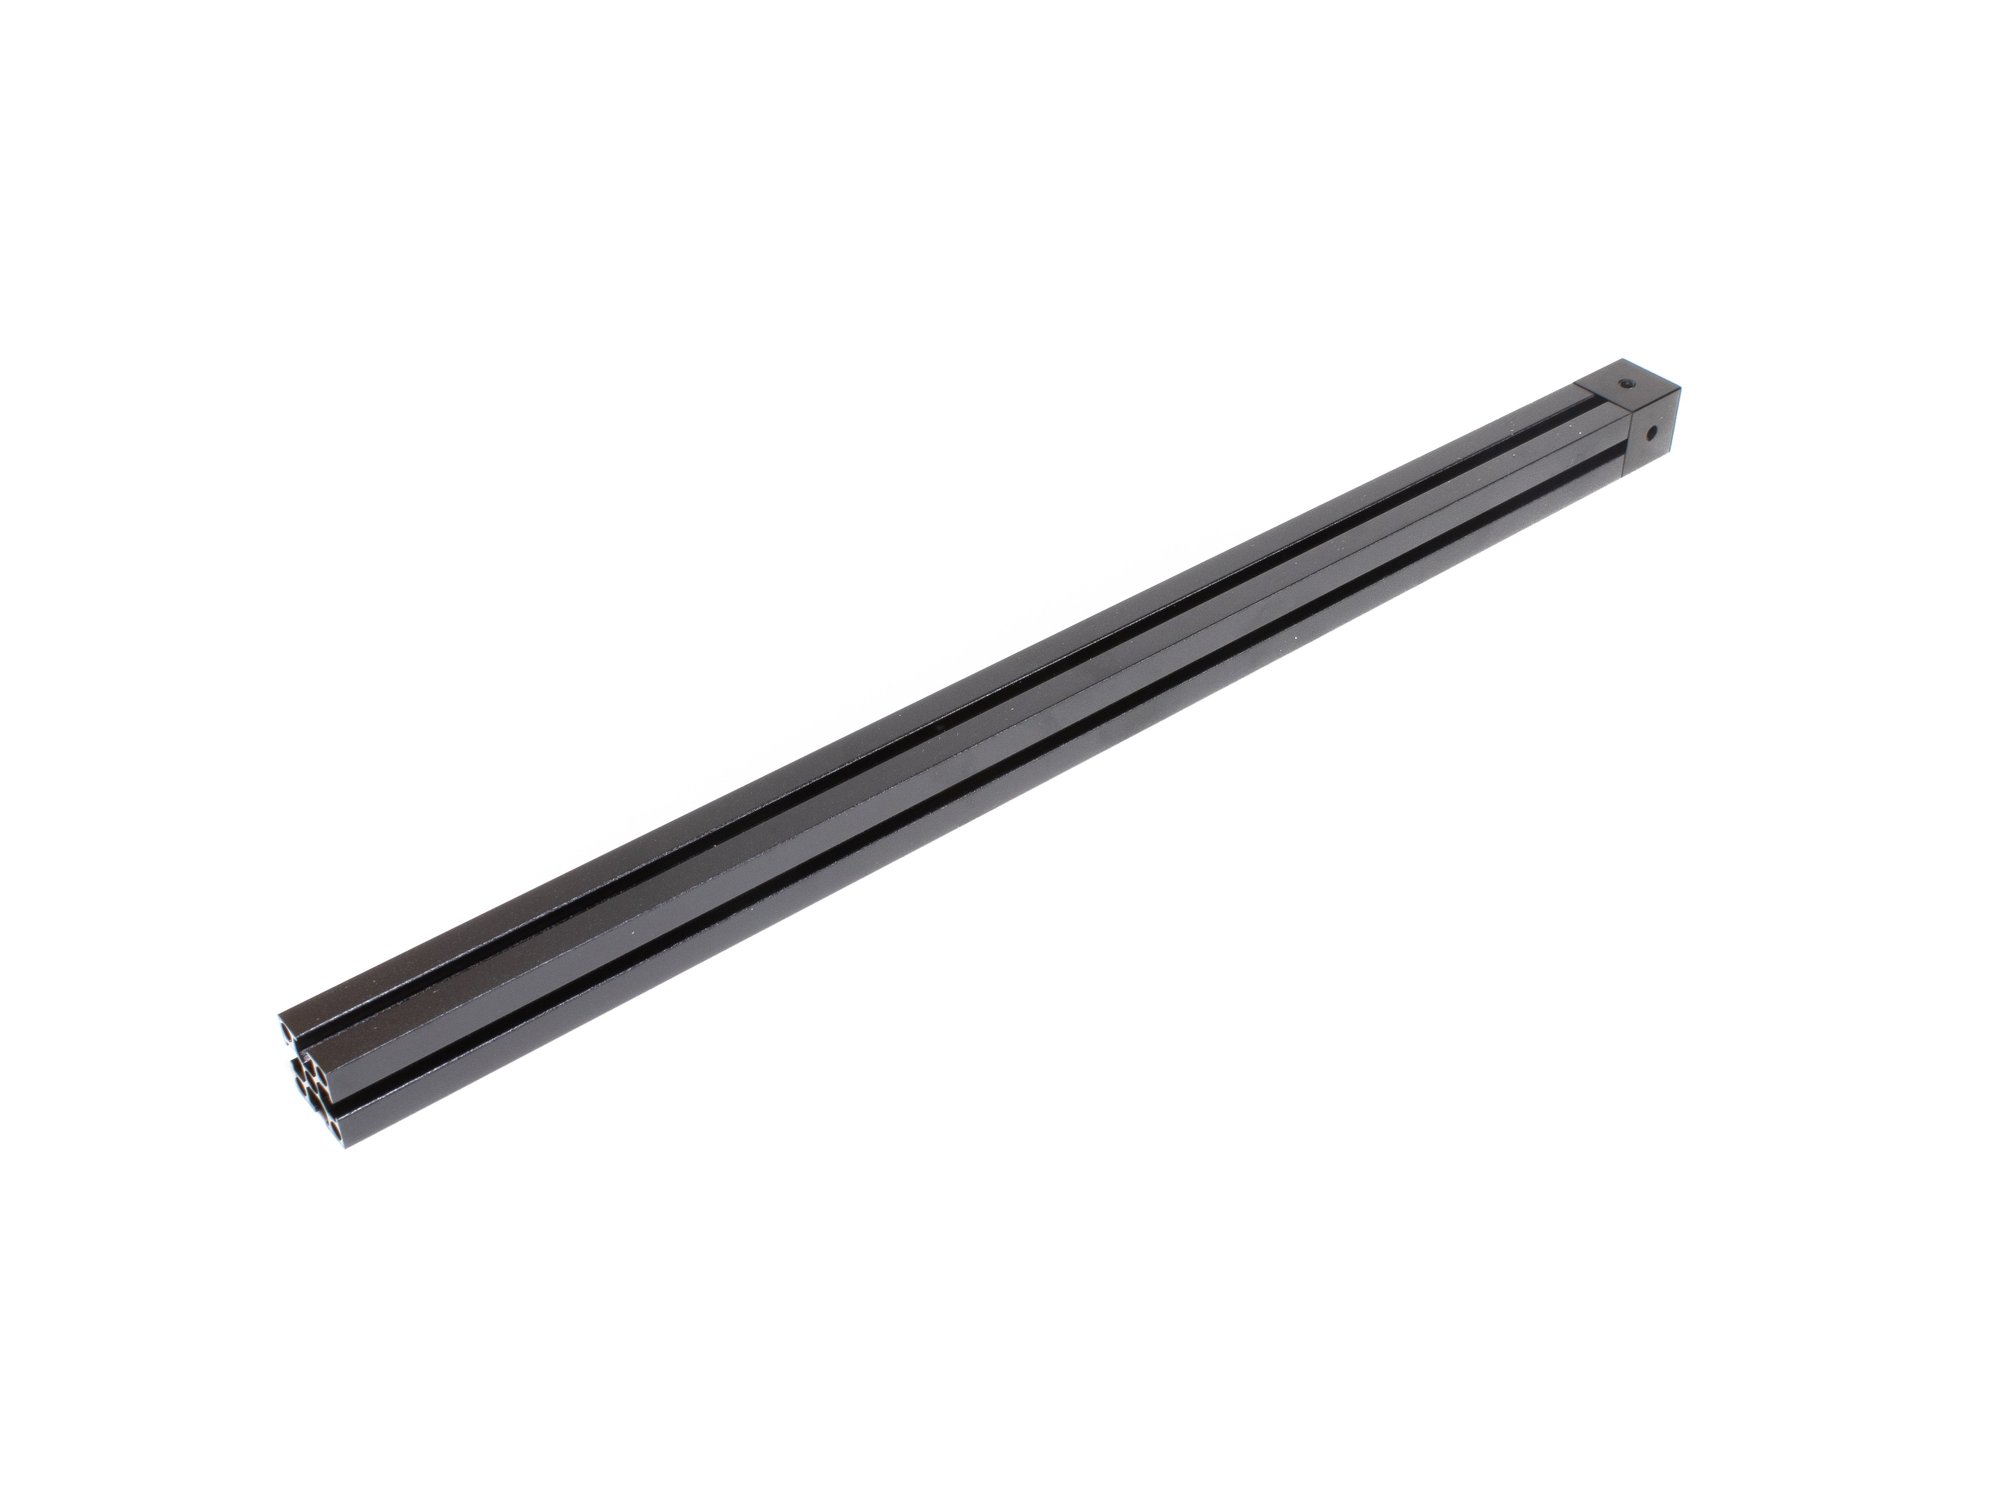
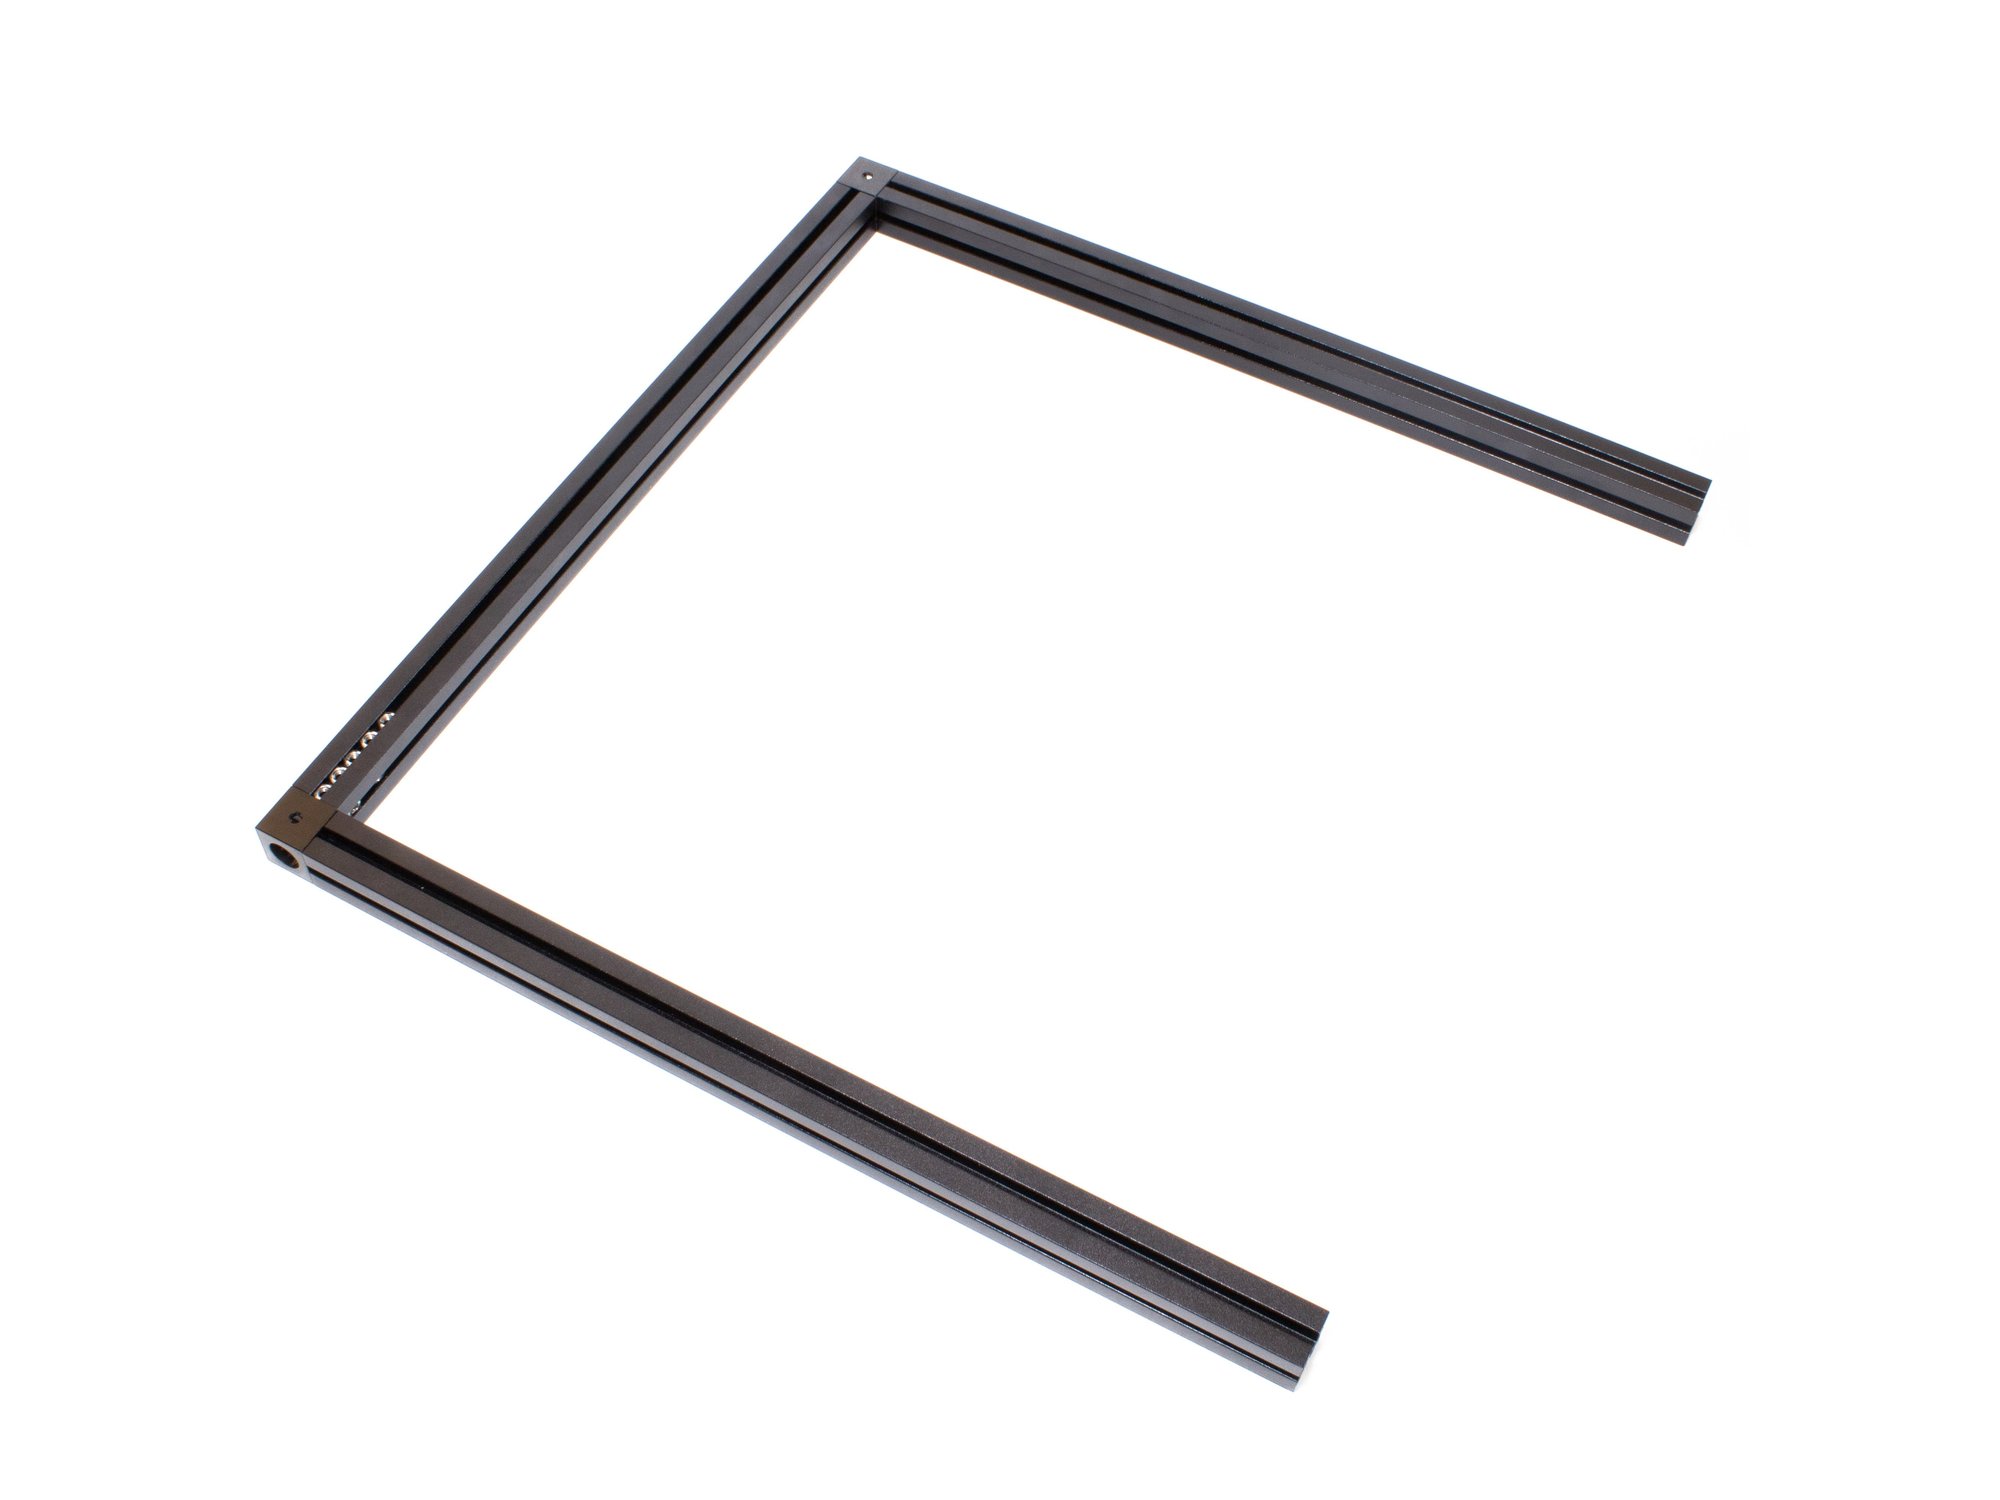
Step 1 — Lay Out Top Extrusions

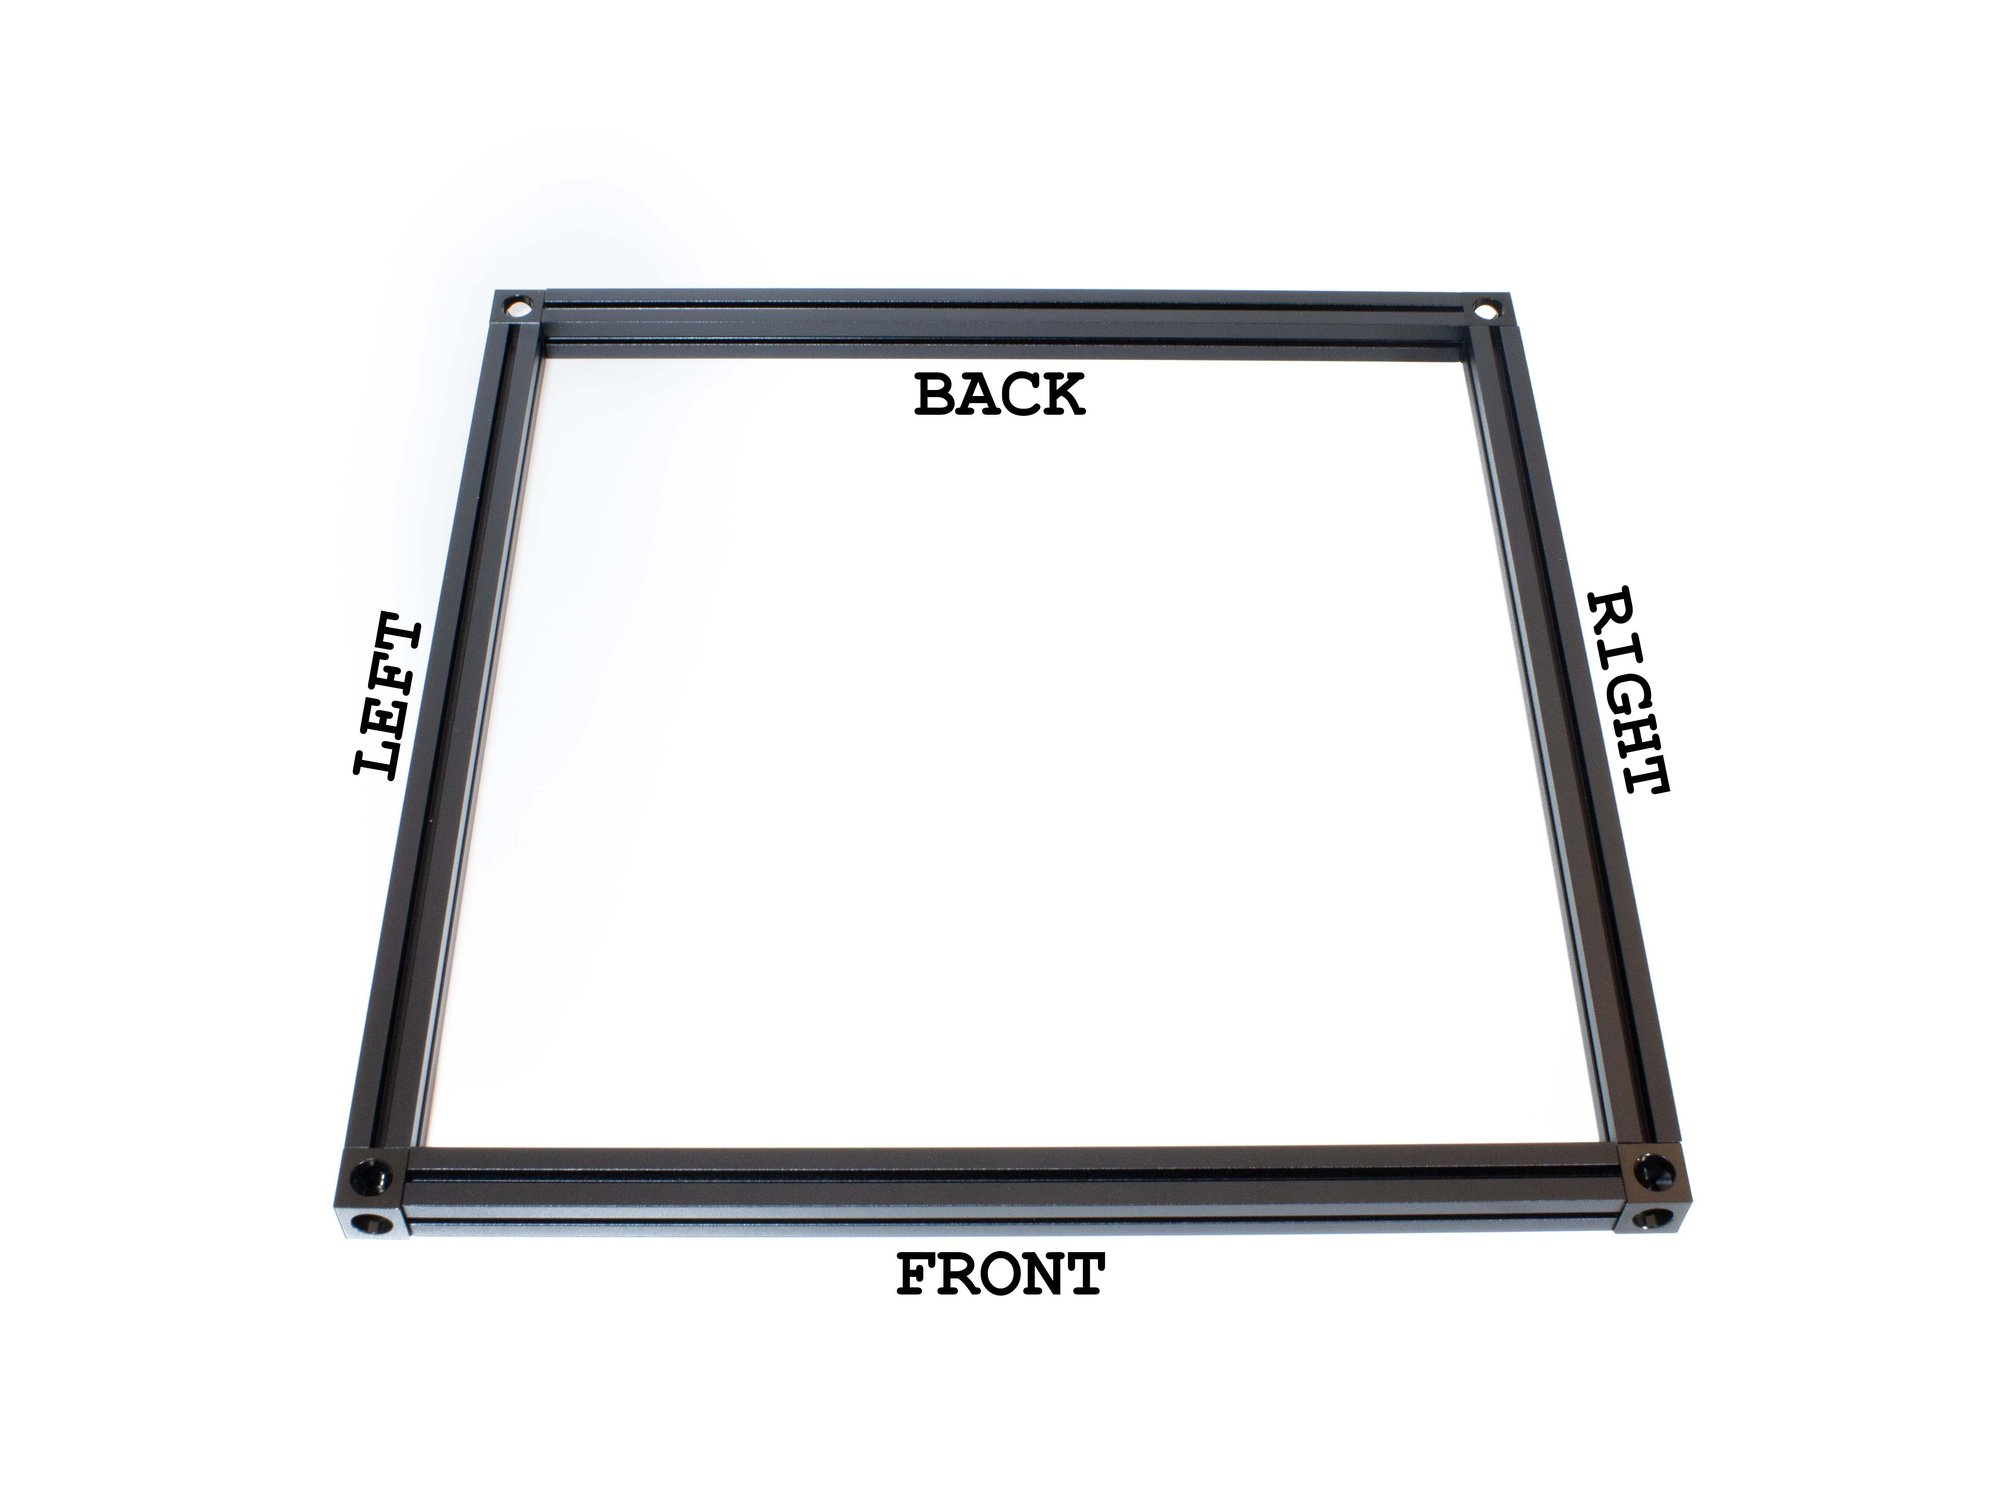
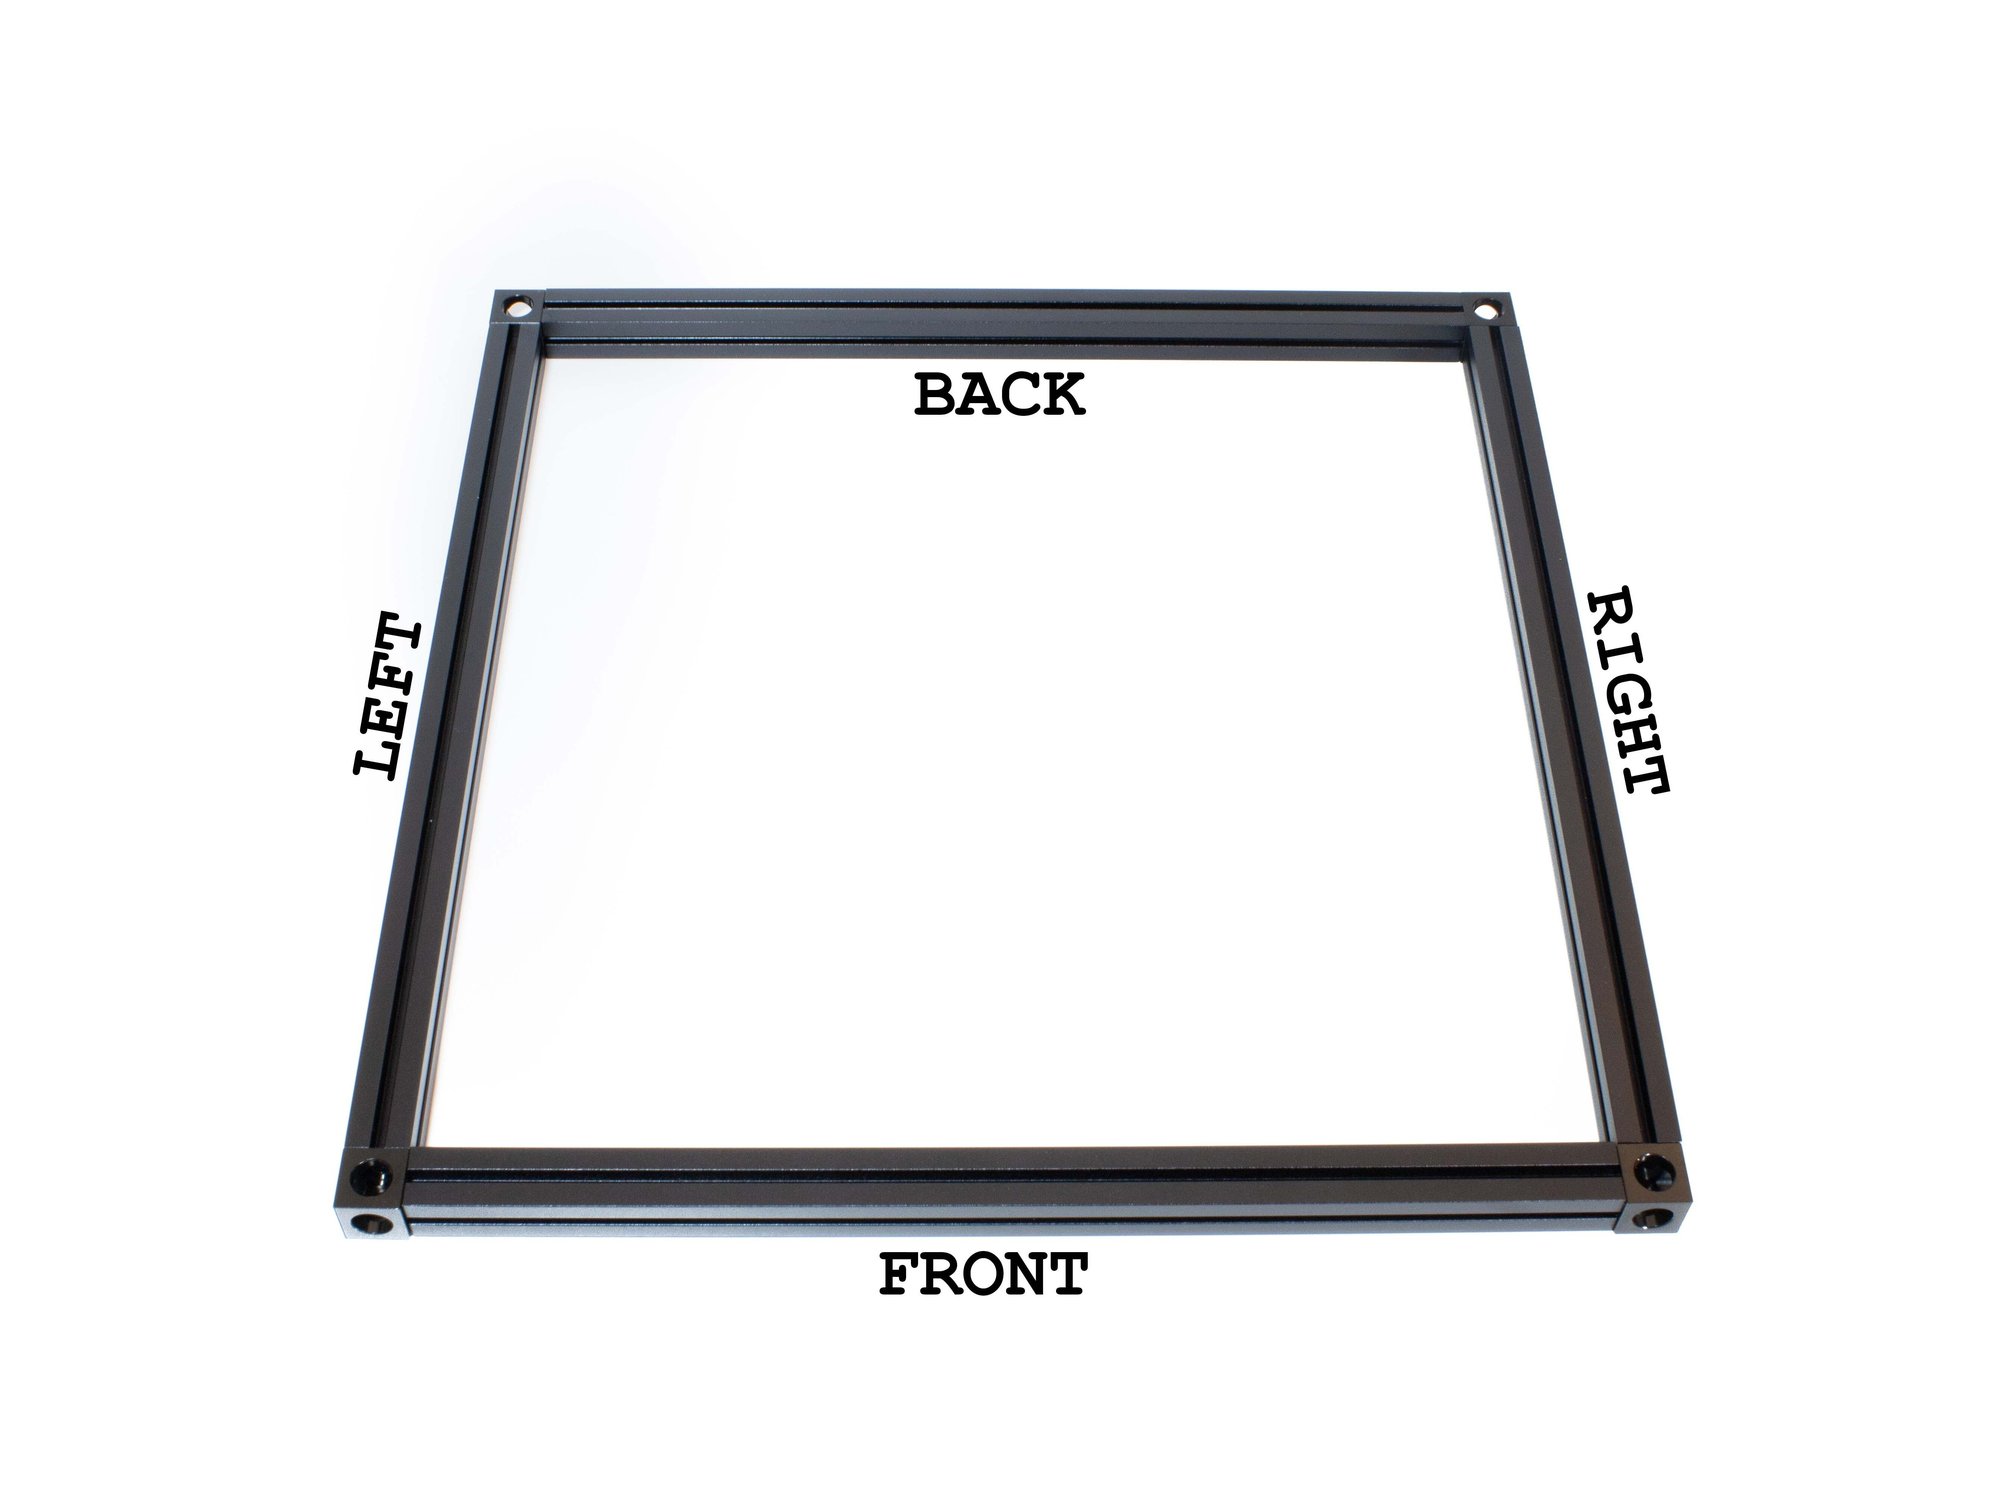
  • Lay out top extrusions as pictured.
  • It can be helpful to use masking tape to add a label to the top of each extrusion indicating which it is (Top Back, Top Left, etc).
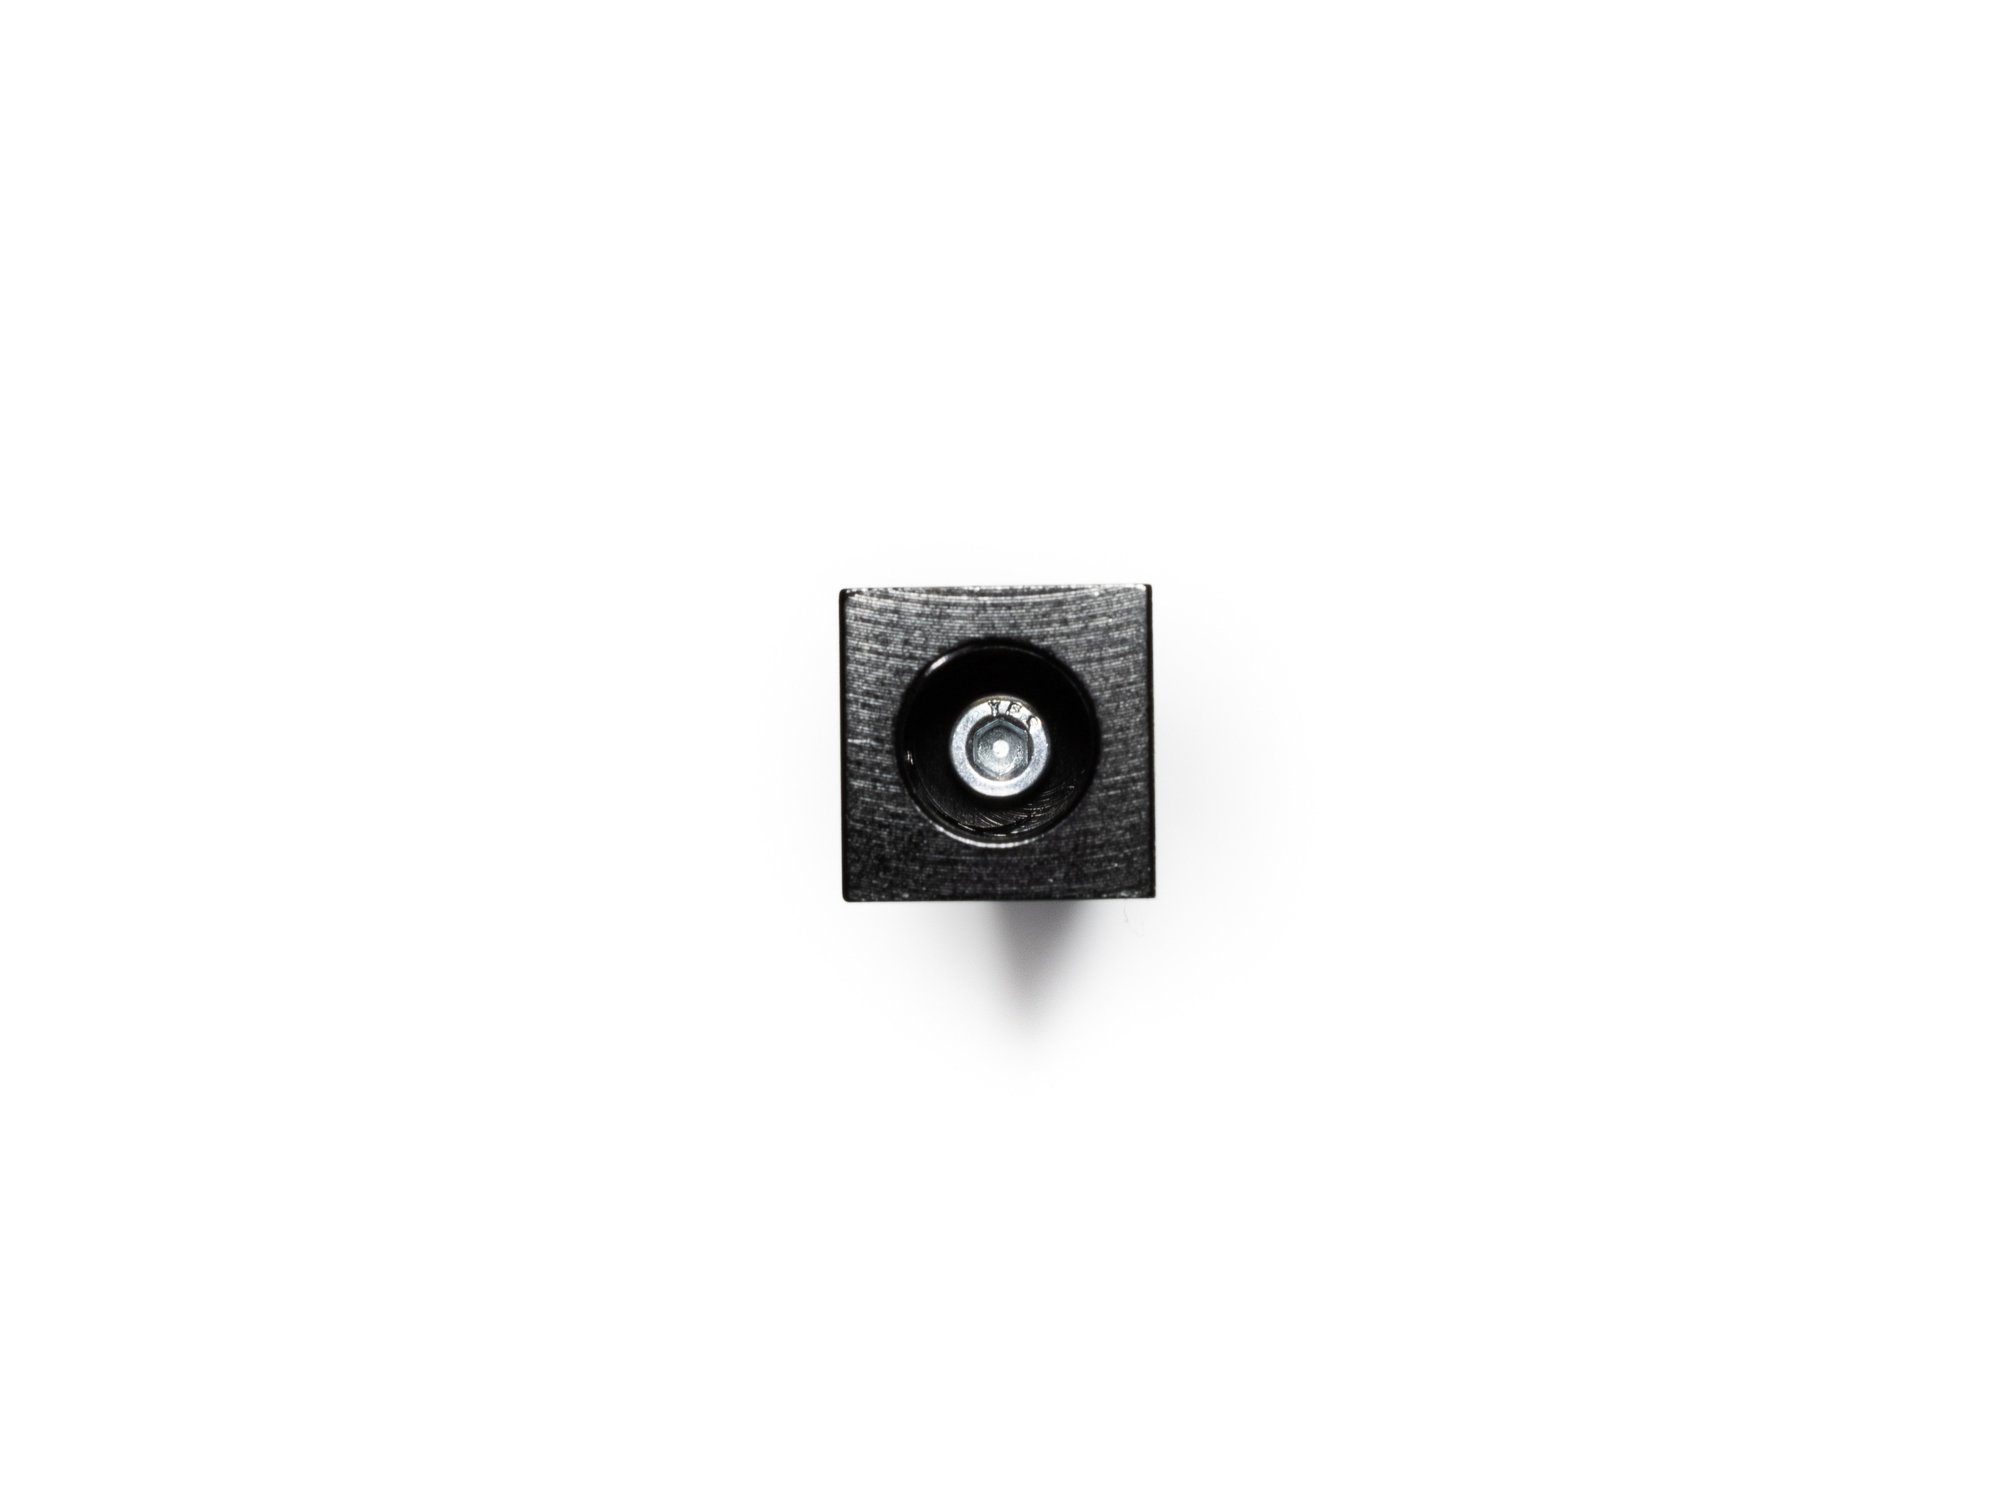
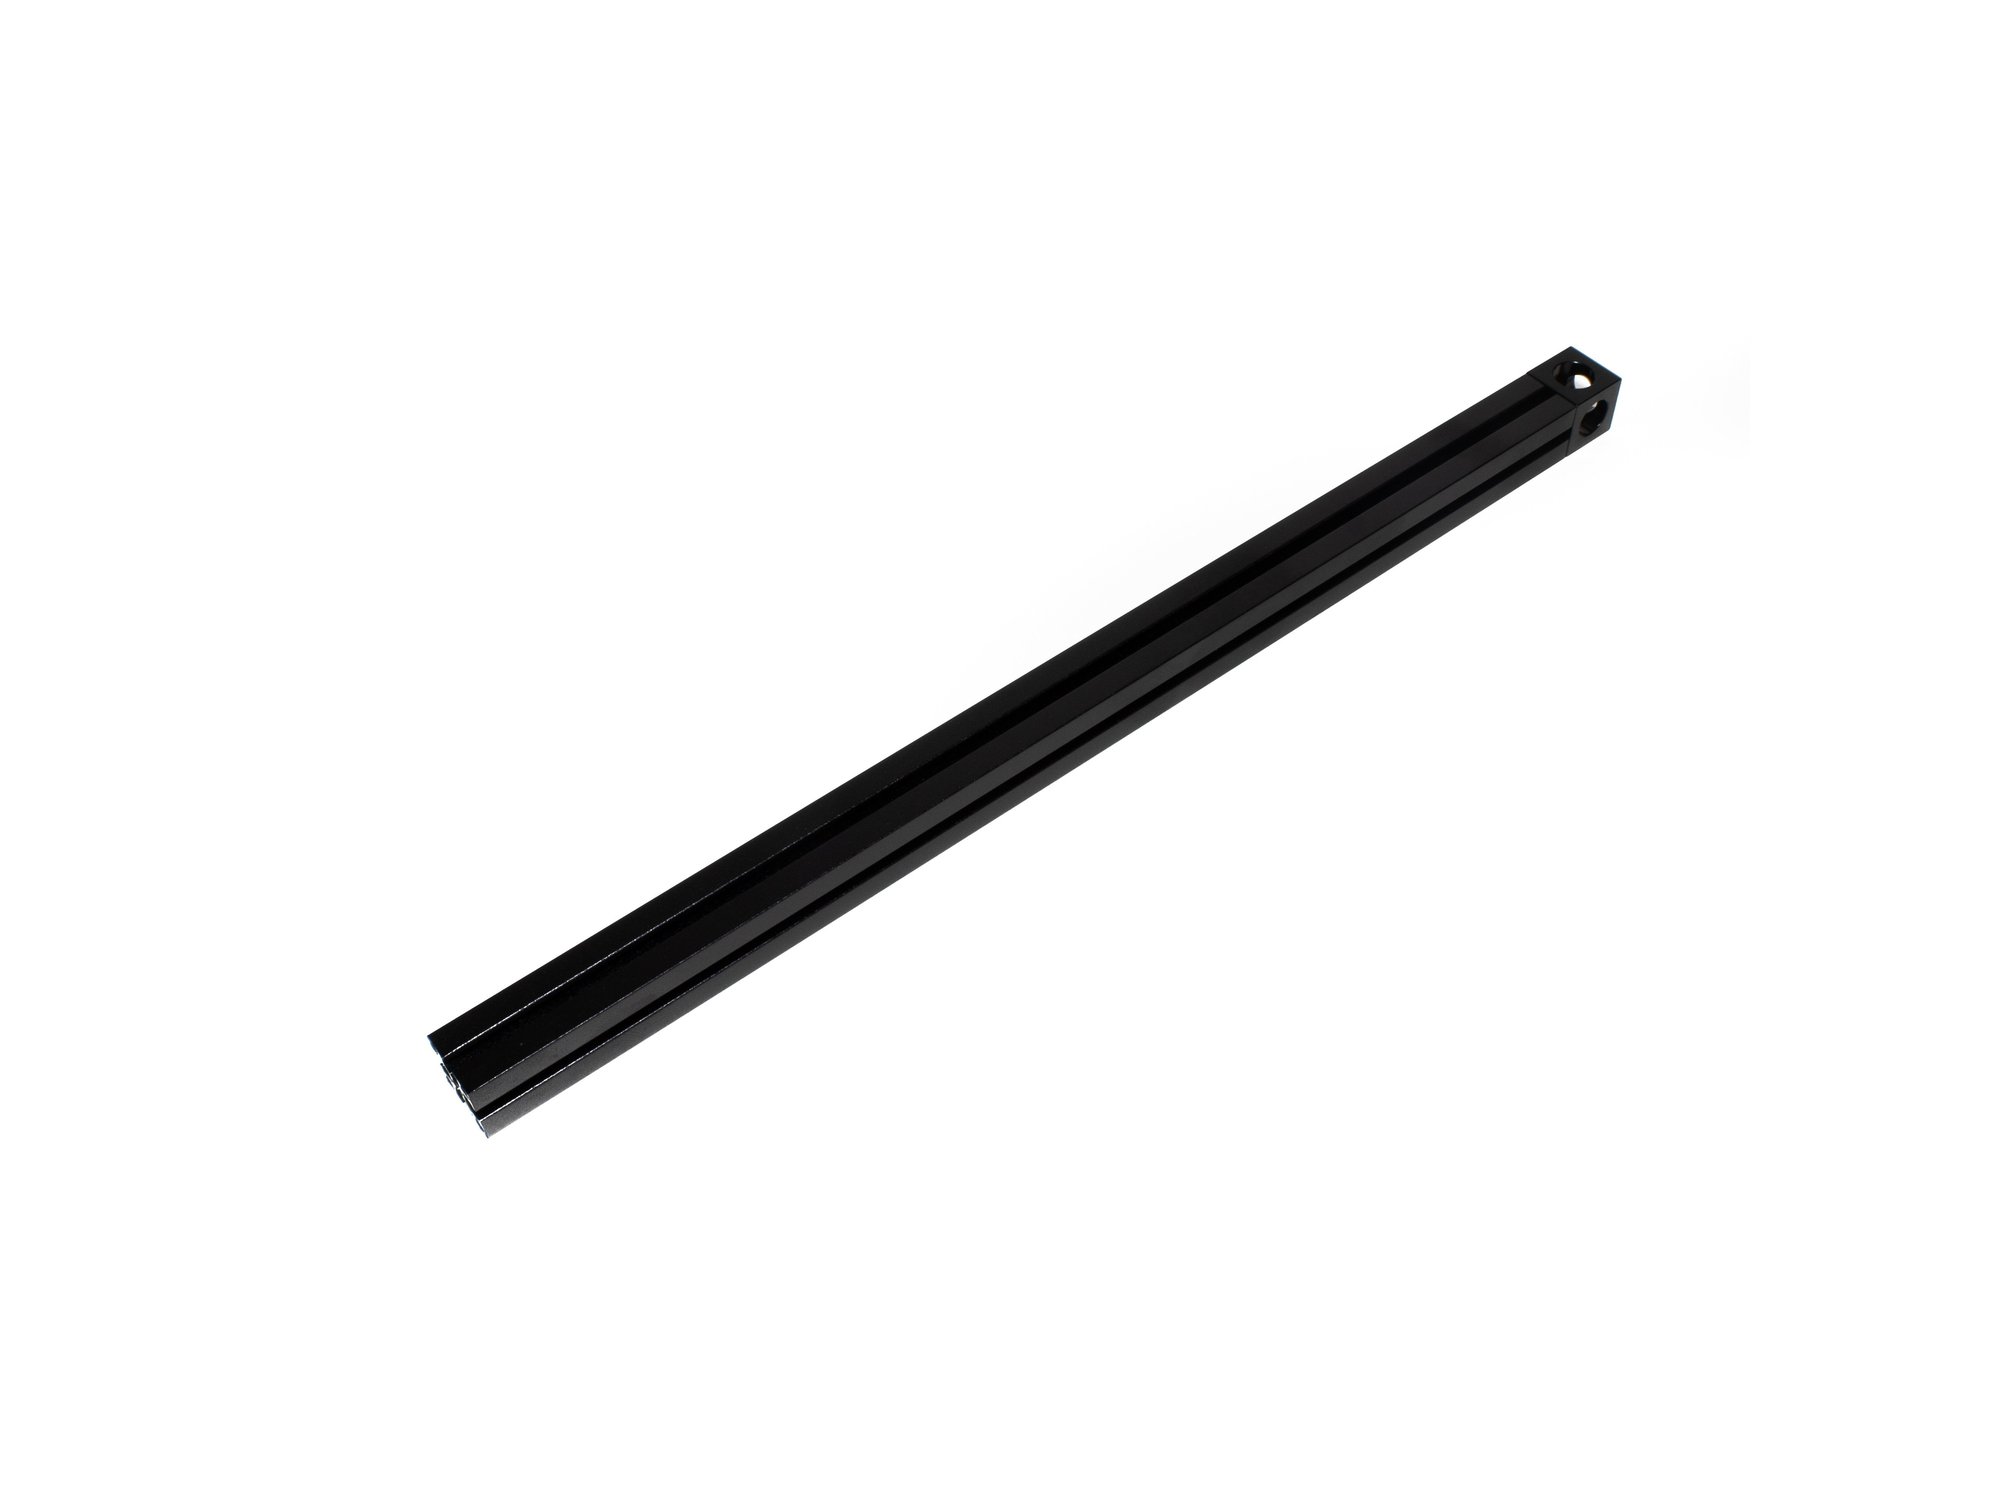
  • Be sure the Corner cubes have a larger hole facing up, smaller hole facing down.

Step 2 — Bolt Corner Cube to Top Left Extrusion

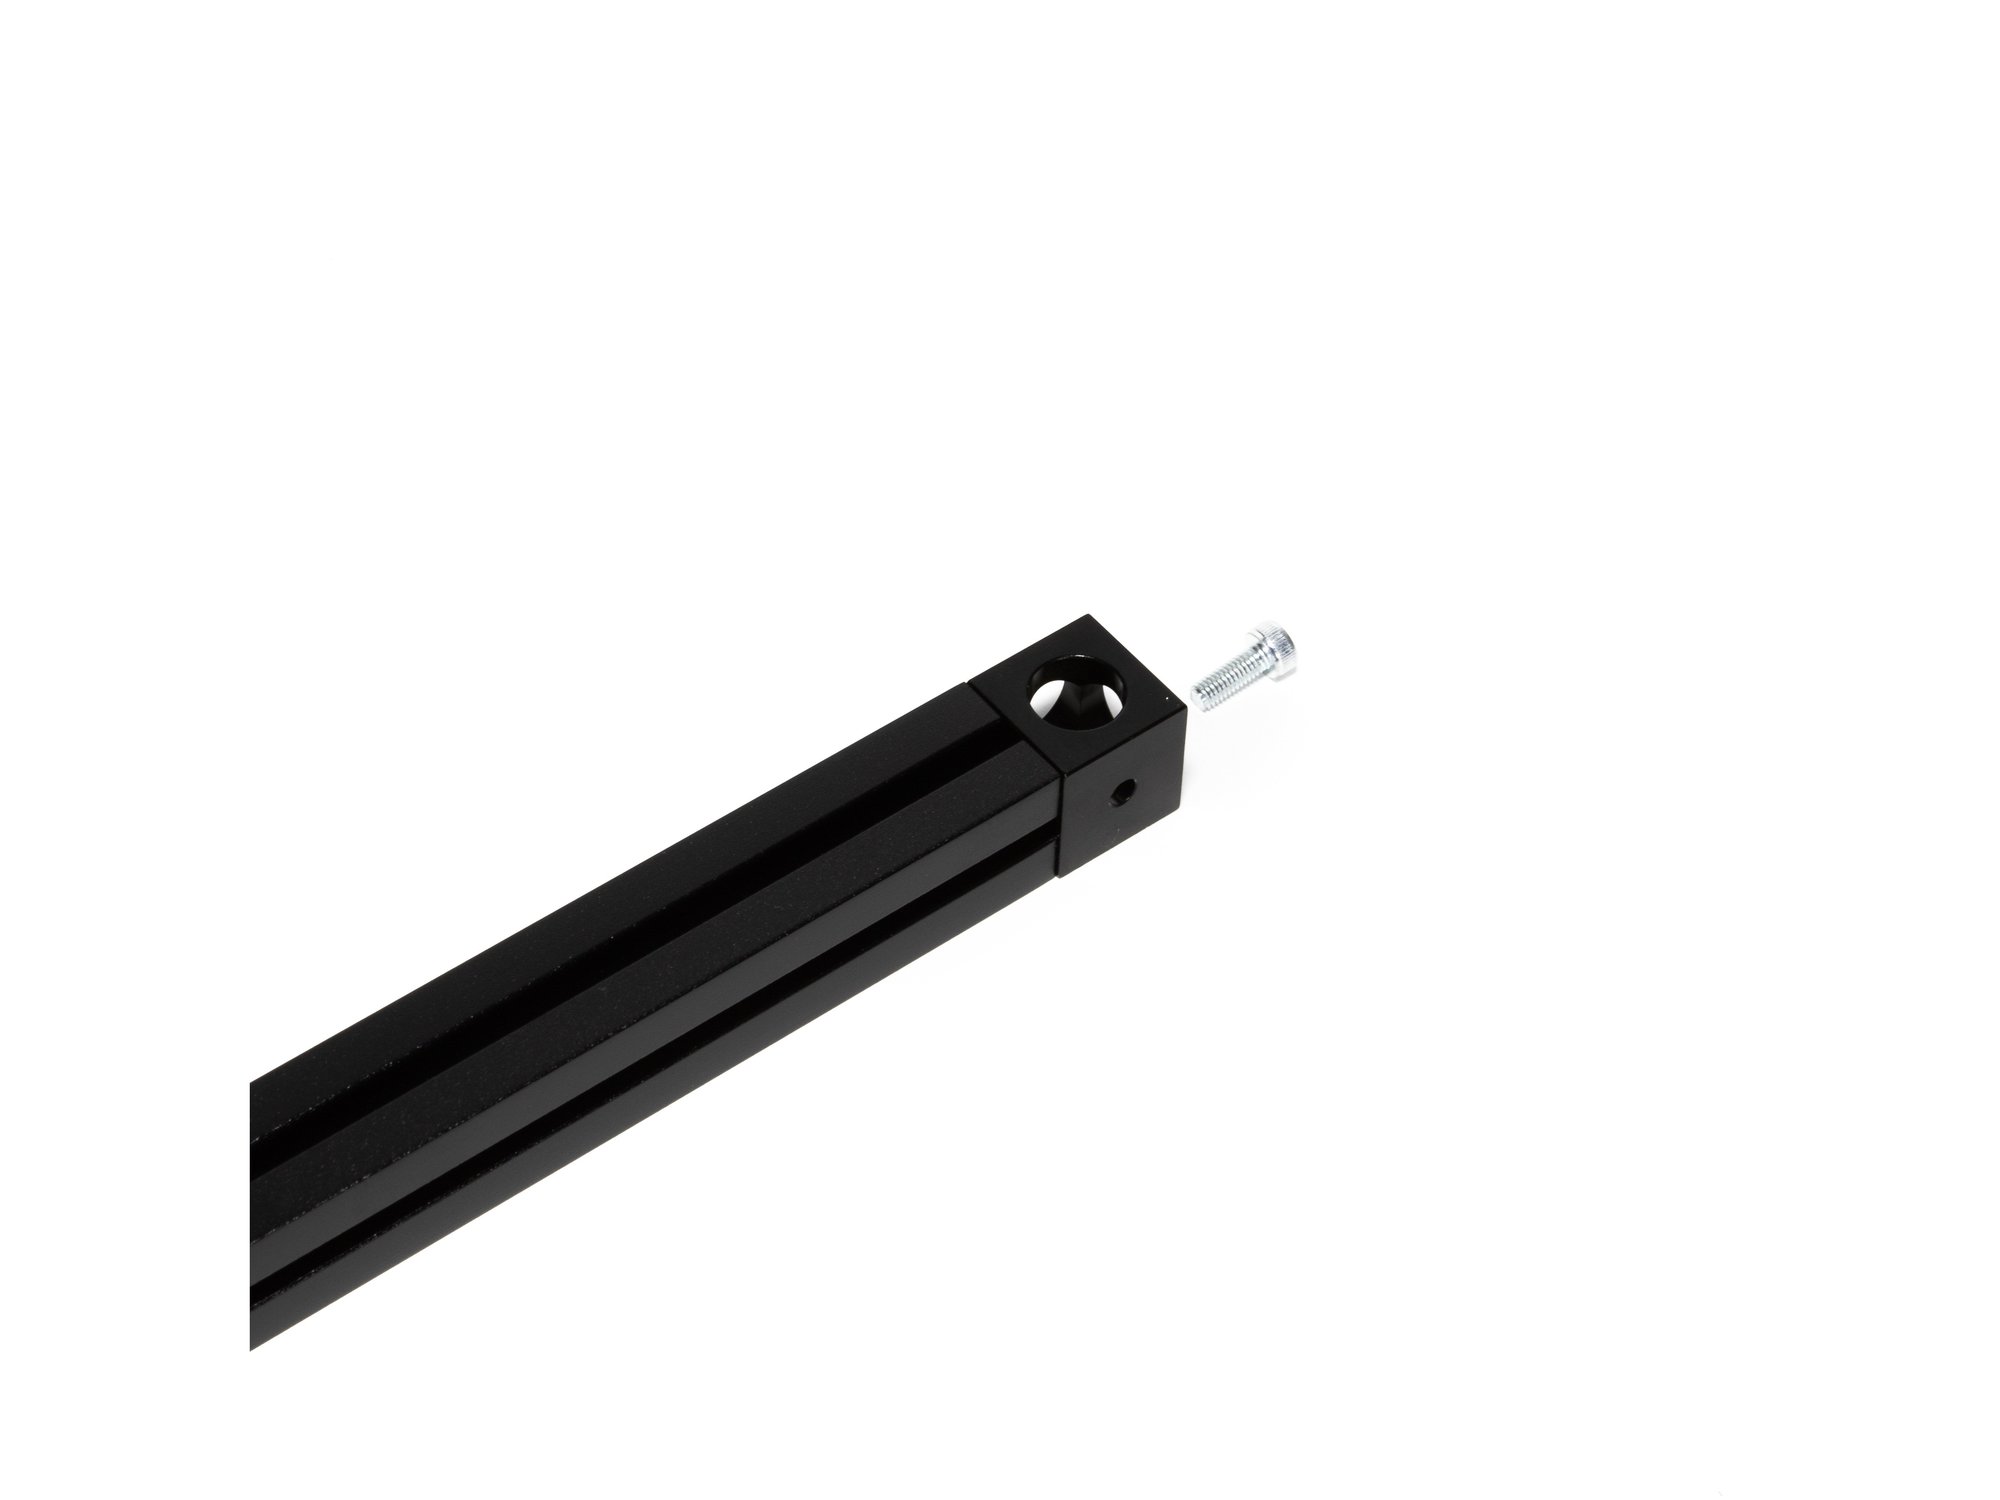
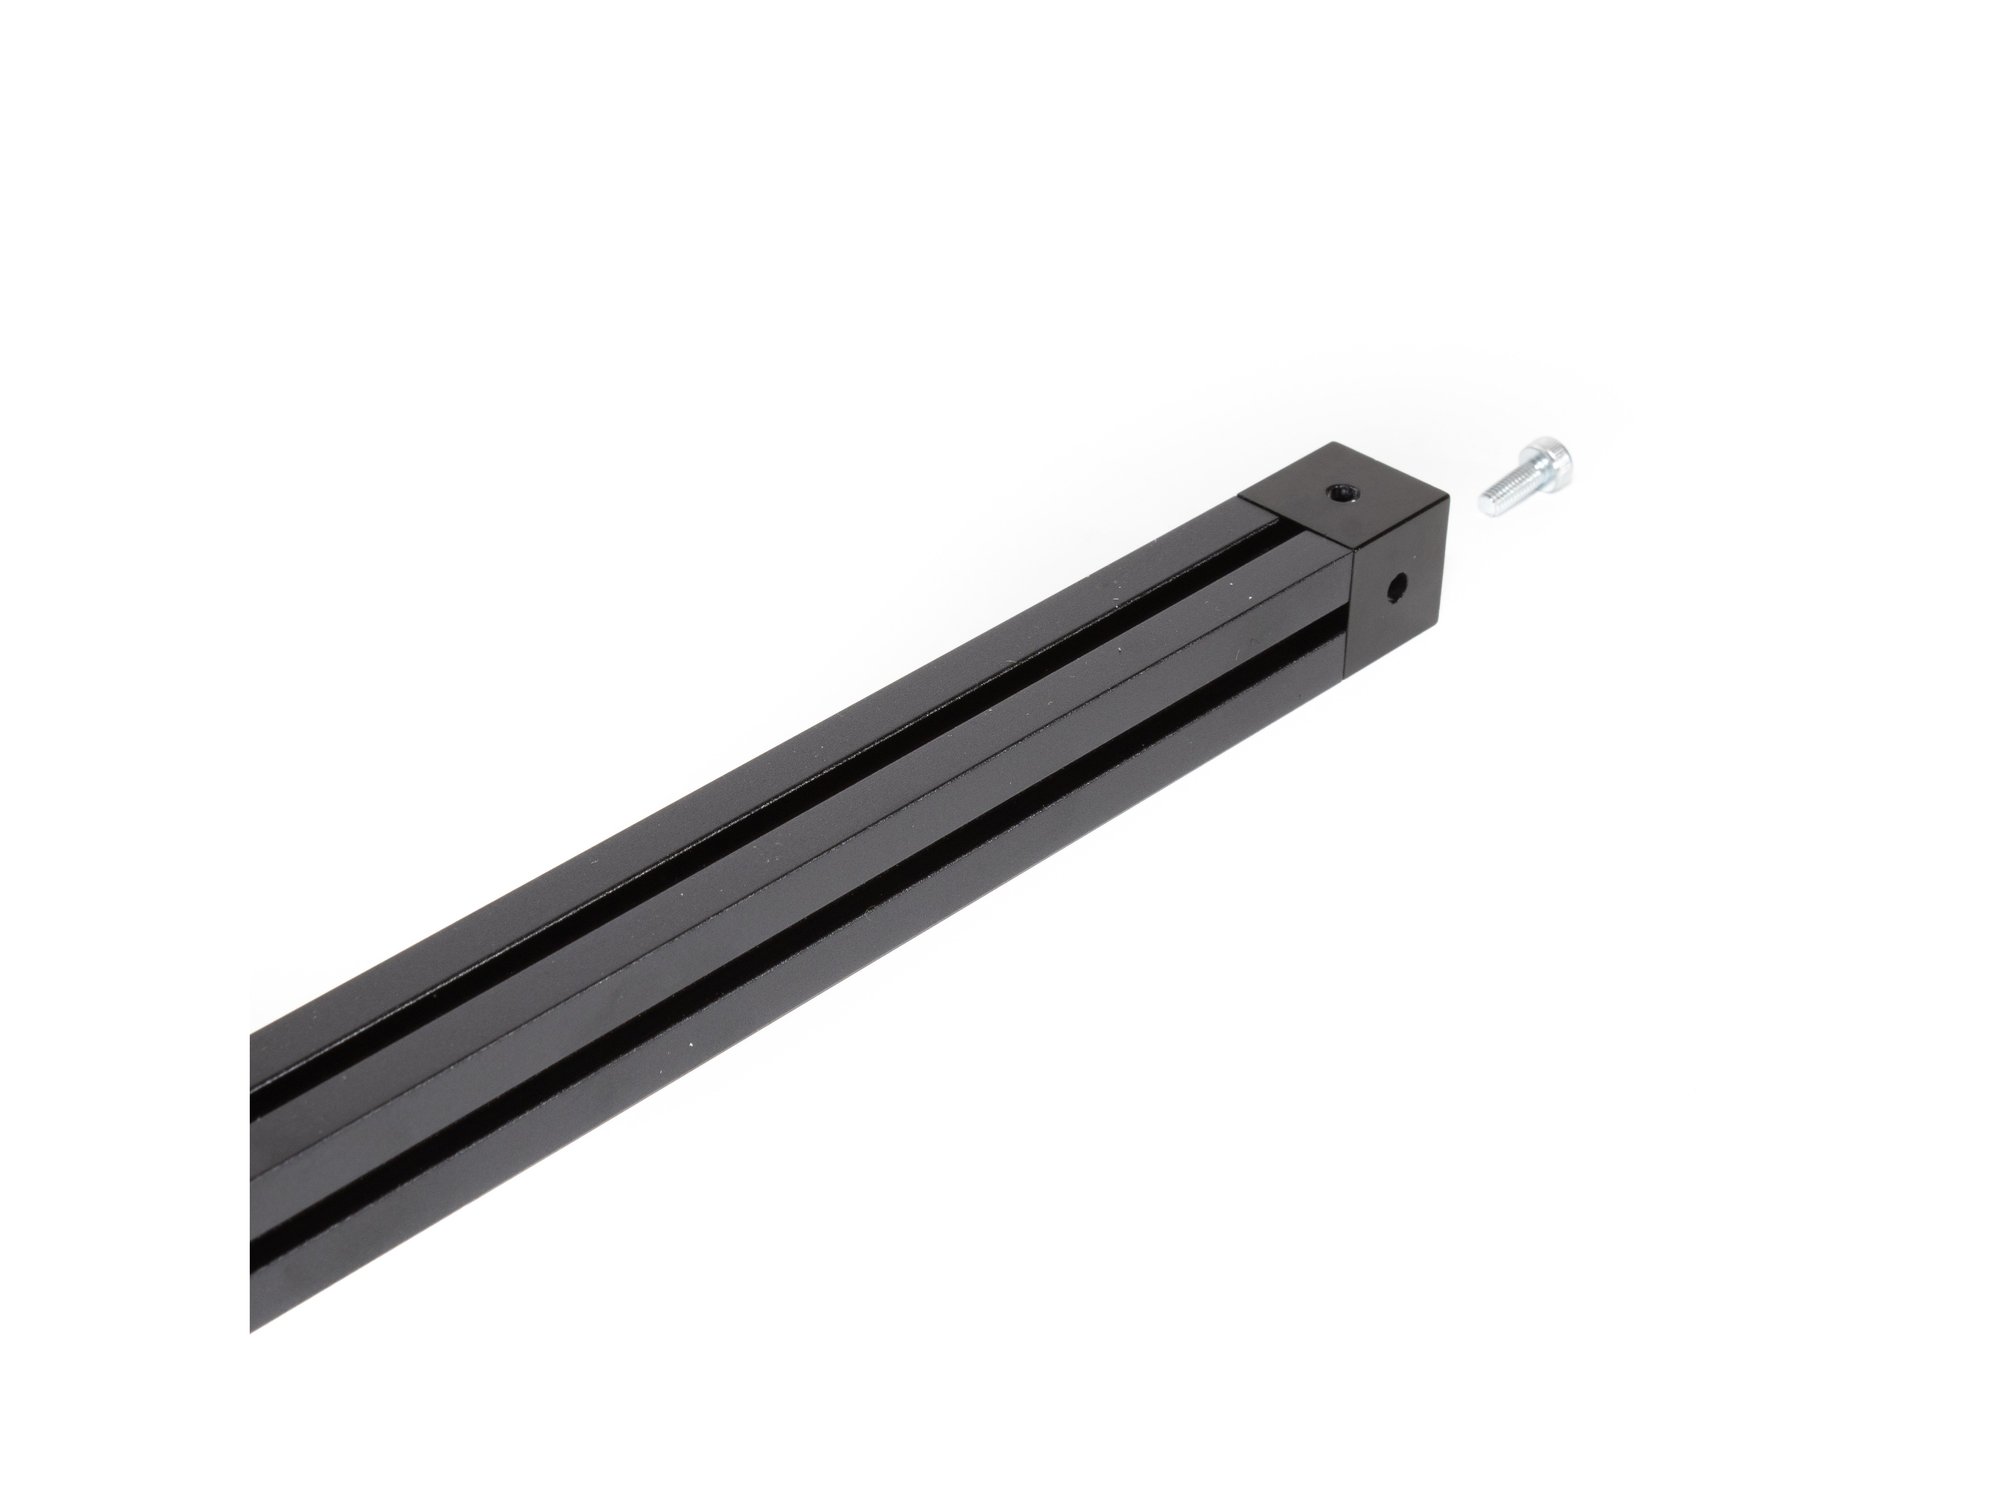
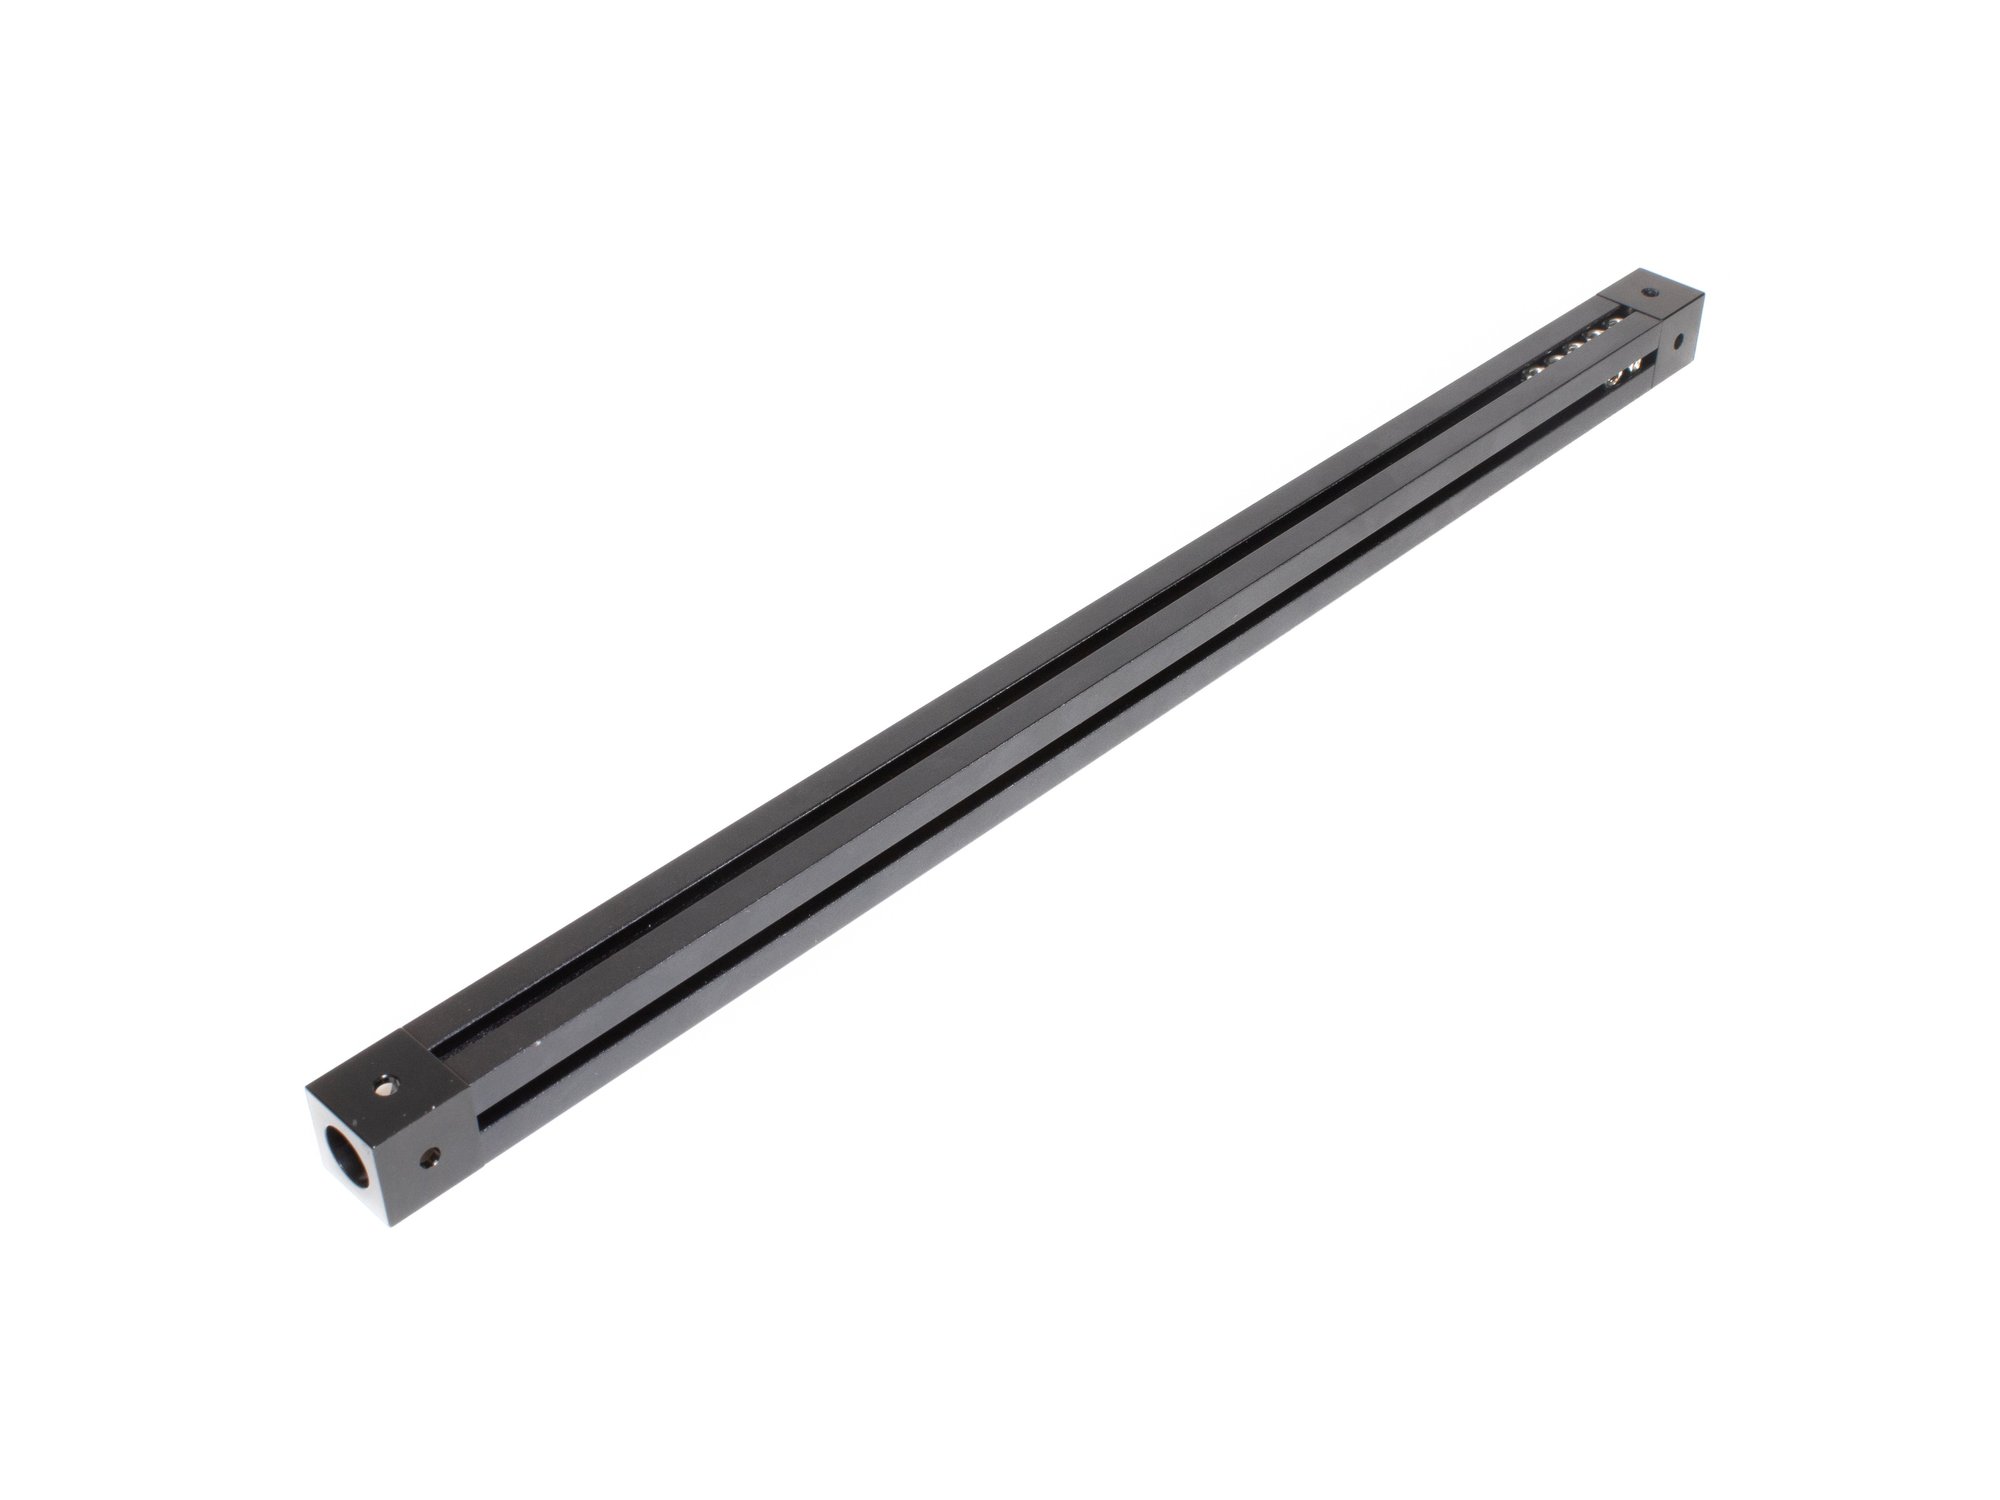
  • Bolt corner cube to top left 270mm extrusion using (1) M3 x 8mm socket head screw.
  • Note Note on the corner cube, the small hole is pointing to the right in this image.

Step 3 — Add Hardware to Top Left Extrusion

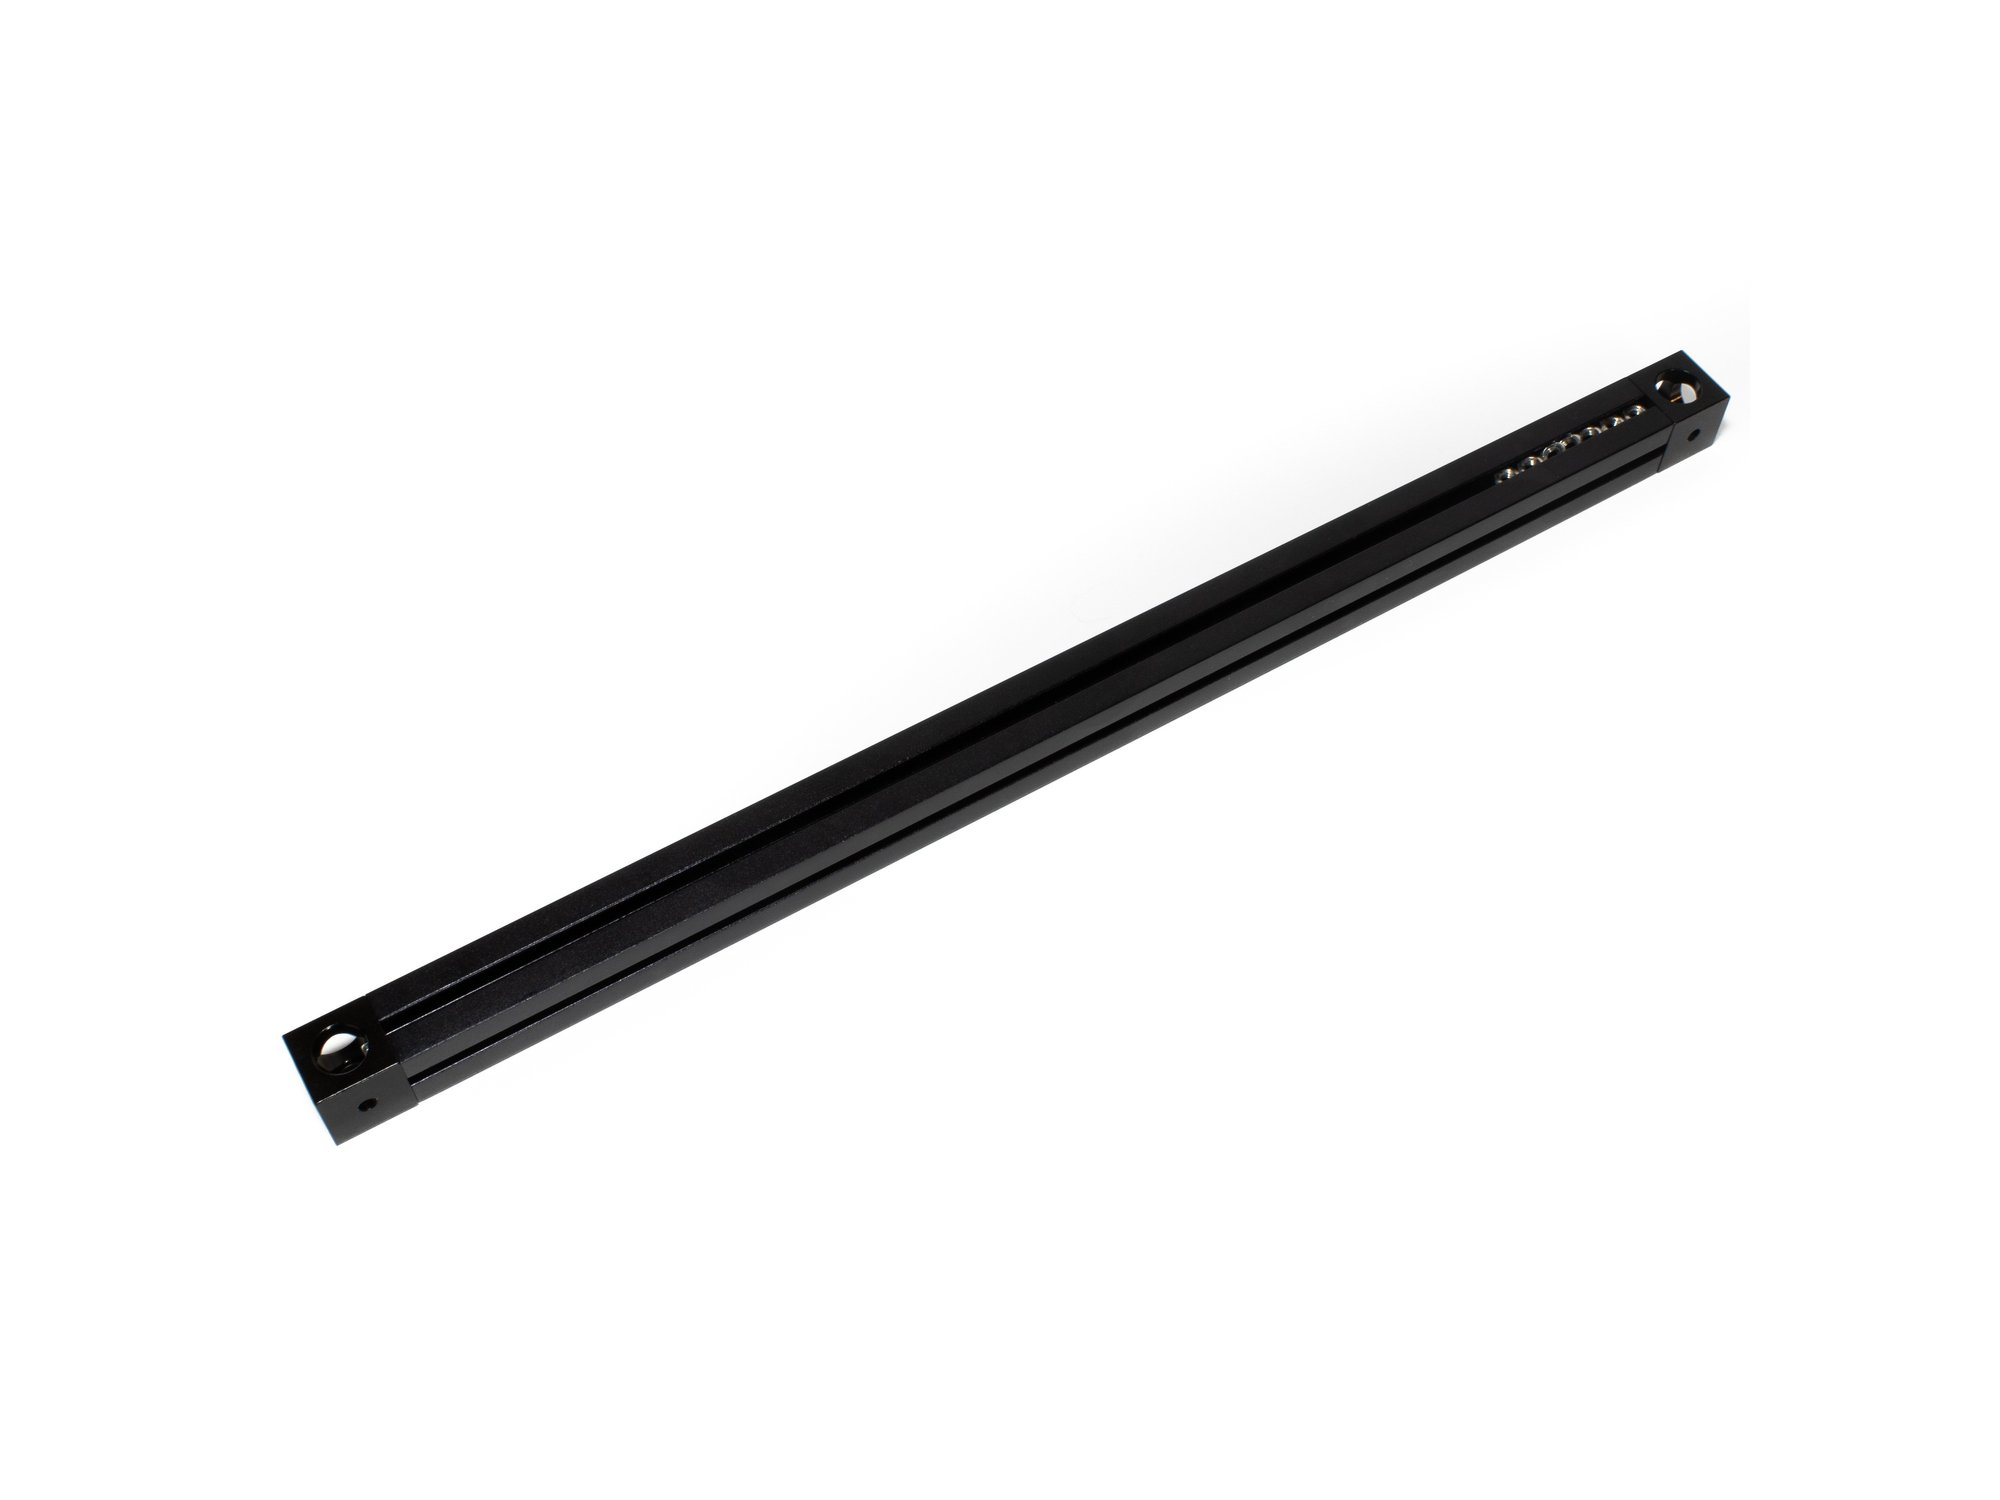
  • Hold the extrusion as it will be oriented on the printer (make sure the big hole on the corner cube faces up).
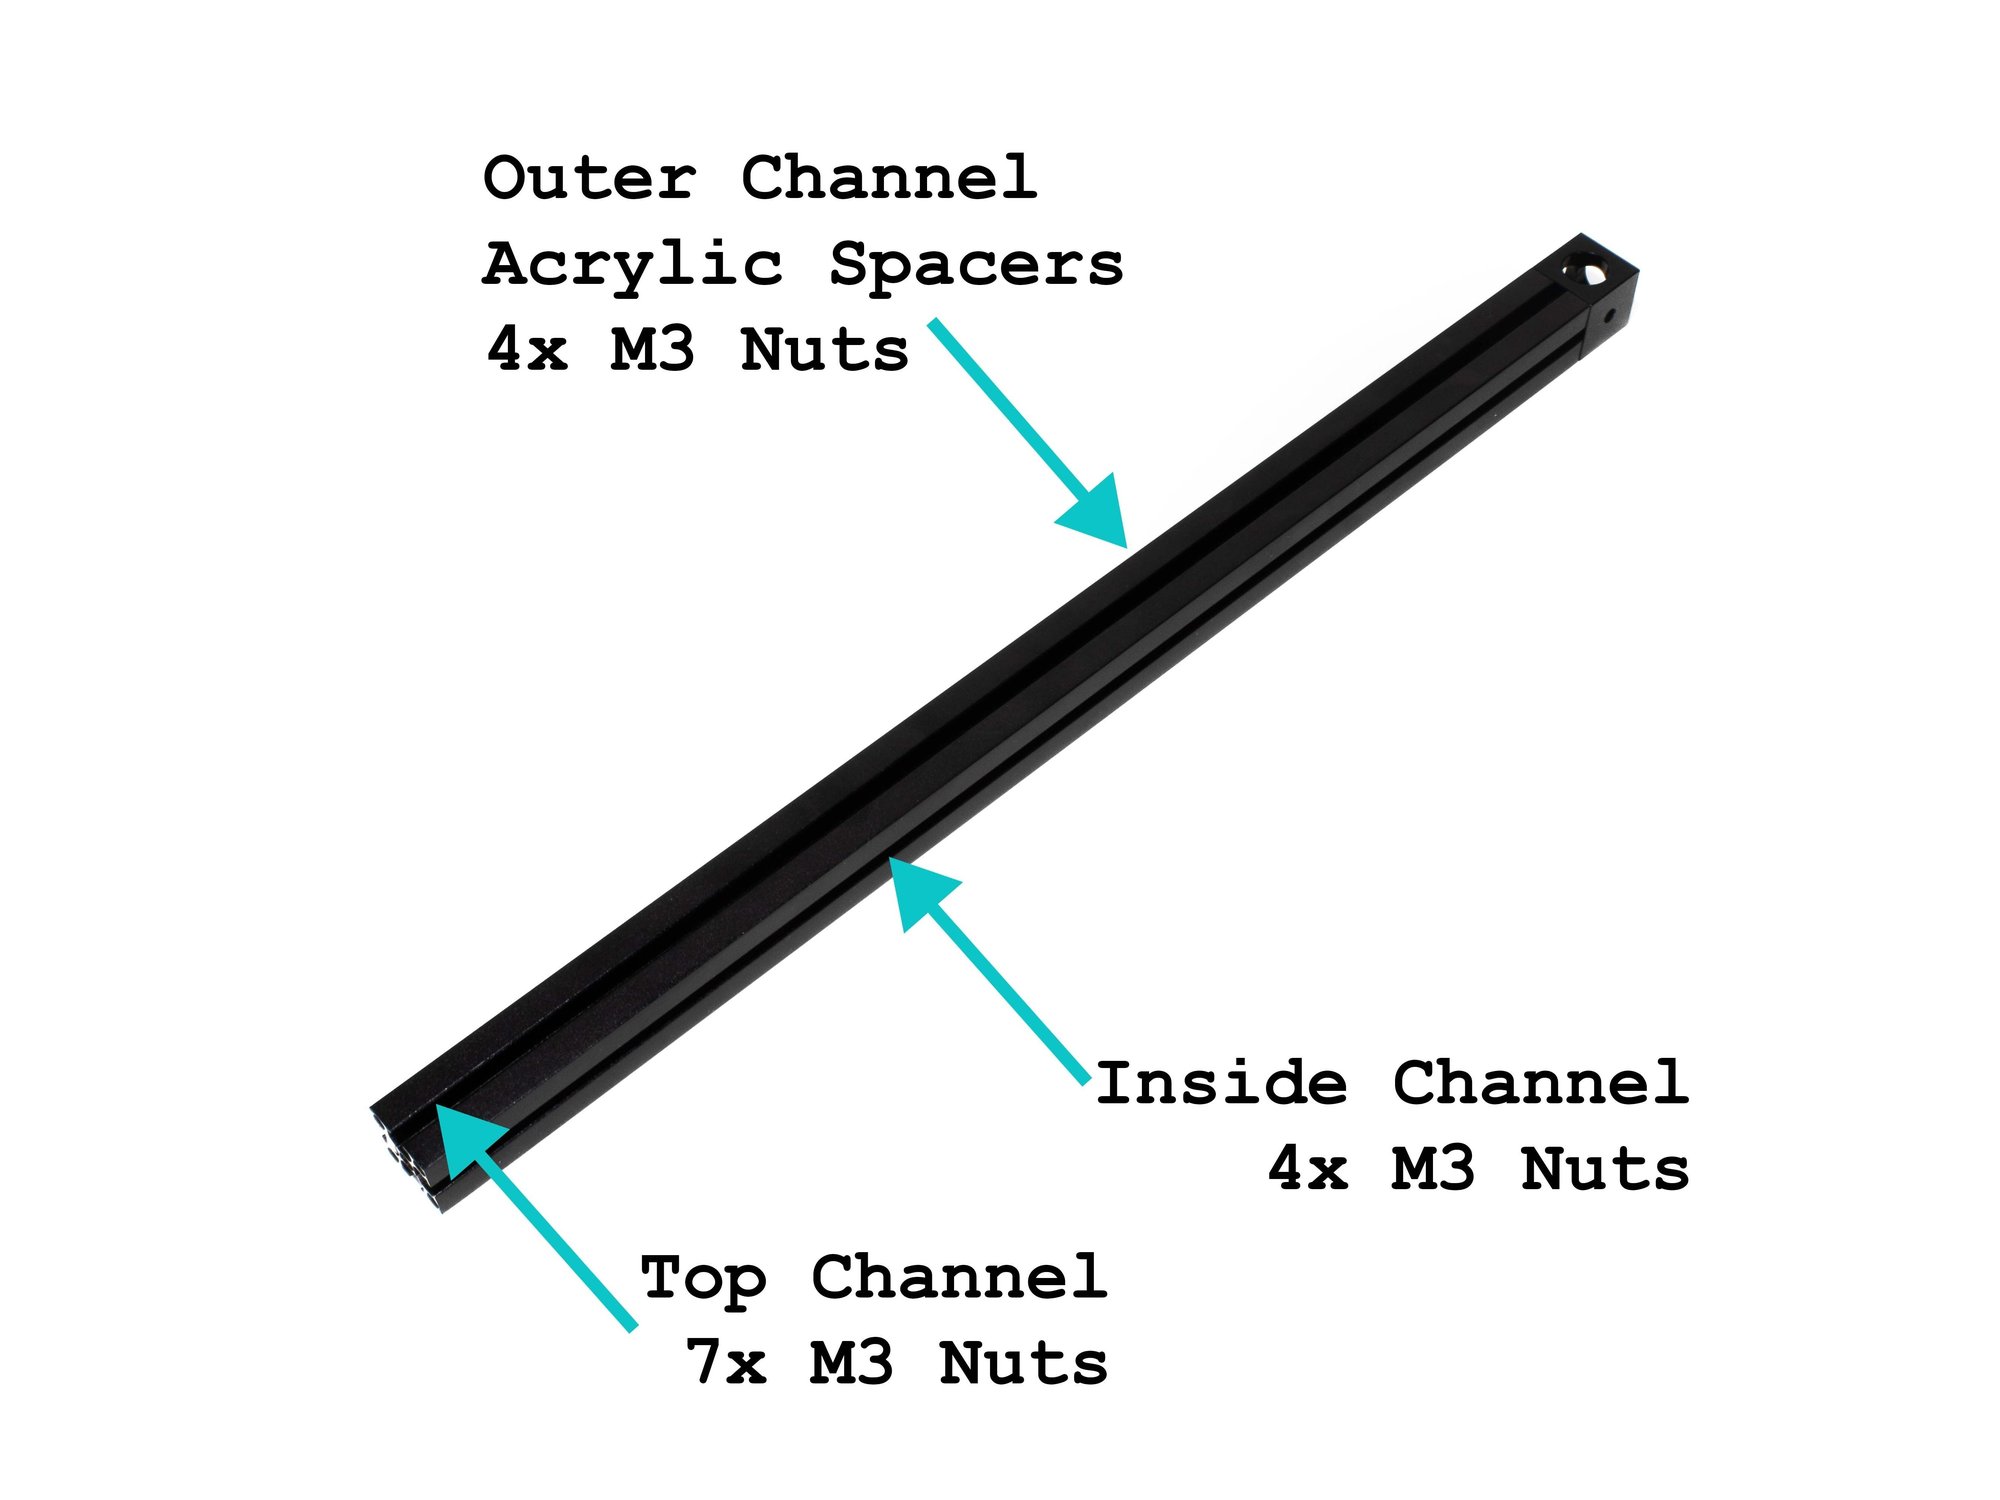
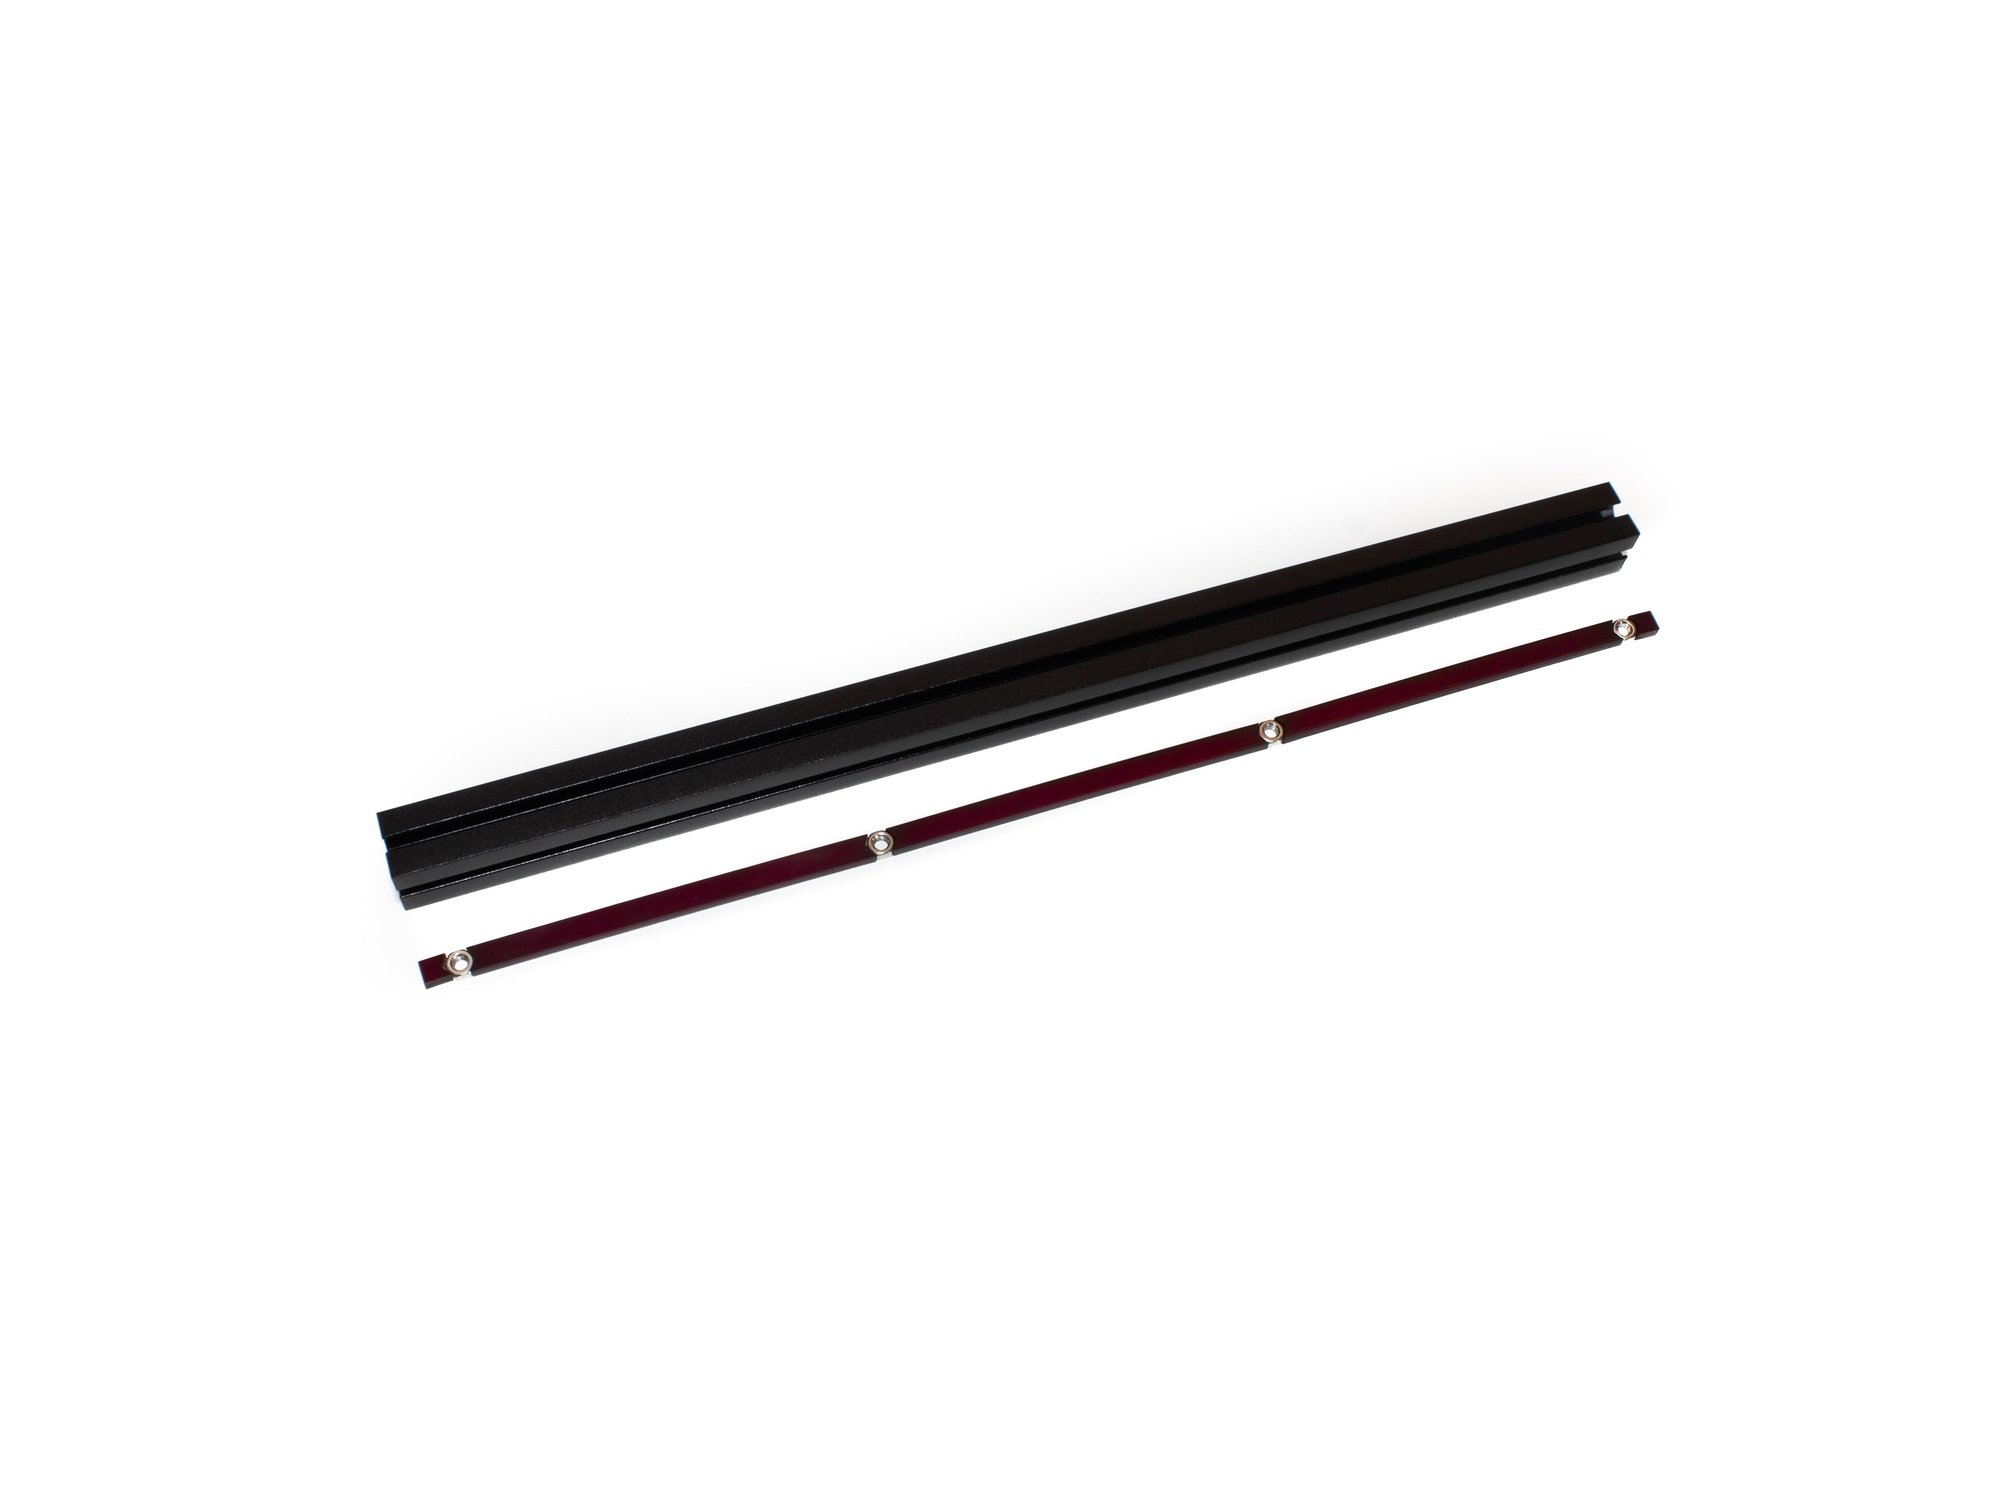
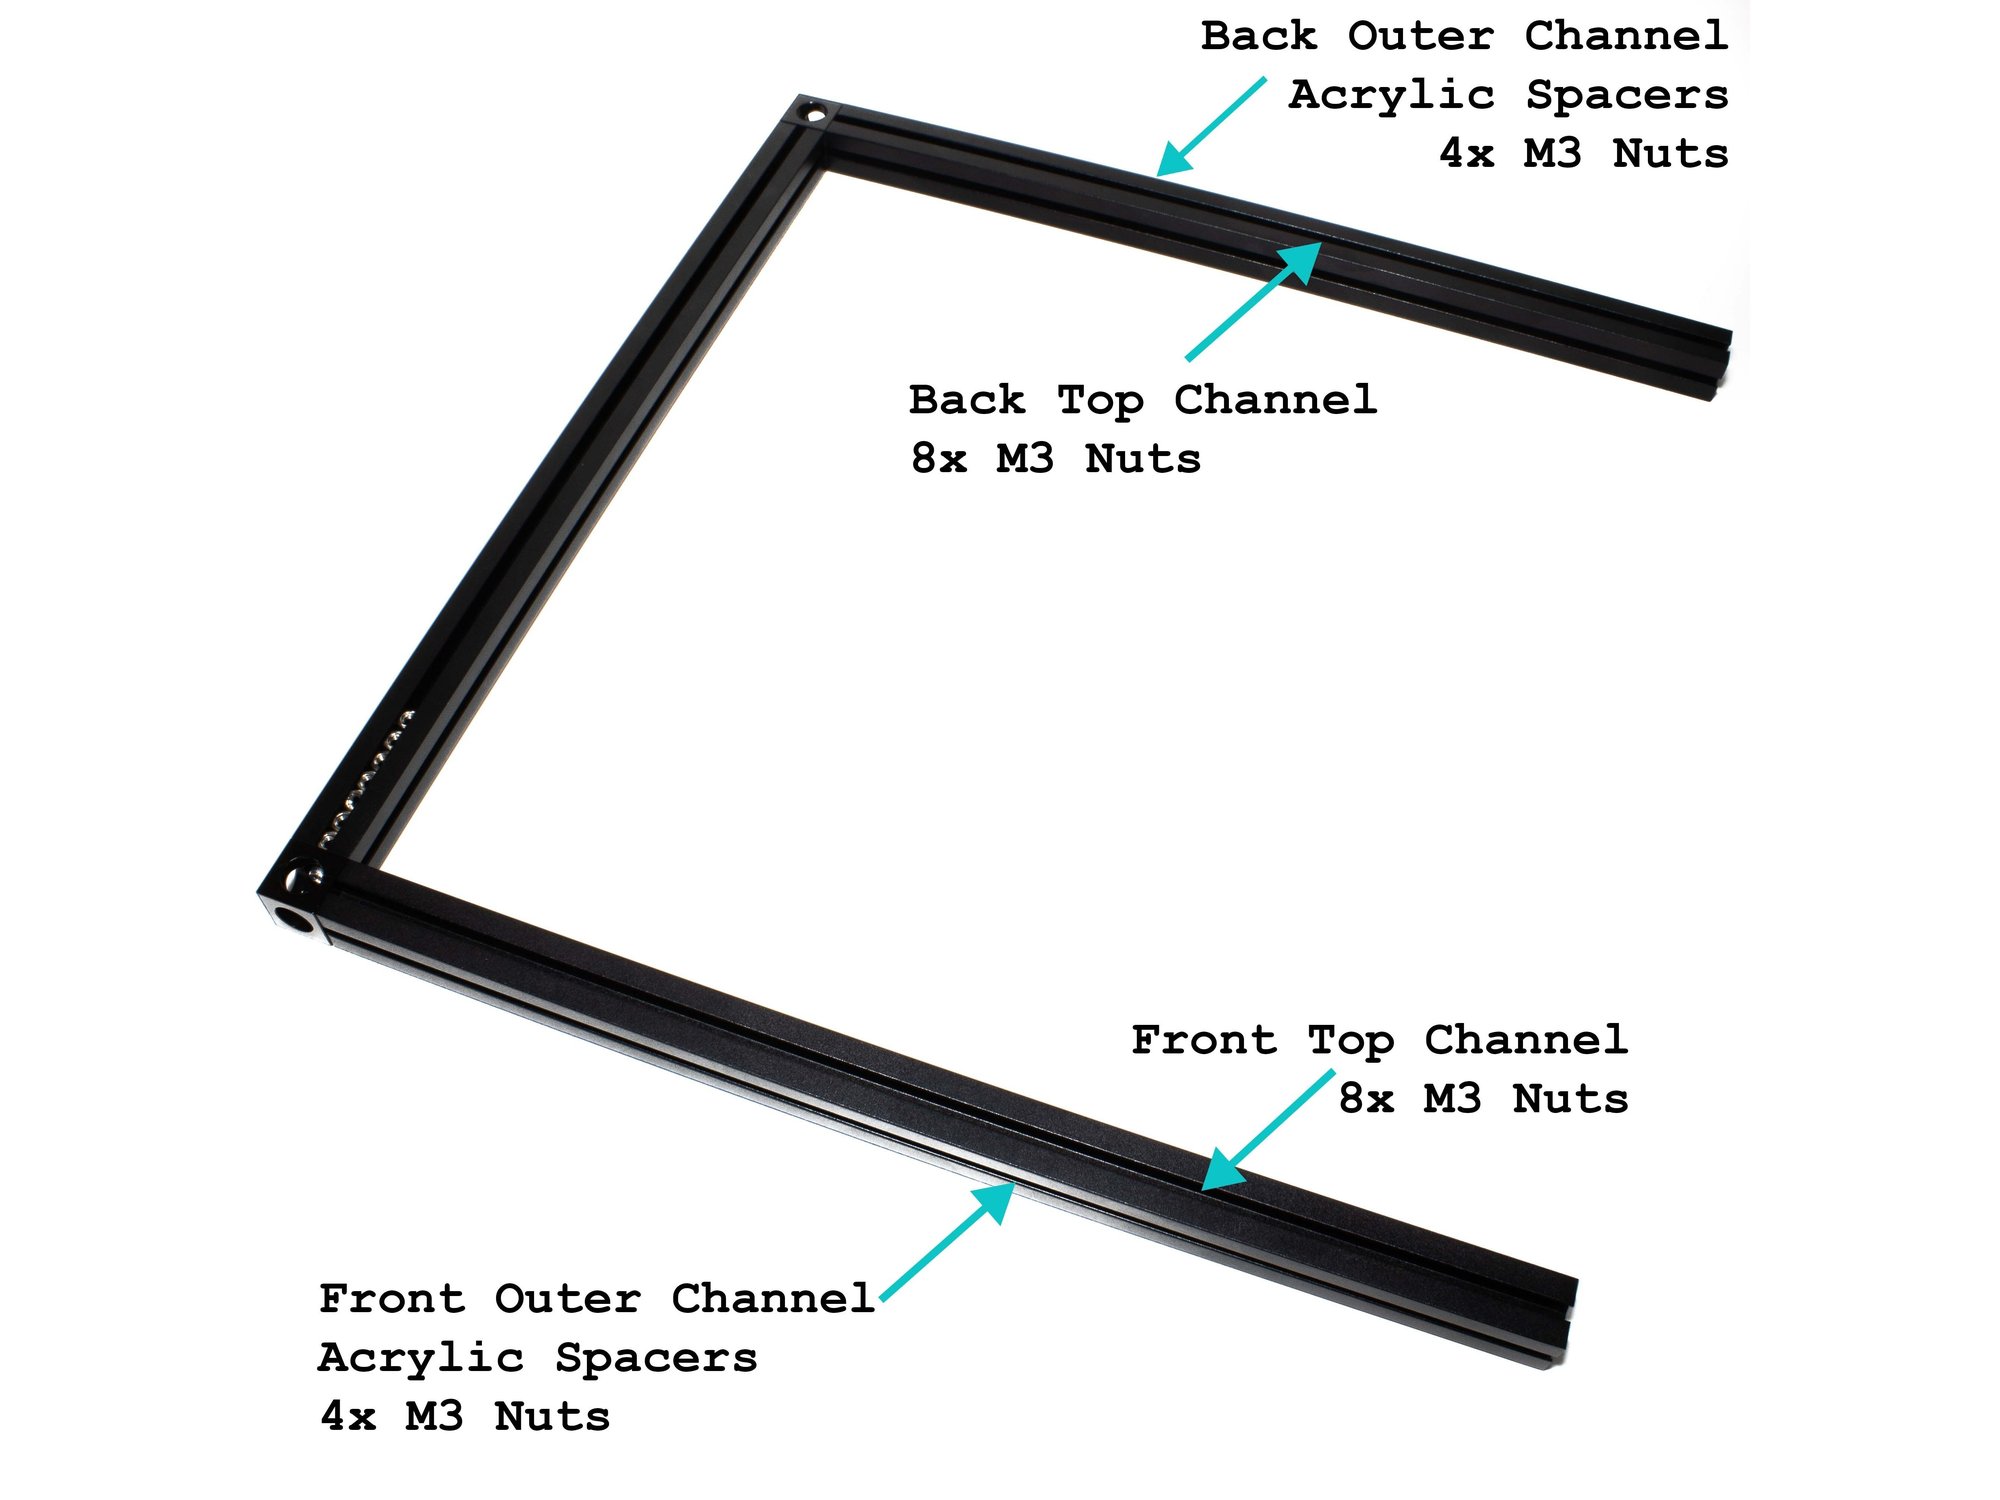
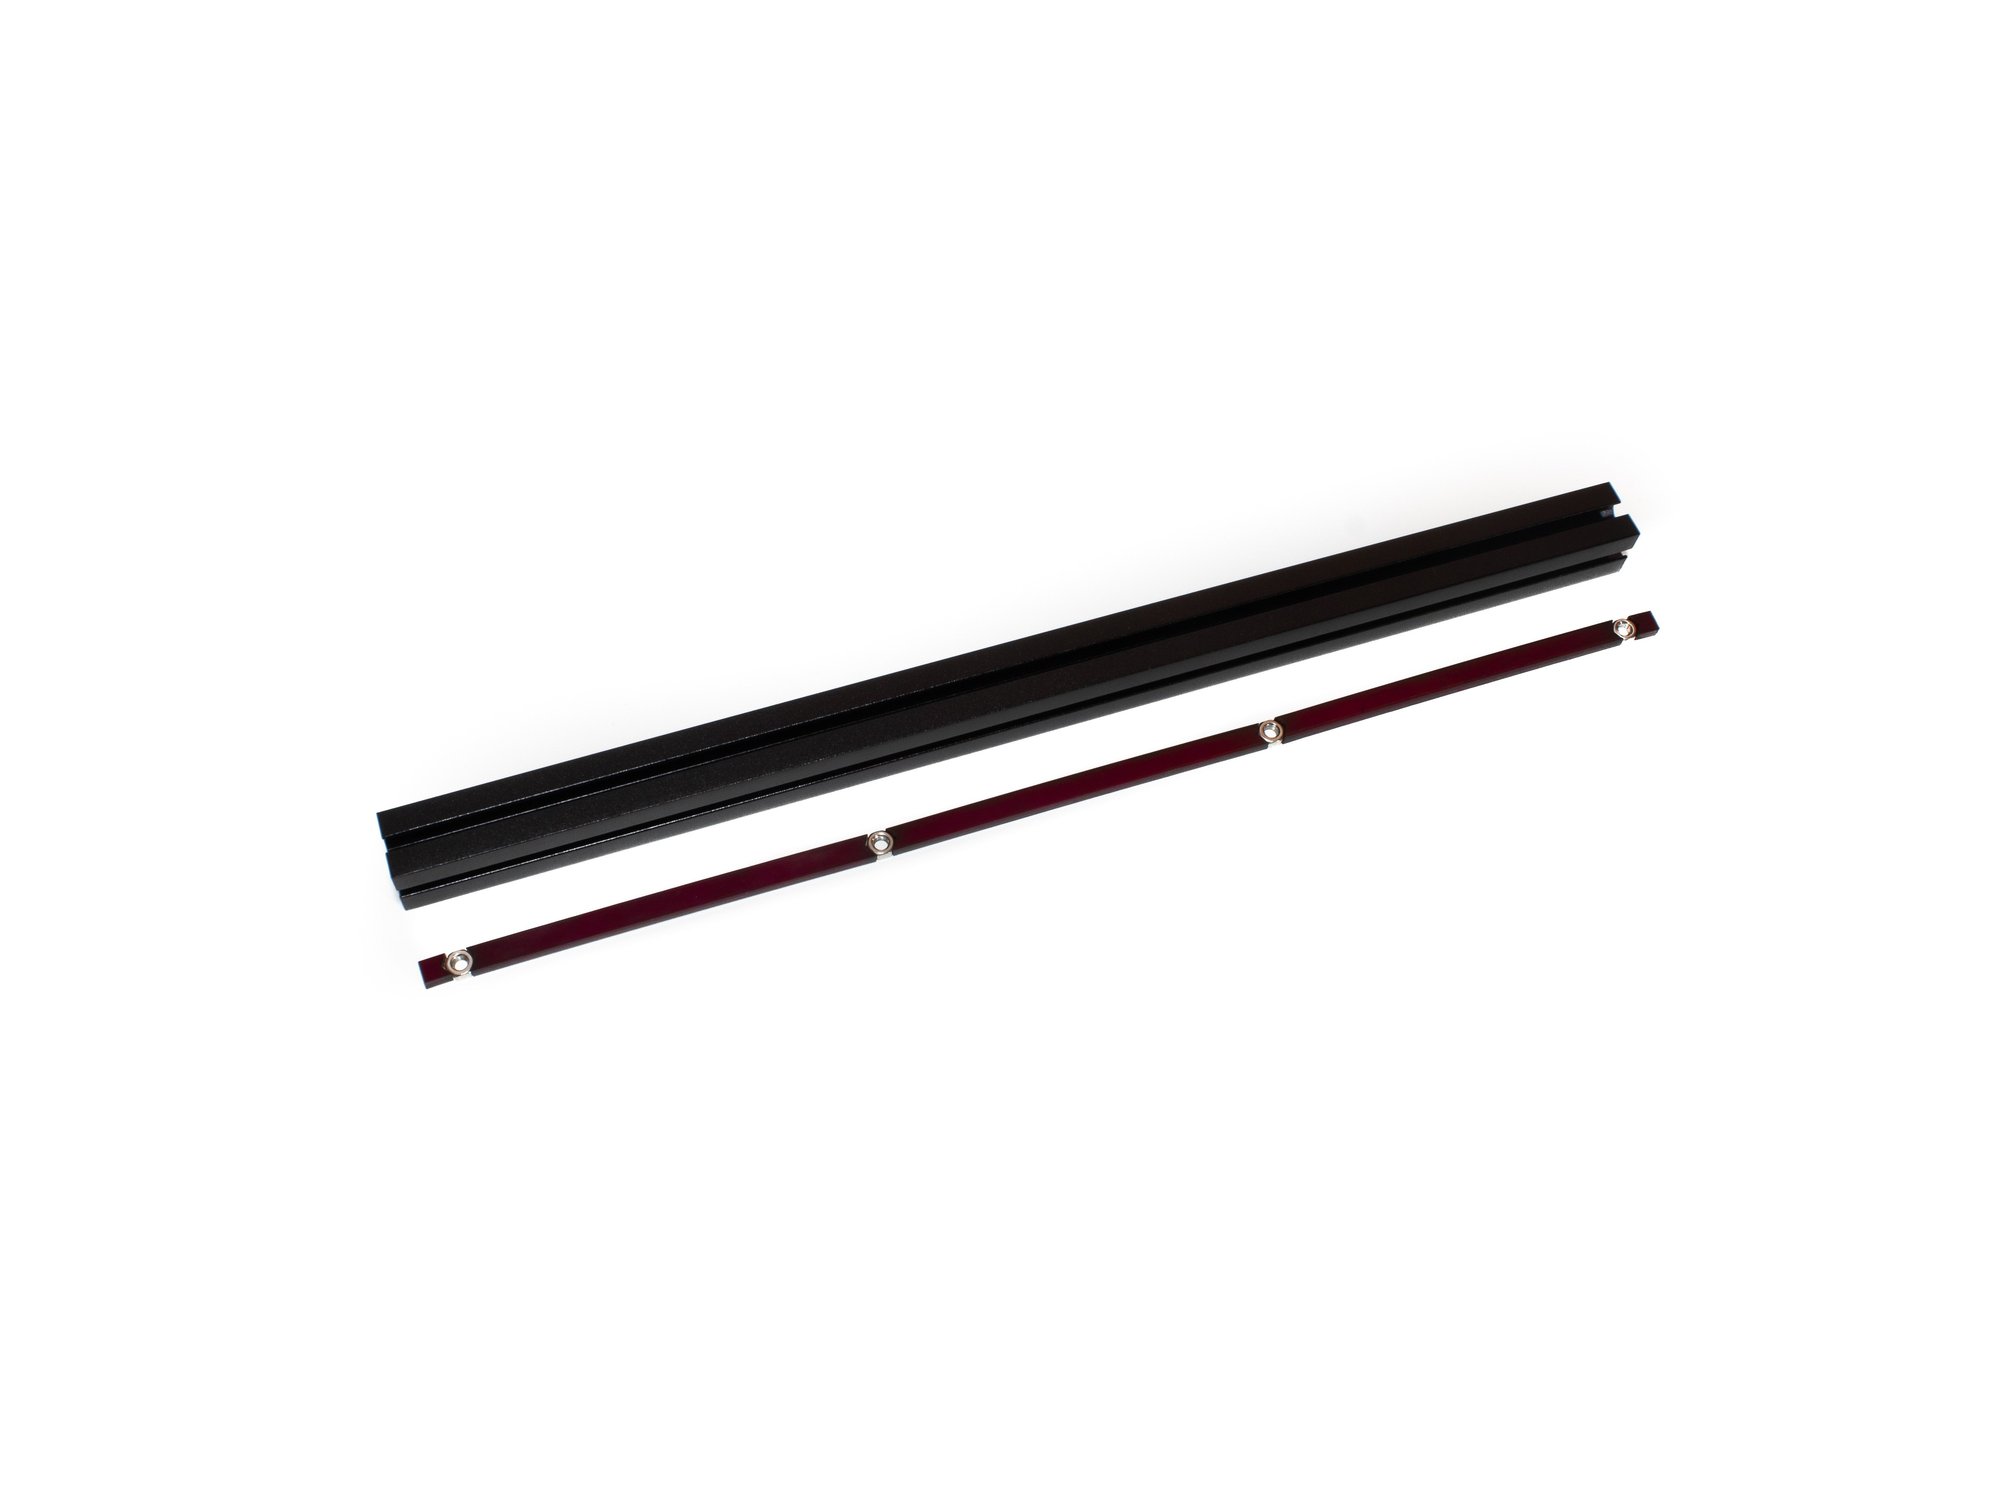
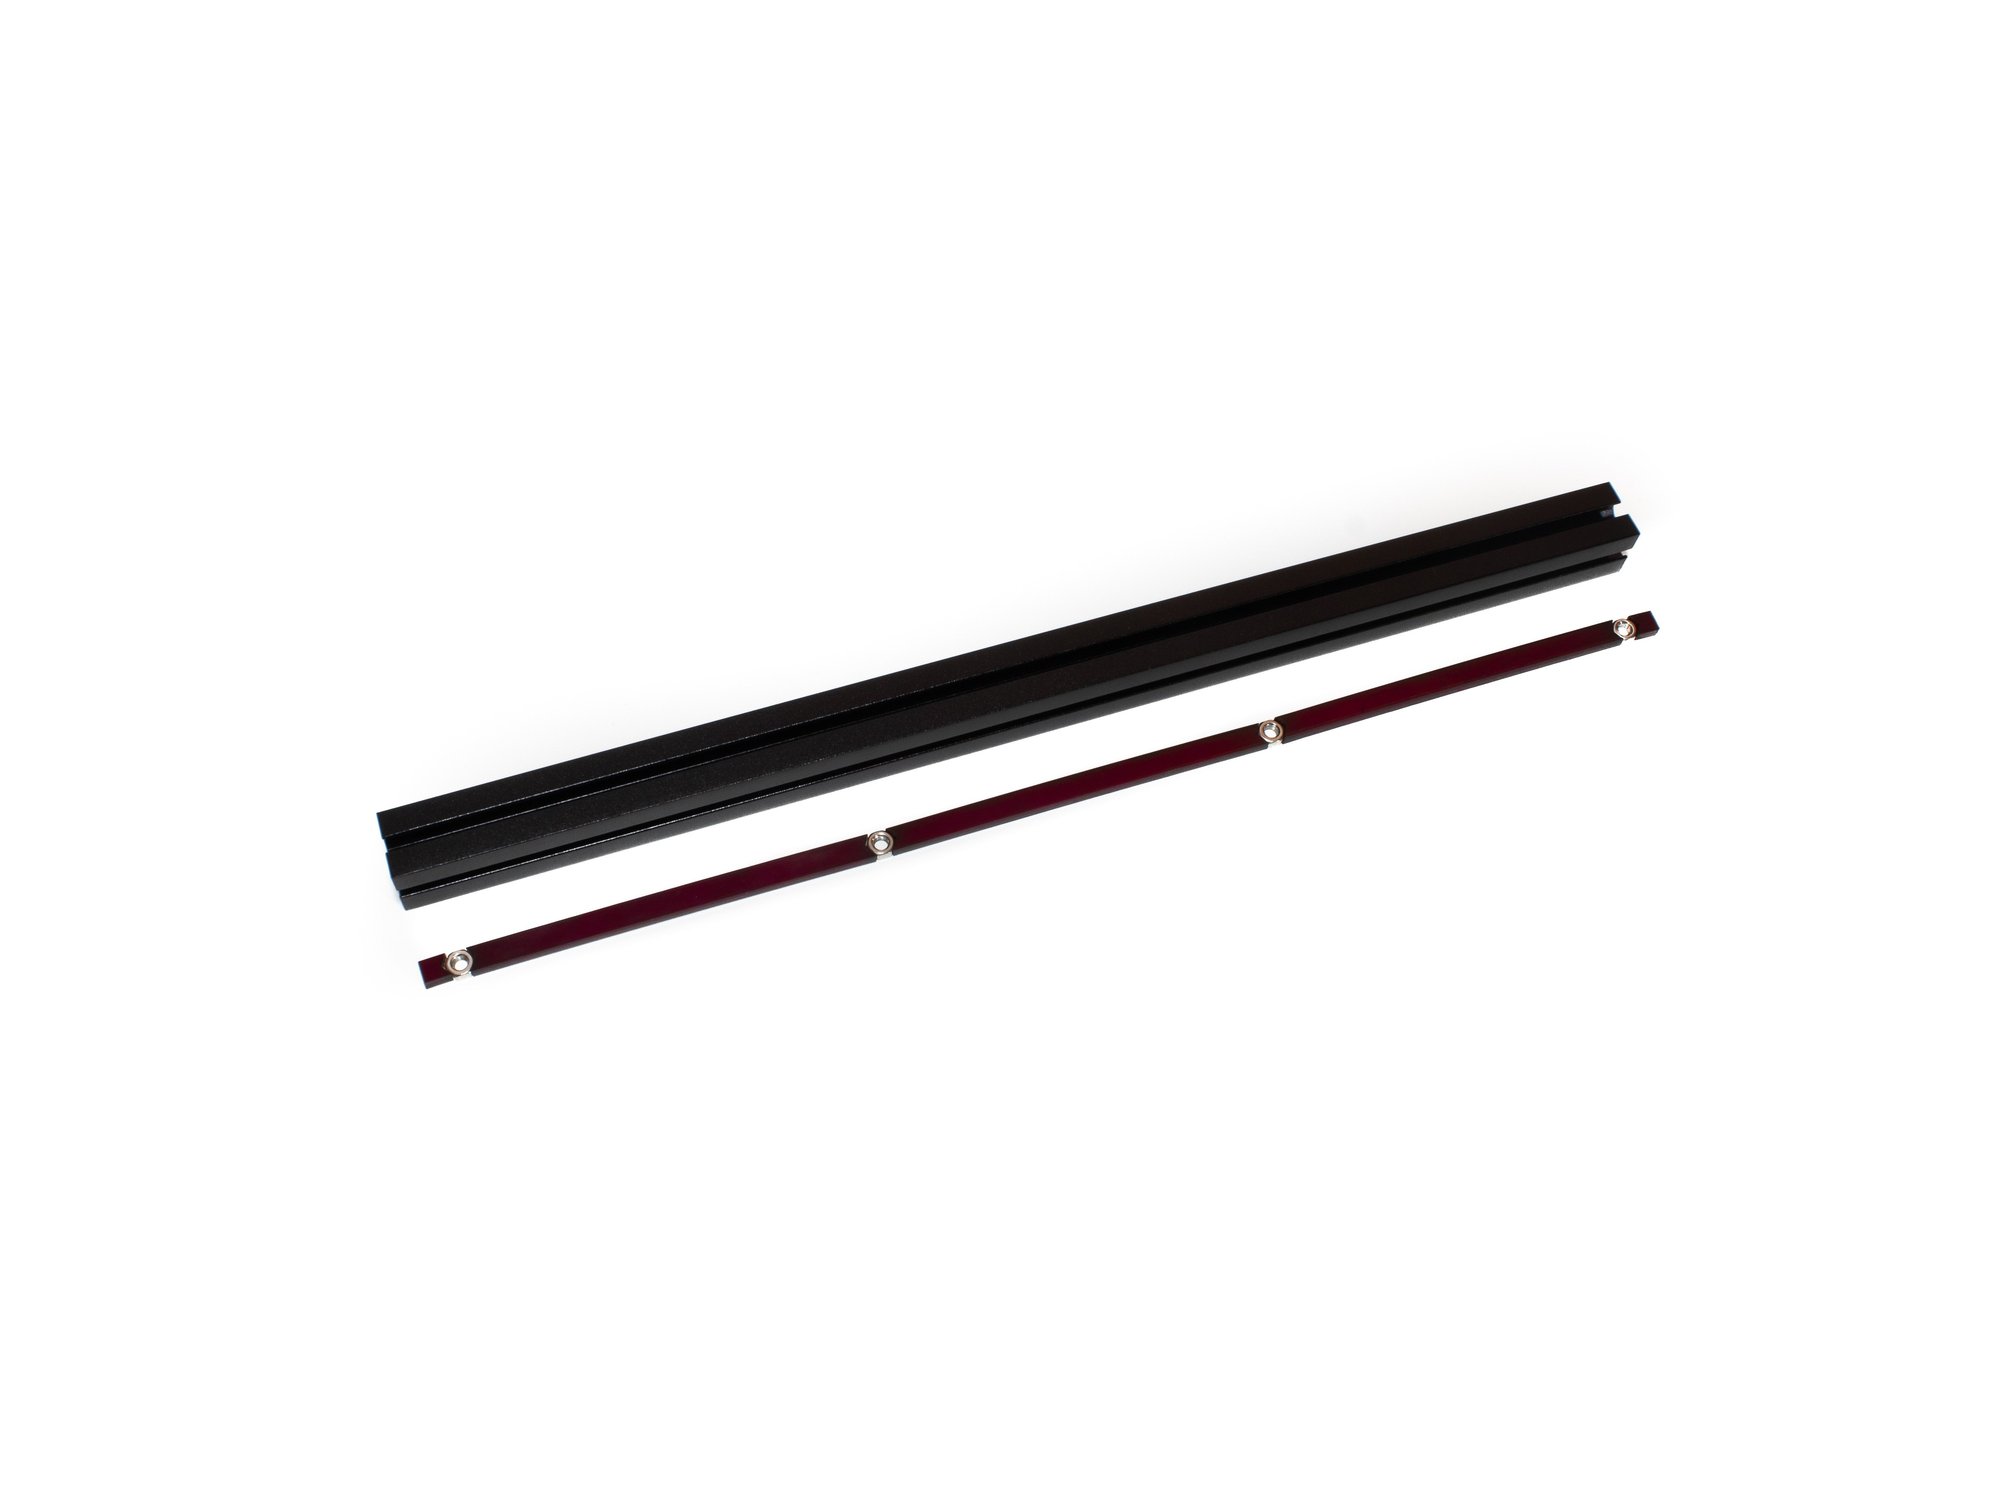
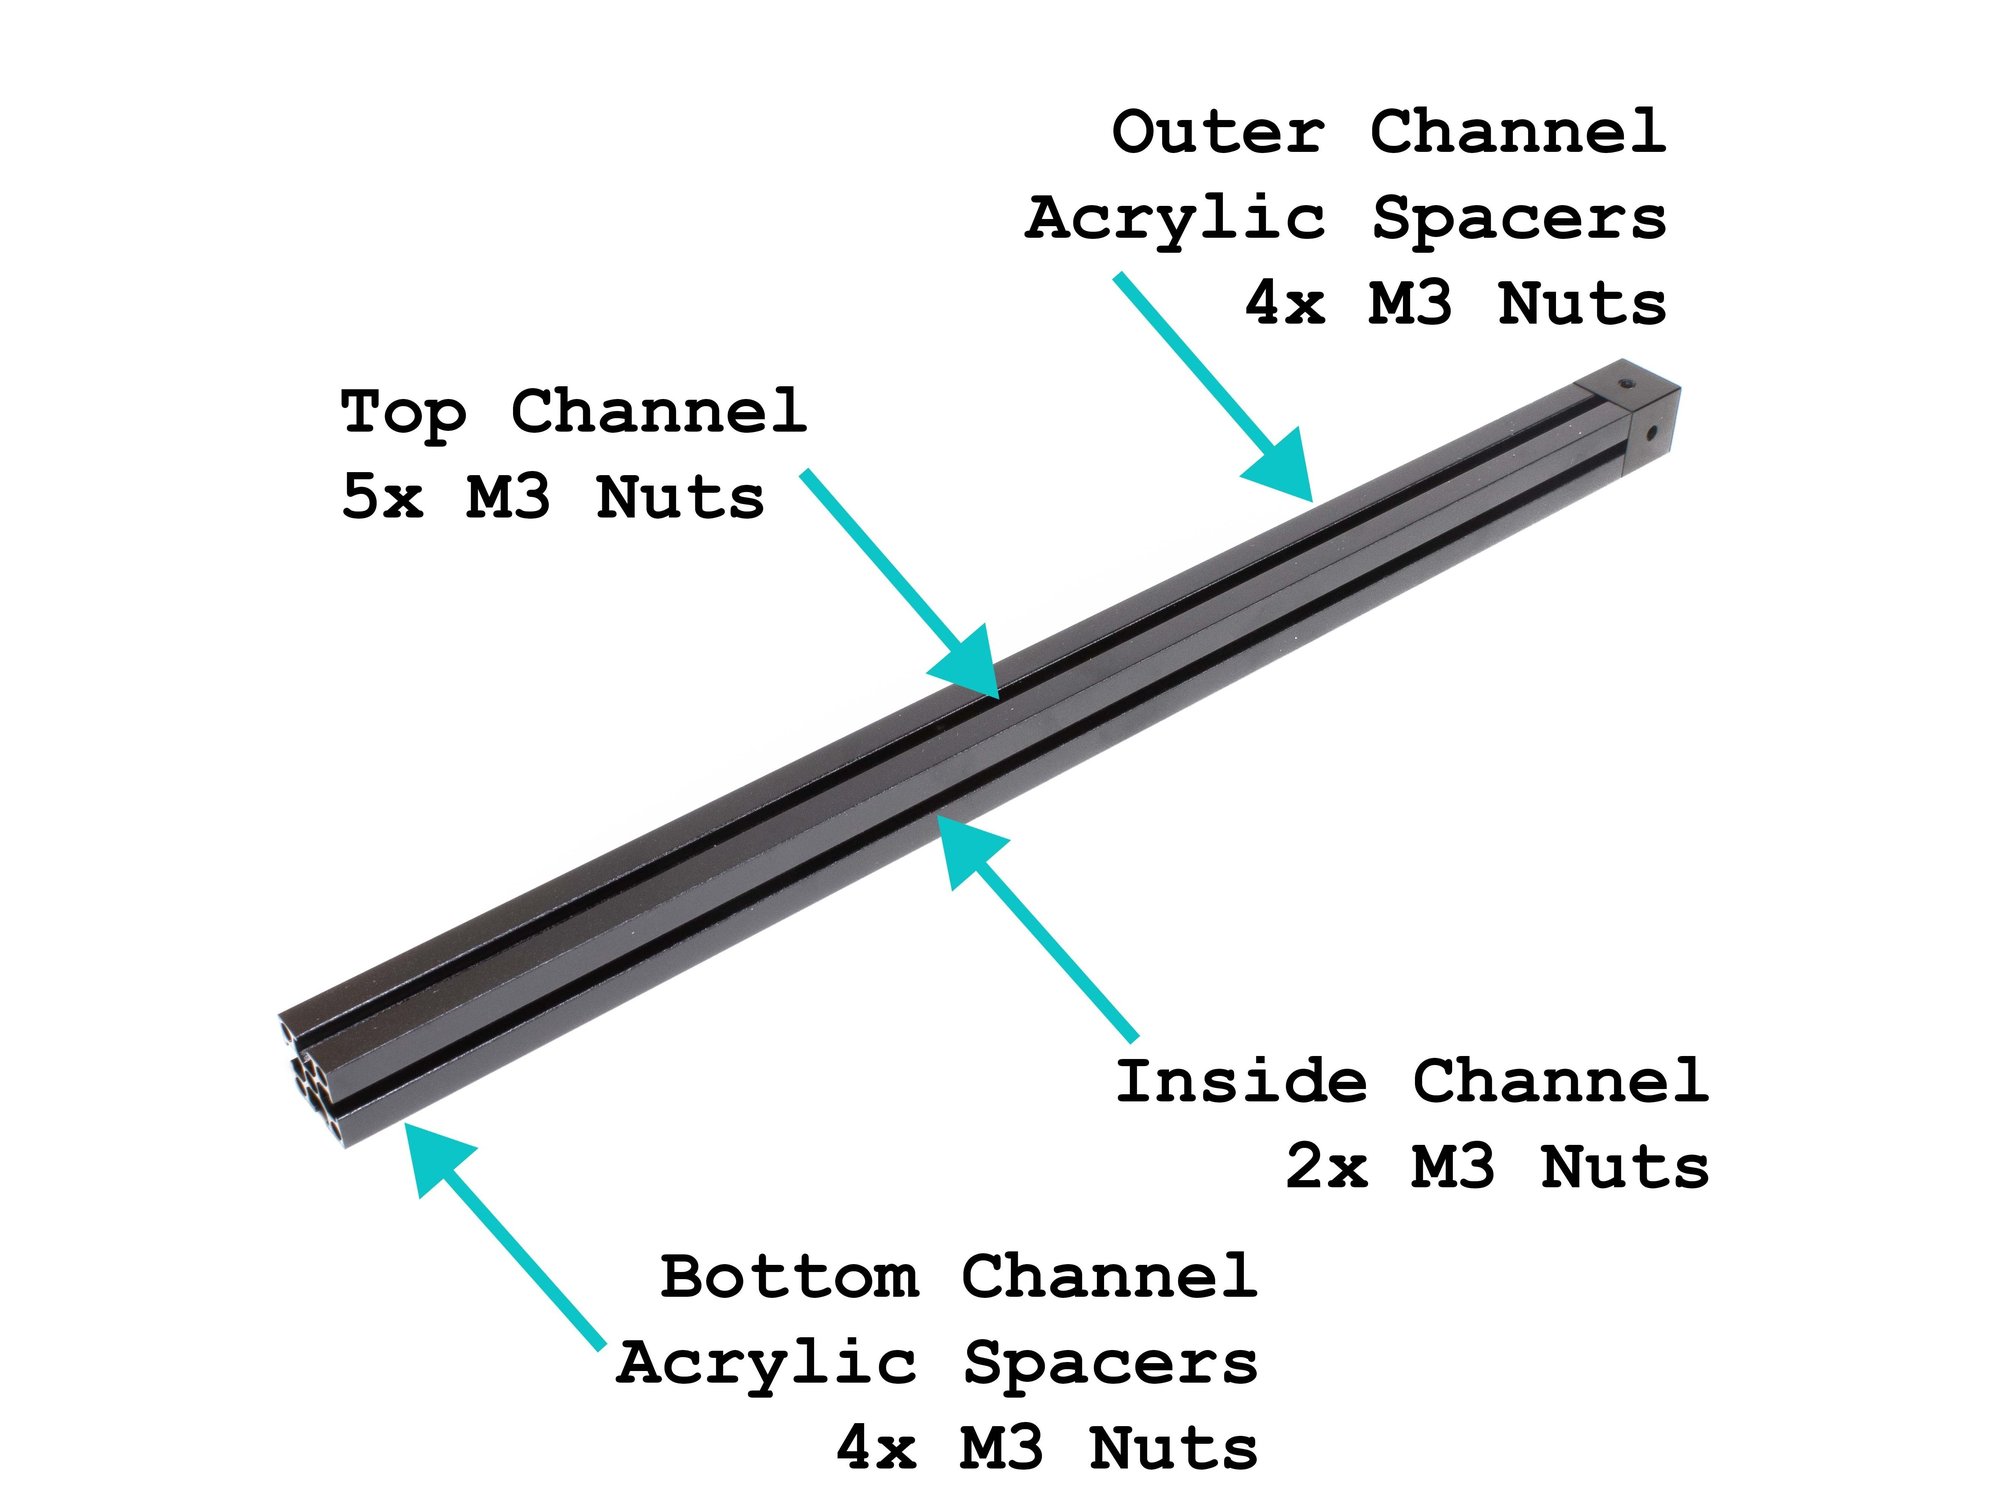
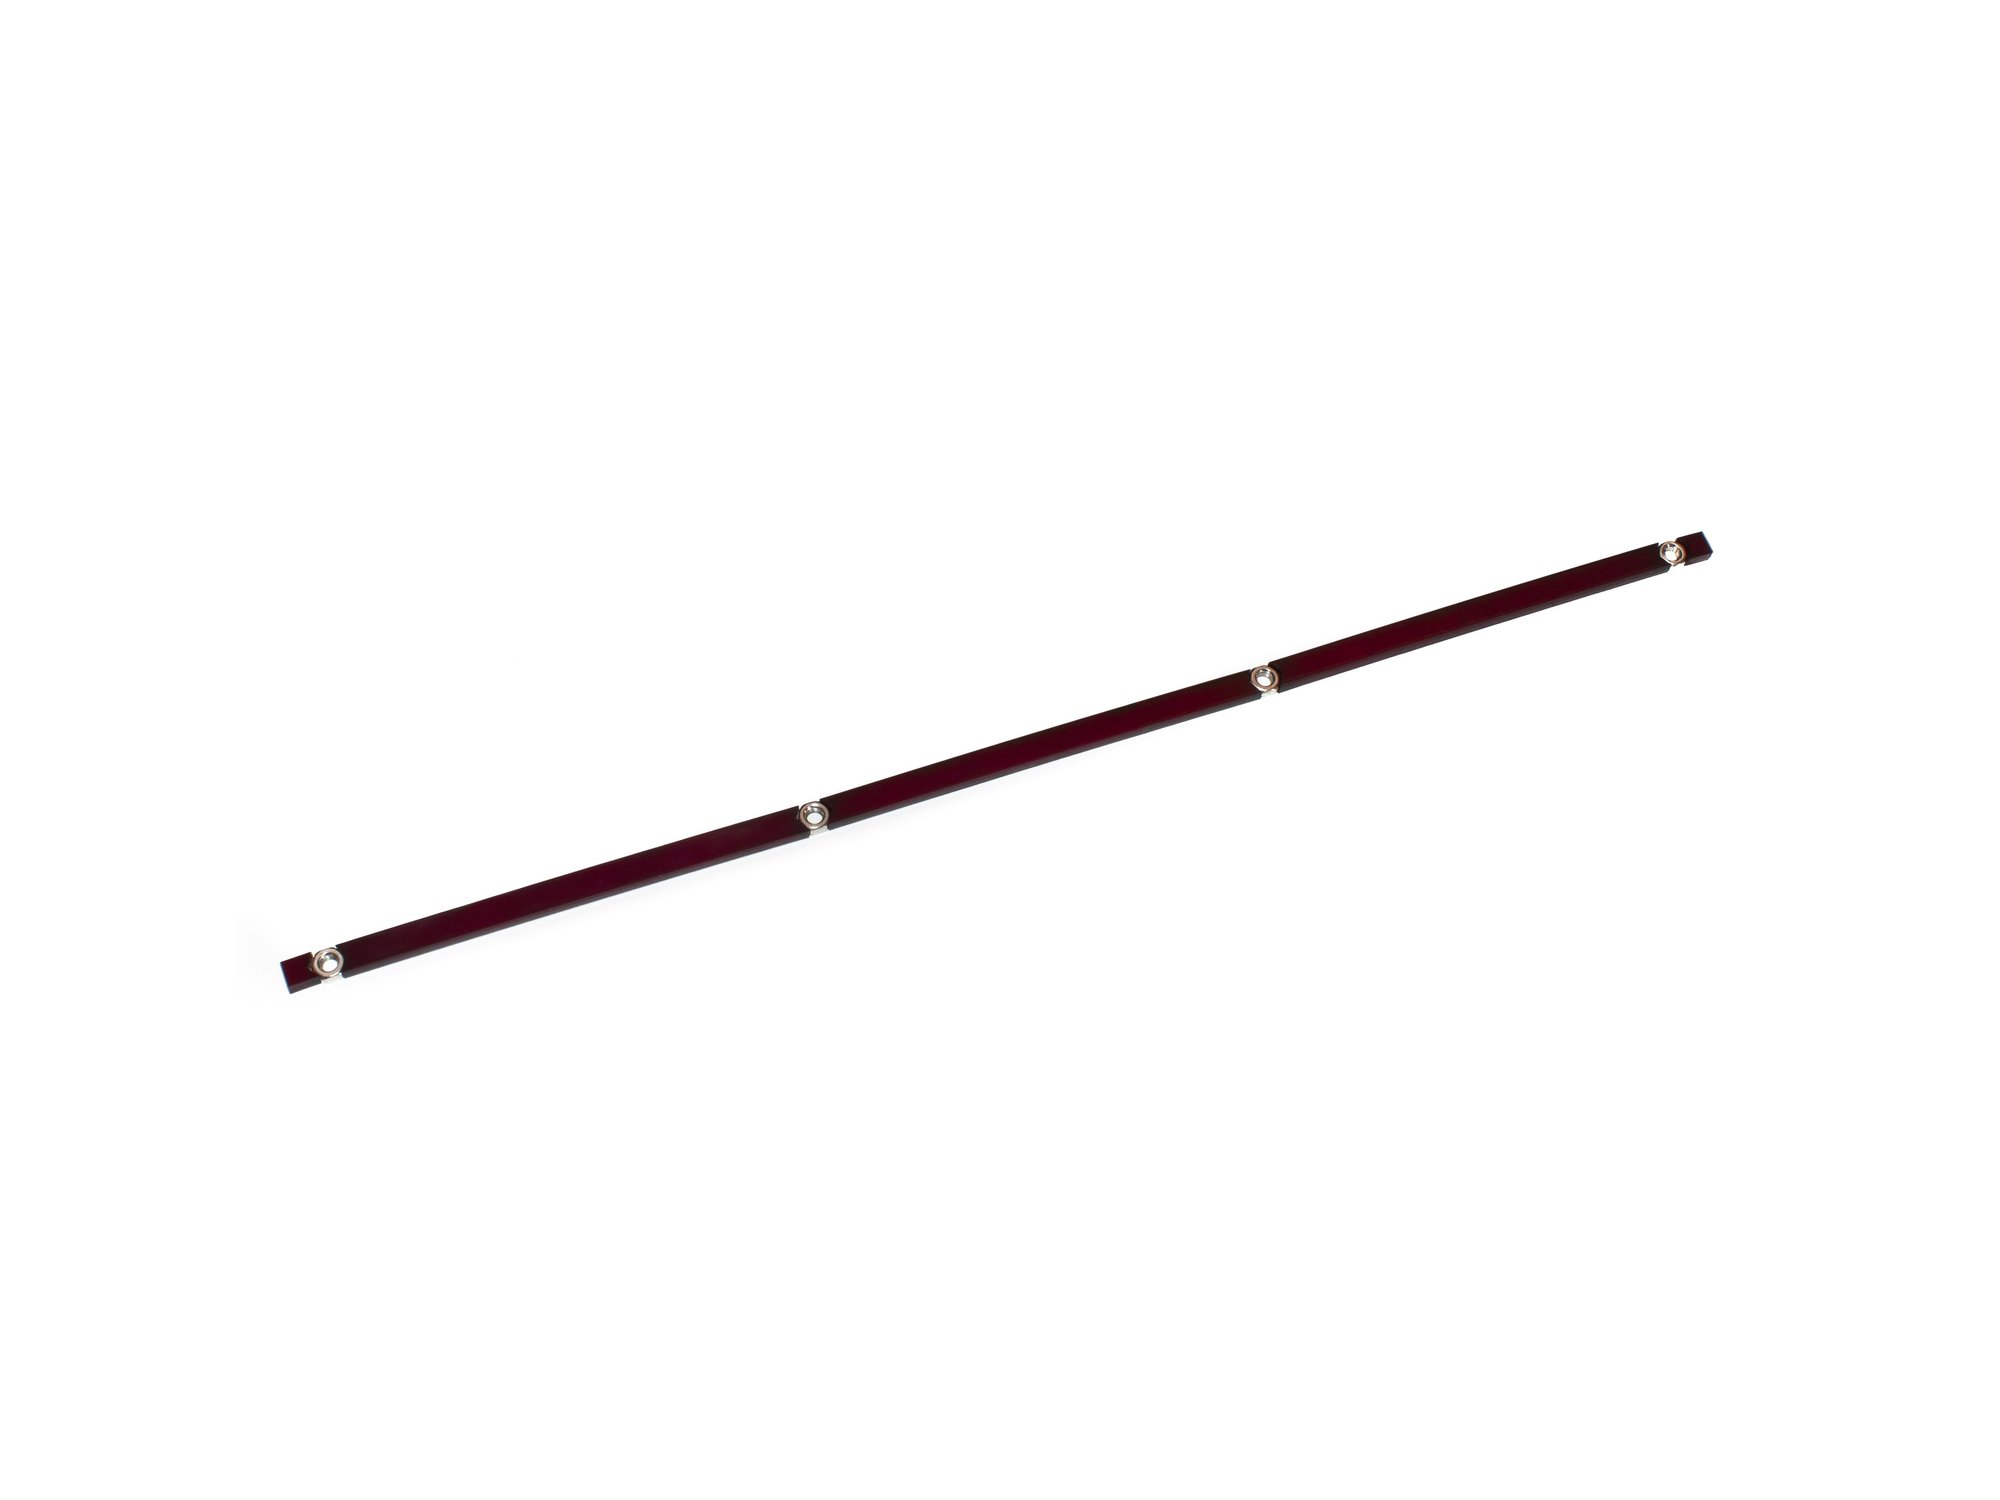
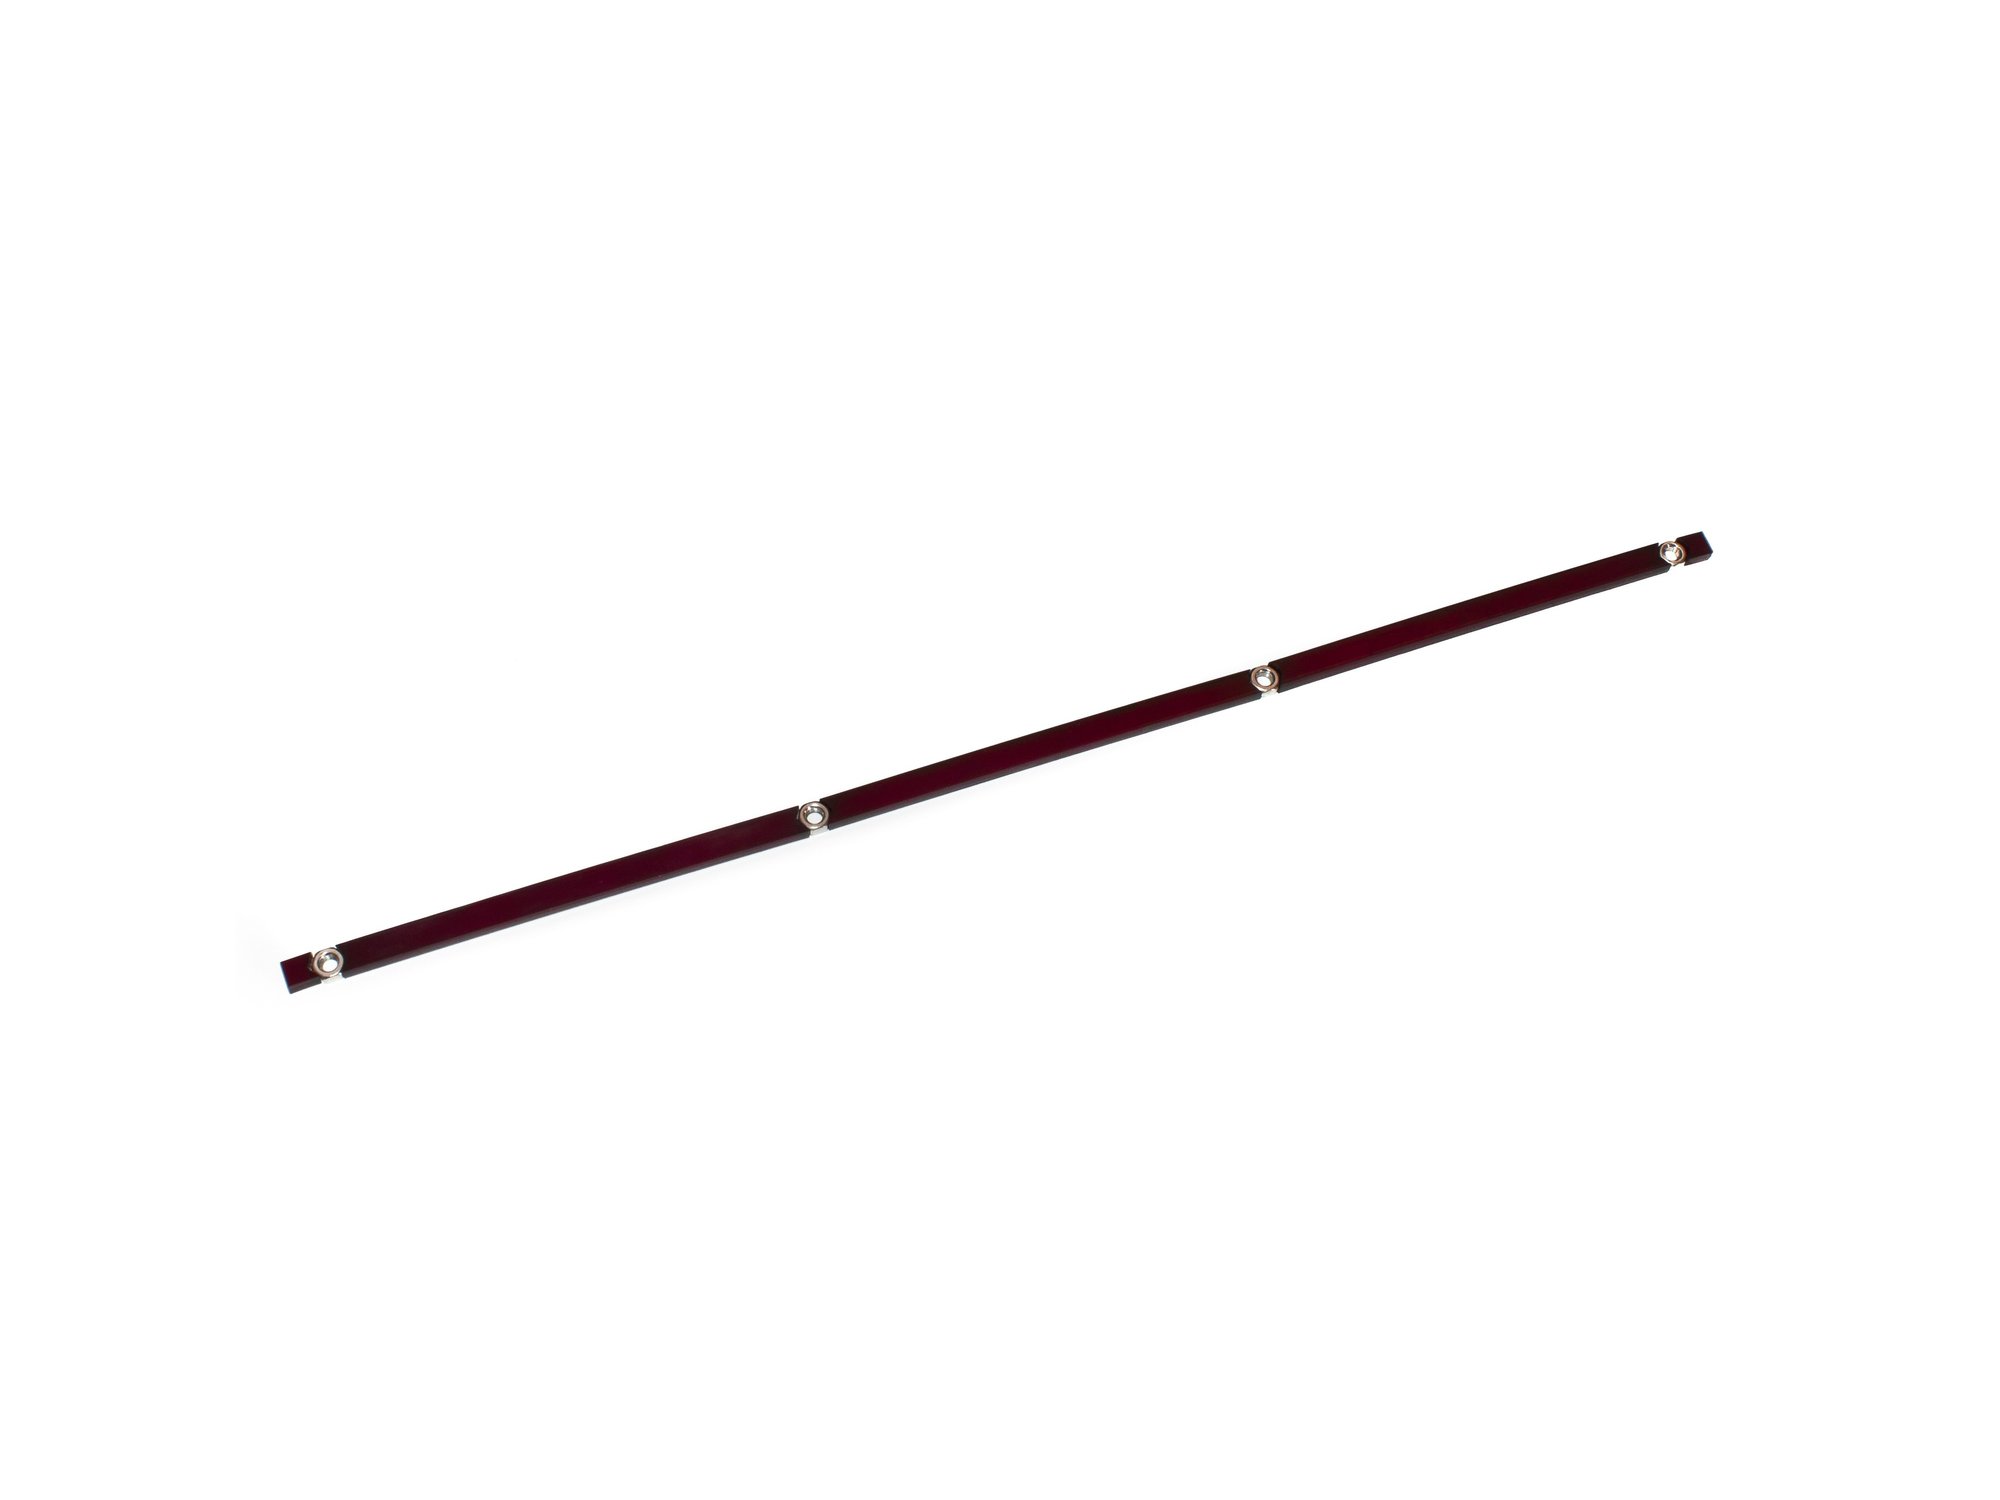
  • In the layout shown in the image, insert the acrylic spacer inserts and M3 nuts in the outer channel. There should be (2) 5mm spacers, (3) 81mm spacers, and 4 M3 nuts.
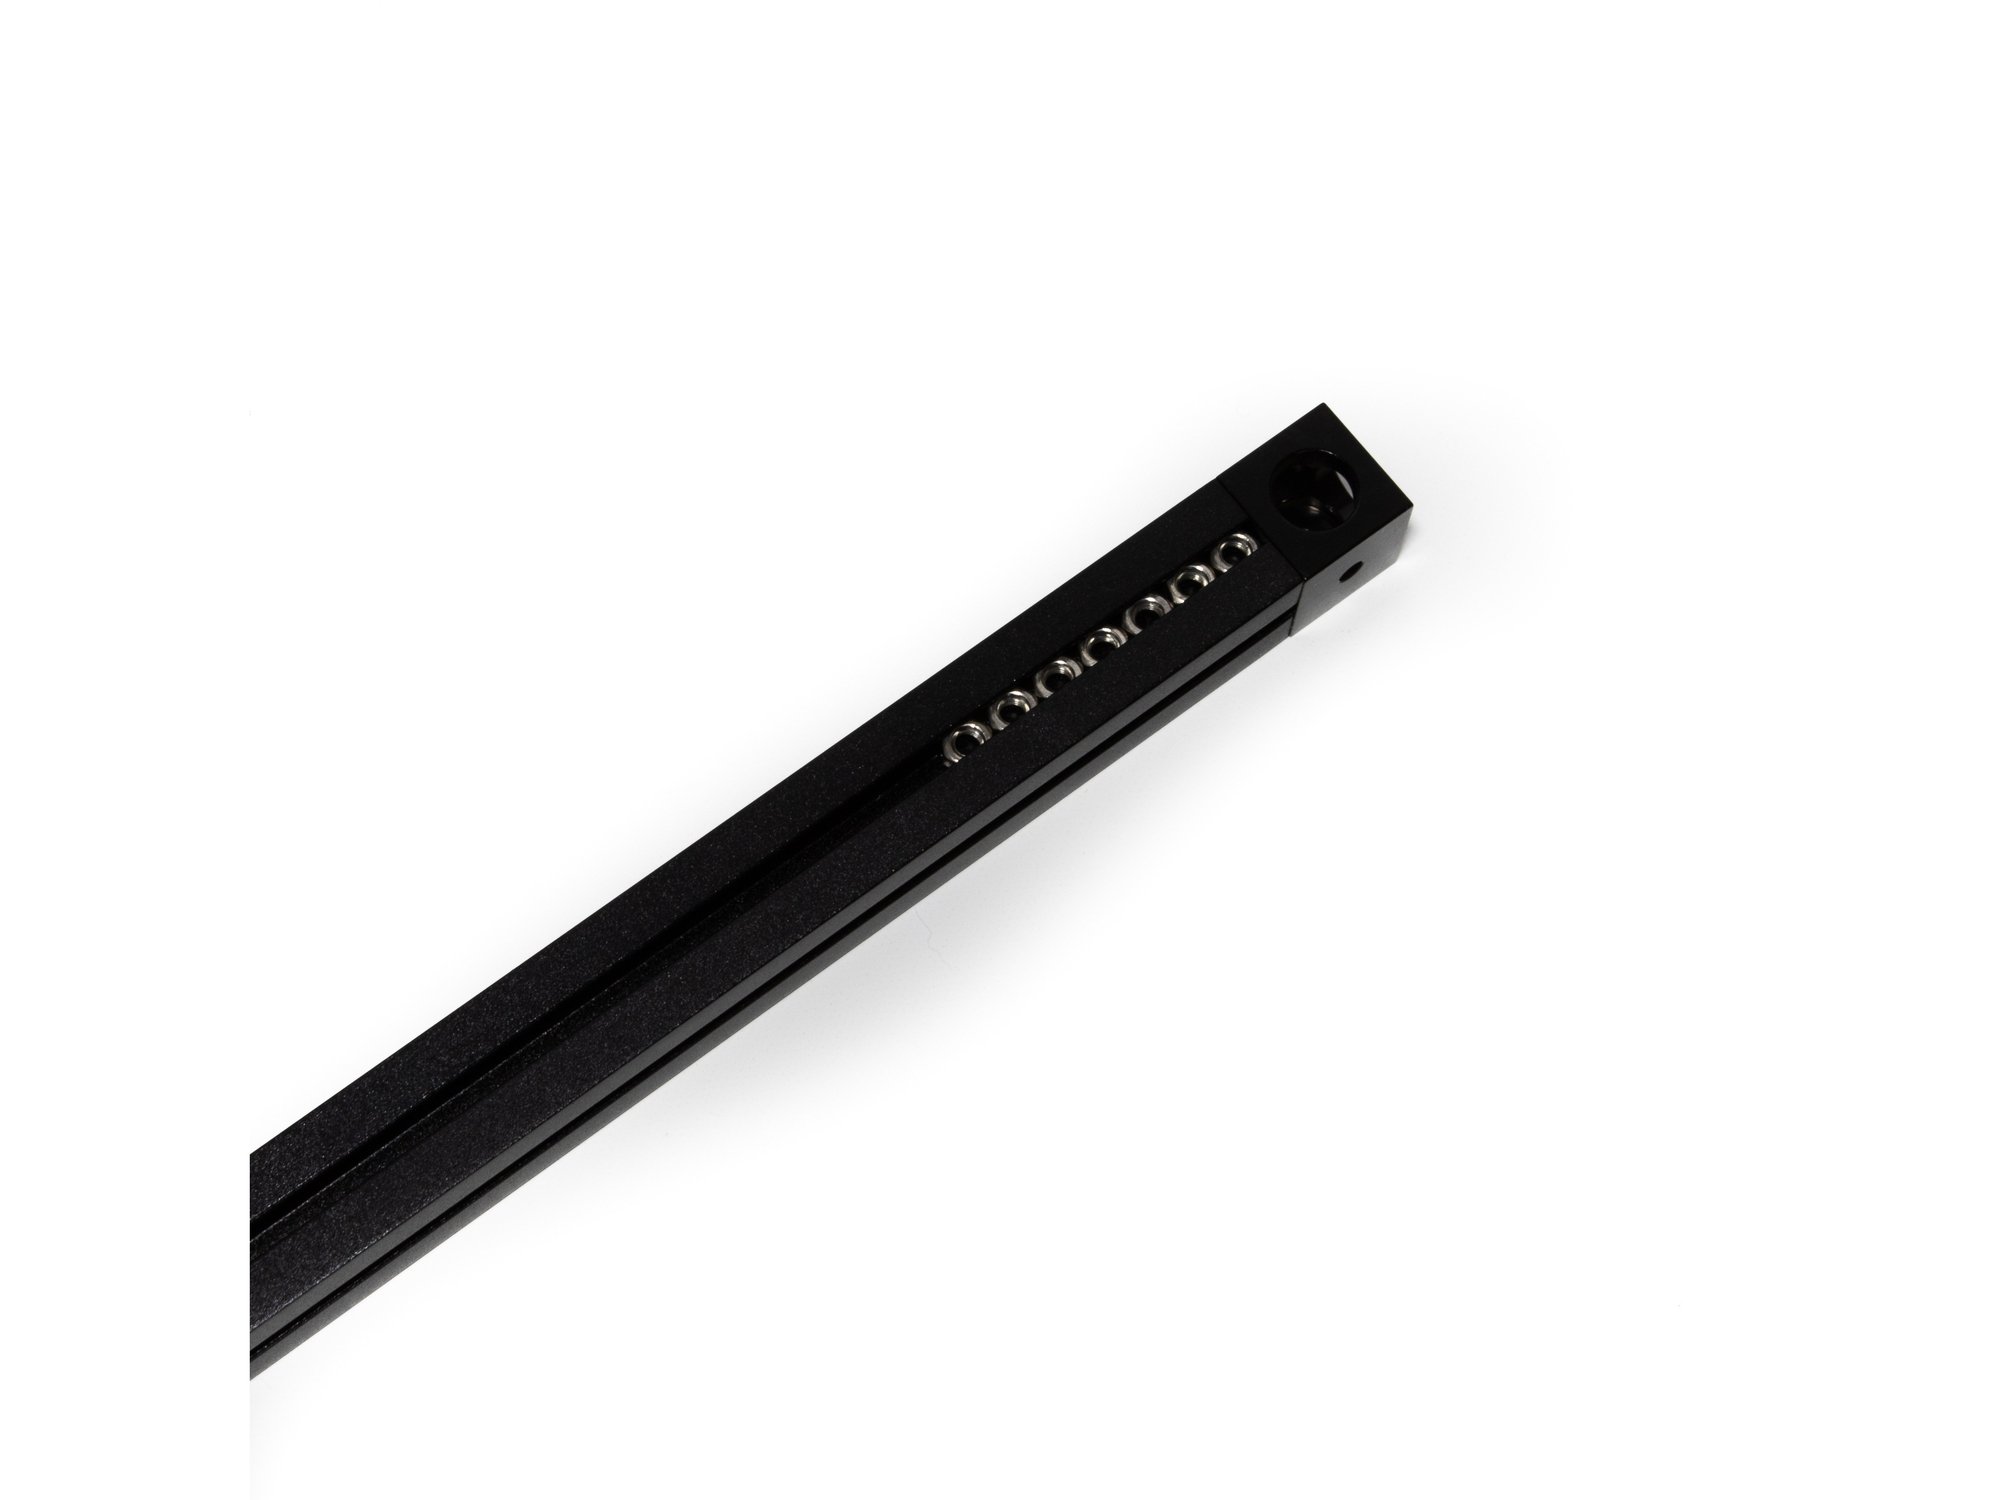
  • Slide (7) M3 nuts into the top channel.
  • Slide (4) M3 nuts into the top channel.
  • Note Note on the corner cube, the small hole is pointing to the right in this image.

Step 4 — Attach Second Corner Cube to Top Left Extrusion

  • Attach the second corner cube to the top left extrusion using (1) M3 x 8mm socket cap screw. Be sure the large hole is up, small hole is down.
  • Note Note on both corner cubes, the small hole is pointing to the right in this image

Step 5 — Attach Top Front and Top Back Extrusions

  • Attach the (2) 245mm top front and top back extrusions using (1) M3 x 8mm socket head screw for each.

Step 6 — Add Hardware to Top Front and Top Back Extrusions

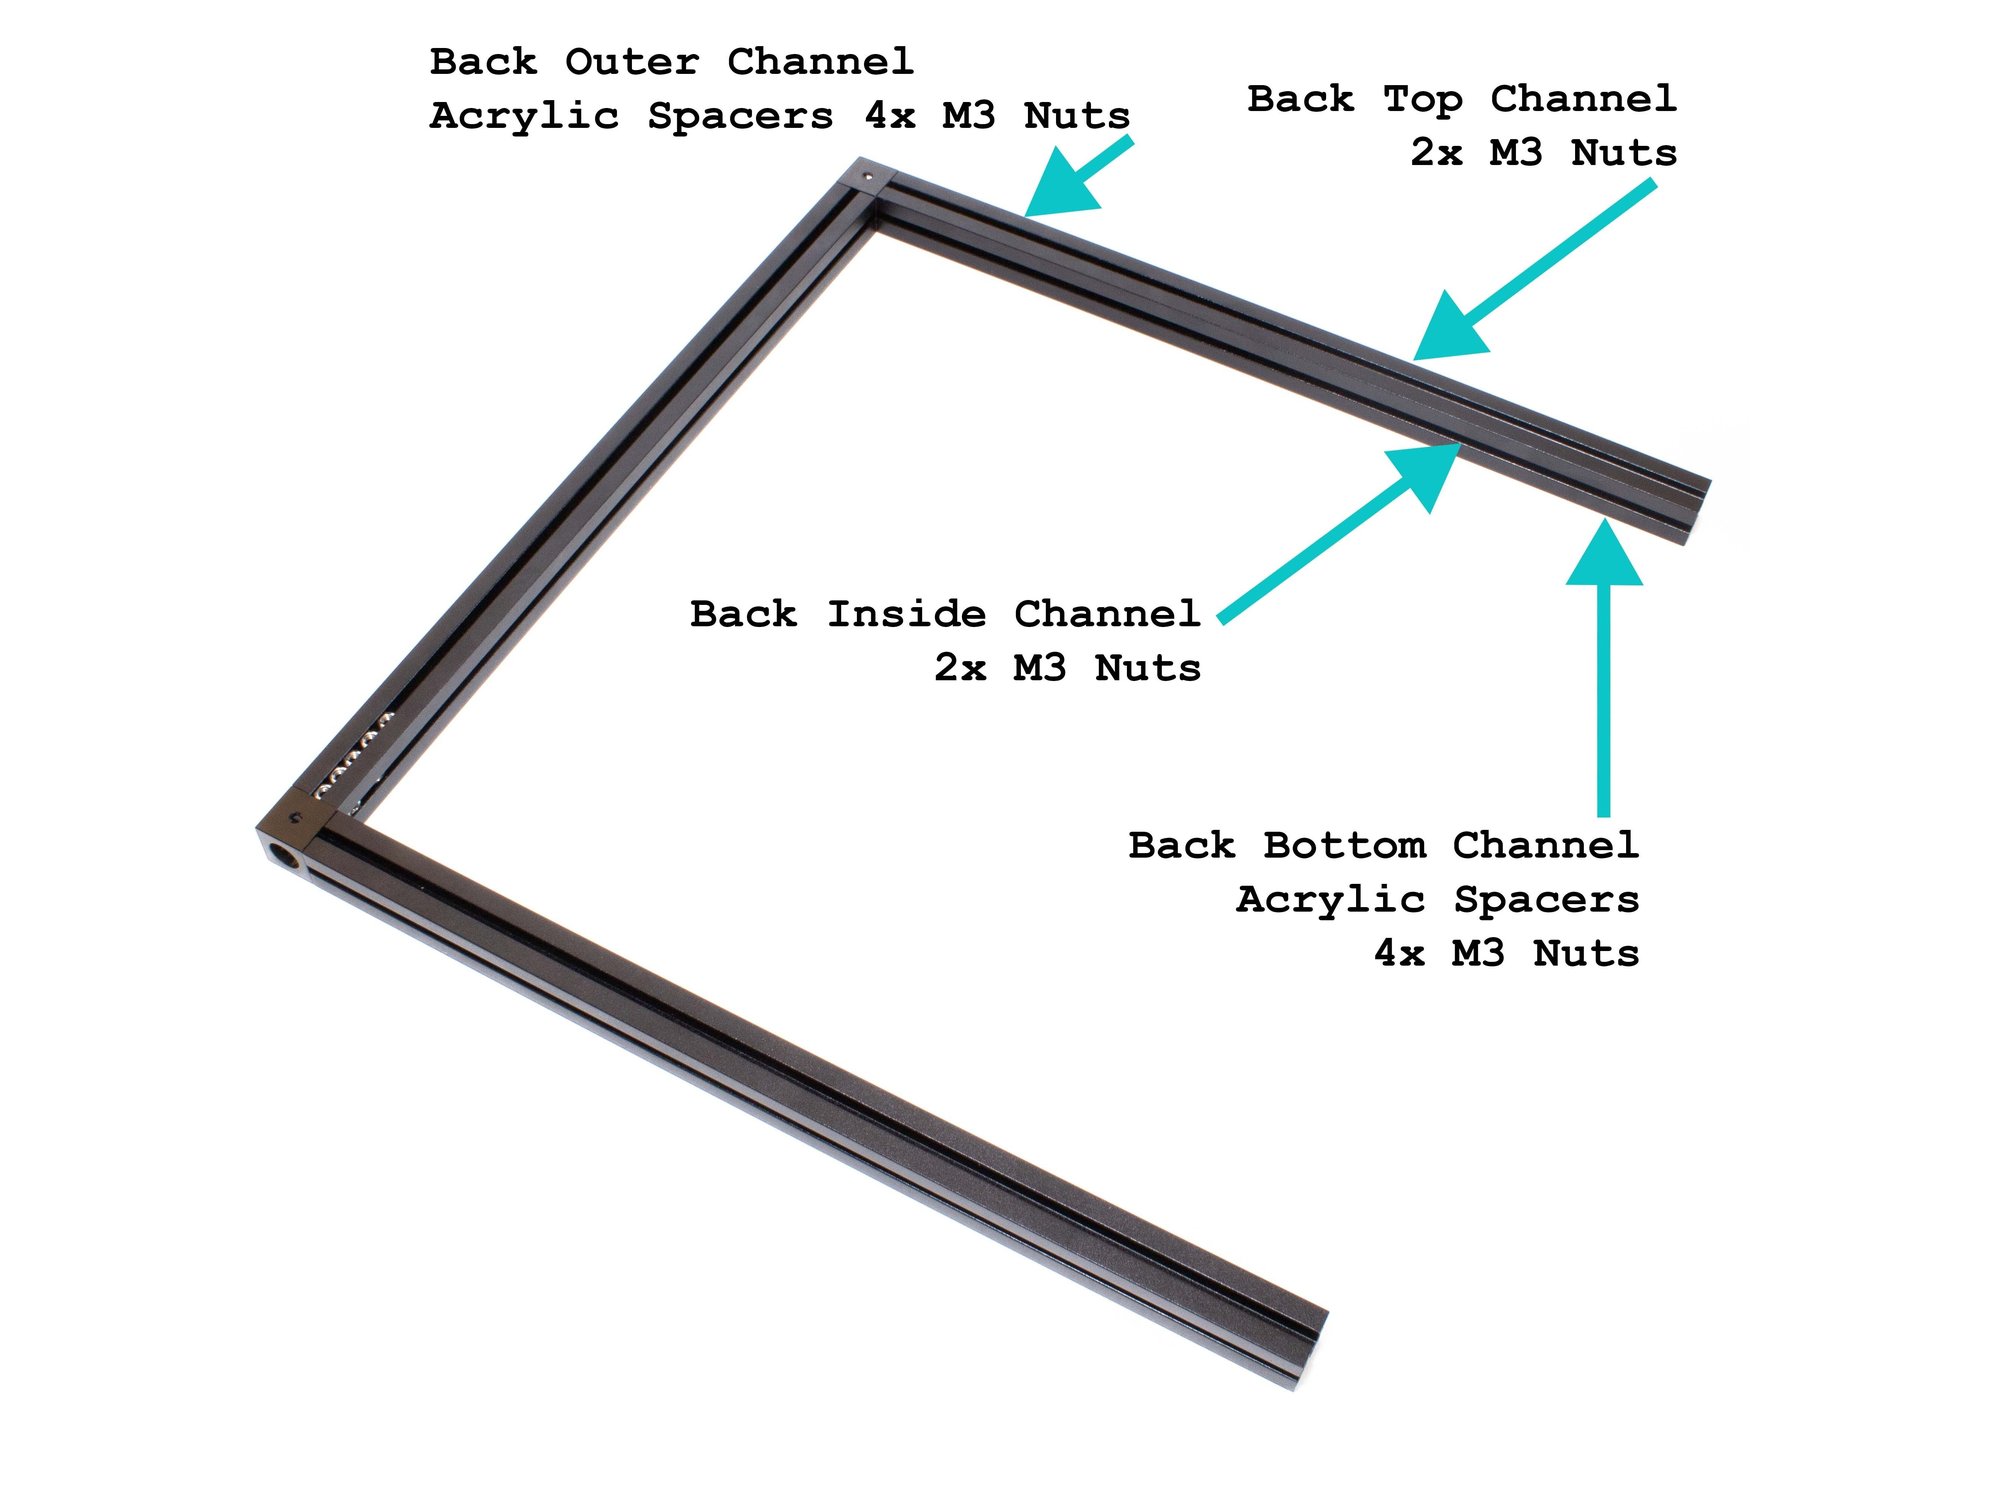
  • (8) M3 nuts go in the top channel of the back extrusion.
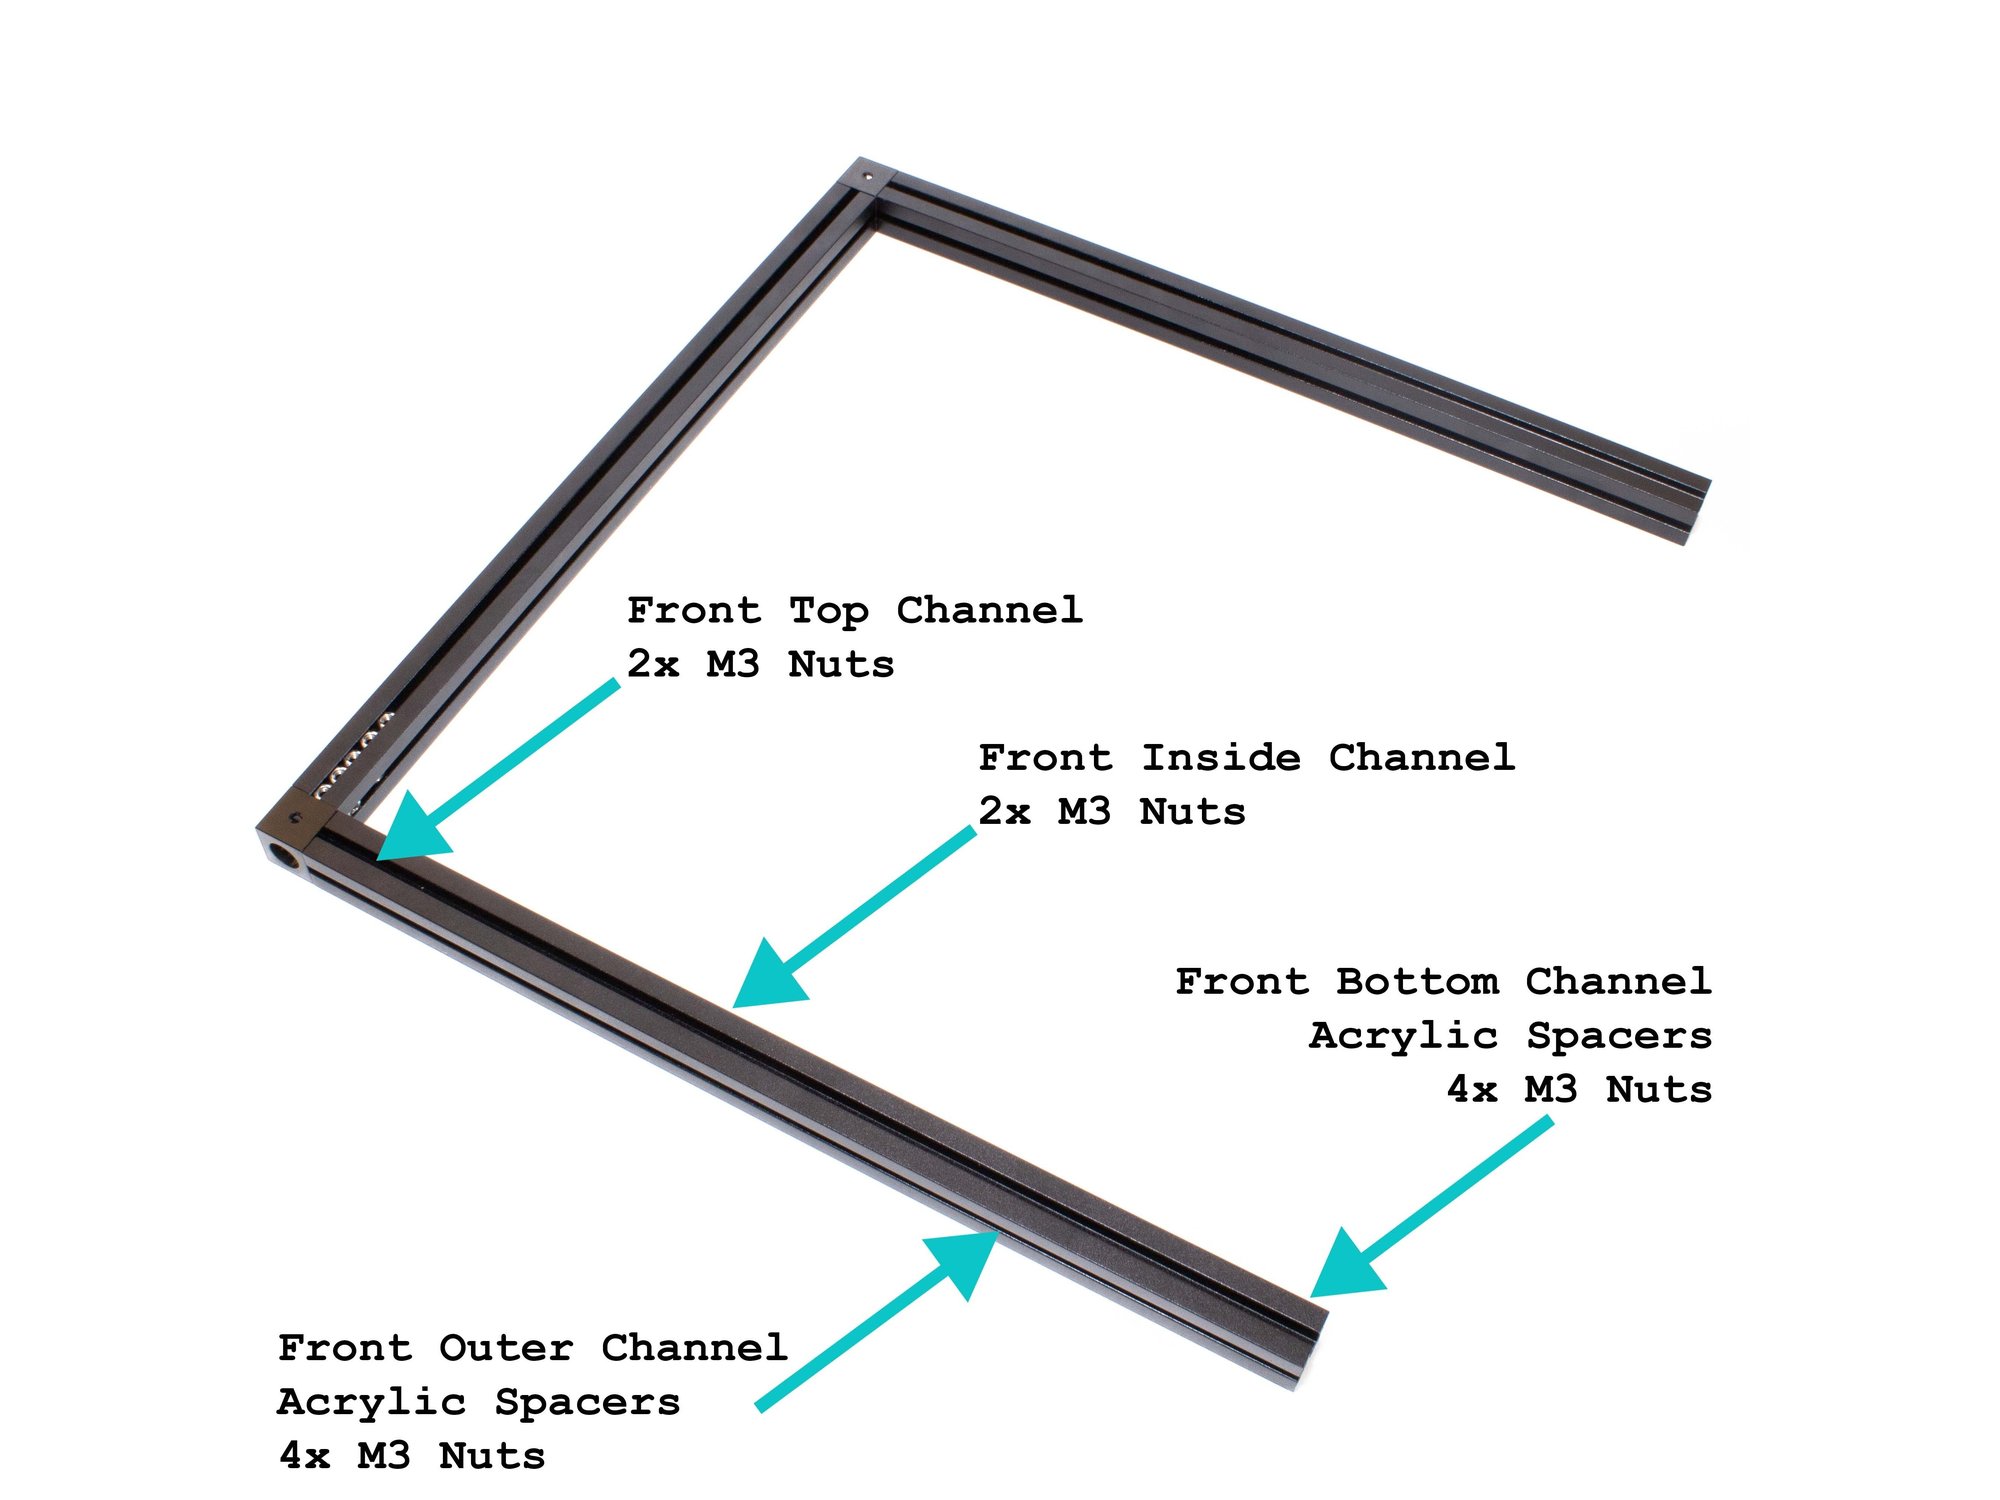
  • (8) M3 nuts go in the front channel of the front extrusion.
  • Insert the acrylic spacer inserts and M3 nuts in the top outer channel. There should be (2) 5mm spacers, (3) 81mm spacers, and 4 M3 nuts (See second image for reference).
  • Insert the acrylic spacer inserts and M3 nuts in the front outer channel. There should be (2) 5mm spacers, (3) 81mm spacers, and 4 M3 nuts (See second image for reference).

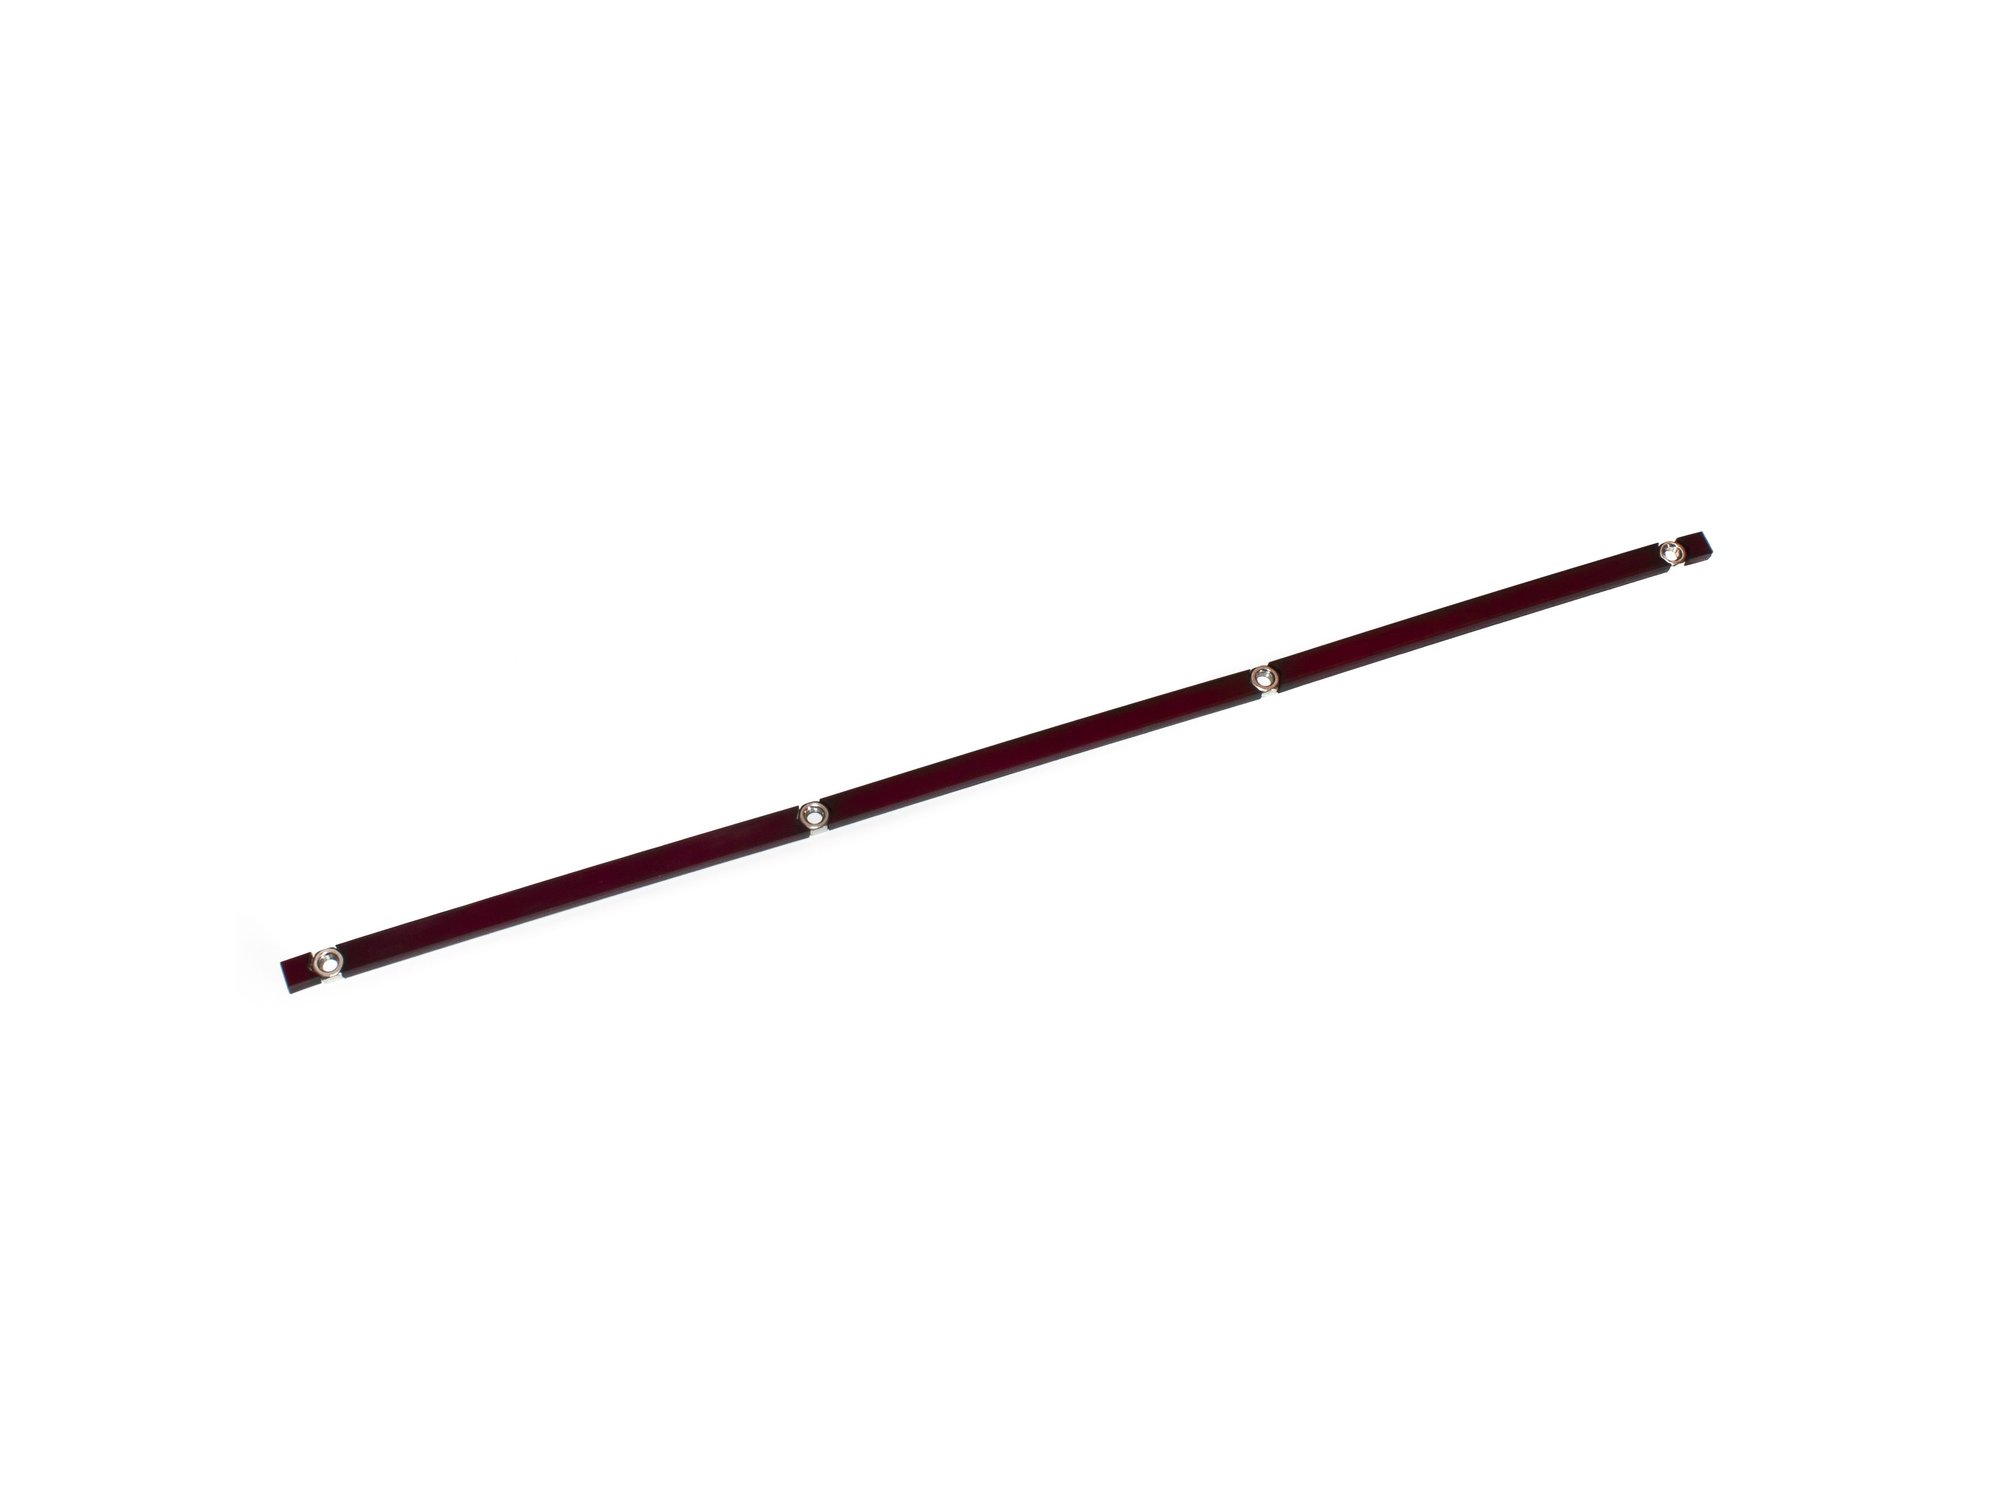
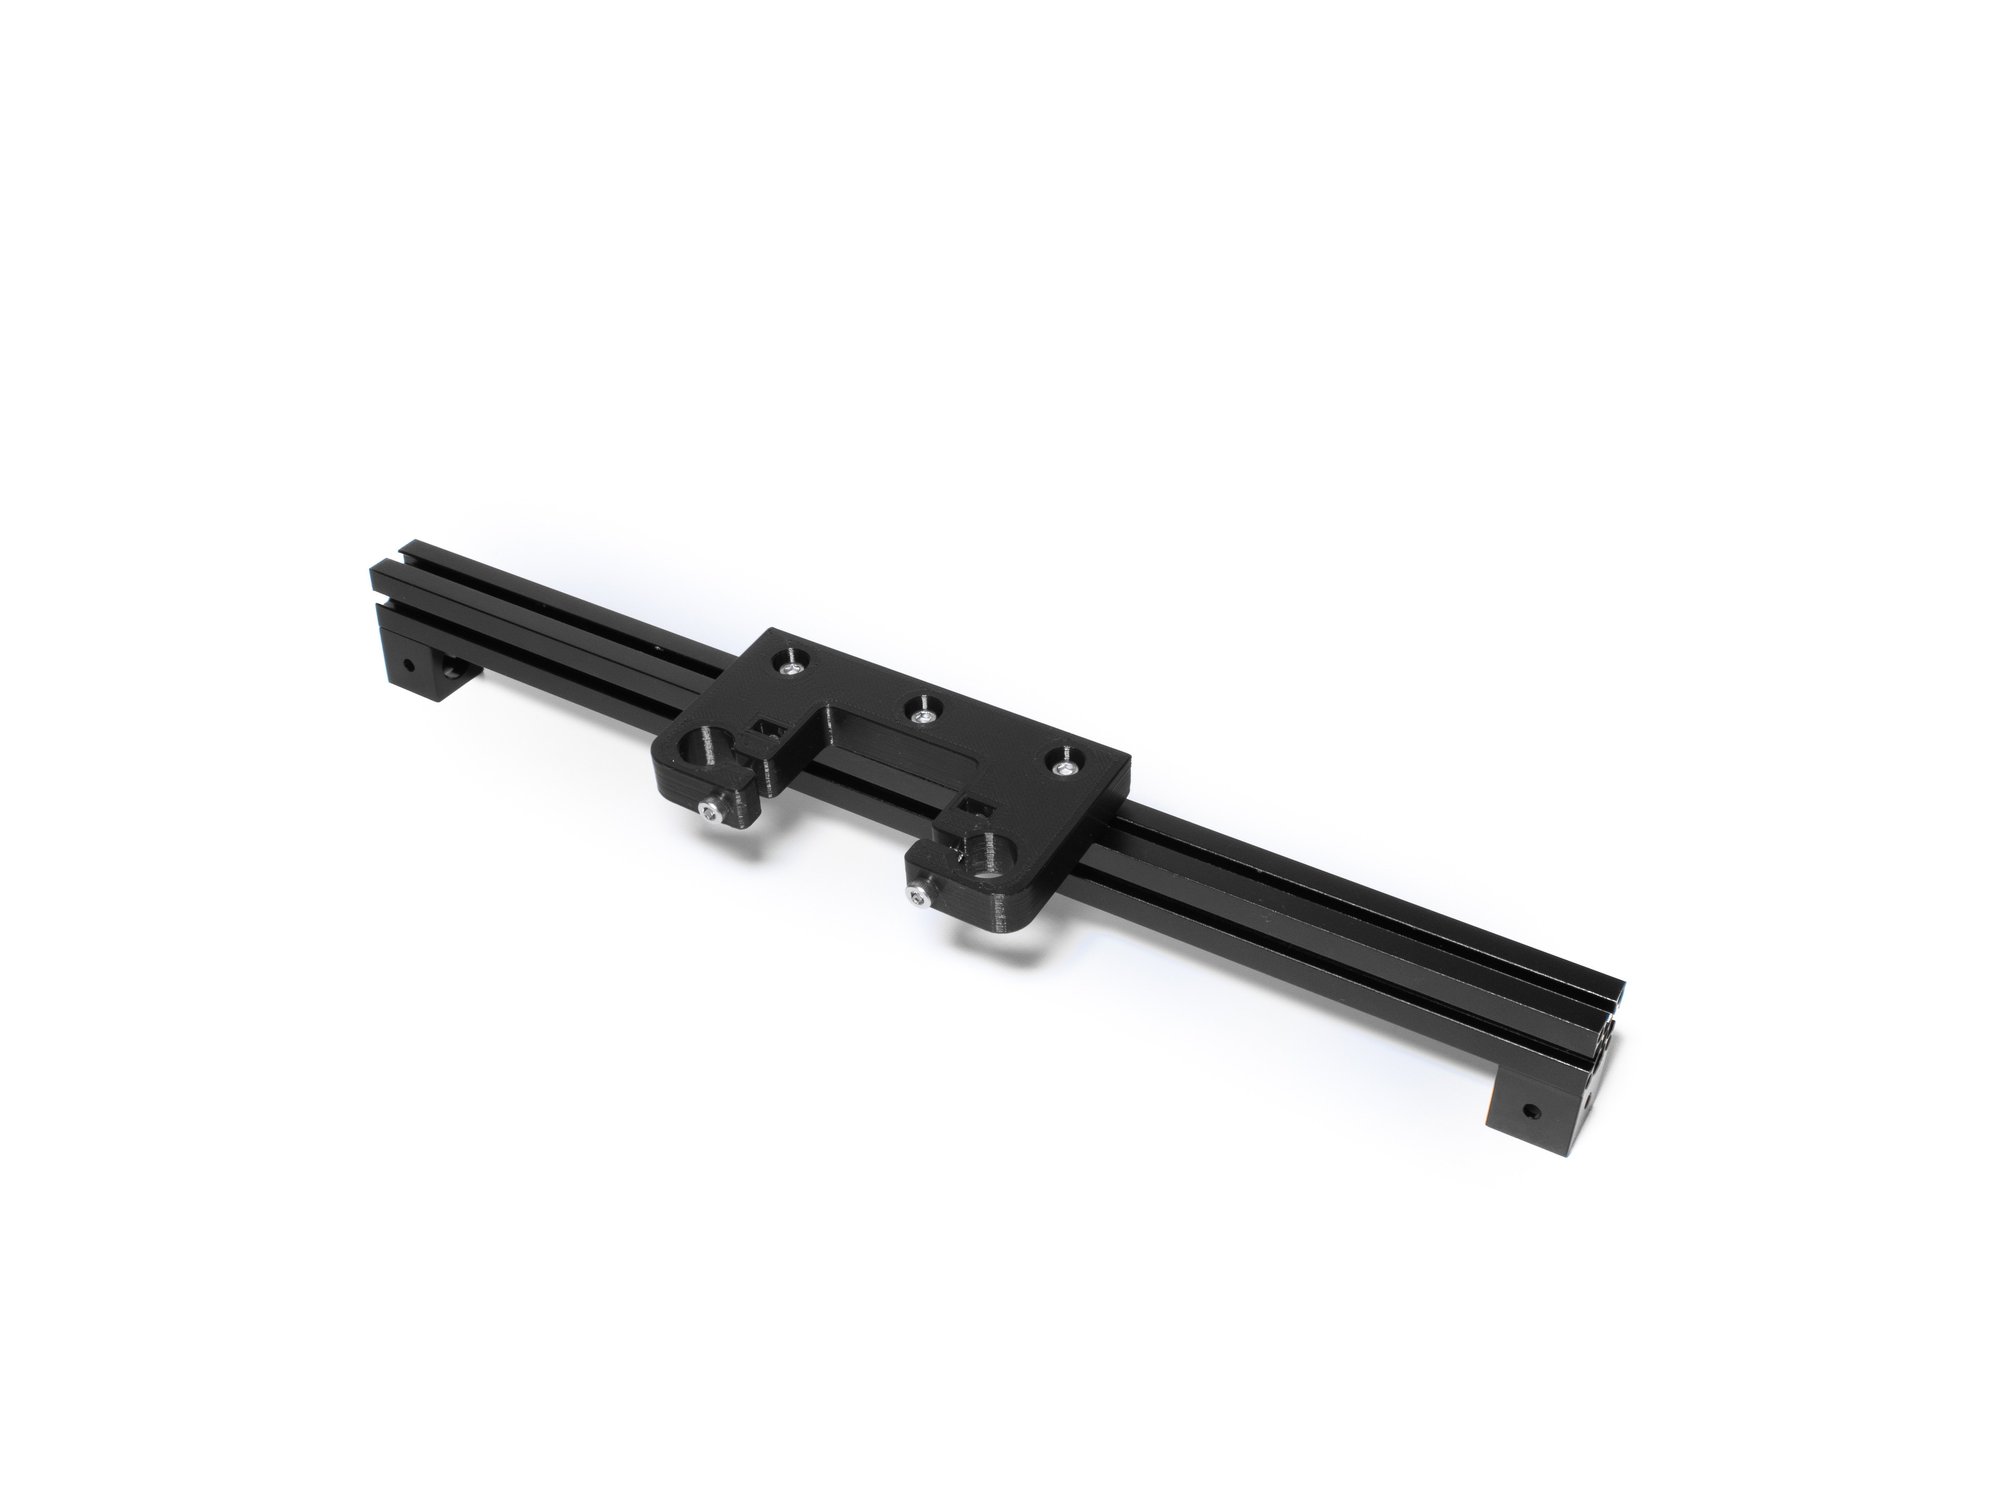
Step 7 — (2x) Install M3 Hardware into Linear Rail

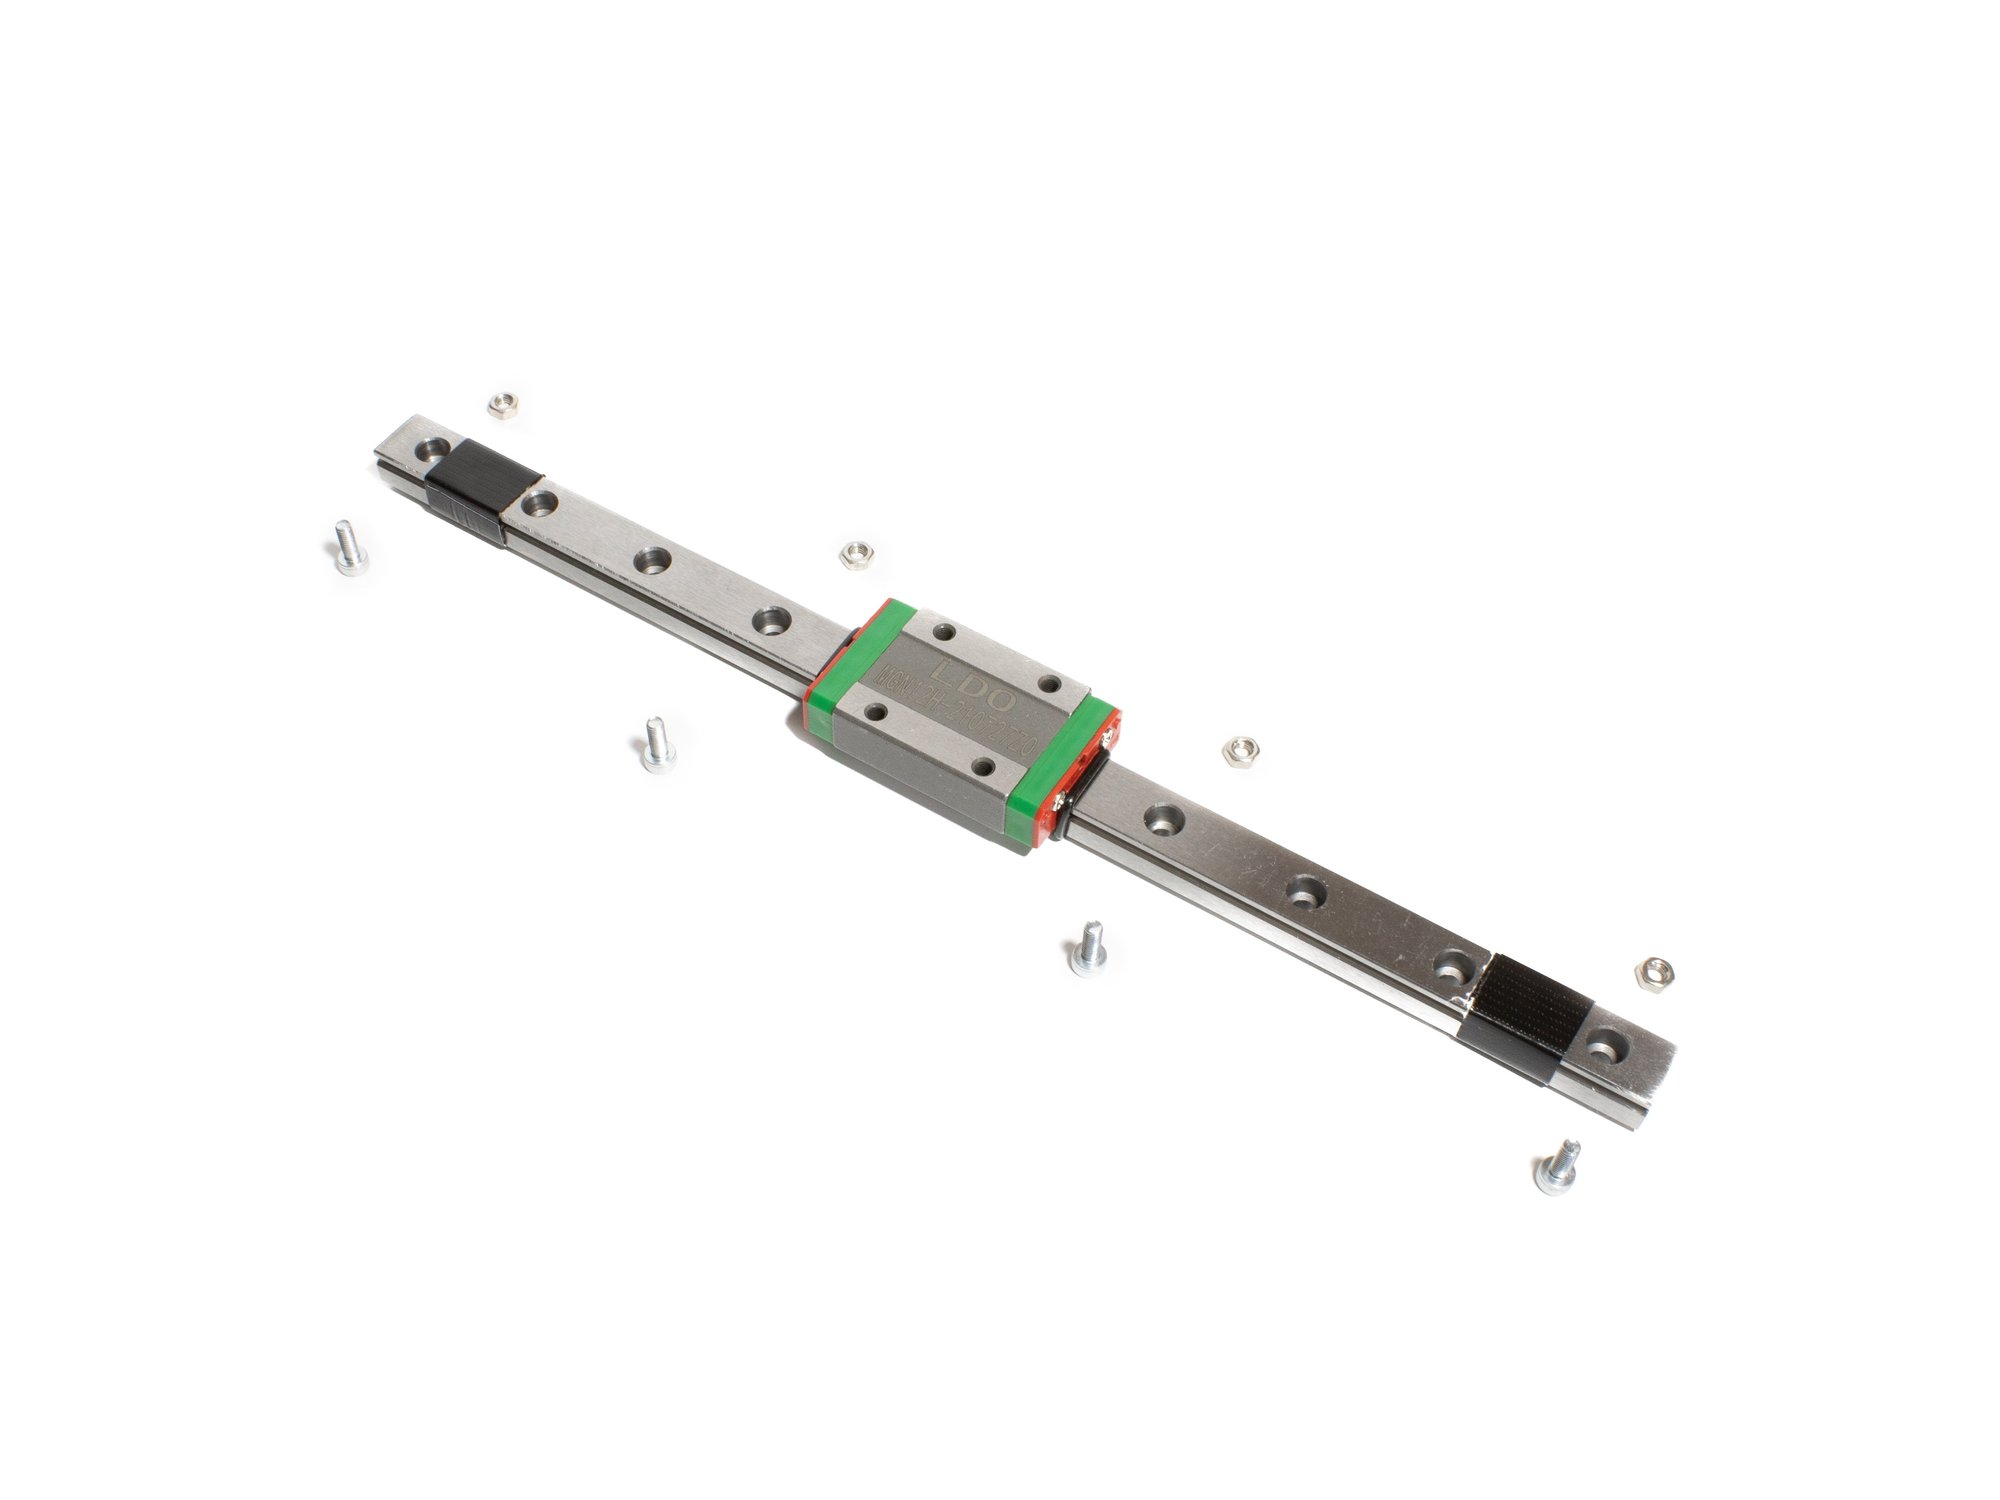
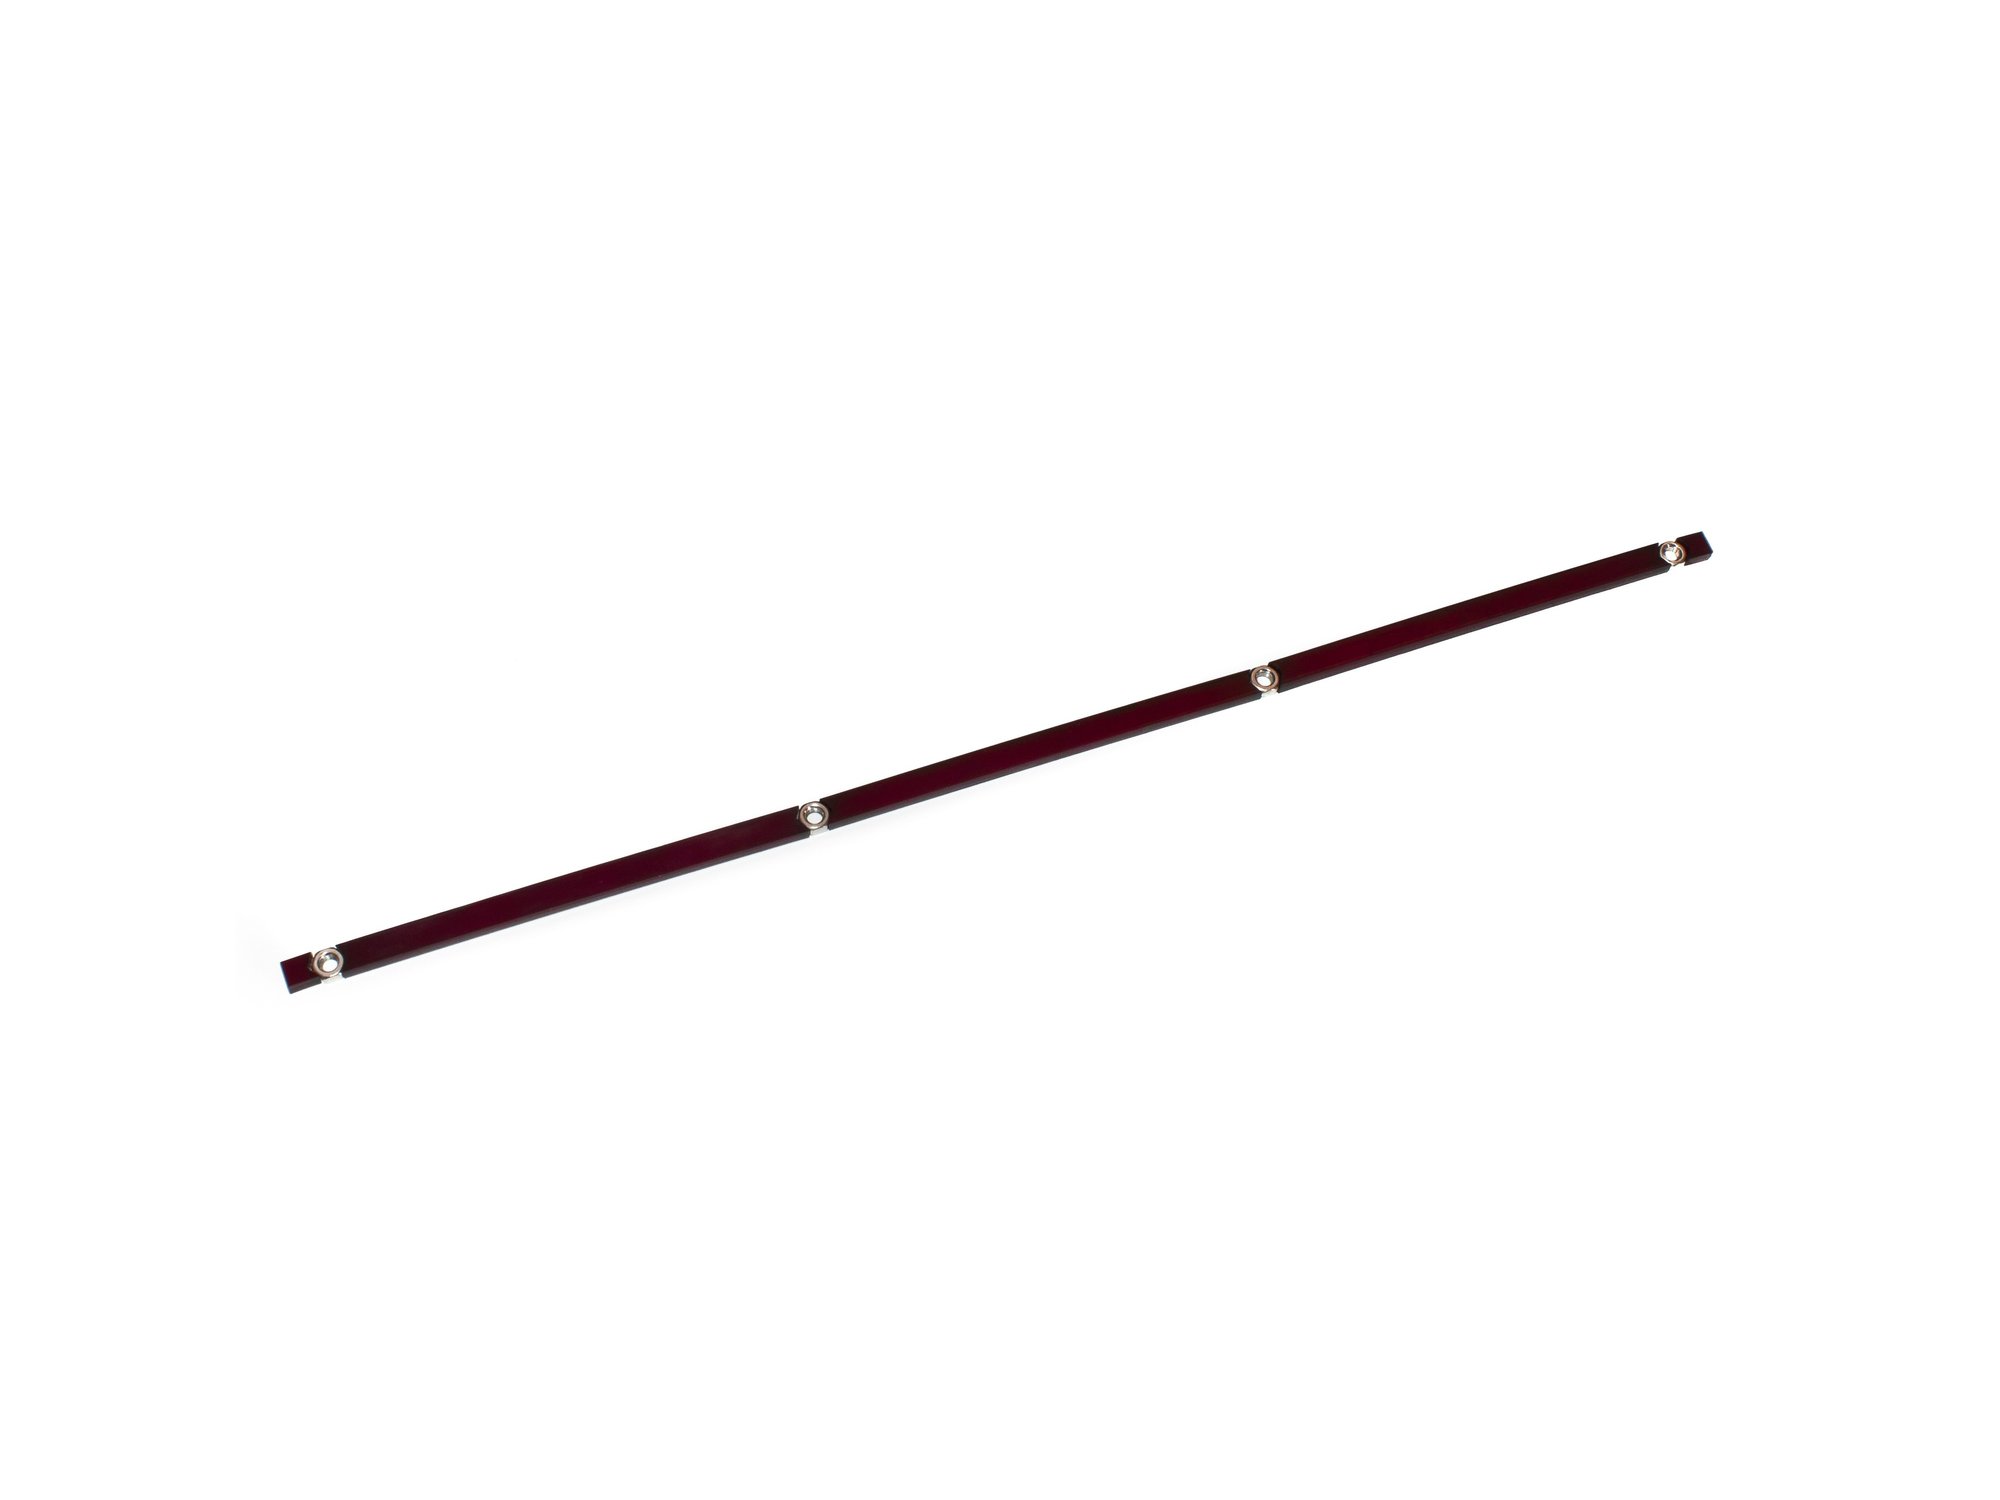
  • Select 4 evenly spaced holes in your linear rail. (2 empty holes between each bolt)
  • Place a M3 x 8mm socket cap head screw into one of the holes selected. Loosely thread on (1) M3 nut to the bolt. DO NOT TIGHTEN THEM FULLY. The M3 nut only needs to be threaded onto the tip of the bolt, you want a gap between the nut and the back of the rail. Repeat for the other three (3) holes.
  • Repeat the above steps for the other 245mm rail.
  • Note If you are using Misumi rails, use a M3 lock washer between the M3 x 8mm and the rail.
  • Caution It is highly recommended to use a bit of masking tape to keep the carriage from sliding off of the linear rail.

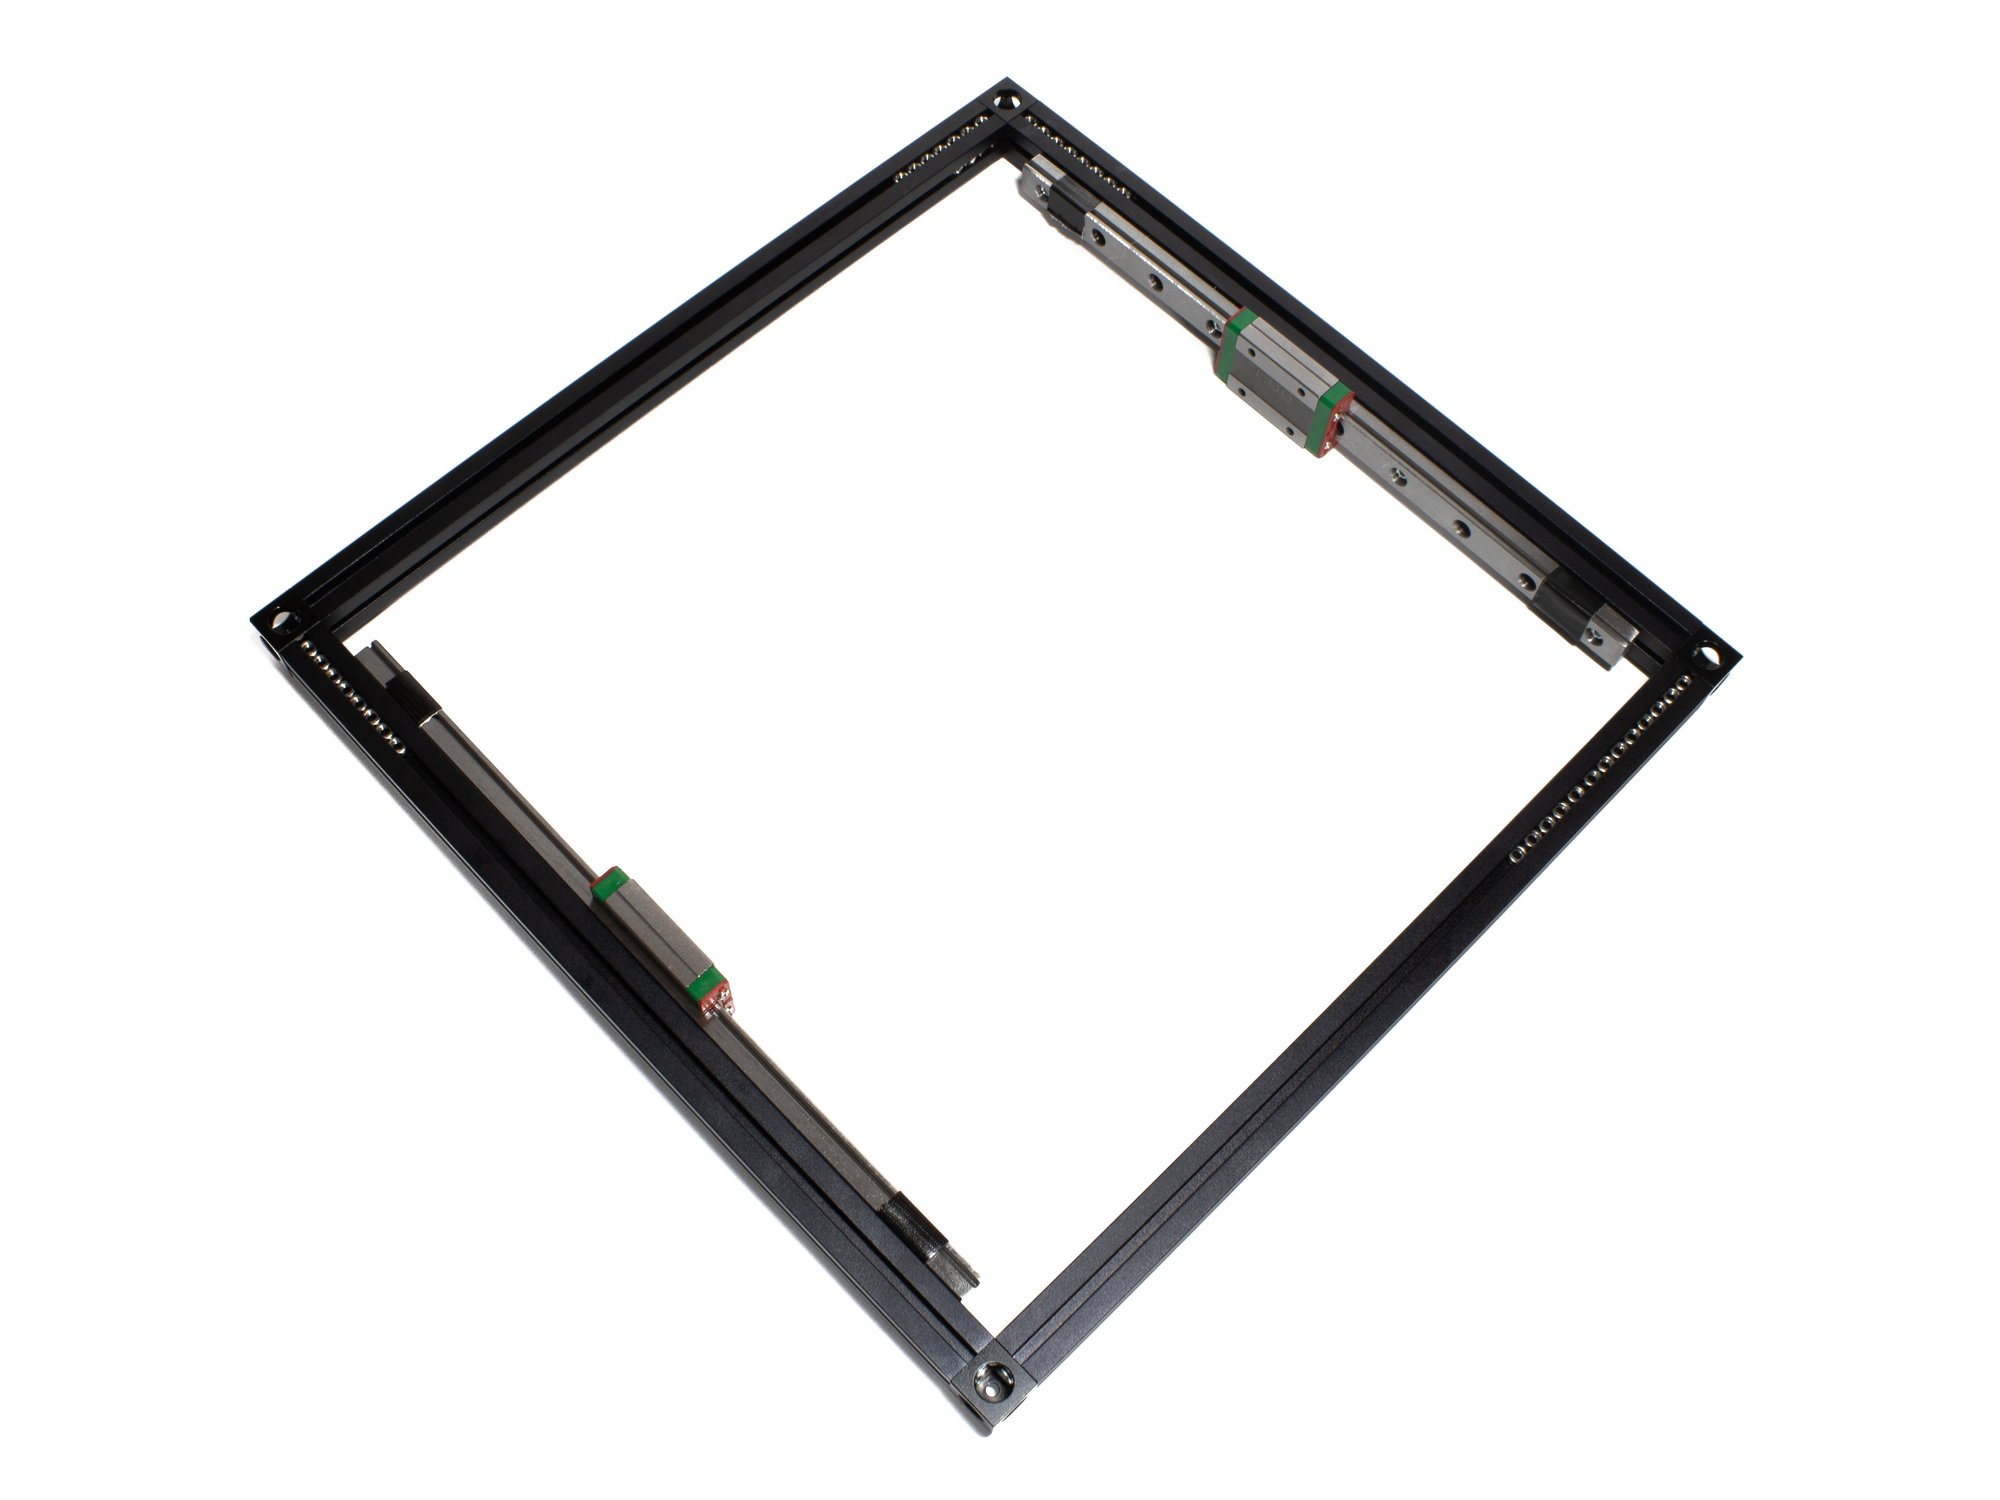
Step 8 — Attach Linear rail to Top Front and Top Back Extrusions

  • Attach each linear rail to top front and top back extrusions by sliding the M3 nuts into the inside channel on the extrusion.
  • Roughly center the extrusion, and then snug up the bolts.
  • Caution Do not overtighten the bolts, you just need them snug for now. They'll be tightened later.

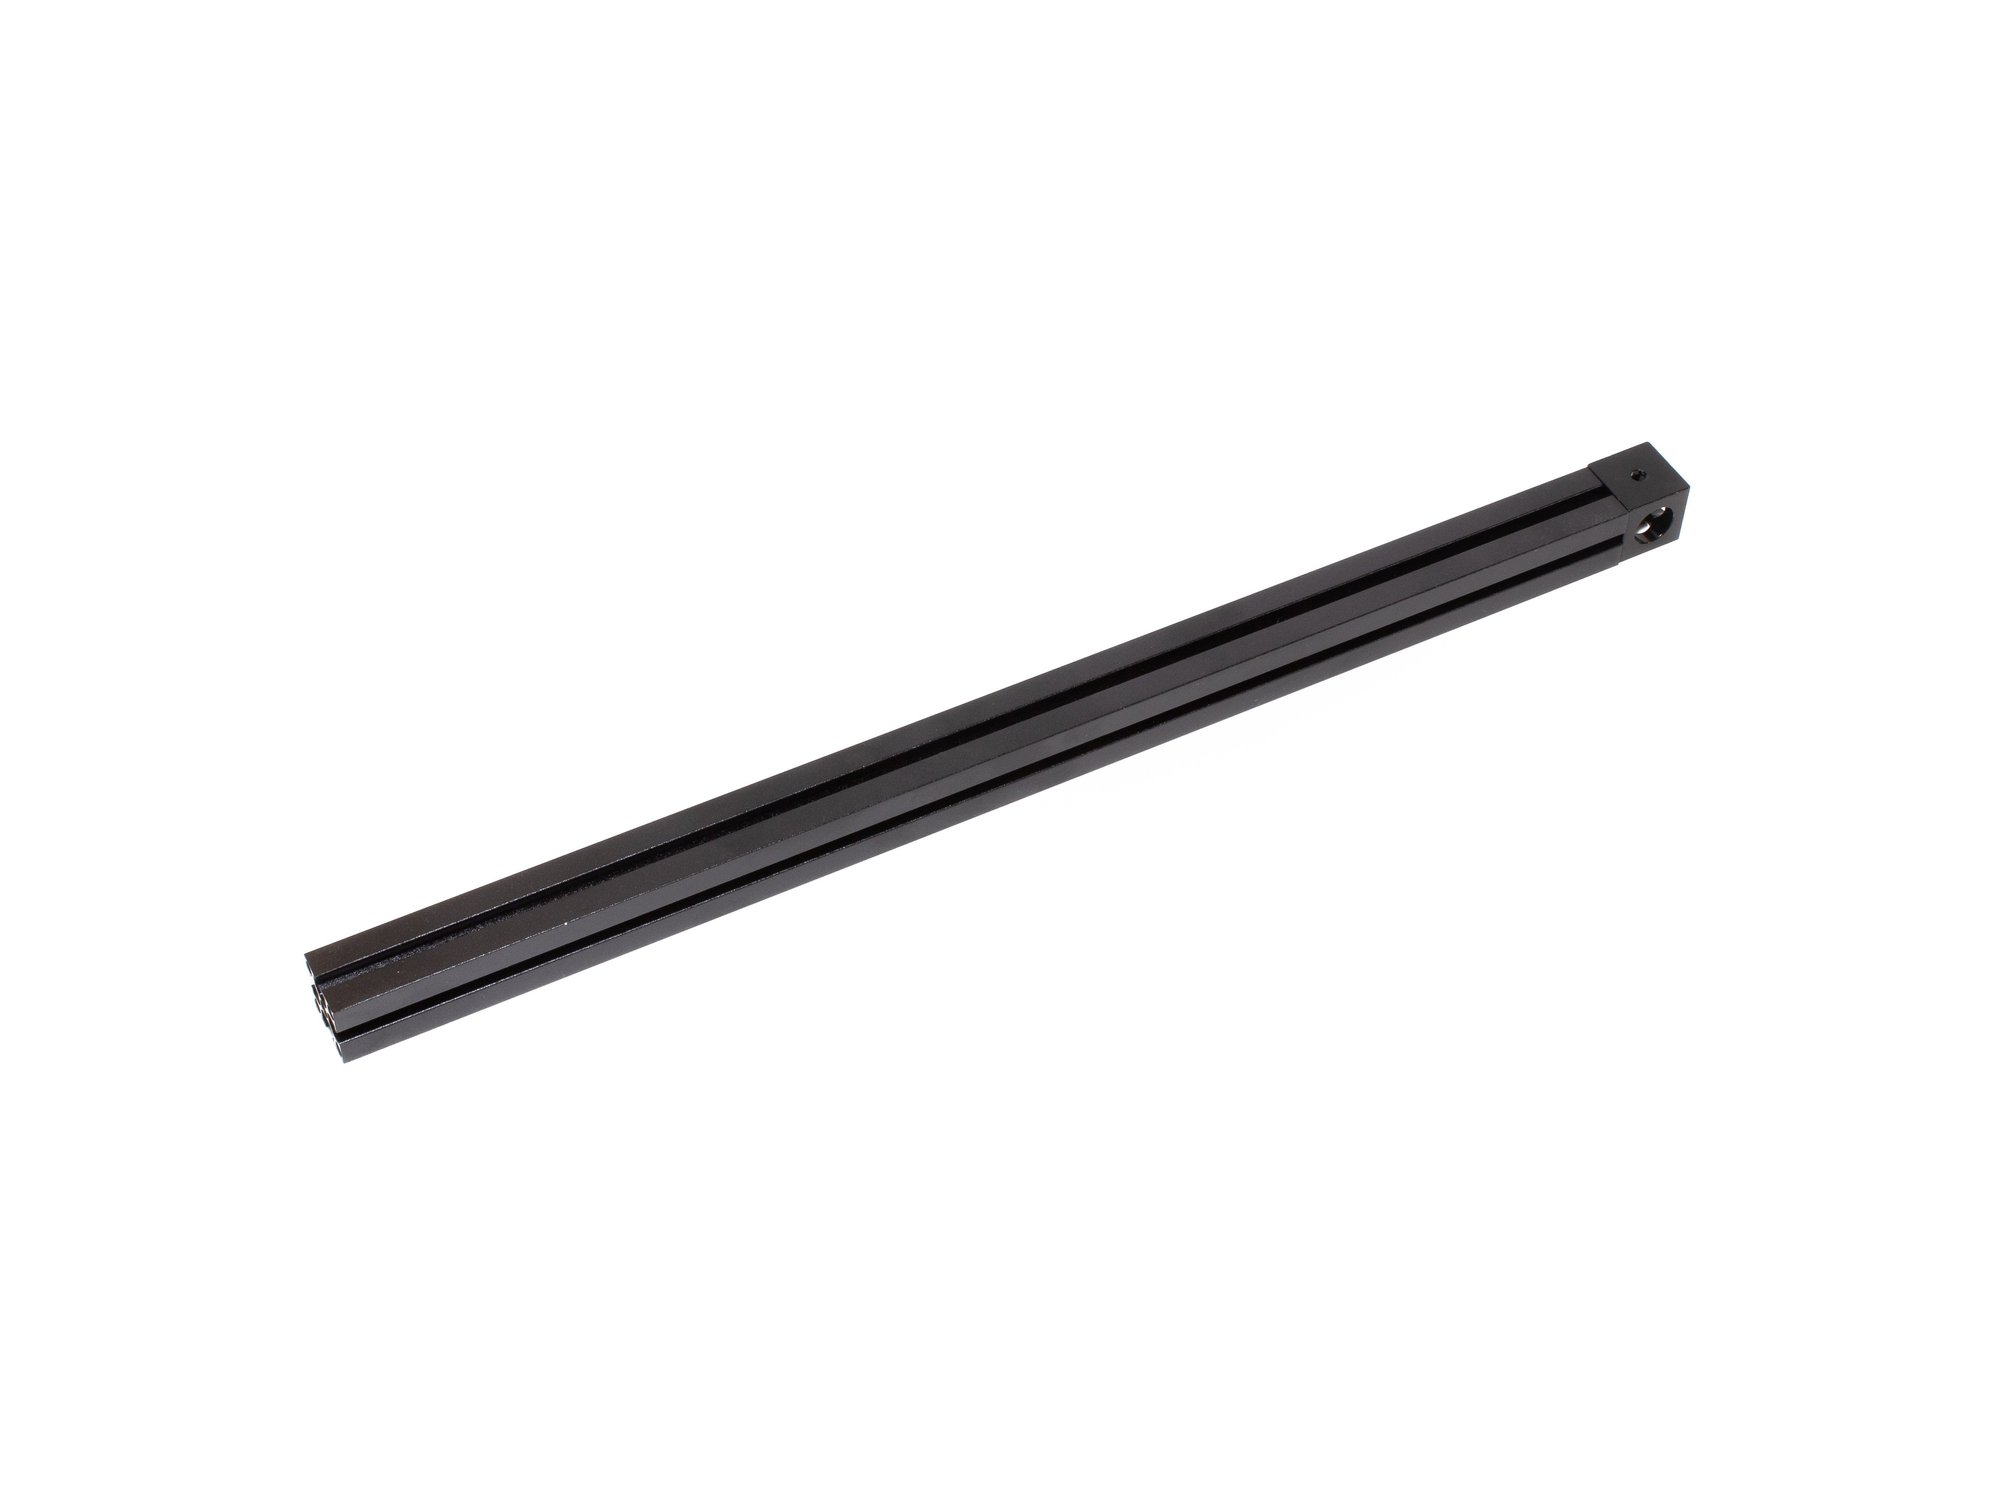
Step 9 — Attach Corner Cube to Top Right Extrusion

  • Set aside the rest of your top extrusion assembly for now, so we can work on the top right extrusion.
  • Attach a corner cube to the right 270mm extrusion using (1) M3 x 8mm socket head screw.

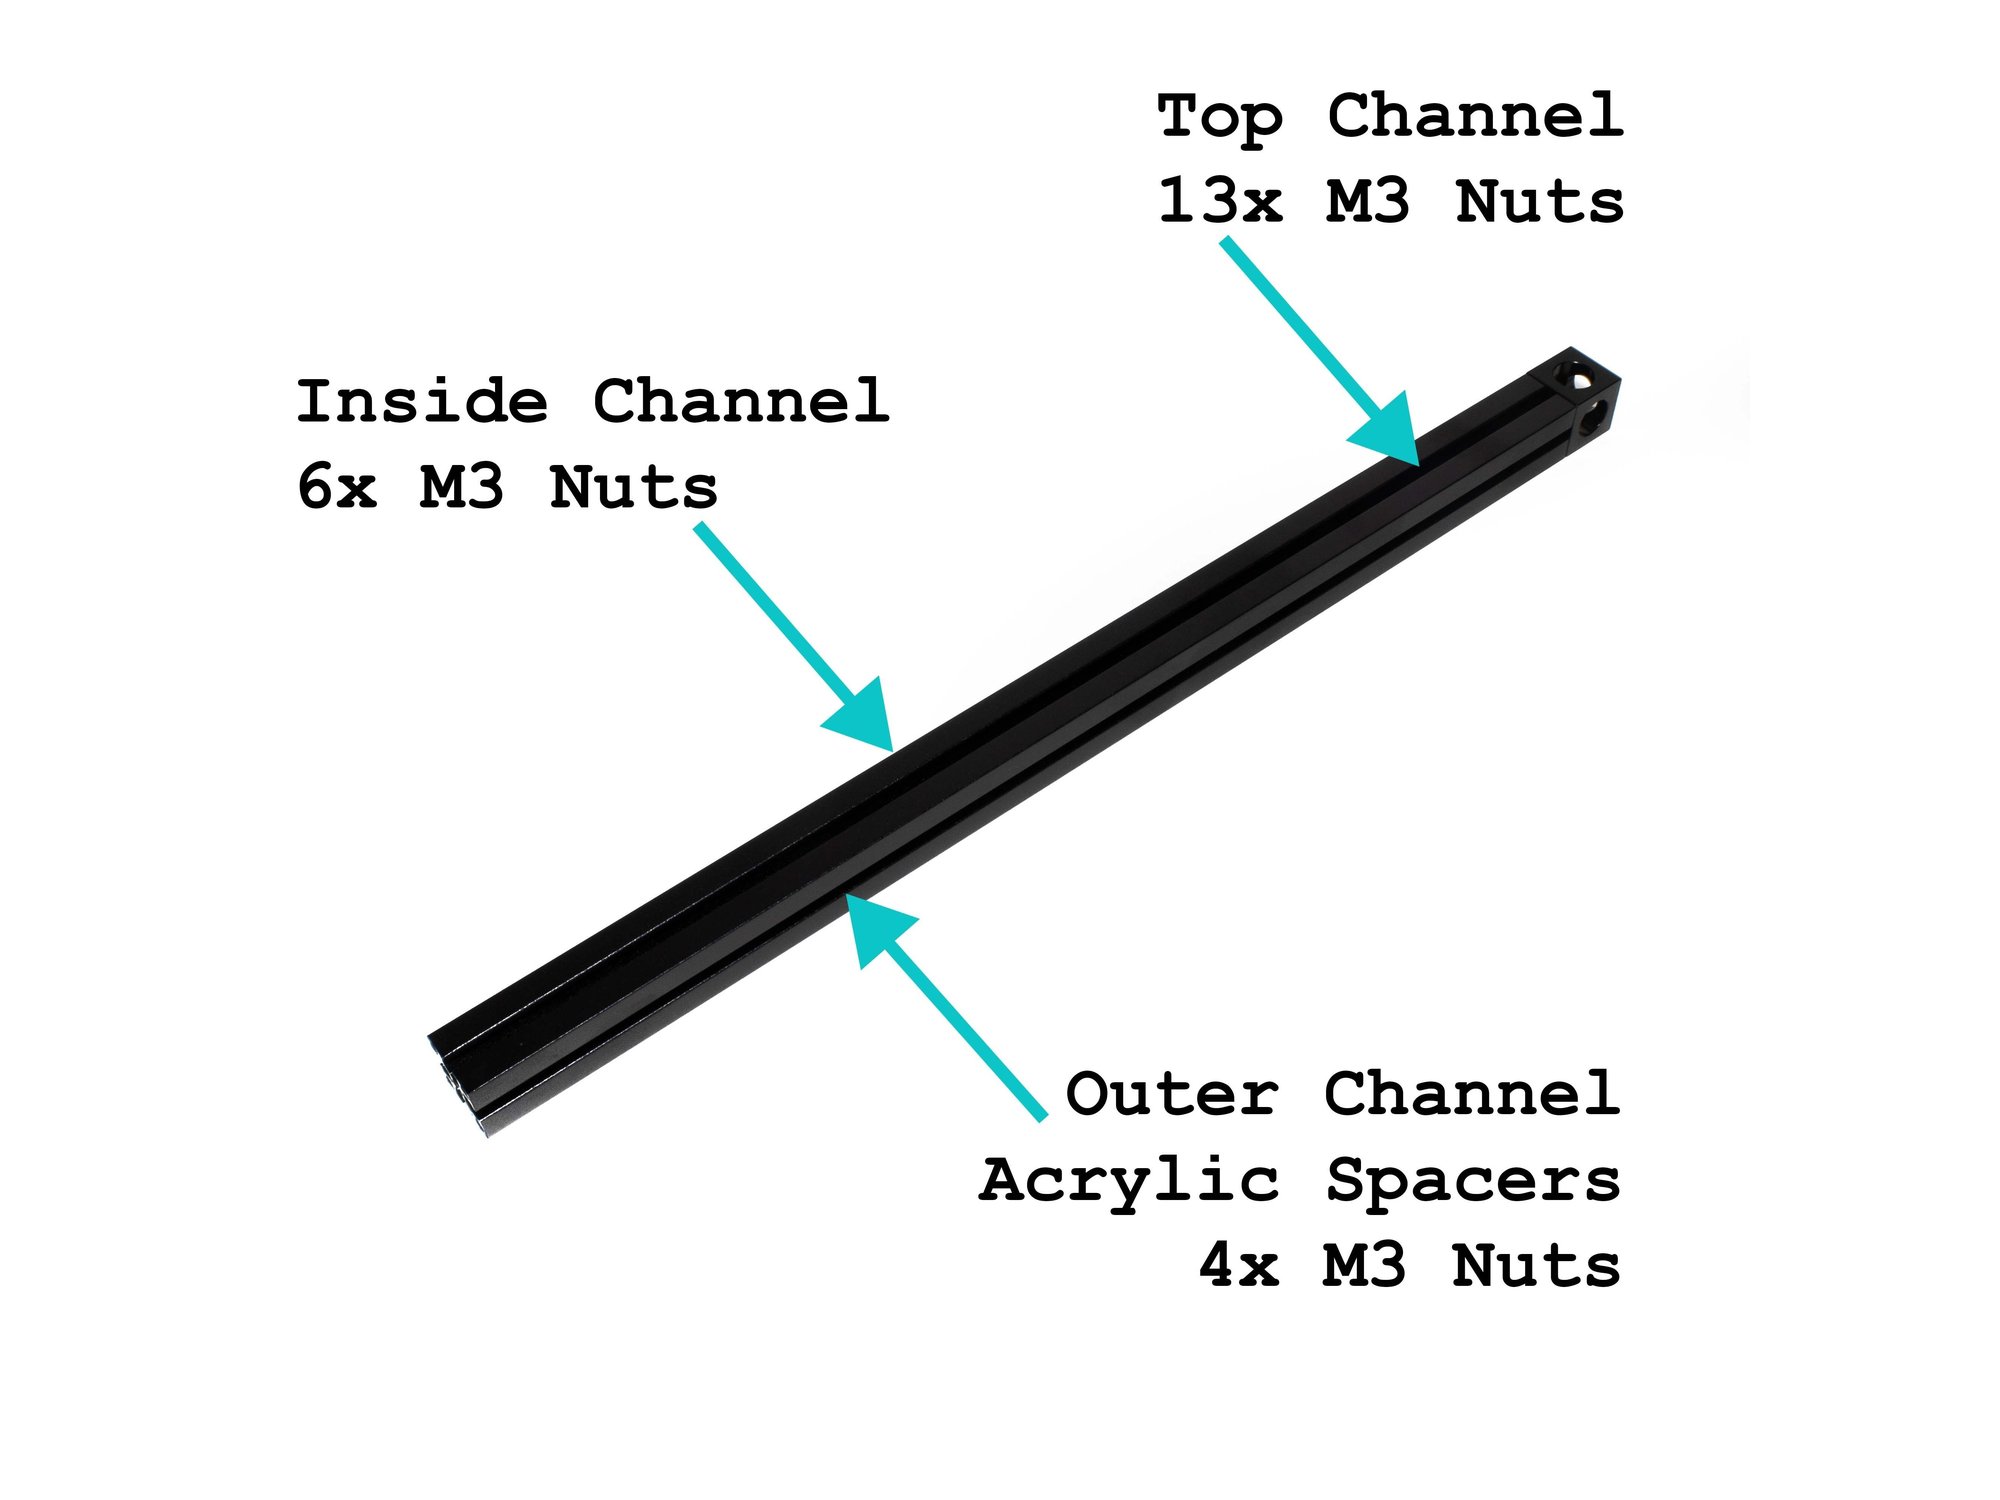
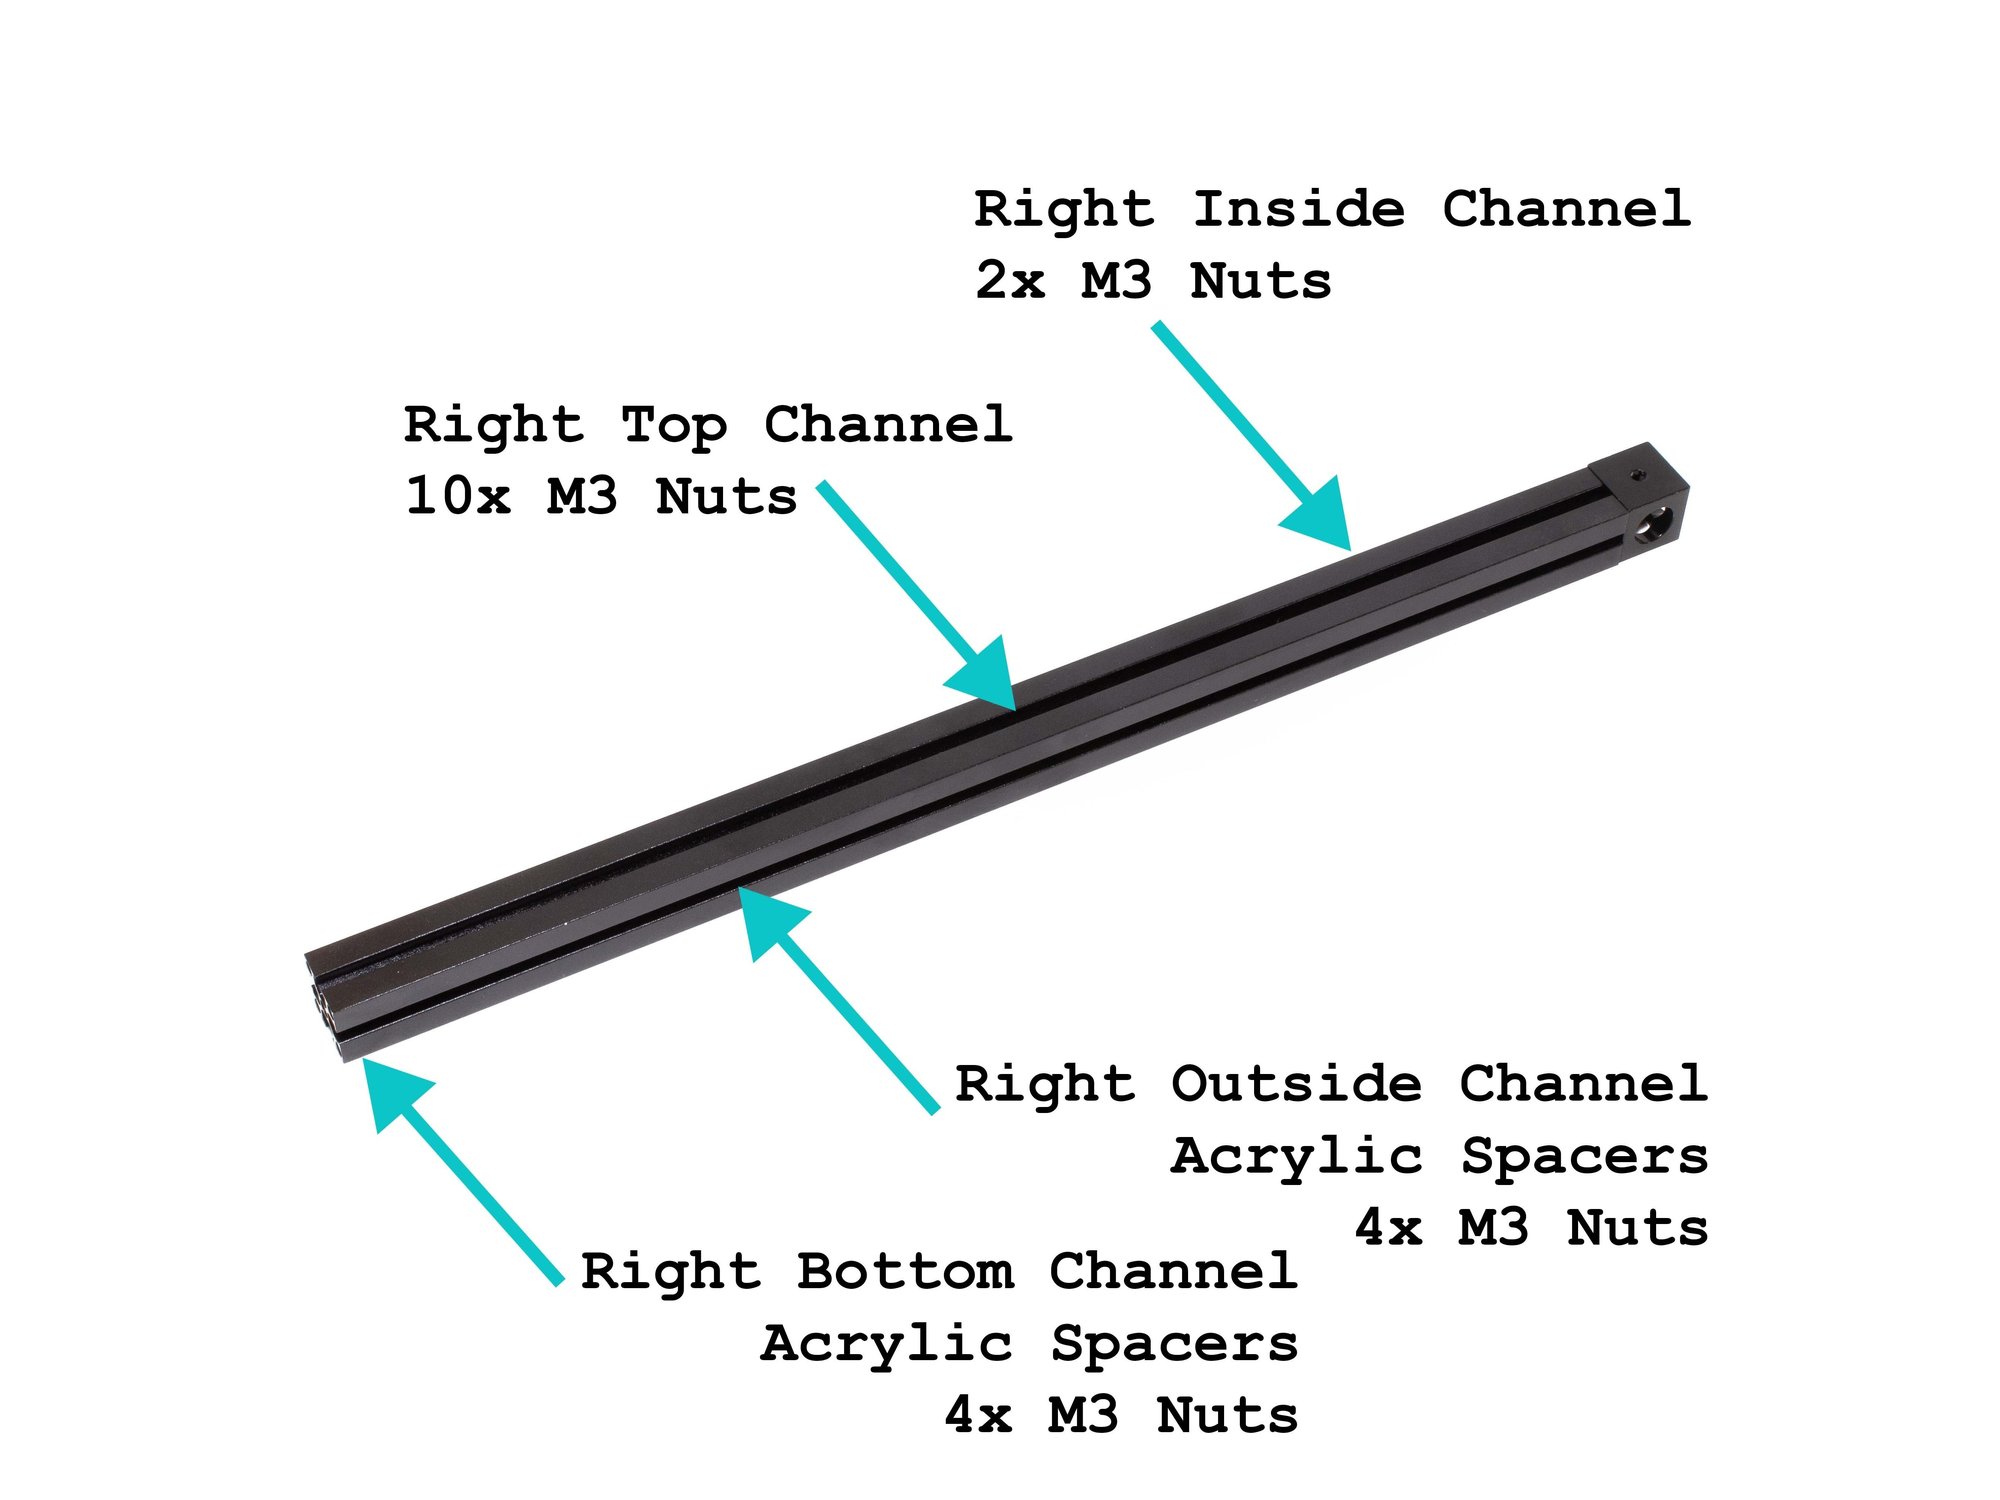
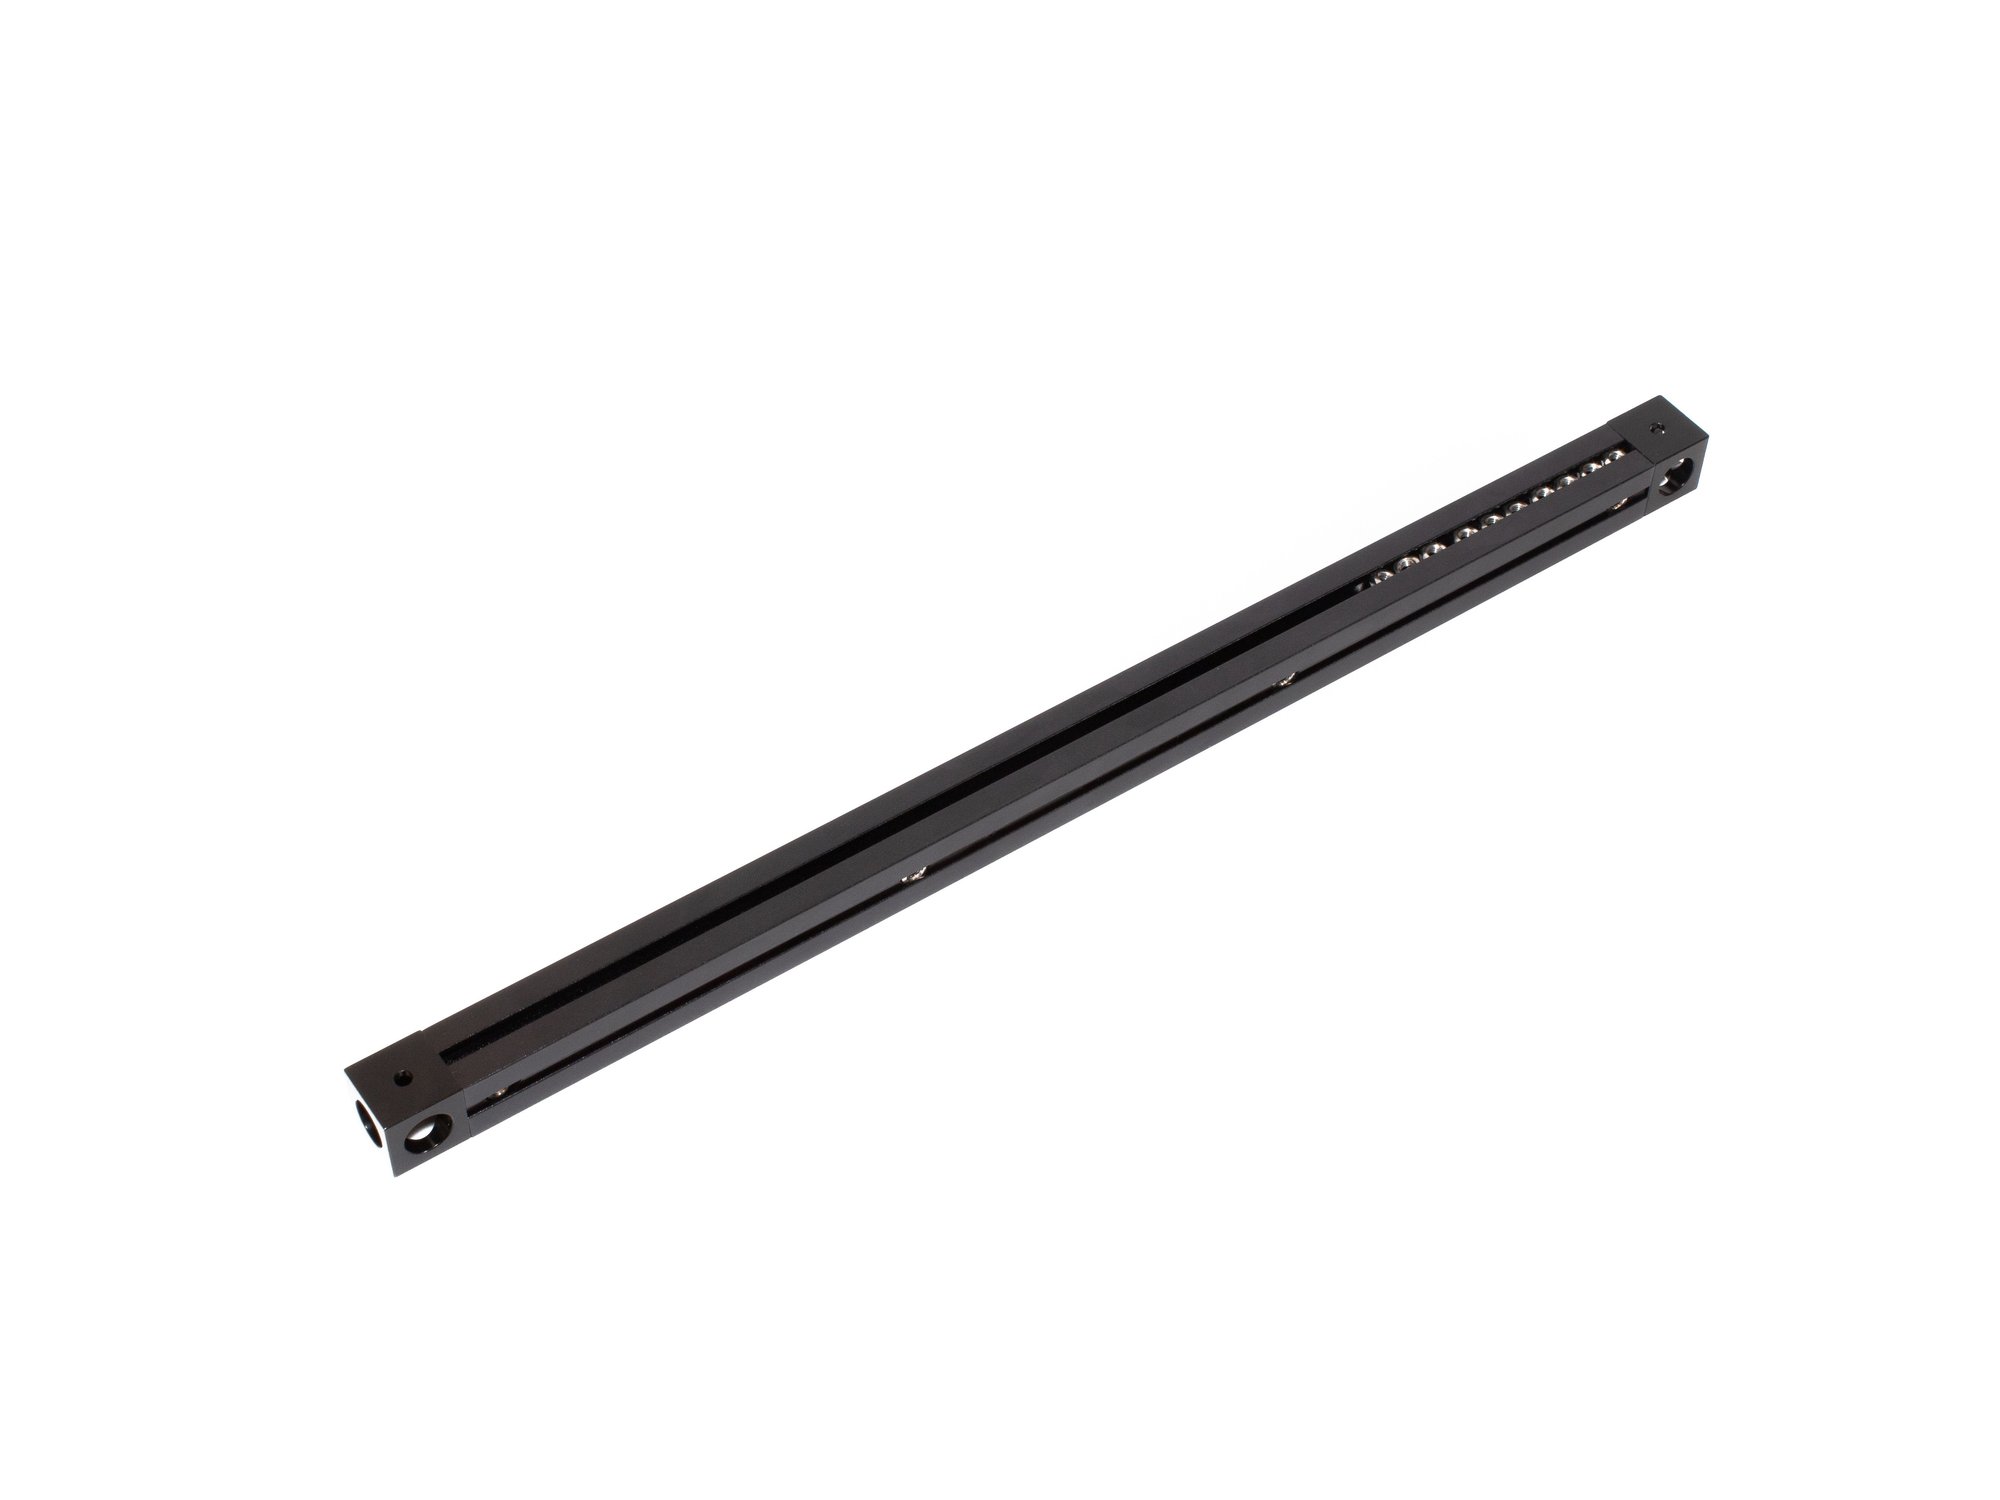
Step 10 — Add Hardware to Top Right Extrusion

  • Slide (13) M3 nuts into the top channel.
  • Slide (6) M3 nuts into the inside channel.
  • Insert the acrylic spacer inserts and M3 nuts in the outer channel. There should be (2) 5mm spacers, (3) 81mm spacers, and (4) M3 nuts (See second image for reference).
  • Caution Be sure the orientation of the corner cube is correct. A large hole should face up, a small hole should be facing down, and a small hole should be facing towards the inside channel.

Step 11 — Attach Second Corner Cube to Top Right Extrusion

  • Attach second corner cube to top right extrusion using (1) M3 x 8mm socket head screw.

Step 12 — Attach Top Right Extrusion to the Rest of the Top Extrusion Assembly

  • Attach Top Right Extrusion to the rest of the Top Extrusion Assembly using (2) M3 x 8mm socket head screws.

D) Bottom Extrusions Assembly

It's assumed that you're building a kit from Filastruder, and you've completed all previous sections. At the end of this section you should have a "bottom extrusions" assembly together for your RailCore frame.

Step 1 — Layout Bottom Frame

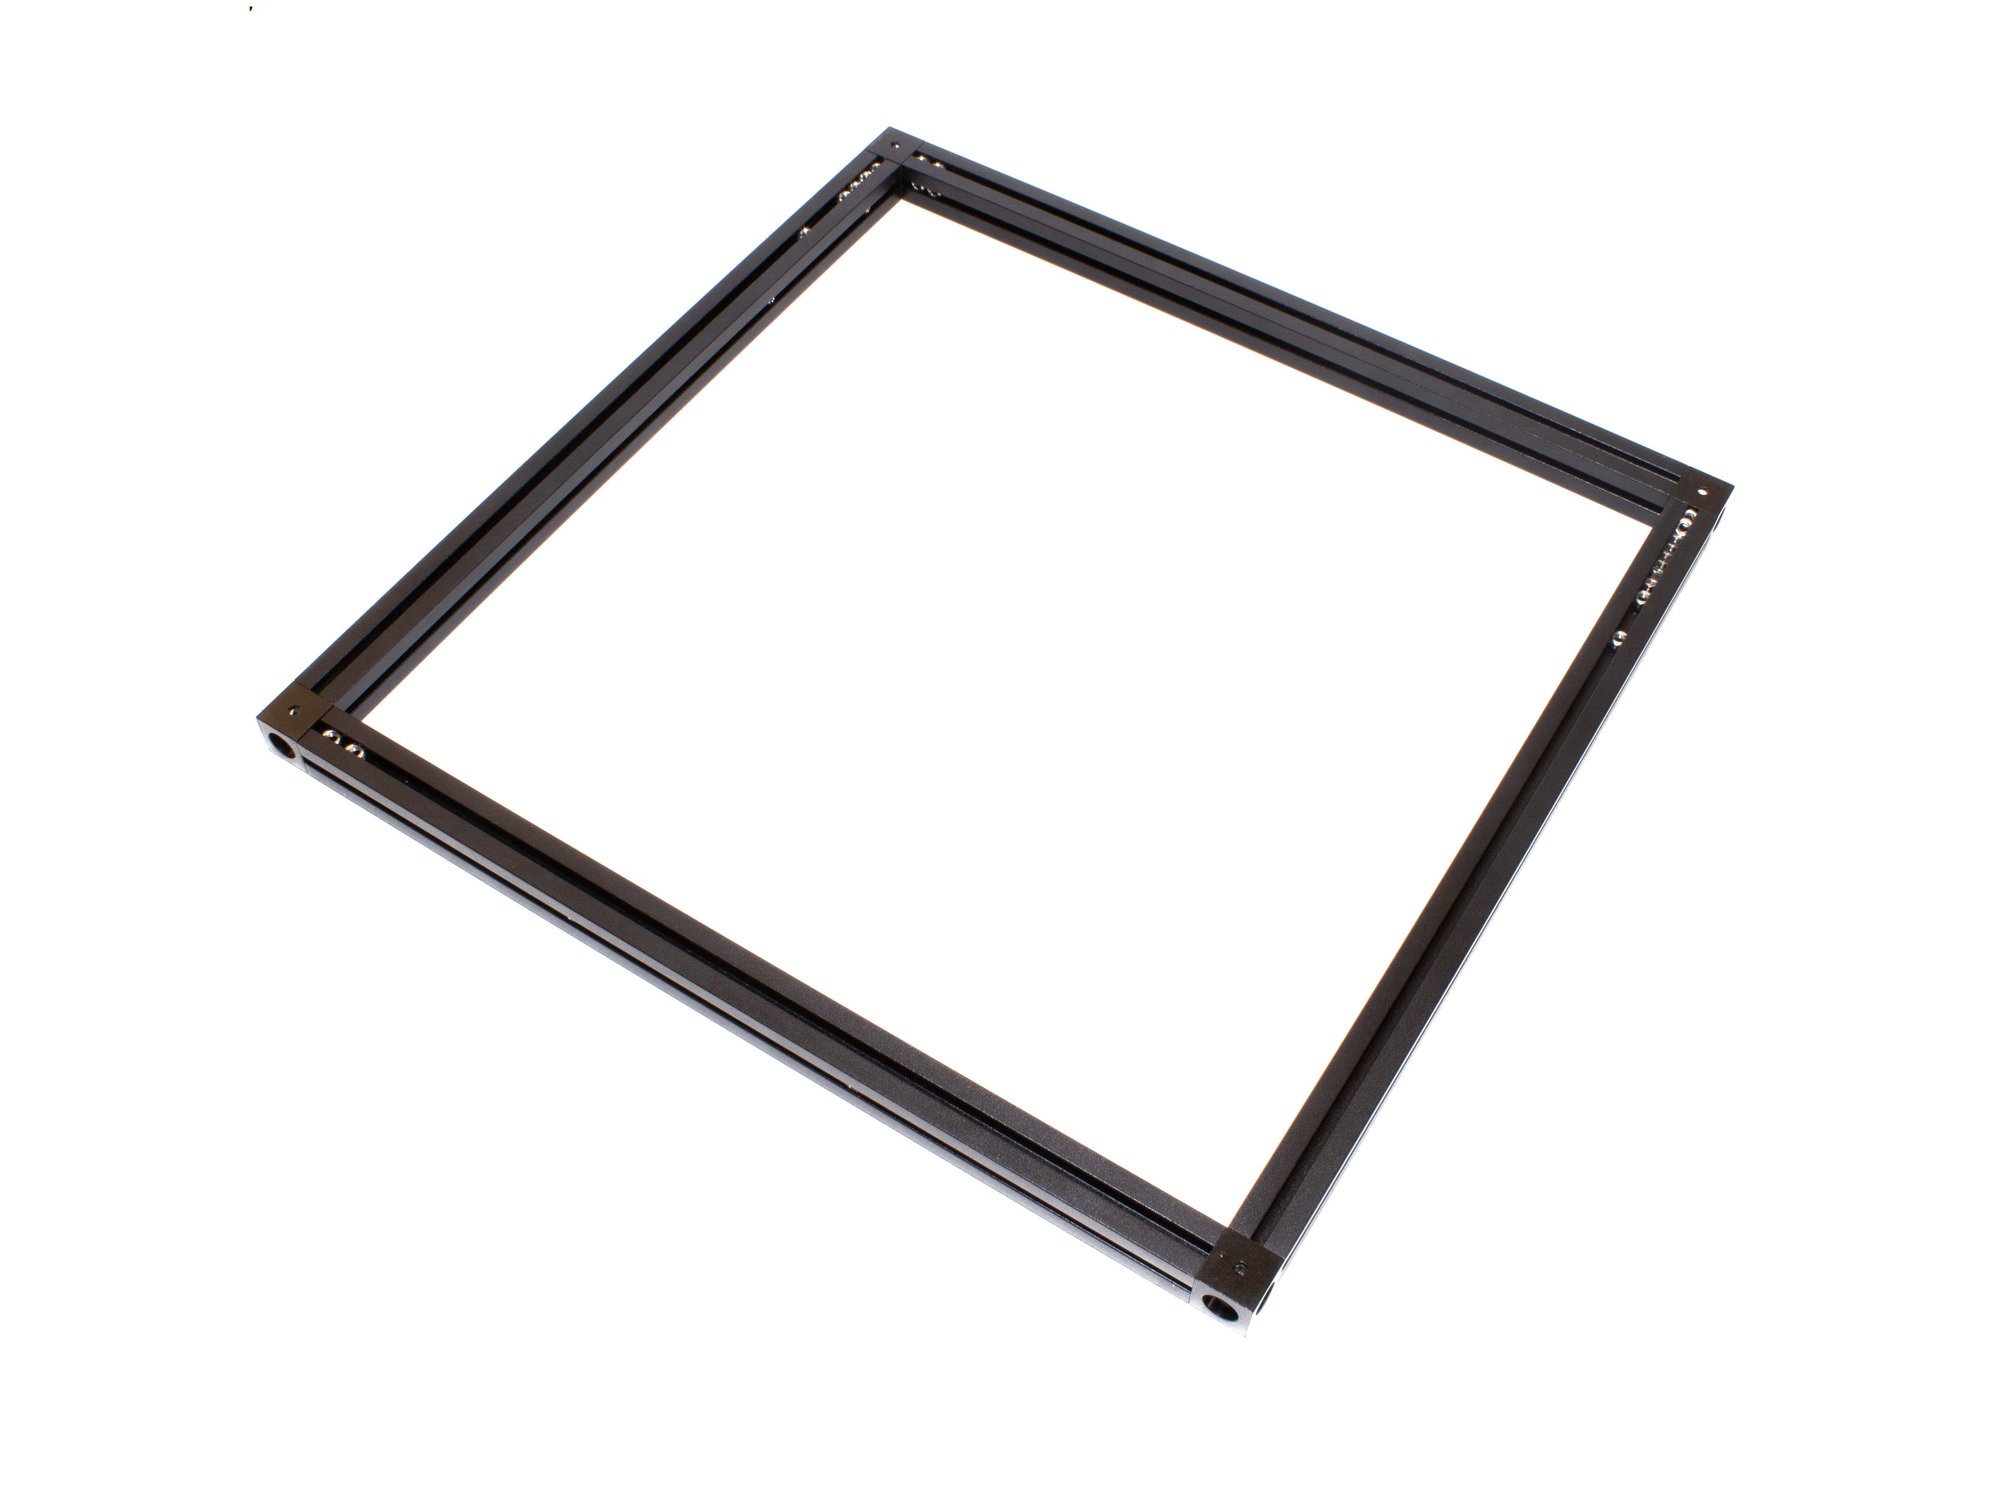
  • Layout bottom frame as shown. Note that the corner cubes should have a small hole facing up.
  • Note It is a good idea to mark each extrusion with a bit of masking tape on top, indicating which extrusion it is.

Step 2 — Install Corner Cube on Bottom Left Extrusion

  • Use (1) M3 x 8mm socket head screw to the 270mm bottom left extrusion. Note the orientation of the corner cube.

Step 3 — Add Hardware to Bottom Left Extrusion

  • Slide (5) M3 x 16mm hex head bolts into the top channel.
  • In the layout shown in the second image, insert the acrylic spacer inserts and M3 nuts in the outer channel. There should be (2) 5mm spacers, (3) 81mm spacers, and (4) M3 nuts.
  • Slide (2) M3 nuts into the inside channel. Note: If using a metal bottom (base plate), these are not needed.
  • In the layout shown in the second image, insert the acrylic spacer inserts and M3 nuts in the bottom channel. There should be (2) 5mm spacers, (3) 81mm spacers, and (4) M3 nuts.

Step 4 — Add Second Corner Cube to Bottom Left Extrusion

  • Use (1) M3 x 8mm socket head screw to attach the second corner cube to the other end of the bottom left extrusion. Note hole orientation.

Step 5 — Add Bottom Front and Bottom Rear Extrusions

  • Attach bottom (2) 270mm front and bottom back extrusions using (1) M3 x 8mm socket head screw each.

Step 6 — Add Hardware into Bottom Front and Bottom Rear Extrusions

  • In the layout shown in the third image, insert the acrylic spacer inserts and M3 nuts in the outer and bottom channels of the back extrusion. There should be (2) 5mm spacers, (3) 81mm spacers, and (4) M3 nuts in each.
  • Slide (2) M3 nuts in the top channel of the back extrusion.
  • Slide (2) M3 nuts in the inside channel of the back extrusion.
  • In the layout shown in the third image, insert the acrylic spacer inserts and M3 nuts in the outer and bottom channels of the front extrusion. There should be (2) 5mm spacers, (3) 81mm spacers, and (4) M3 nuts in each.
  • Slide (2) M3 nuts in the inside channel of the front extrusion.
  • Slide (2) M3 nuts in the inside channel of the front extrusion.

Step 7 — Install Corner Cube on Bottom Right Extrusion

  • Use (1) M3 x 8mm socket head screw to add a corner cube to the bottom right 270mm extrusion. Note the orientation of the corner cube - a small hole needs to face up.

Step 8 — Add Hardware into Bottom Right Extrusion

  • Slide (10) M3 nuts into the top channel.
  • In the layout shown in the second image, insert the acrylic spacer inserts and M3 nuts in the outer channel. There should be (2) 5mm spacers, (3) 81mm spacers, and (4) M3 nuts.
  • Slide (2) M3 nuts into the inside channel.
  • In the layout shown in the second image, insert the acrylic spacer inserts and M3 nuts in the bottom channel. There should be (2) 5mm spacers, (3) 81mm spacers, and (4) M3 nuts.

Step 9 — Add Second Corner Cube to Bottom Right Extrusion

  • Use (1) M3 x 8mm socket head screws to attach a second corner cube to the bottom right extrusion. Note the orientation of the corner cube - a small hole should be facing up.

Step 10 — Attach Bottom Right Extrusion to the Rest of the Bottom Frame

  • Use (2) M3 x 8mm socket head screws to attach the bottom right extrusion to the rest of the bottom frame assembly from earlier.

E) Upright Extrusion / Frame Final Assembly

It's assumed that you're building a kit from Filastruder, and you've completed all previous sections. At the end of this section you should have a complete frame assembled for your RailCore.

Step 1 — Add the Upright Extrusions to your Bottom Frame Assembly

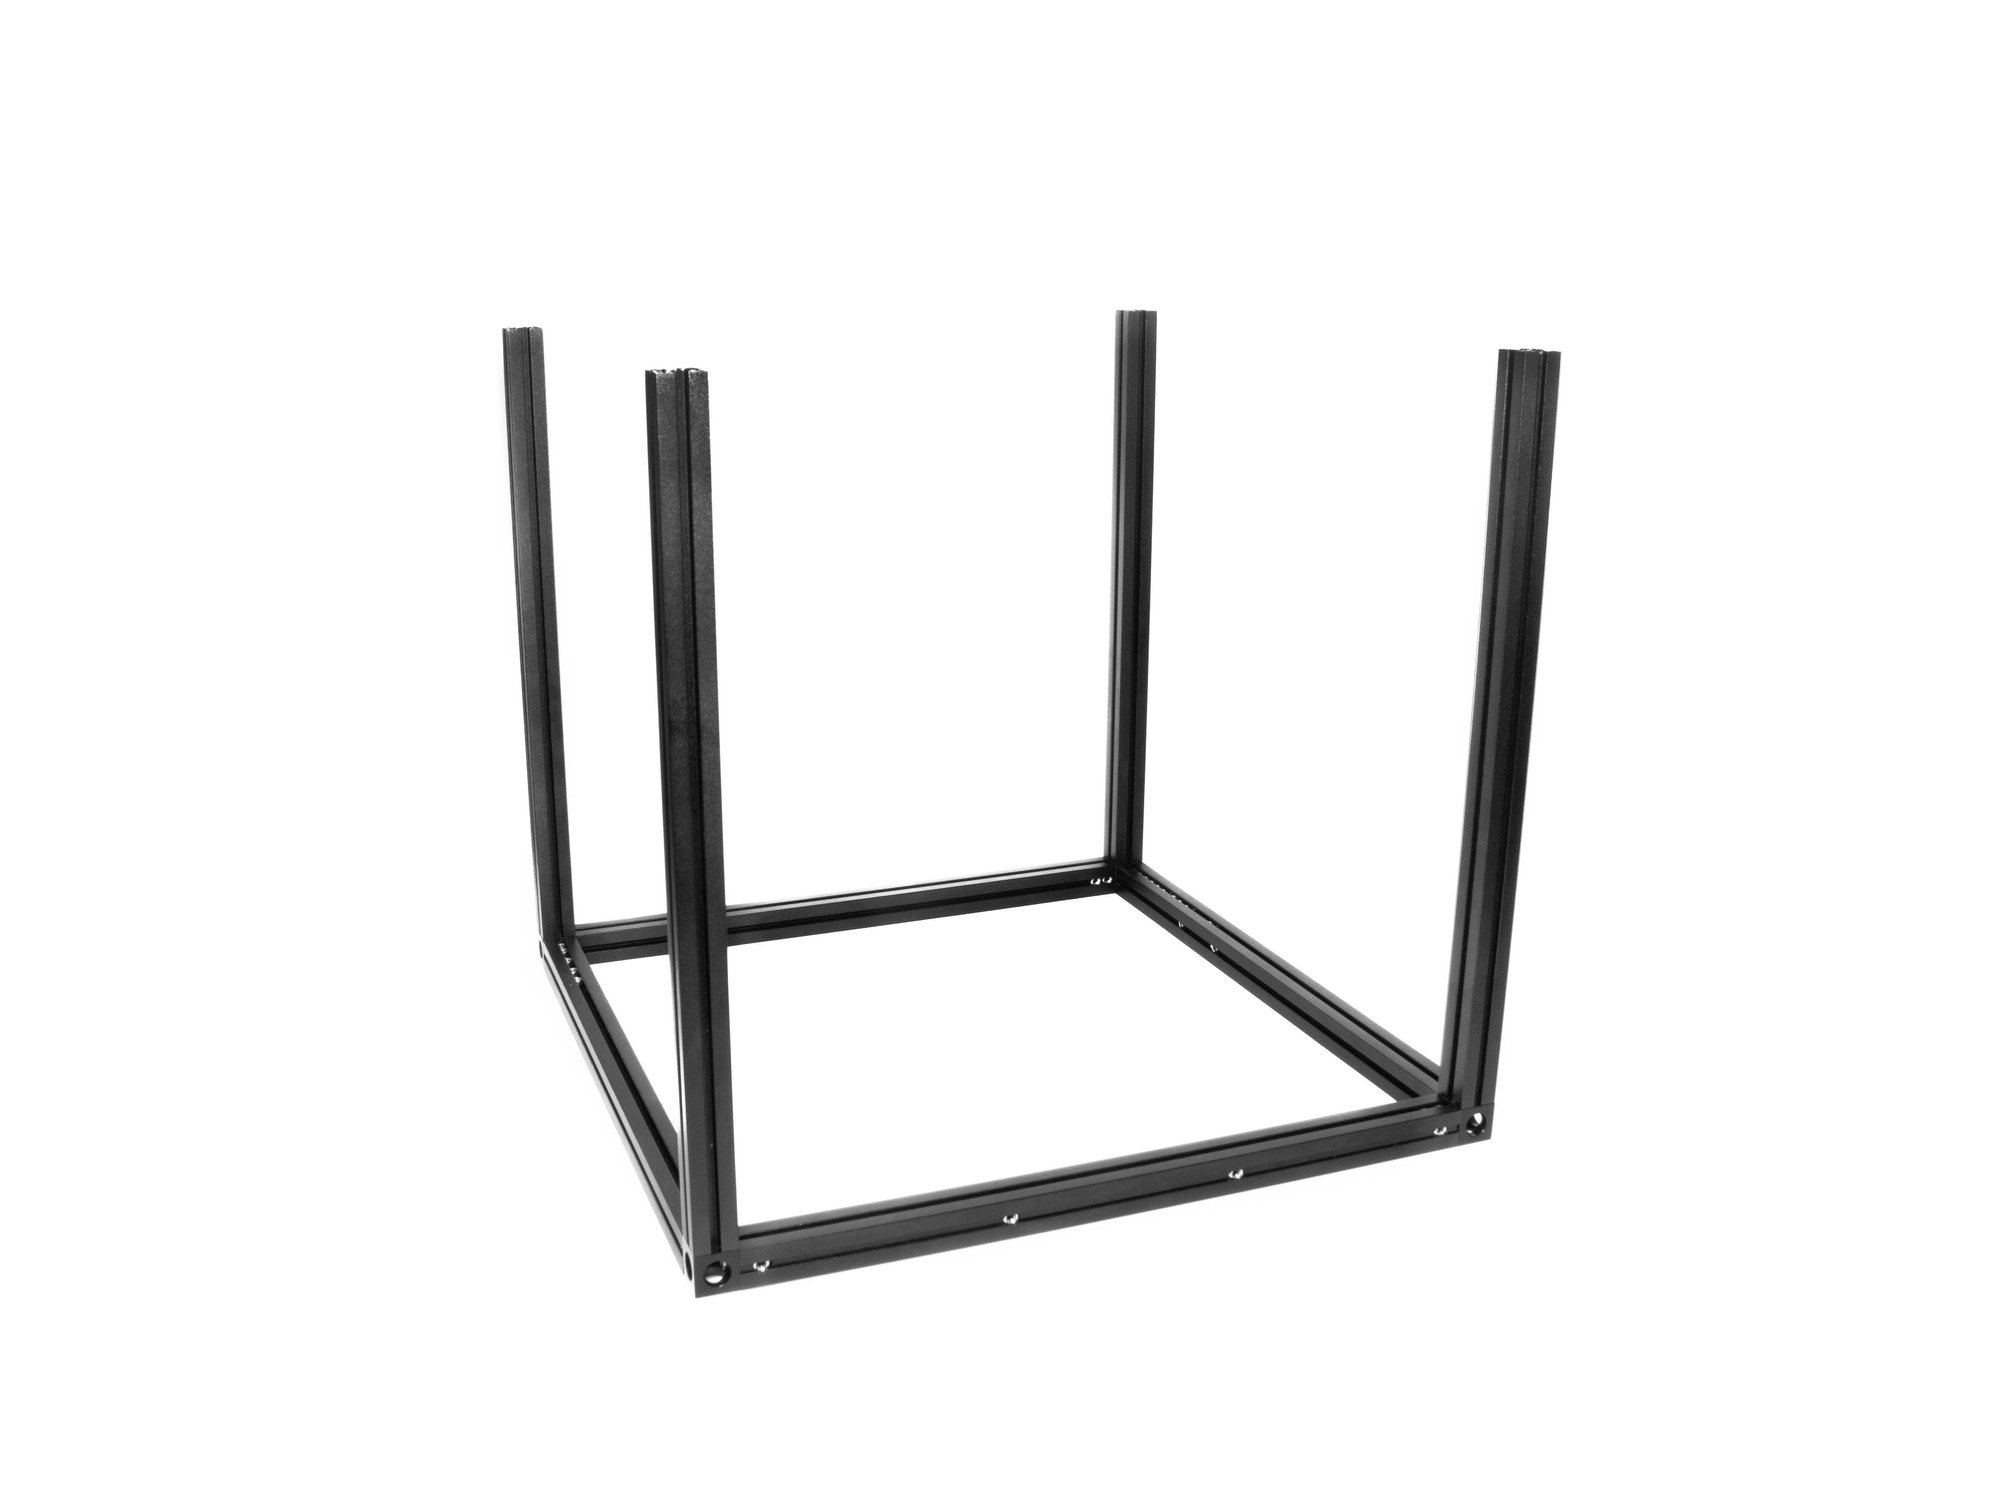
  • Use (1) M3 x 8mm socket head screws to attach each of the (4) 270mm upright extrusions to the corner cubes on the bottom frame assembly.

Step 2 — Add Hardware into the Upright Extrusions

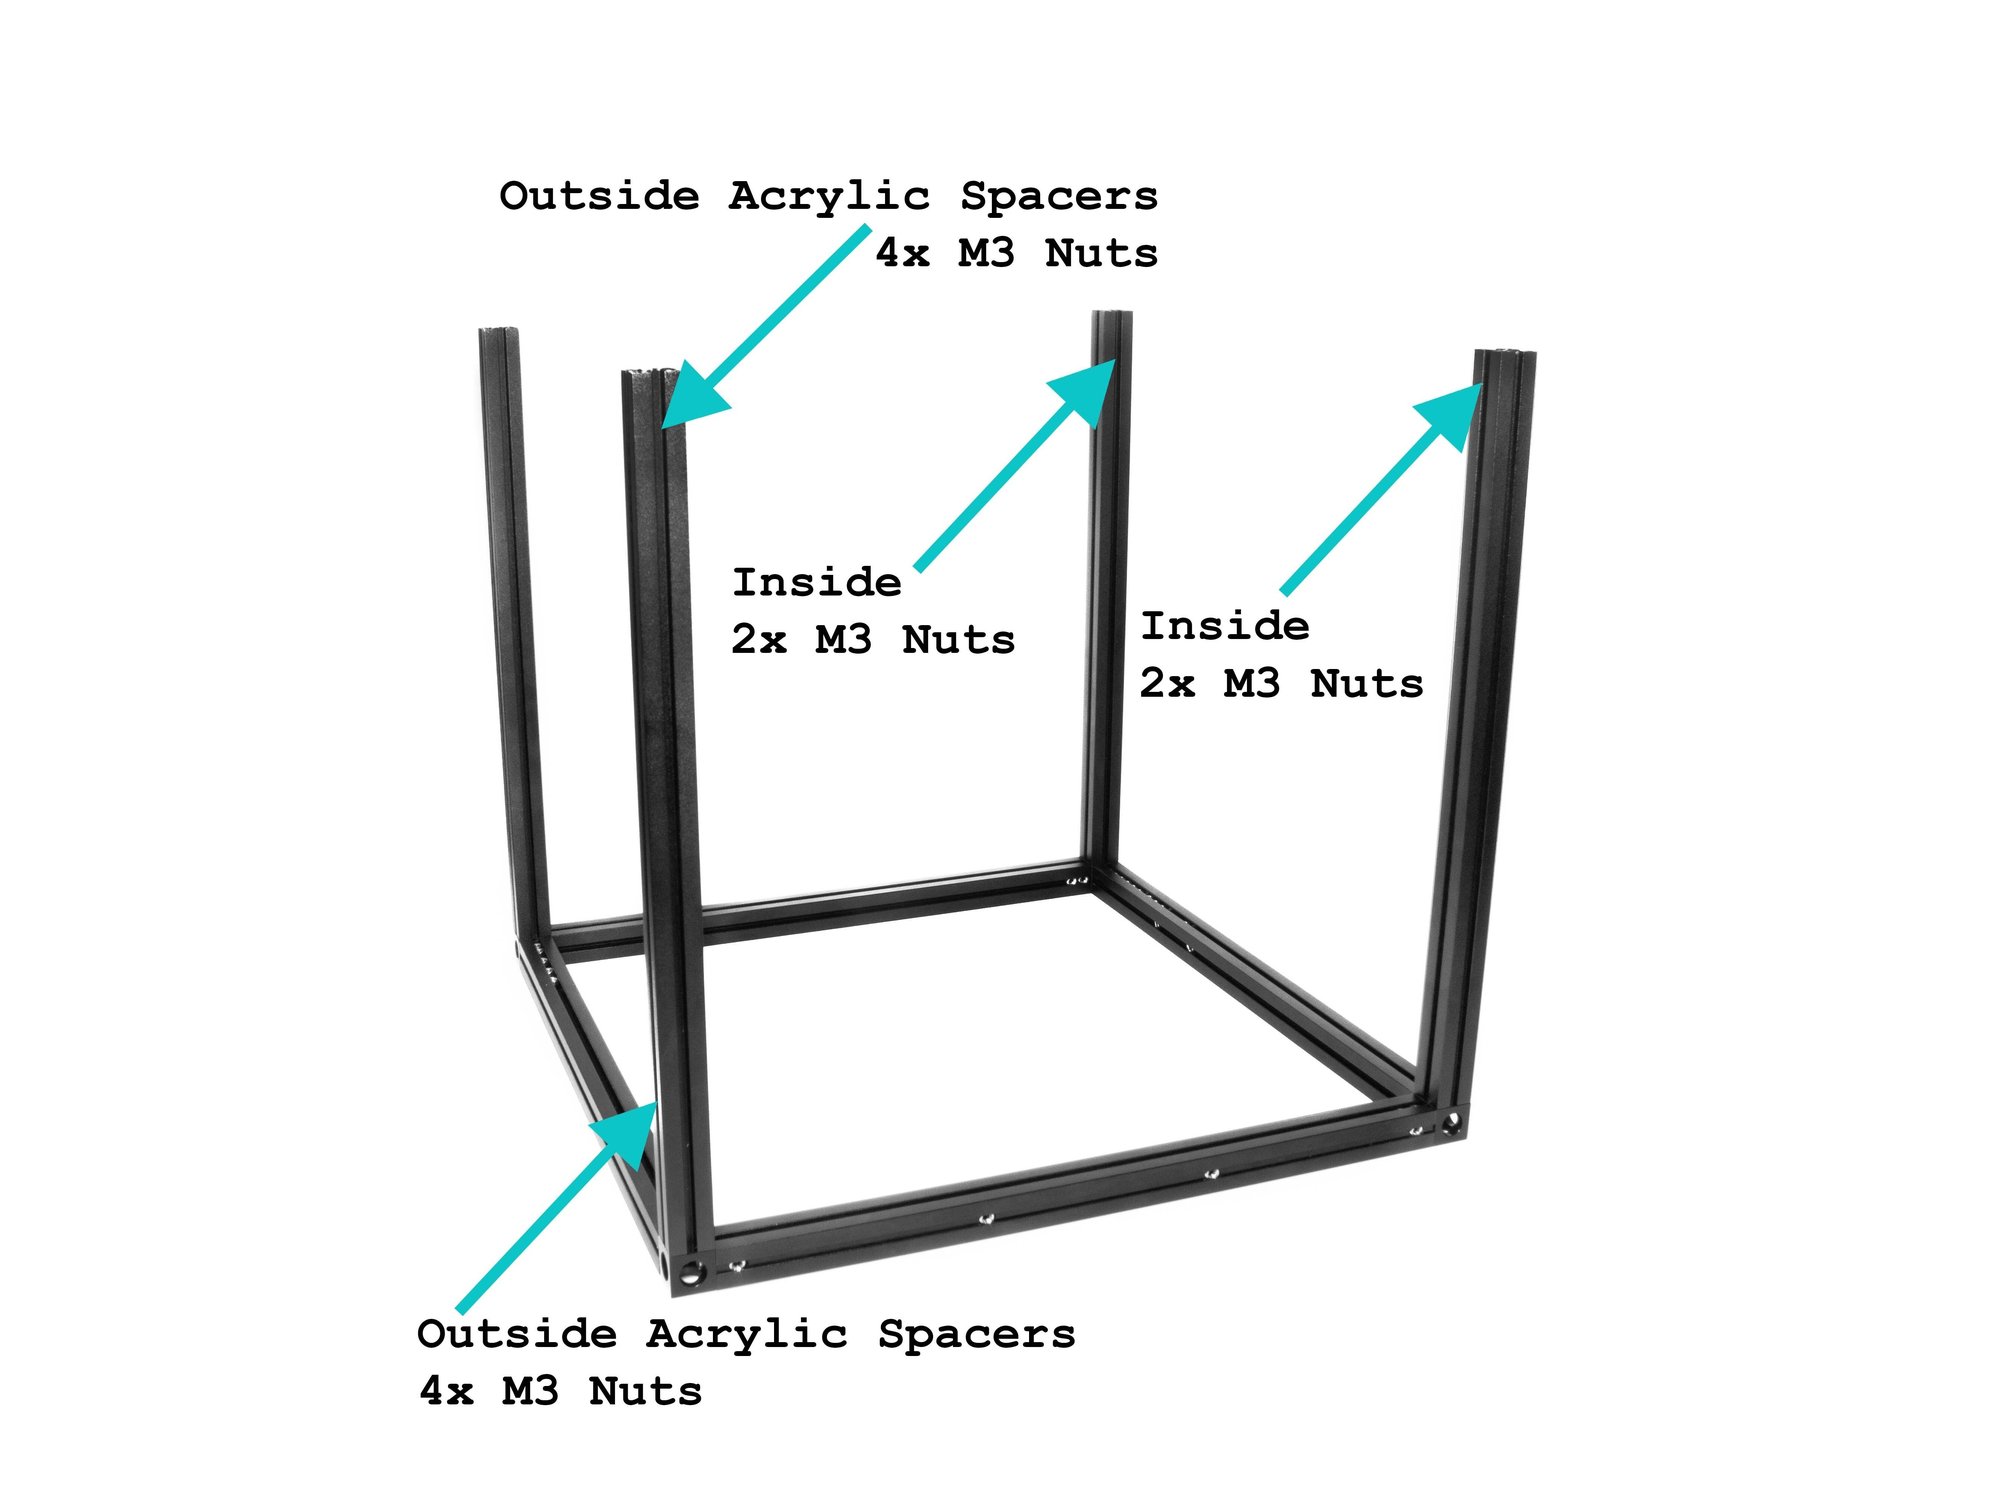
  • Insert acrylic spacers in all extrusion channels facing the outside of the frame. Each extrusion has two outer facing channels.
    • In the layout shown in the second image, insert the acrylic spacer inserts and M3 nuts in all 8 of the outer facing channels. There should be (2) 5mm spacers, (3) 81mm spacers, and (4) M3 nuts in each channel.
  • Insert (2) M3 nuts in each of the remaining 8 channels.

Step 3 — Attach Top Frame Assembly to Upright Bottom Frame Assembly

  • Use (4) M3 x 8mm Socket Cap Head Screws to attach the top extrusion assembly to the upright extrusions.
  • Caution Be sure both the bottom and top frame pieces are in the right orientation. The top right extrusion should have (13) M3 nuts in it's top channel. The bottom right extrusion should have (10) M3 nuts in it's top channel.

F) Z Installation

It's assumed that you're building a kit from Filastruder, and you've completed all previous sections. At the end of this section you should have a complete frame assembled for your RailCore.

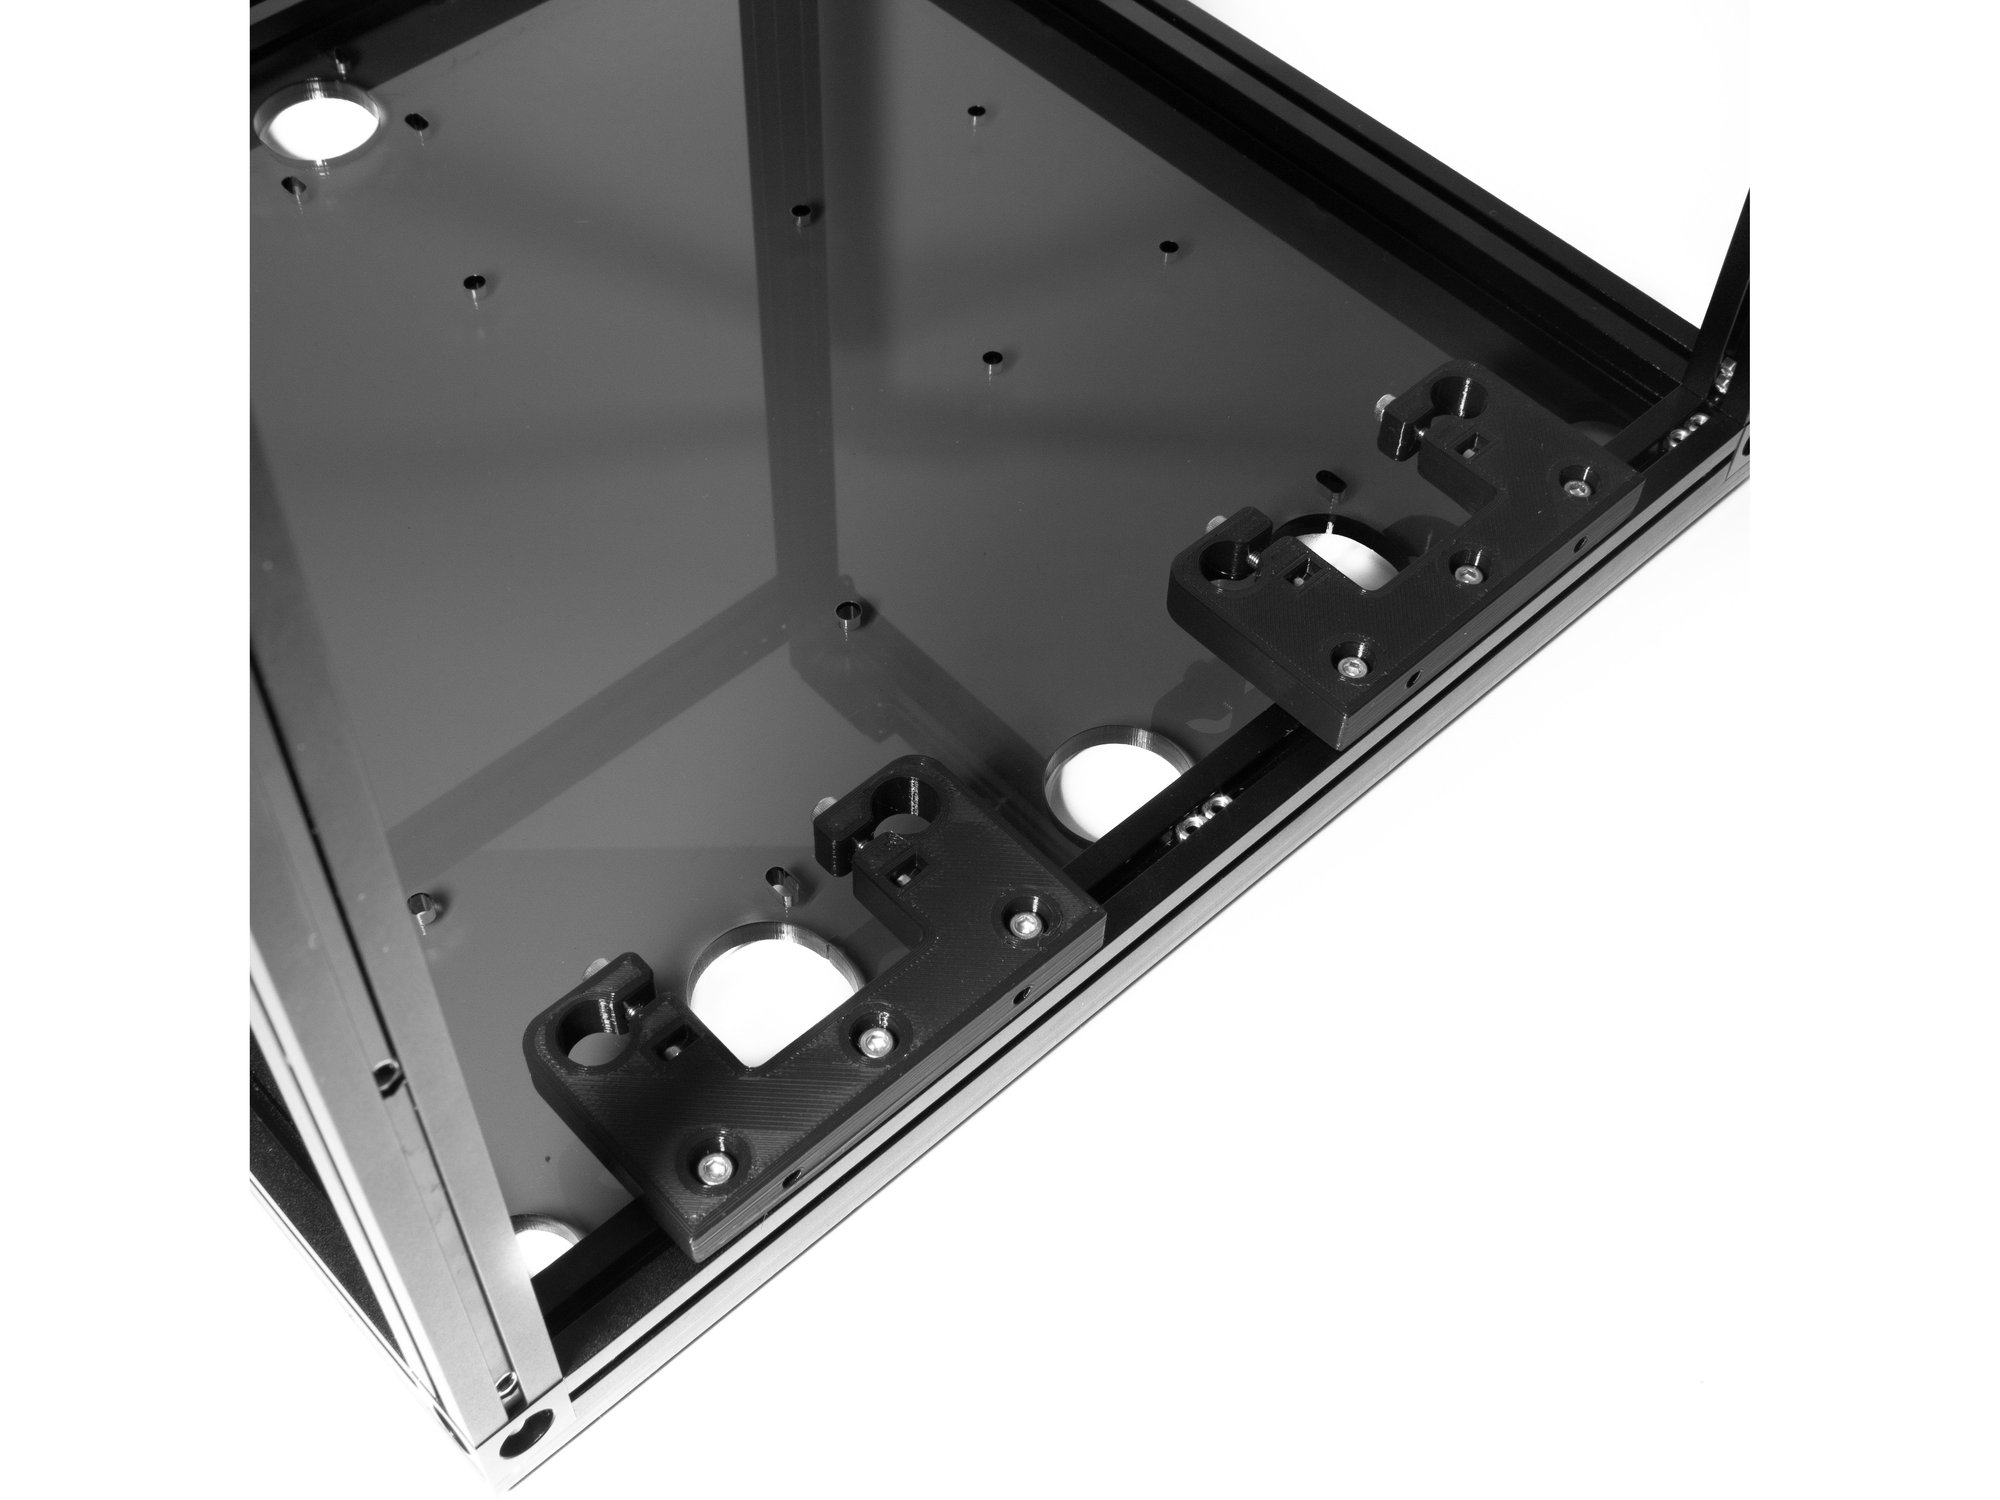
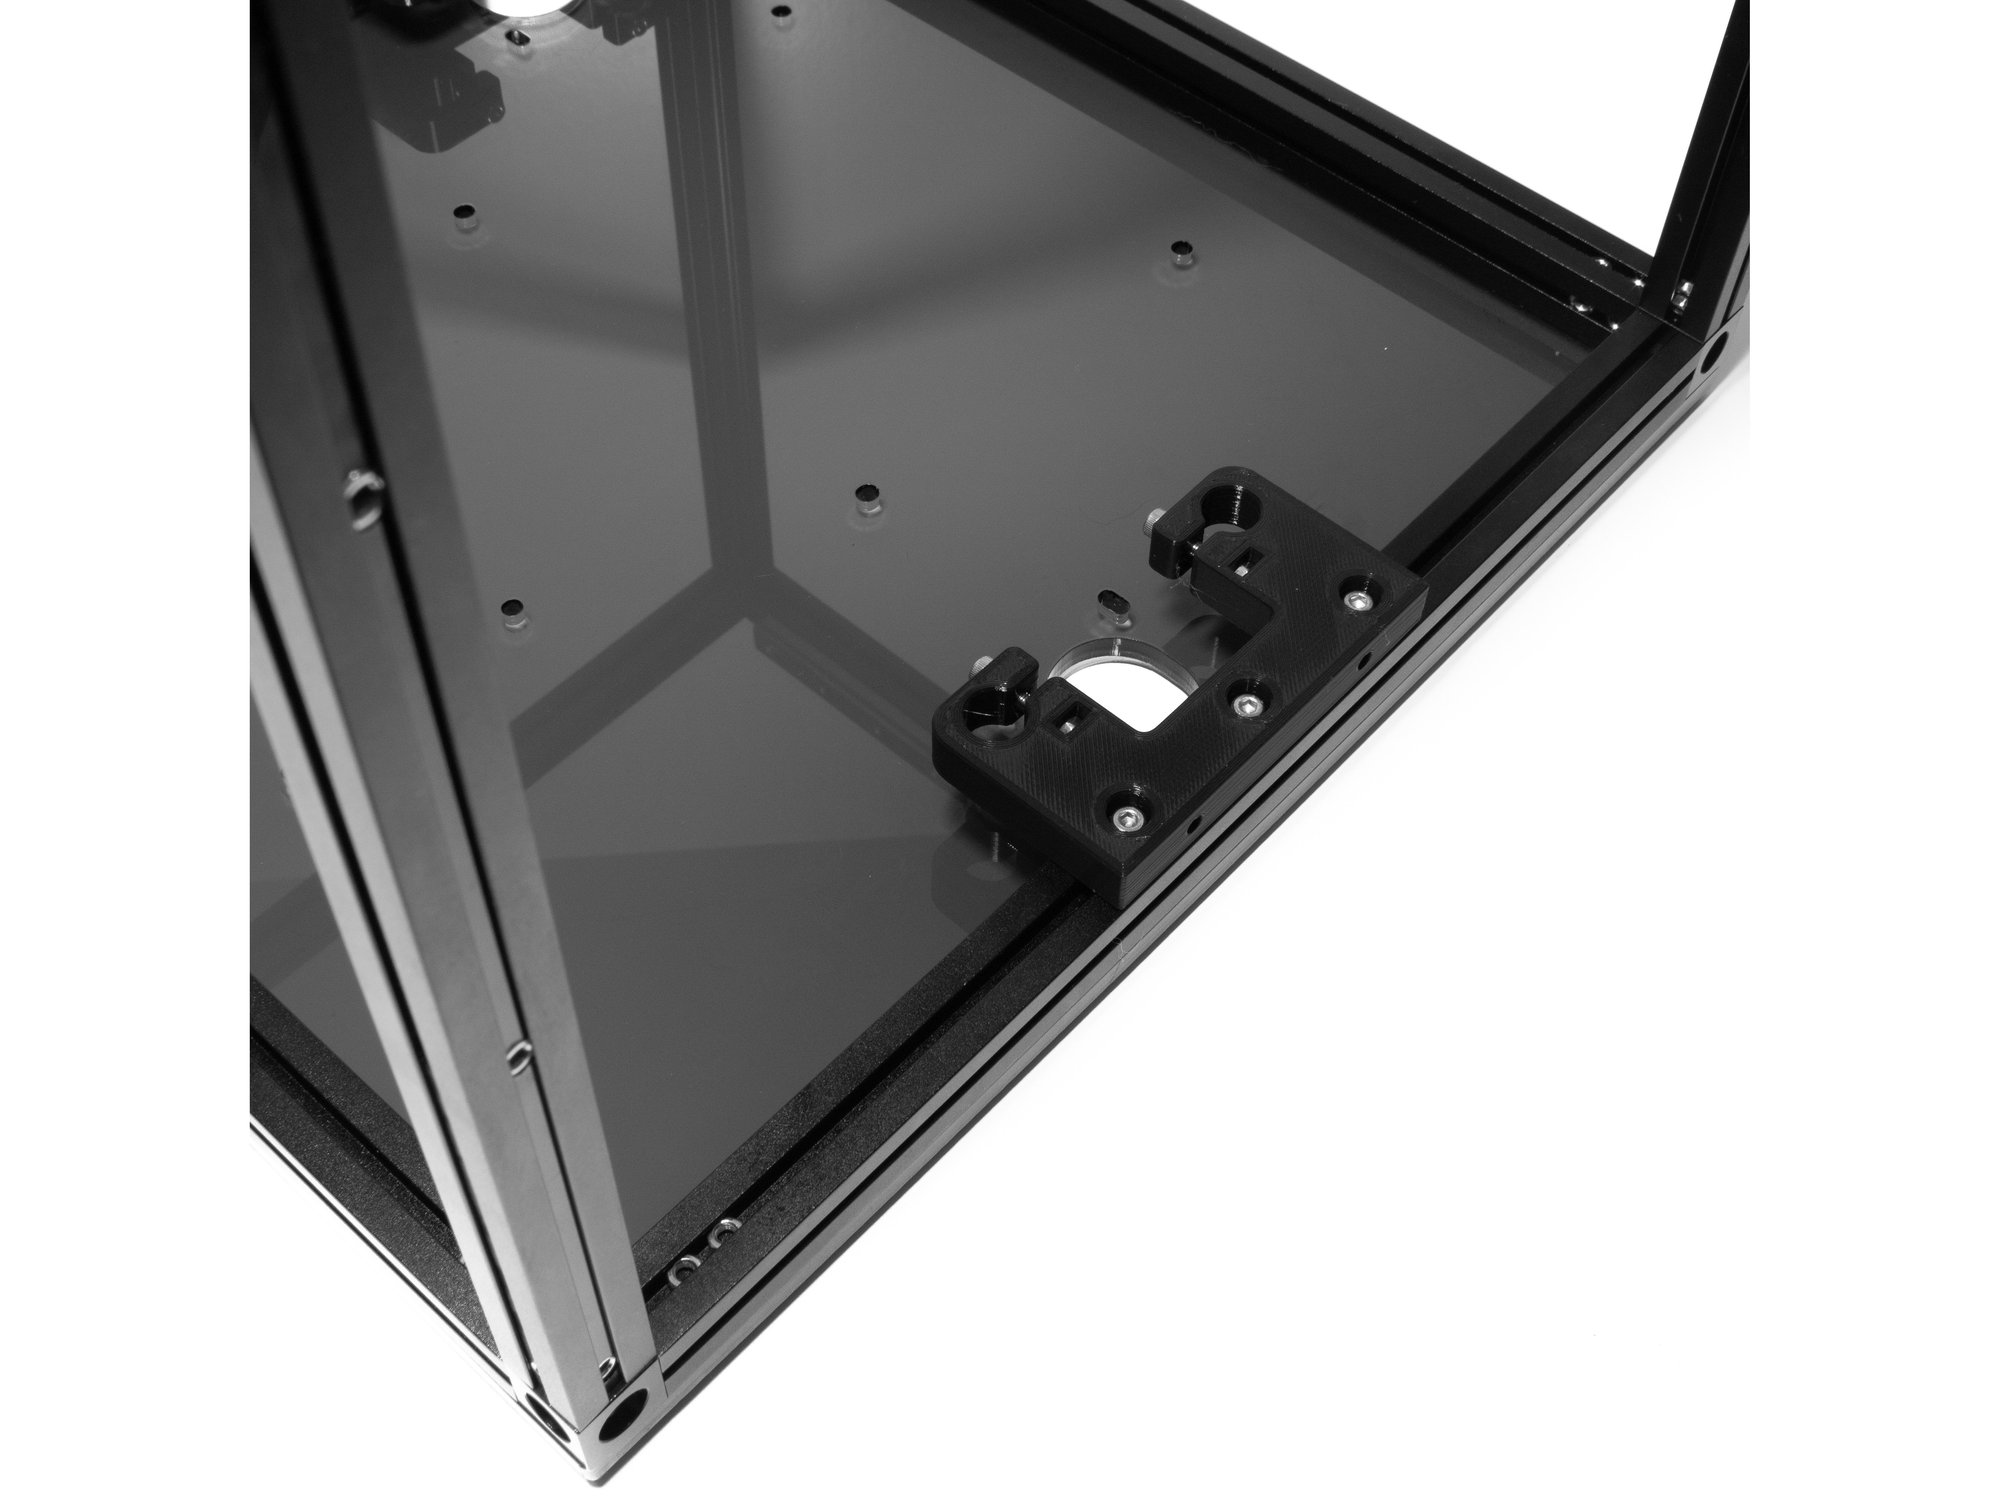
Step 1 — Install Bottom Panel

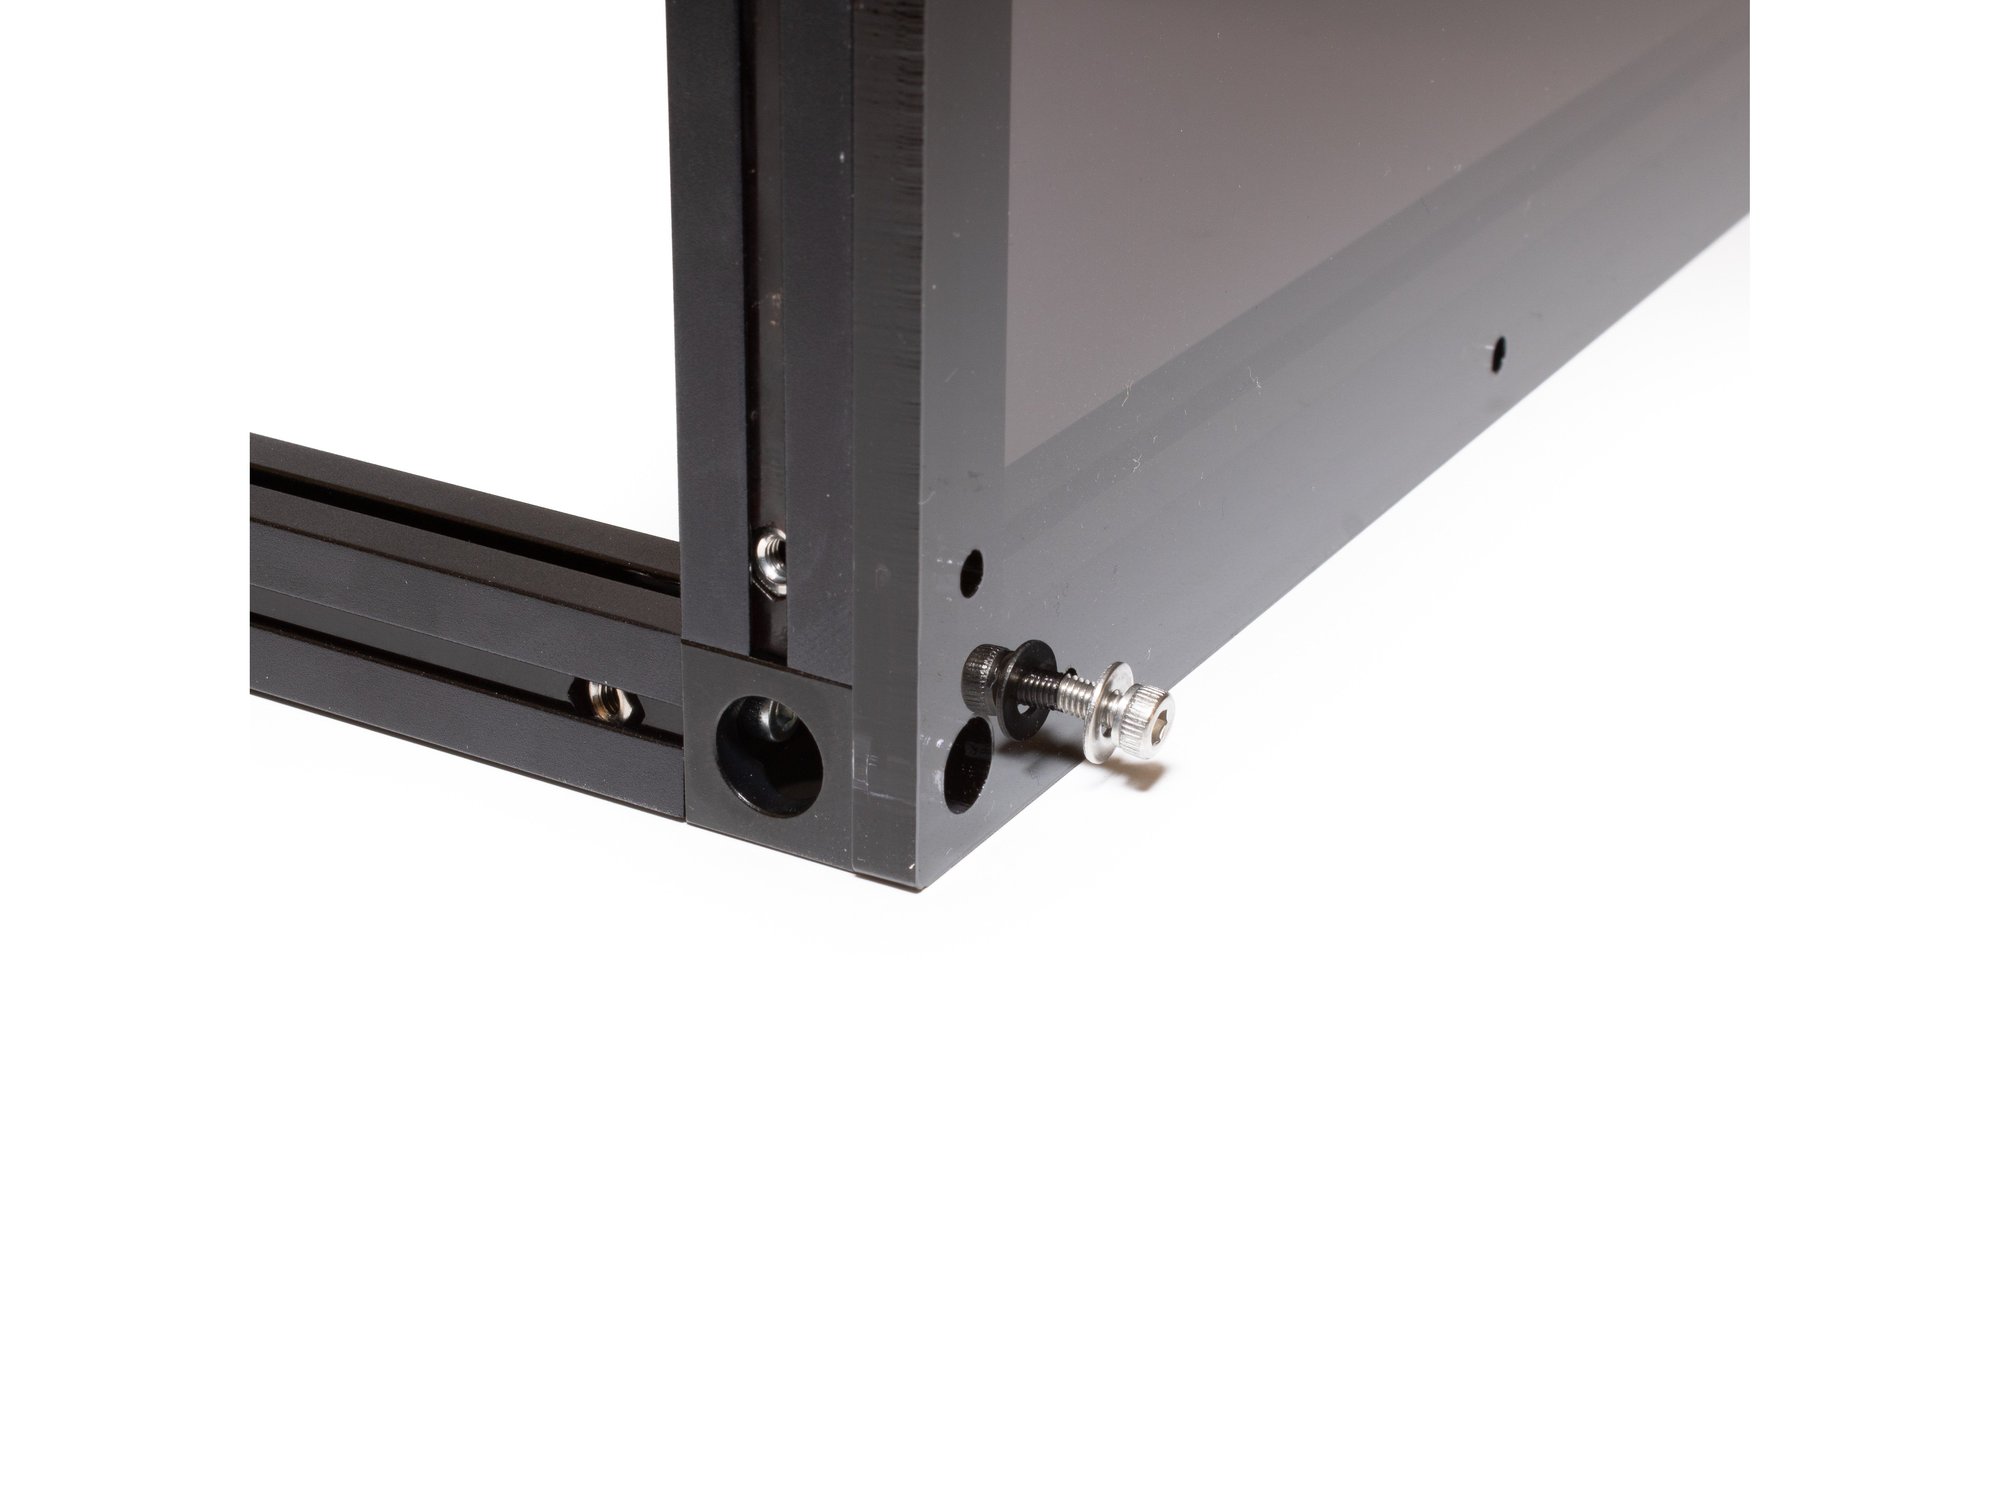
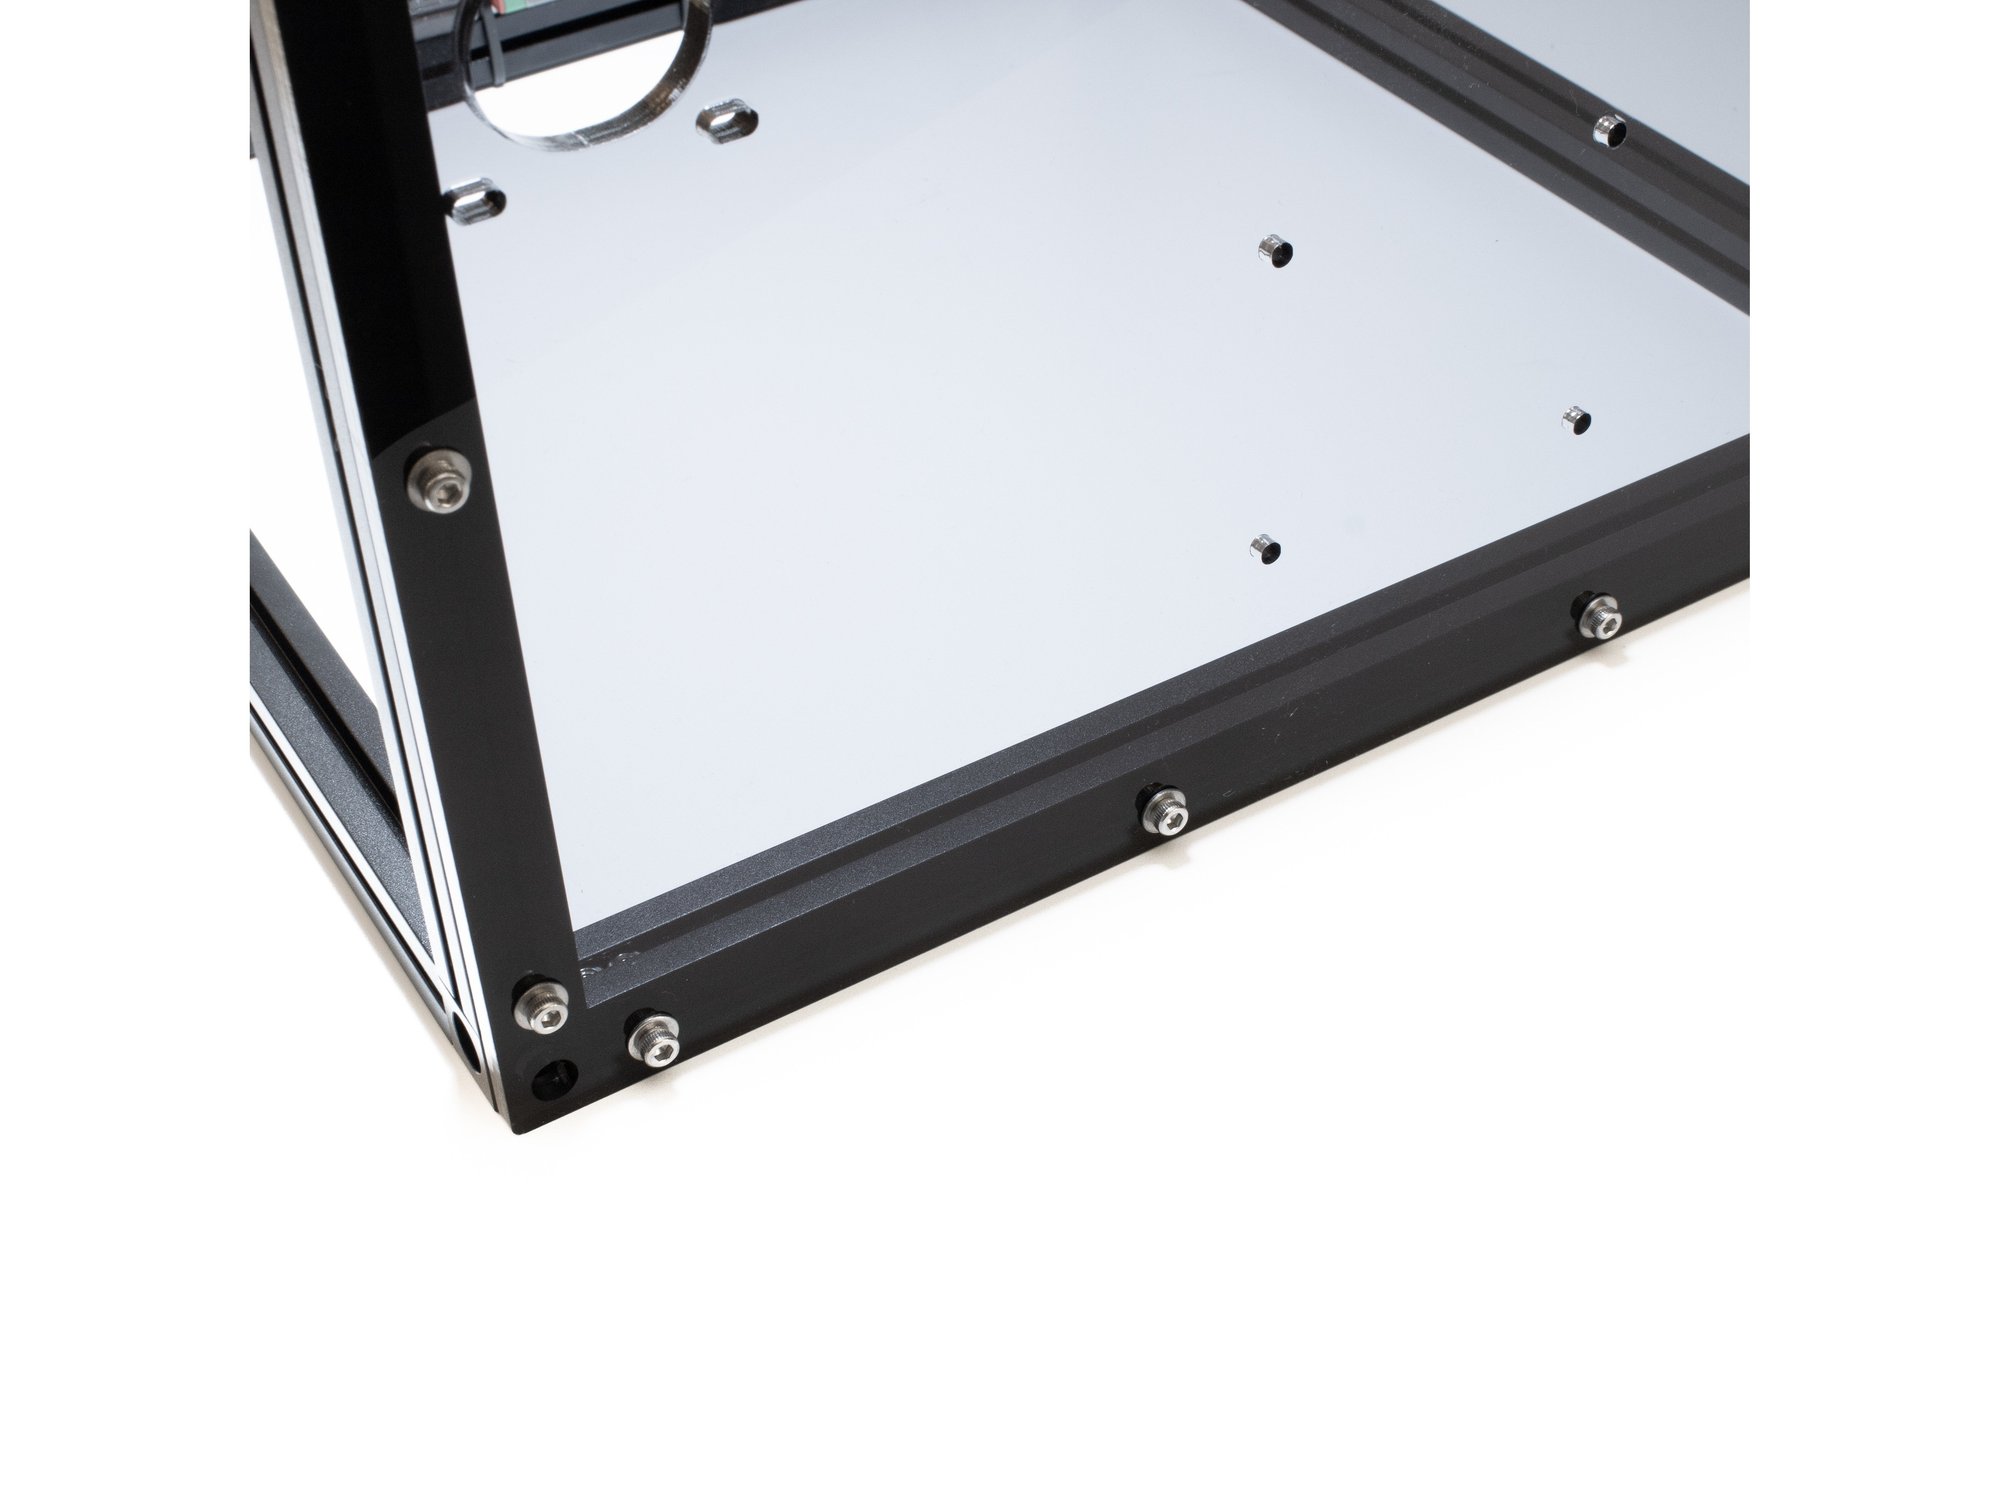
  • Using (16) M3x10 socket head screws and (16) M3 washers, attach the bottom to the frame.
  • Note Loosen your corner cubes when attaching the bottom or sides to the frame. The acrylic pieces will attempt to pull the frame into square.
  • Caution Be sure the bottom panel is in the right orientation.
    • Caution The side with (5) large holes should be on the right side of the printer. For reference, the bottom right extrusion should have (10) M3 nuts in it's top channel.
    • Caution There are (2) sets of (4) holes for mounting the electronics. The larger pattern is for the Duet, and the smaller for an optional Raspberry Pi. The Duet holes should be closer to the back of the printer.

Step 2 — Printed Parts

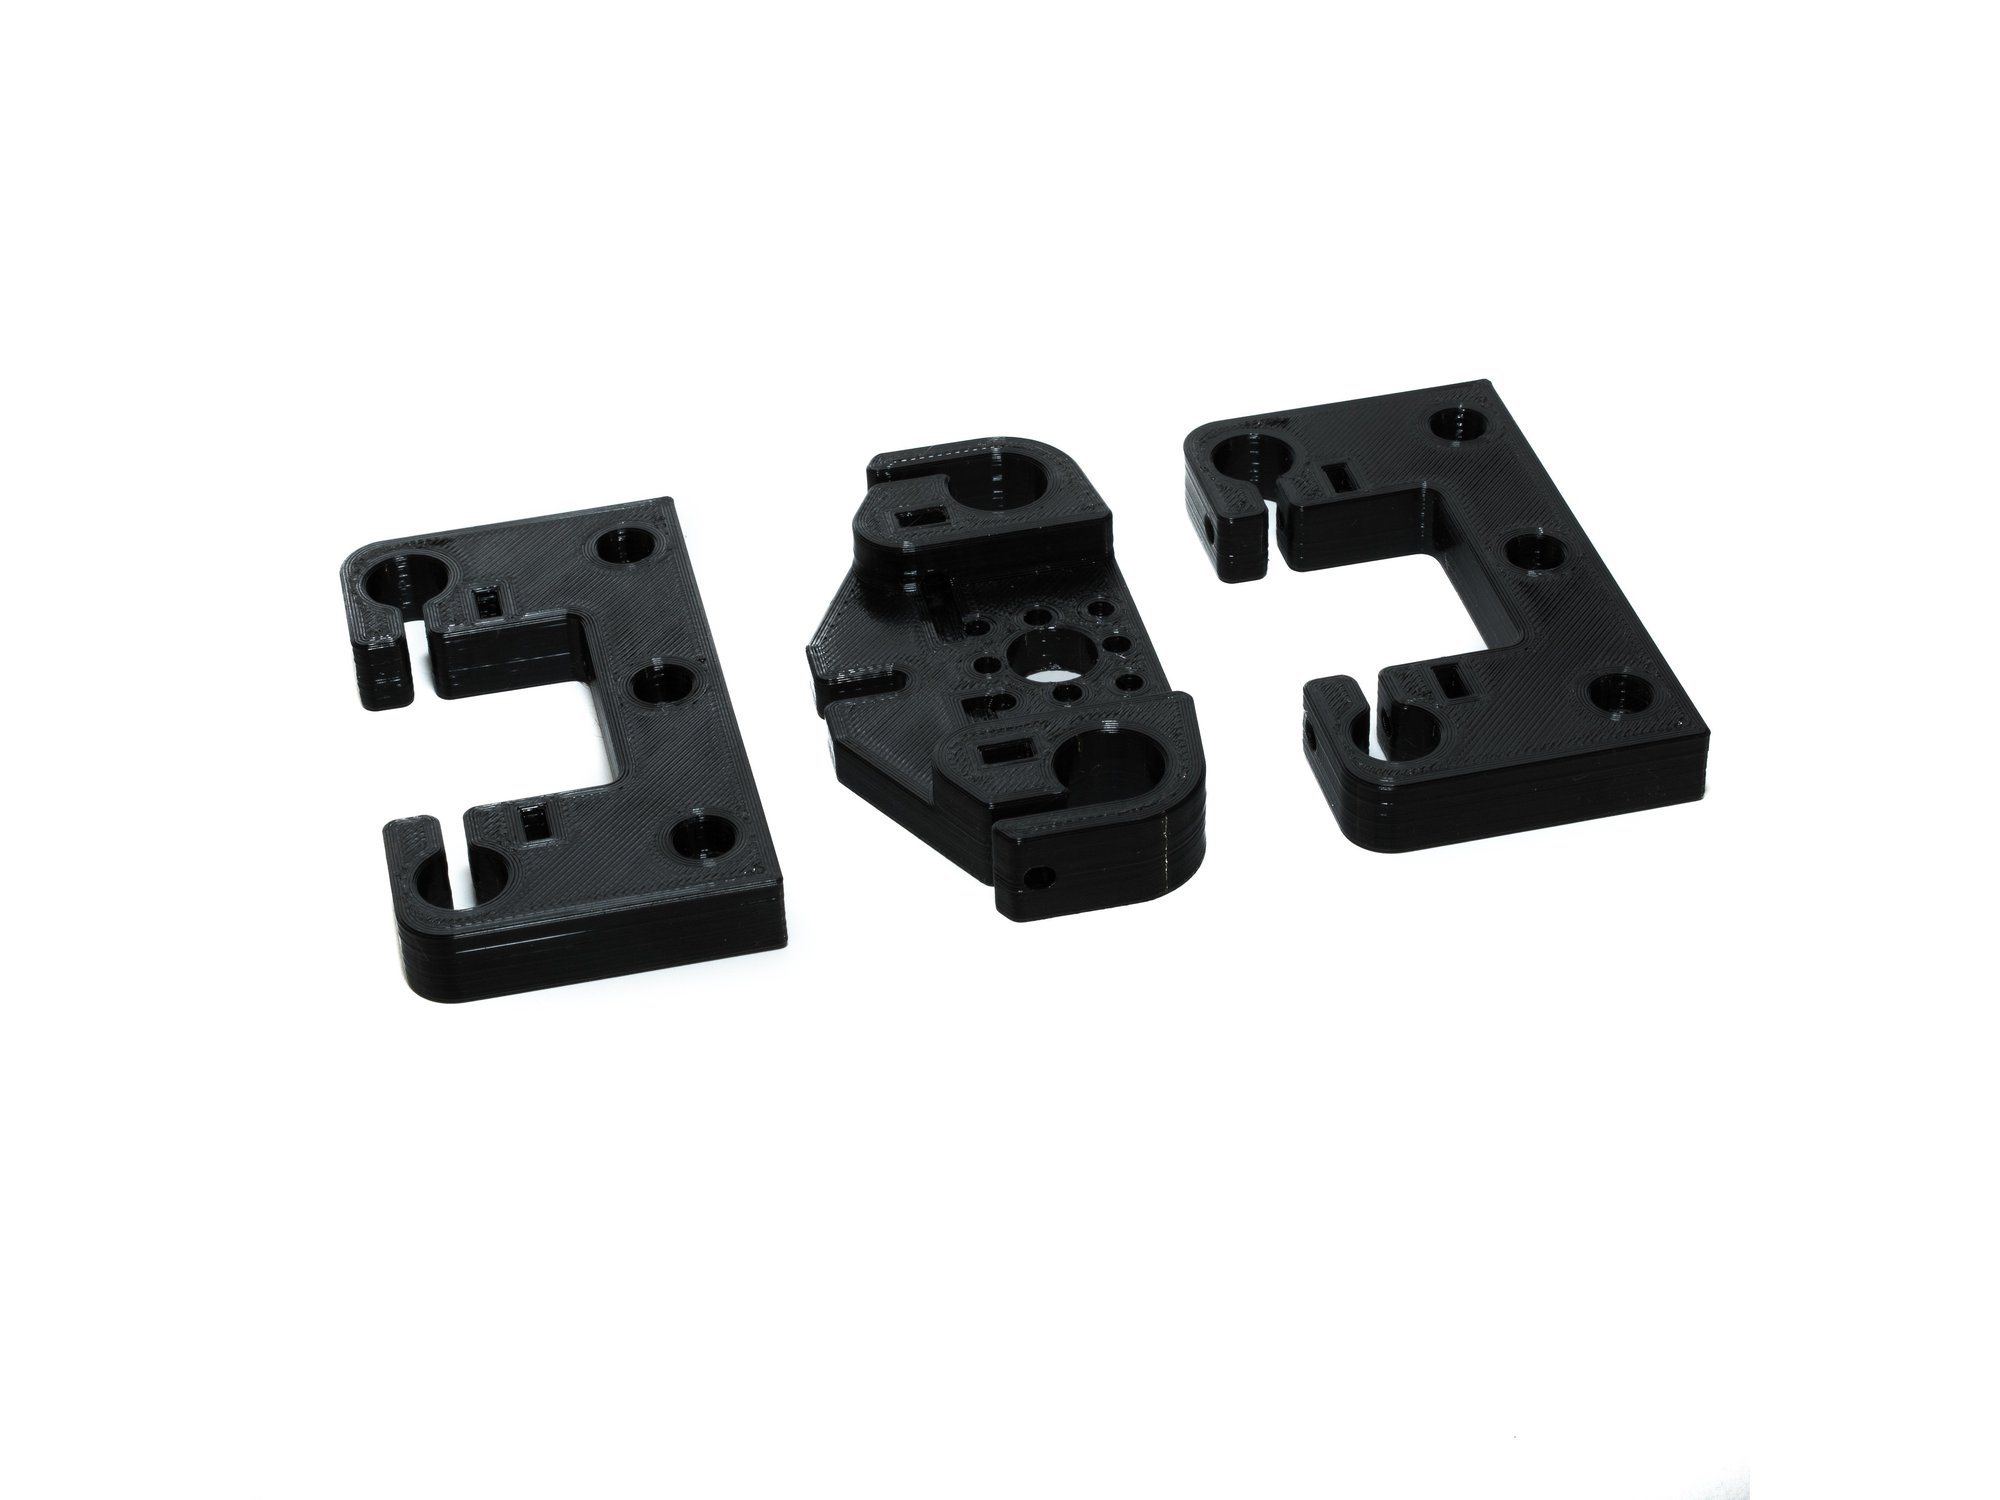
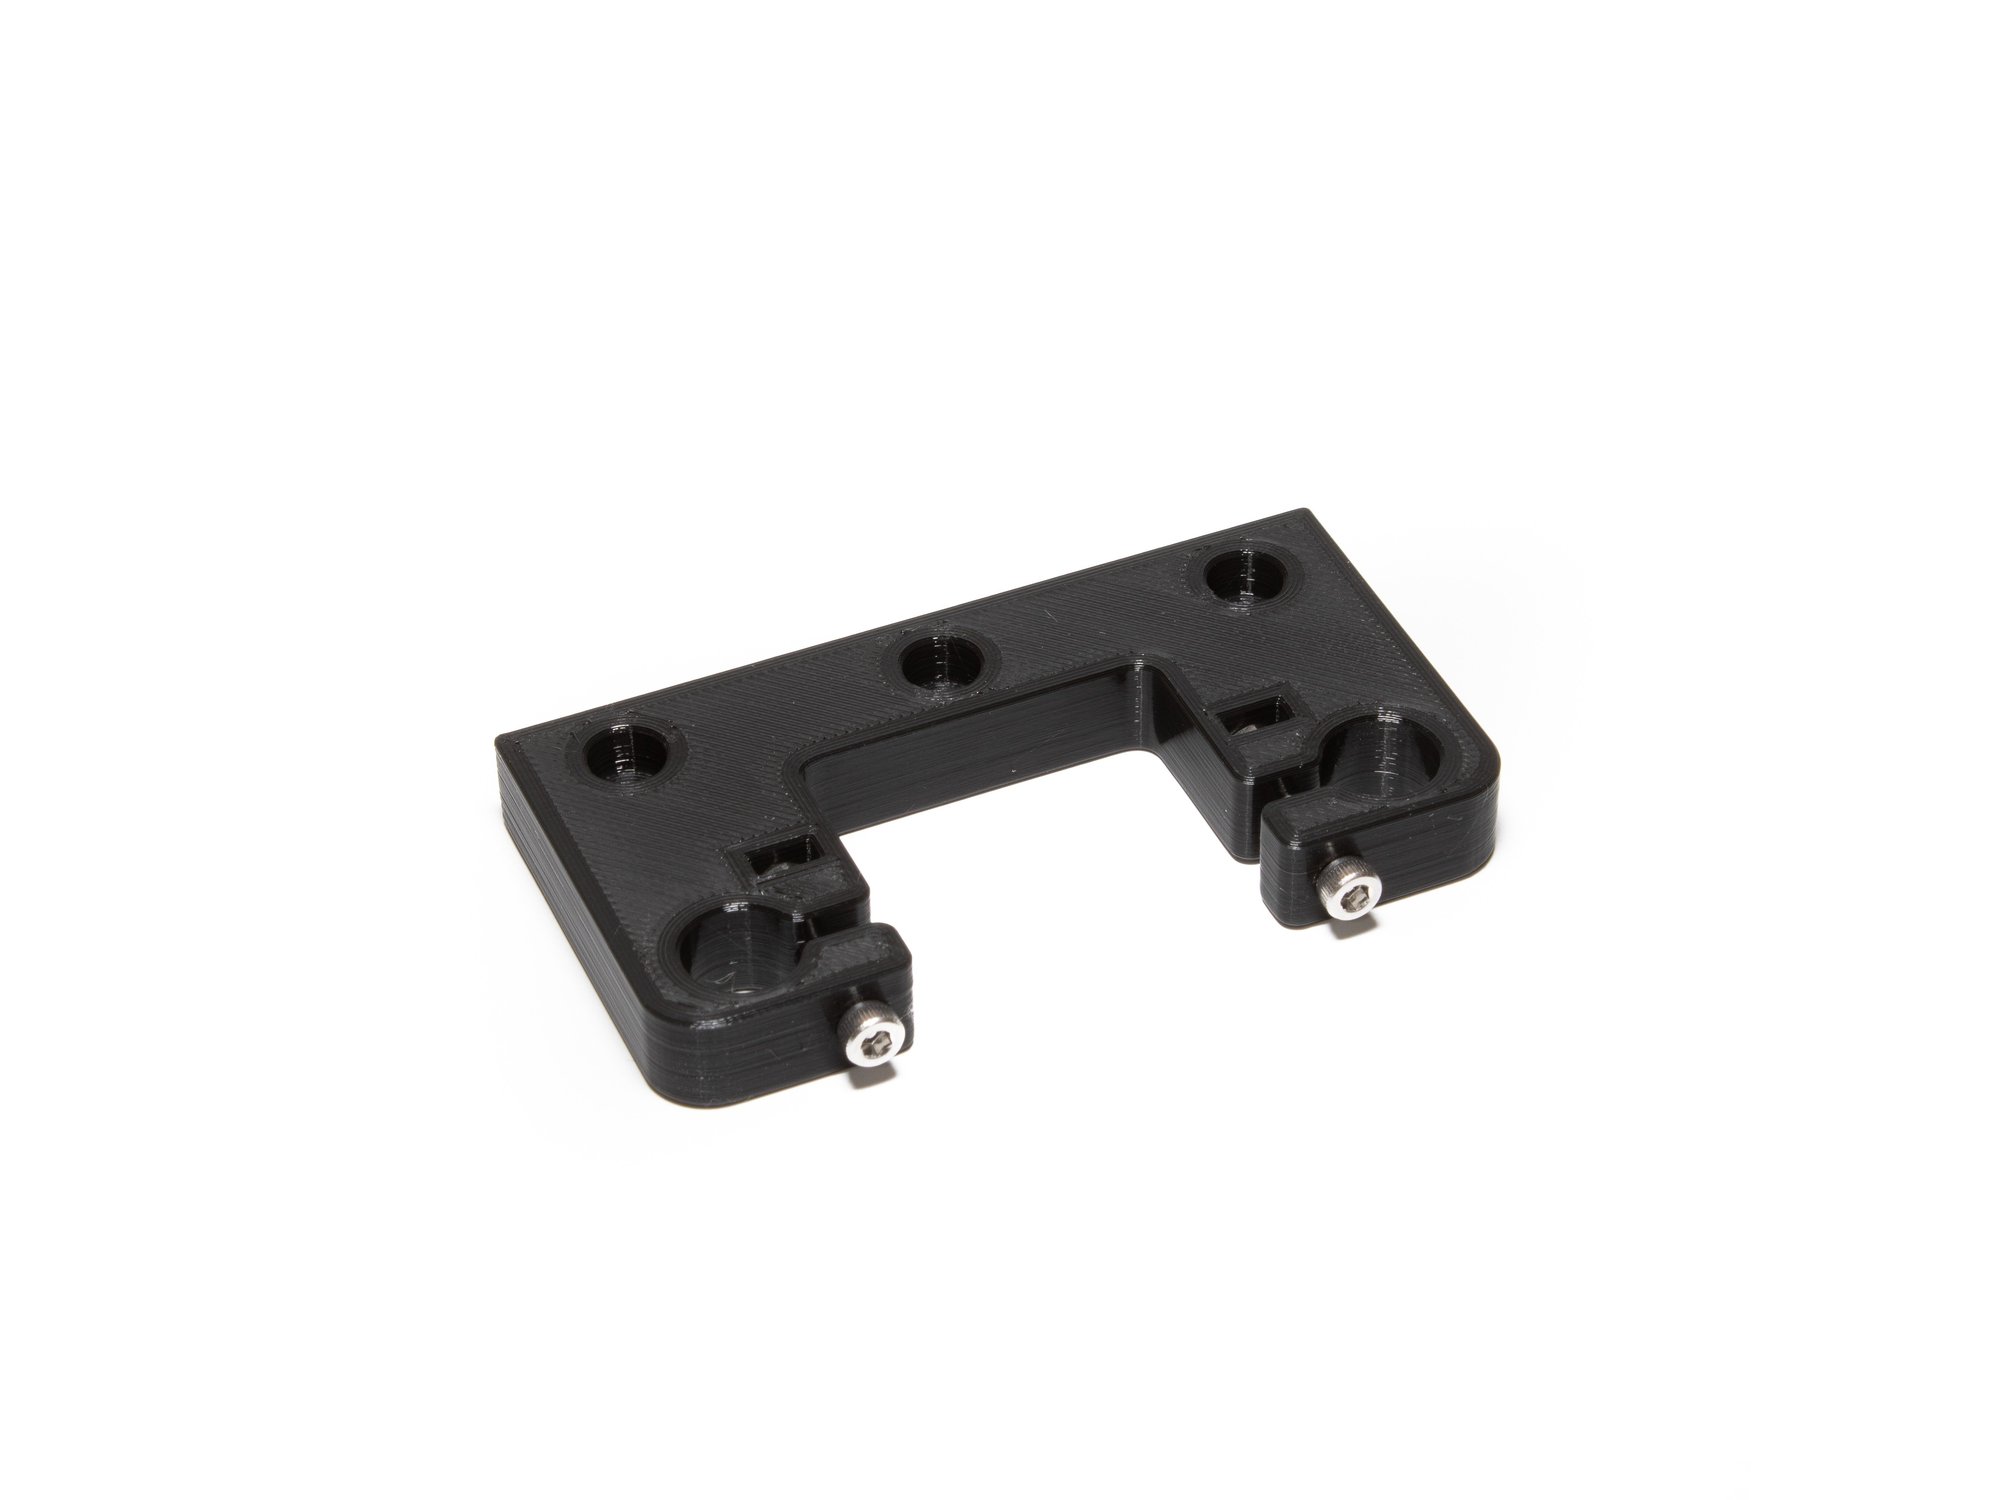
  • Note Each Z tower consists of the following printed parts: (1) printed Z yoke and (2) printed Z rod holders.
  • For each printed part insert (2) M3 nuts and (2) M3 x 20 socket head screws. You should do this for all 9 of the printed parts.

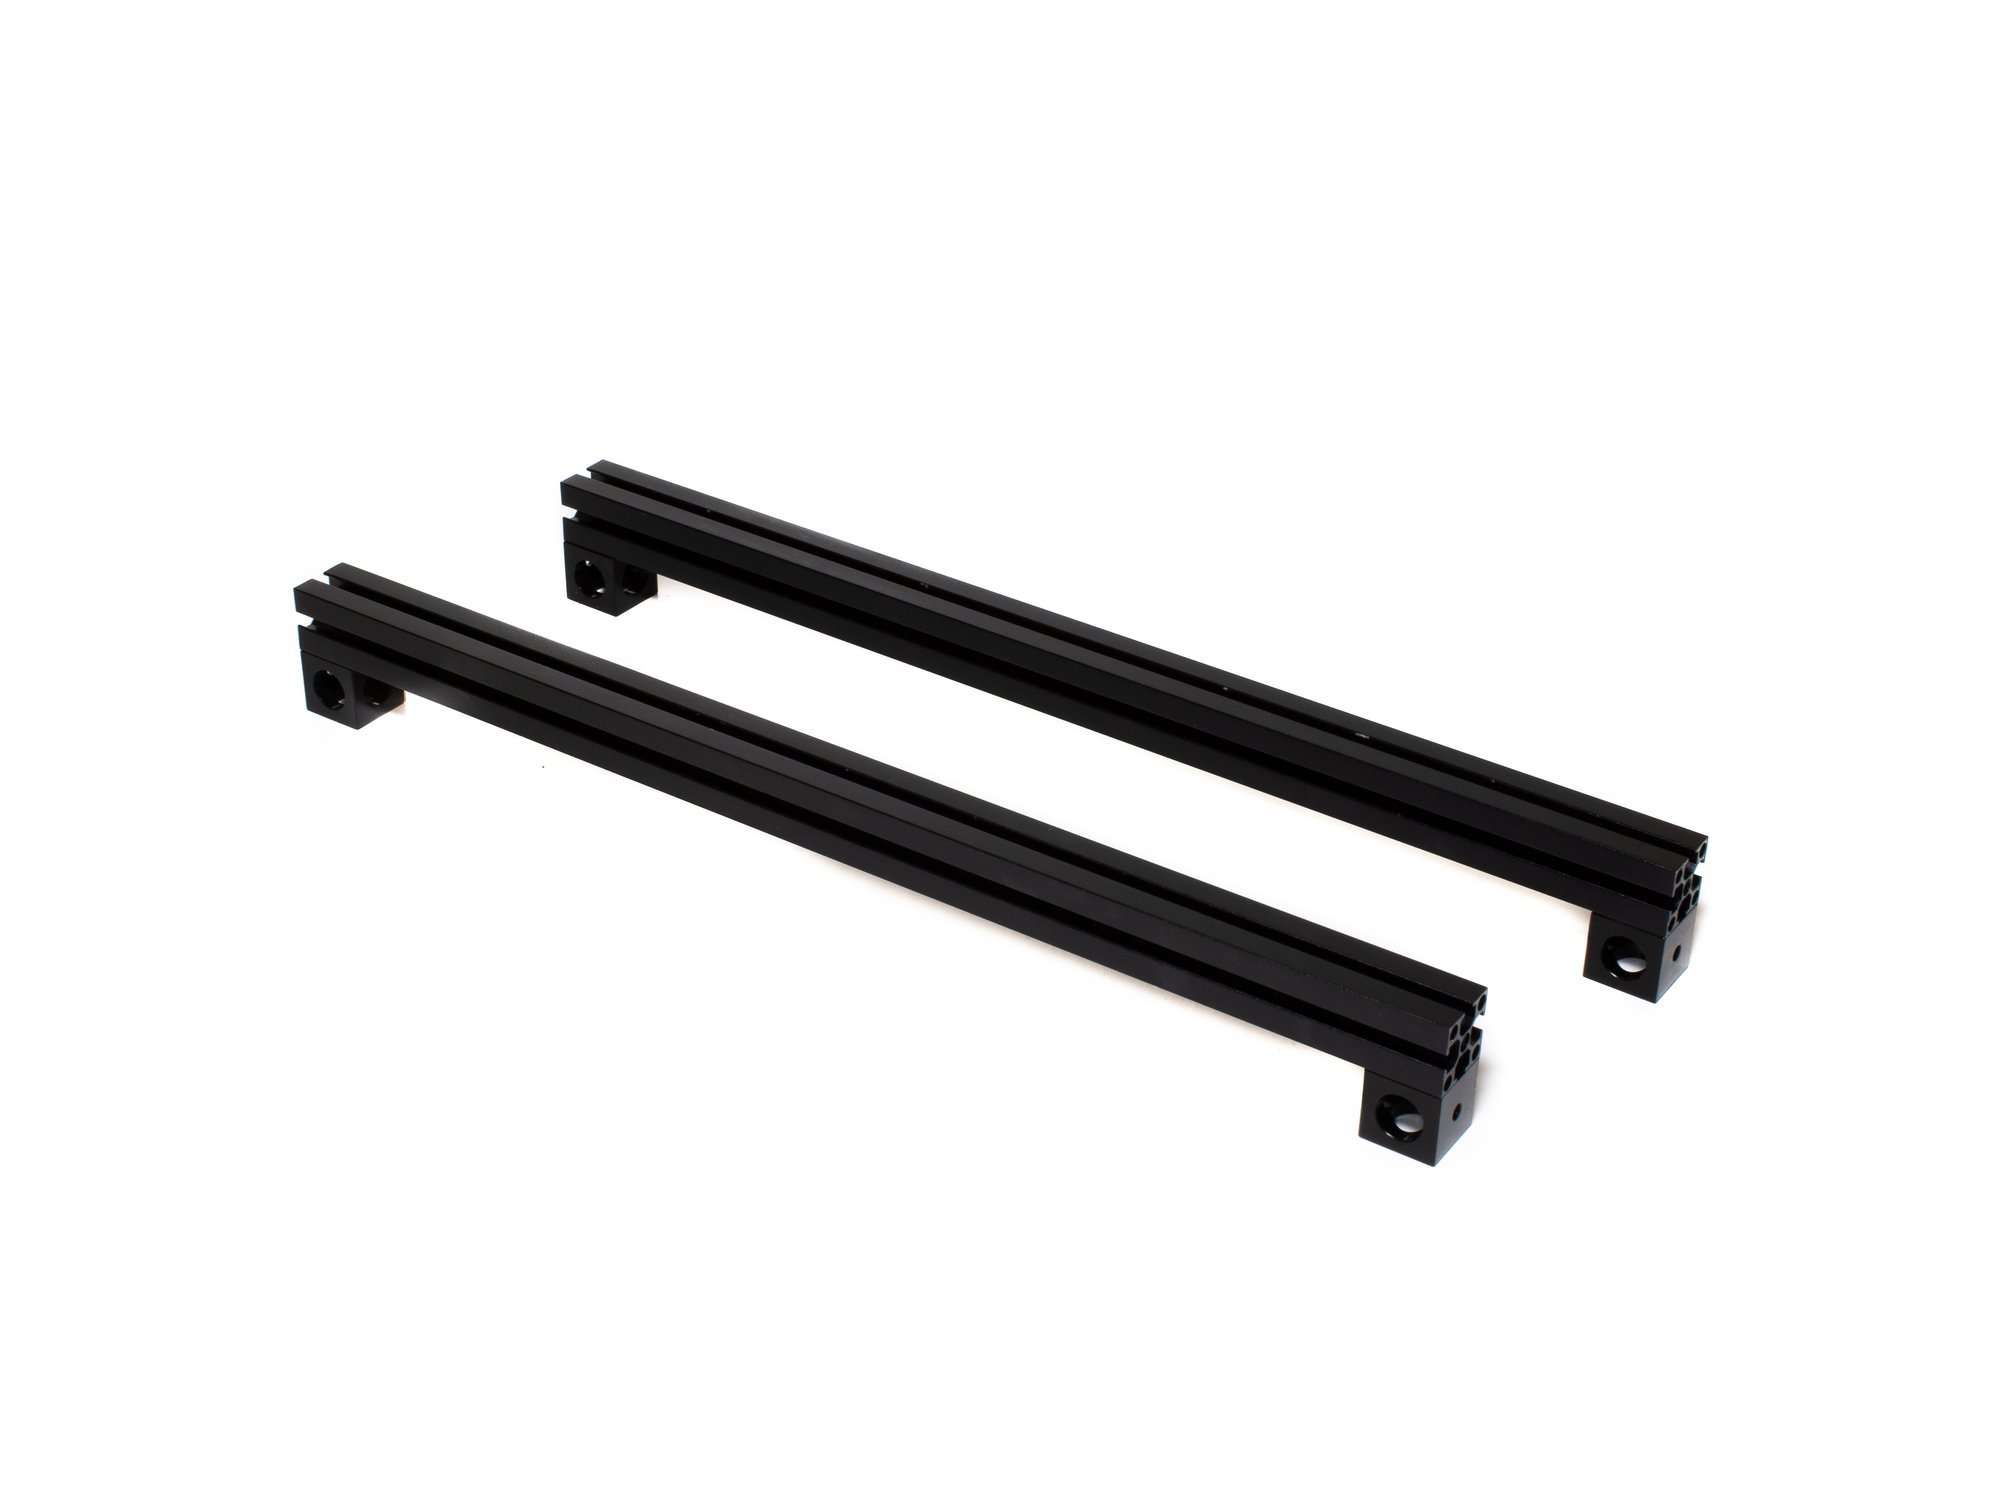
Step 3 — Assemble Z Tower Extrusions (x2)

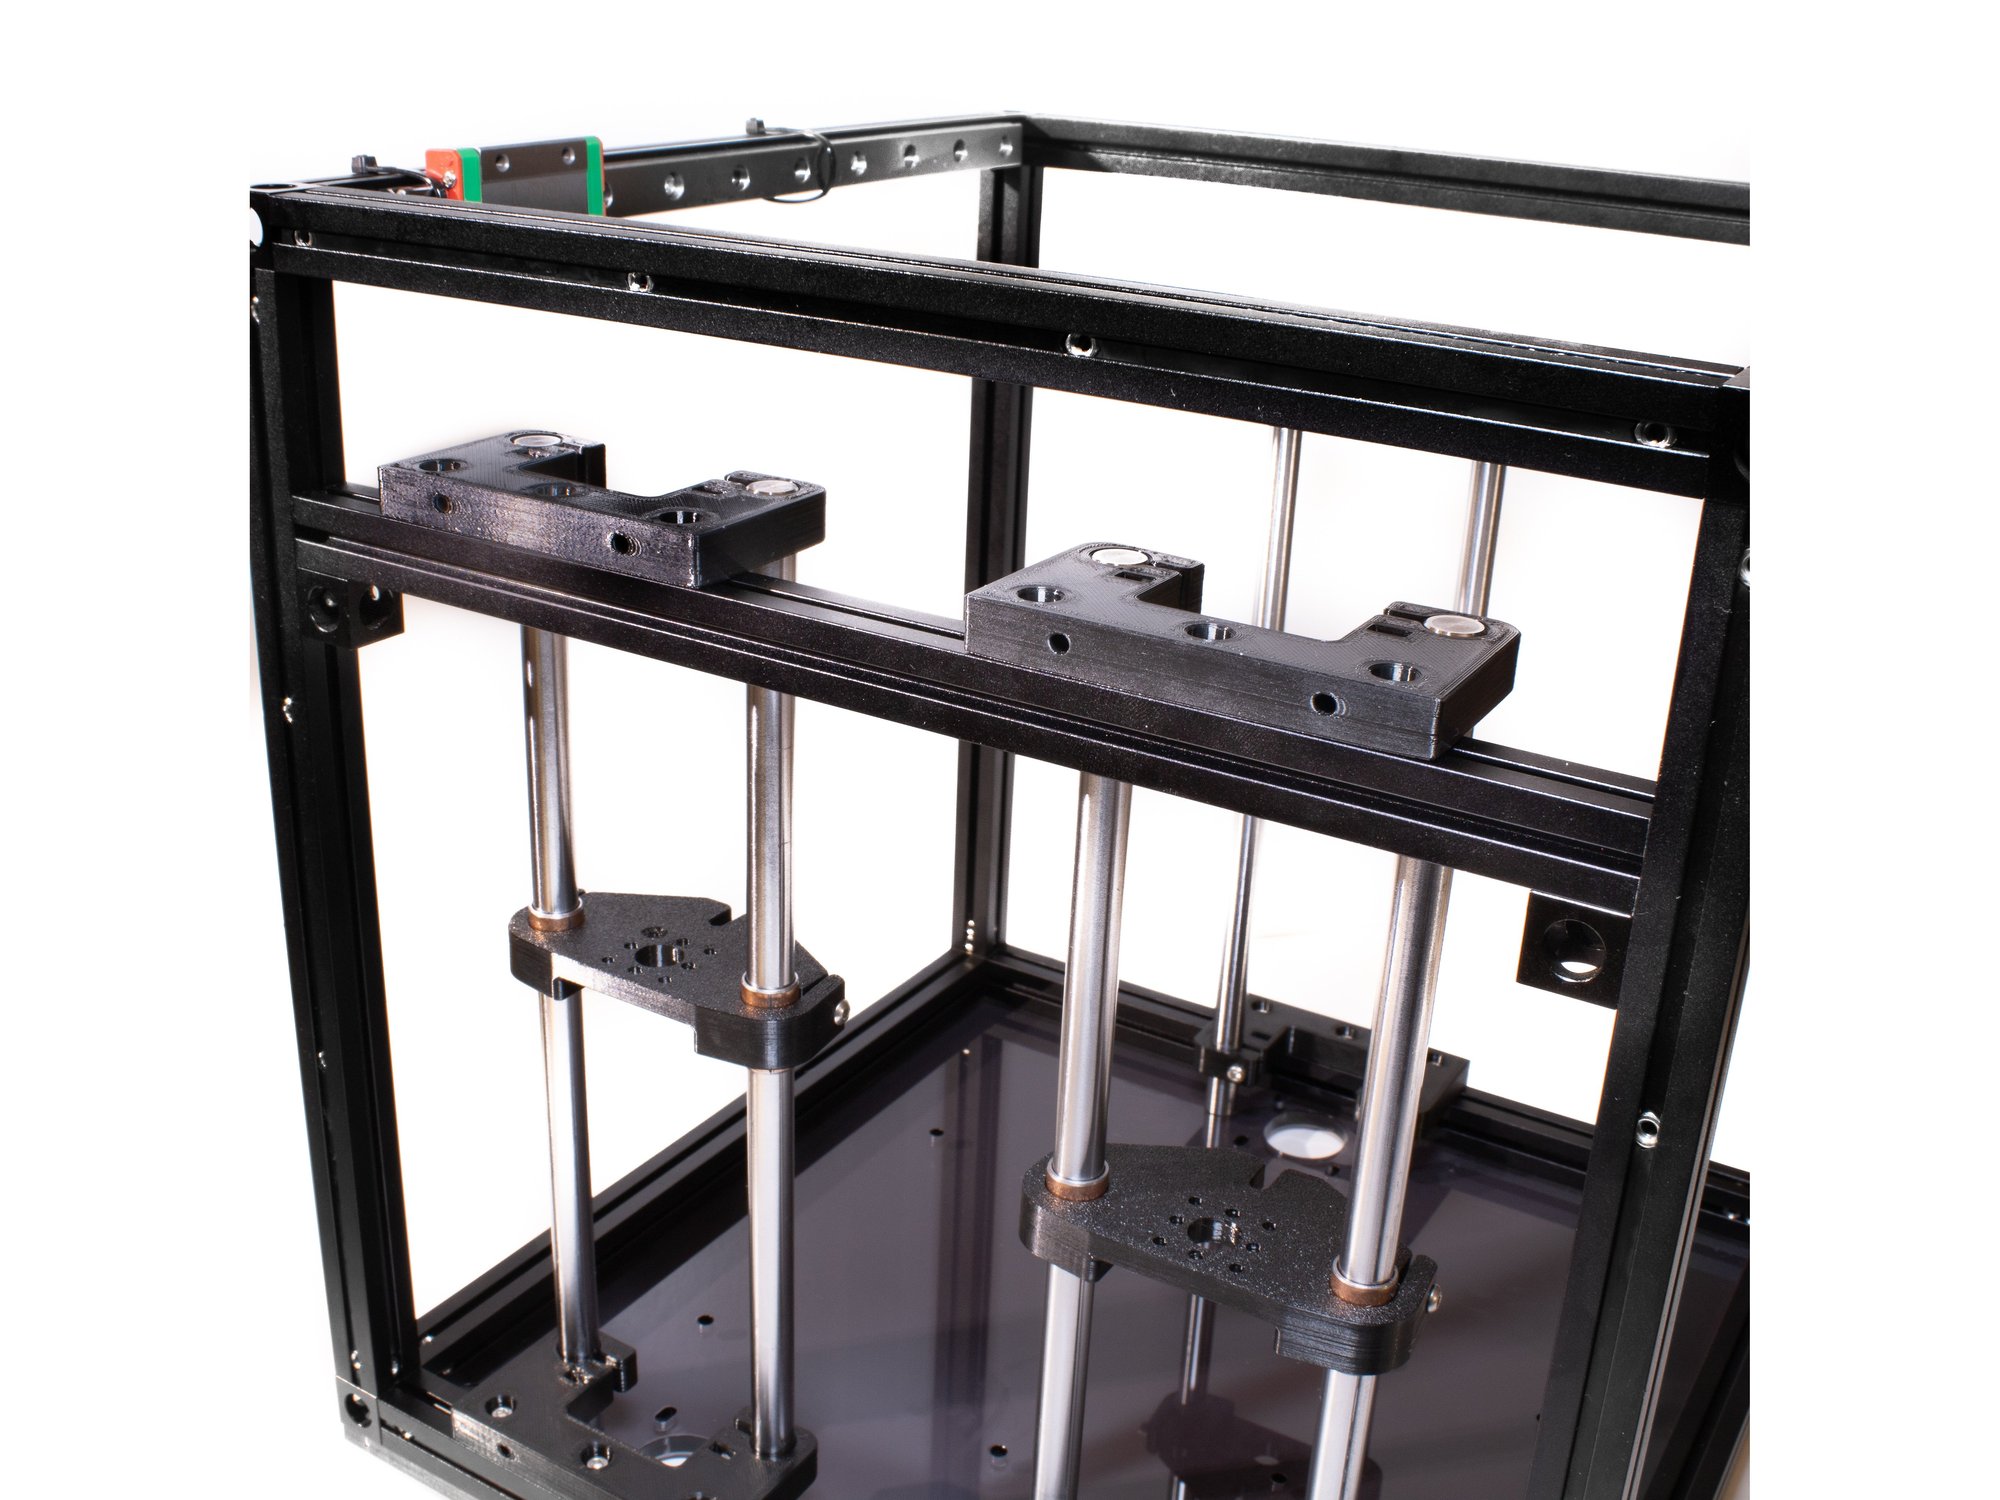
  • The top of the Z towers will fasten to horizontal extrusions on the left and right sides of the frame.
  • Attach corner cubes to opposing ends of the extrusion with (1) M3 nuts inside the extrusion channel and (1) M3 x 6 socket head screw for each corner cube. (Optional) Use an M3 washer on each M3 x 6 fastener to prevent the fastener from bottoming out on the extrusion when torqued.
  • Note A small hole should face up and towards the outside of the extrusion. Use the image as a reference.

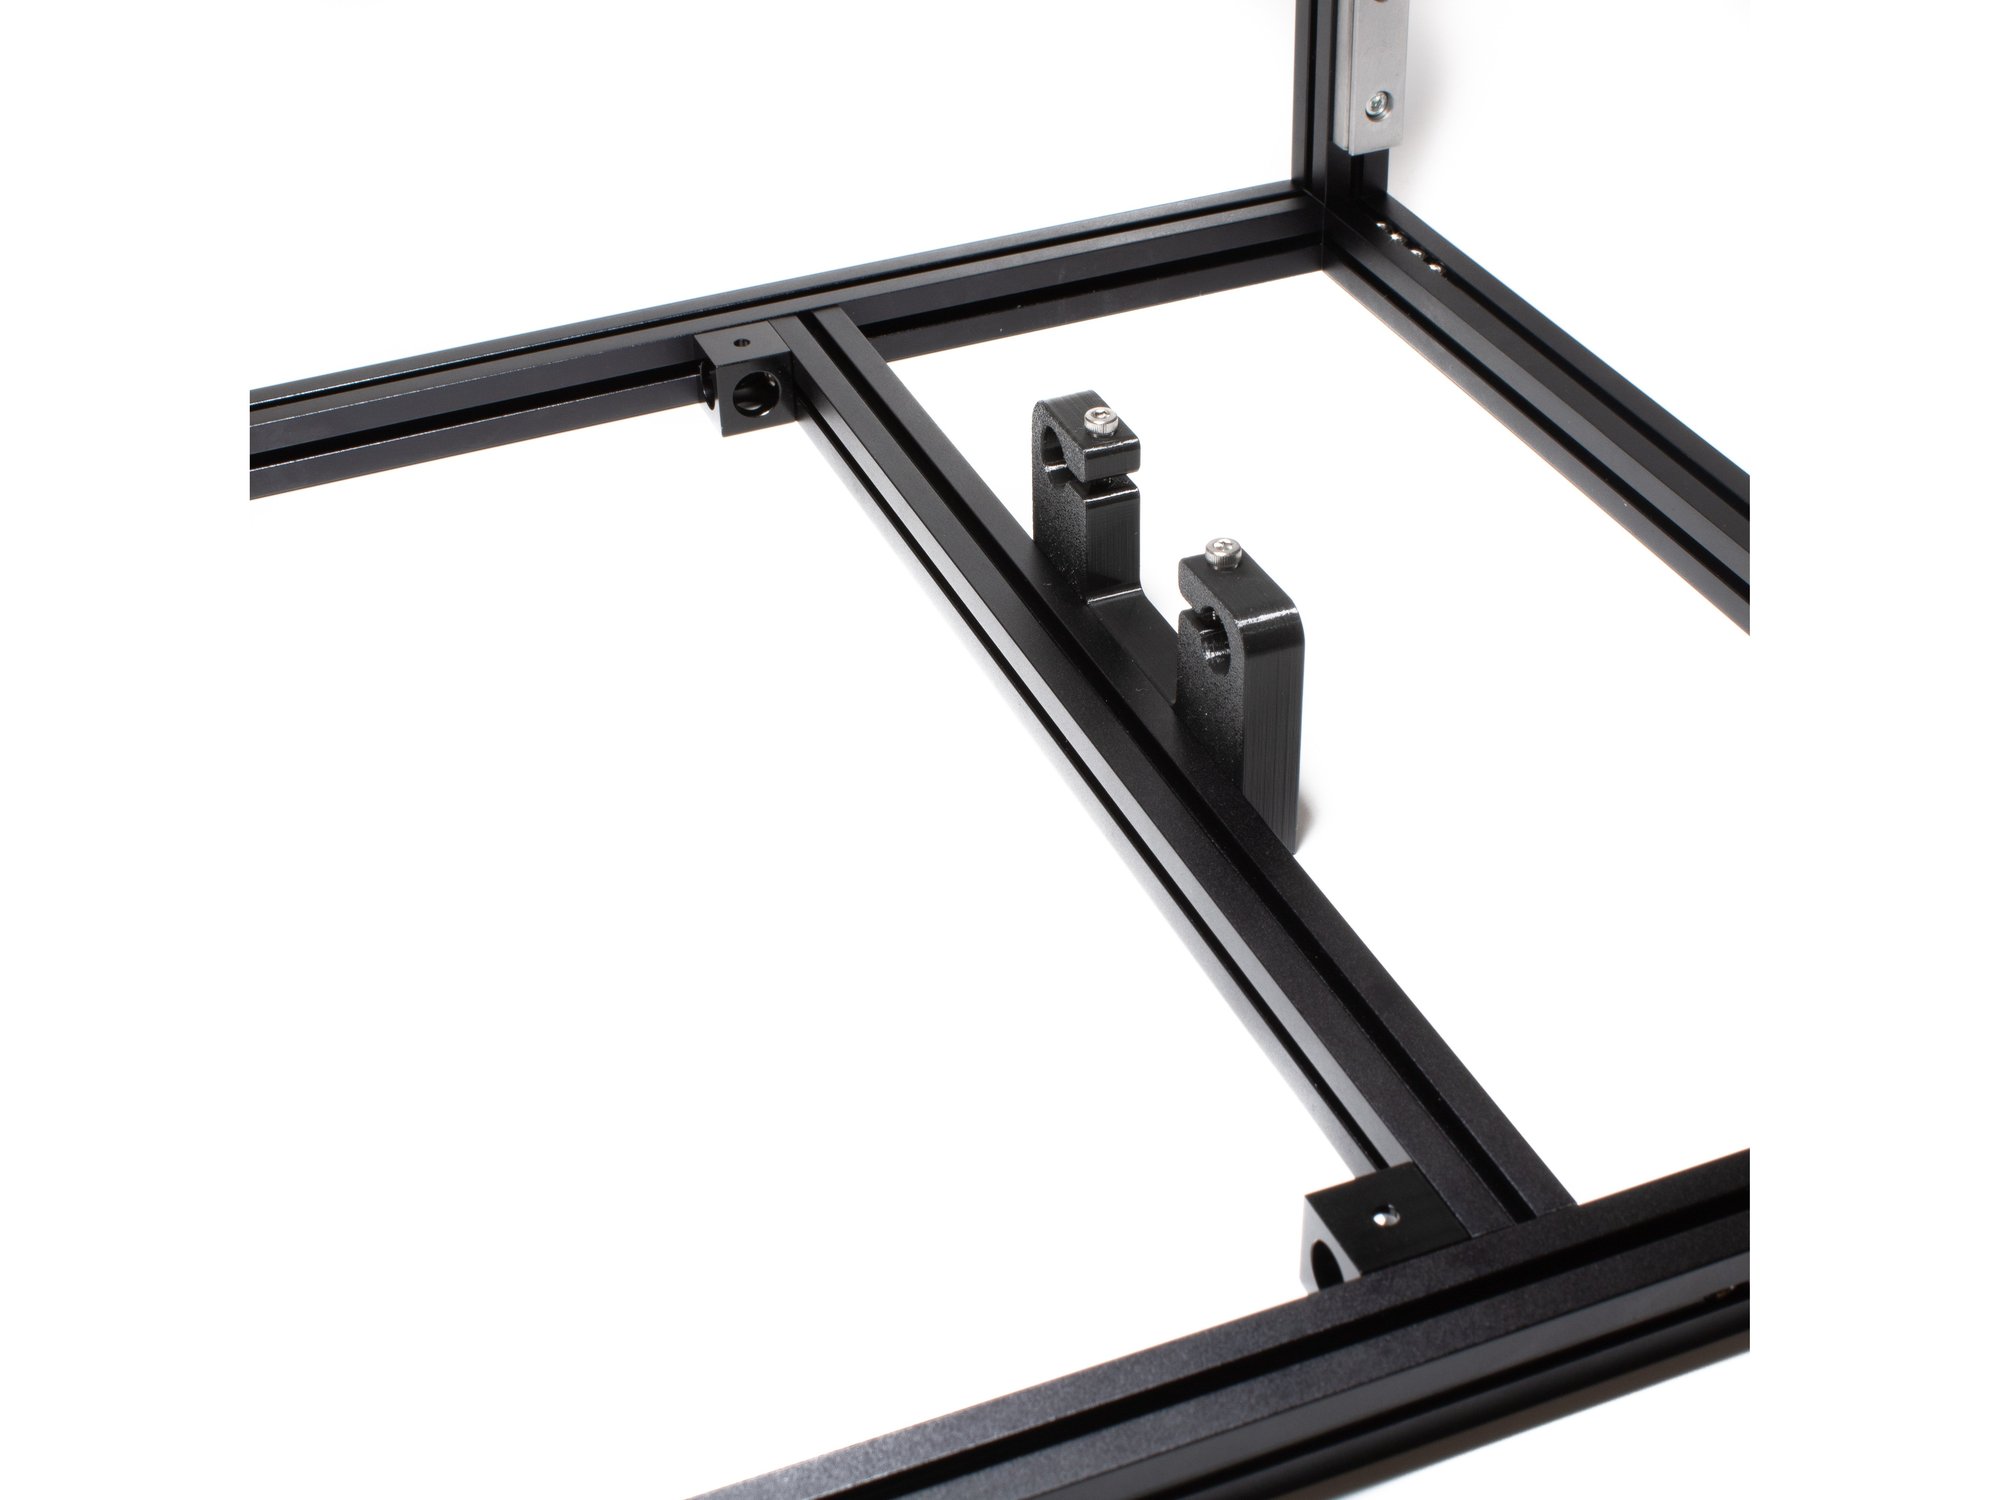
Step 4 — Attach Rod Holders to Extrusions

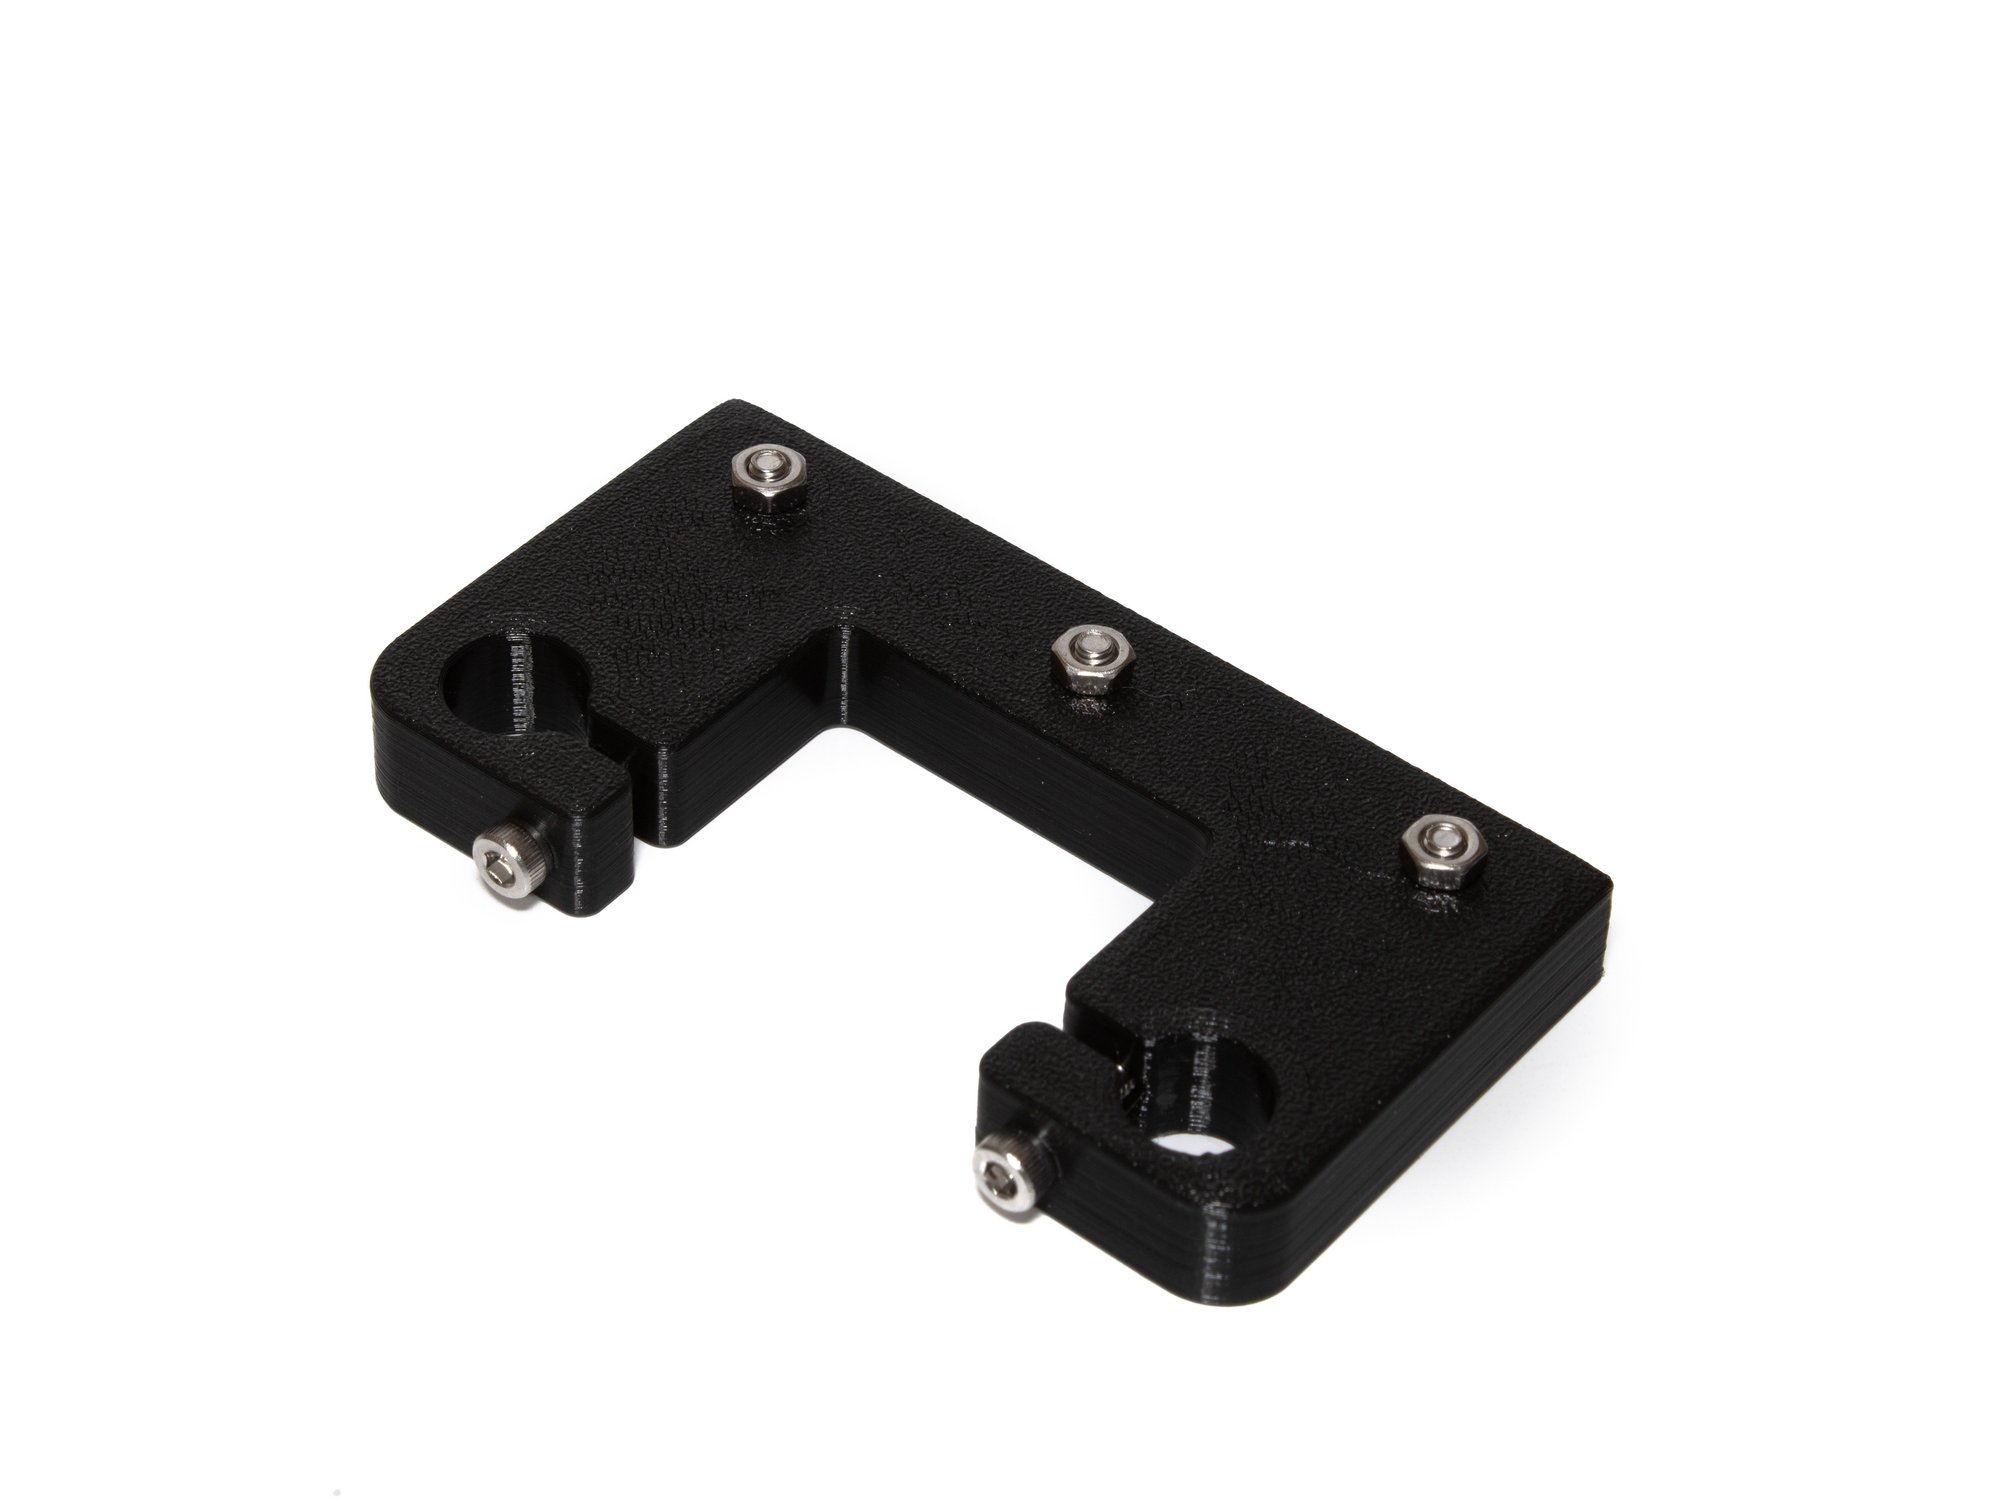
  • Set aside 3 printed Z rod holders. Using (3) M3 nuts and (3) M3 x 10 socket head screws, prepare each rod holder to slide into the extrusions.
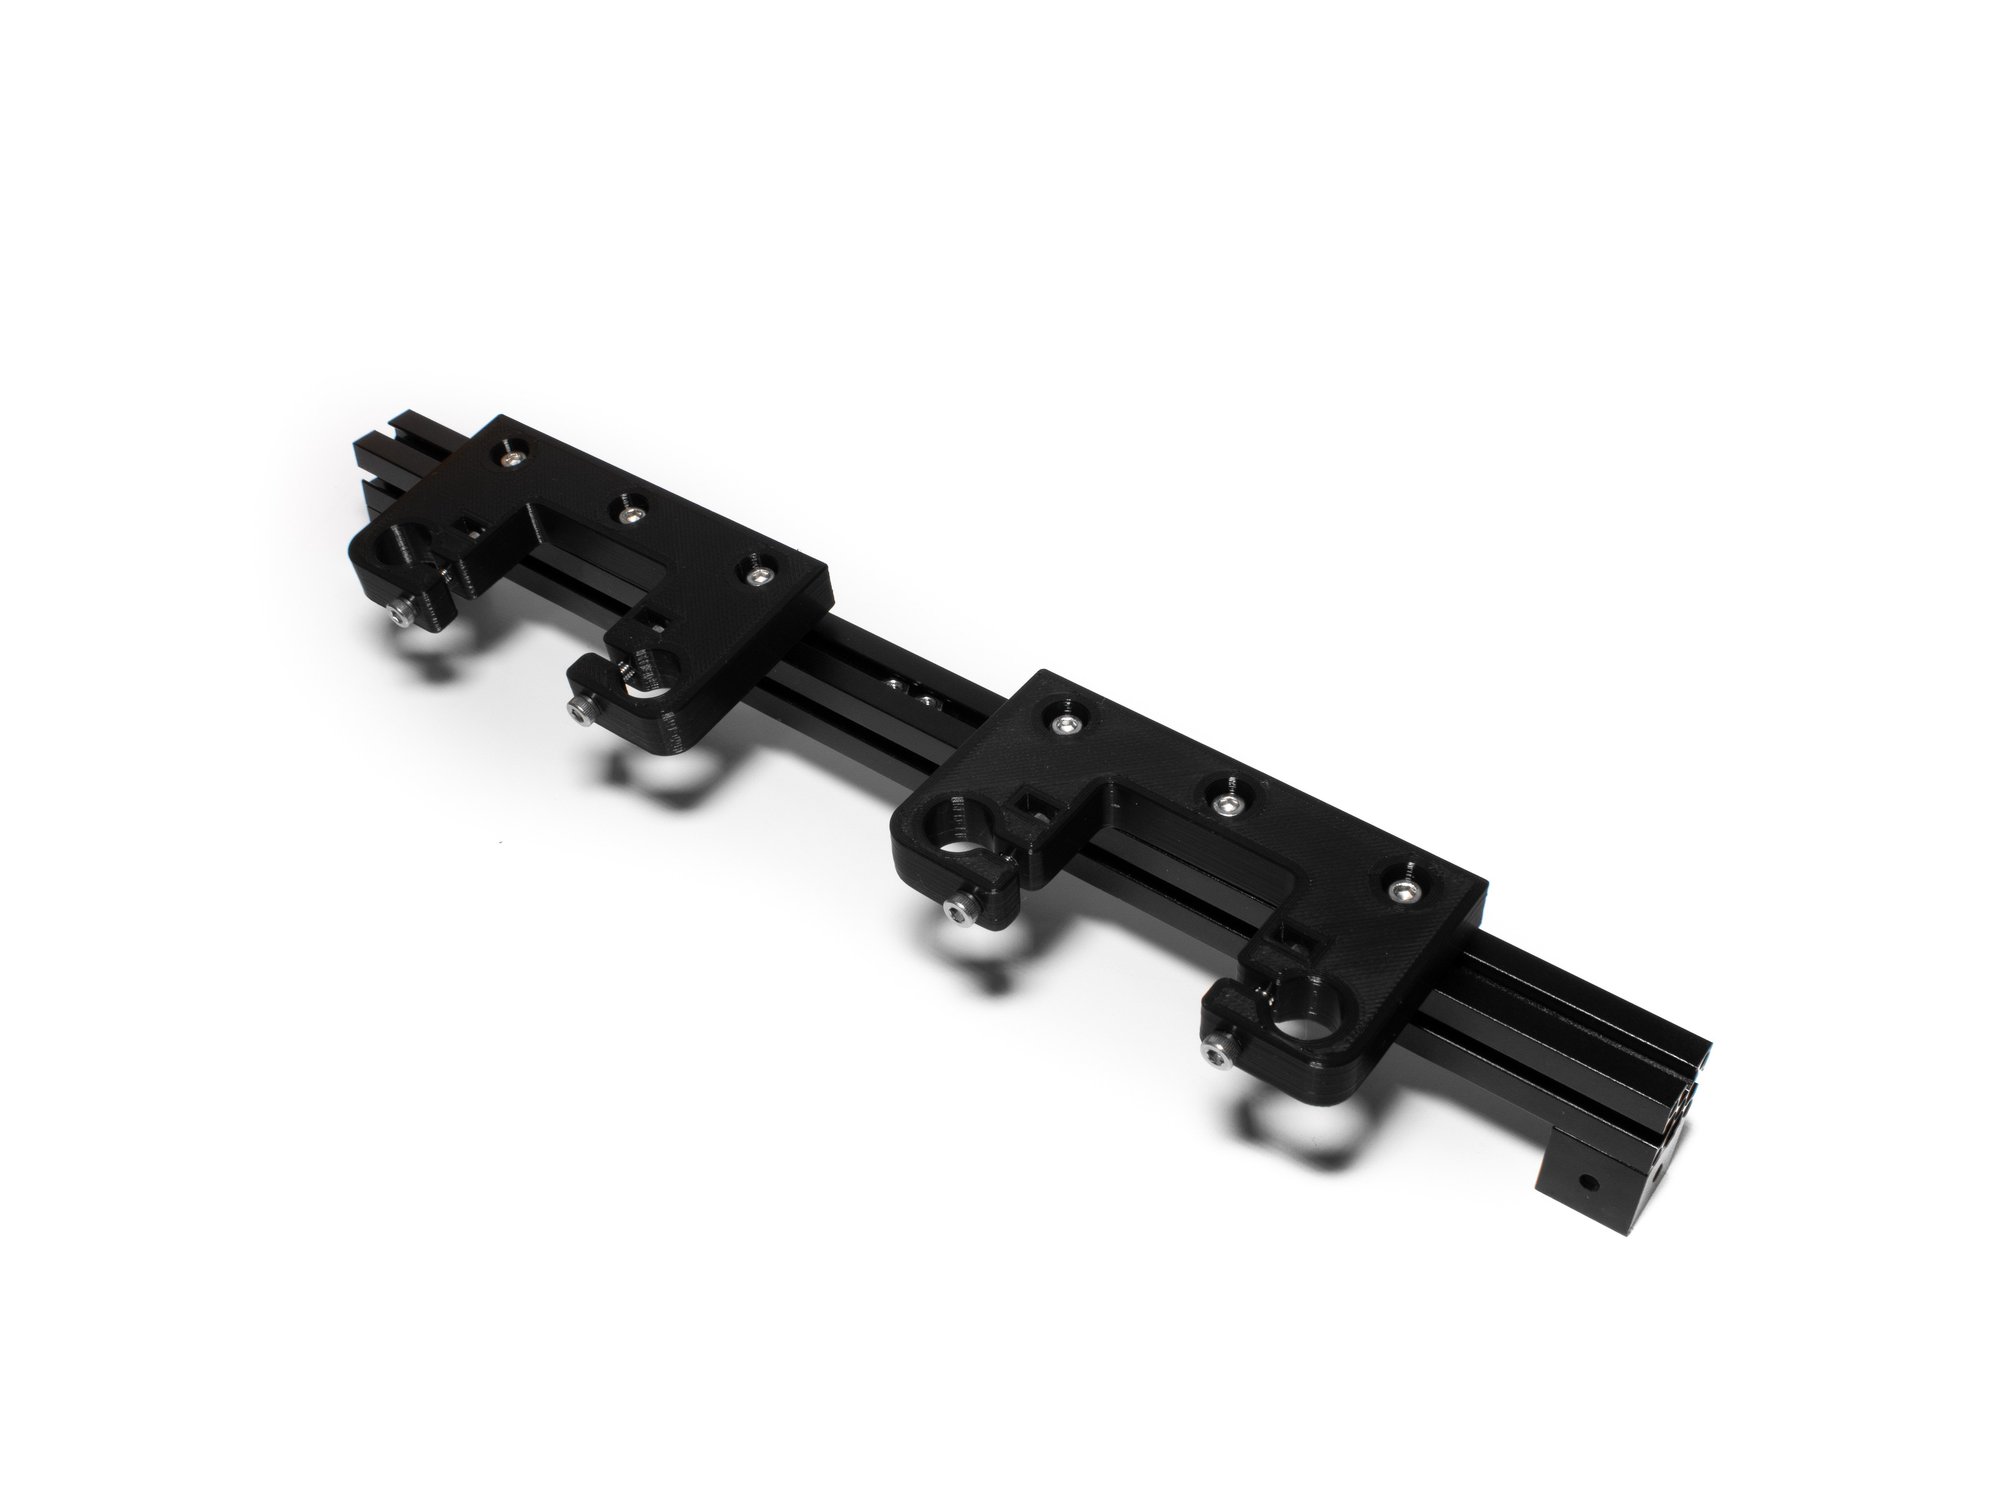
  • Mount (2) Z rod holders to the right extrusion by sliding the M3 nuts into the top channel. Place (2) M3 nuts into the channel between the (2) rod holders. Tighten the Z rod holders to the extrusion just enough to keep them from moving freely.
  • Mount (1) Z rod holders to the right extrusion by sliding the M3 nuts into the top channel. Tighten the Z rod holder to the extrusion just enough to keep them from moving freely.
  • Note Note the proper orientation of the Z rod holders and corner cubes using the provided images.

Step 5 — Attach Rod Holders to Frame

  • On the right side of the frame, attach (2) Z rod holders to the bottom right extrusion using (6) M3 x 10 socket head screws. Leave 2 M3 nuts between the rod holder and another two after the rod holder towards the back extrusion as pictured.
  • On the left side of the frame, attach (1) Z rod holder to the bottom right extrusion using (3) M3 x 10 socket head screws. Leave 2 M3 nuts free towards the back extrusion as pictured.

Step 6 — Attach Z Rod Holder Extrusions to Frame

  • Attach both the left and right Z rod holder extrusions to the frame using the corner cubes and existing M3 nuts in the inside channels. Note: use top M3 nut, the bottom one is left for spacing and ease of assembly.
  • Using M3 x 6 socket head screws for each corner cube, attach each to the frame. Do not tighten the corner cubes to the frame at this point. (optional) Use an M3 washer on each M3 x 6 fastener to prevent fasteners from potentially bottoming out.
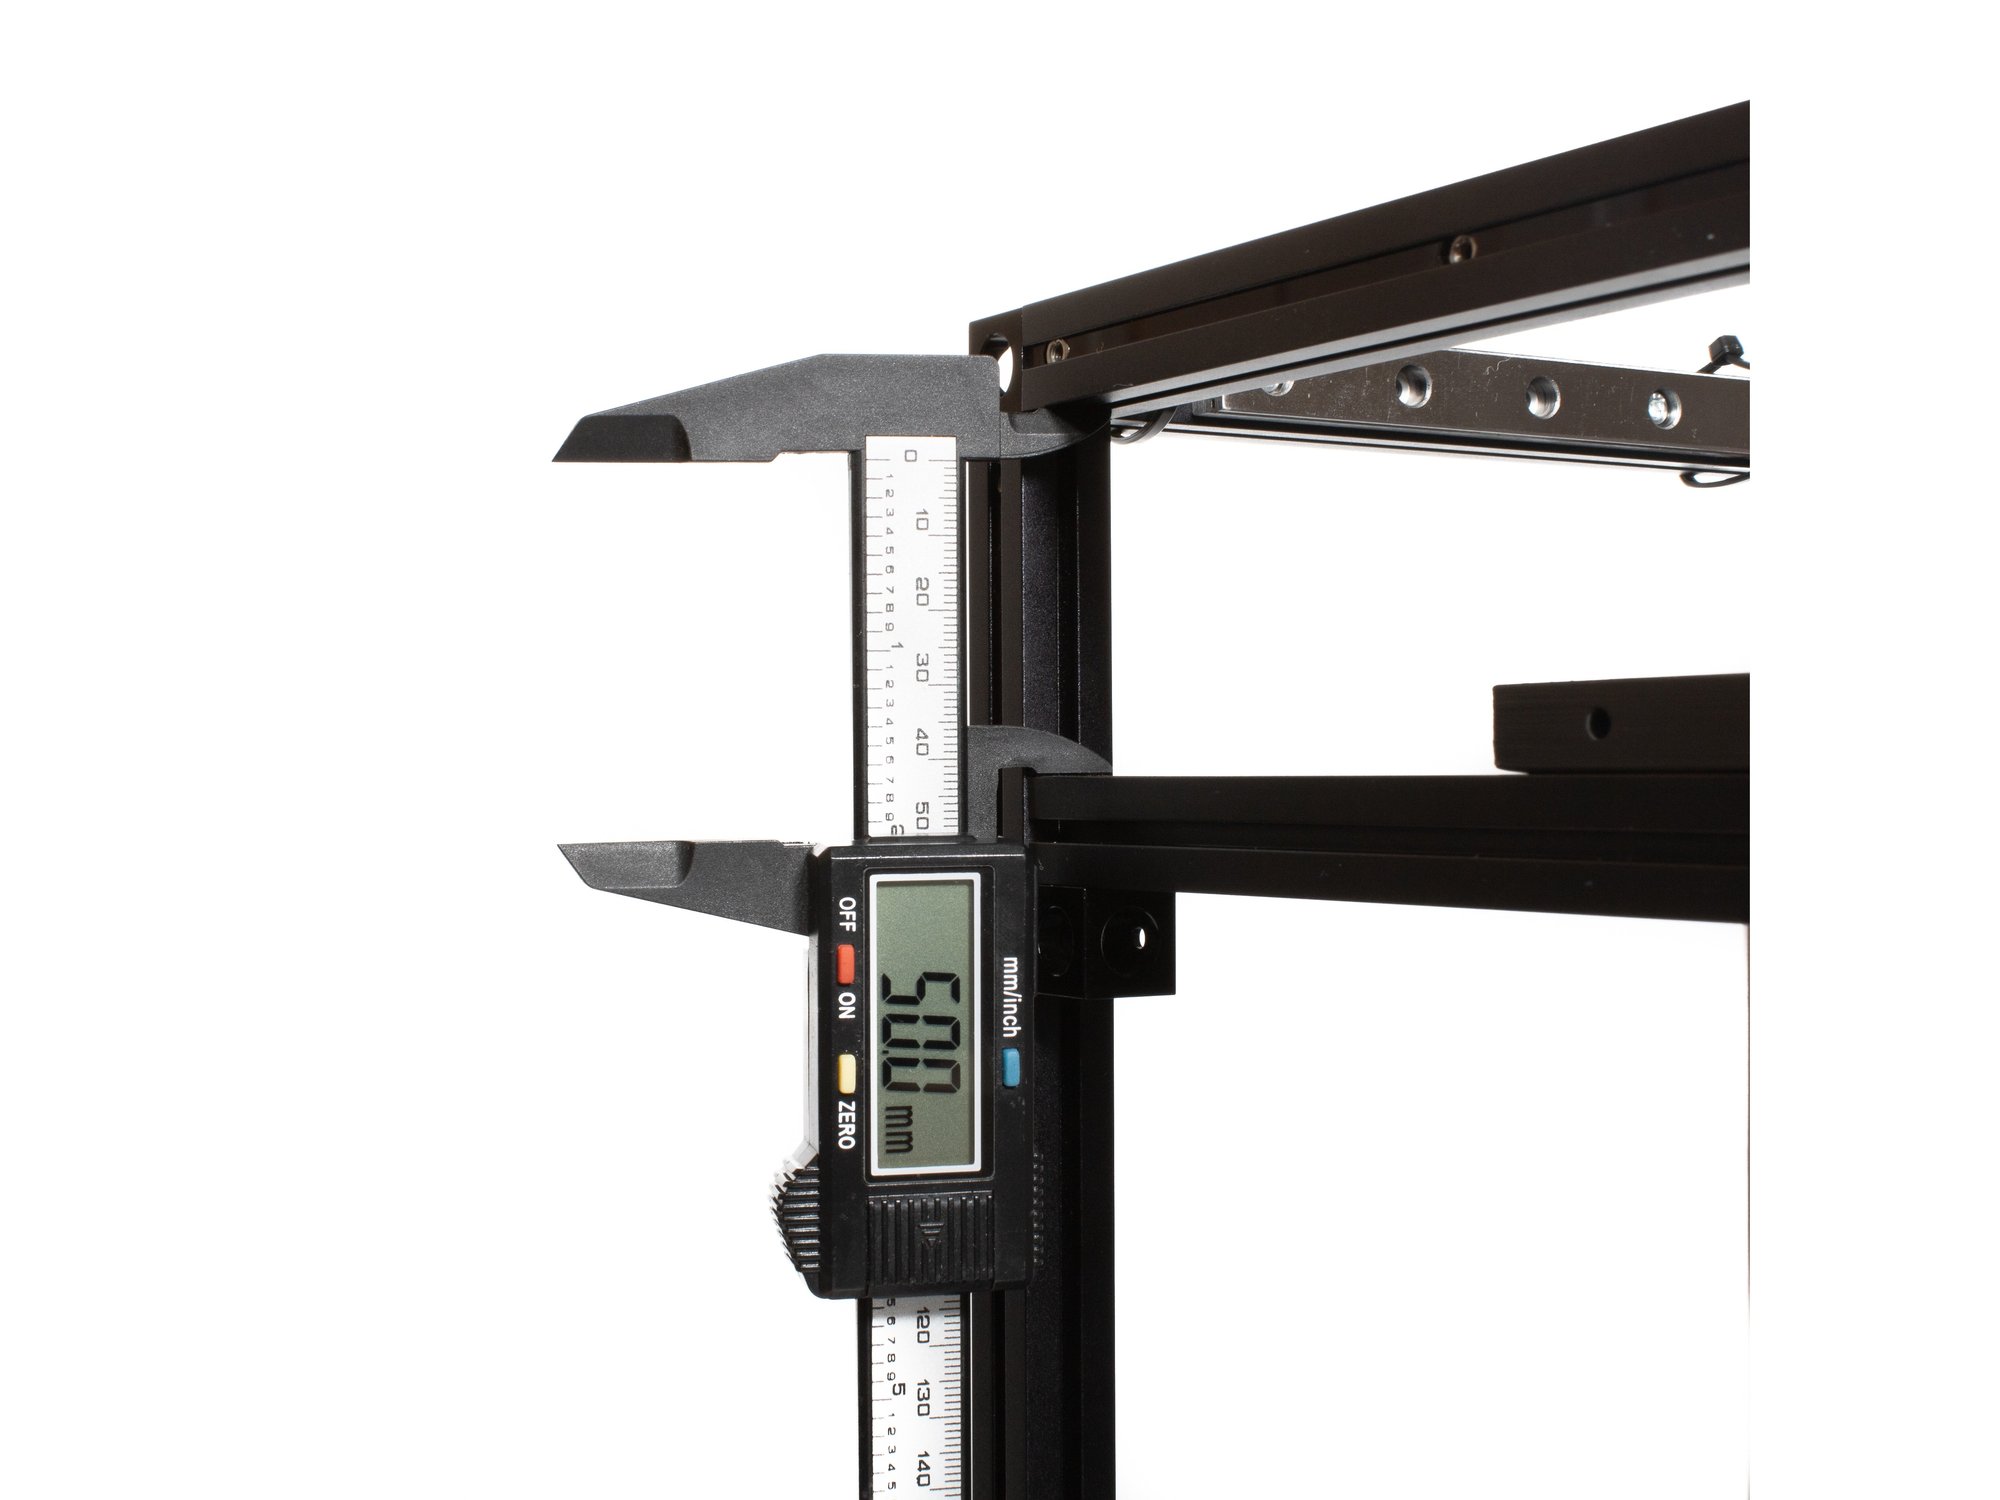
  • Use calipers to measure the distance between the bottom of the top extrusion, and the top of the Z rod holder extrusion. Tighten the corner cubes to the frame leaving a gap of 50mm as shown in the image. (Alternate Method) Optionally use 123 or 25,50,75 blocks and firmly squeeze the block between the two extrusions while fastening each corner cube.
  • Note This step is easier with the frame on it's side.

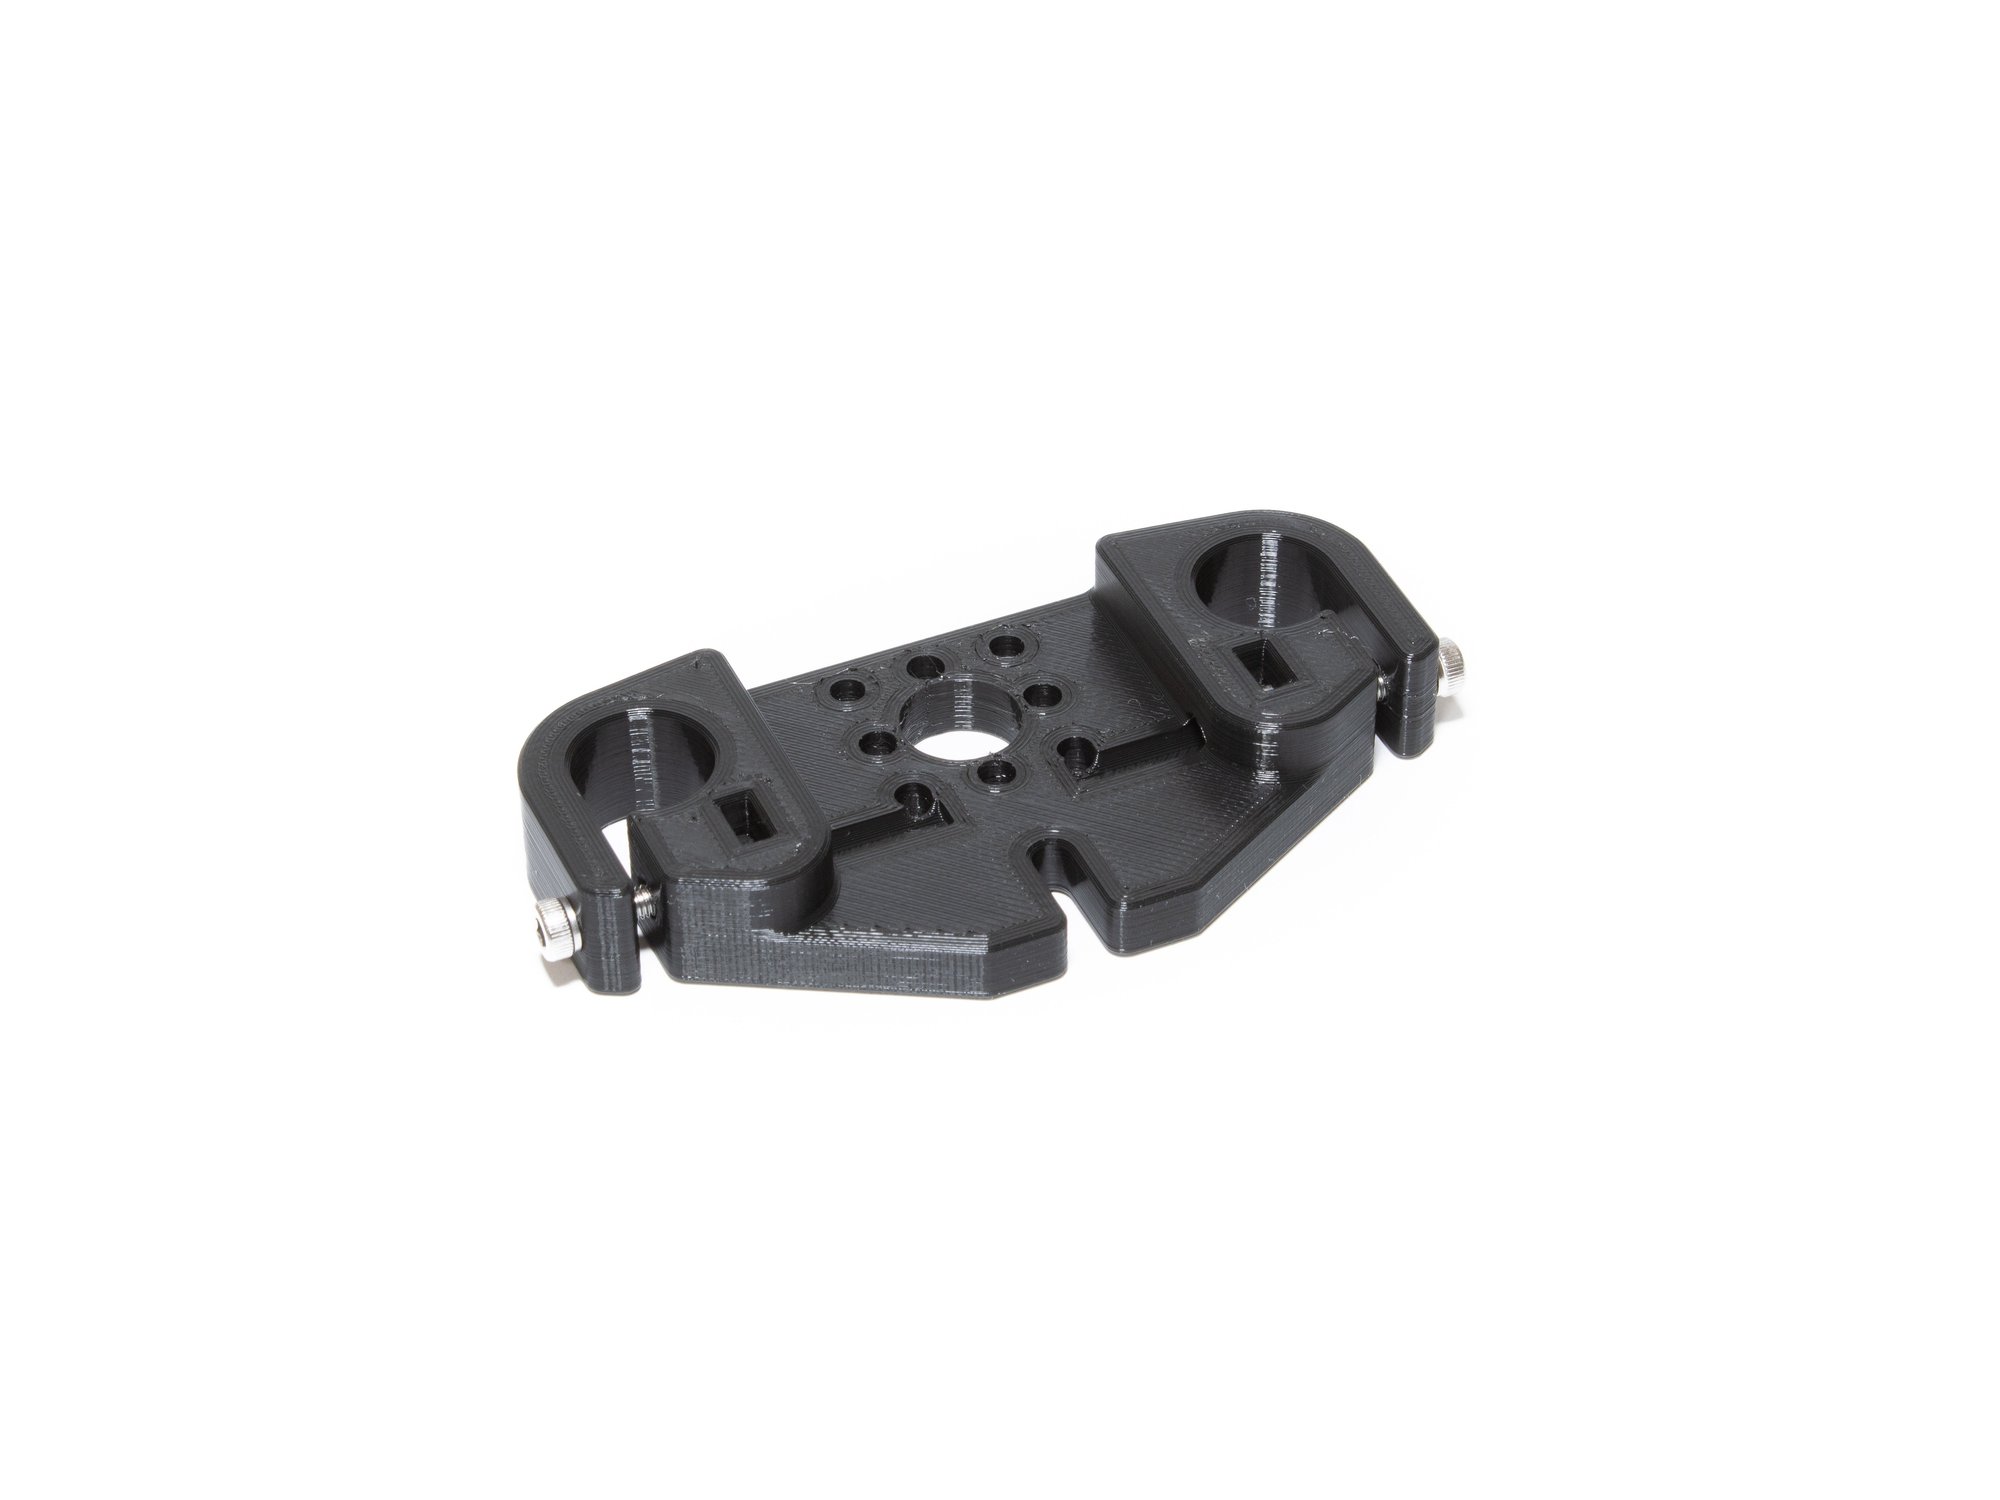
Step 7 — Prepare Printed Z Yokes (x3)

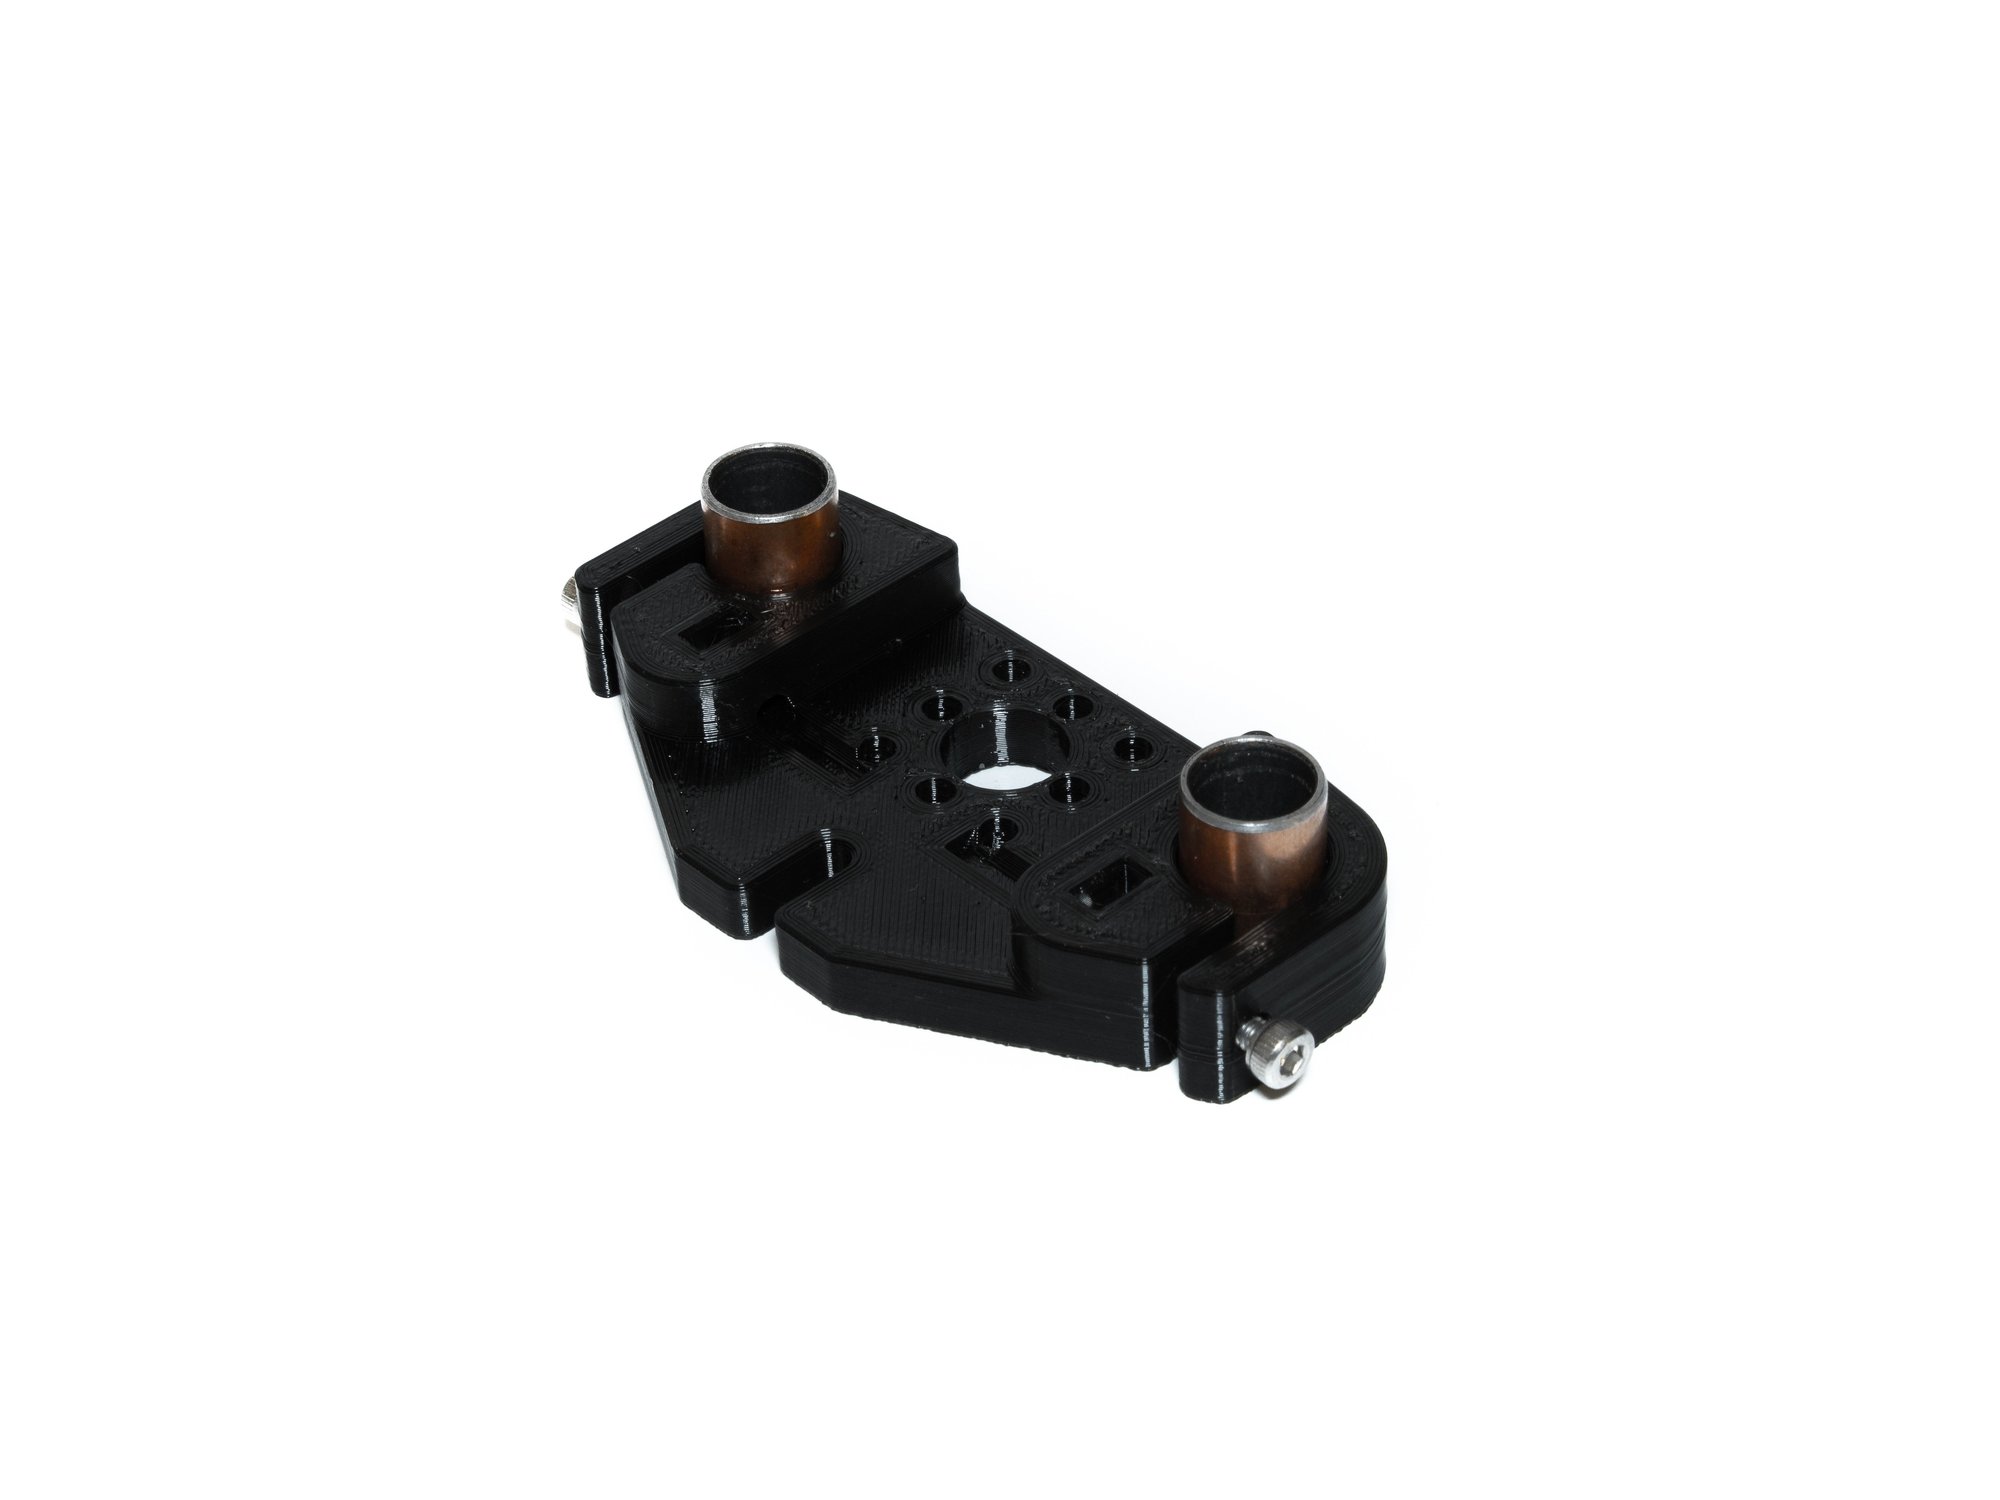
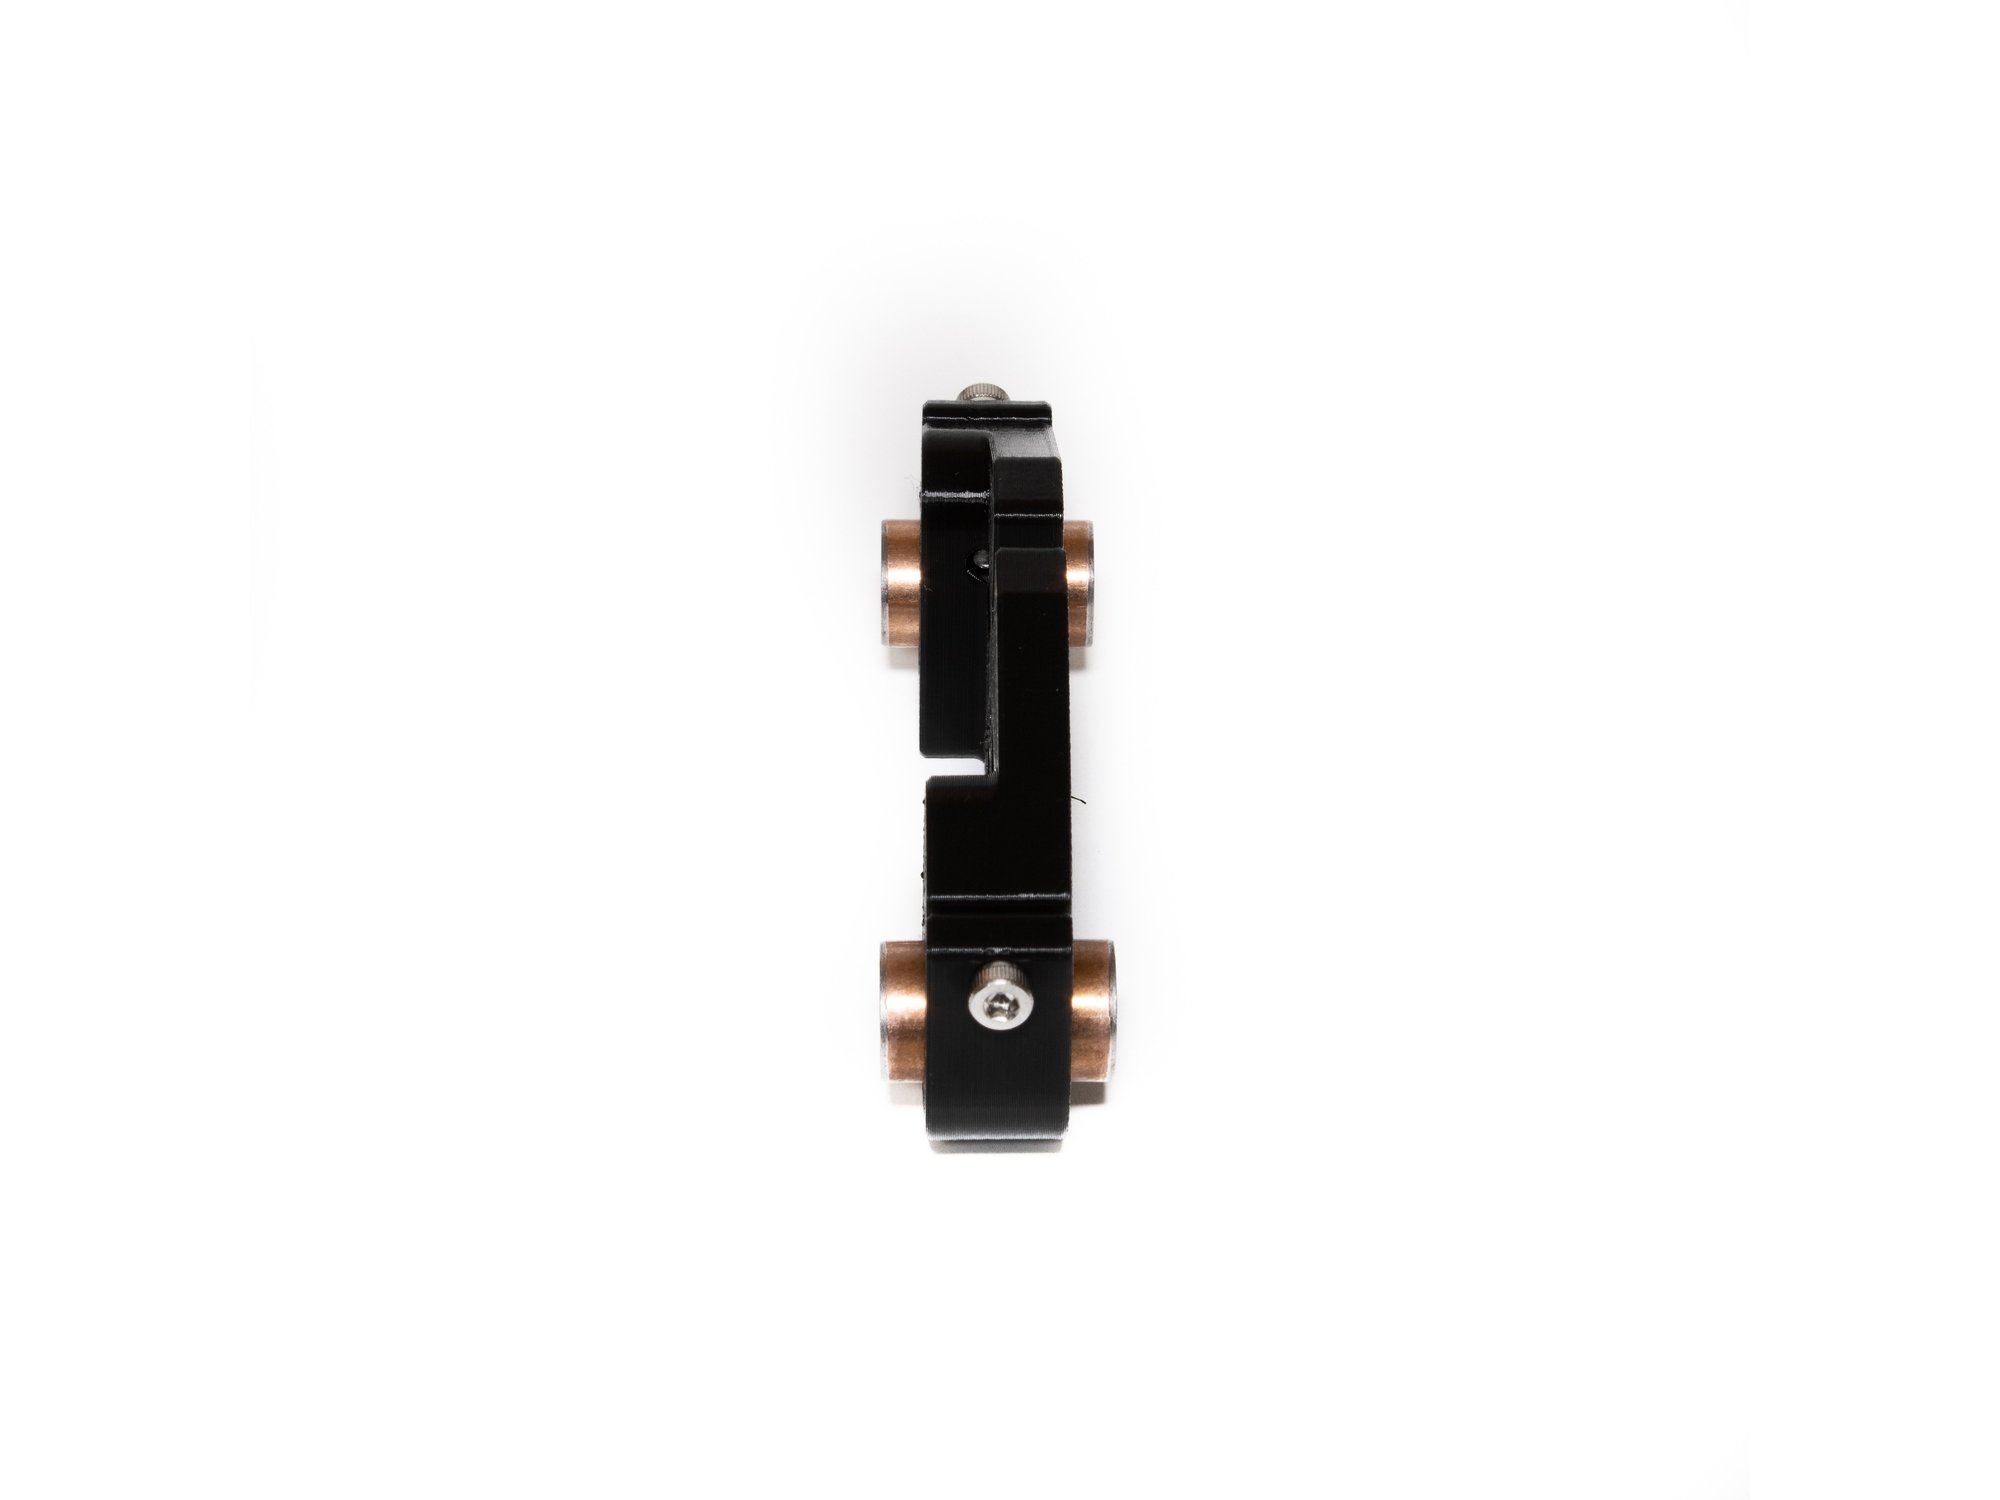
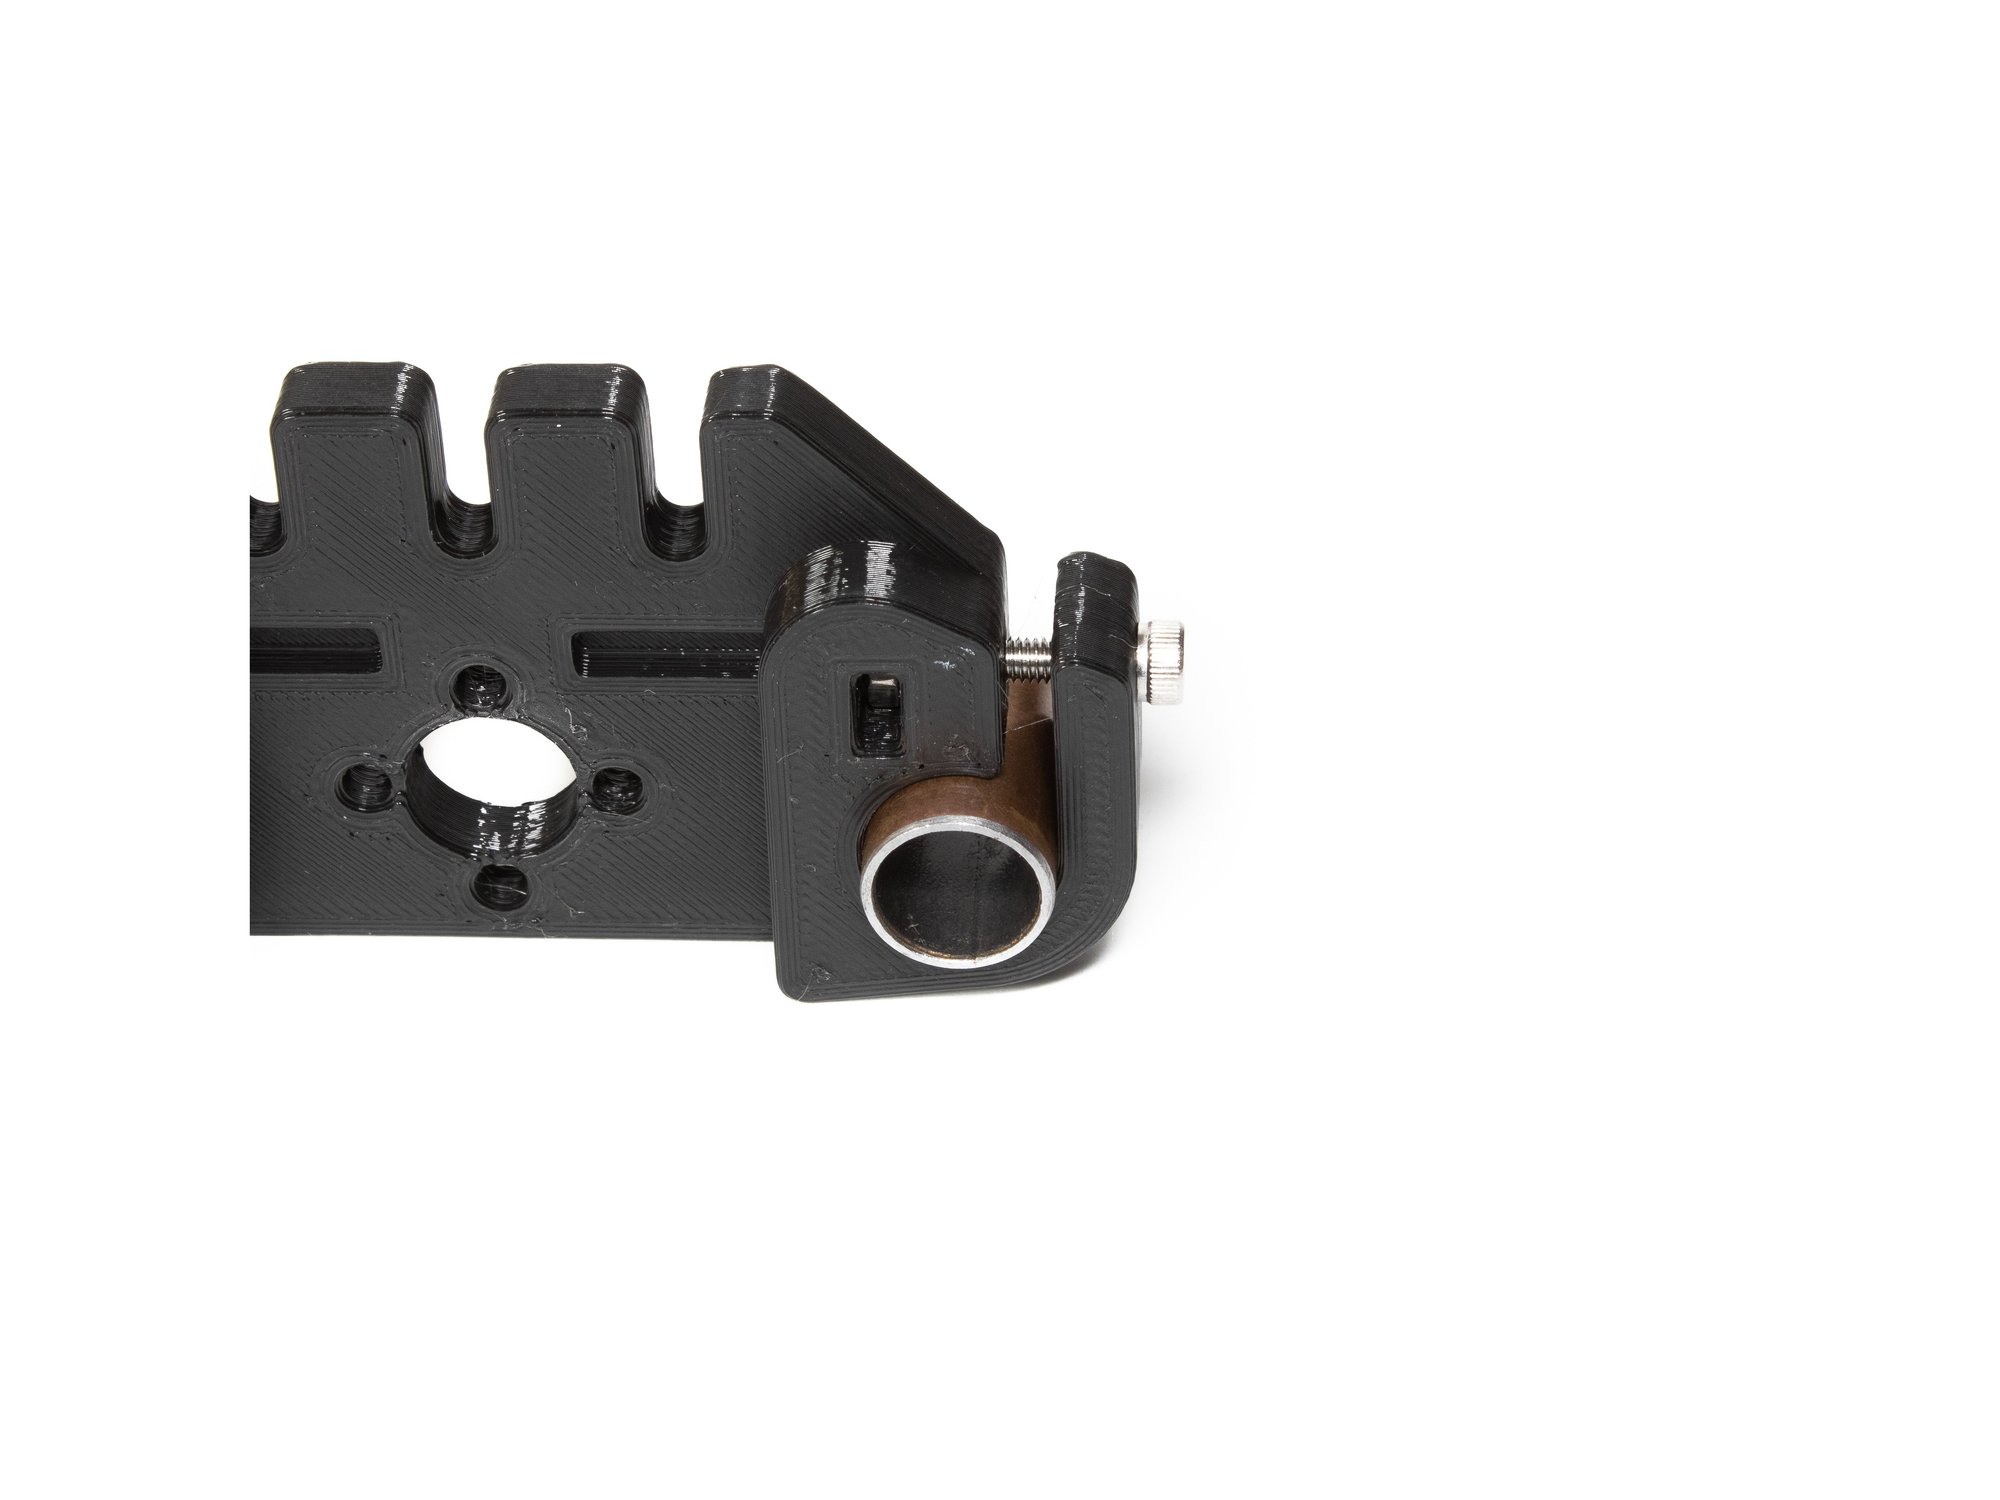
  • In each printed Z yoke, insert (2) bushings.
  • Center the bushings as shown before tightening the (2) M3 x 20 socket head screws you installed earlier.
  • Caution Be careful not to overtighten. they do not need to be tightened past the point of the printed faces of the clamp being parallel.

Step 8 — Insert Smooth Rods and Yokes

  • Loosen the M3 x 10 socket head screws holding the Z rod holders to the frame.
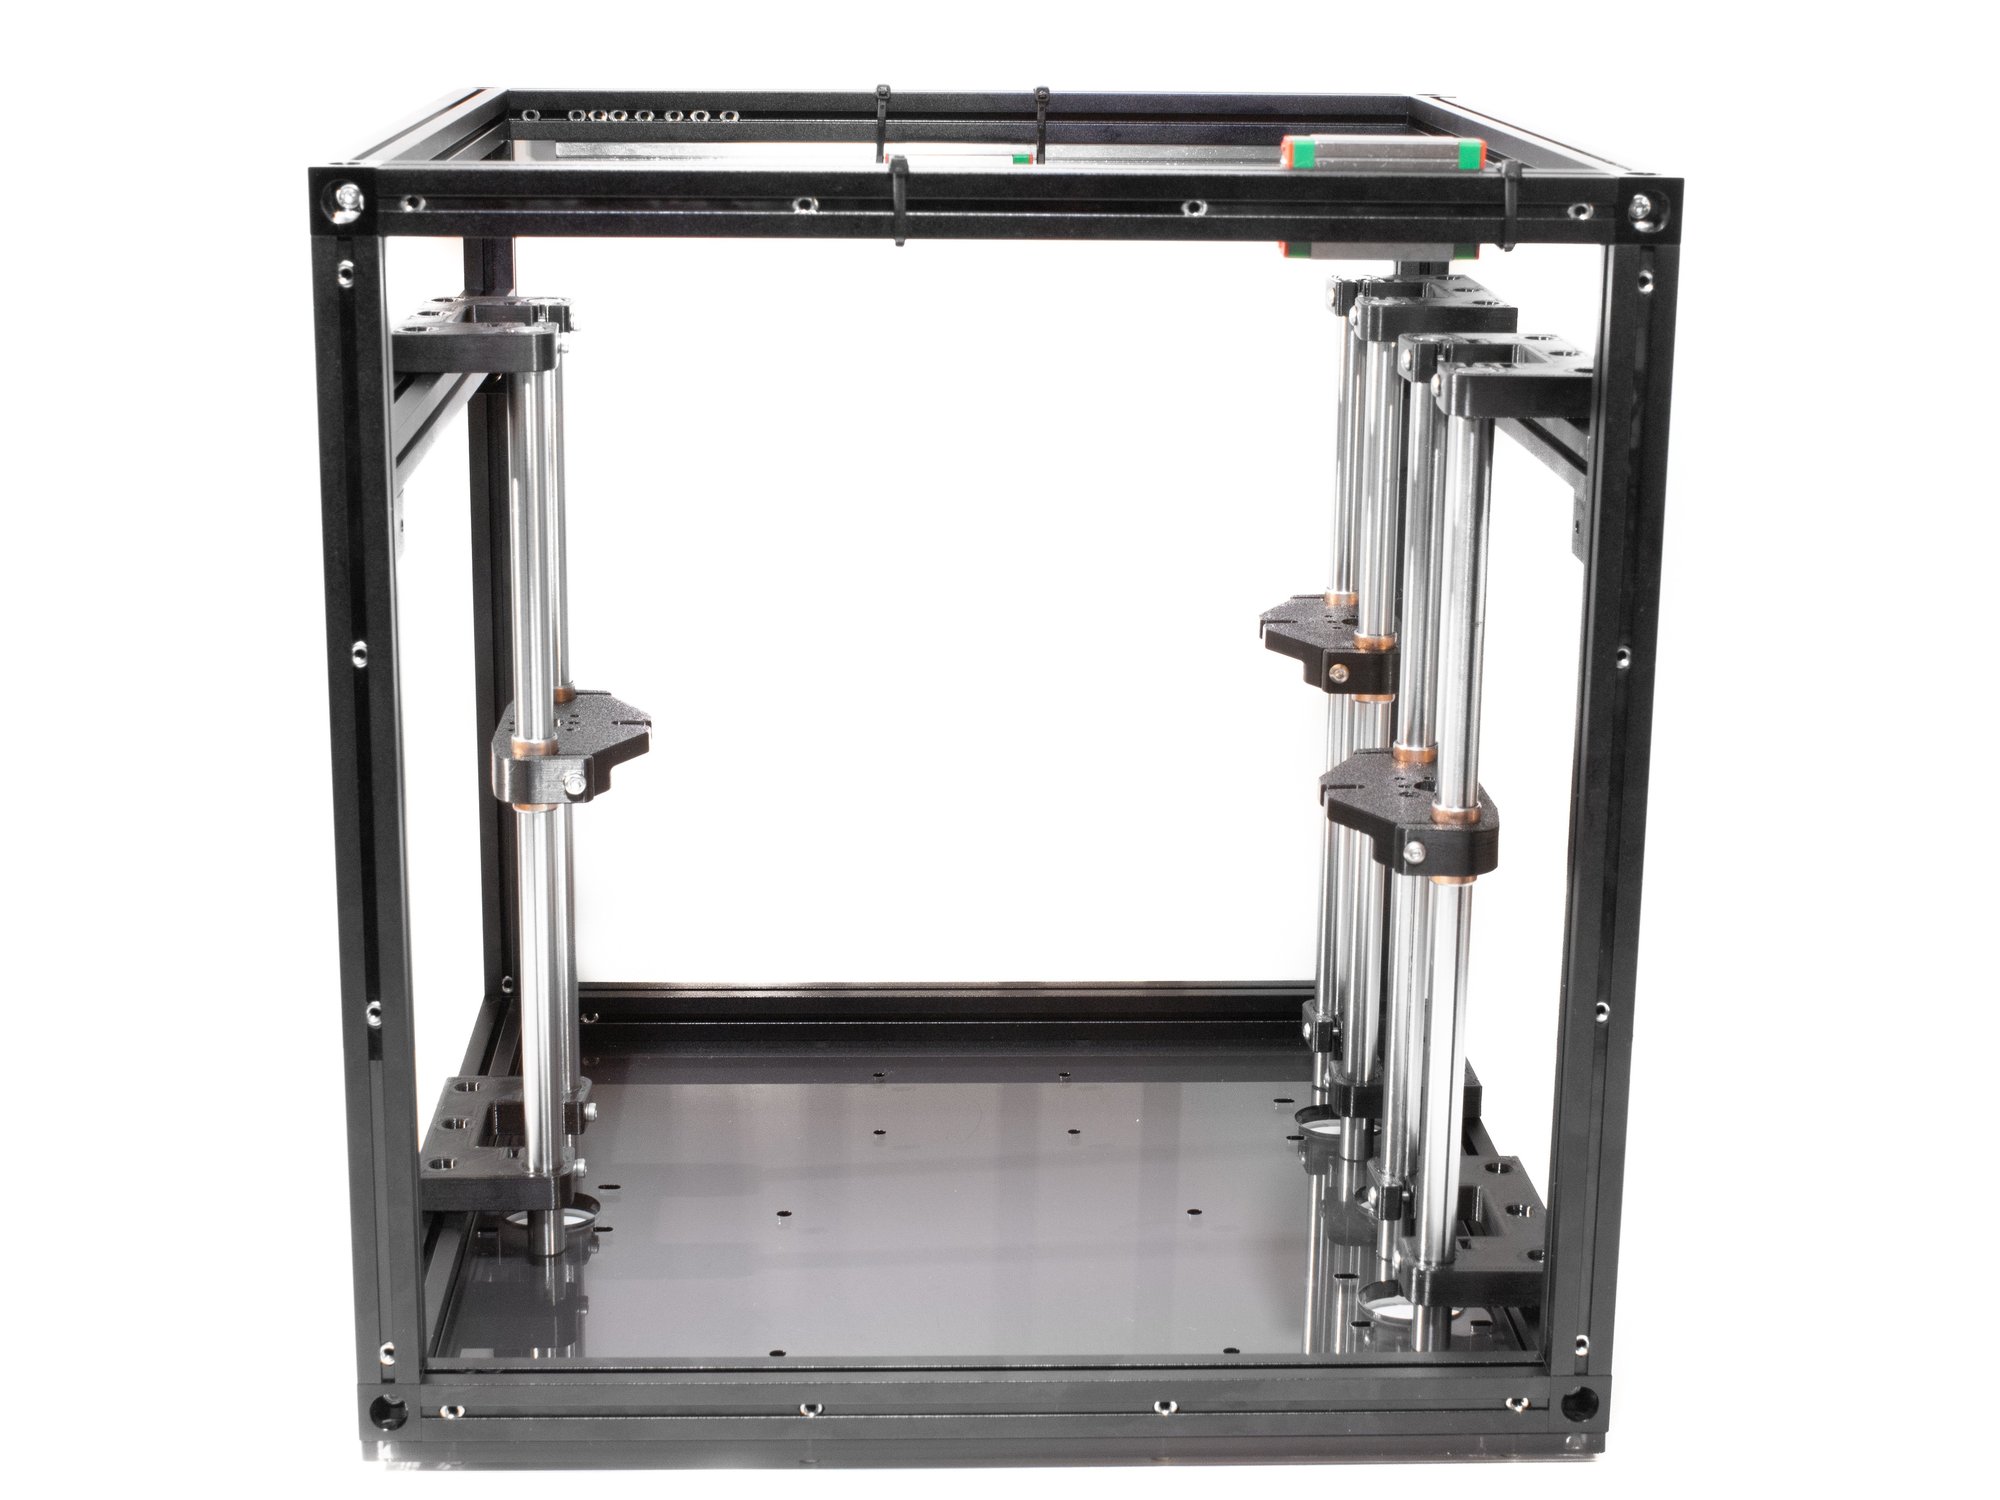
  • Slide the (6) smooth rods through the top Z rod holder and through the Z yokes. Each Z yoke should be facing flat side up.
  • Fasten the (6) smooth rods to the Z rod holders by tightening the M3 x 20 socket head screws.
  • Note The top of the smooth rods should be flush with the top of Z rod holders.

Step 9 — Complete Z Installation

  • Center each of assembled Z towers over their corresponding motor mount holes in the base of the frame.
  • Tighten down each of the towers to the frame.

G) Sides Installation

Step 1 — Install Front

  • Note You may need to loosen the bottom corner cubes and base acrylic panel. This will ensure all mating faces are not under tension.
  • Using (16) M3 x 10 socket head screws and (16) M3 washers attach the front acrylic panel.

Step 2 — Install Right Acrylic

  • Using (16) M3 x 10 socket head screws and (16) M3 washers attach the right acrylic panel.

Step 3 — Install Rear Acrylic

  • Using (16) M3 x 10 socket head screws and (16) M3 washers attach the rear acrylic panel.

Step 4 — Install Left Acrylic

  • Using (16) M3 x 10 socket head screws and (16) M3 washers attach the left acrylic panel.
  • Note Tighten the corner cubes and panels you may have loosened.

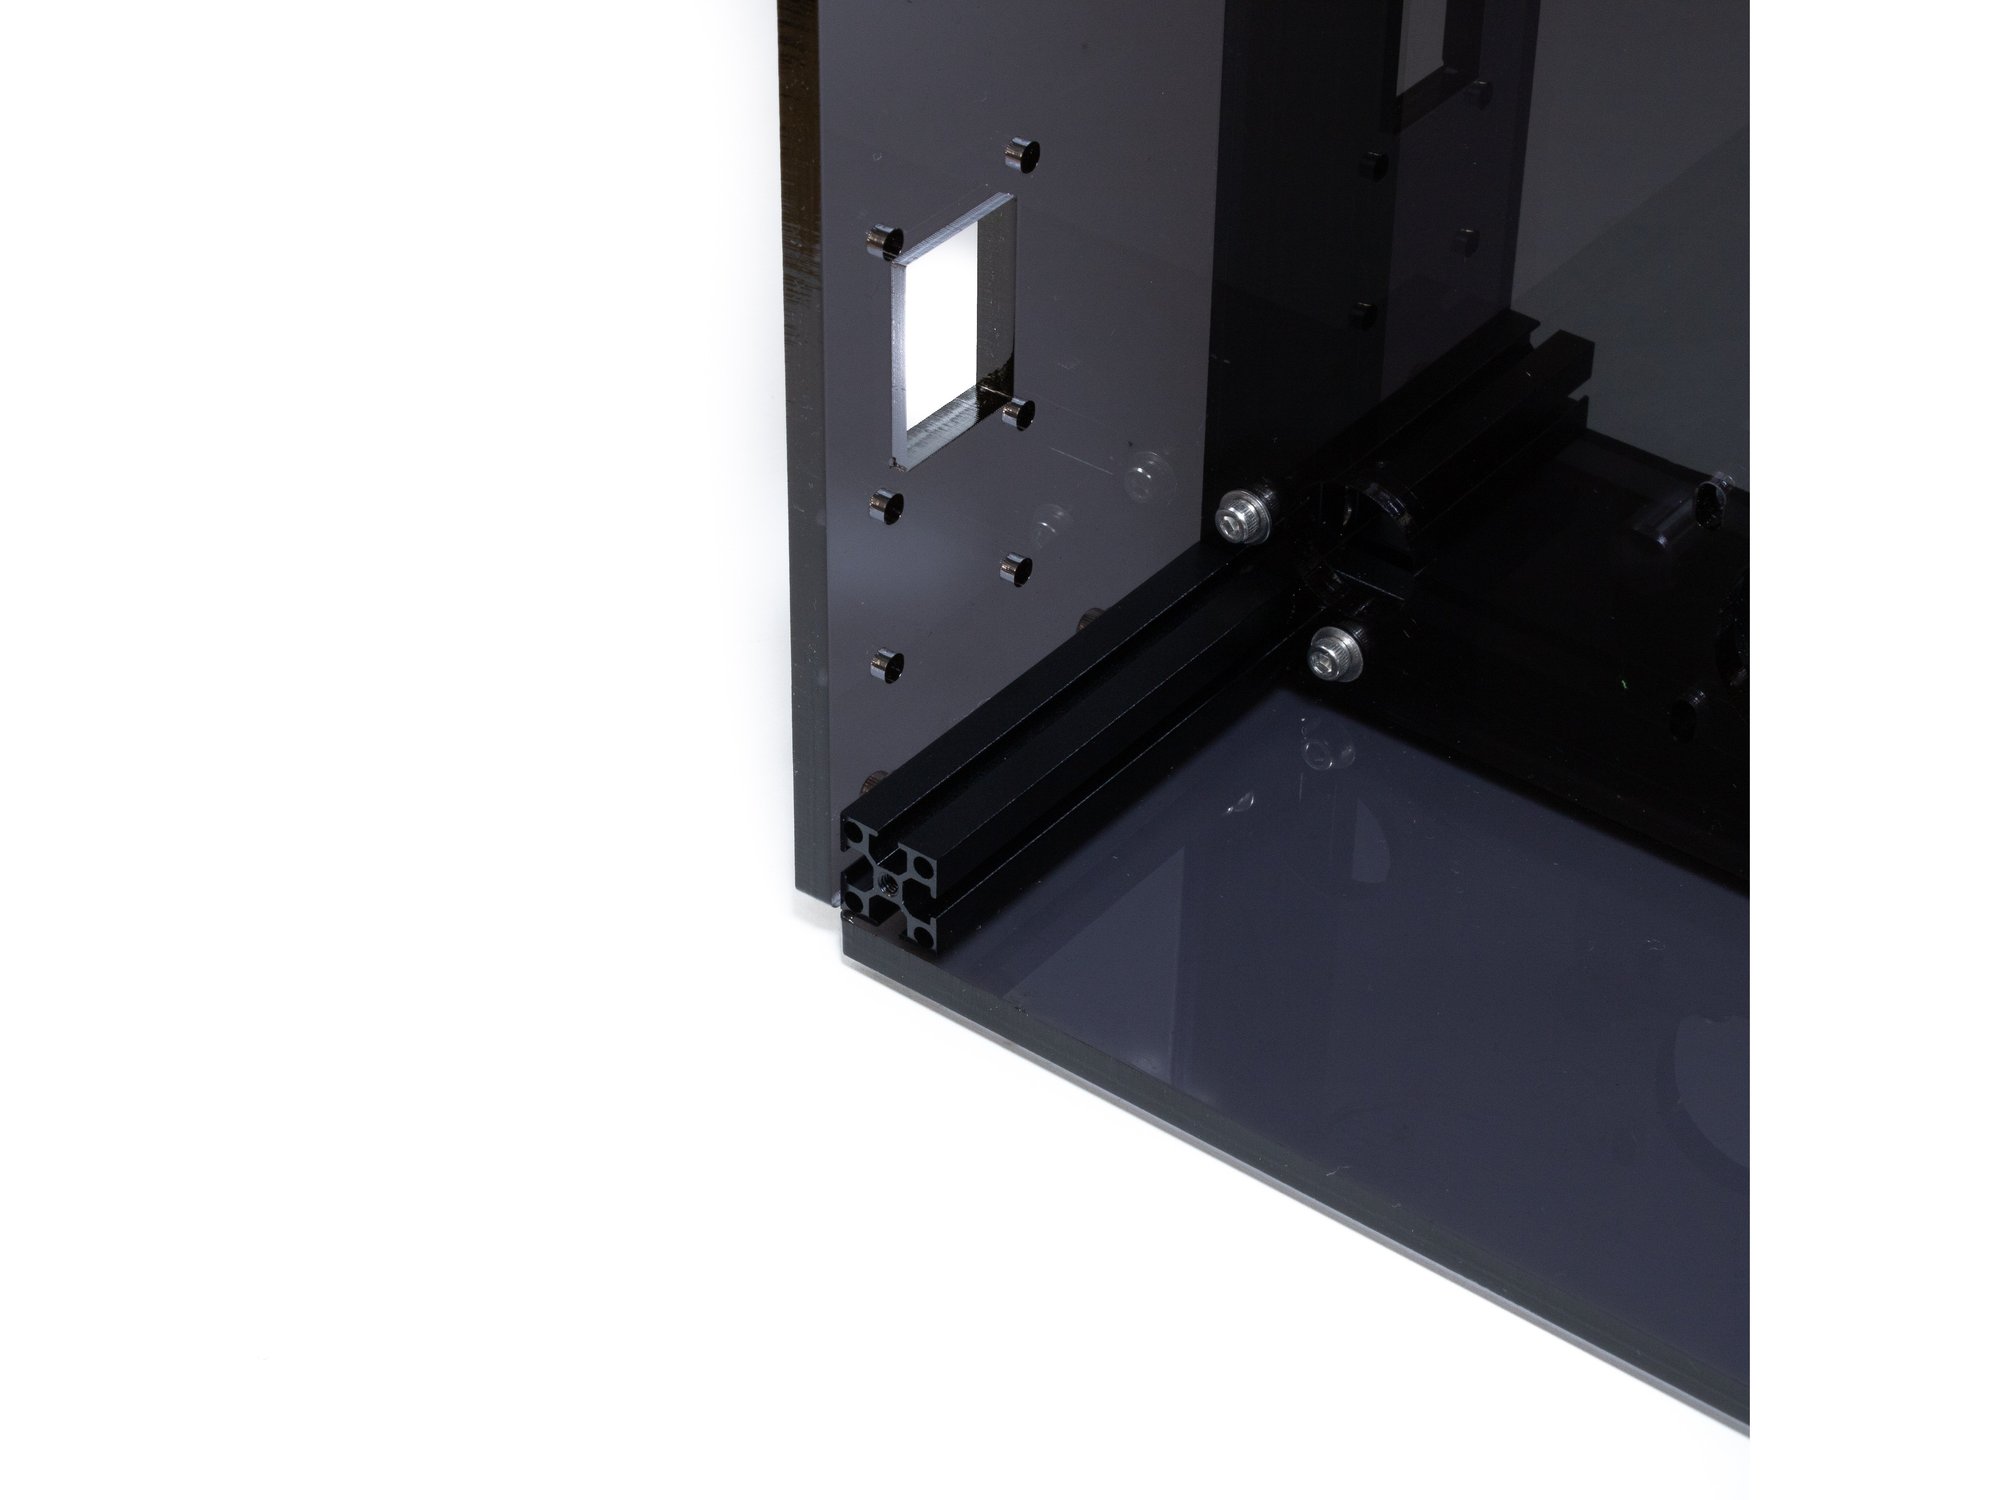
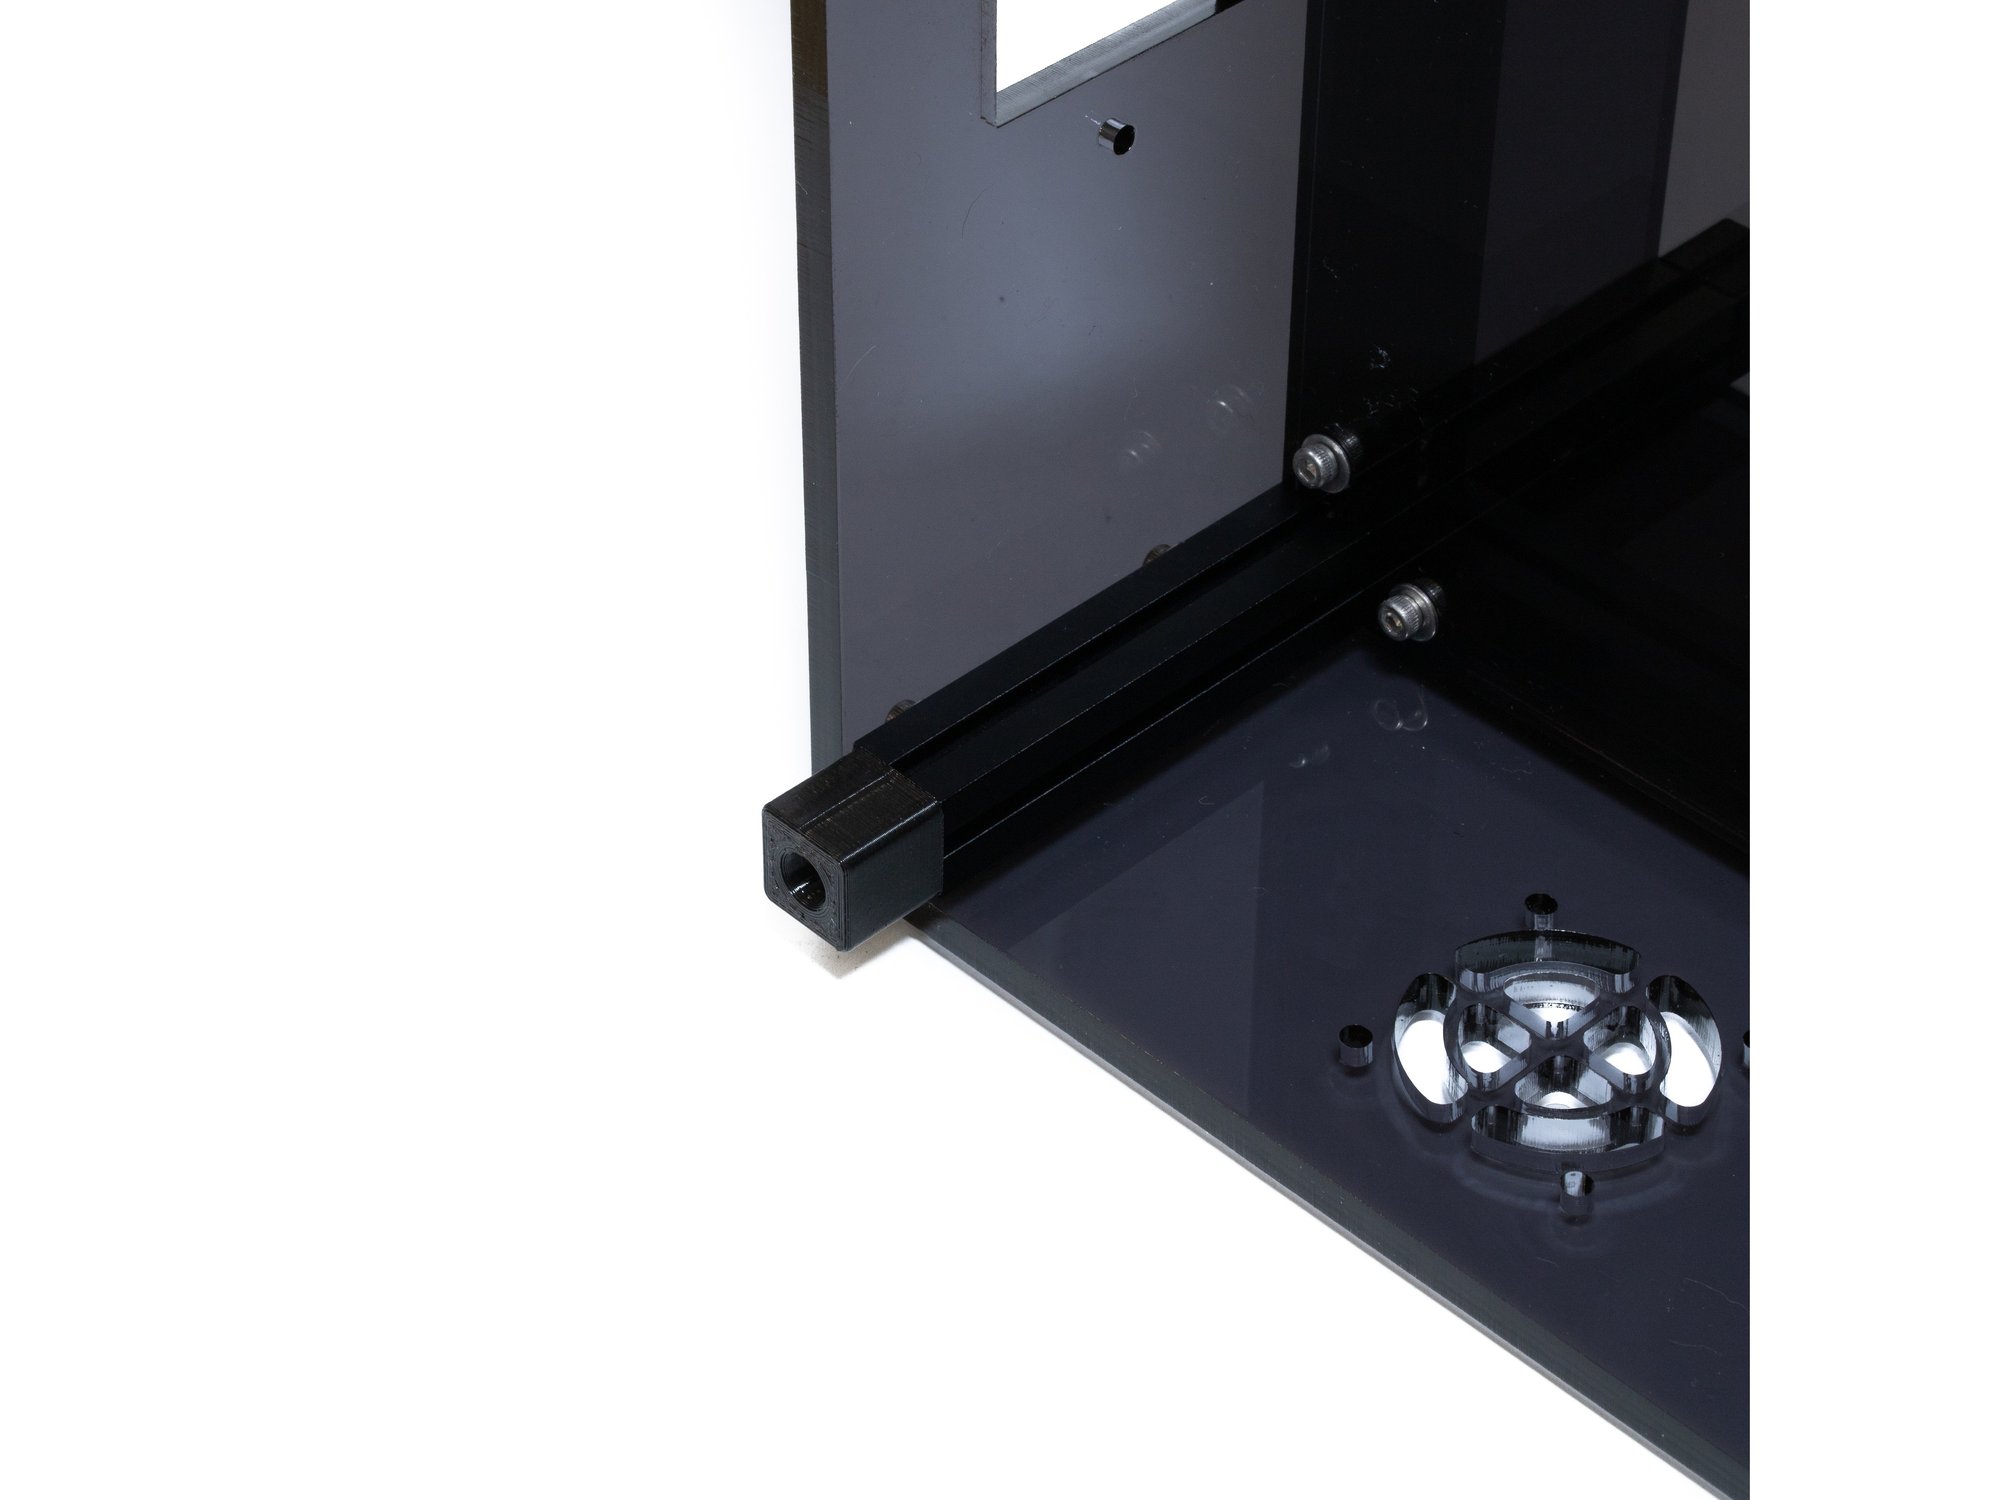
Step 5 — Install Feet (x4)

  • Insert (4) M3 x 10 socket head screws and (4) M3 washers into each corner.
  • Thread (4) M3 nuts onto the screws you inserted.
  • Slide the 73 mm 1515 extrusion on the (4) M3 nuts and tighten the socket head screws.
  • Attach the printed foot to the bottom of the extrusion using a M3 x 10 socket head screw.

Step 6 — Complete Side Installation

  • Panel assembly complet.

H) Z Motors and Leadscrews

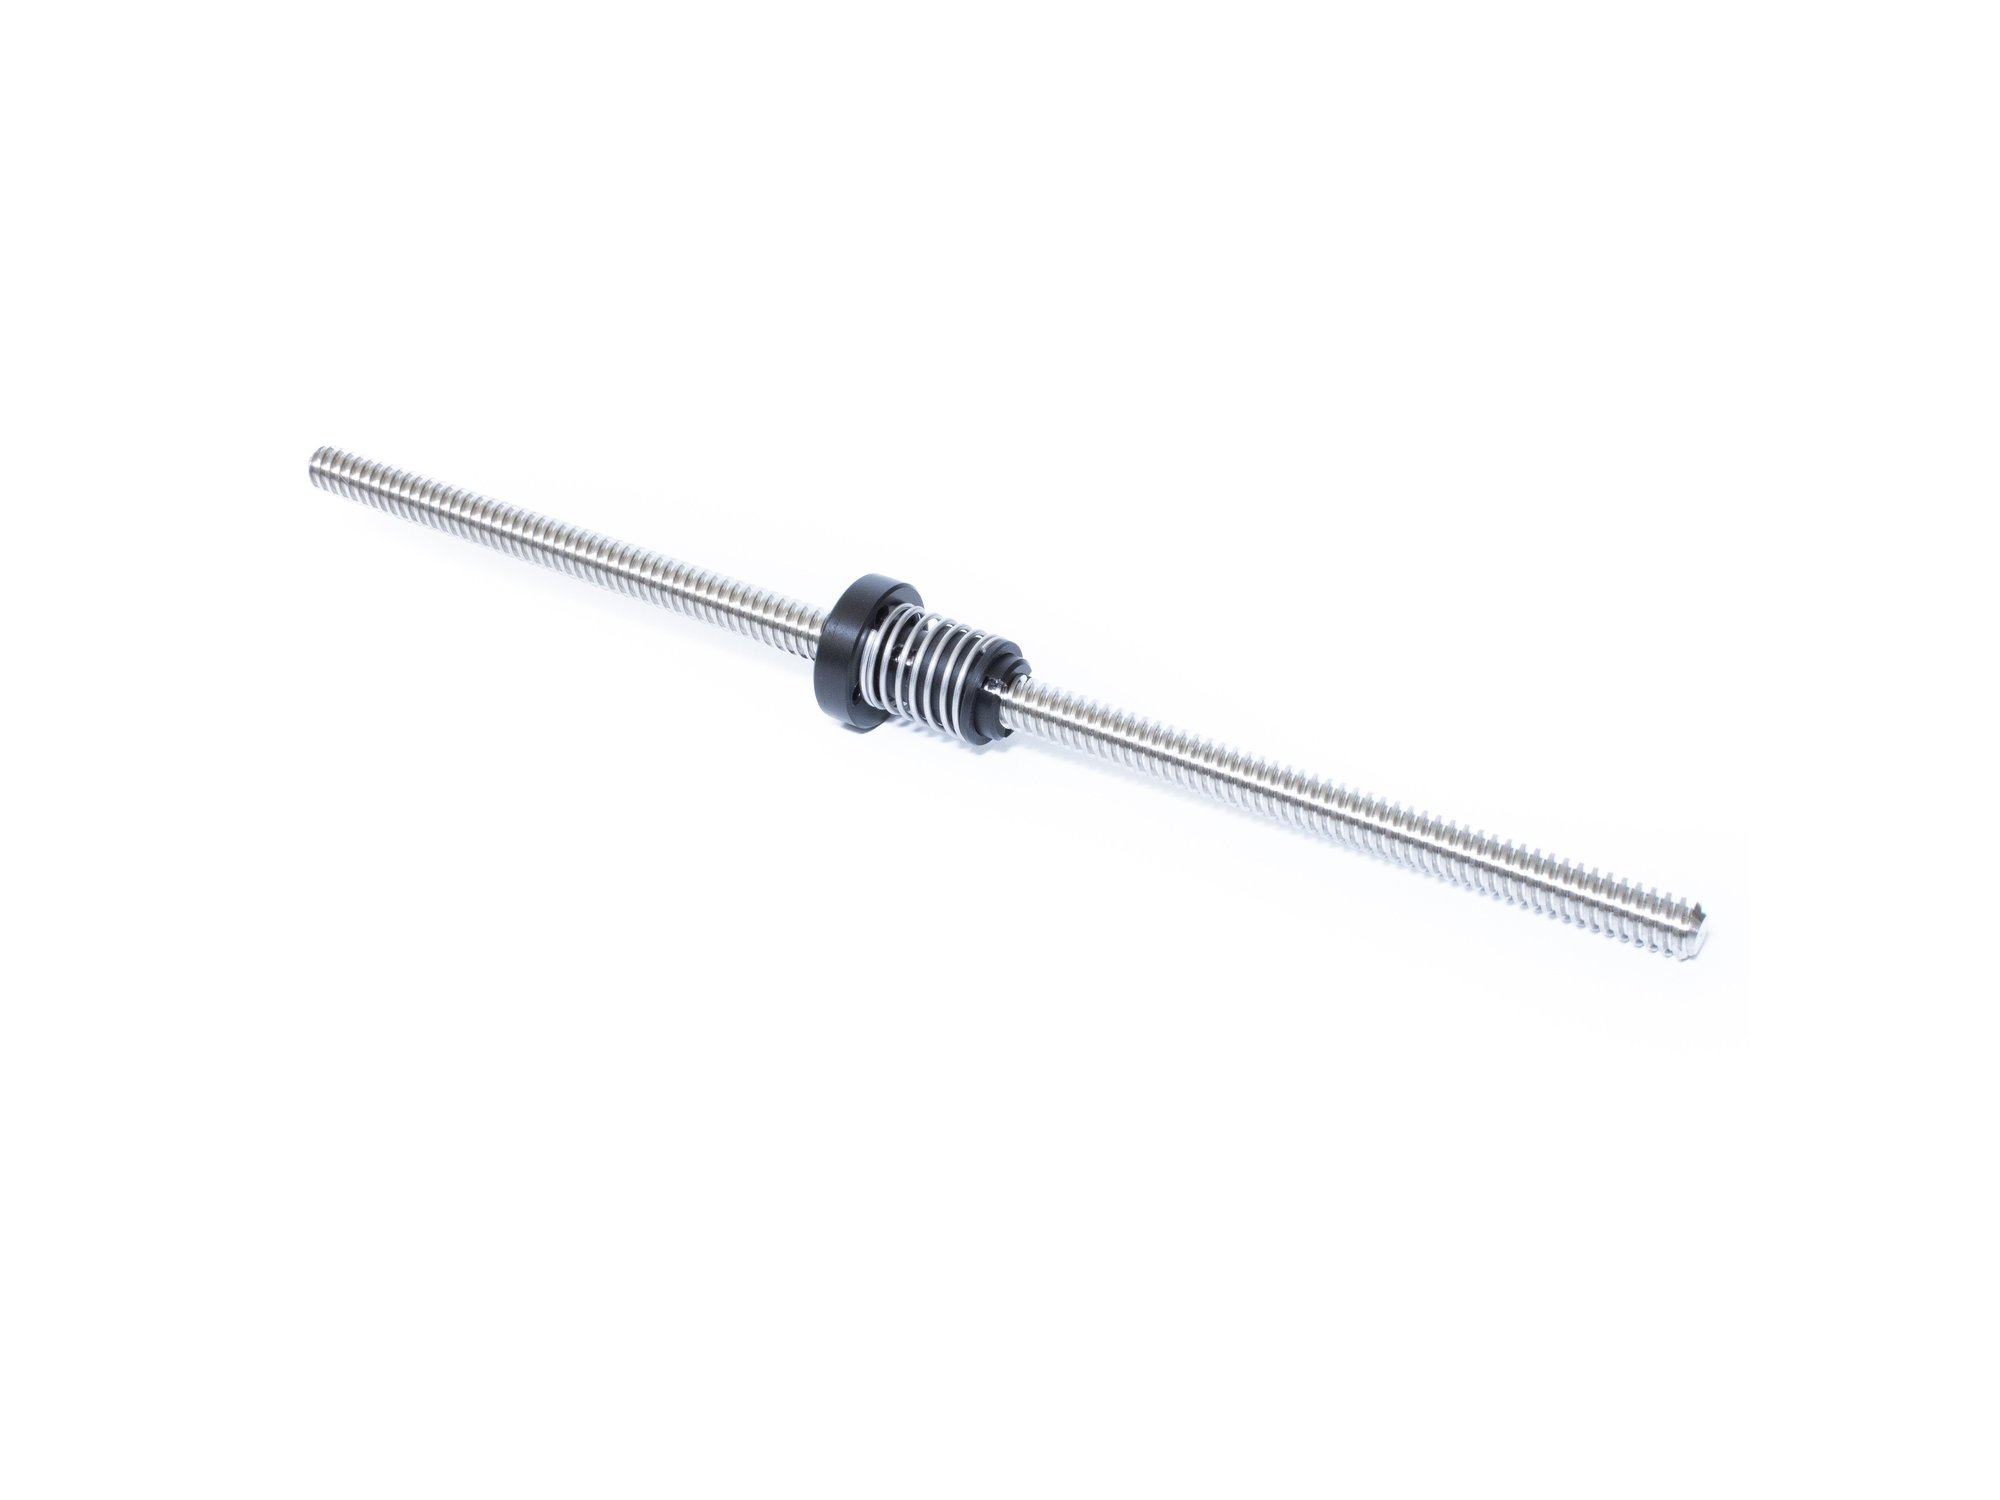
Step 1 — Thread Anti-Backlash Nuts on Leadscrews (x3)

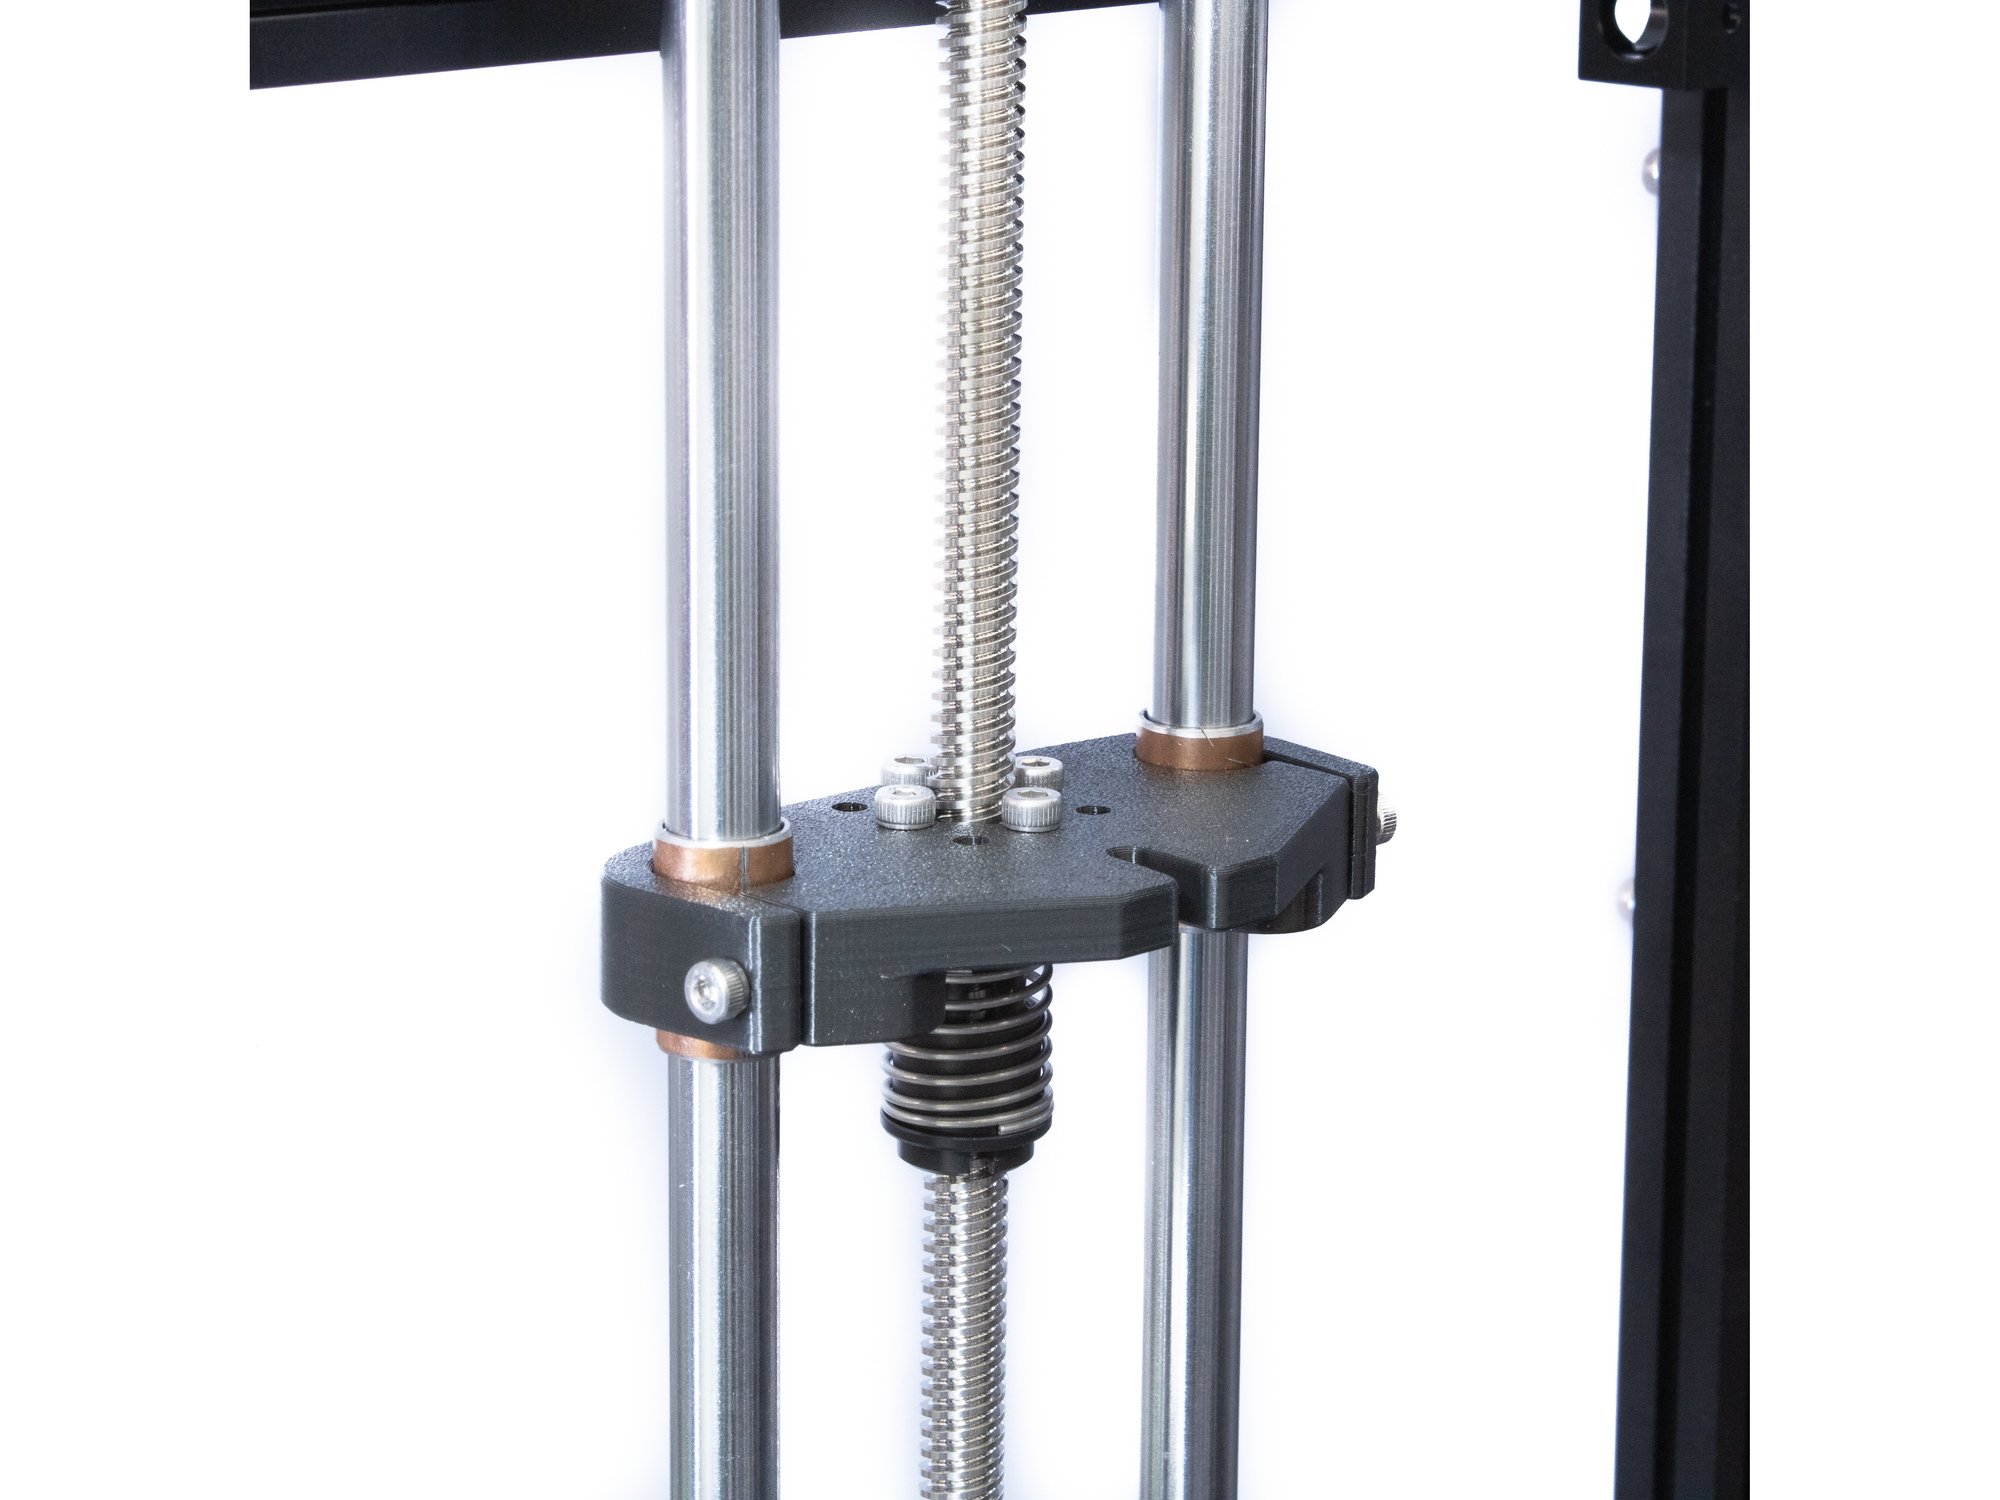
  • Compress the anti-backlash nut and thread it onto the leadscrew. Once the threads are fully through the nut, release the tension on the spring.
  • Thread the nut half way up the leadscrew.

Step 2 — Install Z Motors (x3)

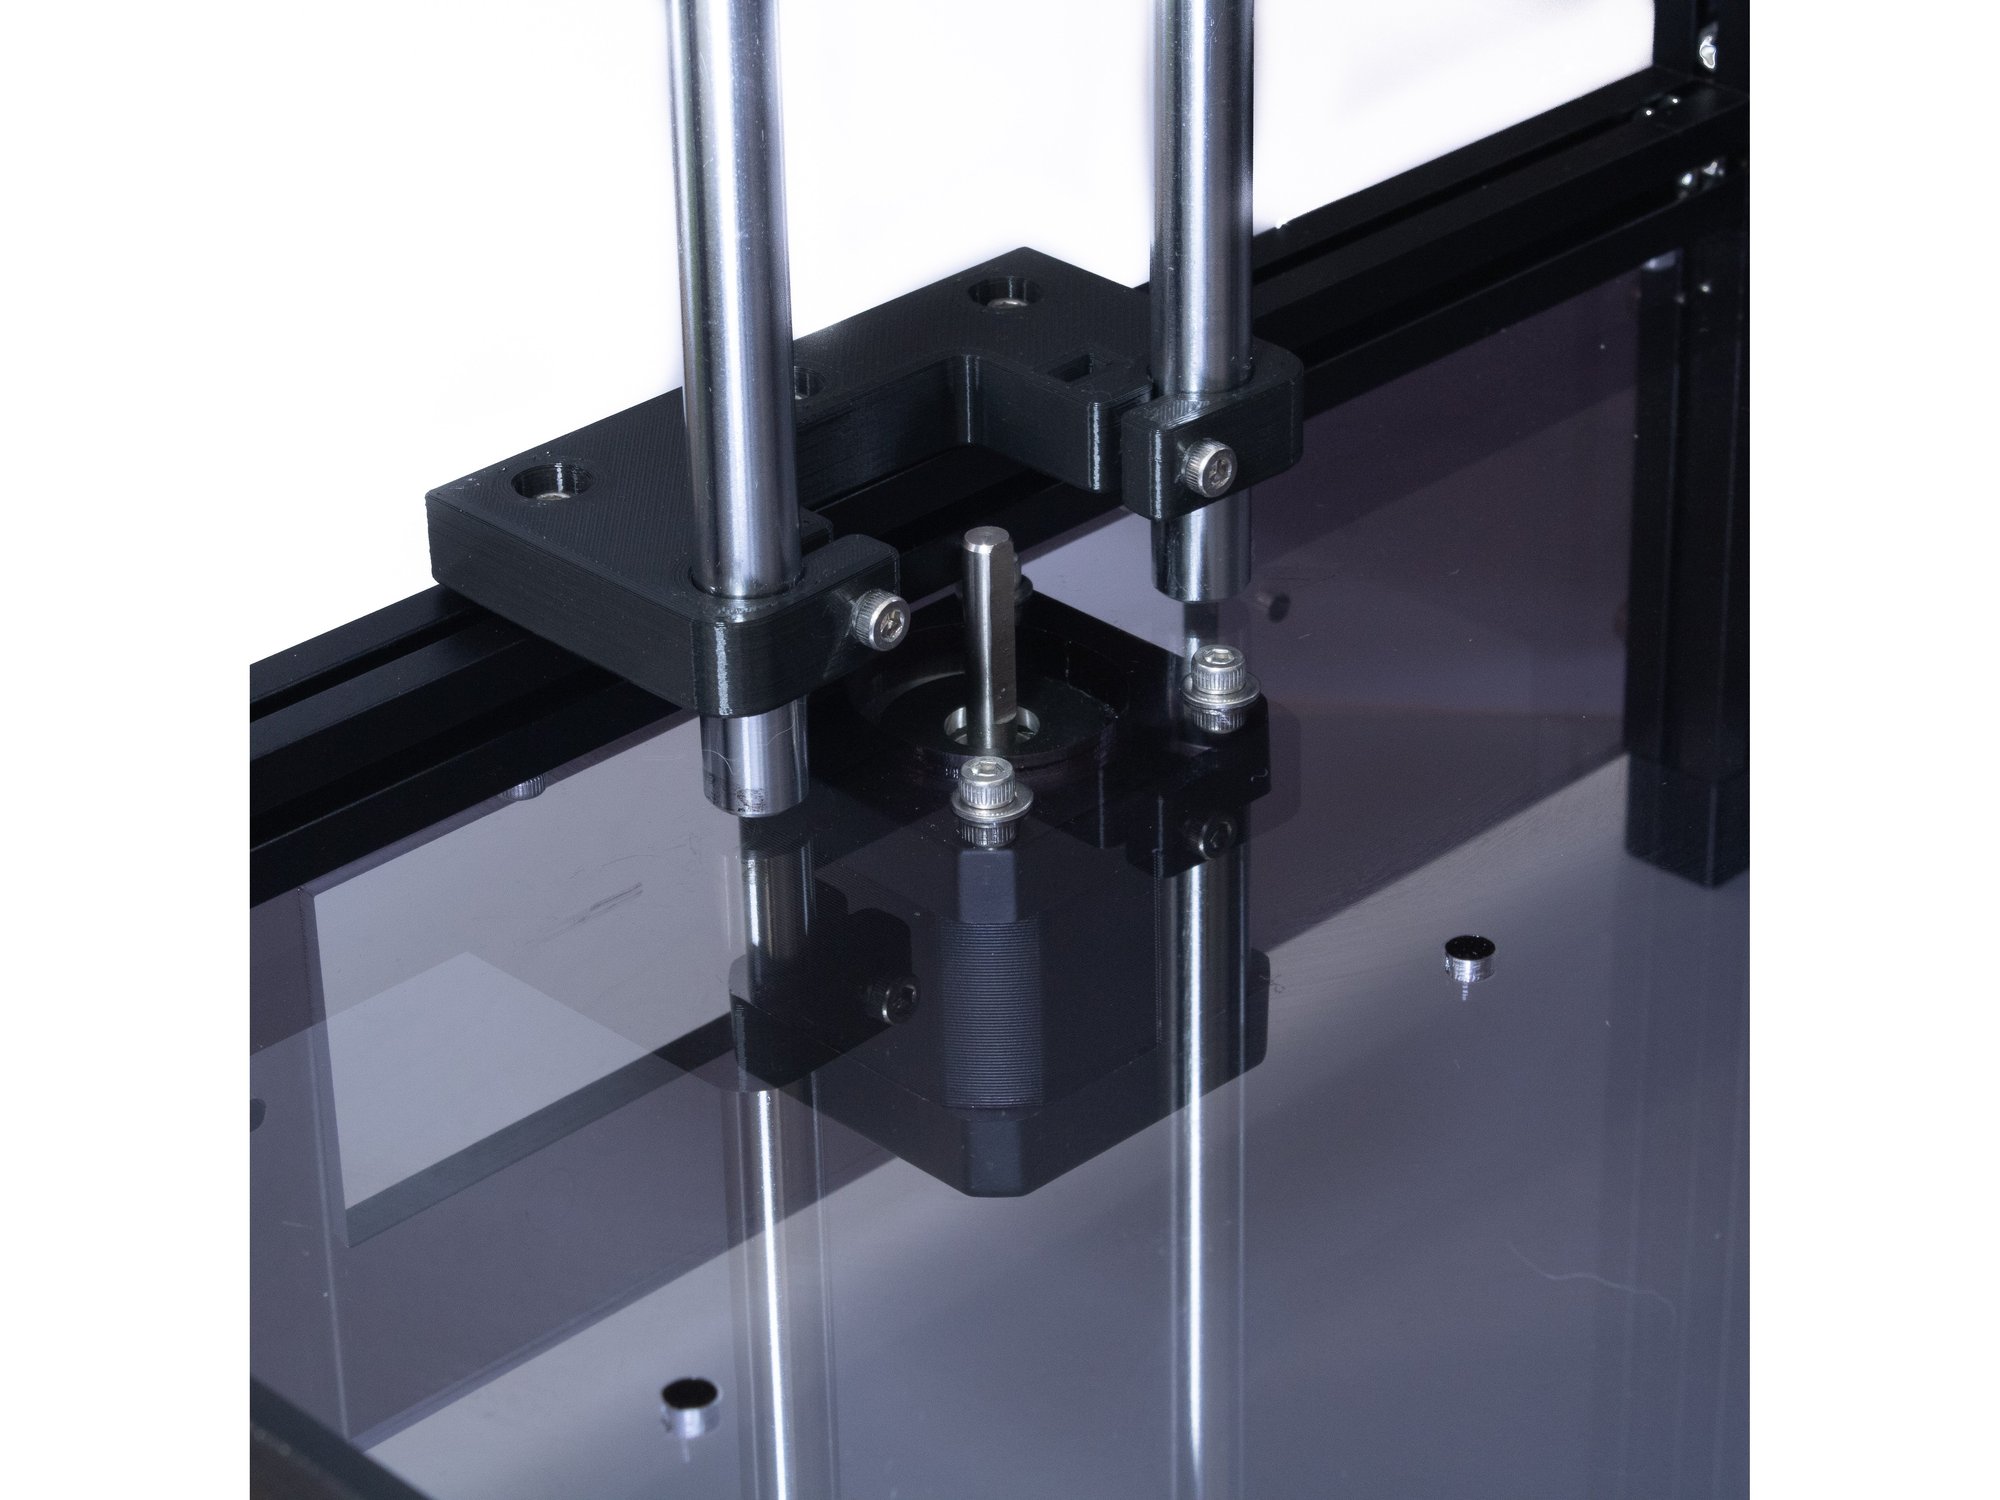
  • Using (4) M3 x 10 socket head screws and (4) M3 washers attach the stepper motor to the base.
  • Note For easy cable management later, point the cable plugs toward the rear of the machine.
  • Caution If your Z towers are still loose, make sure they are centered over the mounting holes for the stepper motors before installing the motors.

Step 3 — Install Leadscrews (x3)

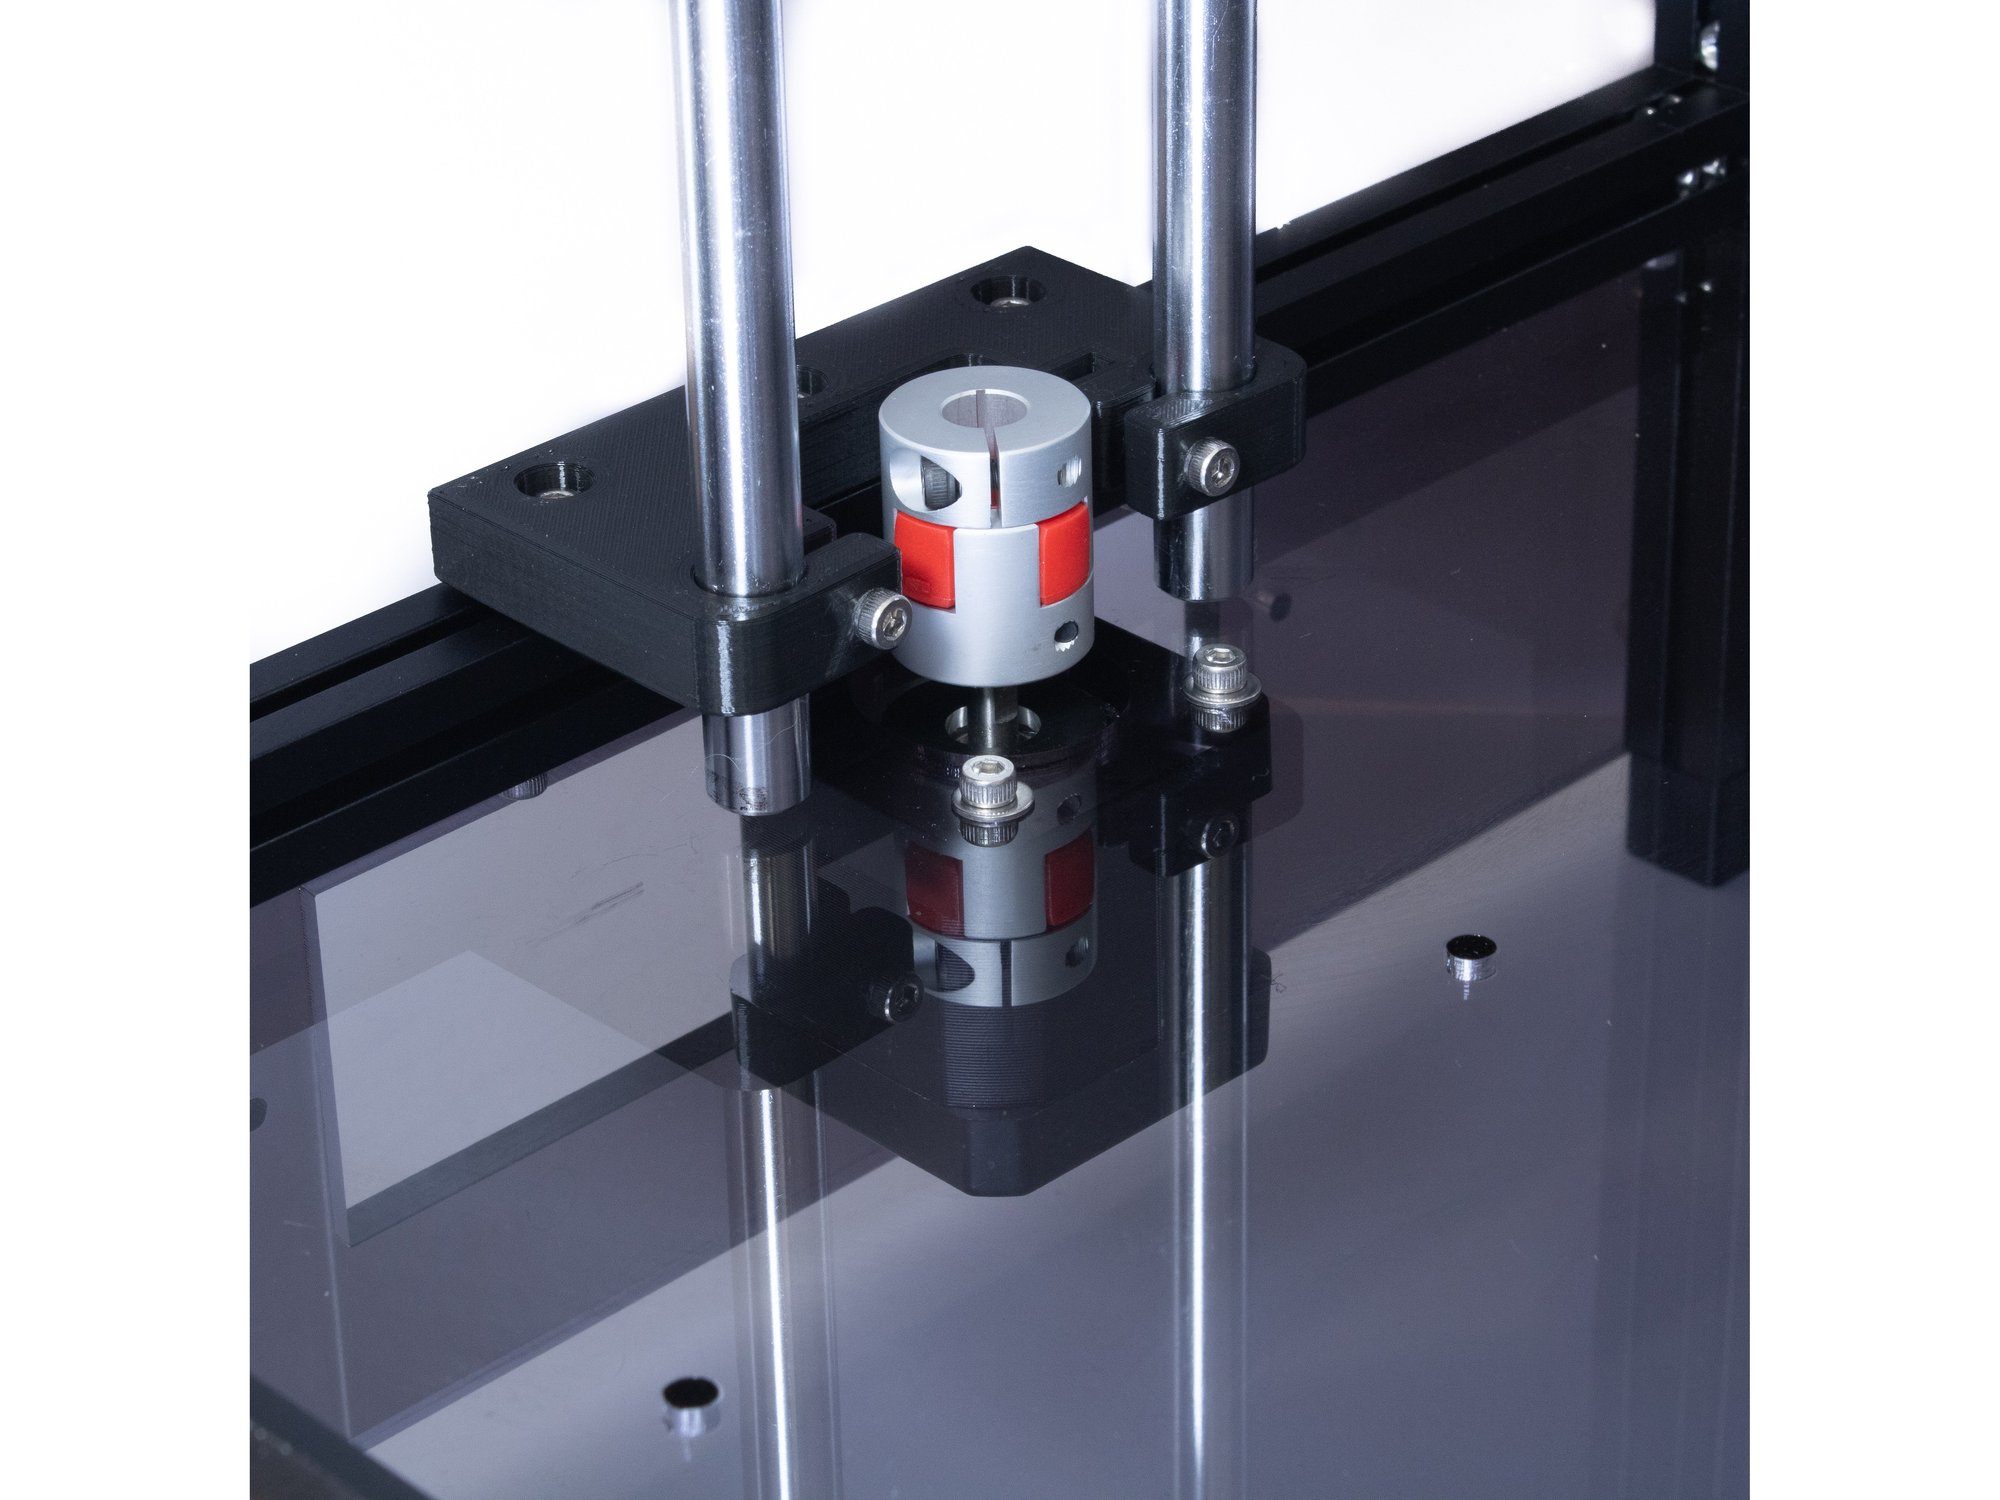
  • Slide the small side of the coupler on the stepper shaft and tighten the set screw on the bottom half.
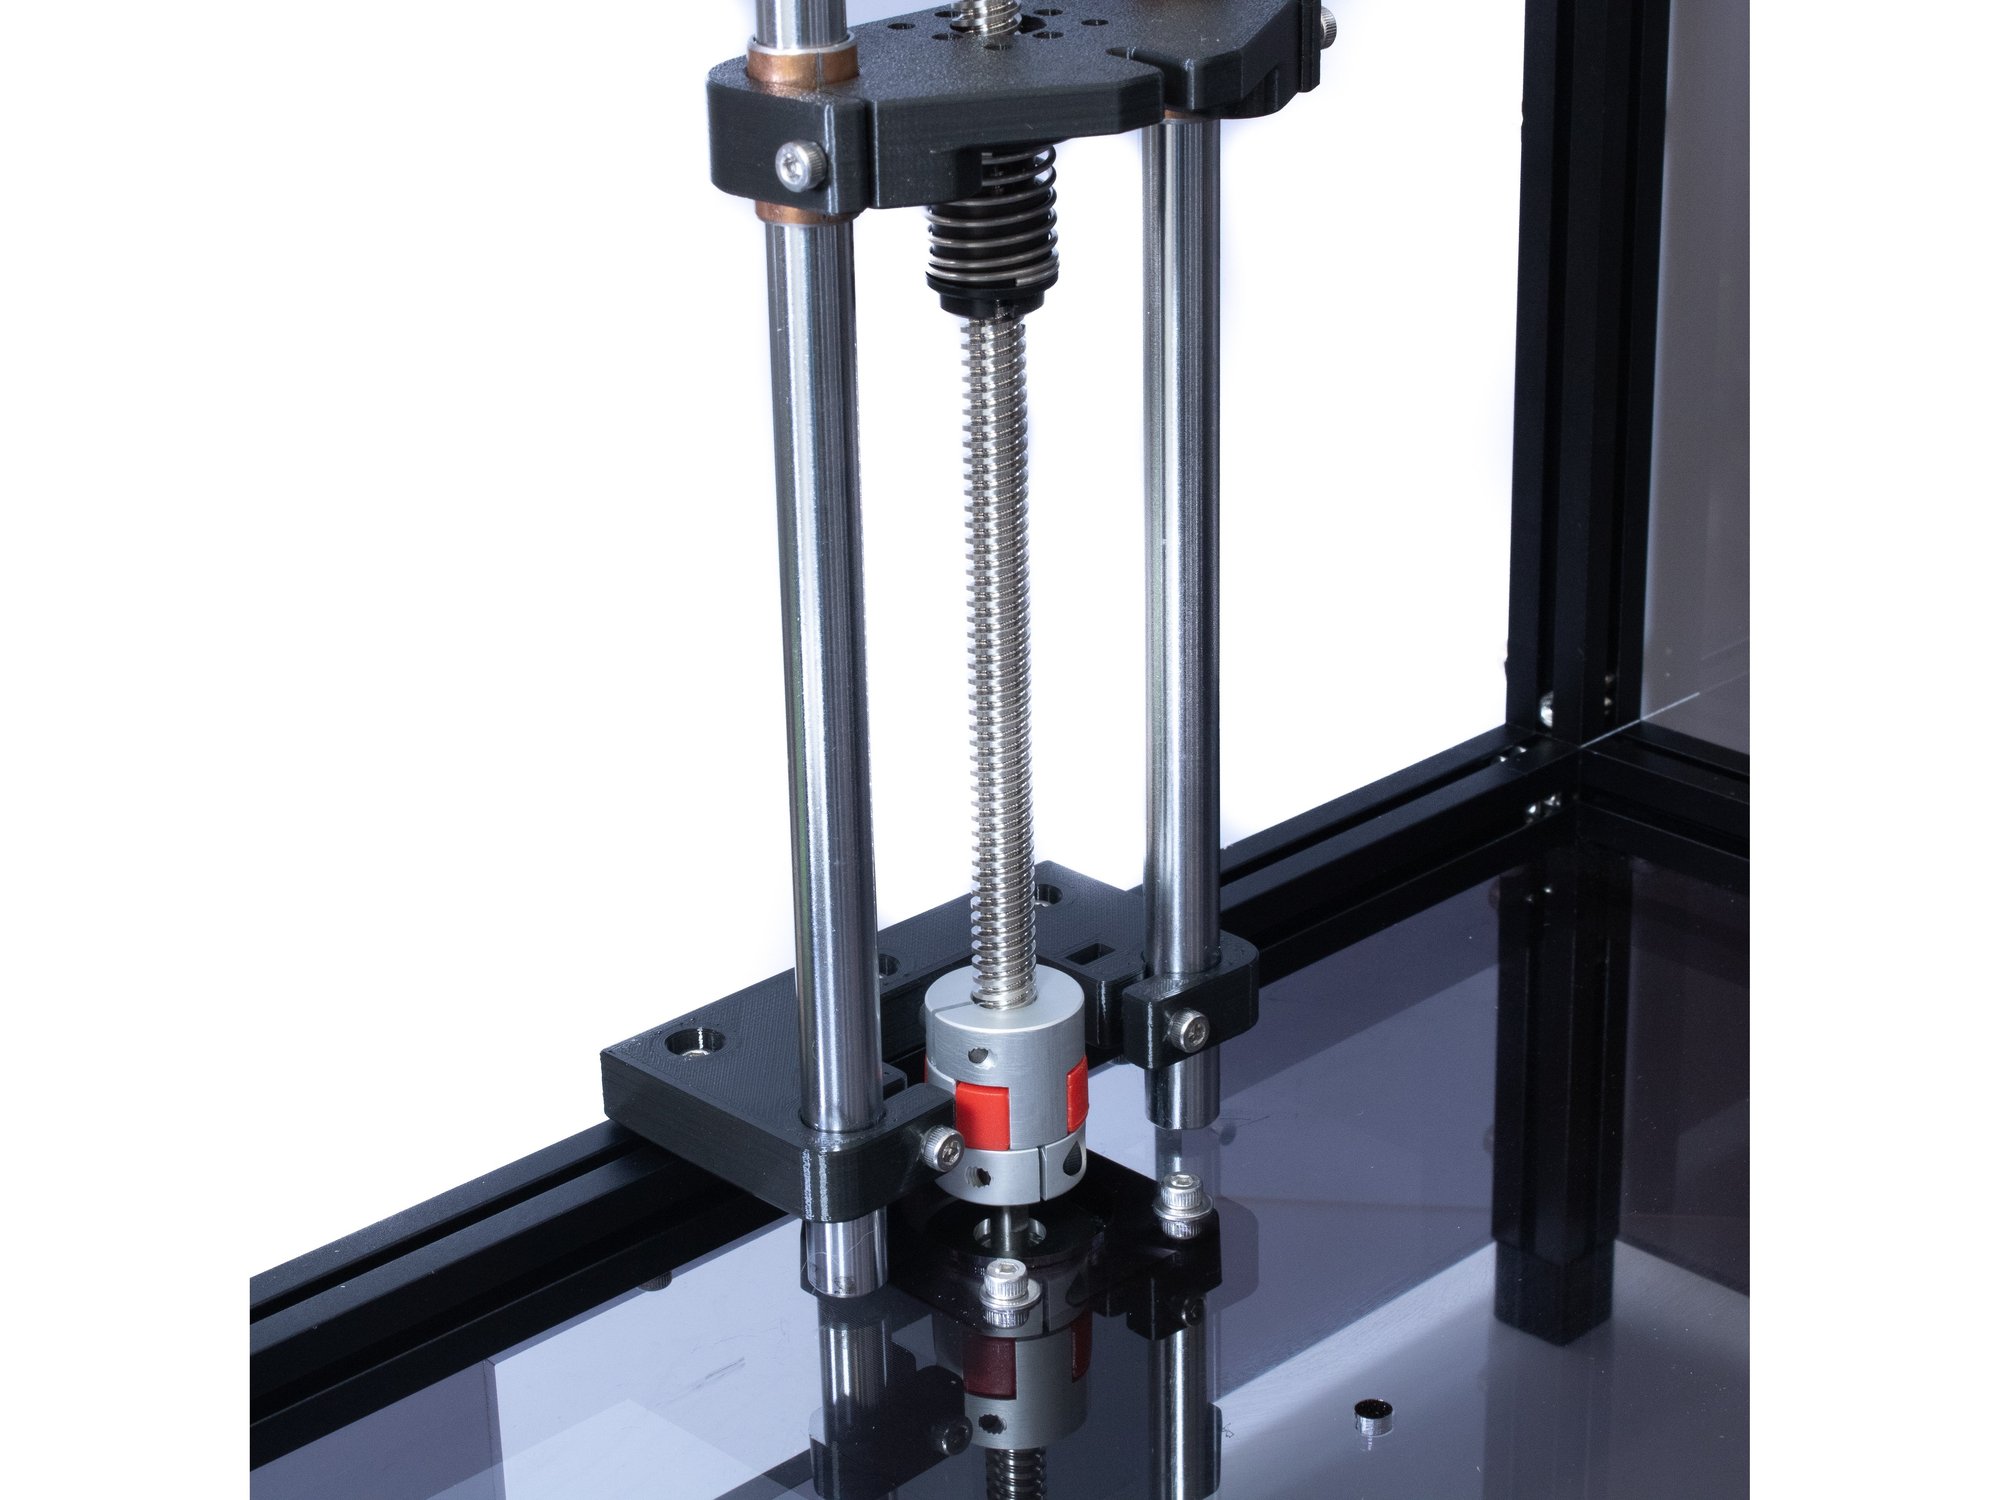
  • Raise the Z yoke and slide the leadscrew up through the yoke.
  • Set the leadscrew in the top half of the coupler and tighten the set screw.
  • Slide the yoke half way down the Z tower so it is flush with the top of the anti-backlash nut.

Step 4 — Tighten Z Yokes to Anti-backlash Nuts (x3)

  • Using (4) M3 x 10 socket head screws, attach the Z Yokes to the anti-backlash nuts.
  • If your Z towers are still loose, or not aligned with the leadscrew, now is the time to align and tighten them.
  • Note Turn the coupler by hand to make sure the yoke move freely.
  • Caution Be careful when tightening the screw attaching the yokes to the anti-backlash nuts. POM will easily strip if you are not careful.

I) Y Rail Installation

Step 1 — Front X Carriage Idler Assembly

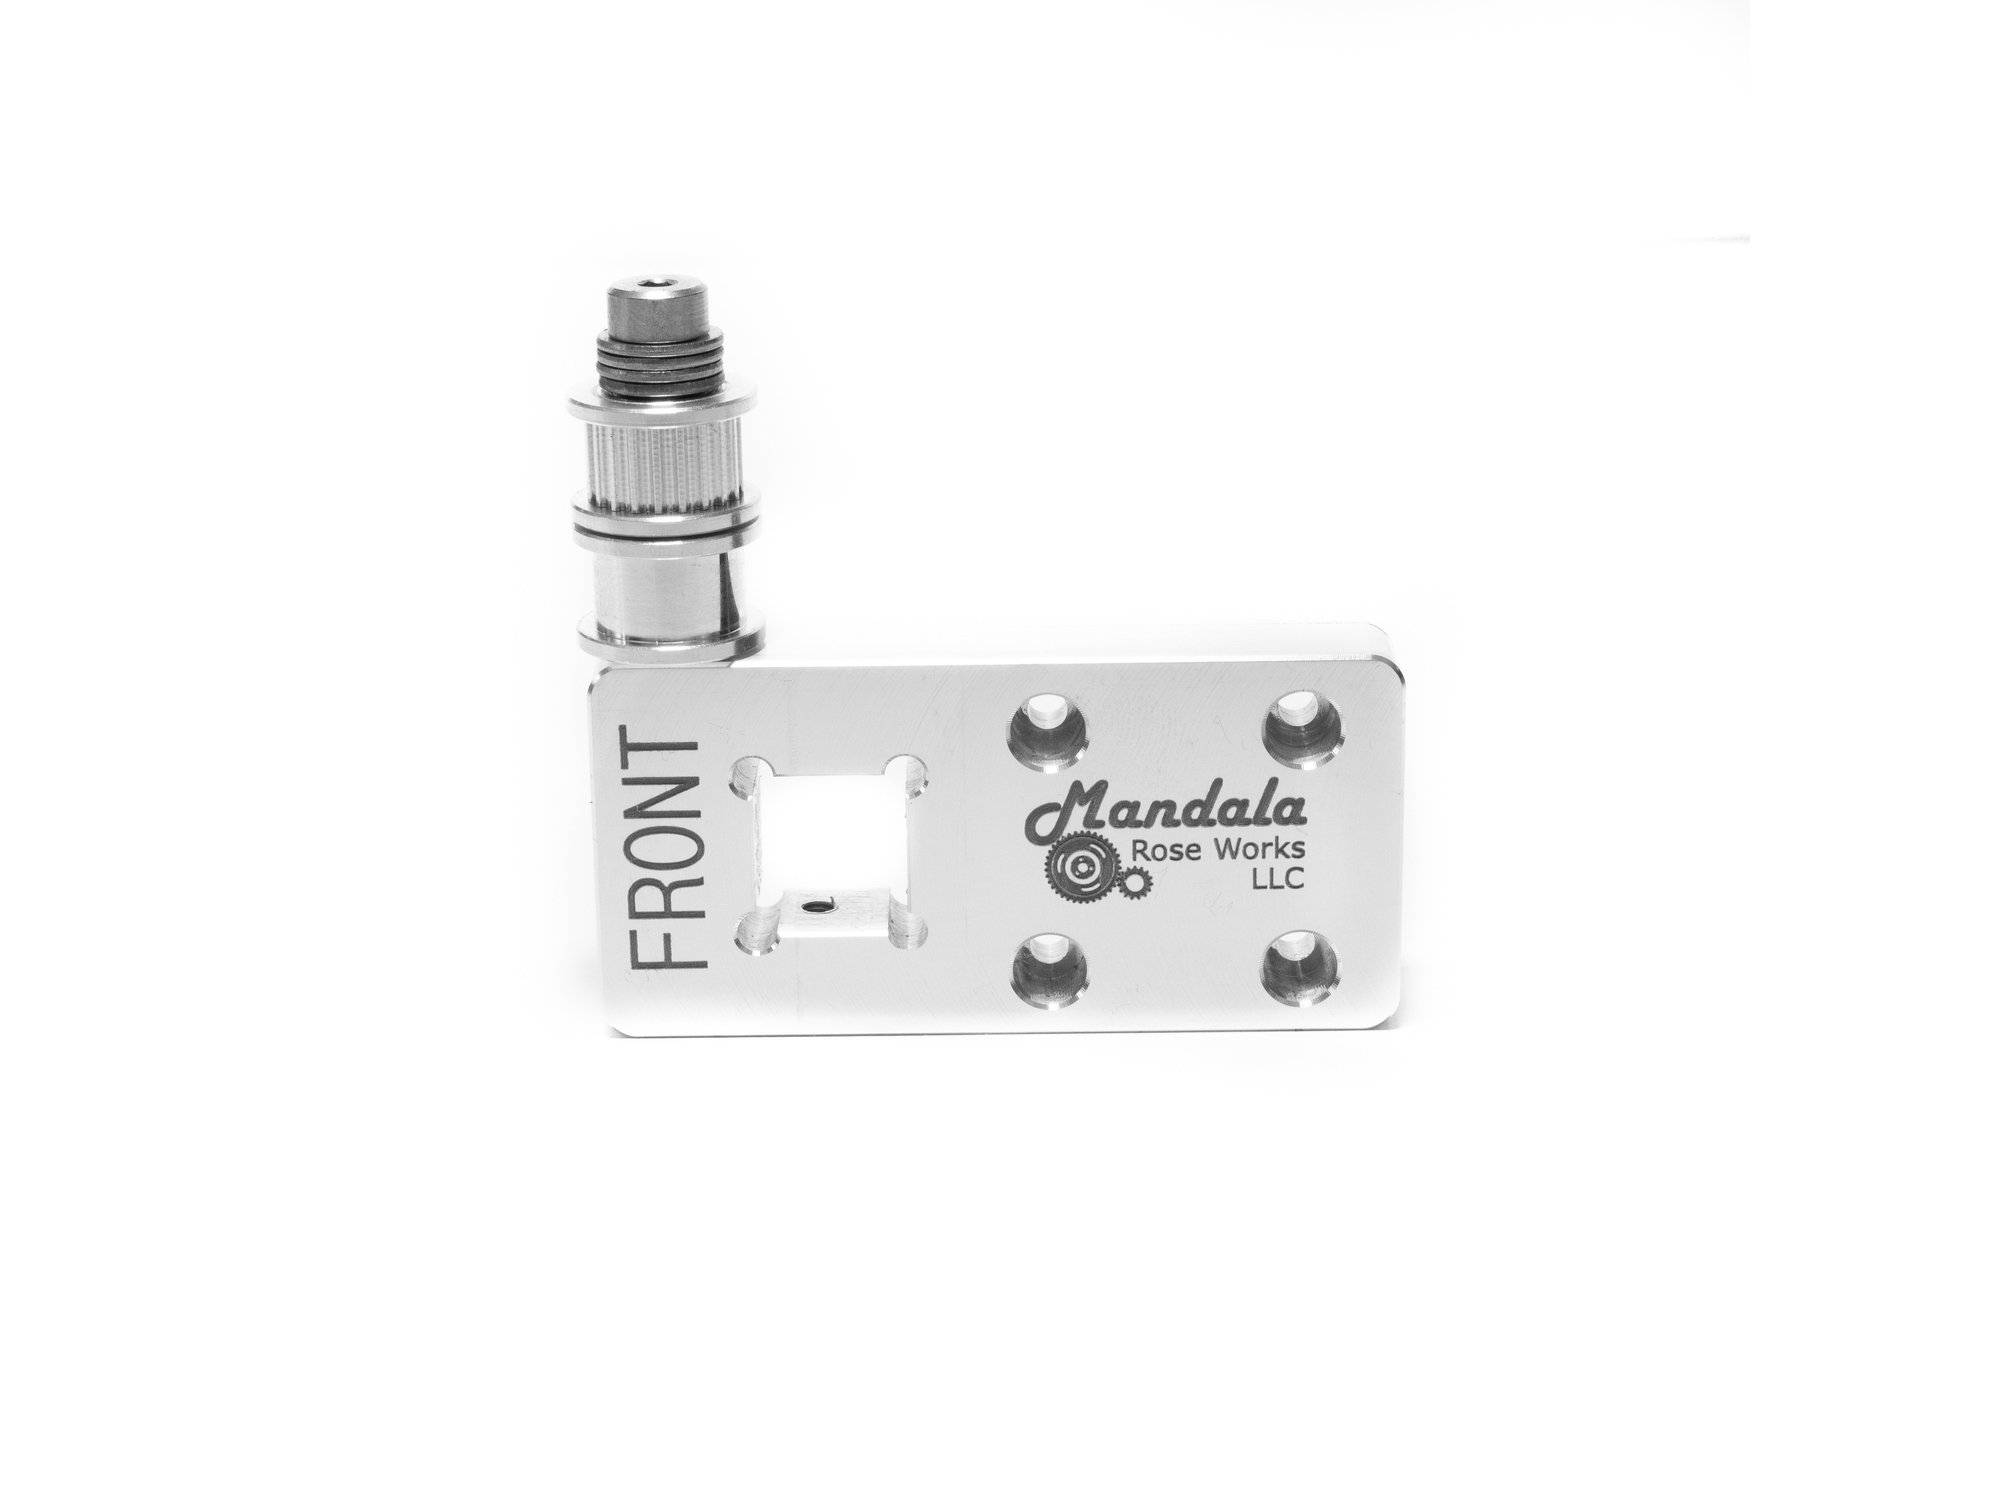
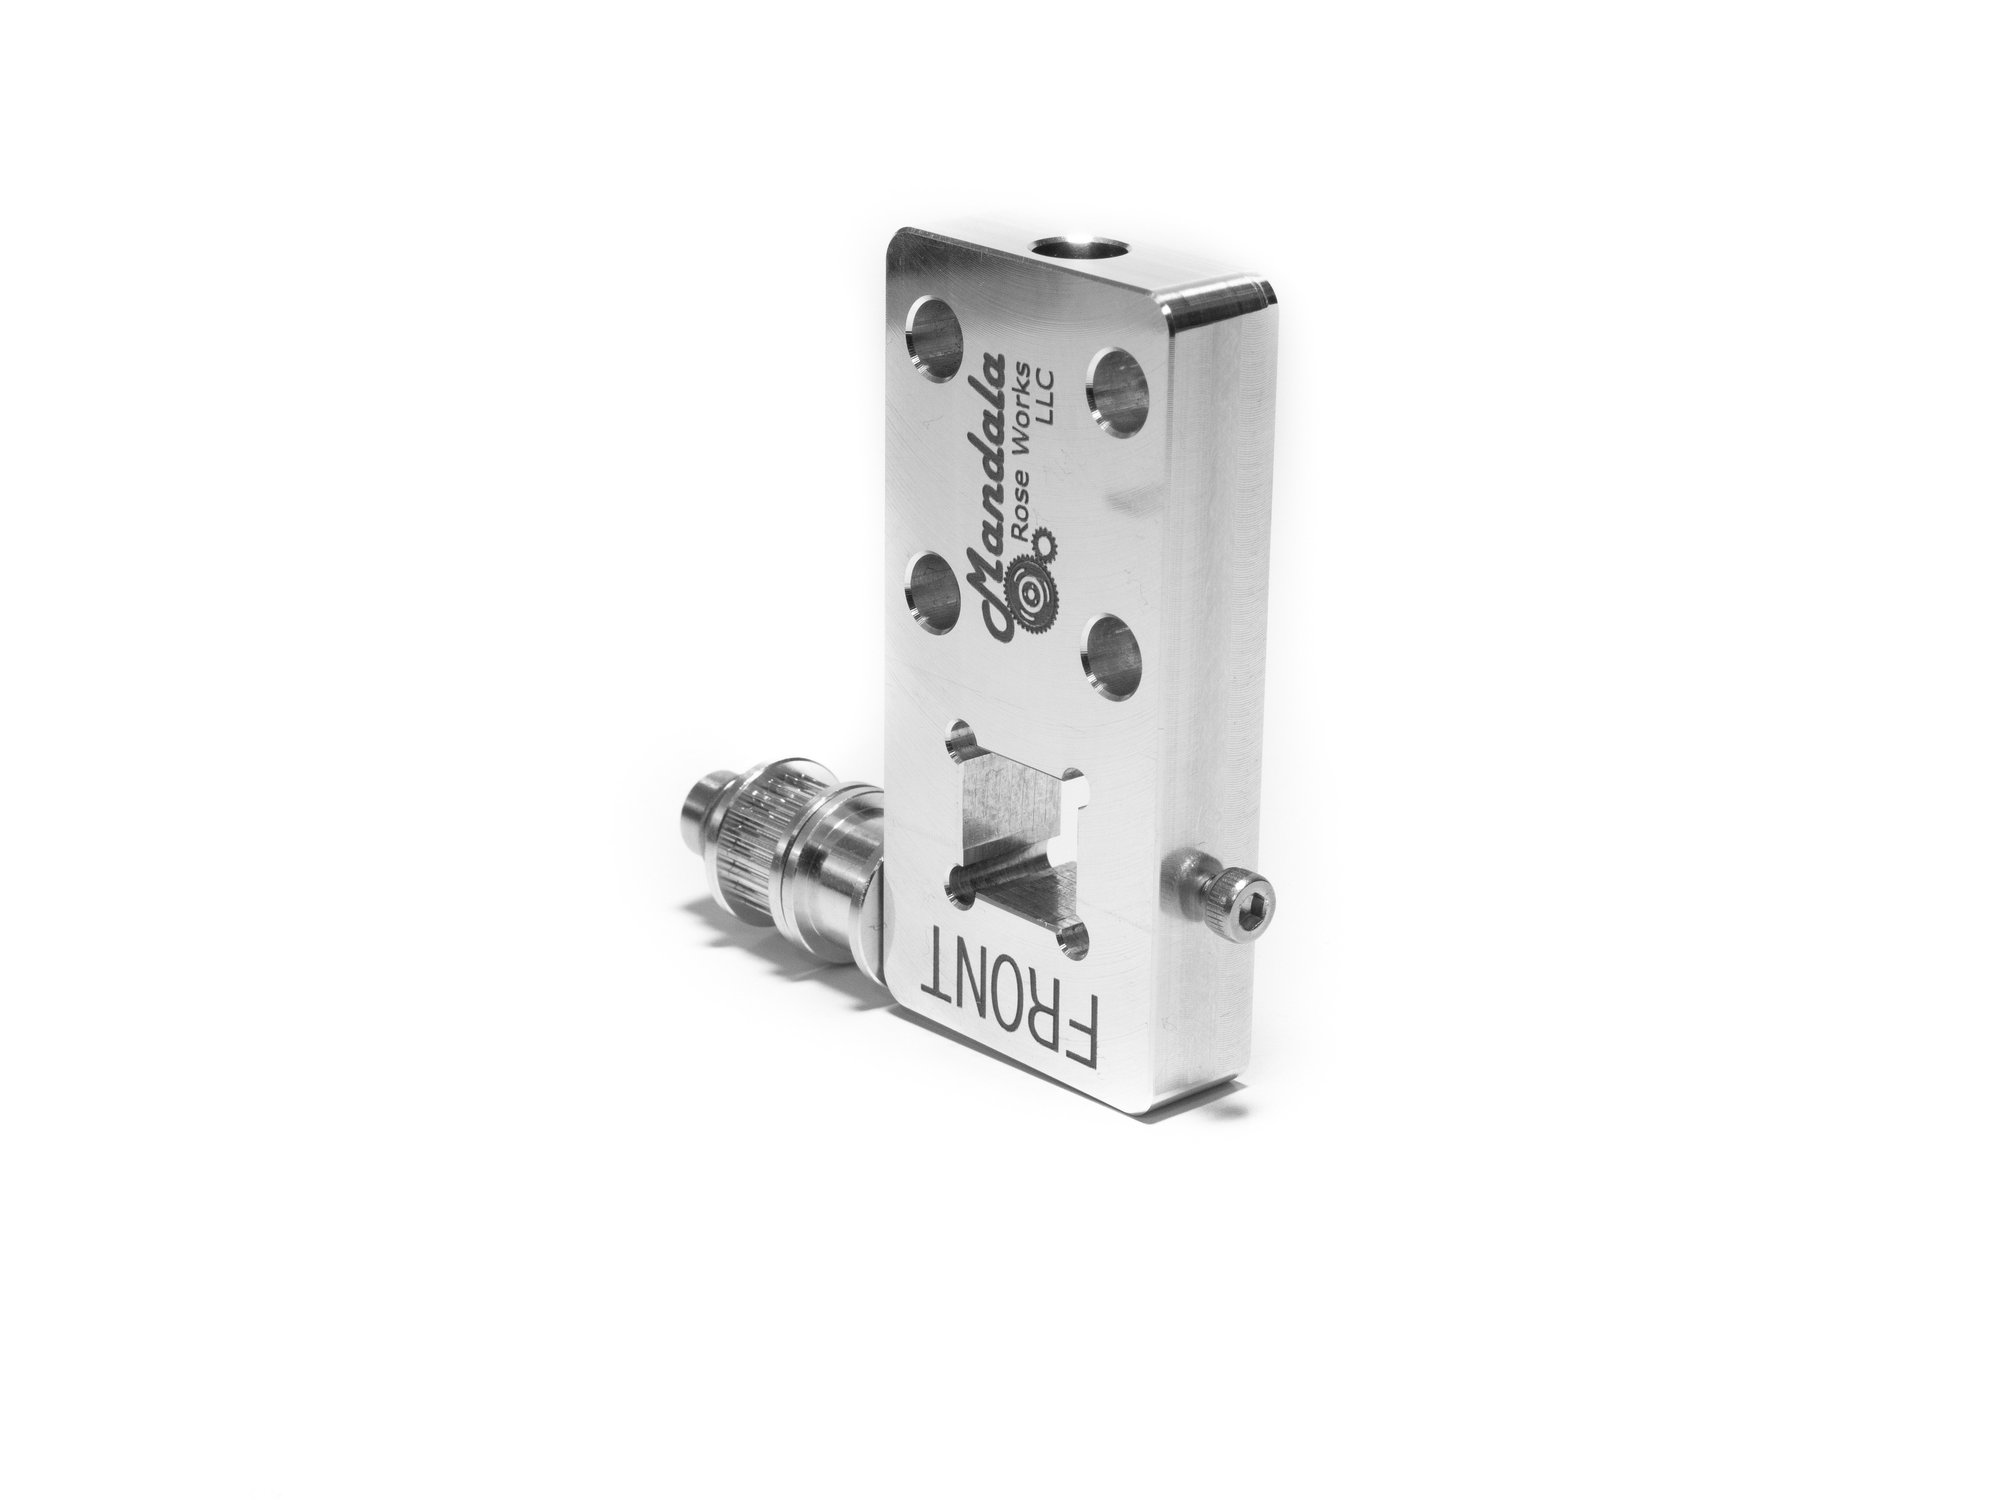
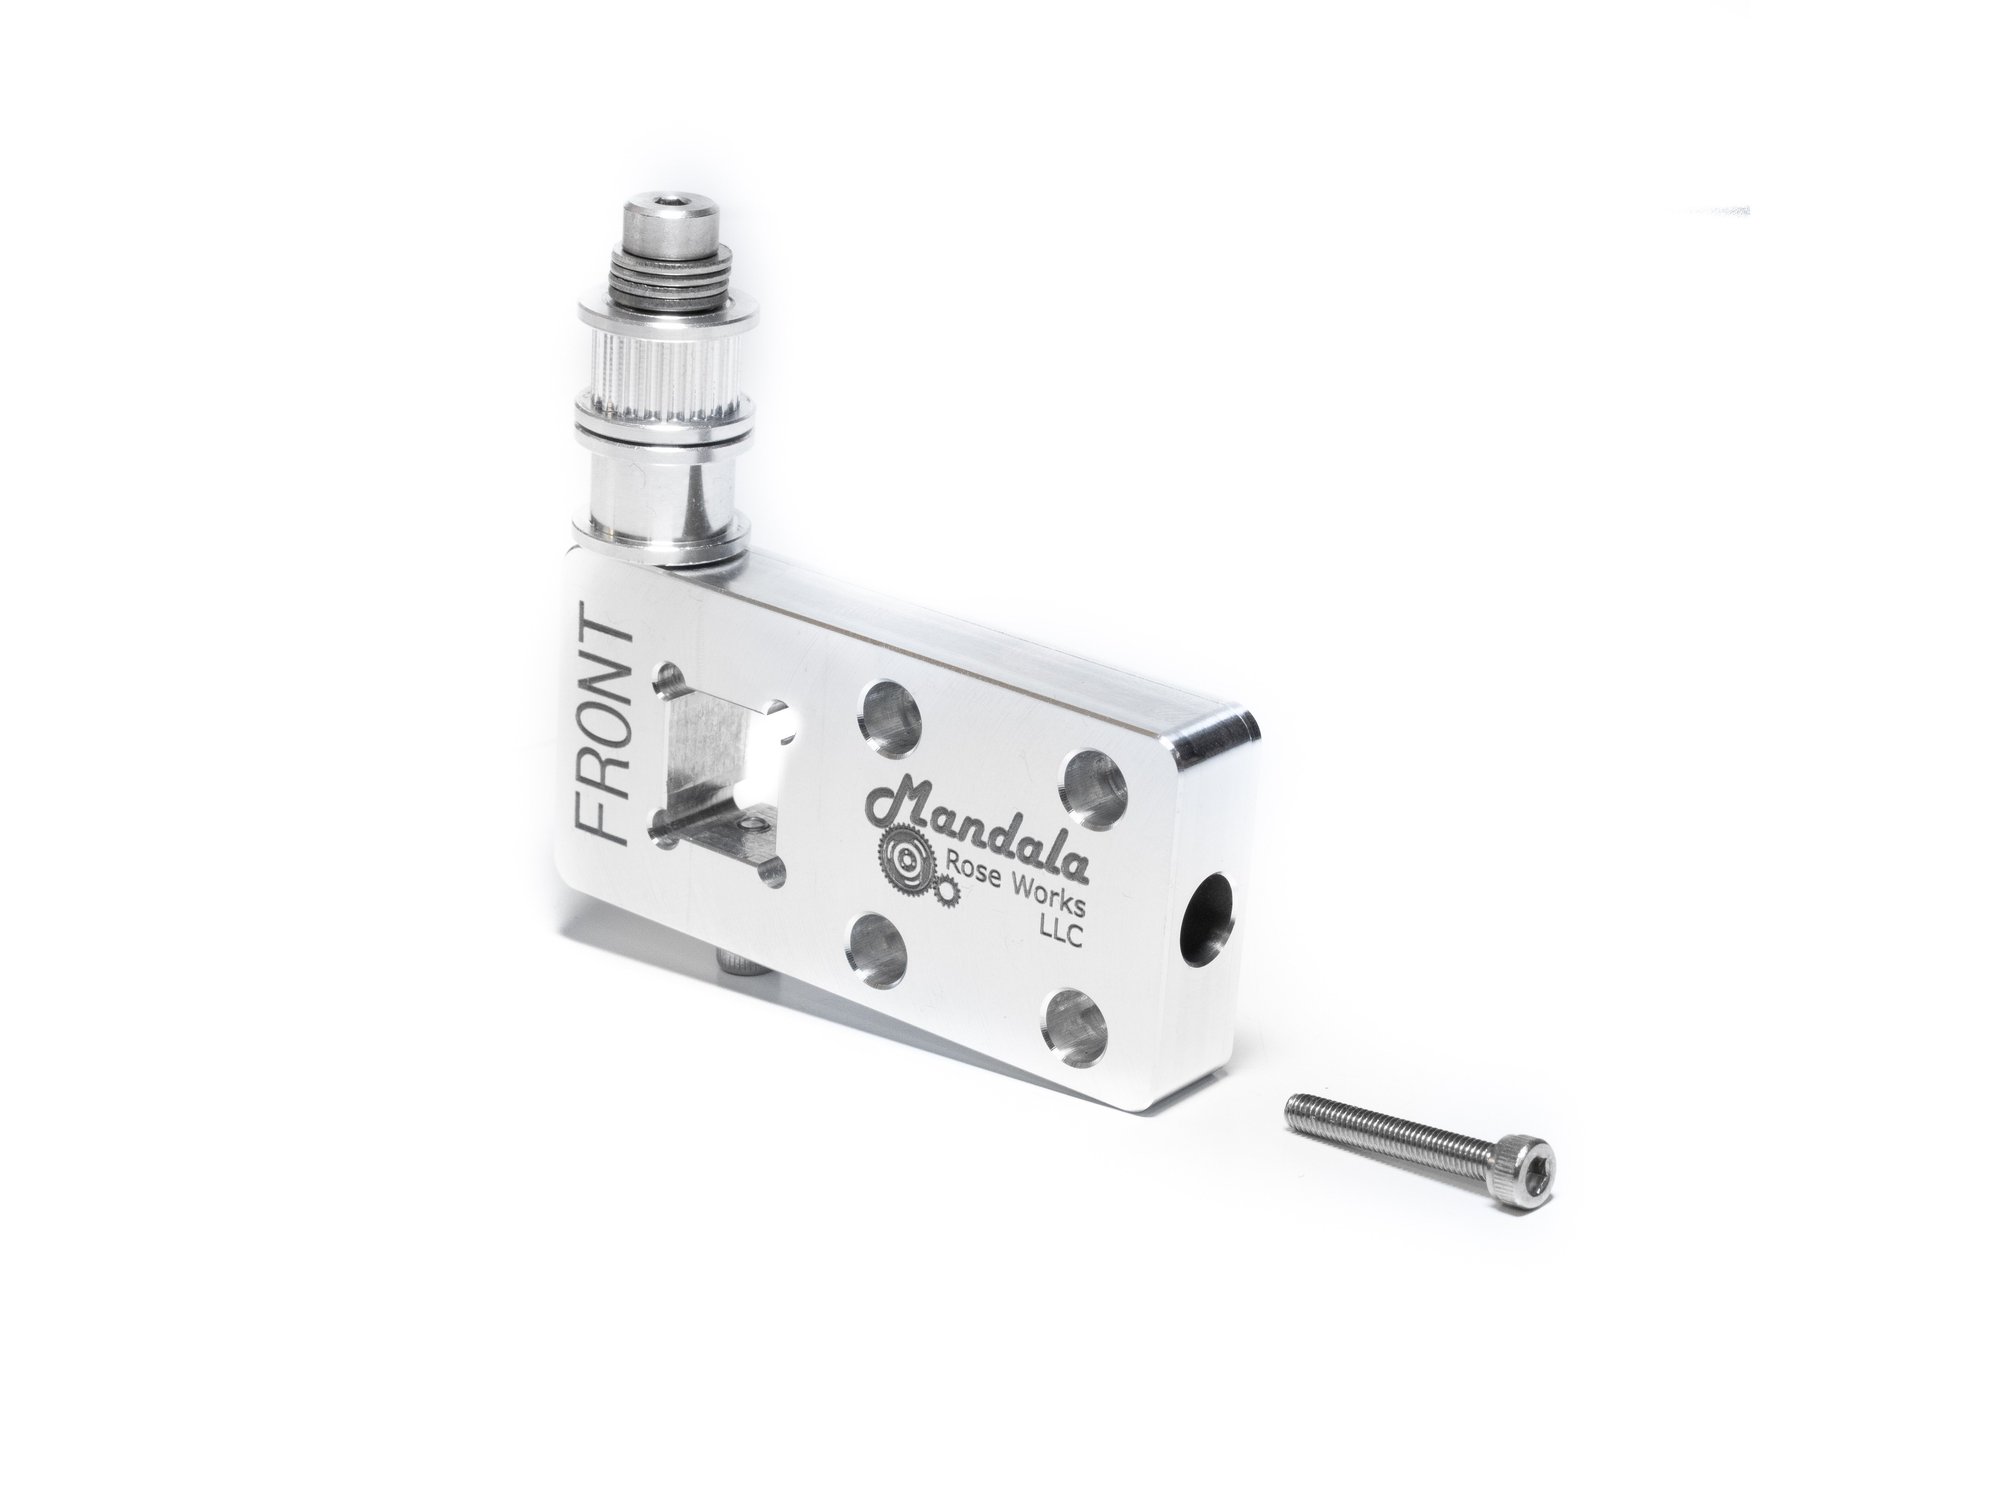
  • To prep for the Y rail installation we need to assemble the X carriages and idlers. Locate the X carriage labelled as the "Front".
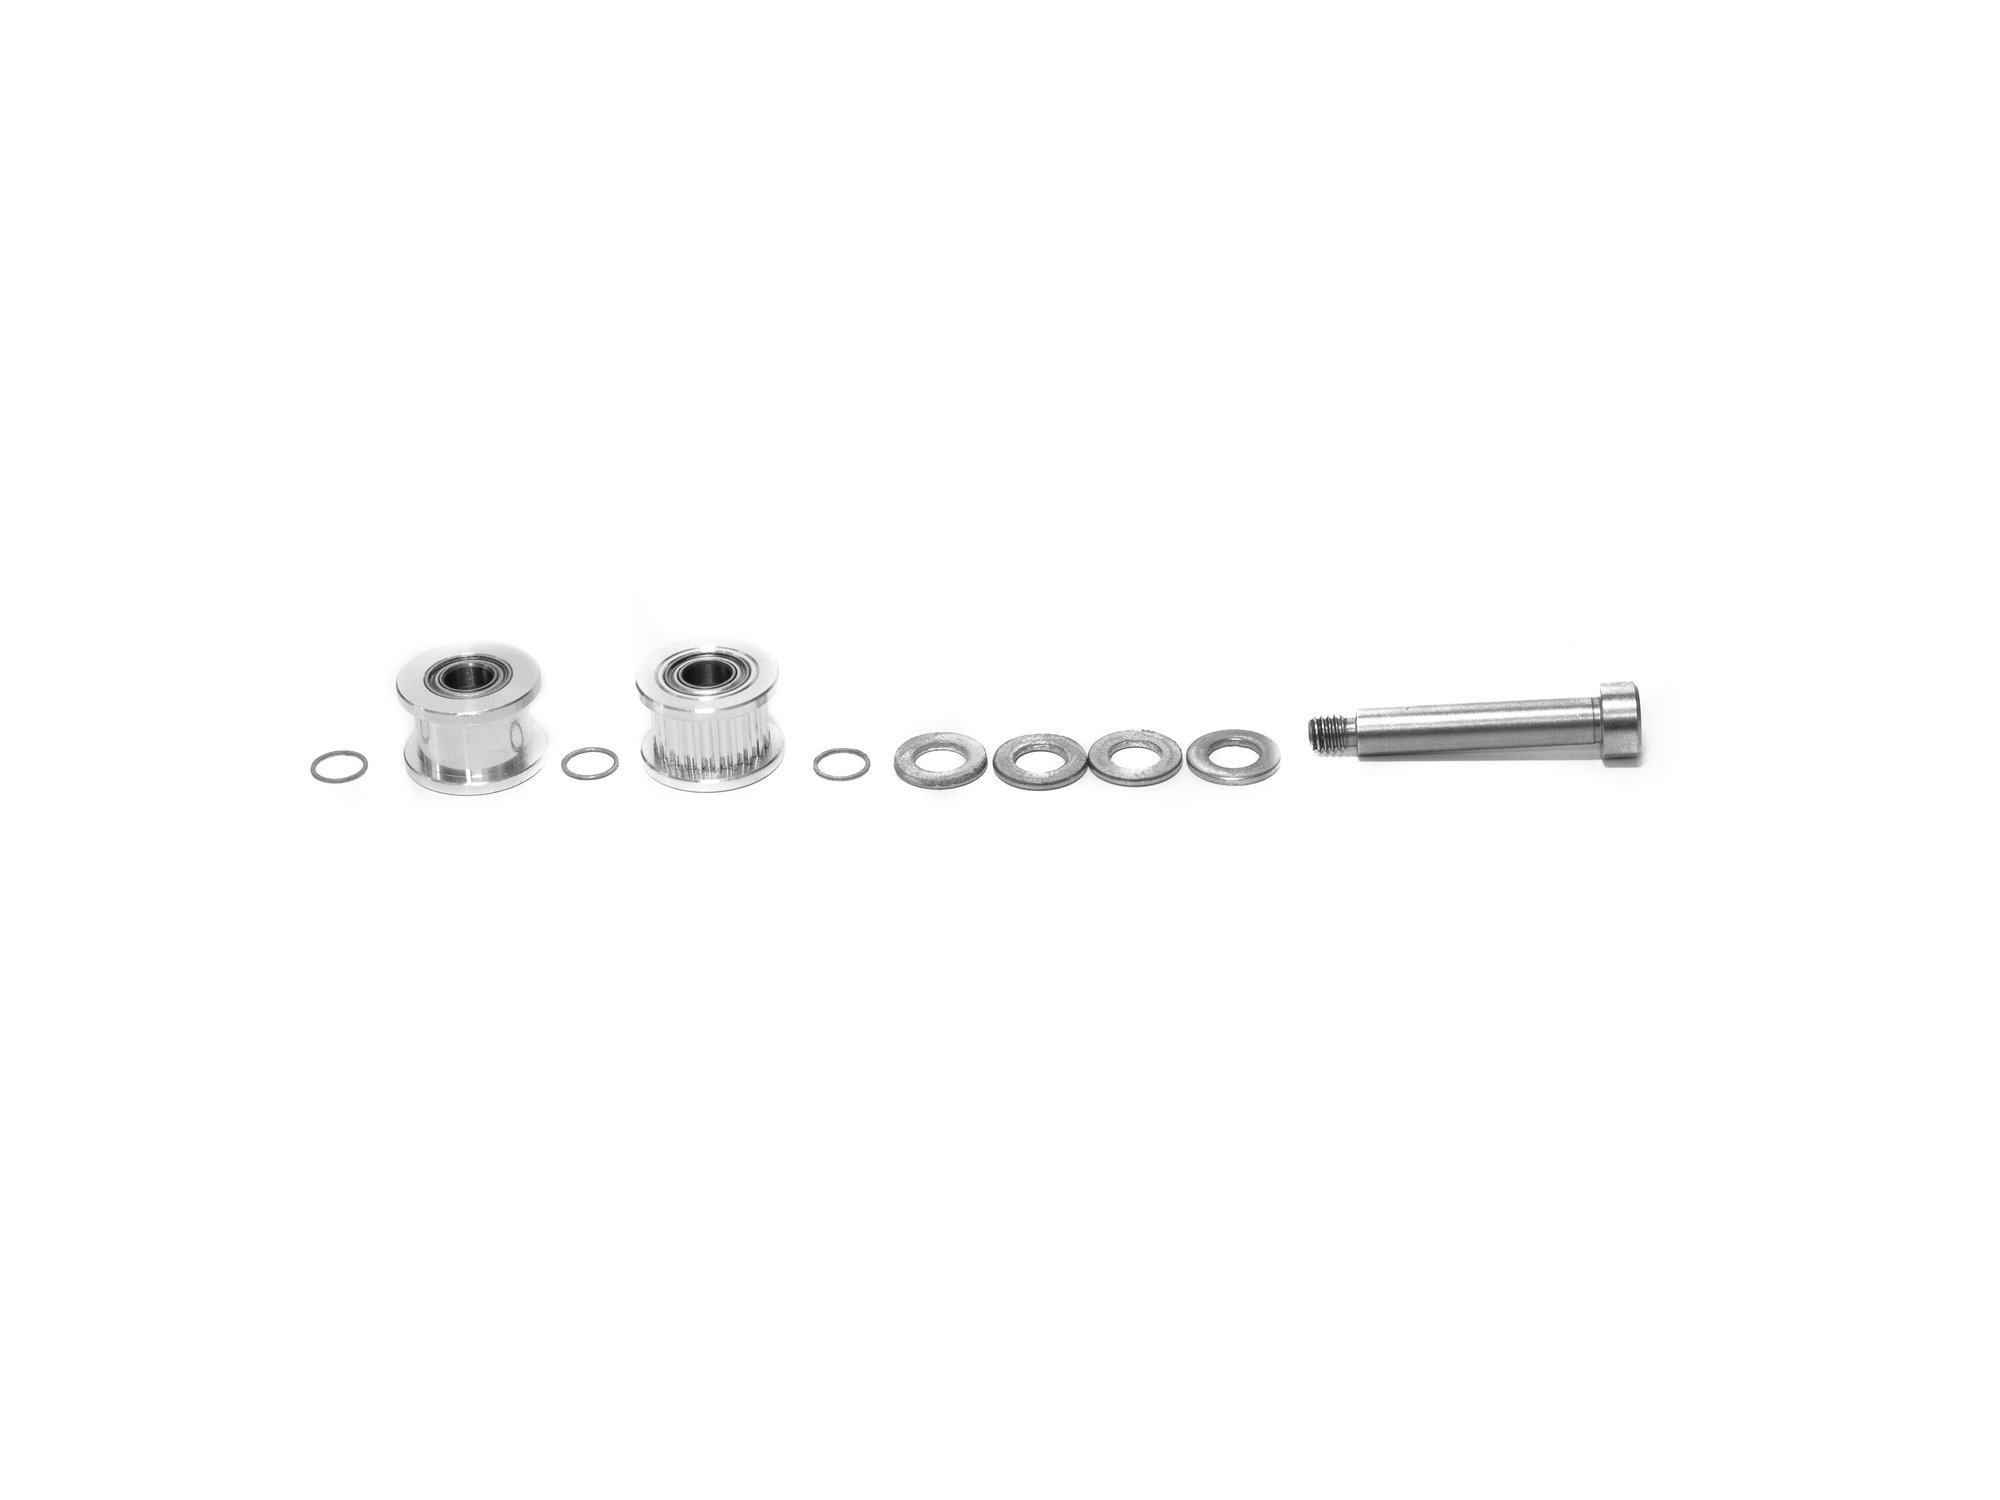
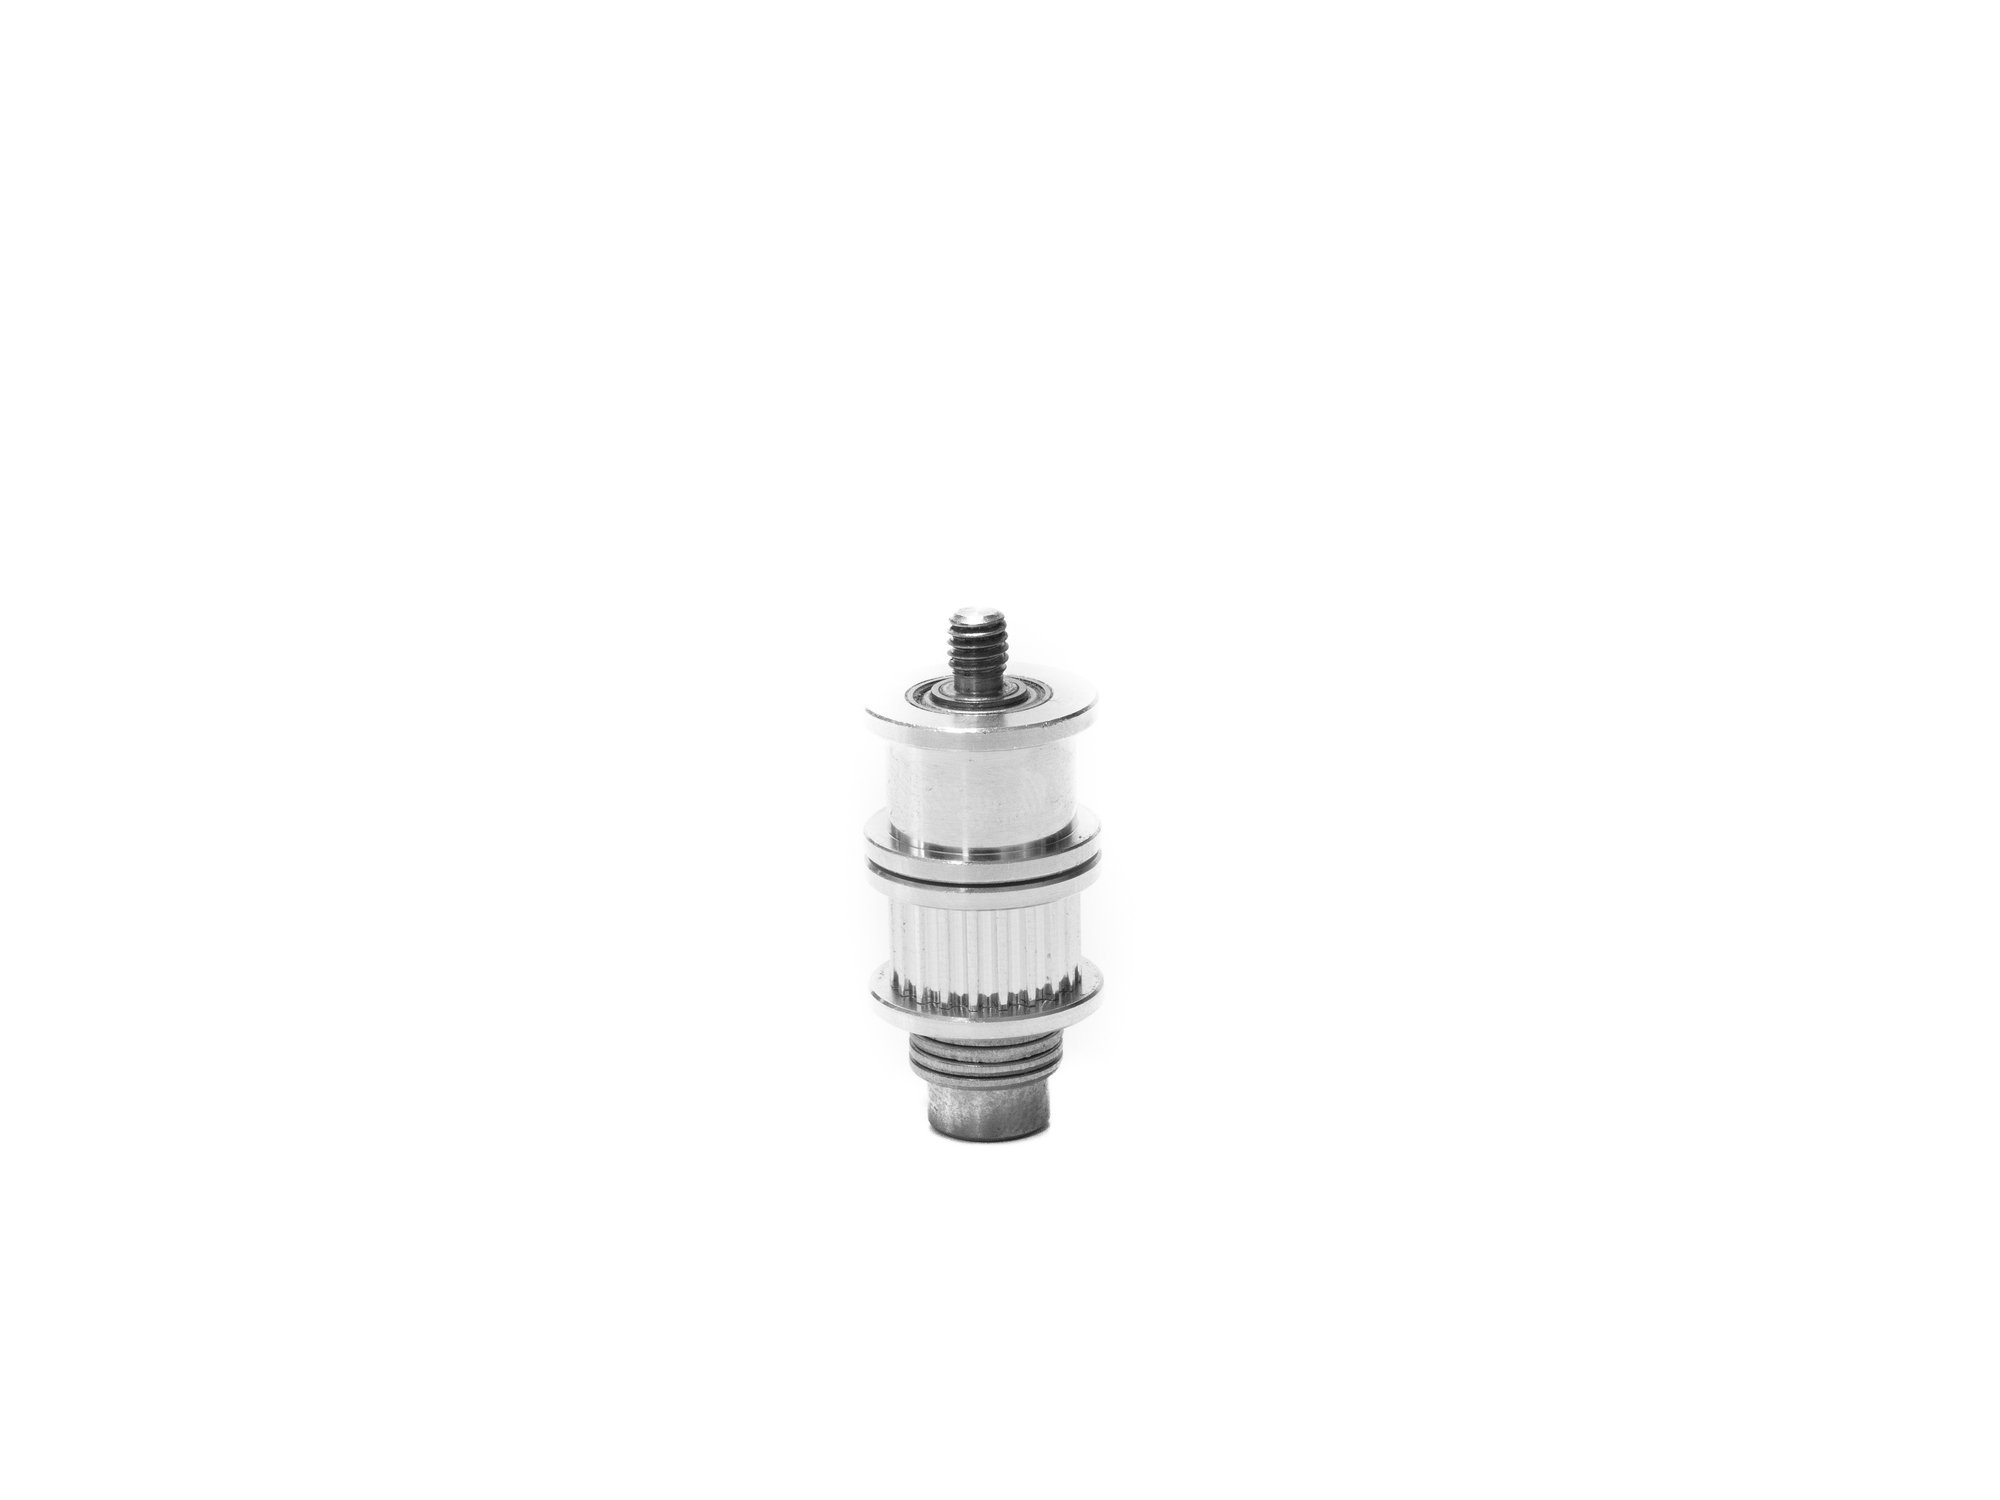
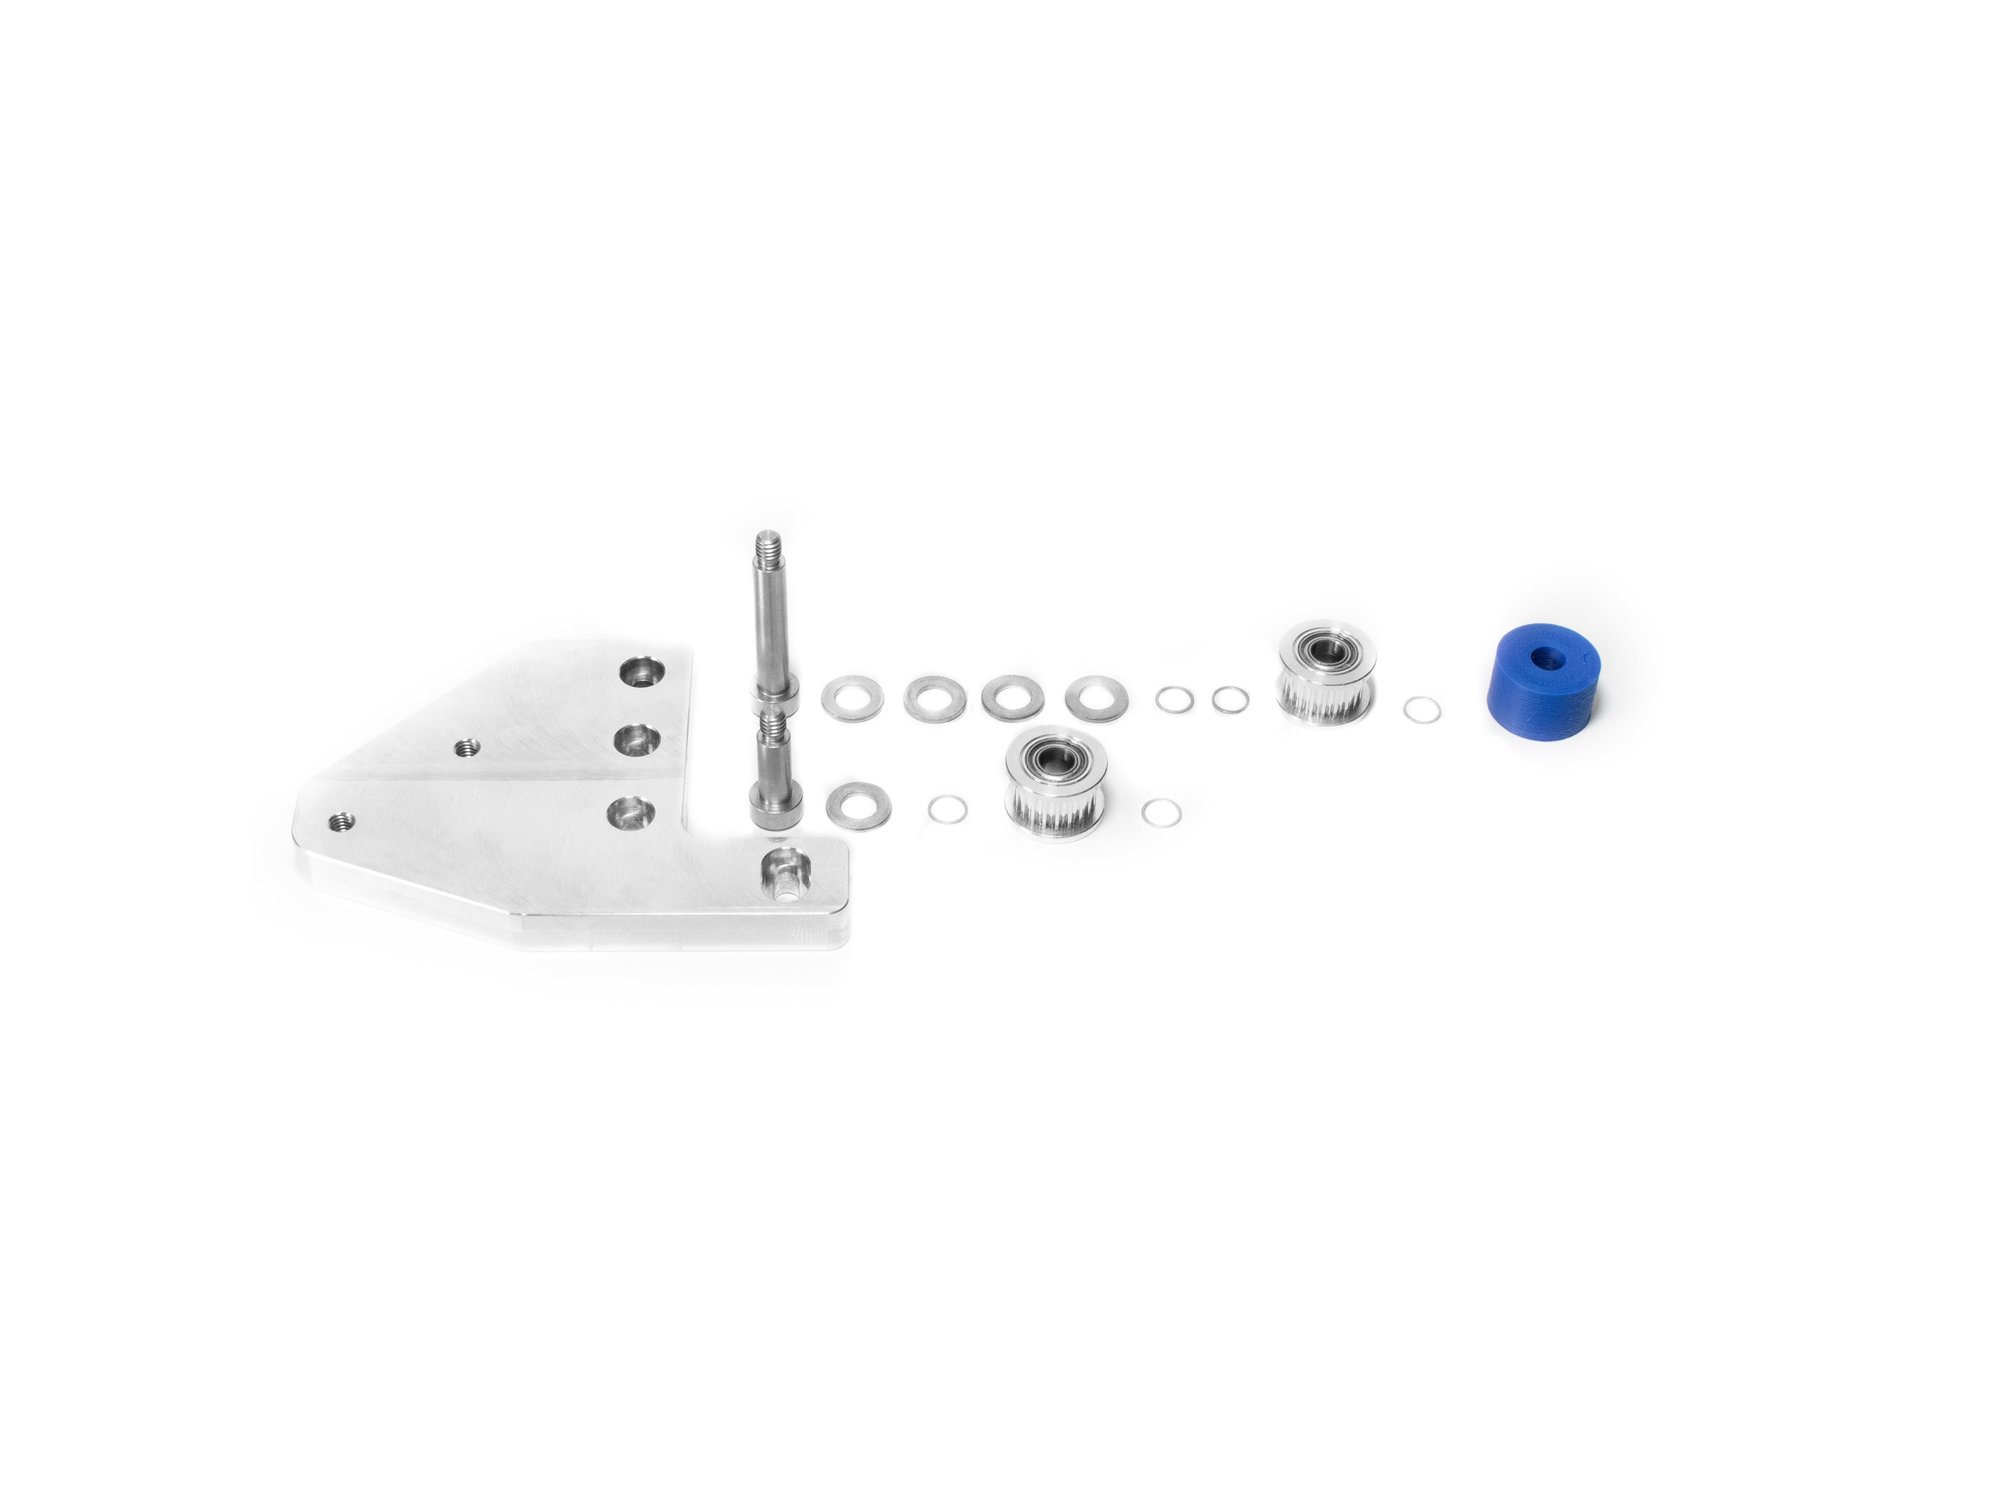
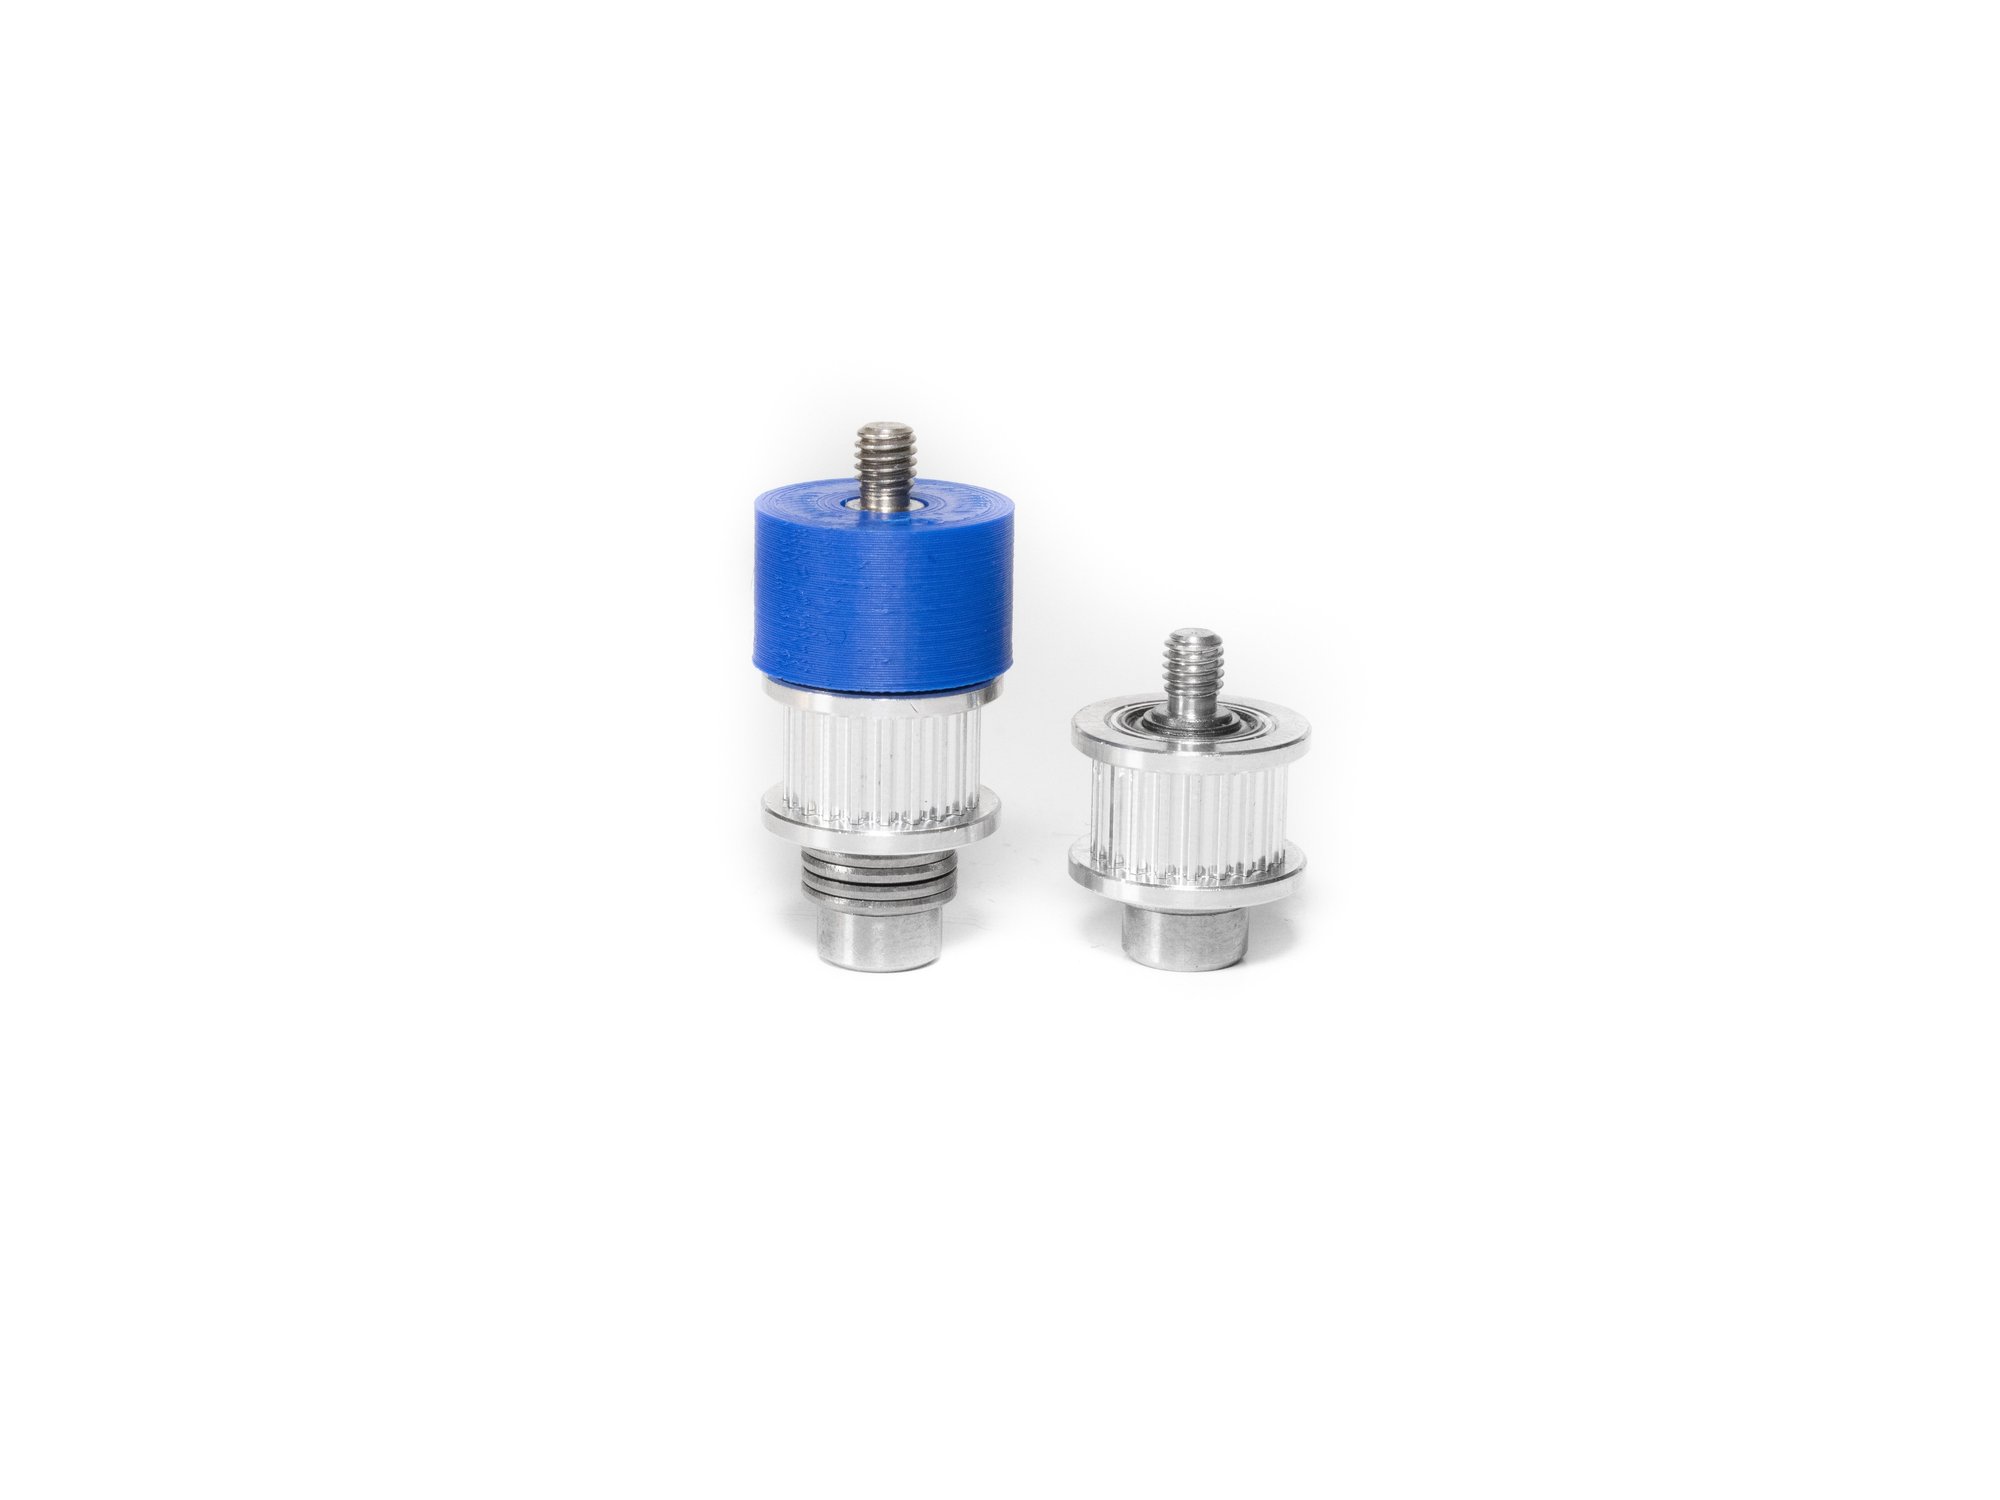
  • Begin by holding the shoulder bolt so the threads are pointed up. Place (3) M5 washers on the bolt, followed by (1) M5 shim. Next put on a toothed idler. Then another M5 shim, then a smooth idler, followed by a final M5 Shim.
  • Visually look to see that the final shim is very close to level with the "shoulder" of the bolt.
    • Note If there's a gap, see if it's best filled by a shim, or a washer. You want to place those before the first shim you put on.
    • Note If instead the shim sticks out past the shoulder, you may need to remove a washer and replace it with a shim.
  • Once the "stack" is level with the shoulder, thread it into the X carriage (I leave the shoulder bolt pointing up, and turn the X carriage down onto it, being careful not to cross-thread it).
  • Caution The shoulder must be tight against the X-Carriage, with as little vertical play as possible. If the idlers don't spin smoothly, it's too tight and you need to remove a washer or shim. THERE MUST ALWAYS BE A SHIM DIRECTLY AGAINST EACH SIDE OF THE IDLERS.

Step 2 — Back X Carriage Idler Assembly

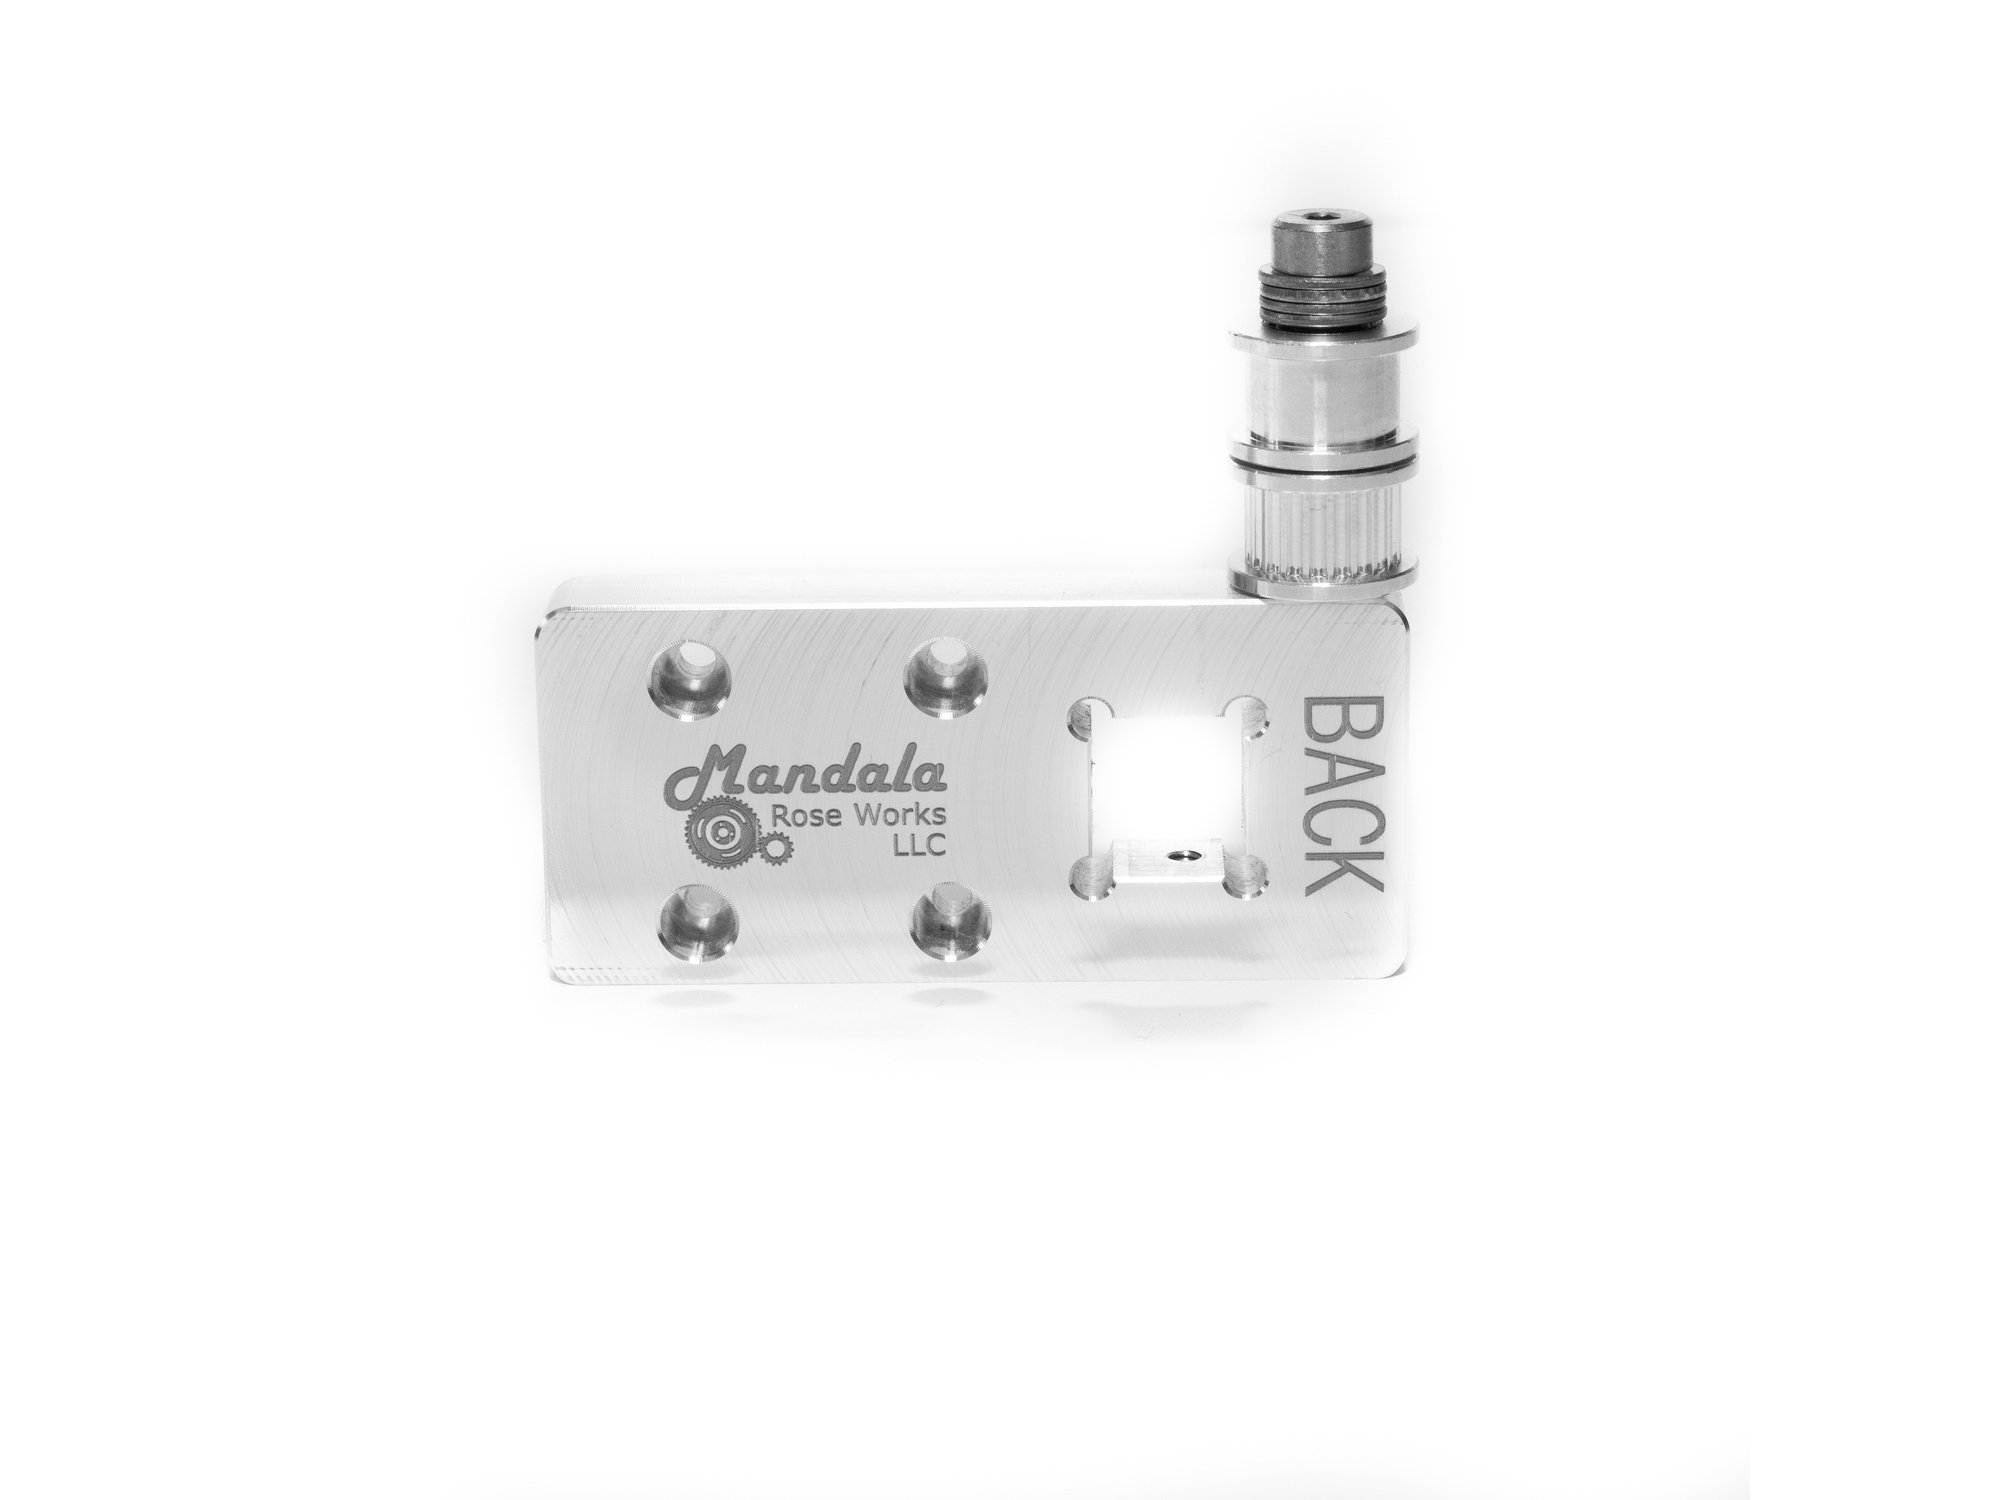
  • Locate the X carriage labelled as the "Back".
  • Assemble the back X carriage the same way as the front, but note the smooth and the toothed pulleys are reversed now.

Step 3 — Insert Hardware In X Carriages (x2)

  • Insert (1) M3 x 10 socket head screw in the bottom of each carriage.
  • Insert (1) M3 x 16 socket head screw in the size of each carriage.

Step 4 — Insert Y Rail into X Carriages

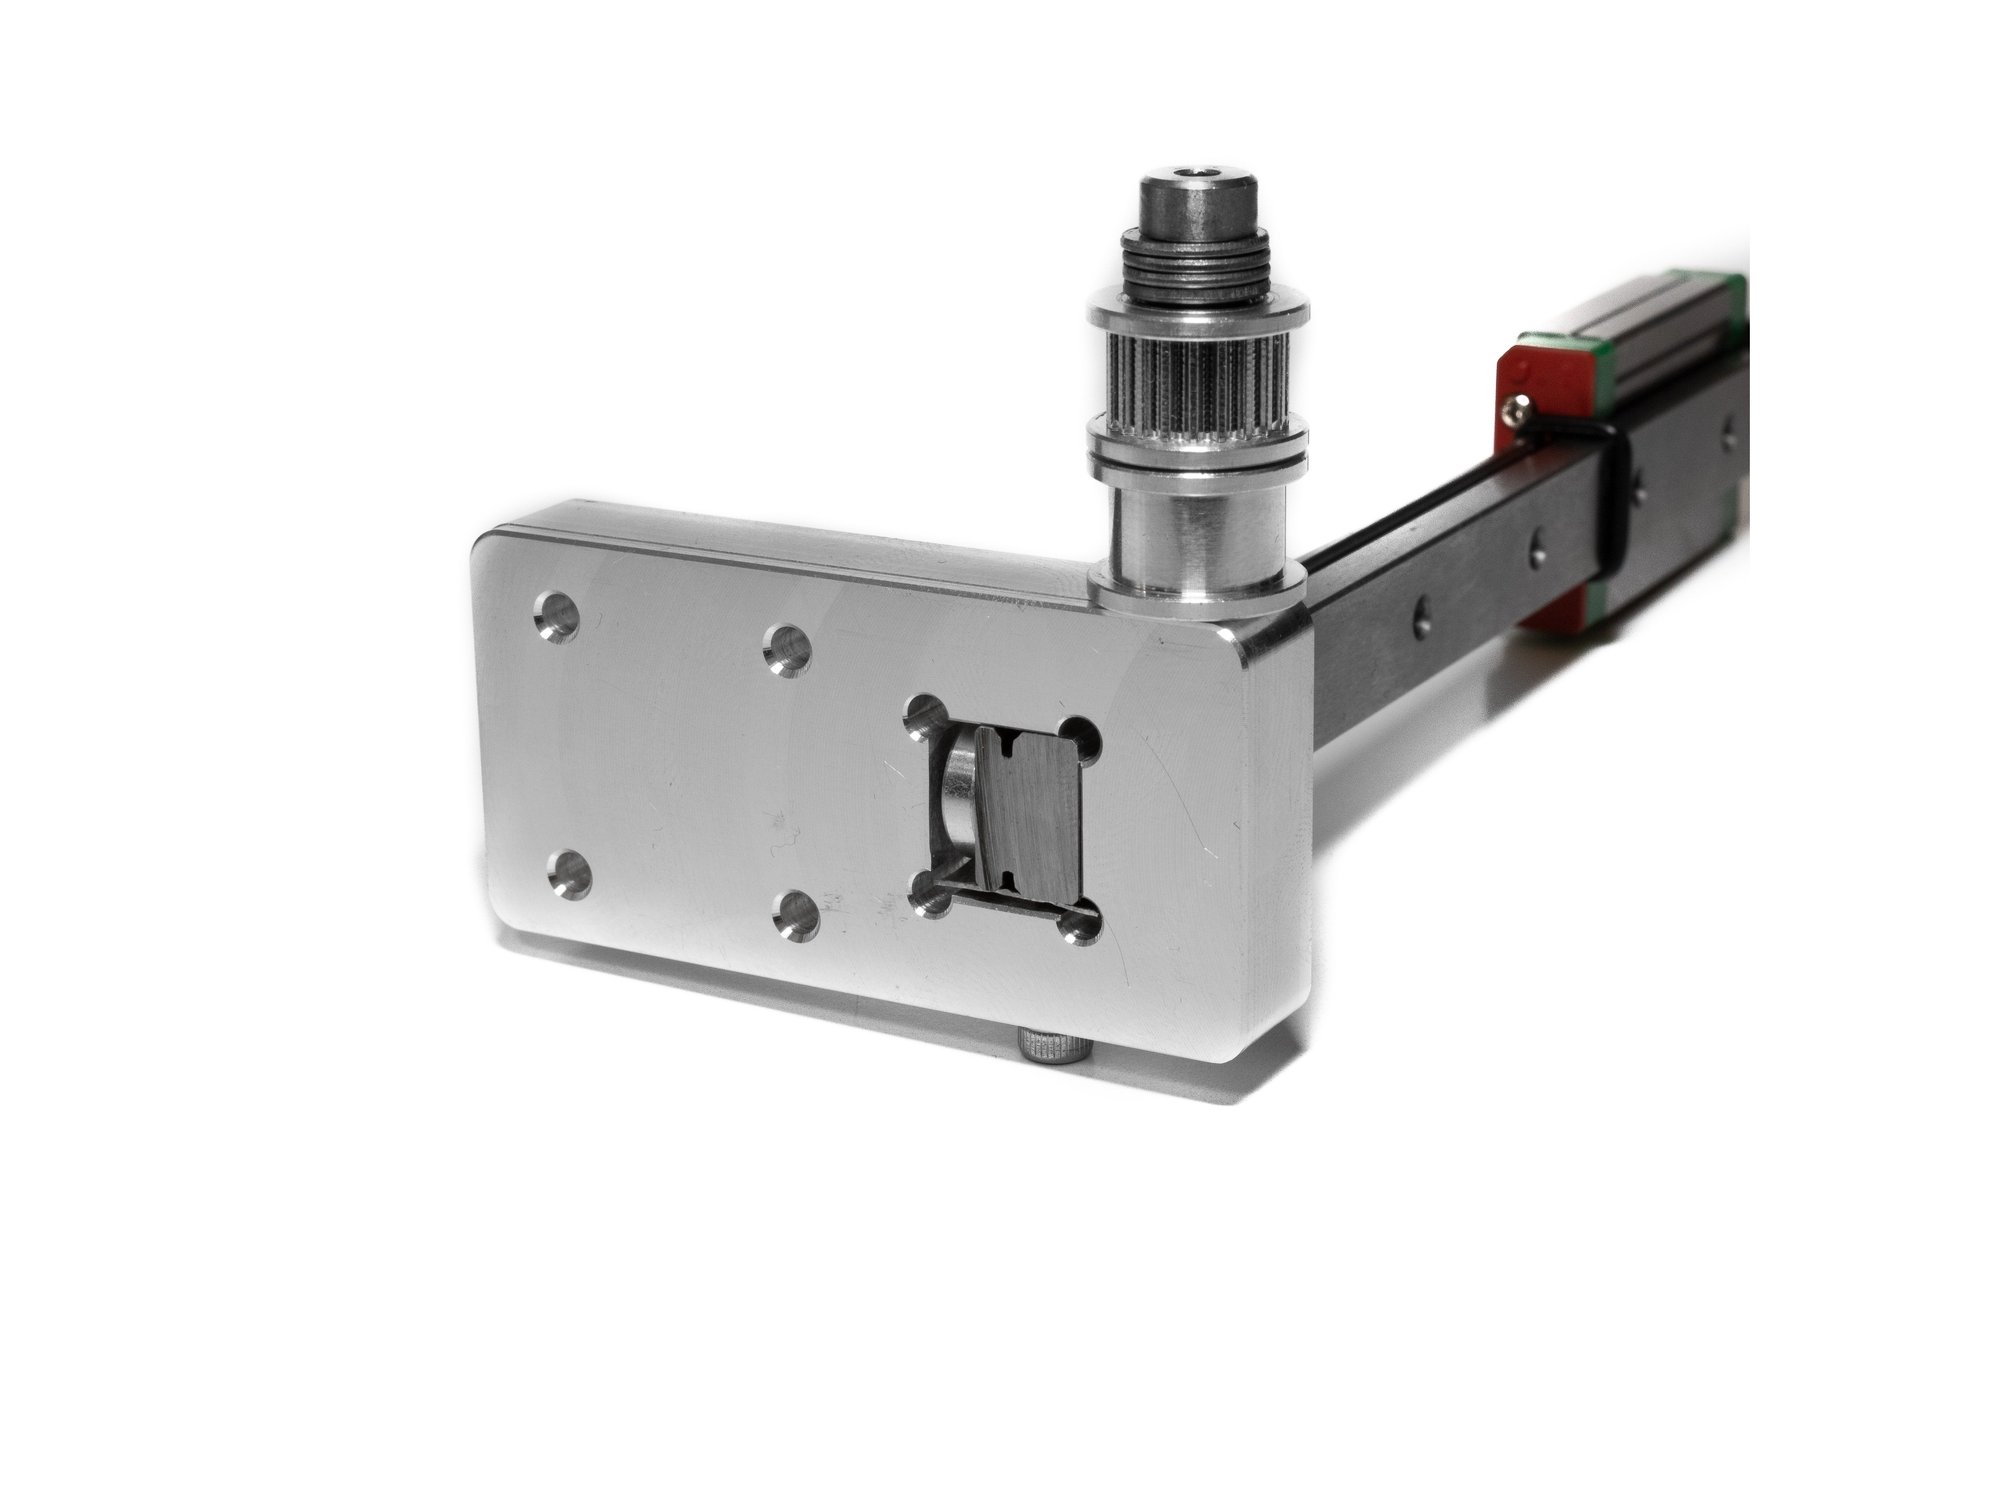
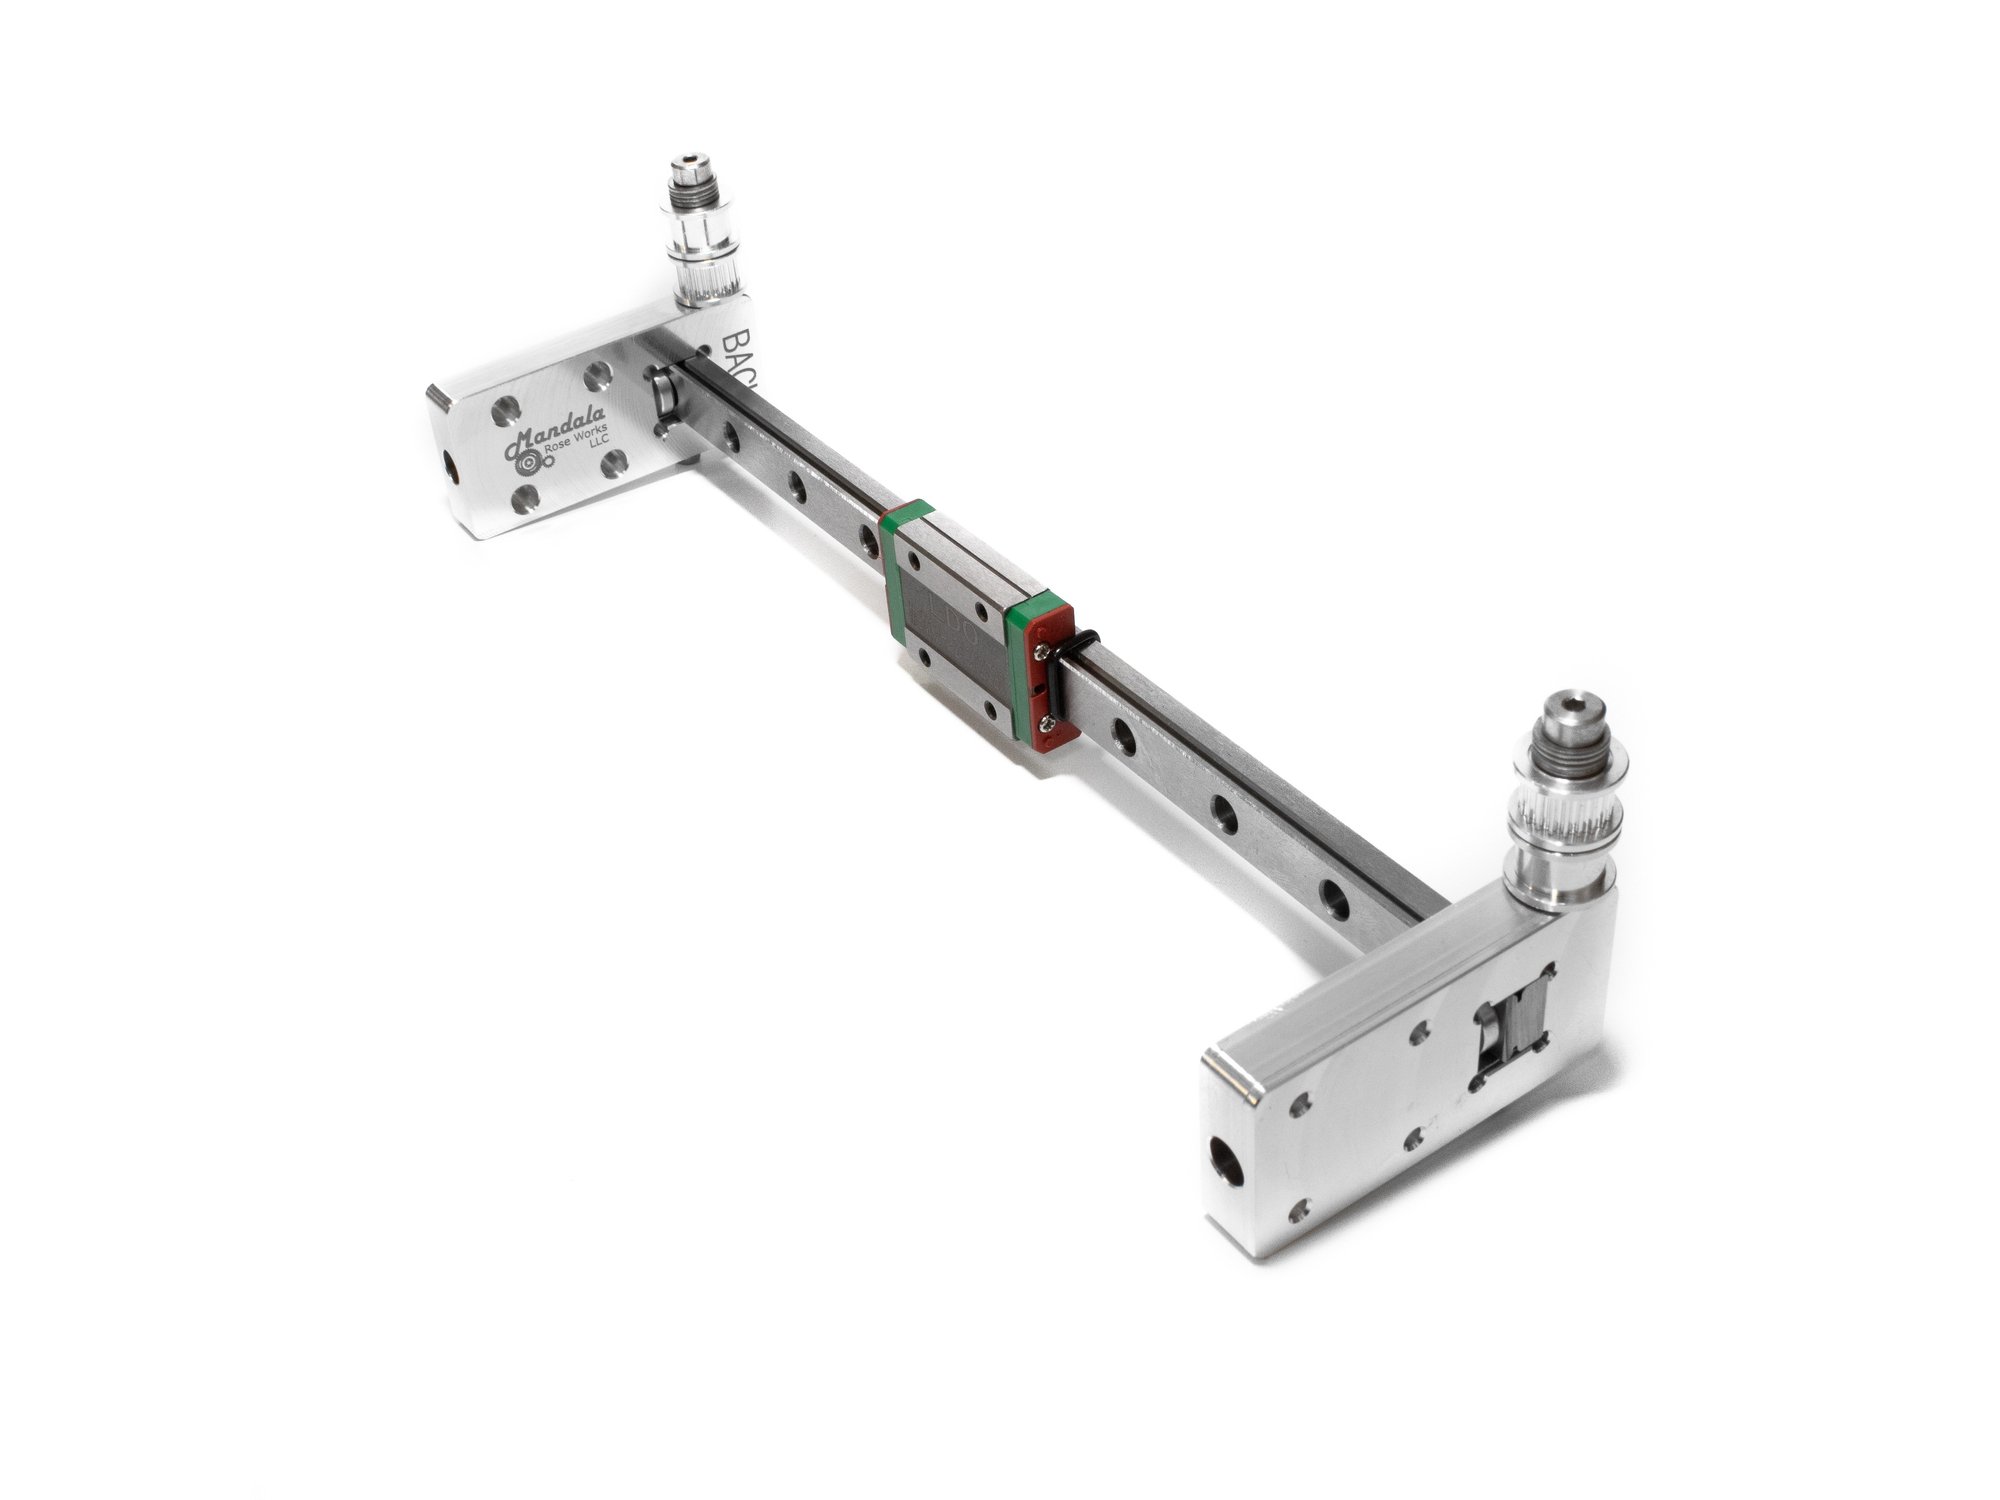
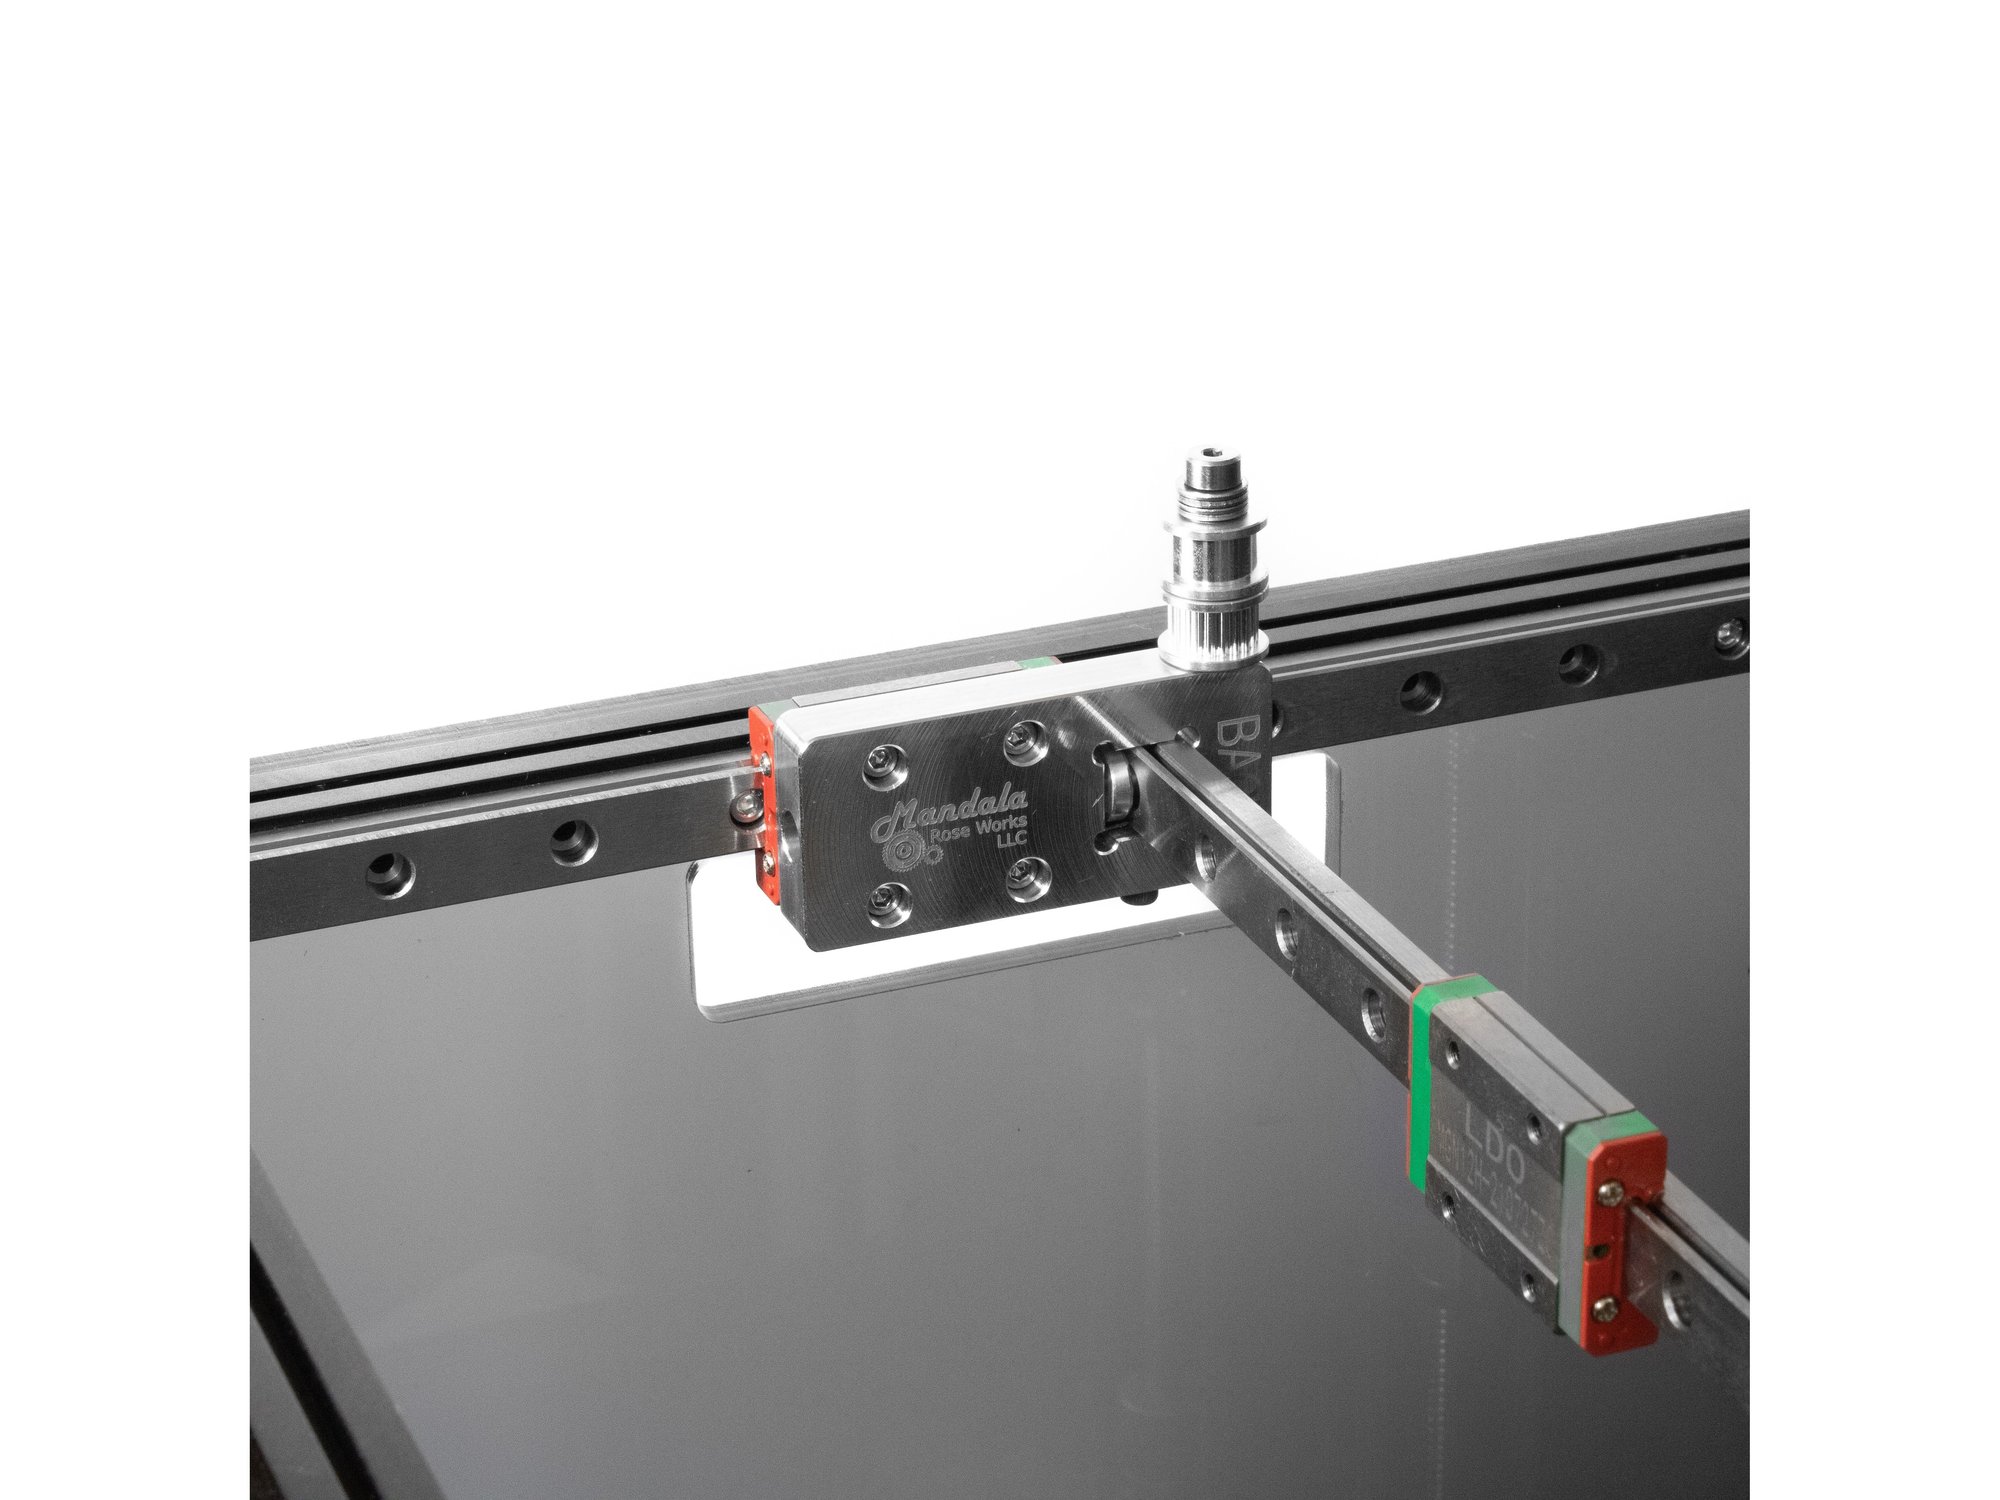
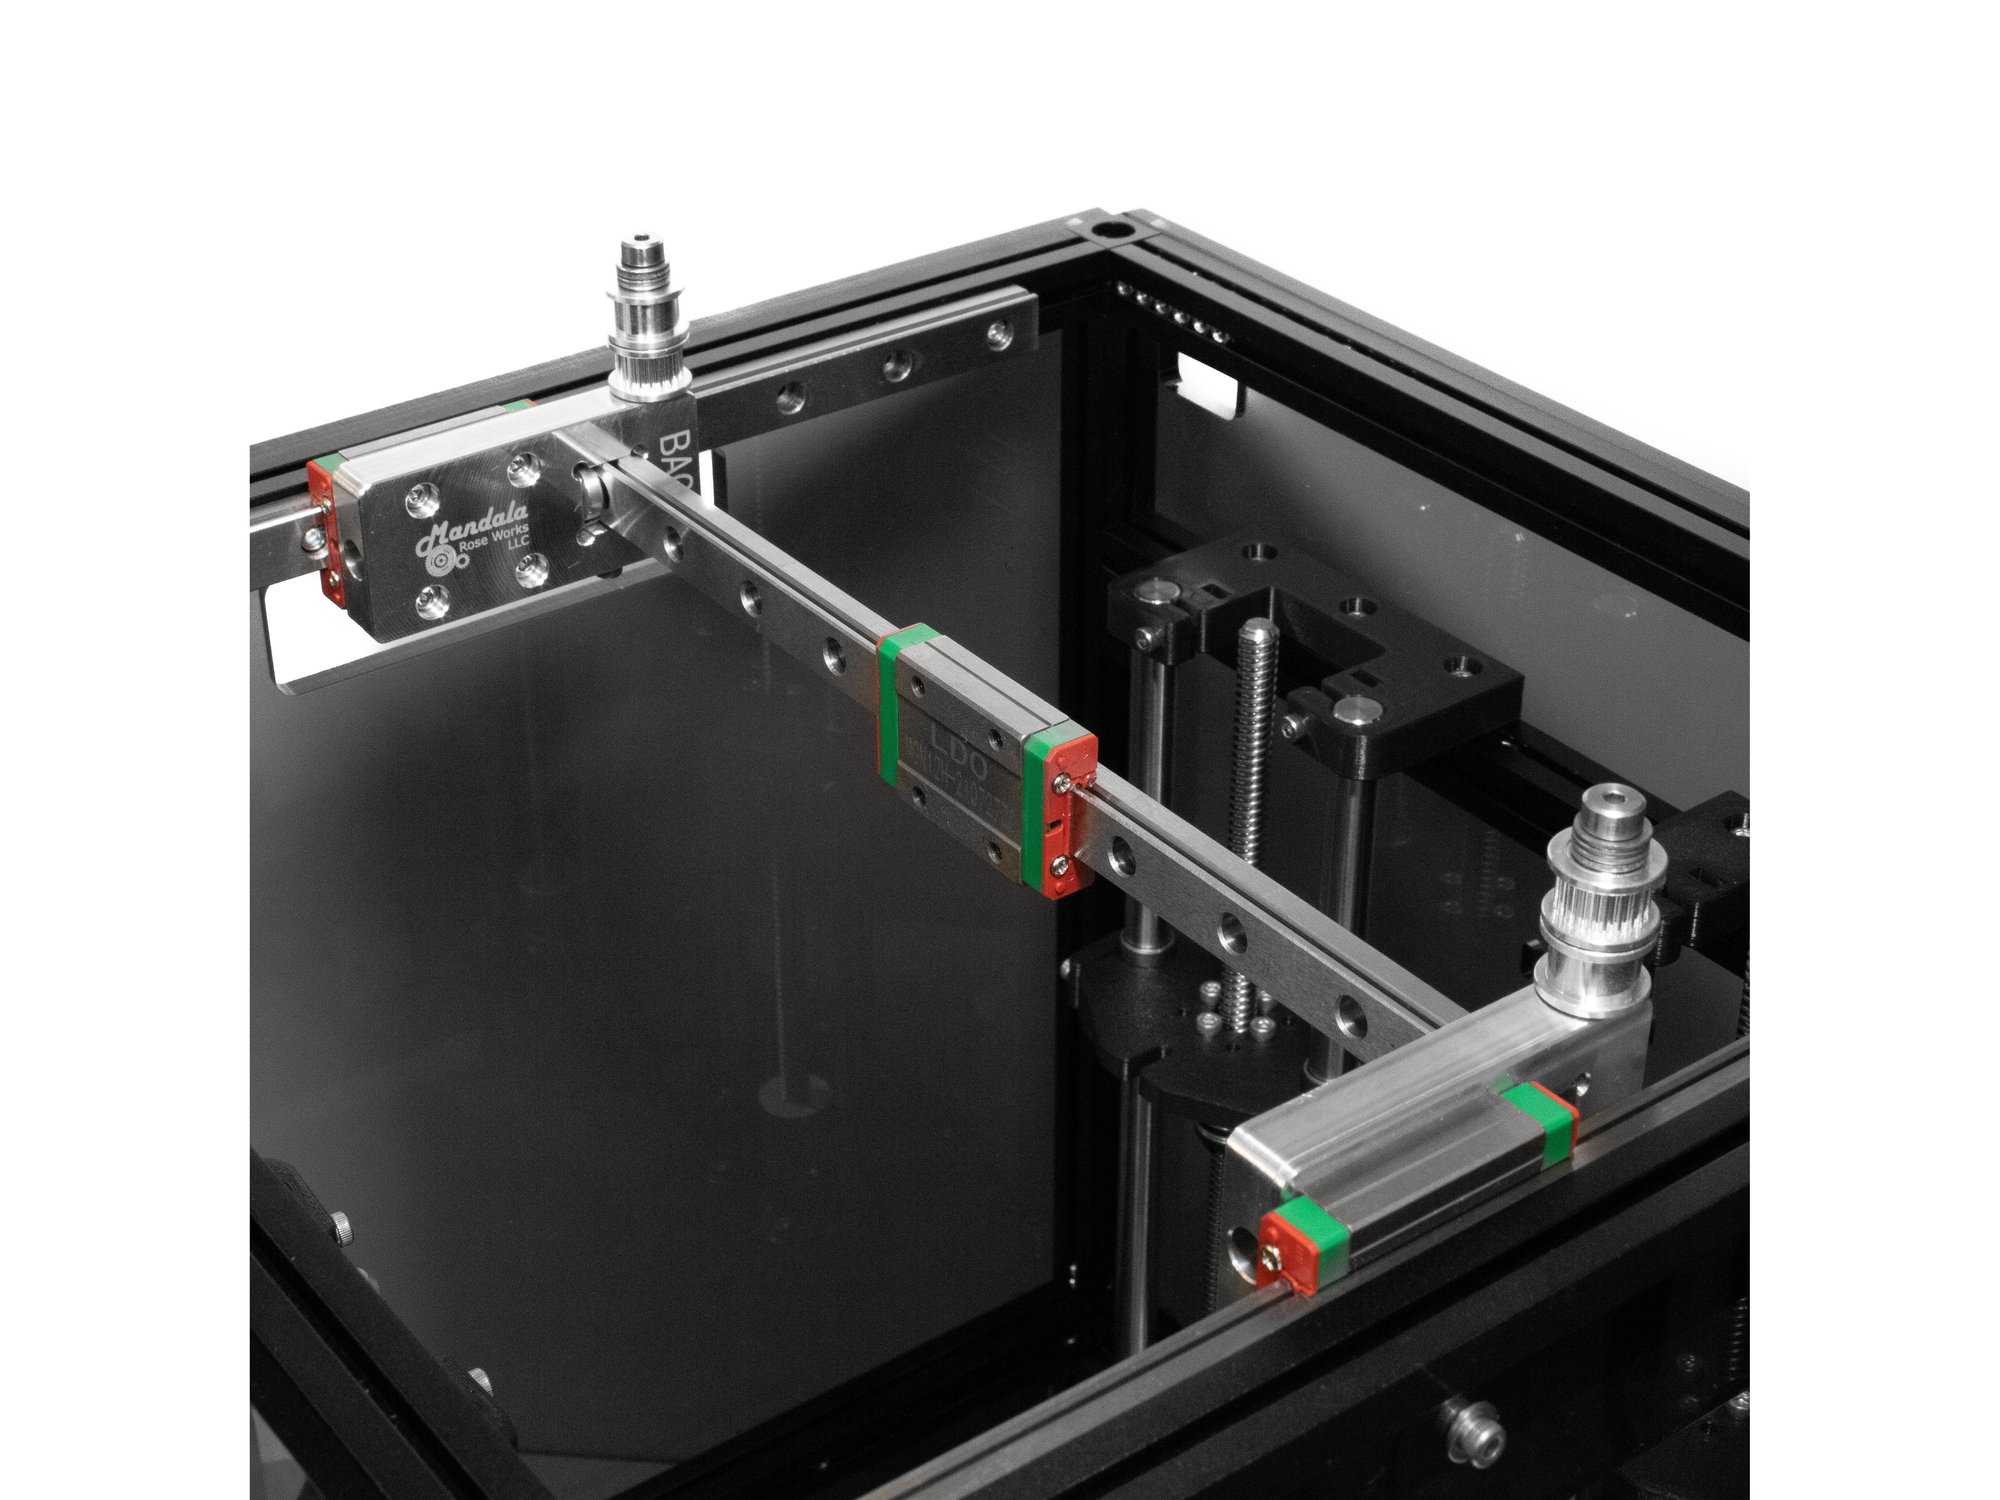
  • To insert the Y rail into the X carriages it gets oriented as in the image. Be sure the "inside' faces with the text milled into them face each other.
  • There is a round metal spacer that goes between the Y rail and the horizontal part of the carriage. Lightly tighten the horizontal M3 bolt to hold it in place.
  • There is a flat aluminum spacer that goes under the Y rail. Lightly tighten vertical bolt under the Rail against that spacer.

Step 5 — Bolt Y Rail Assembly onto X Rails

  • Attach the X carriages to the X rails using (4) M3 x 8mm Button head bolts each.

J) X/Y Steppers and Idlers

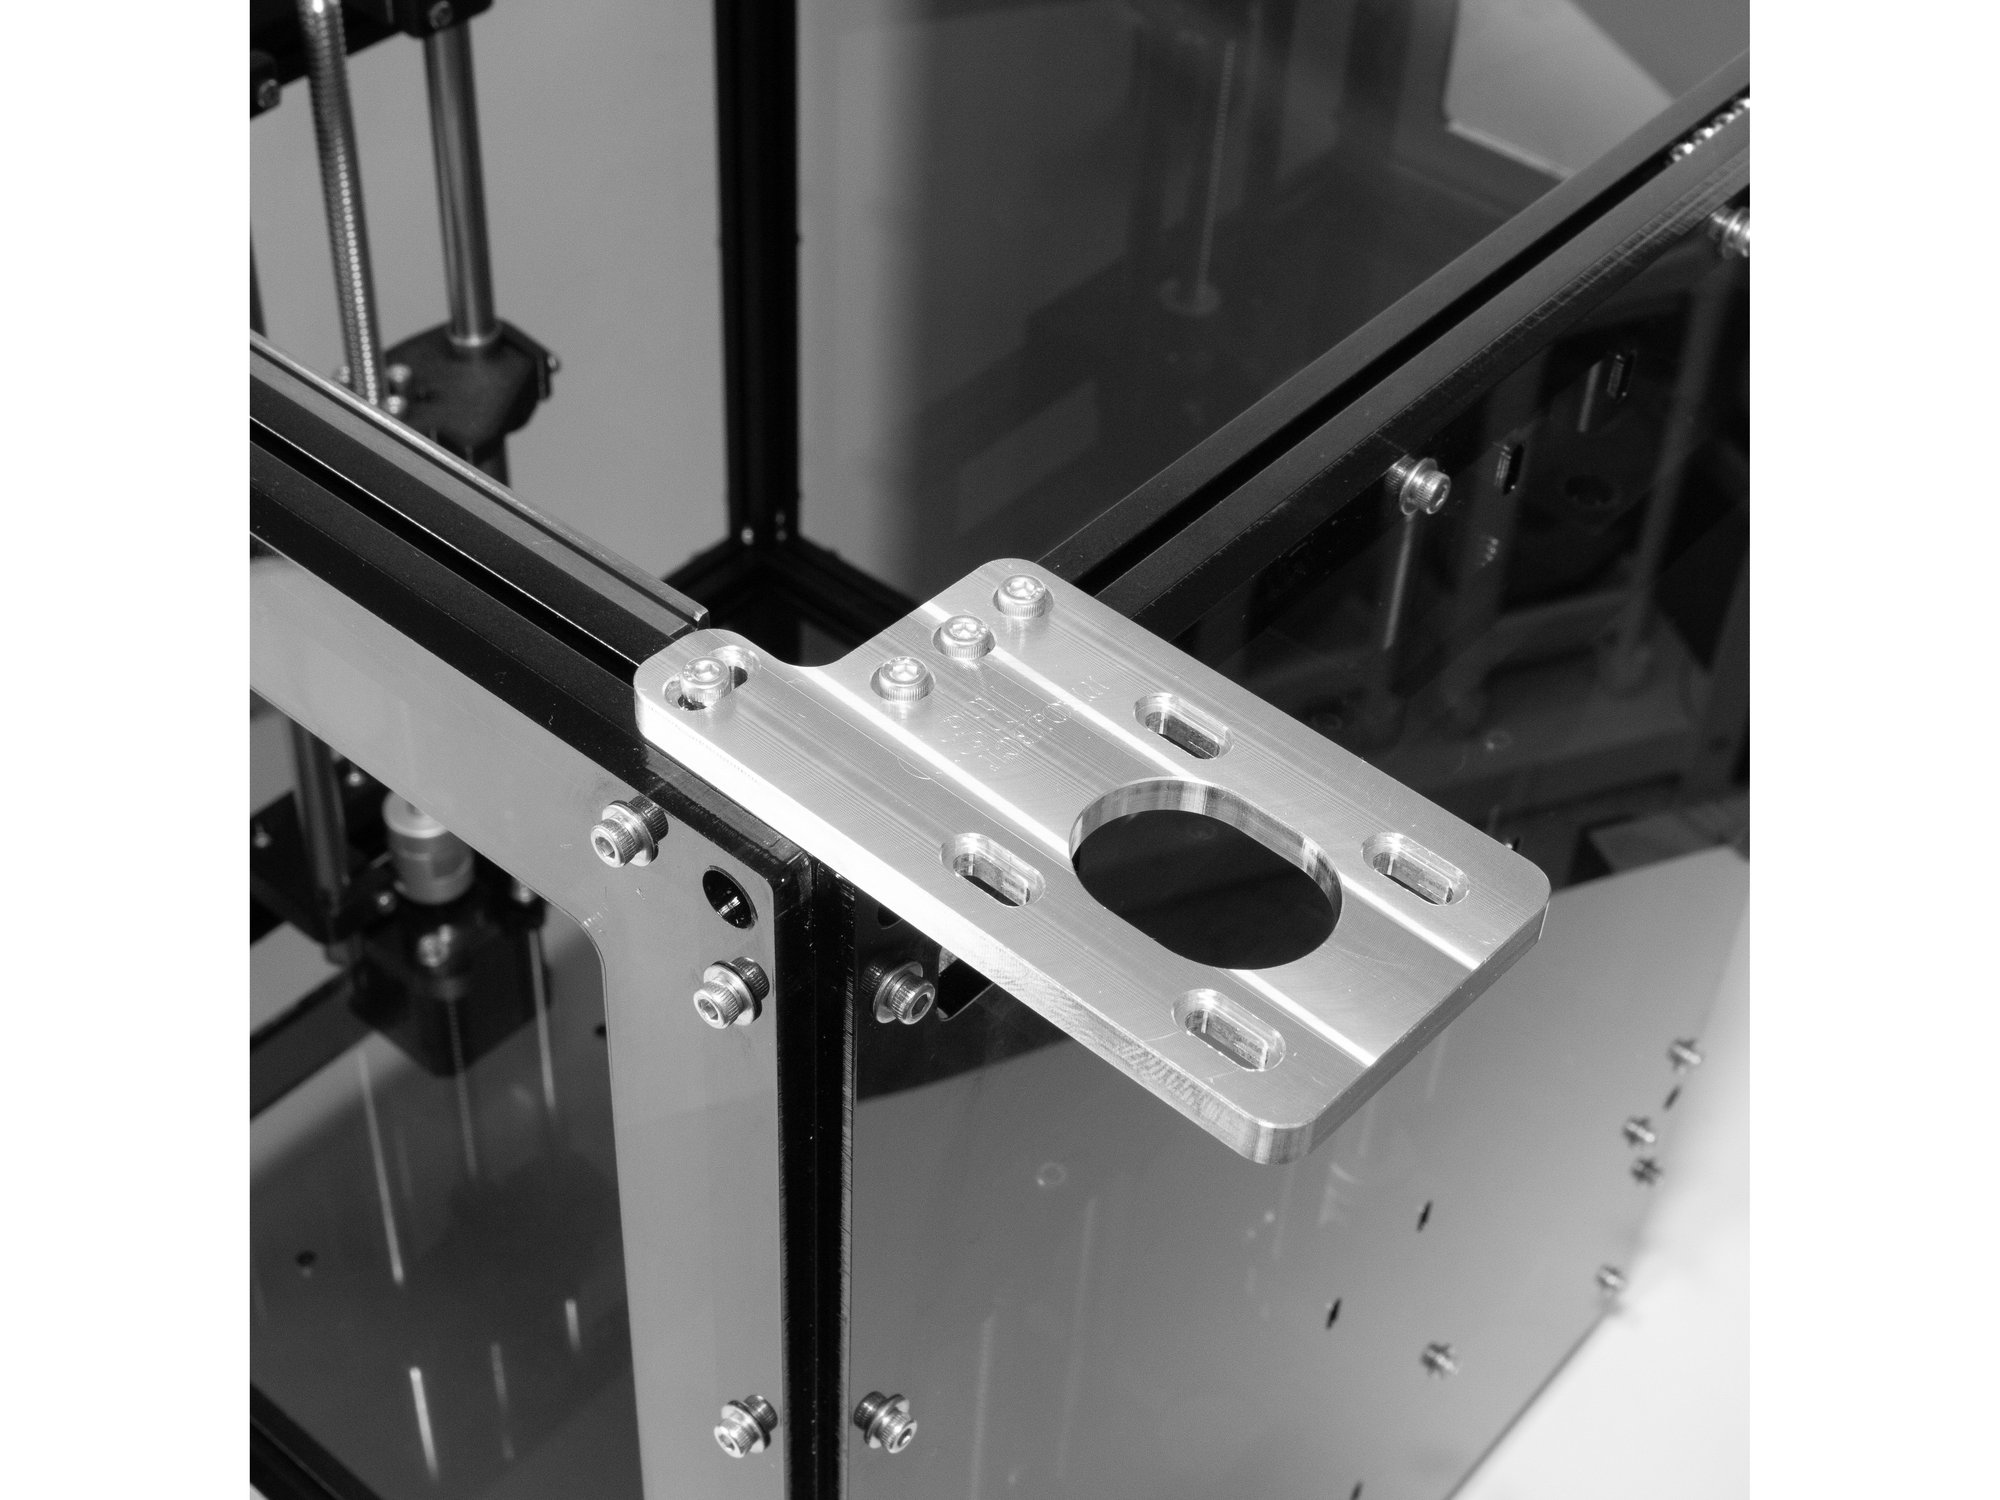
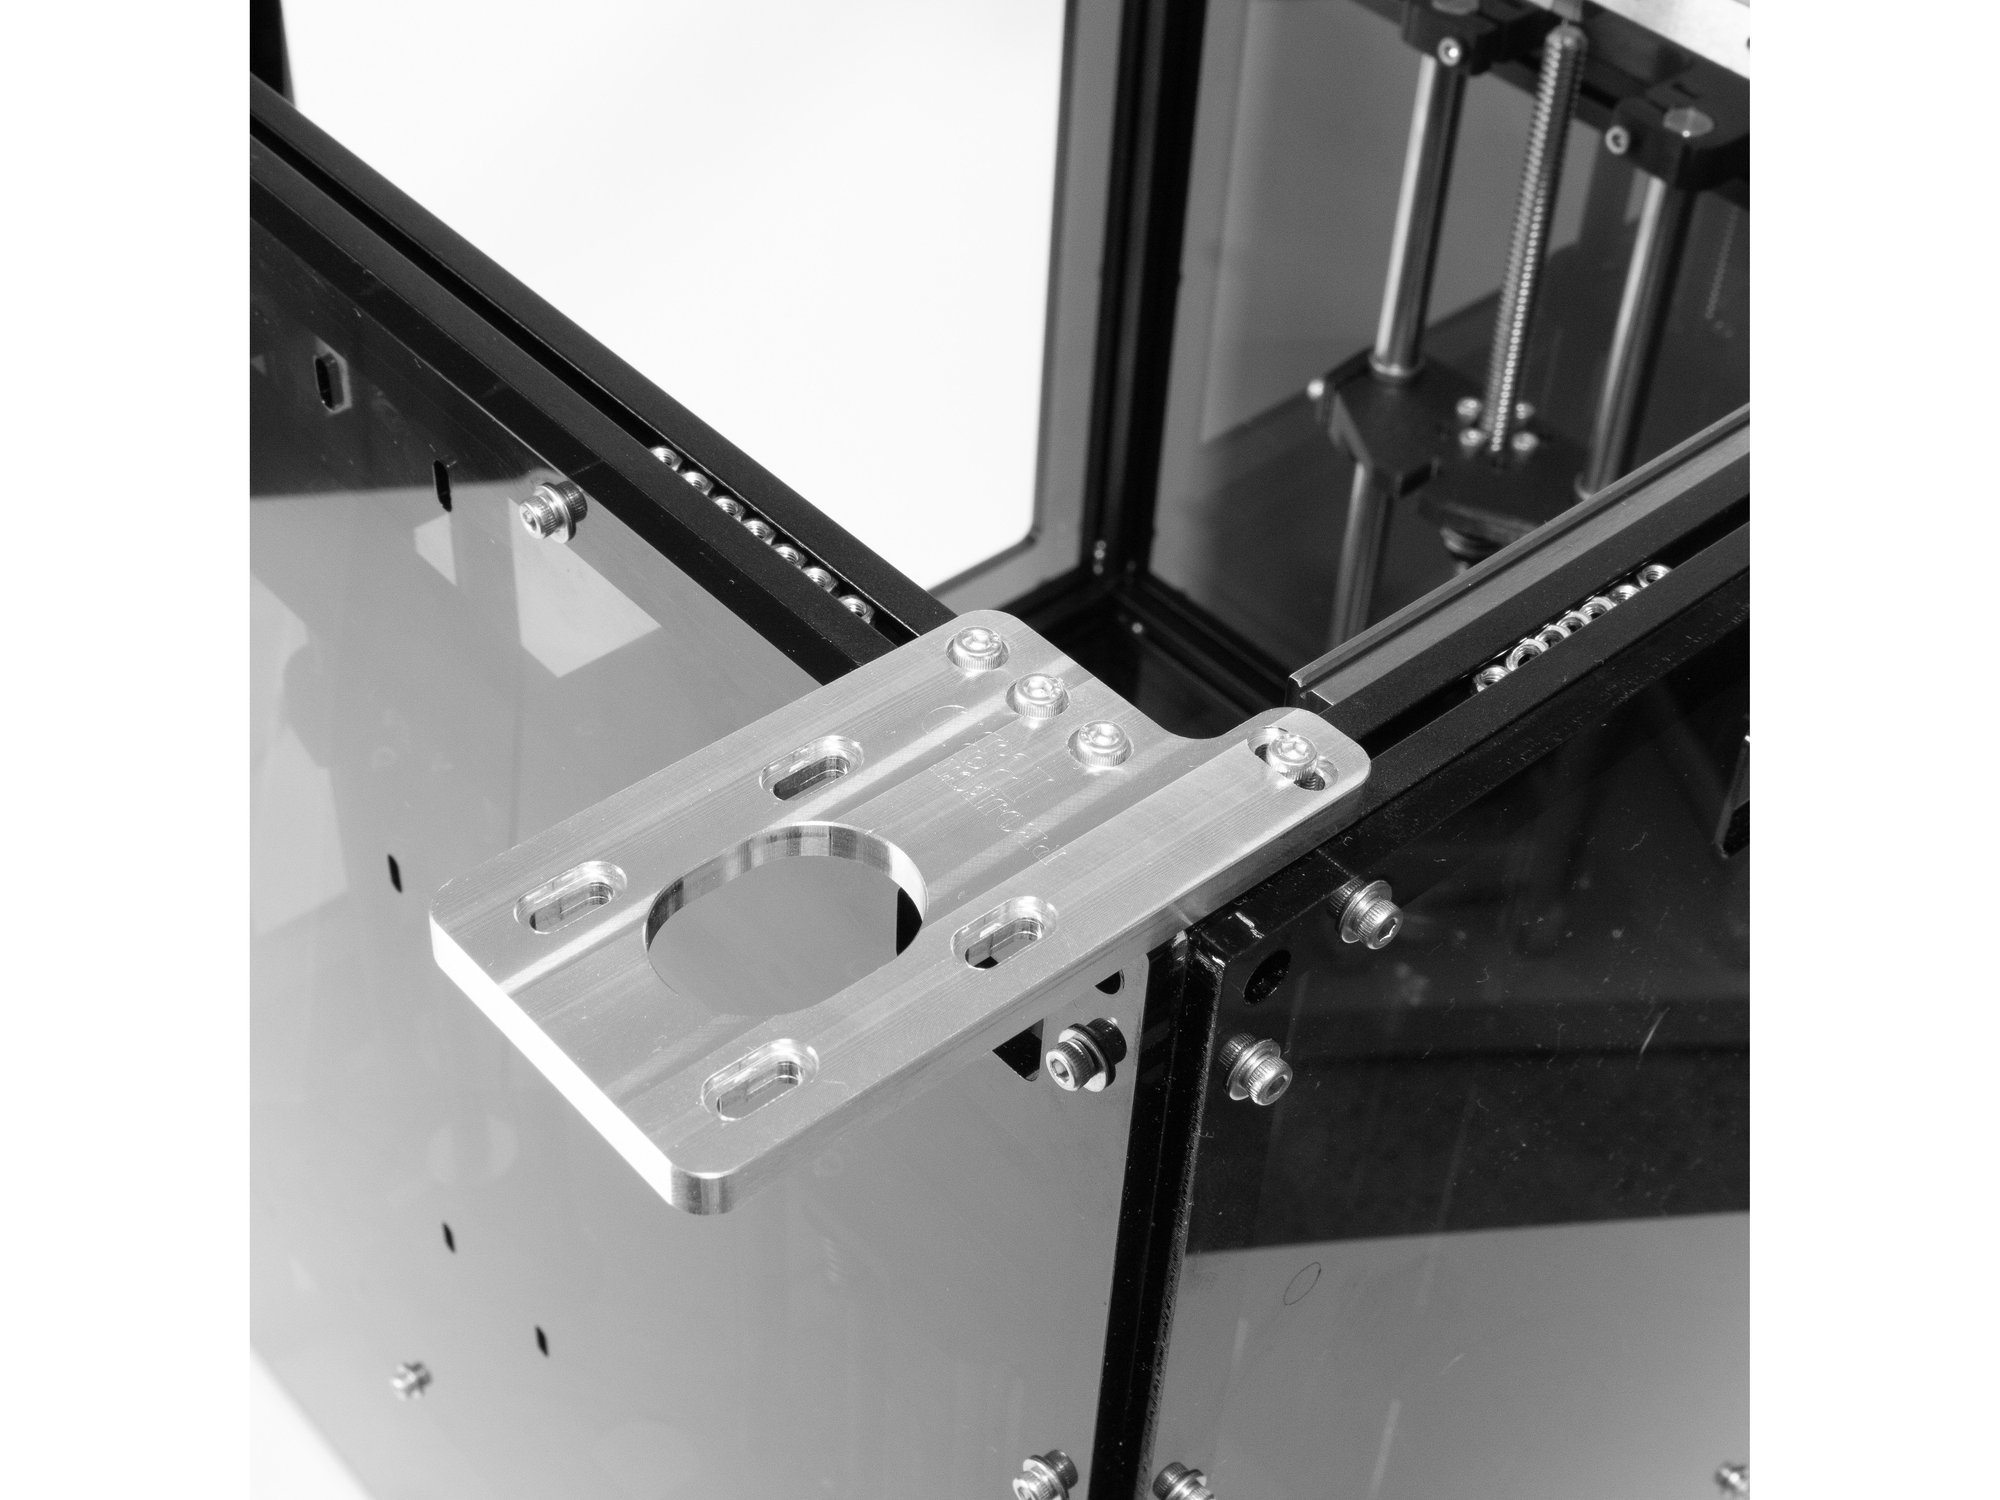
Step 1 — Front Stepper Mount

  • Attach the front stepper mount to the top of the frame using (4) m3 x 8mm socket head screws.

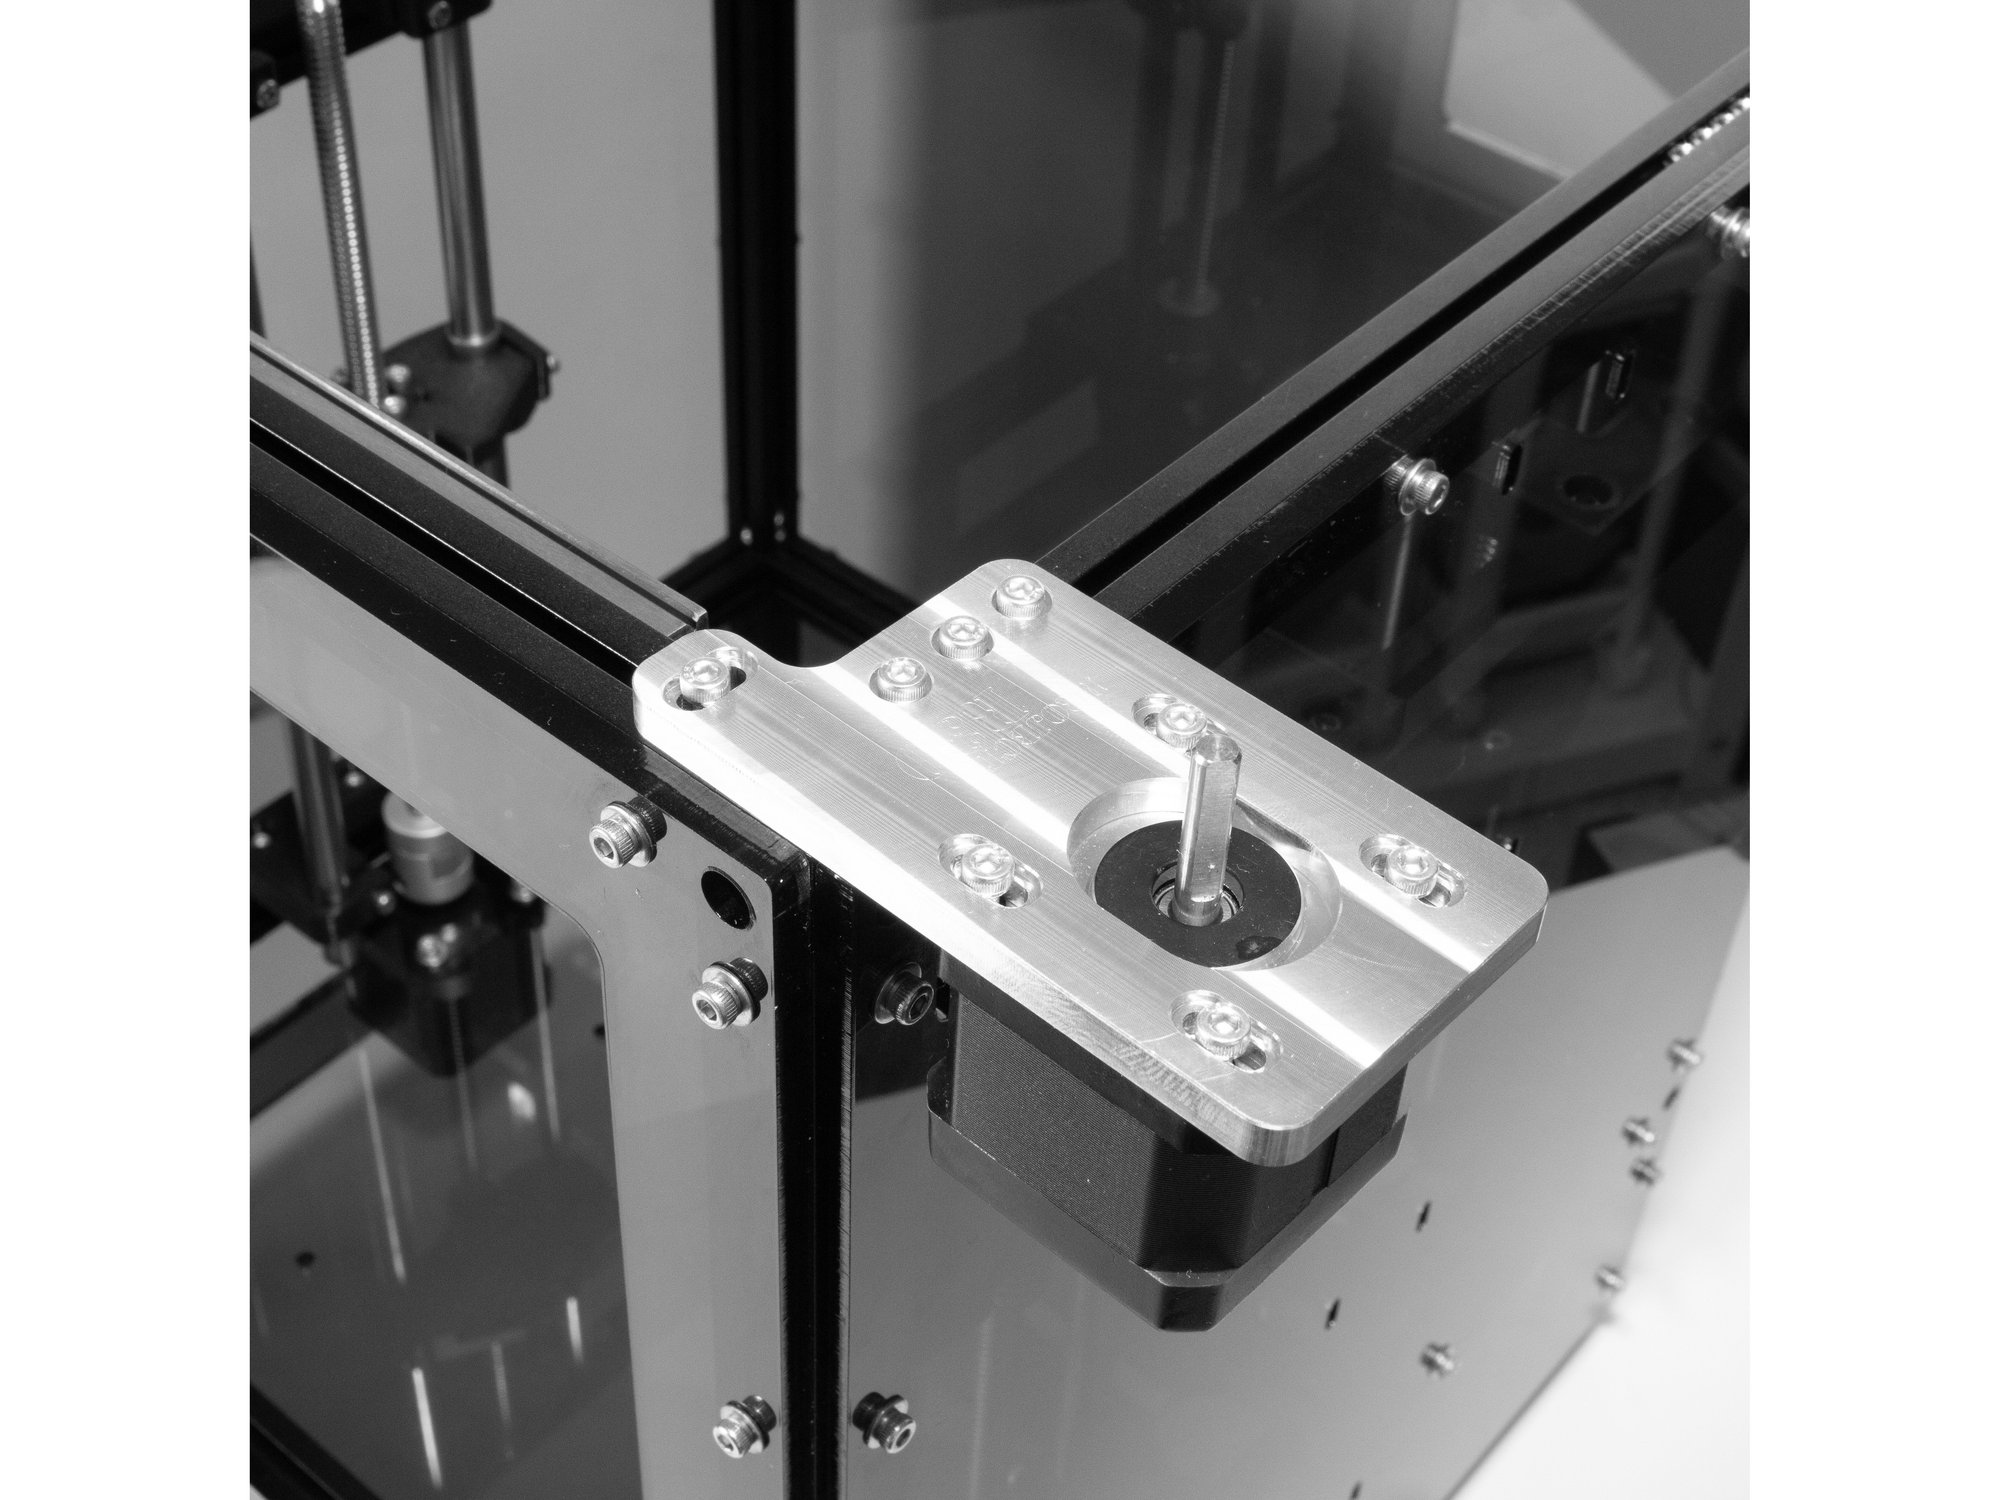
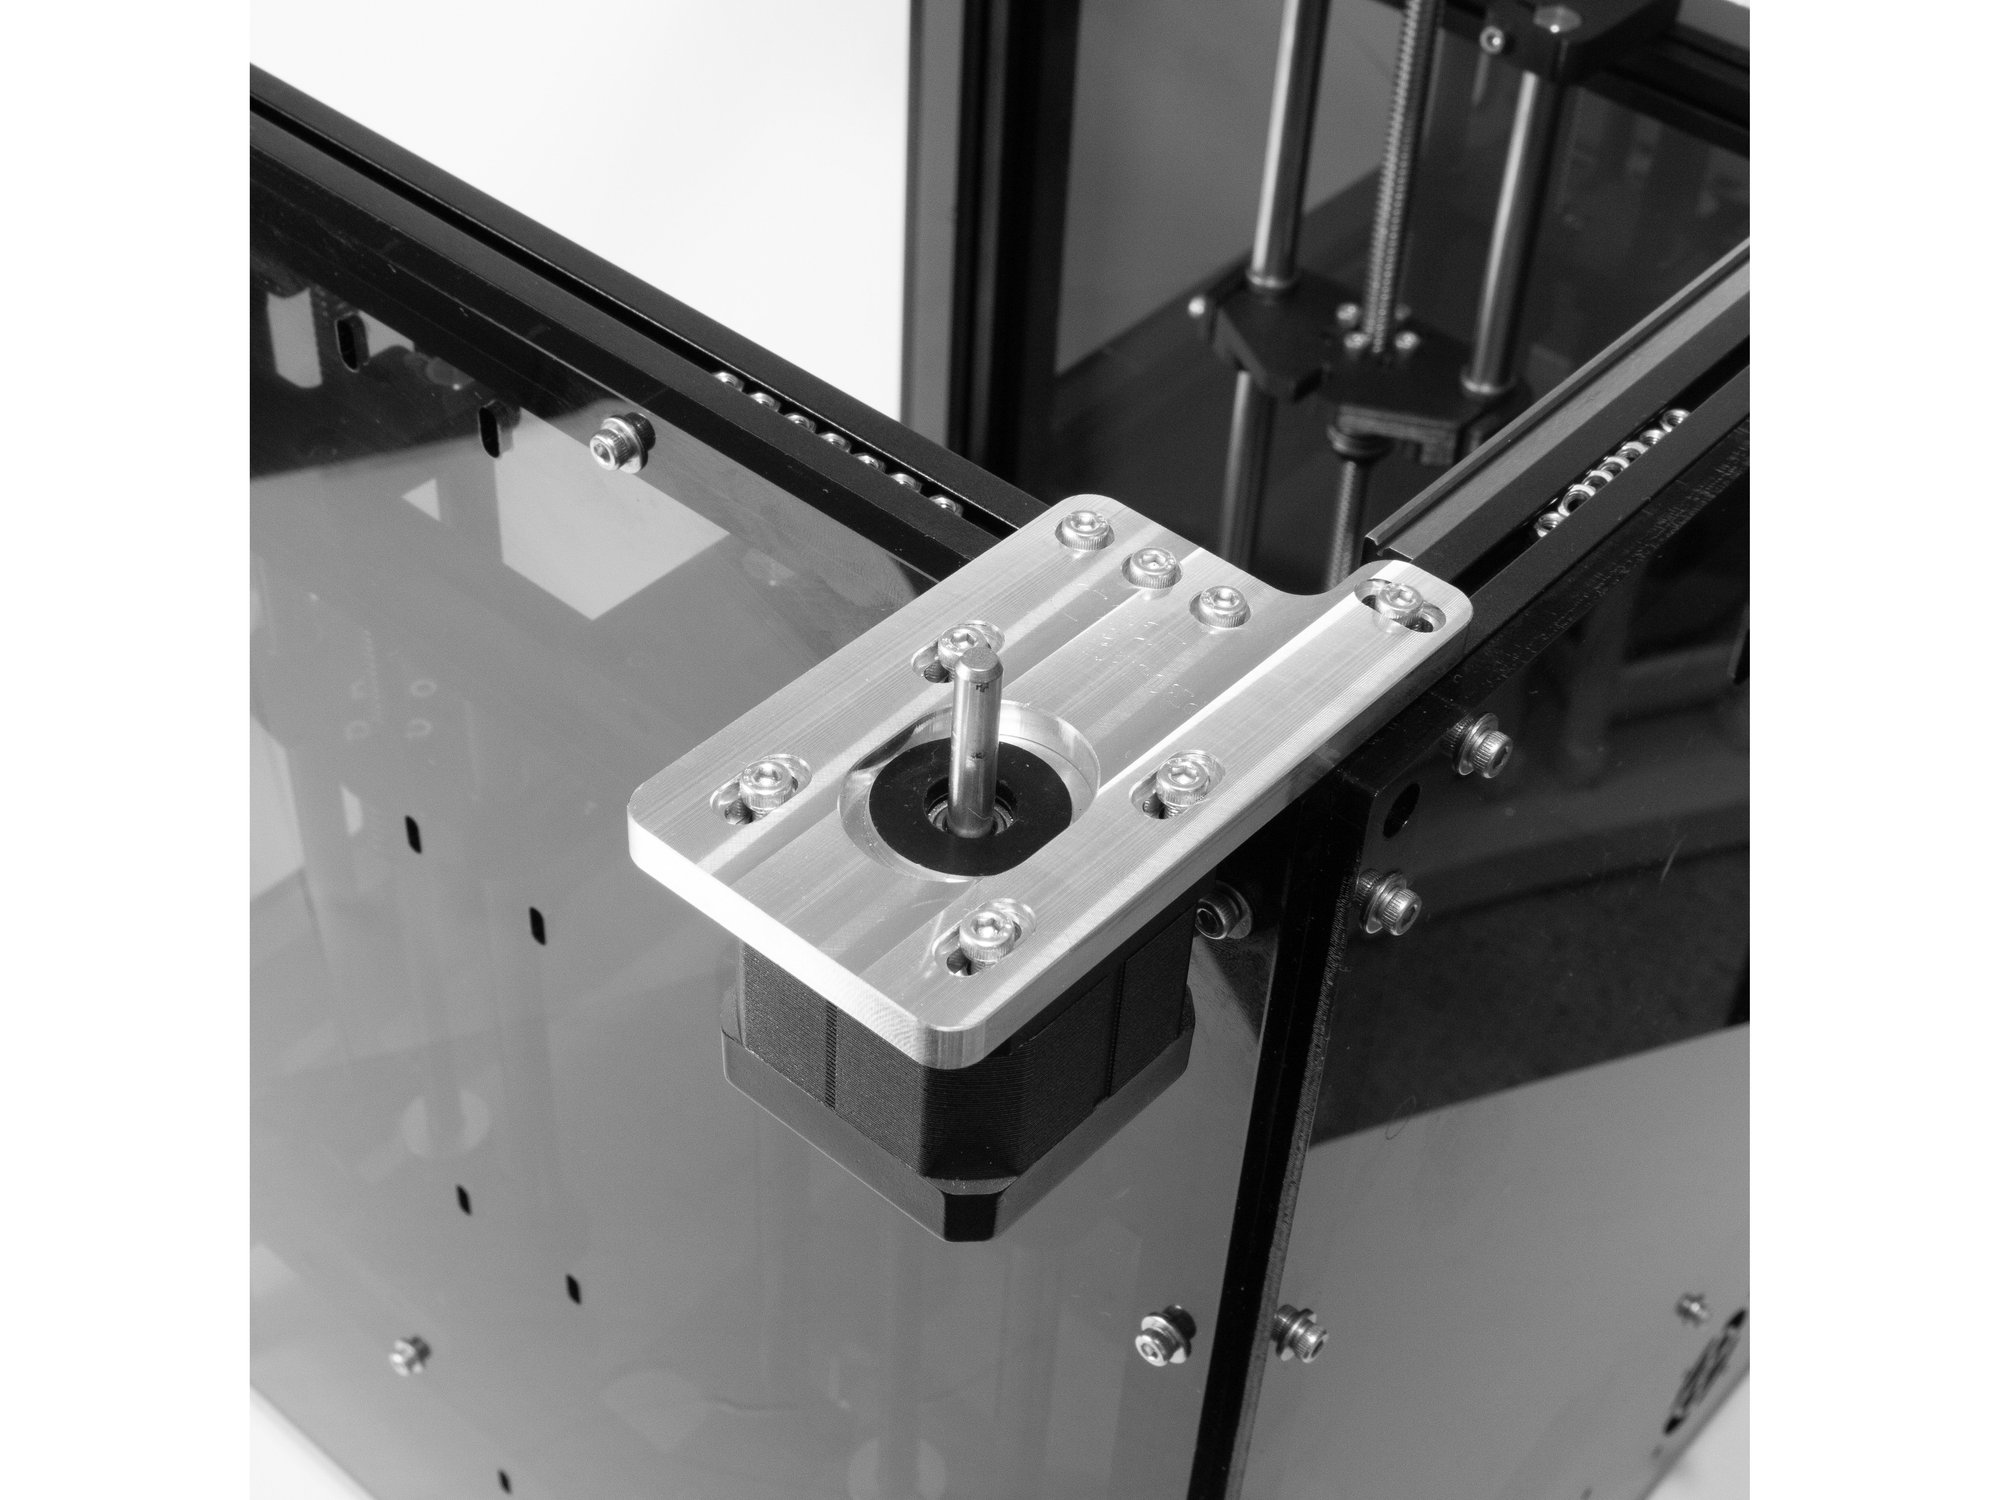
Step 2 — Install Front Stepper

  • Attach one of the 0.9 degree NEMA 17 steppers to the front idler mount using (4) m3 x 8mm socket head screws.
  • Note The wiring connector should point towards the side panel of the machine.

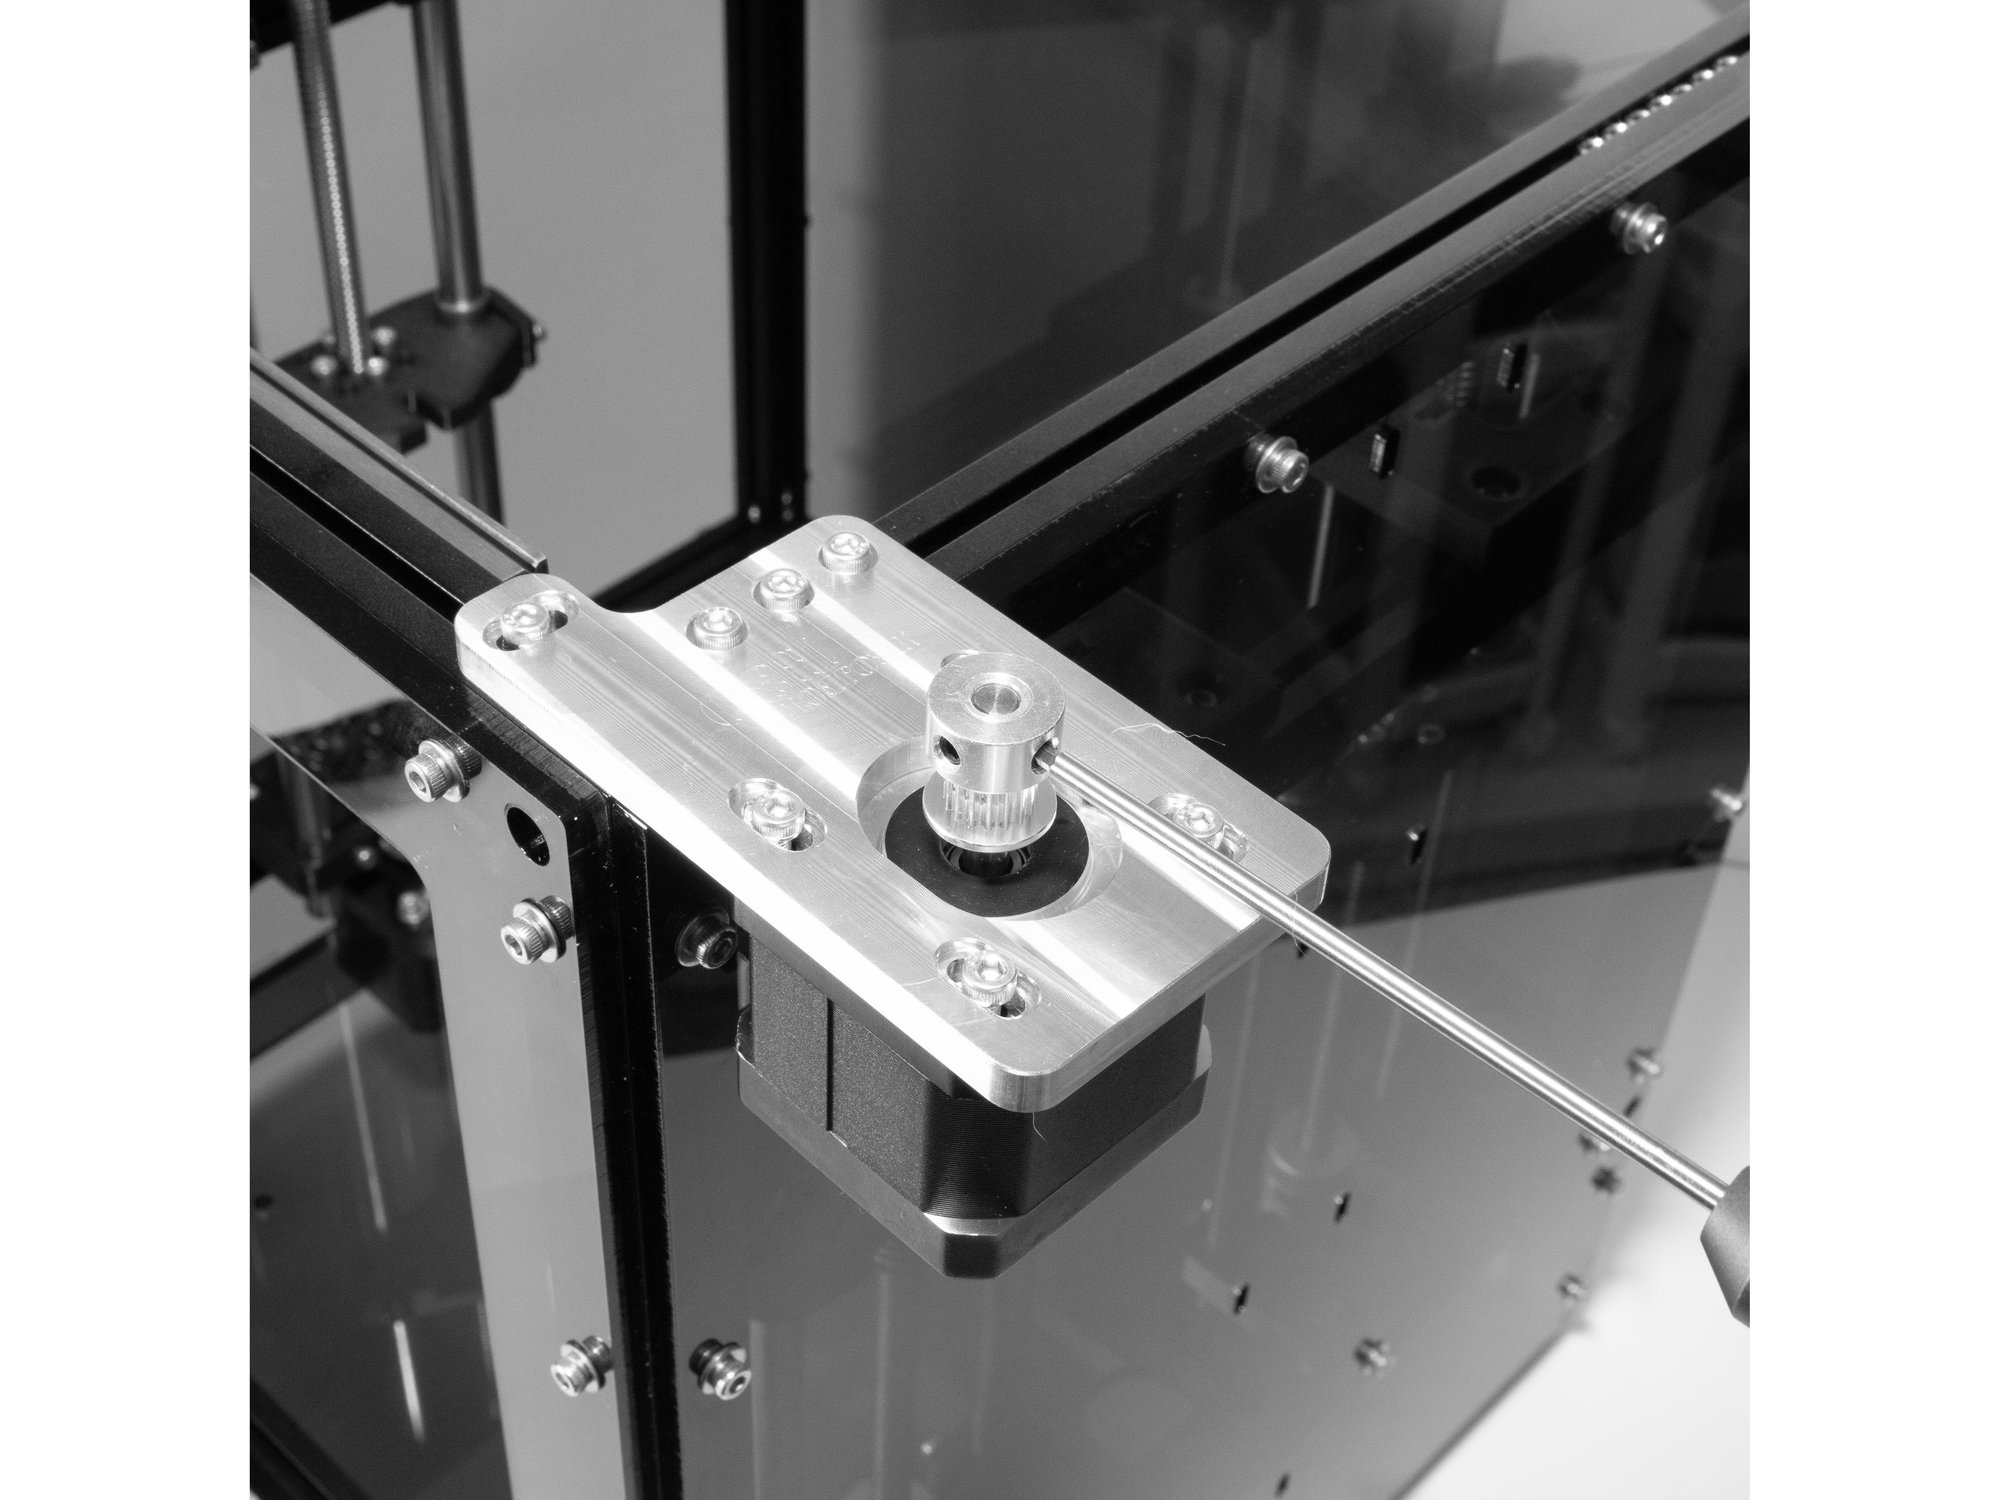
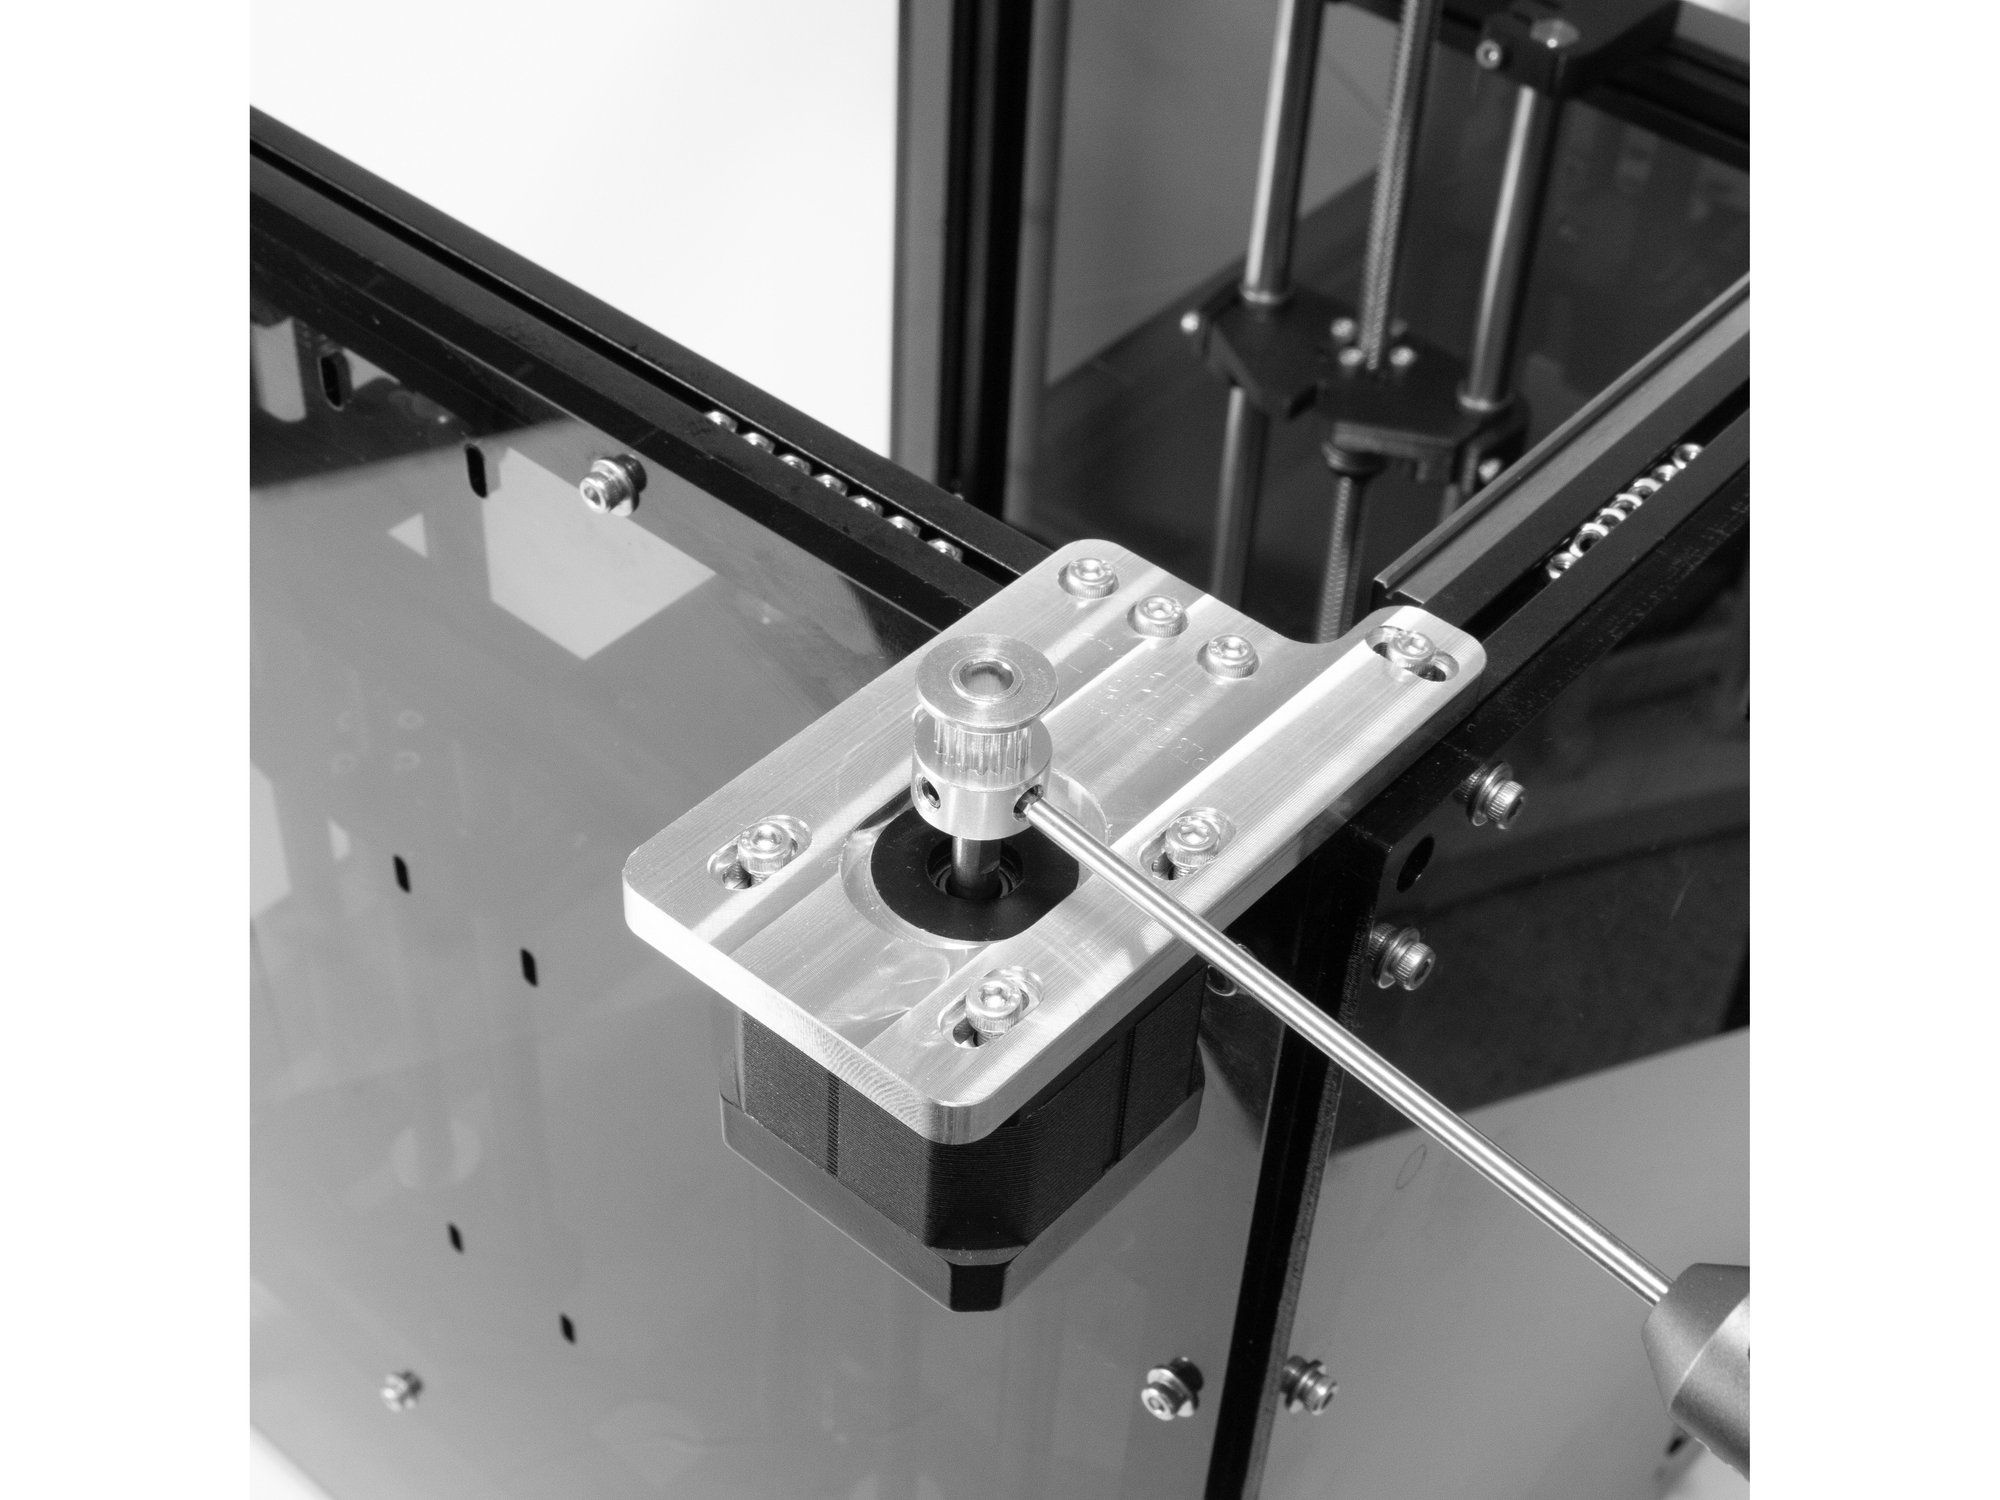
Step 3 — Install Front Pulley

  • Install (1) 16t pulleys onto the stepper shaft with the teeth facing down. There are two set screws, be sure one of them is against the flat of the stepper shaft.
  • Note Don't overtighten the set screws, you'll need to adjust the pulley height to align the belt later

Step 4 — Rear Stepper Mount

  • Attach the rear stepper mount to the top of the frame using (4) M3 x 8socket head screws.
  • Note Don't overtighten them - you'll need to be able to adjust the position of the idler mount to align the belts later.

Step 5 — Install Rear Stepper

  • Attach one of the 0.9 degree NEMA 17 steppers to the front idler mount using (4) M3 x 8 socket head screws.

Step 6 — Install Rear Pulley

  • Install one of the 16t pulleys onto the stepper shaft with the teeth facing up. There are two set screws, be sure one of them is against the flat of the stepper shaft.
  • Note Don't overtighten the set screws, you'll need to adjust the pulley height to align the belt later

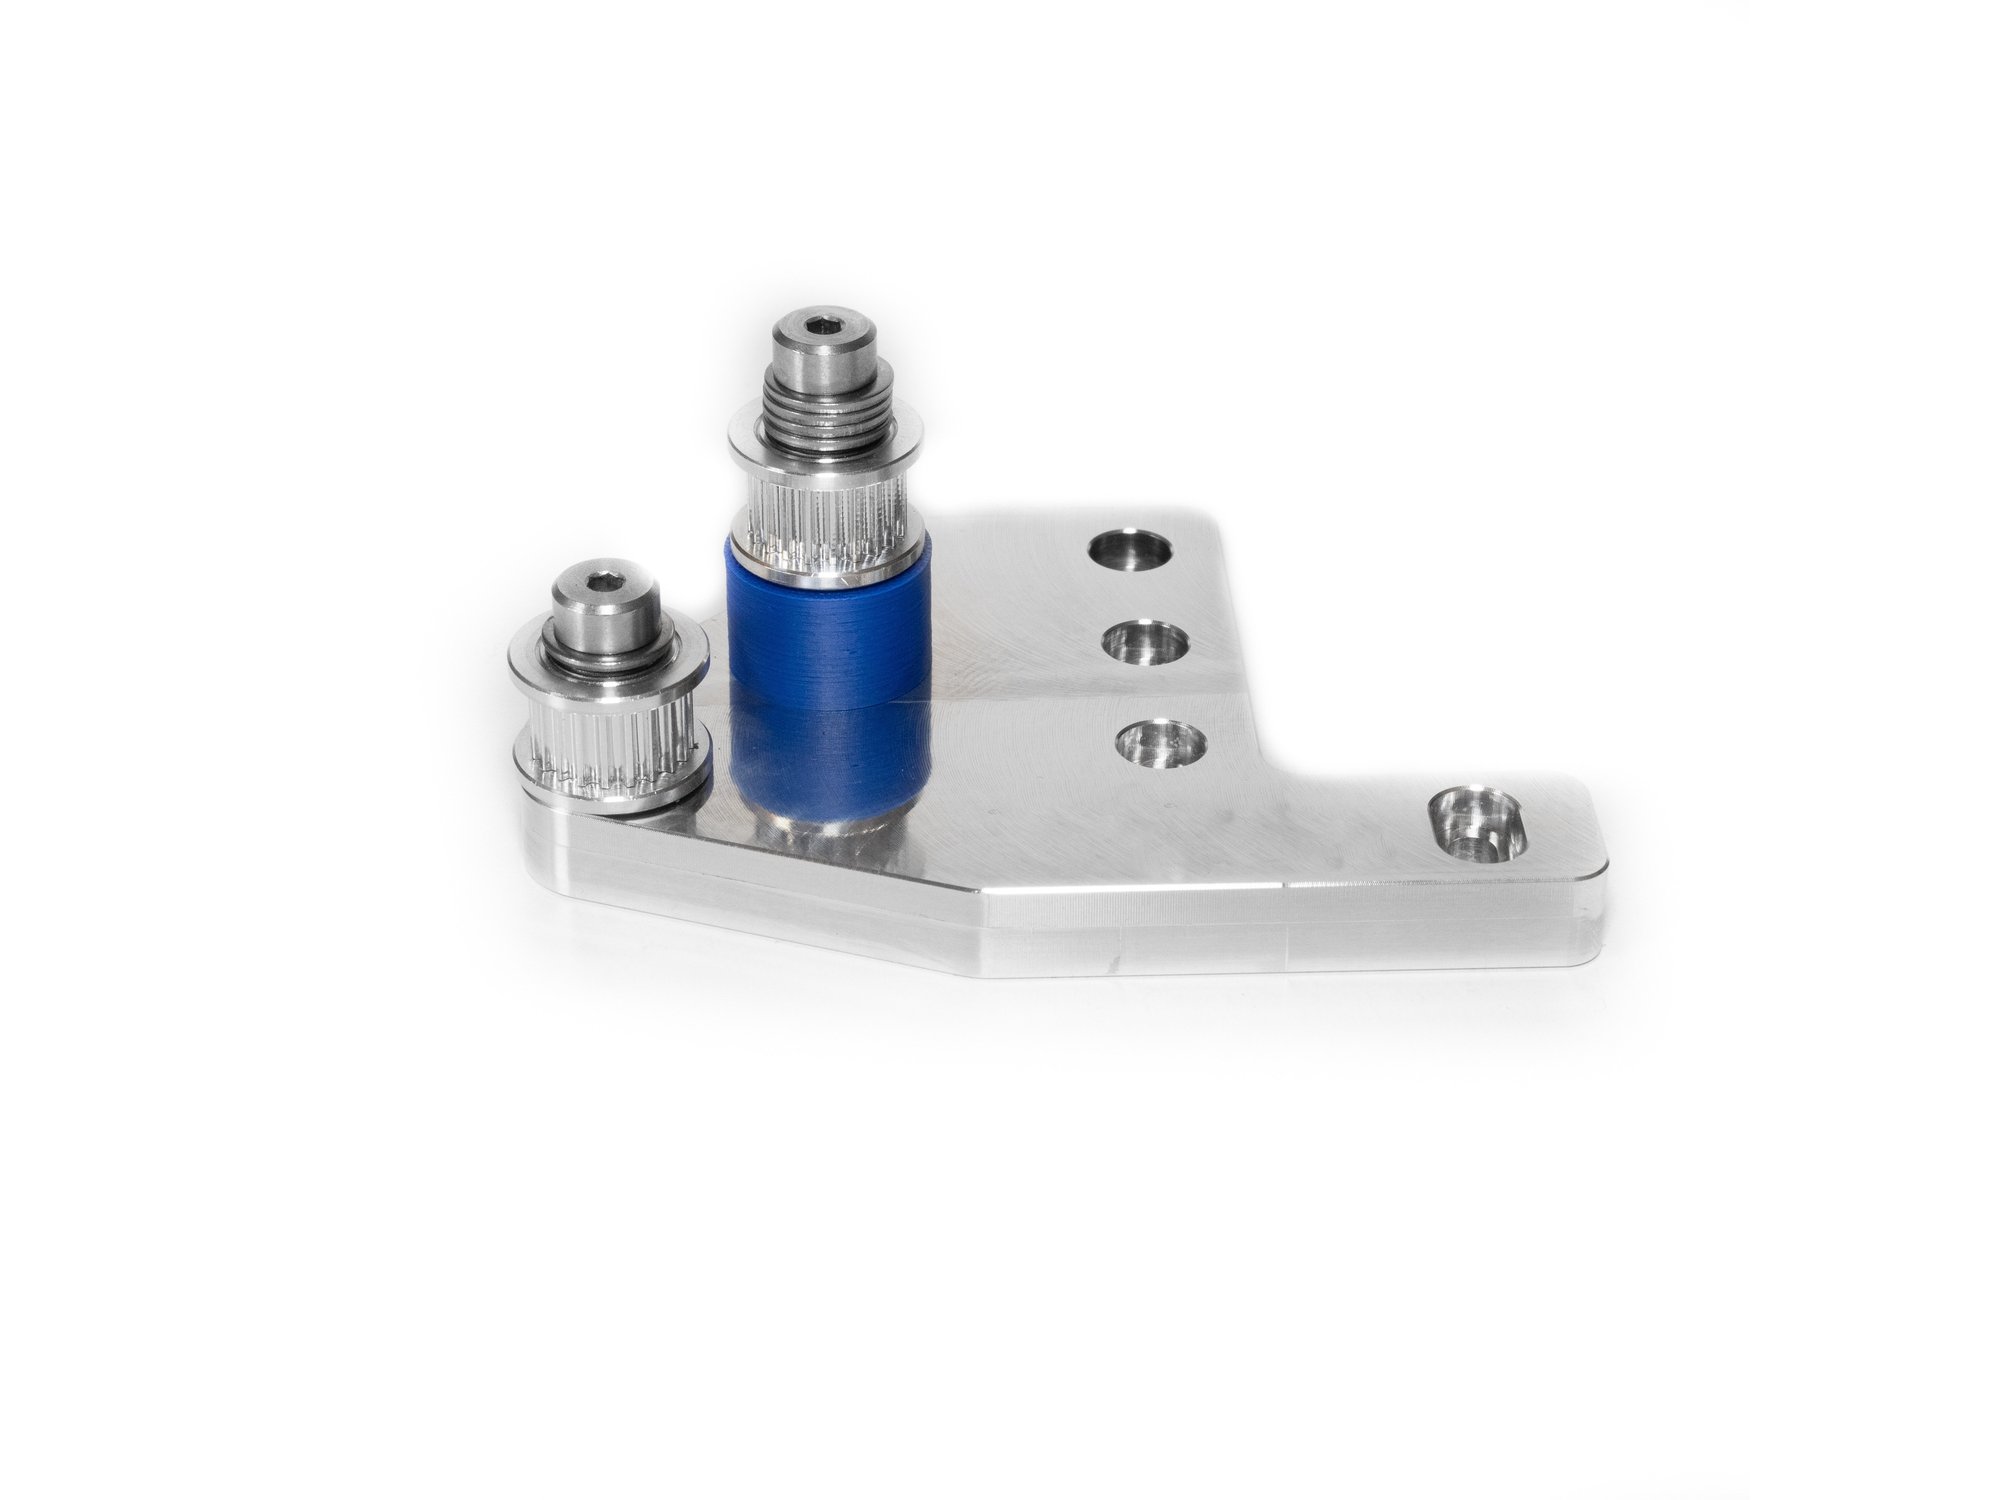
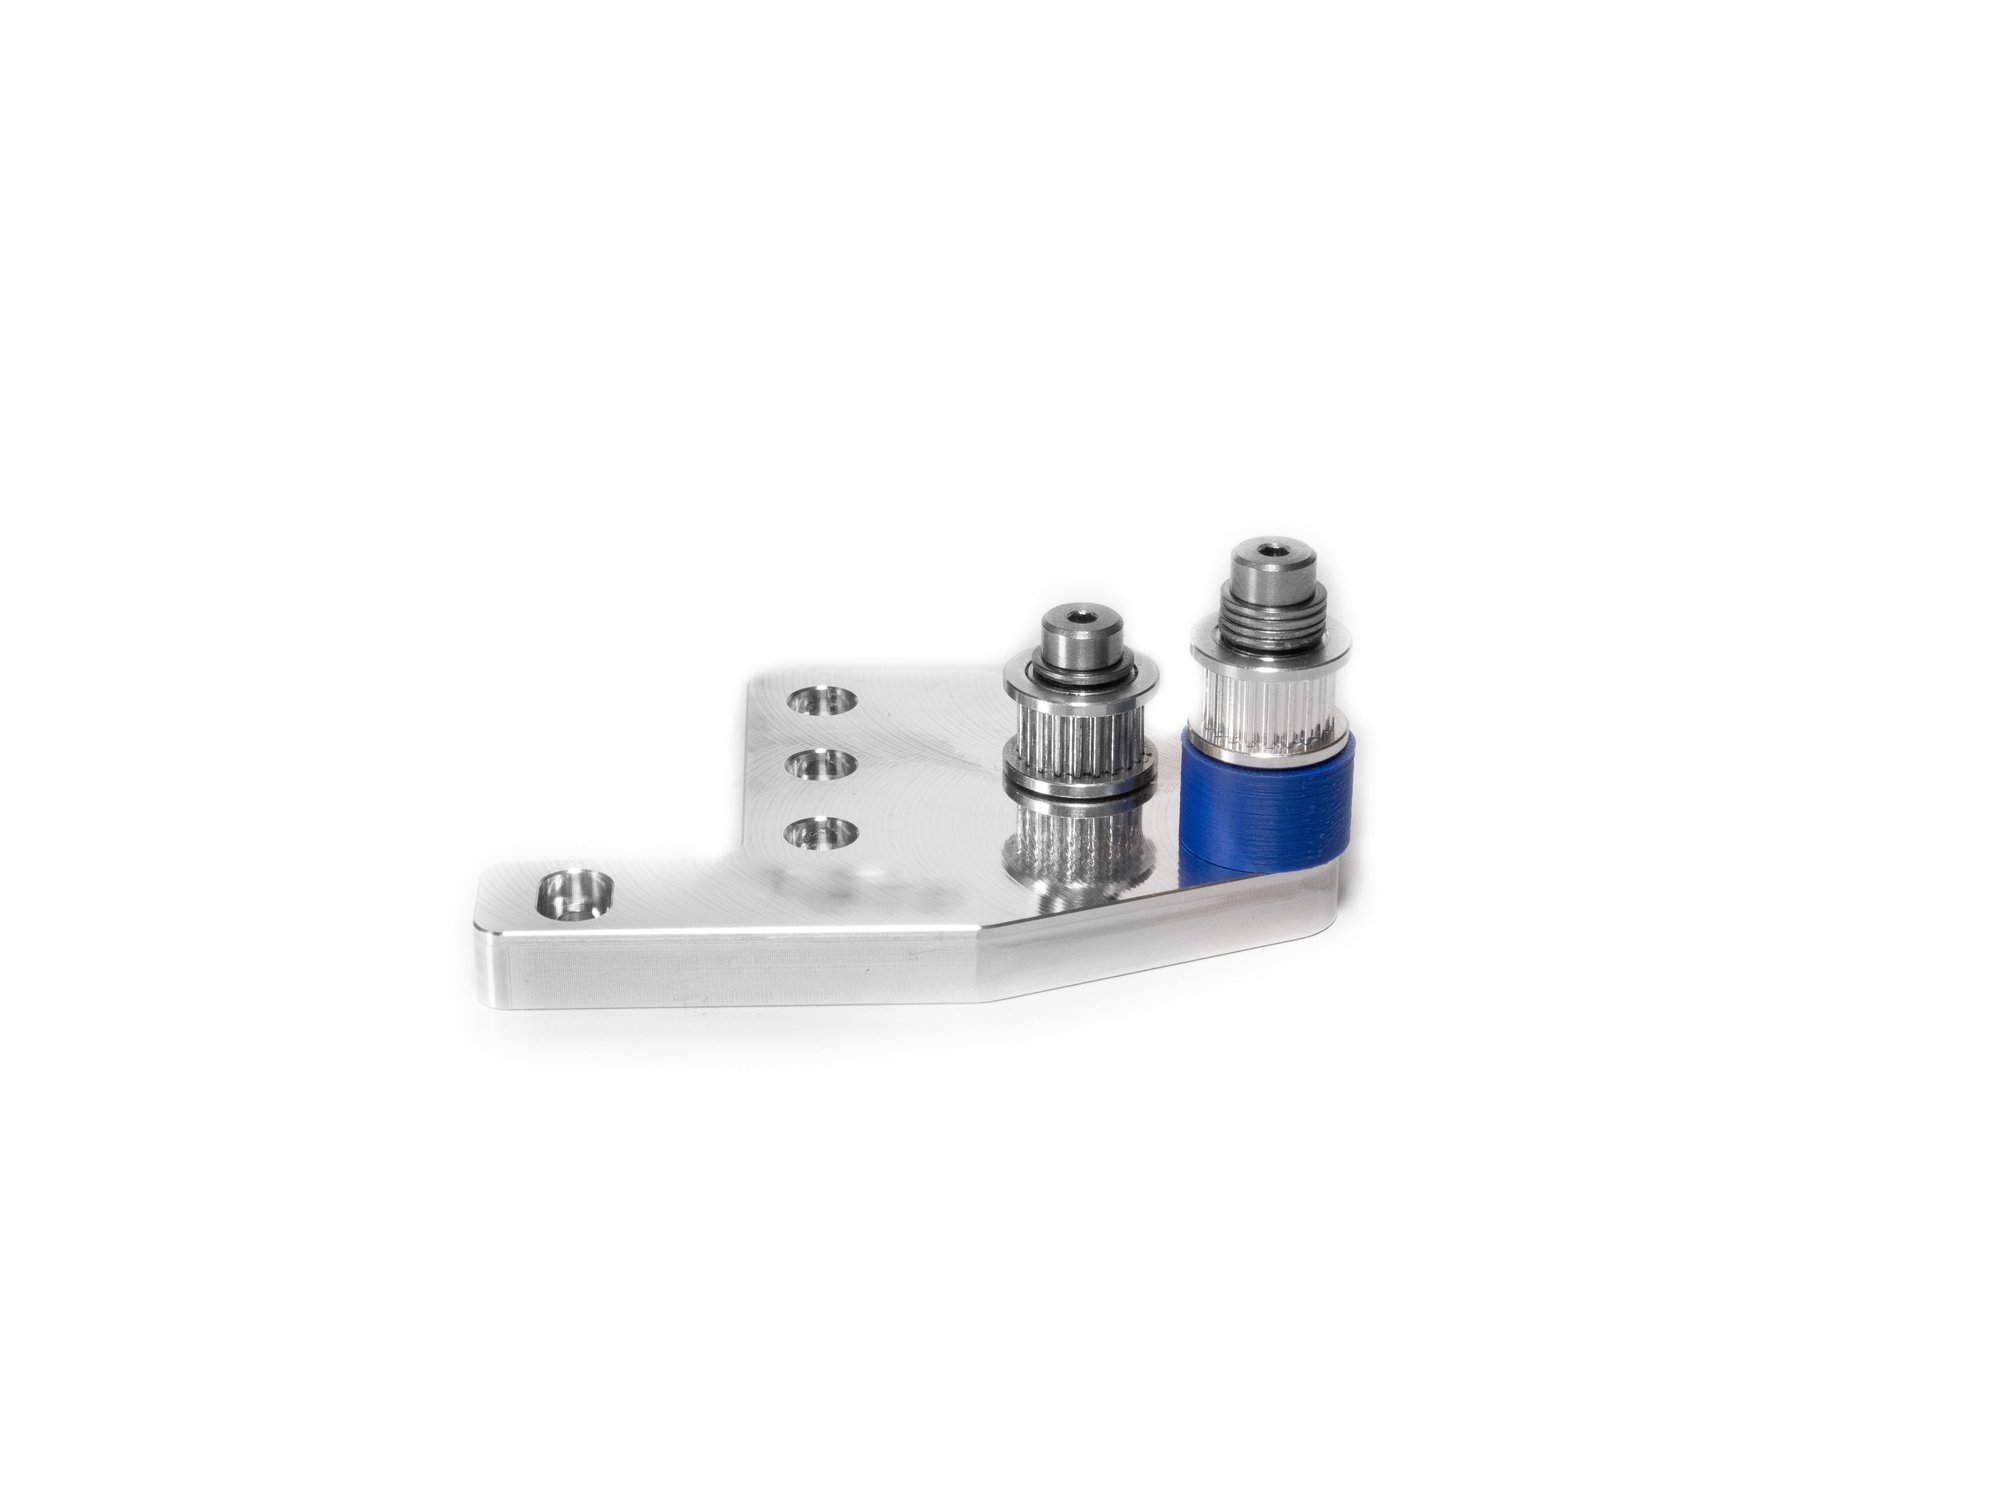
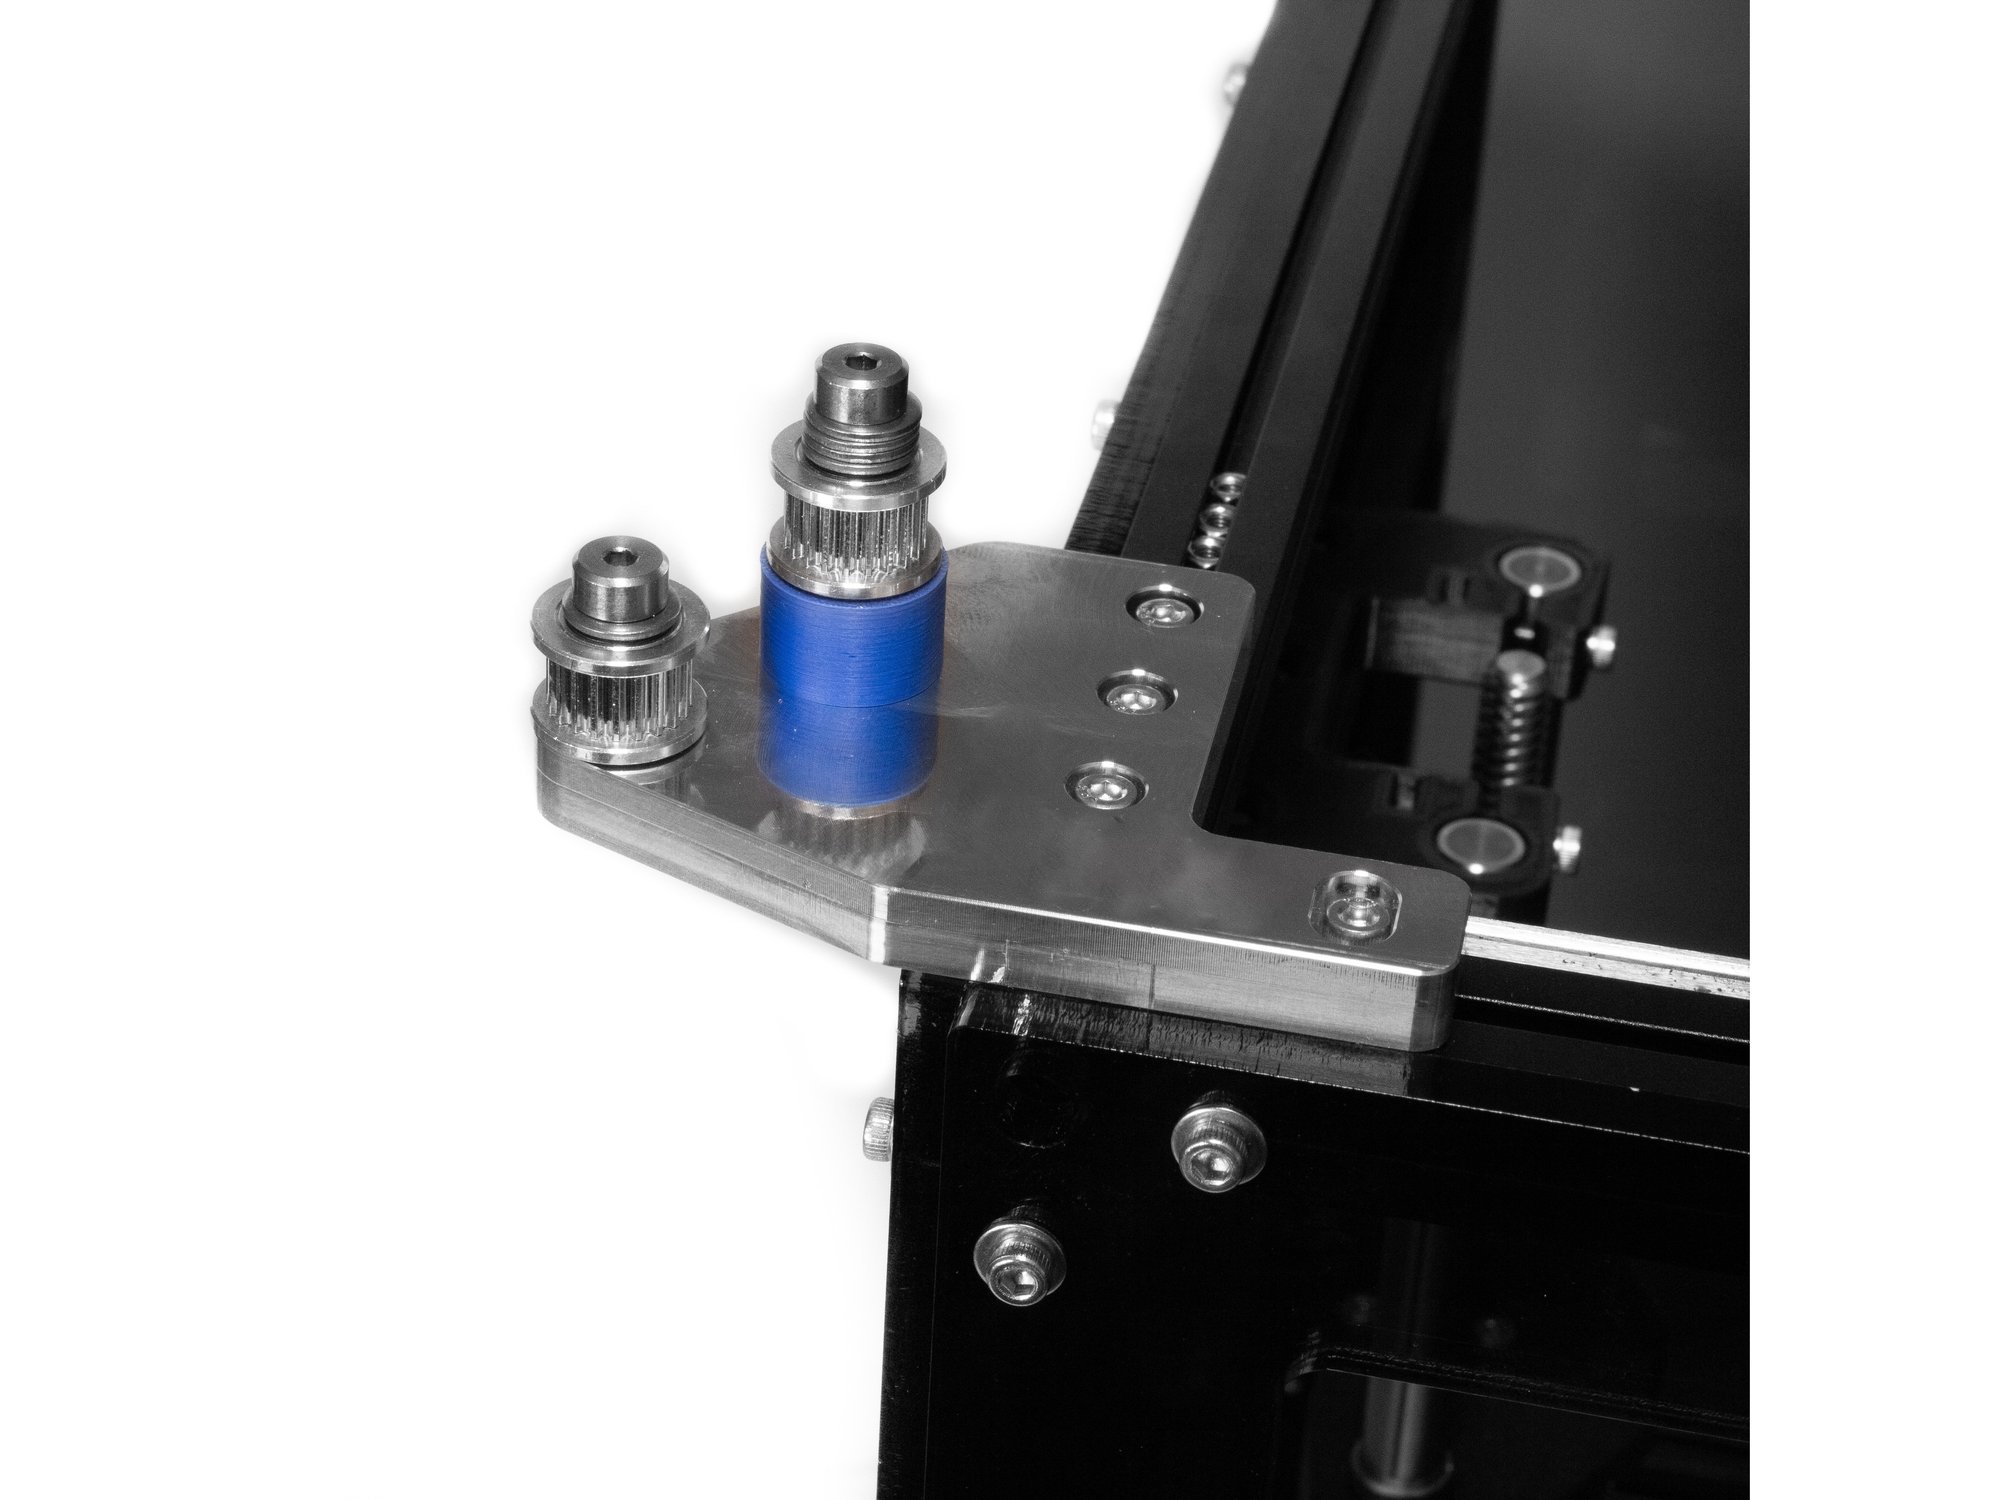
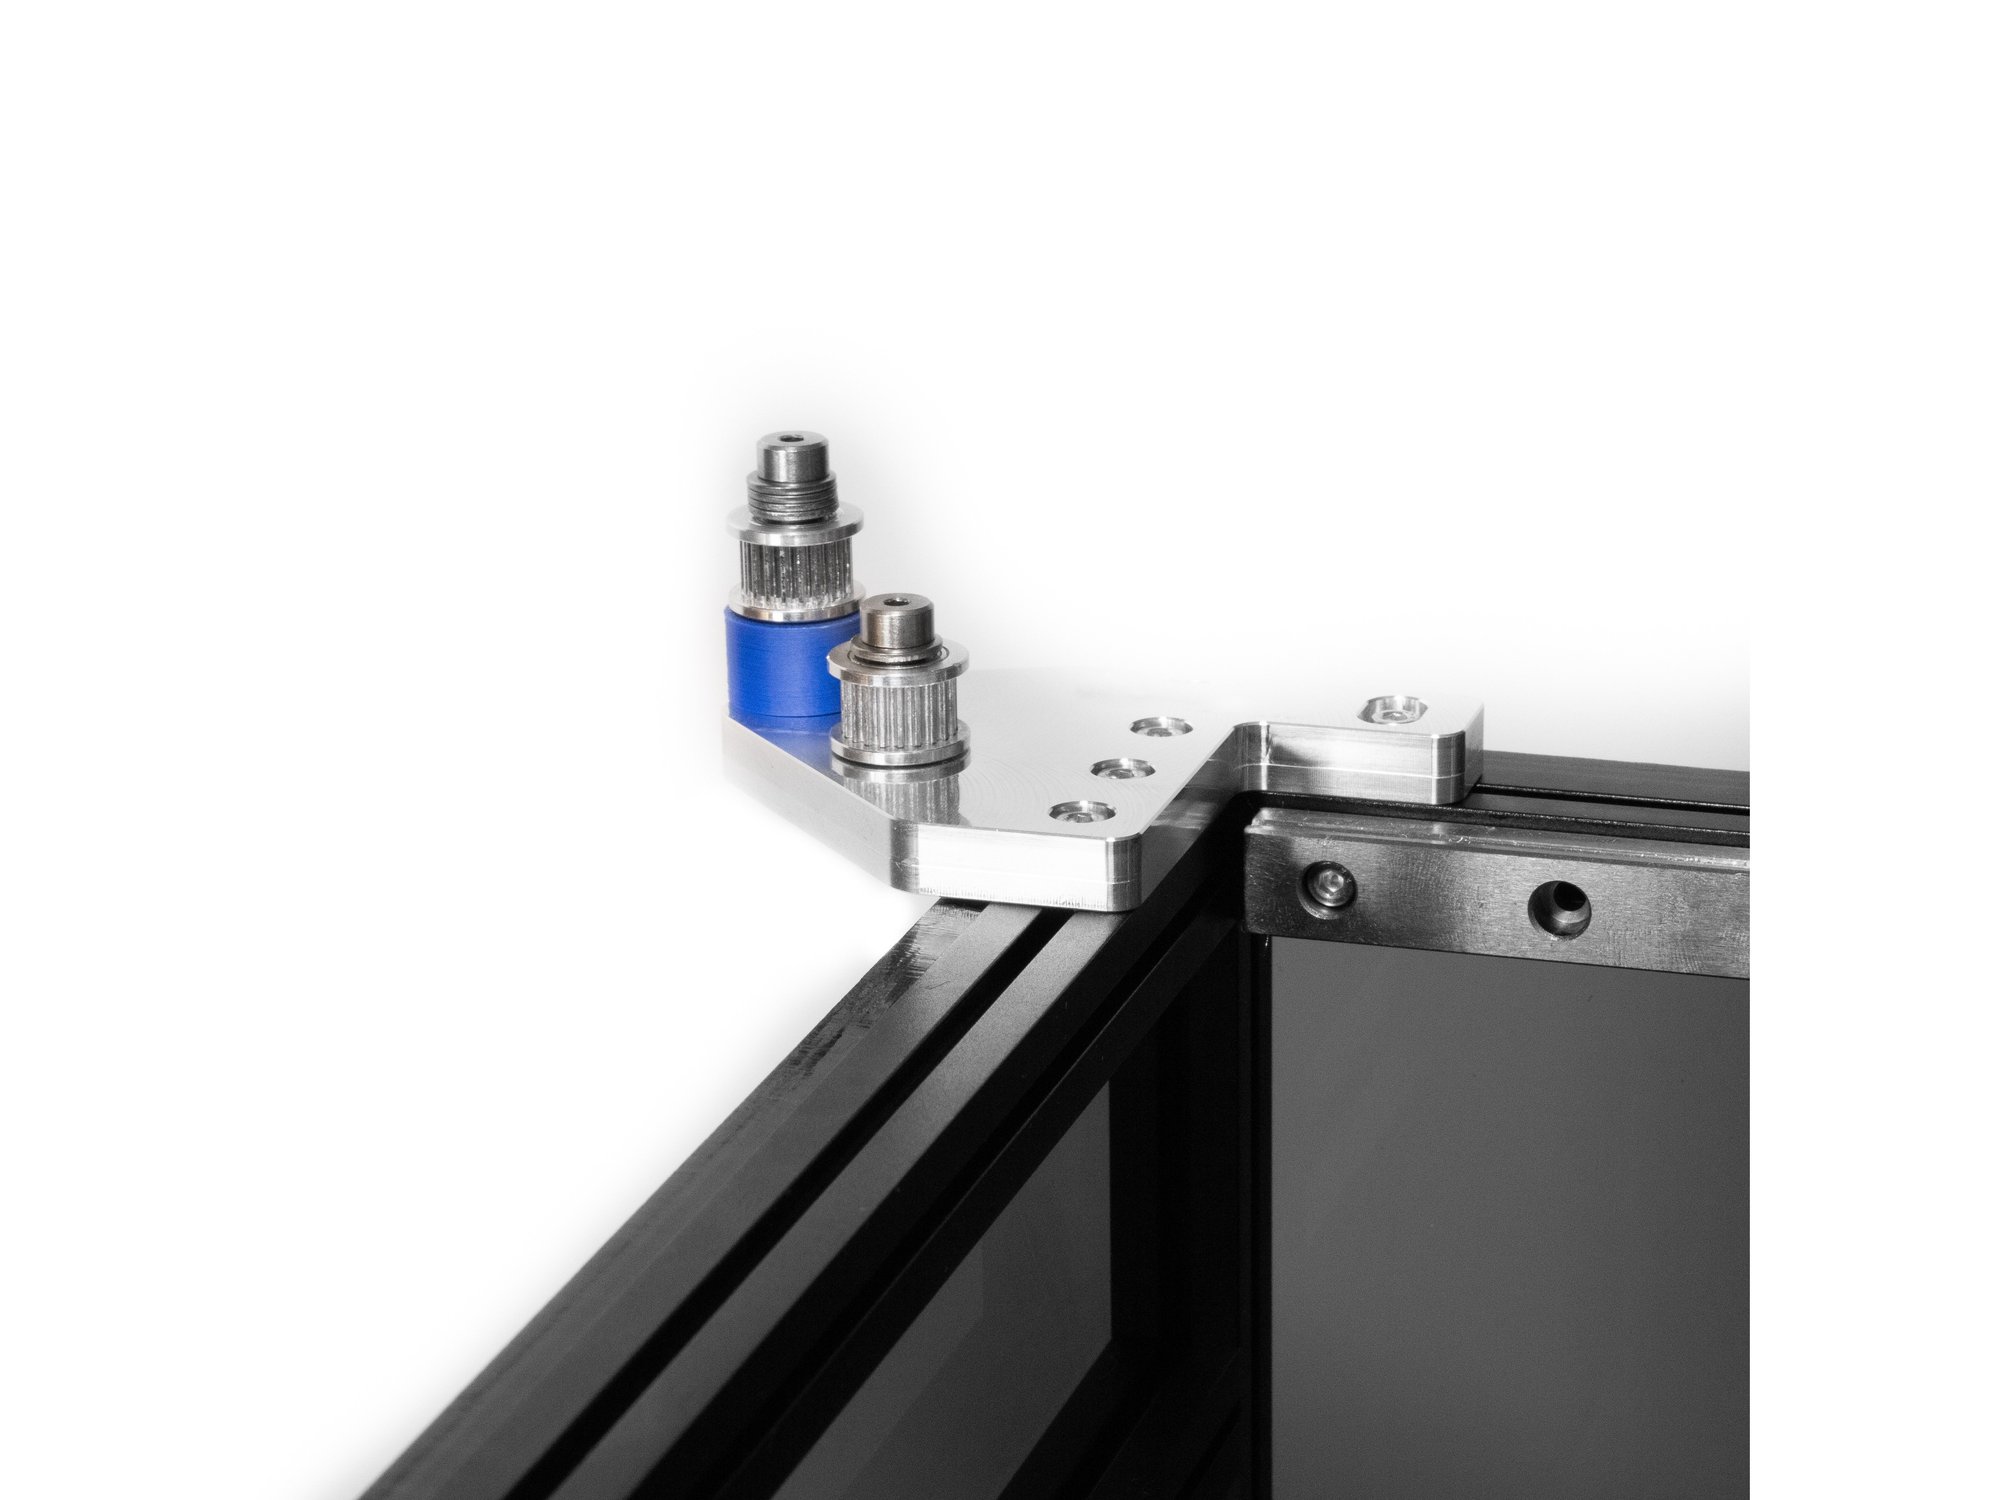
Step 7 — Assemble Front Idler Mount

  • Building the idler stacks is very similar to how the stacks were built for the Y carriage stacks.
  • Note There are photos to accompany this step in the next step.
  • For the front idler, the stack for the outside bolt is the short stack. Turn a 12mm shoulder bolt upside down and install (1) M5 washer, then (1) M5 shim. Next add the 20T idler, then lastly (1) M5 shim.
  • Note You want to be sure the total stack is just slightly below the shoulder on the shoulder bolt. If there is room for another shim, take the last shim and pulley off, and put the extra shim on before the pulley.
  • Install the shorter idler stack in the outside hole on the idler mount.
  • For the front idler, the stack for the inside bolt is the tall stack. Turn a bolt upside down and install (3) M5 washers, then (1) M5 shim. Next add the 20T idler, then lastly (1) M5 shim.
  • Note You want to be sure the total stack is just slightly below the shoulder on the shoulder bolt. If there is room for another shim or washer, take the last shim and pulley off, and put the extra shim on before the pulley. If you can fit an extra washer, be sure to put it on before the first shim.
  • Install the taller idler stack in the inside hole on the idler mount.

Step 8 — Assemble Rear Idler Mount

  • The rear idler mount is assembled the same way as the front, however the orientation of the two shoulder bolts is reversed.

Step 9 — Install Idler Mounts

  • Attach the front idler mount to the left side of the top of the frame using (4) M3 x 8 socket head screws. Don't overtighten them - you'll need to be able to adjust the position of the idler mount to align the belts later.
  • Attach the rear idler mount to the rear left top of the frame using (4) M3 x 8 socket head screws. Don't overtighten them - you'll need to be able to adjust the position of the idler mount to align the belts later.

K) Y Carriage

Step 1

  • Note Before you anything to the Y carriage, double check that all the brass inserts are in.
  • Remove the wiring that comes pre-installed on the bltouch by disconnecting the connector. The kit wiring harness has a connector, these wires are not needed.
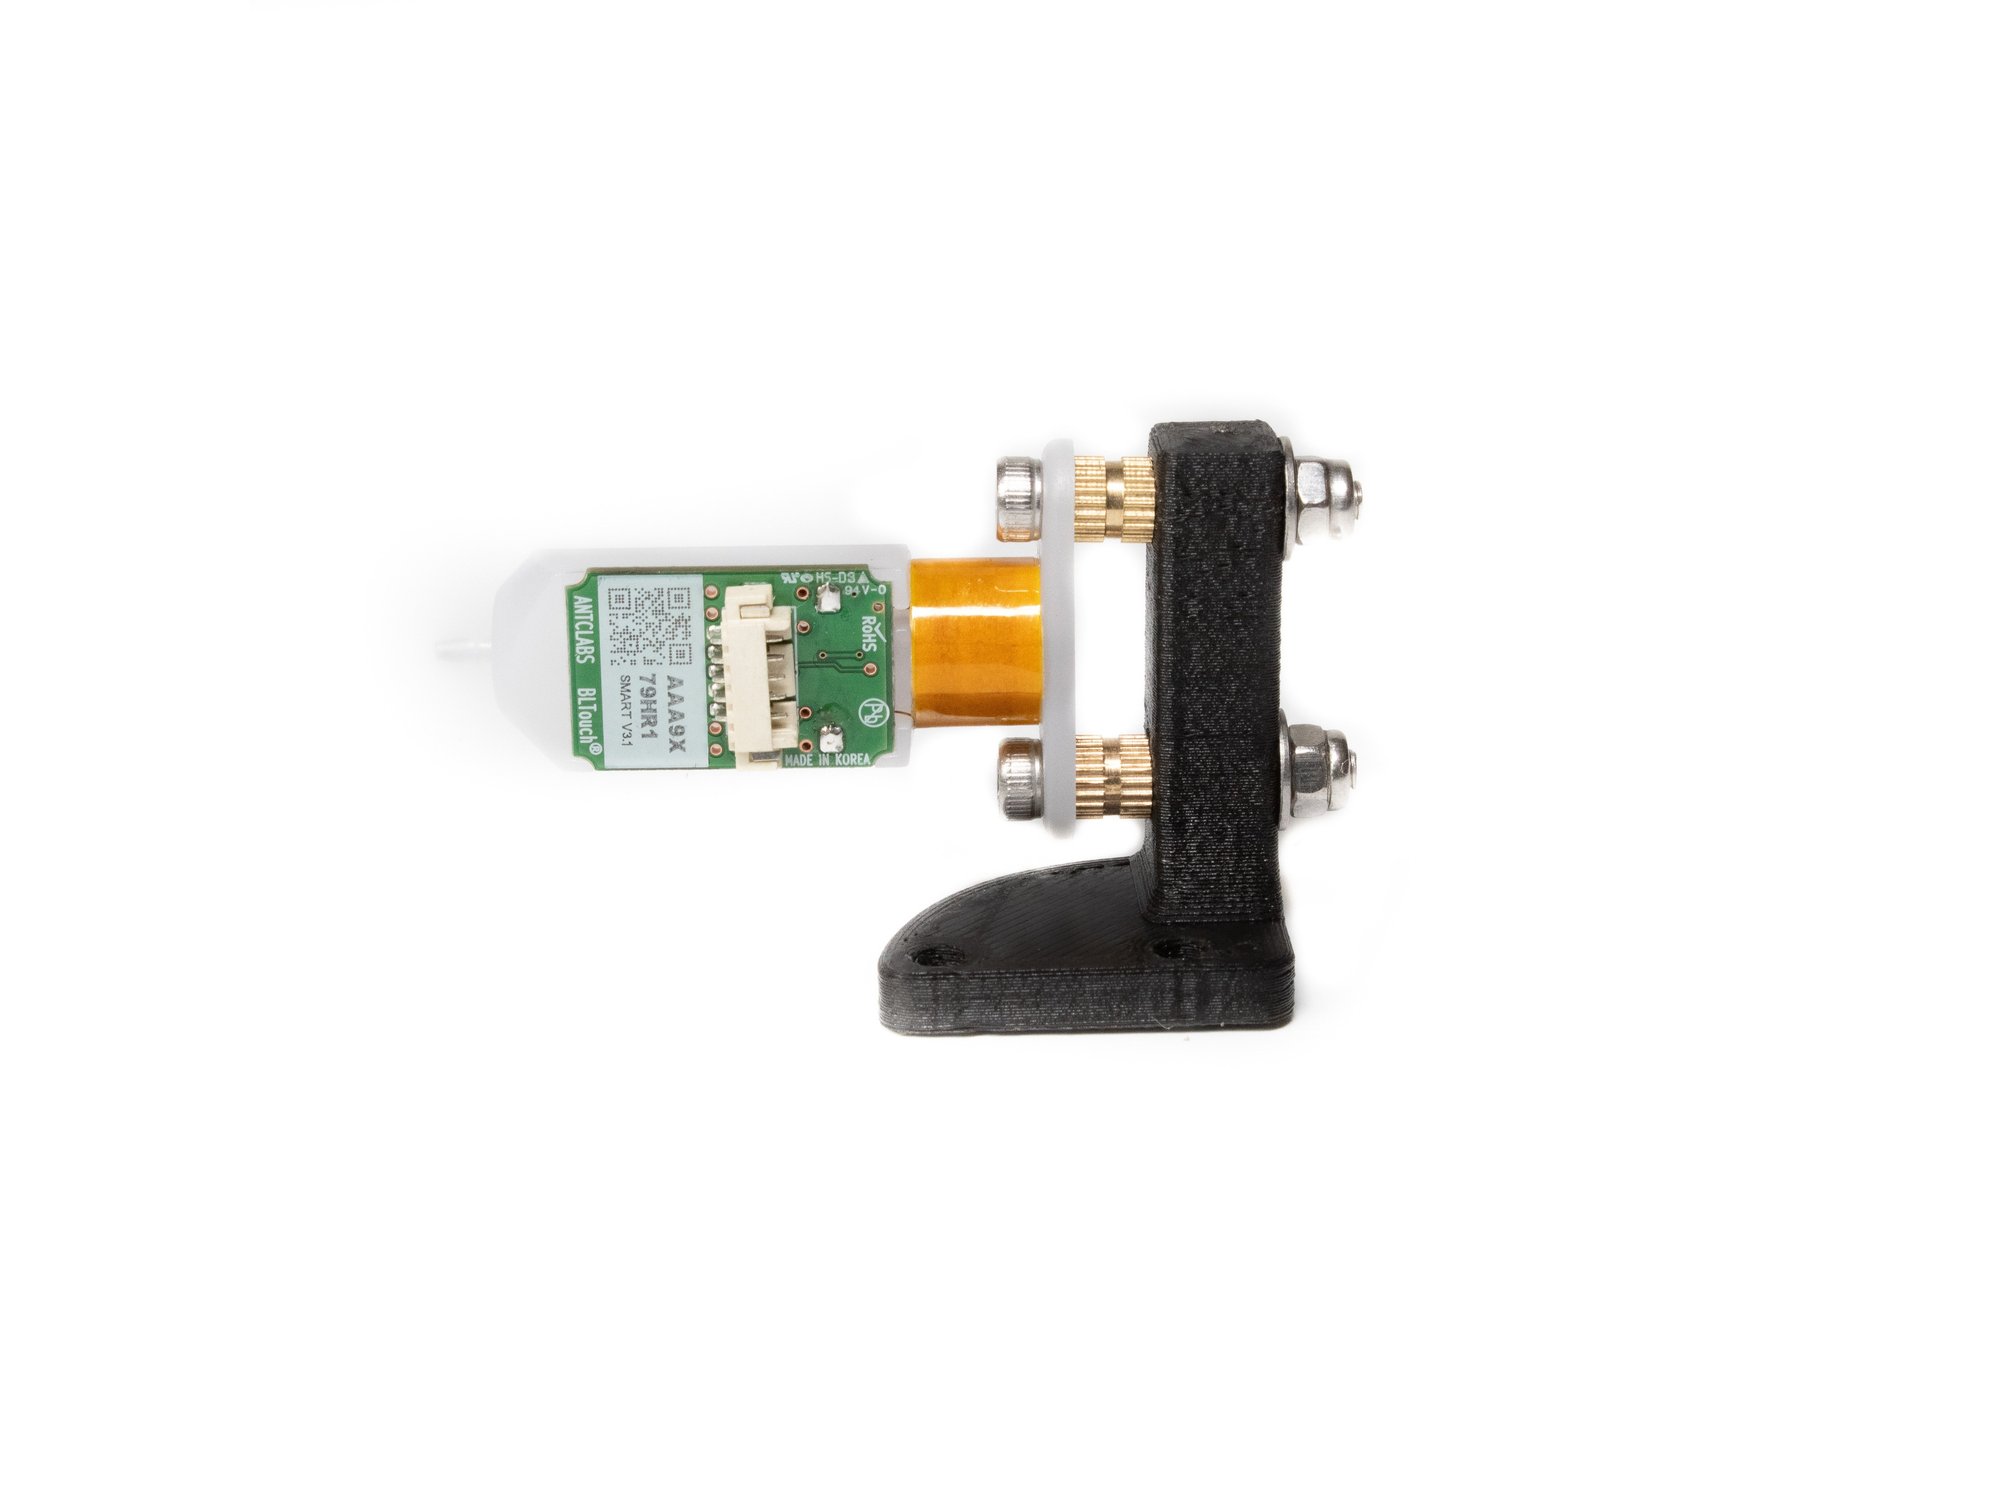
  • Put (2) m3 x 2 socket head screws pointing up through the holes in the BLTouch.
  • Thread a brass insert down on the bolt, tight against the BLTouch.
  • Pass the bolt up through the BLTouch mount.
  • Put a single M3 washer on each screw, and then an M3 nylock nut.
  • Attach the BLTouch mount to the printed Y carriage using (2) M3 x 8 socket head screws.

Step 2 — Prep Layer Fan Install

  • Locate the printed layer fan adapter, and insert an M3 nut into the slot on it as shown.
  • Attach the layer adapter to the bottom of your Y carriage using a single M3 x 6 button head bolt.

Step 3 — Attach Part Cooling Fan Shroud

  • Attach the printed layer fan shroud to the adapter using (1) M3 x 8 button head screw into the hole that has the M3 nut you installed earlier.
  • Insert (1) M3 x 12 button head screw in the remaining hole to finish installing the layer fan shroud.

Step 4 — Y Endstop Prep

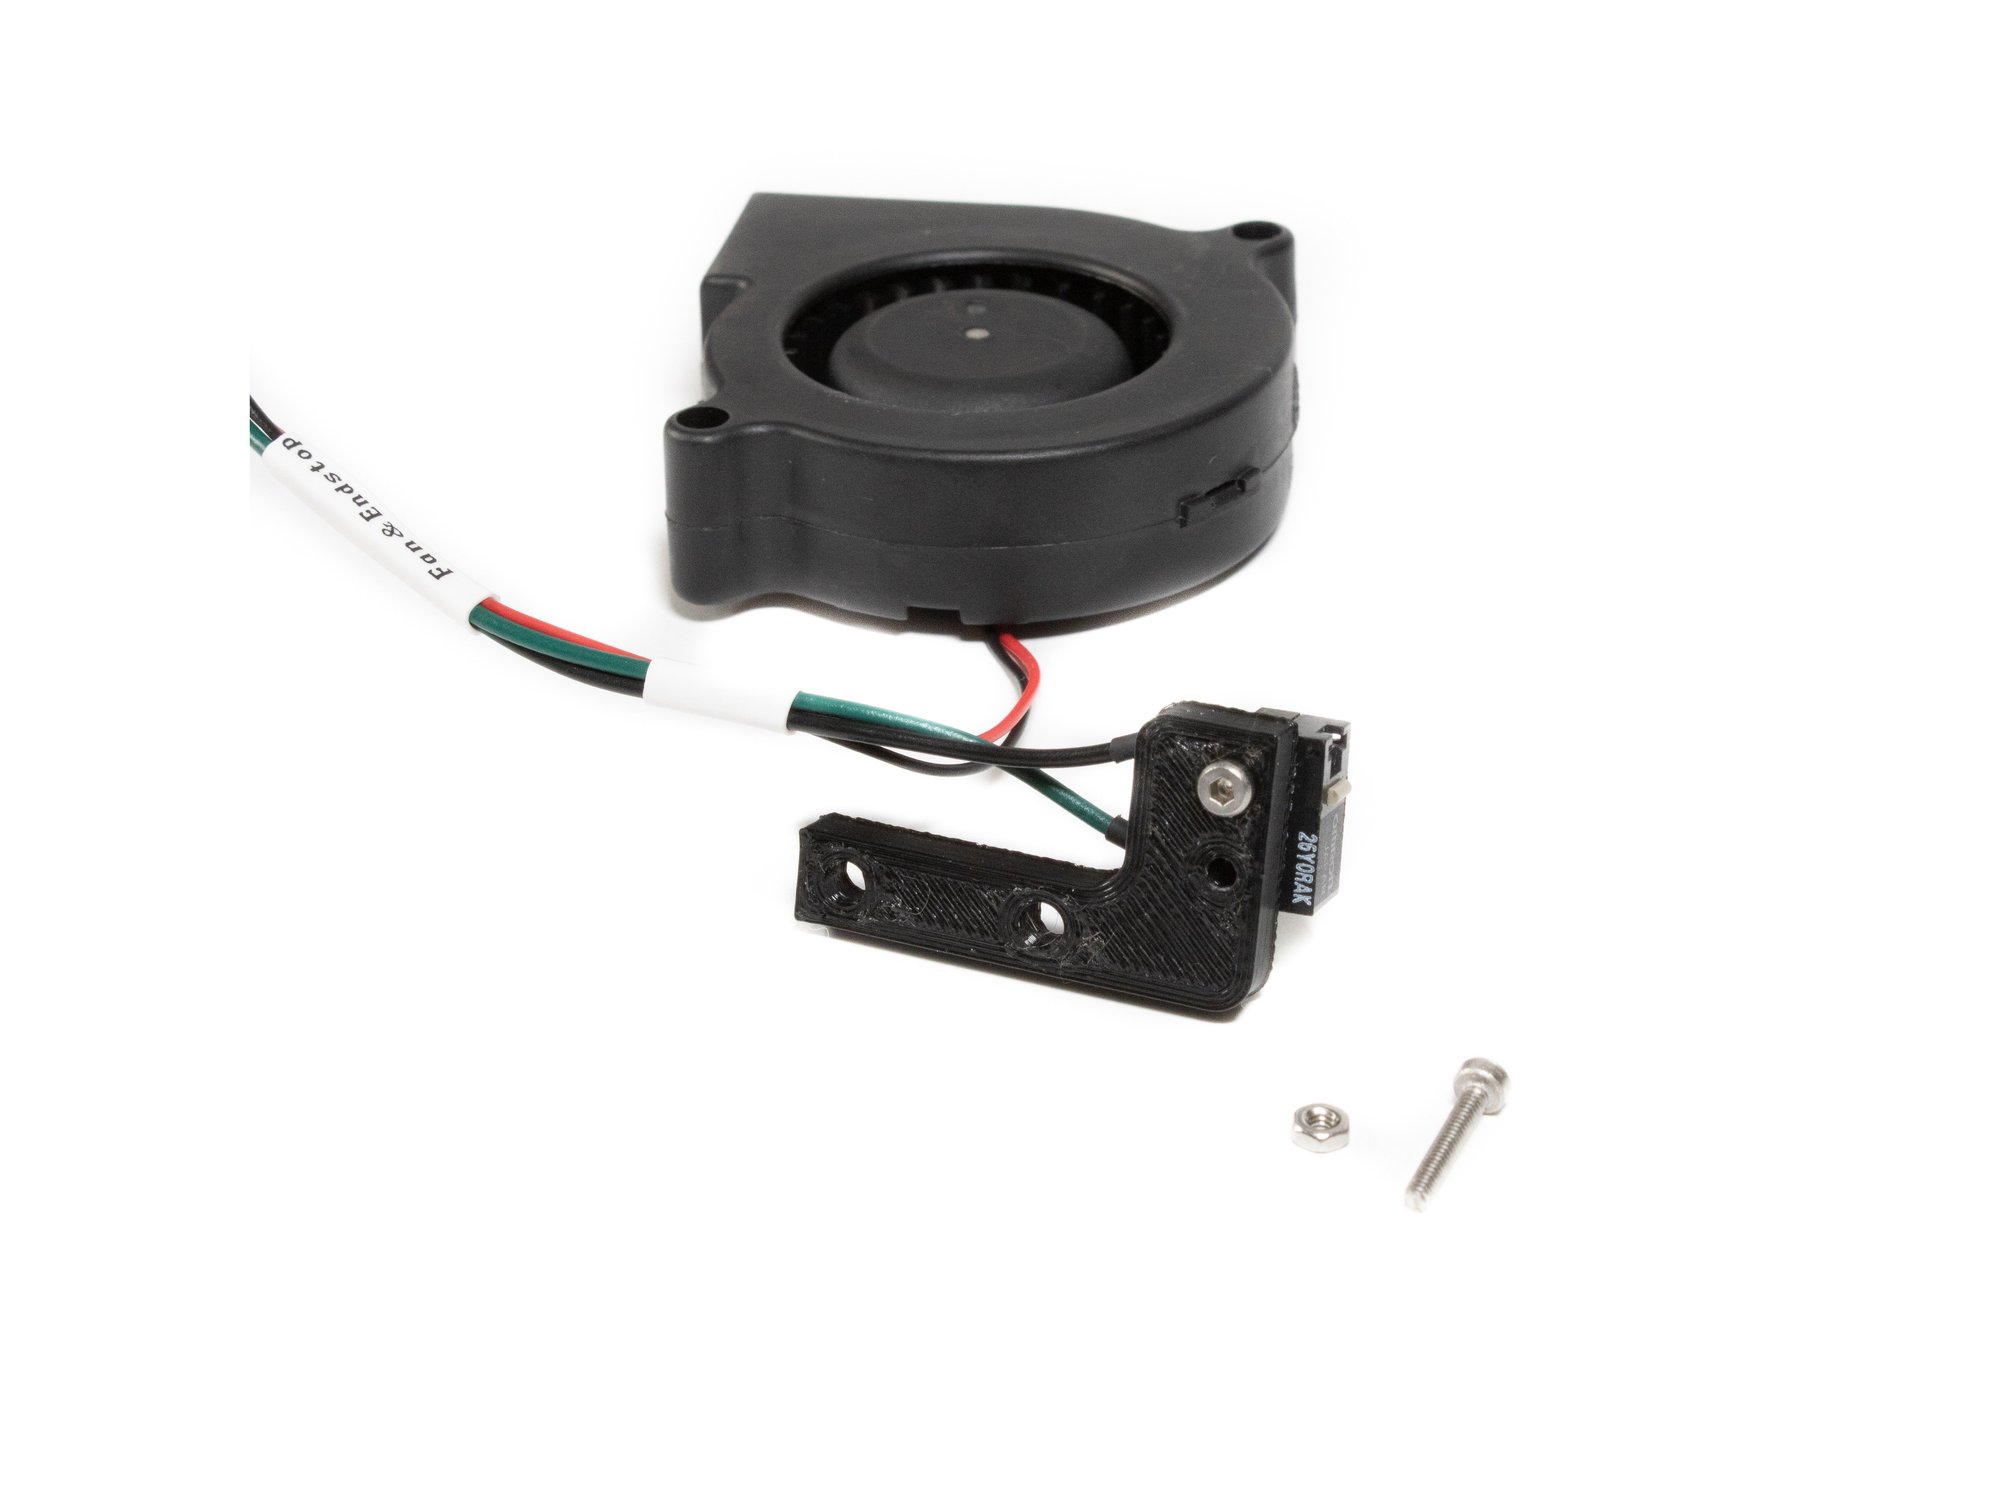
  • The Y endstop and part cooling fan share a cable harness (W16).
  • Attach the Y endstop switch to the Y endstop mount using (2) m2 x 12mm Bolts and (2) m2 nuts.

Step 5 — Y Carriage Installation

  • Bolt the Y Carriage to the Y rail using (4) M3 x 8mm button head screws. (Socket Cap Head Screws will not work here, use button head regardless of the kit you're building).
  • Note You may want a dab of loctite on the bolts for attaching the Y carriage to the Rail, they're hard to get to later.

Step 6 — Install Layer Fan and Y Endstop

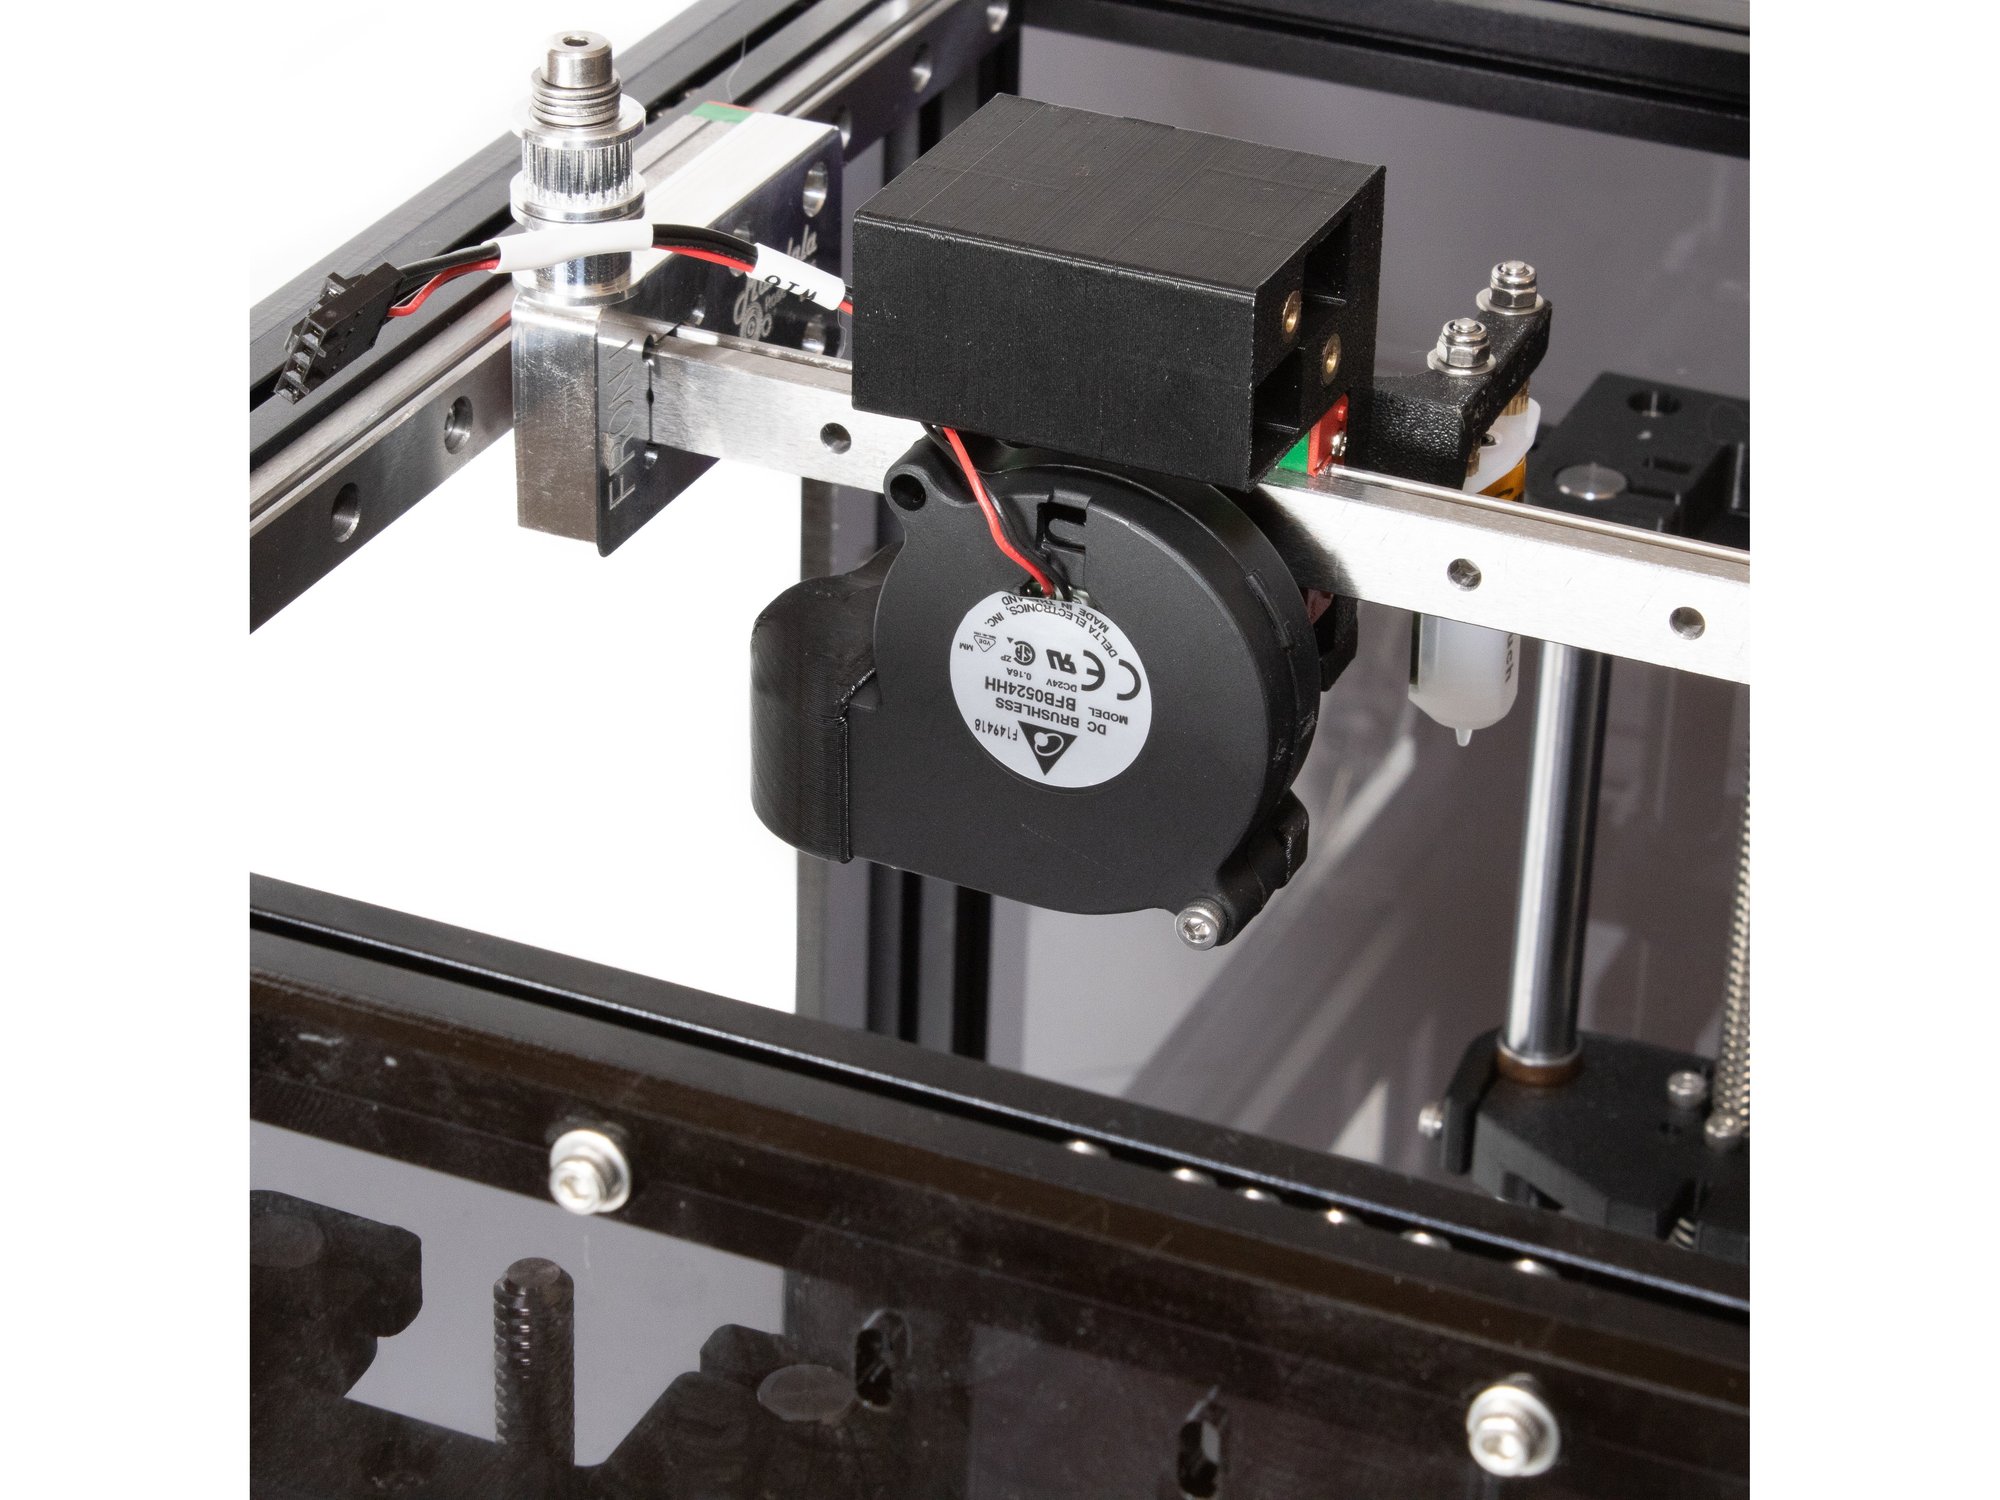
  • Attach the 5015 blower to the layer fan shroud using (1) M3 x 20 socket head screw.
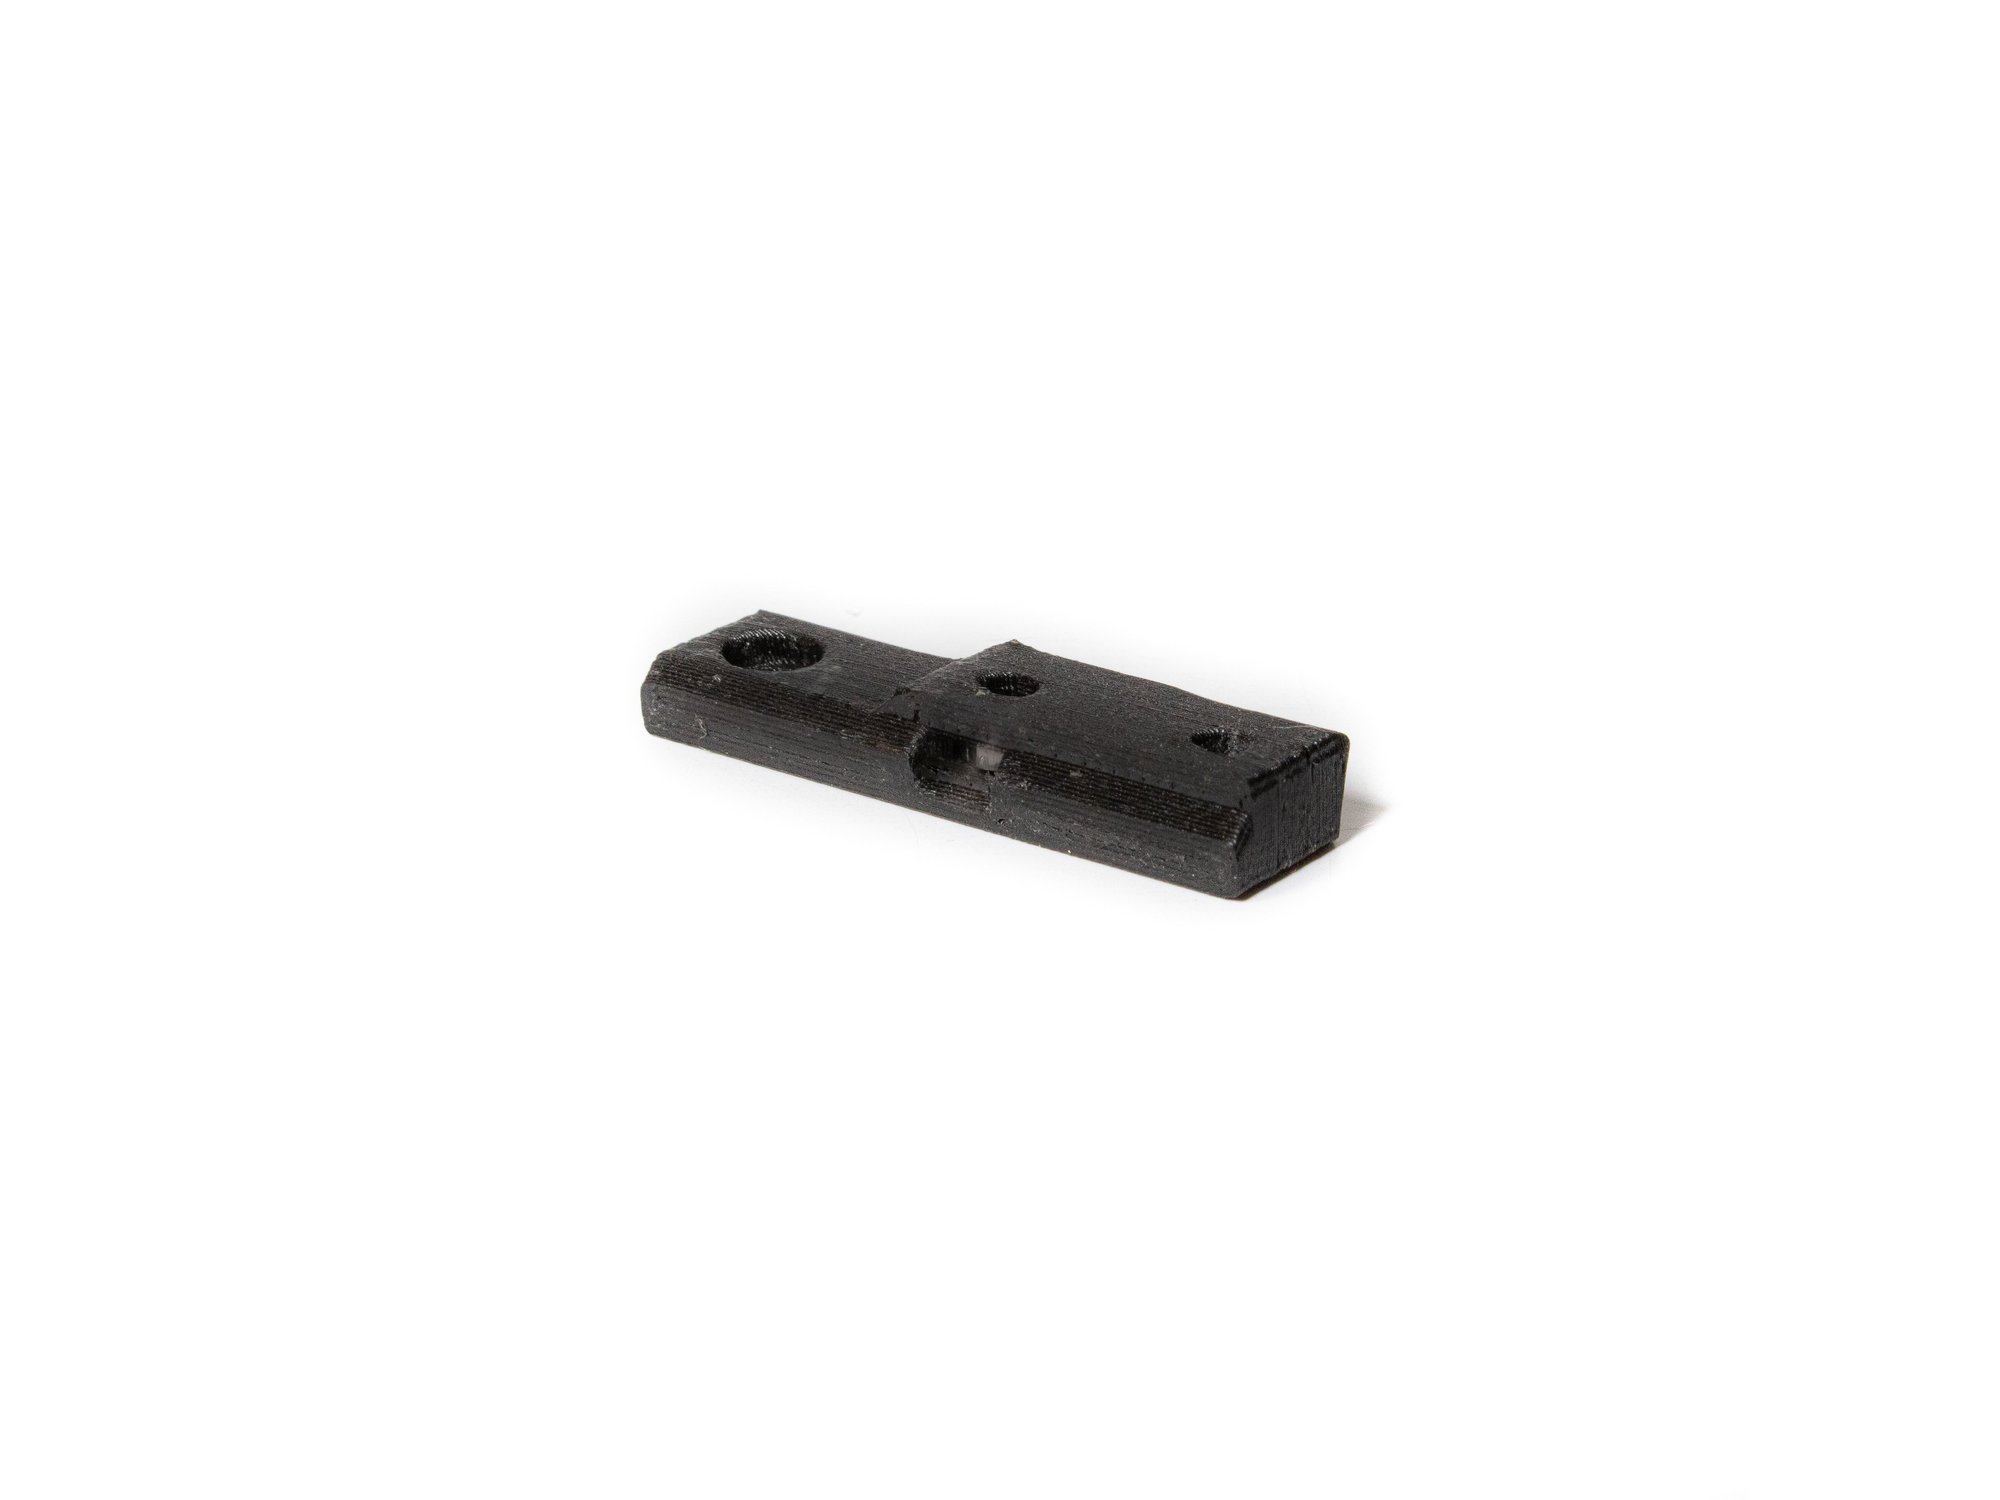
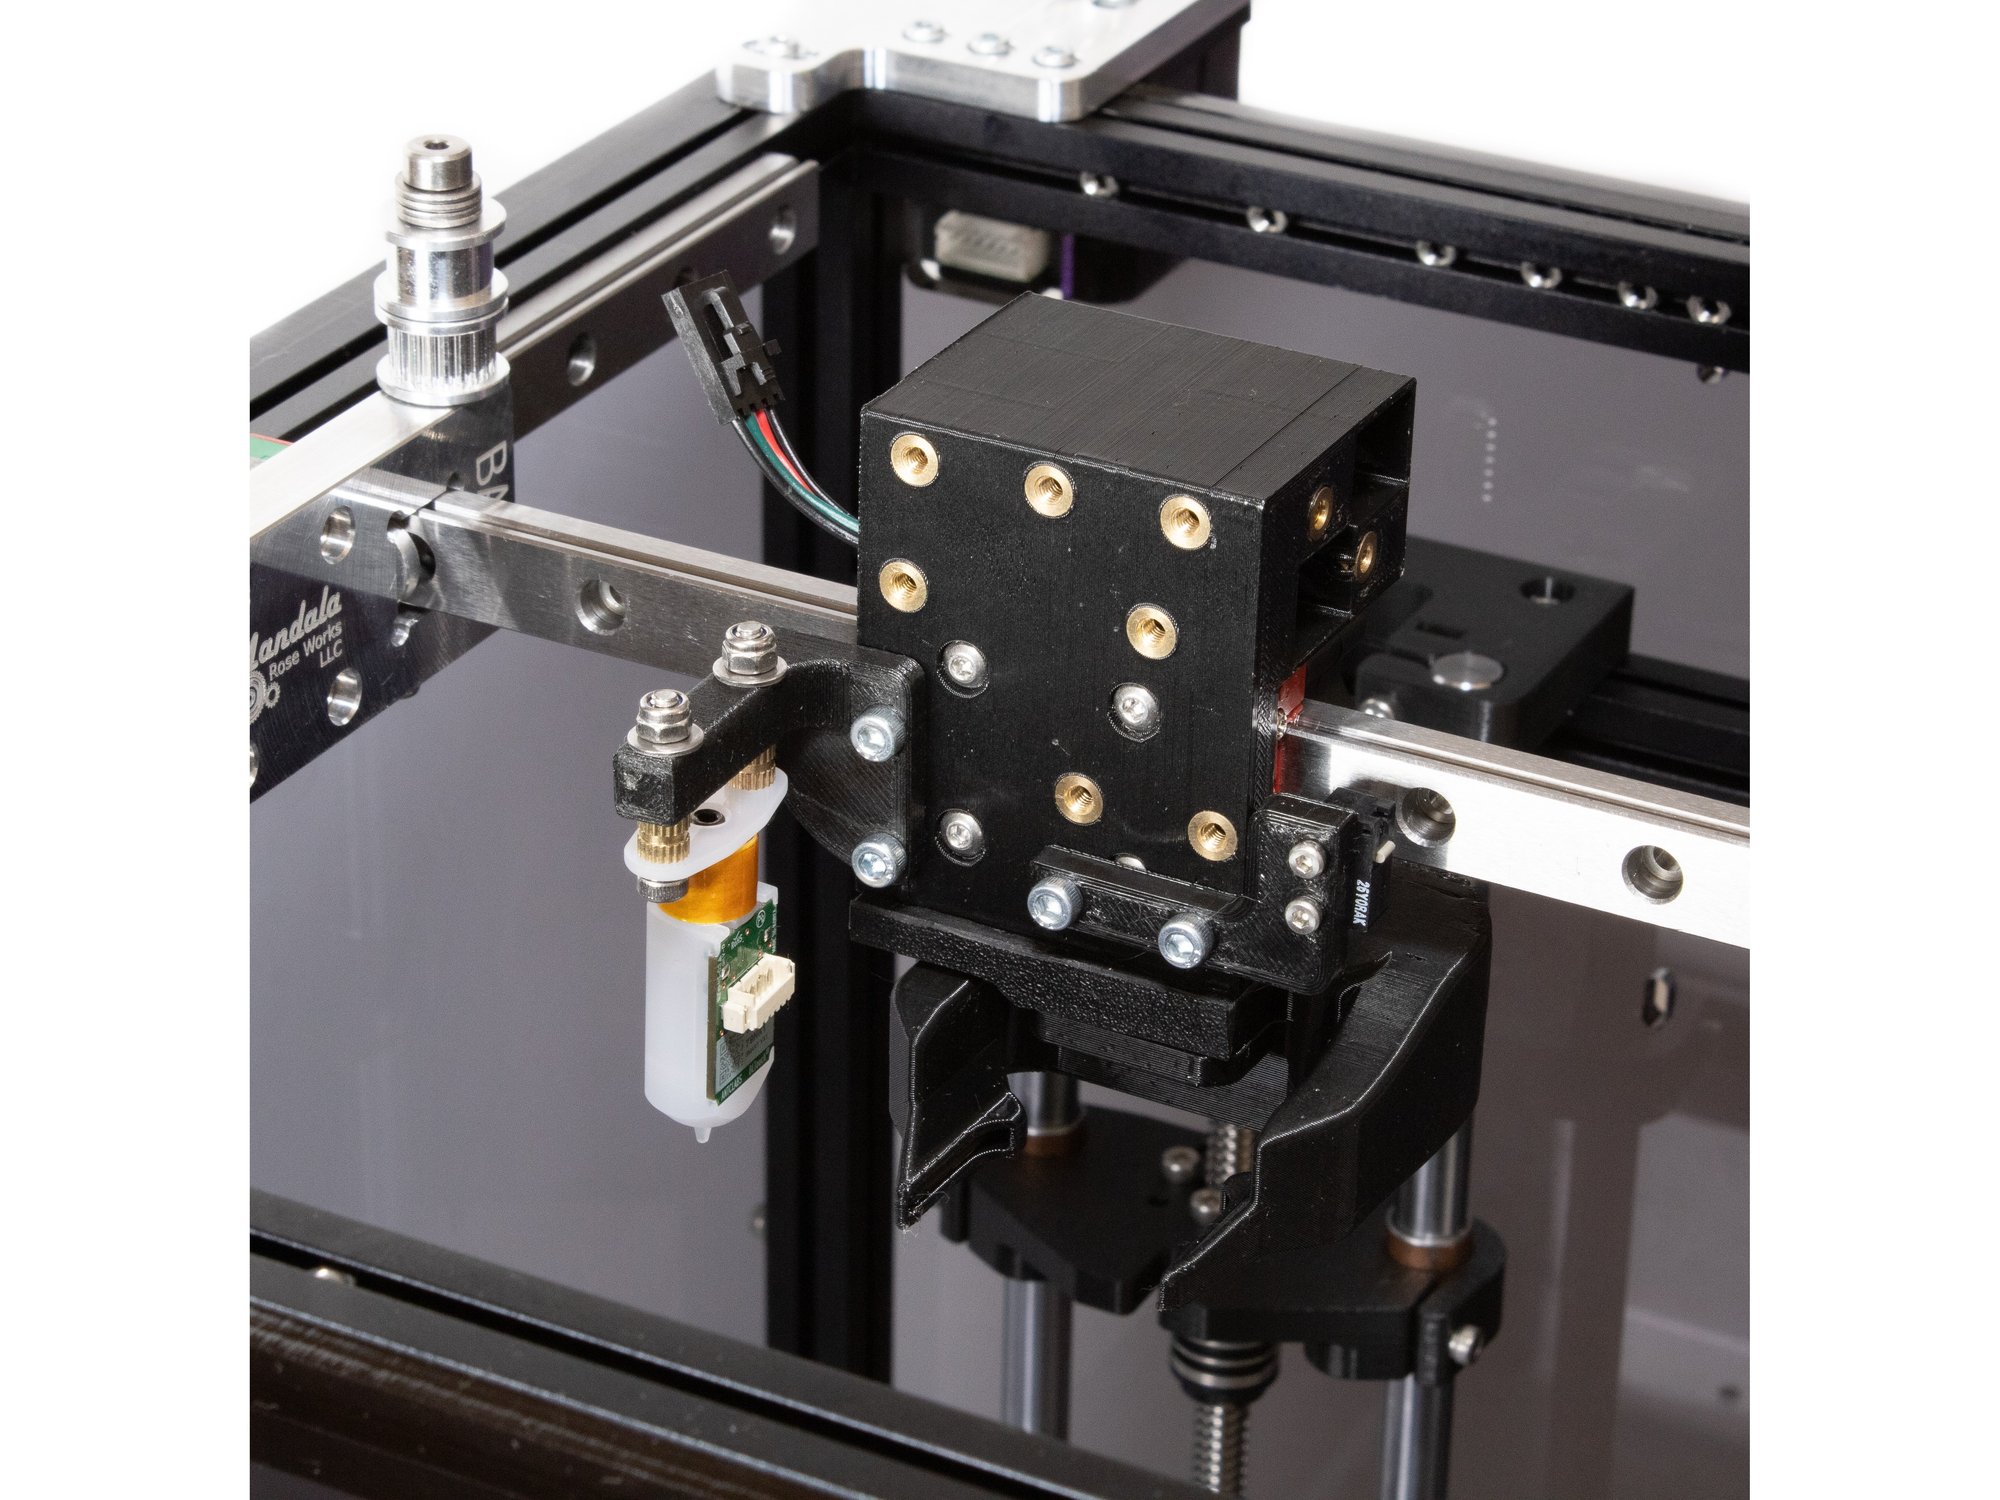
  • Attach the Y endstop mount to the bottom right two holes in the Y carriage using (2) M3 x 8mm socket head screws.

Step 7 — Attach Revo Micro Mount

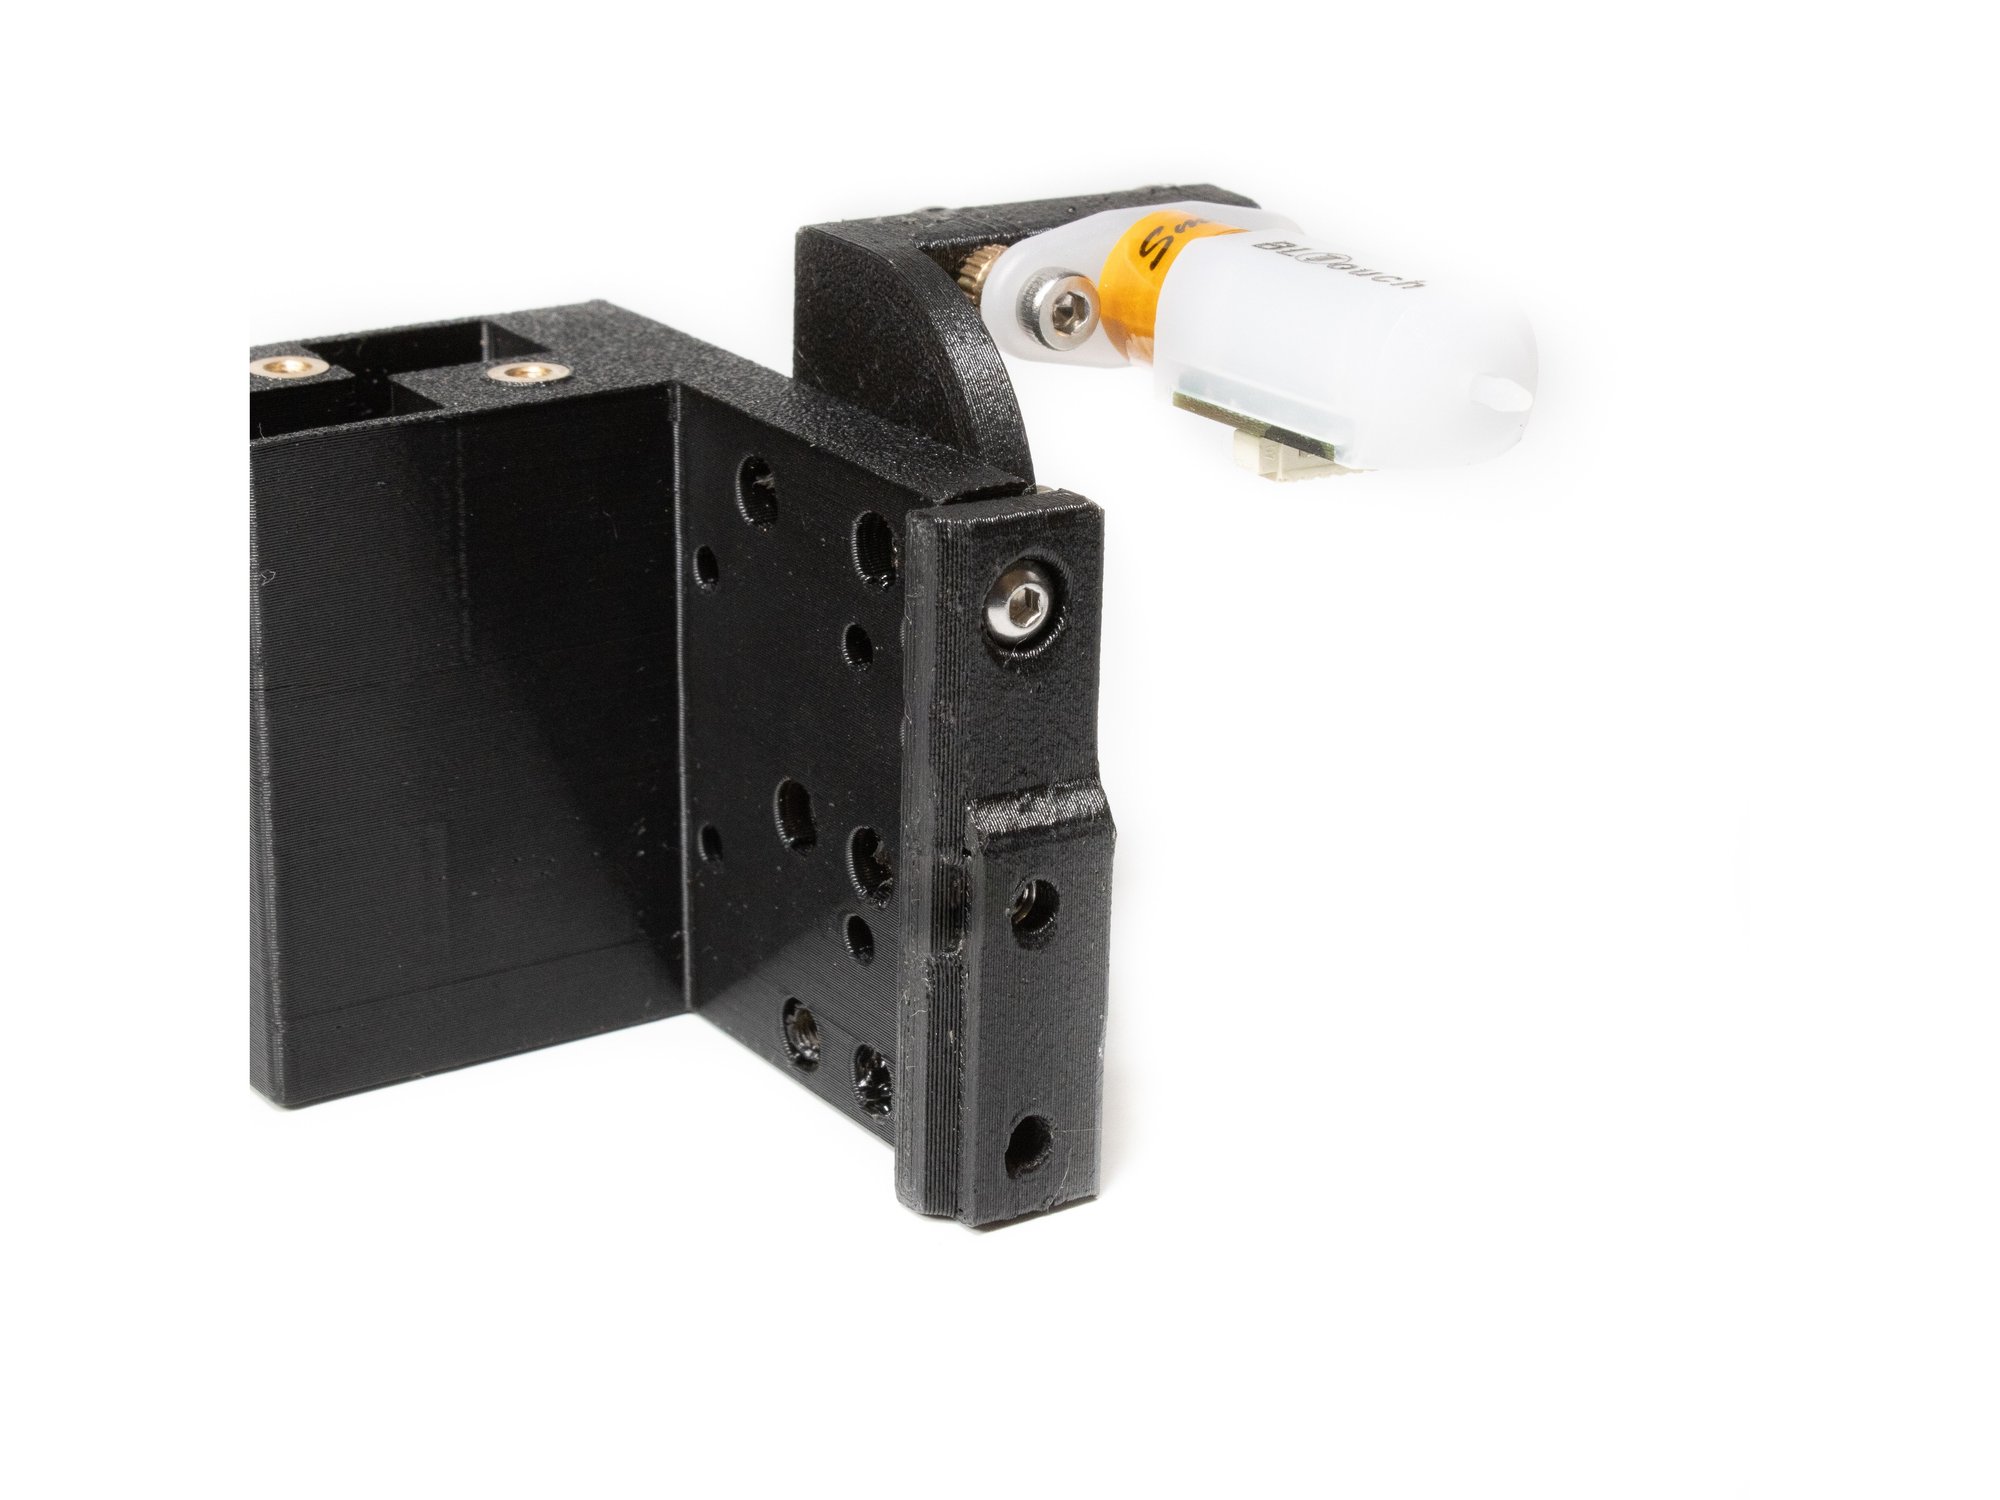
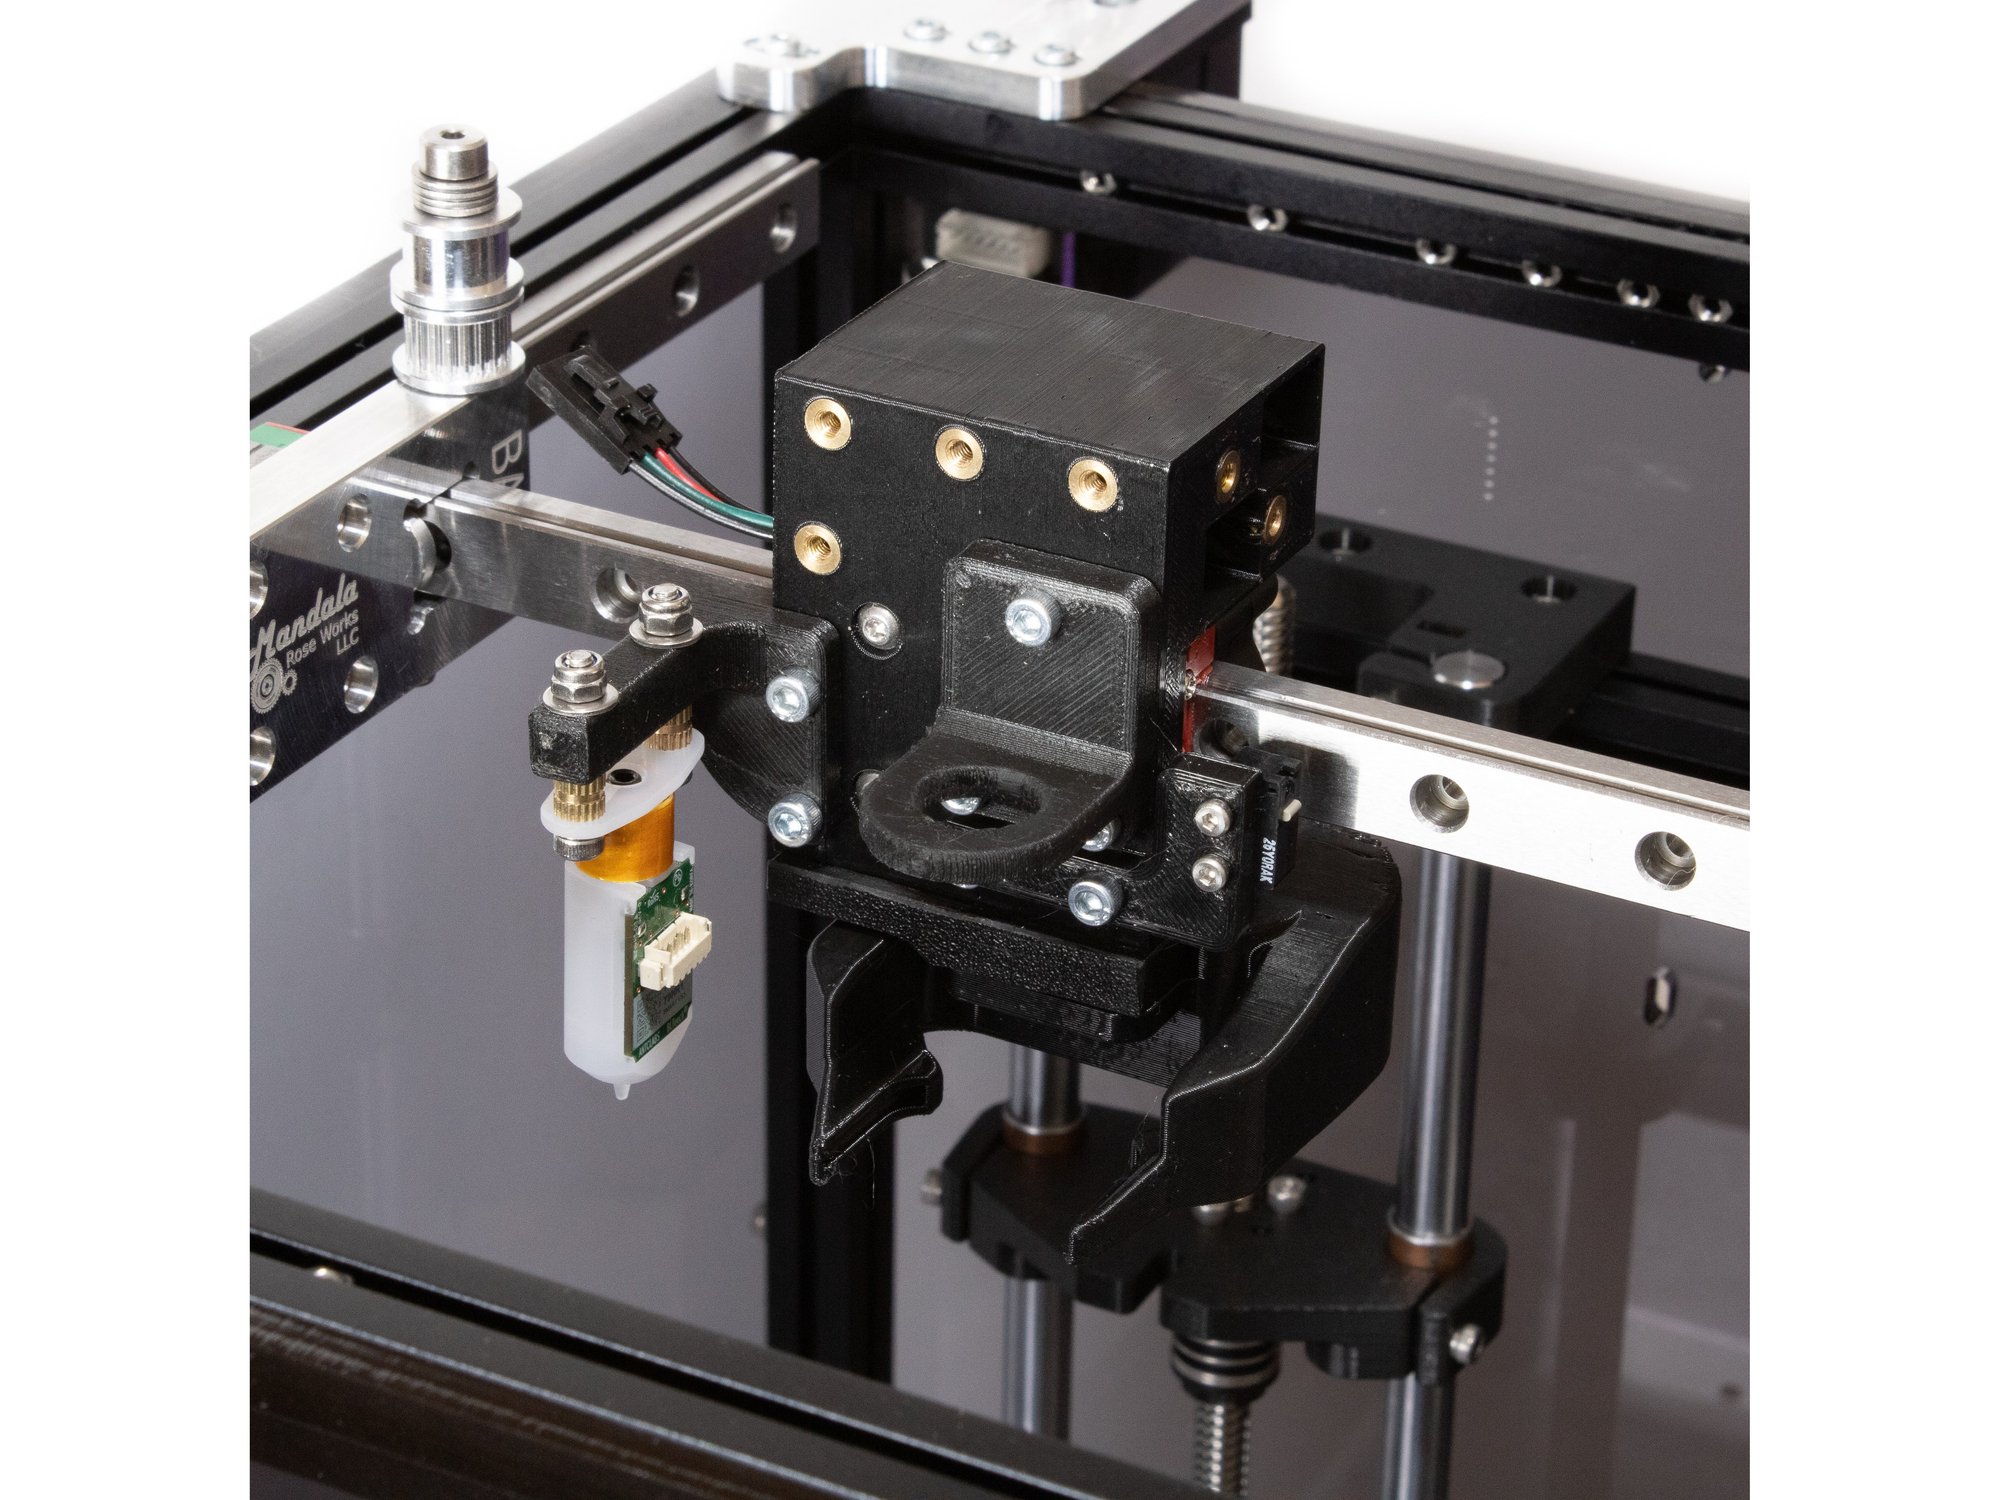
  • Attach the Revo Micro mount to the carriage using (3) M3 x 8 socket head screws.

L) X/Y Belts

Step 1 — How to Install Belt Clips

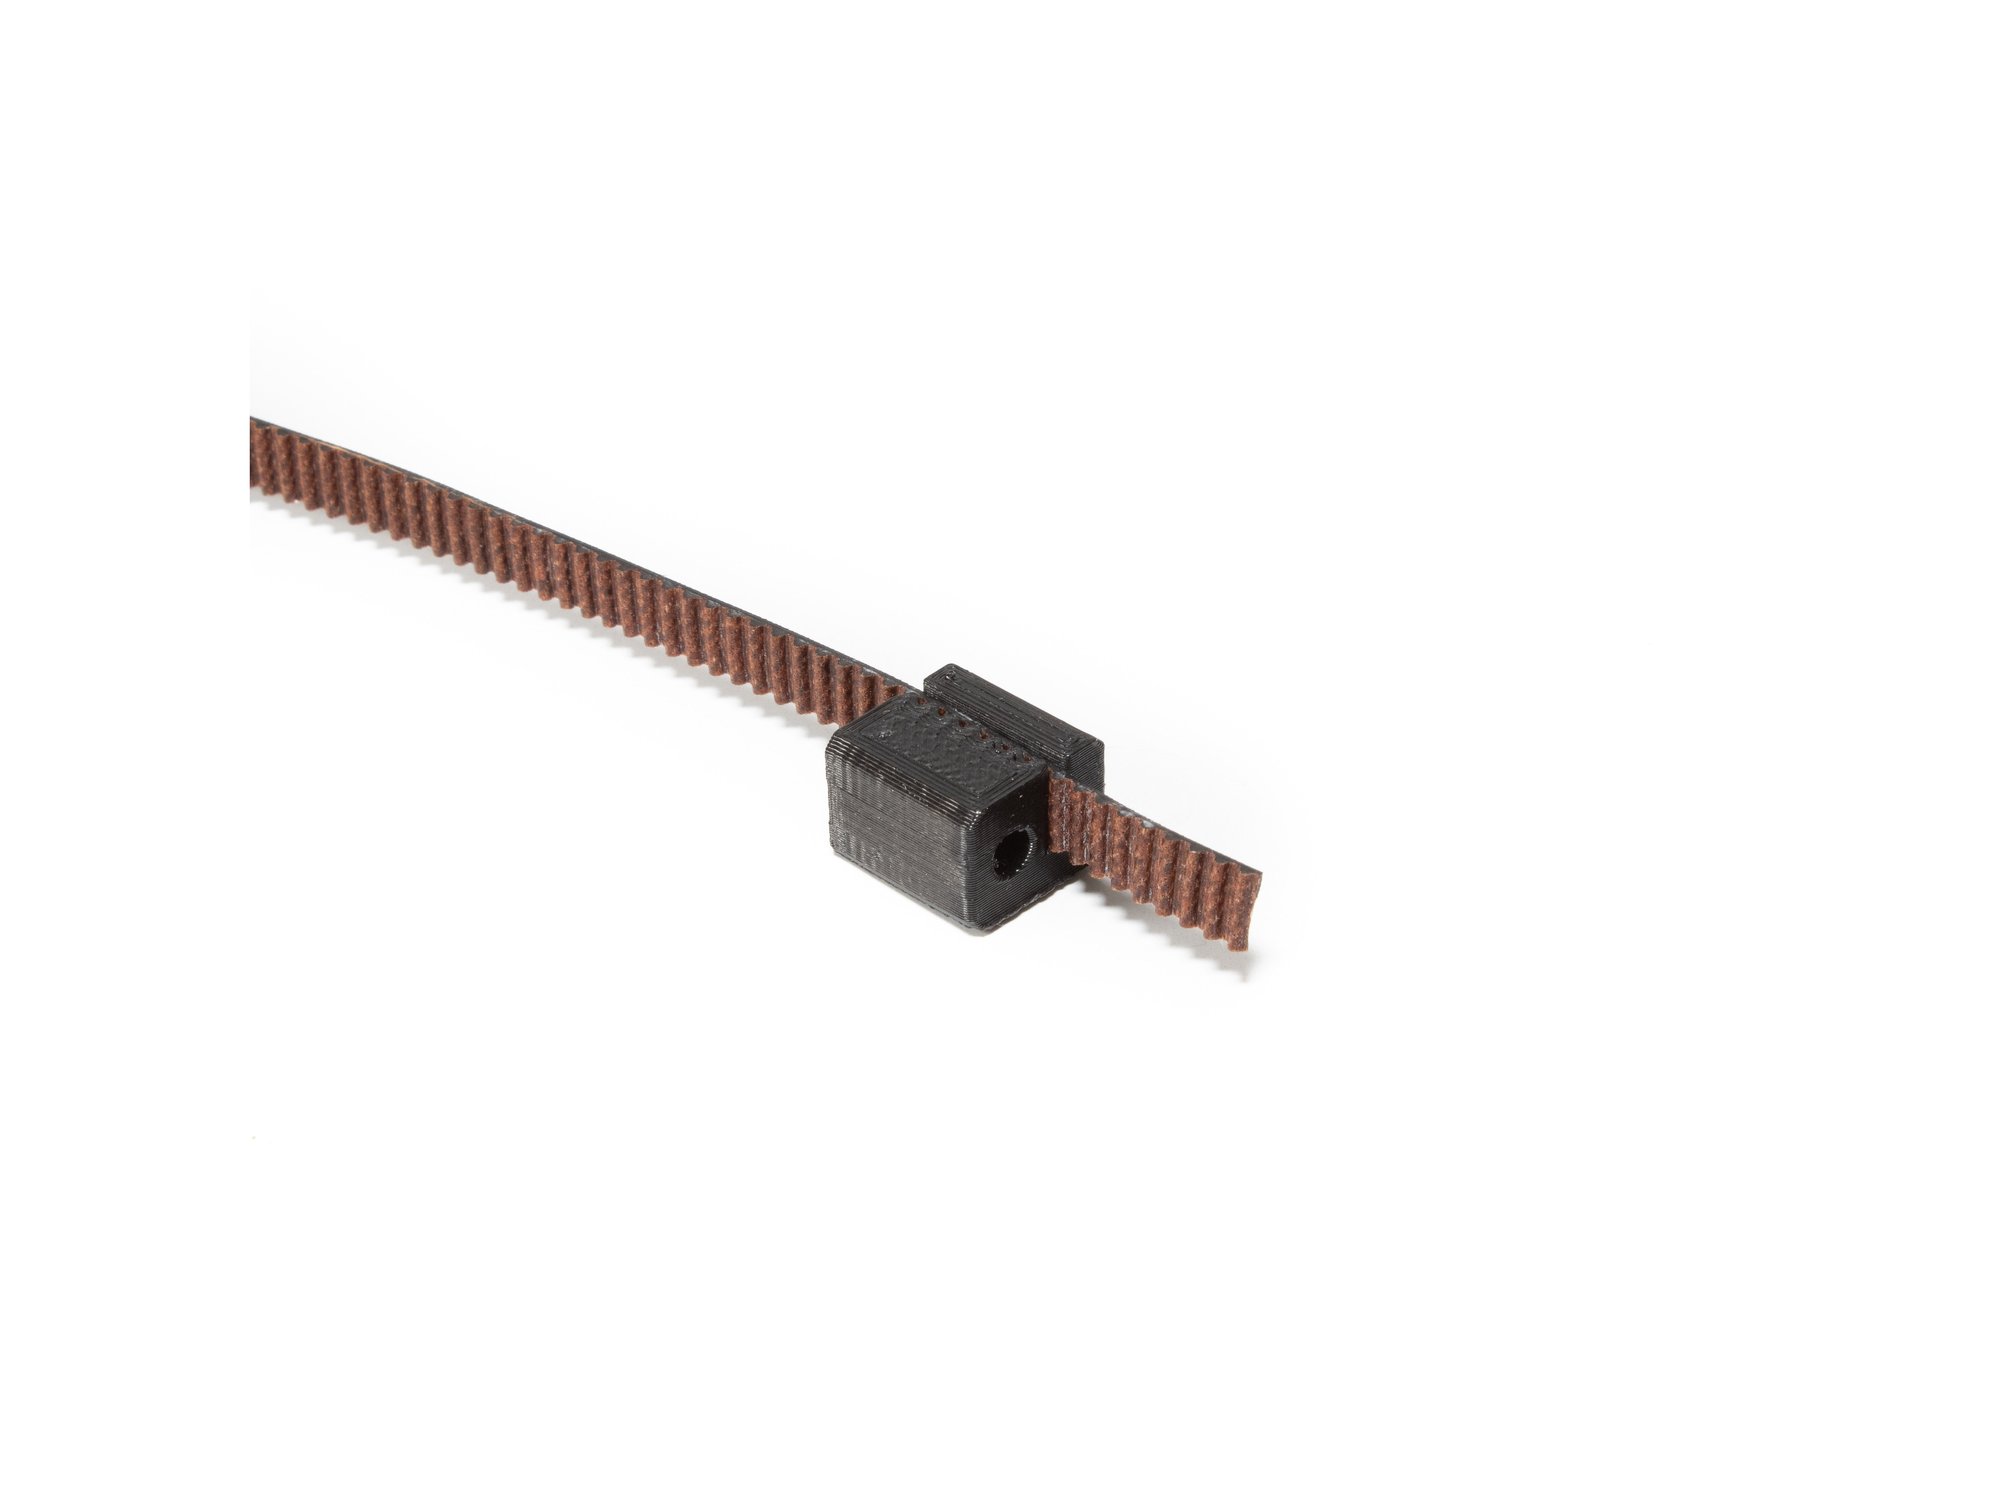
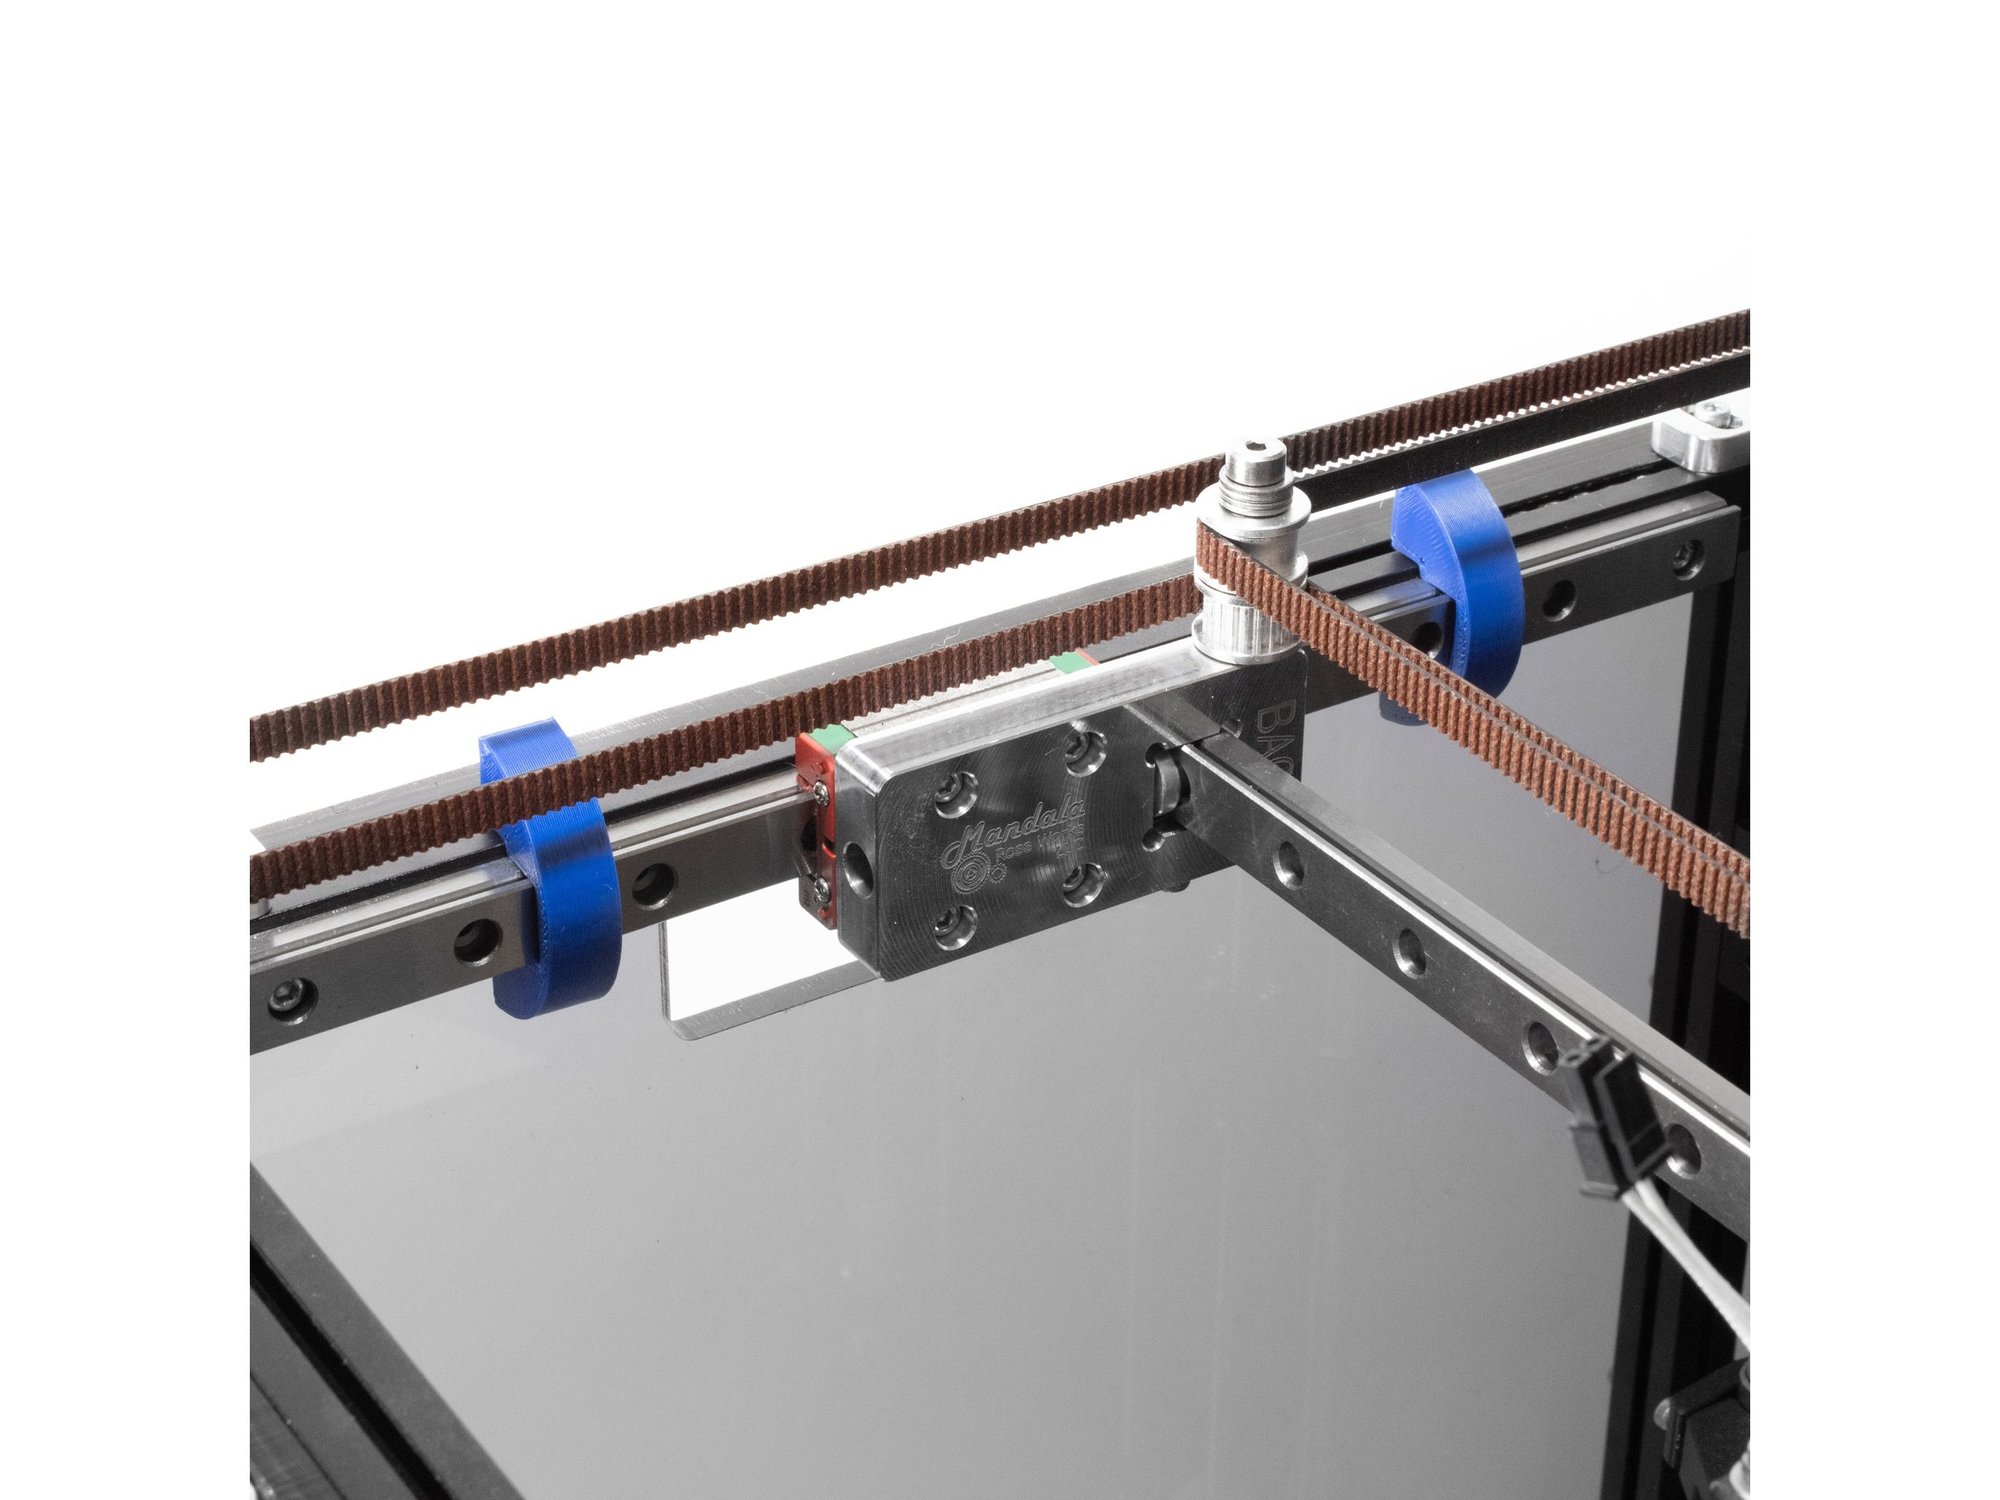
  • To install a belt into a belt clip, put the belt through the clip, and leave a bit of a tail - about an inch or so, to allow some adjustment later.

Step 2 — Y / Front Belt Installation

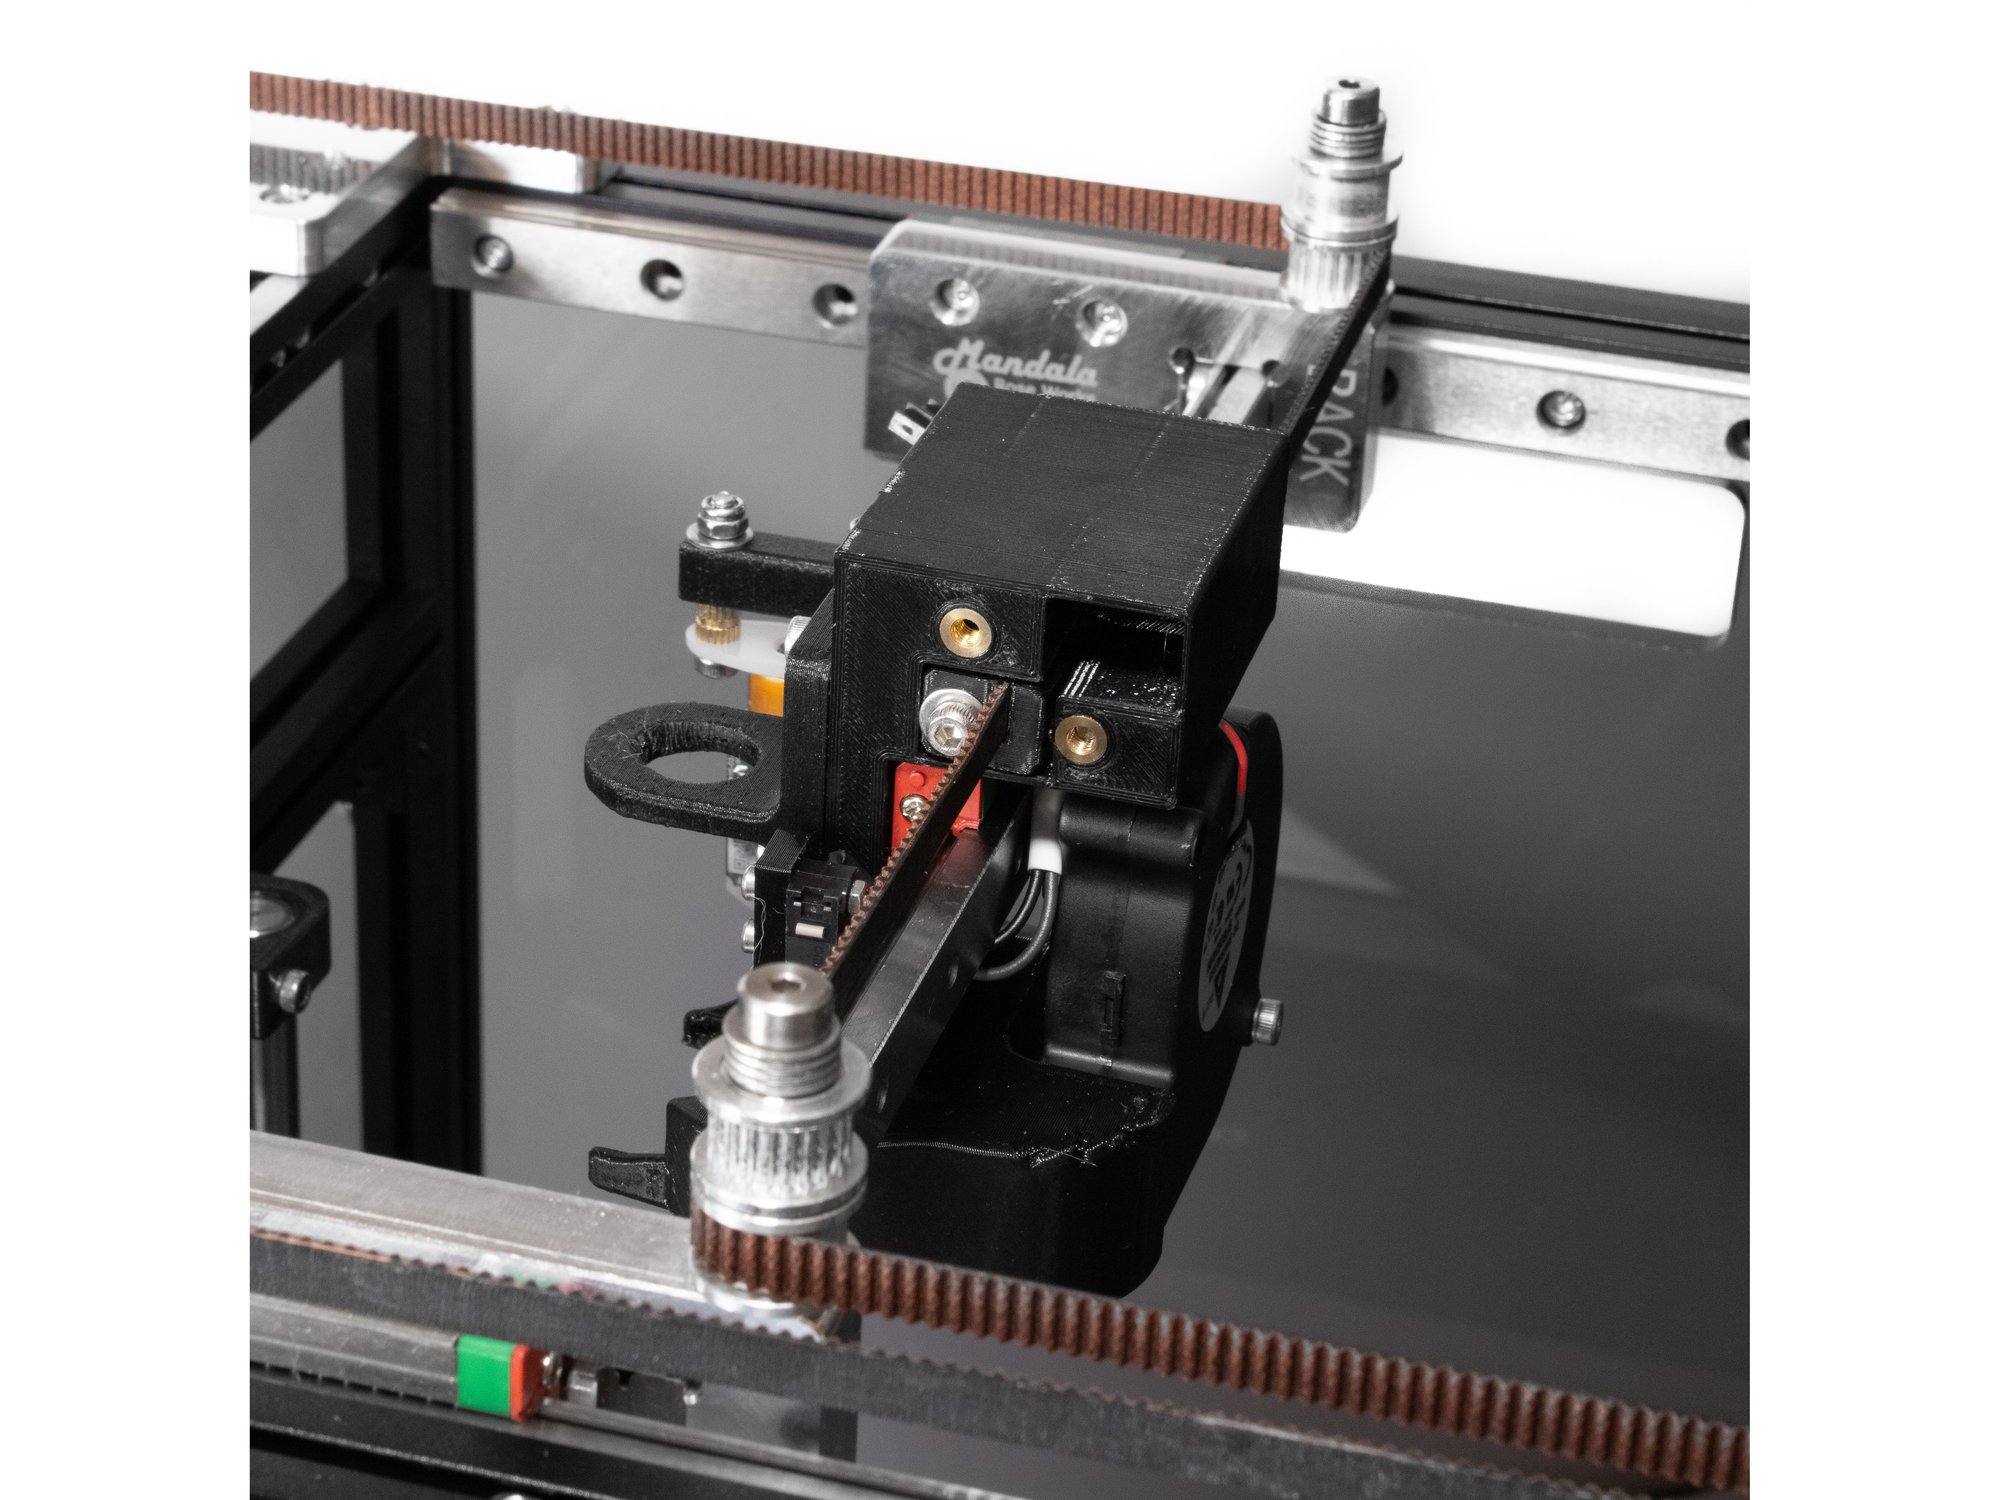
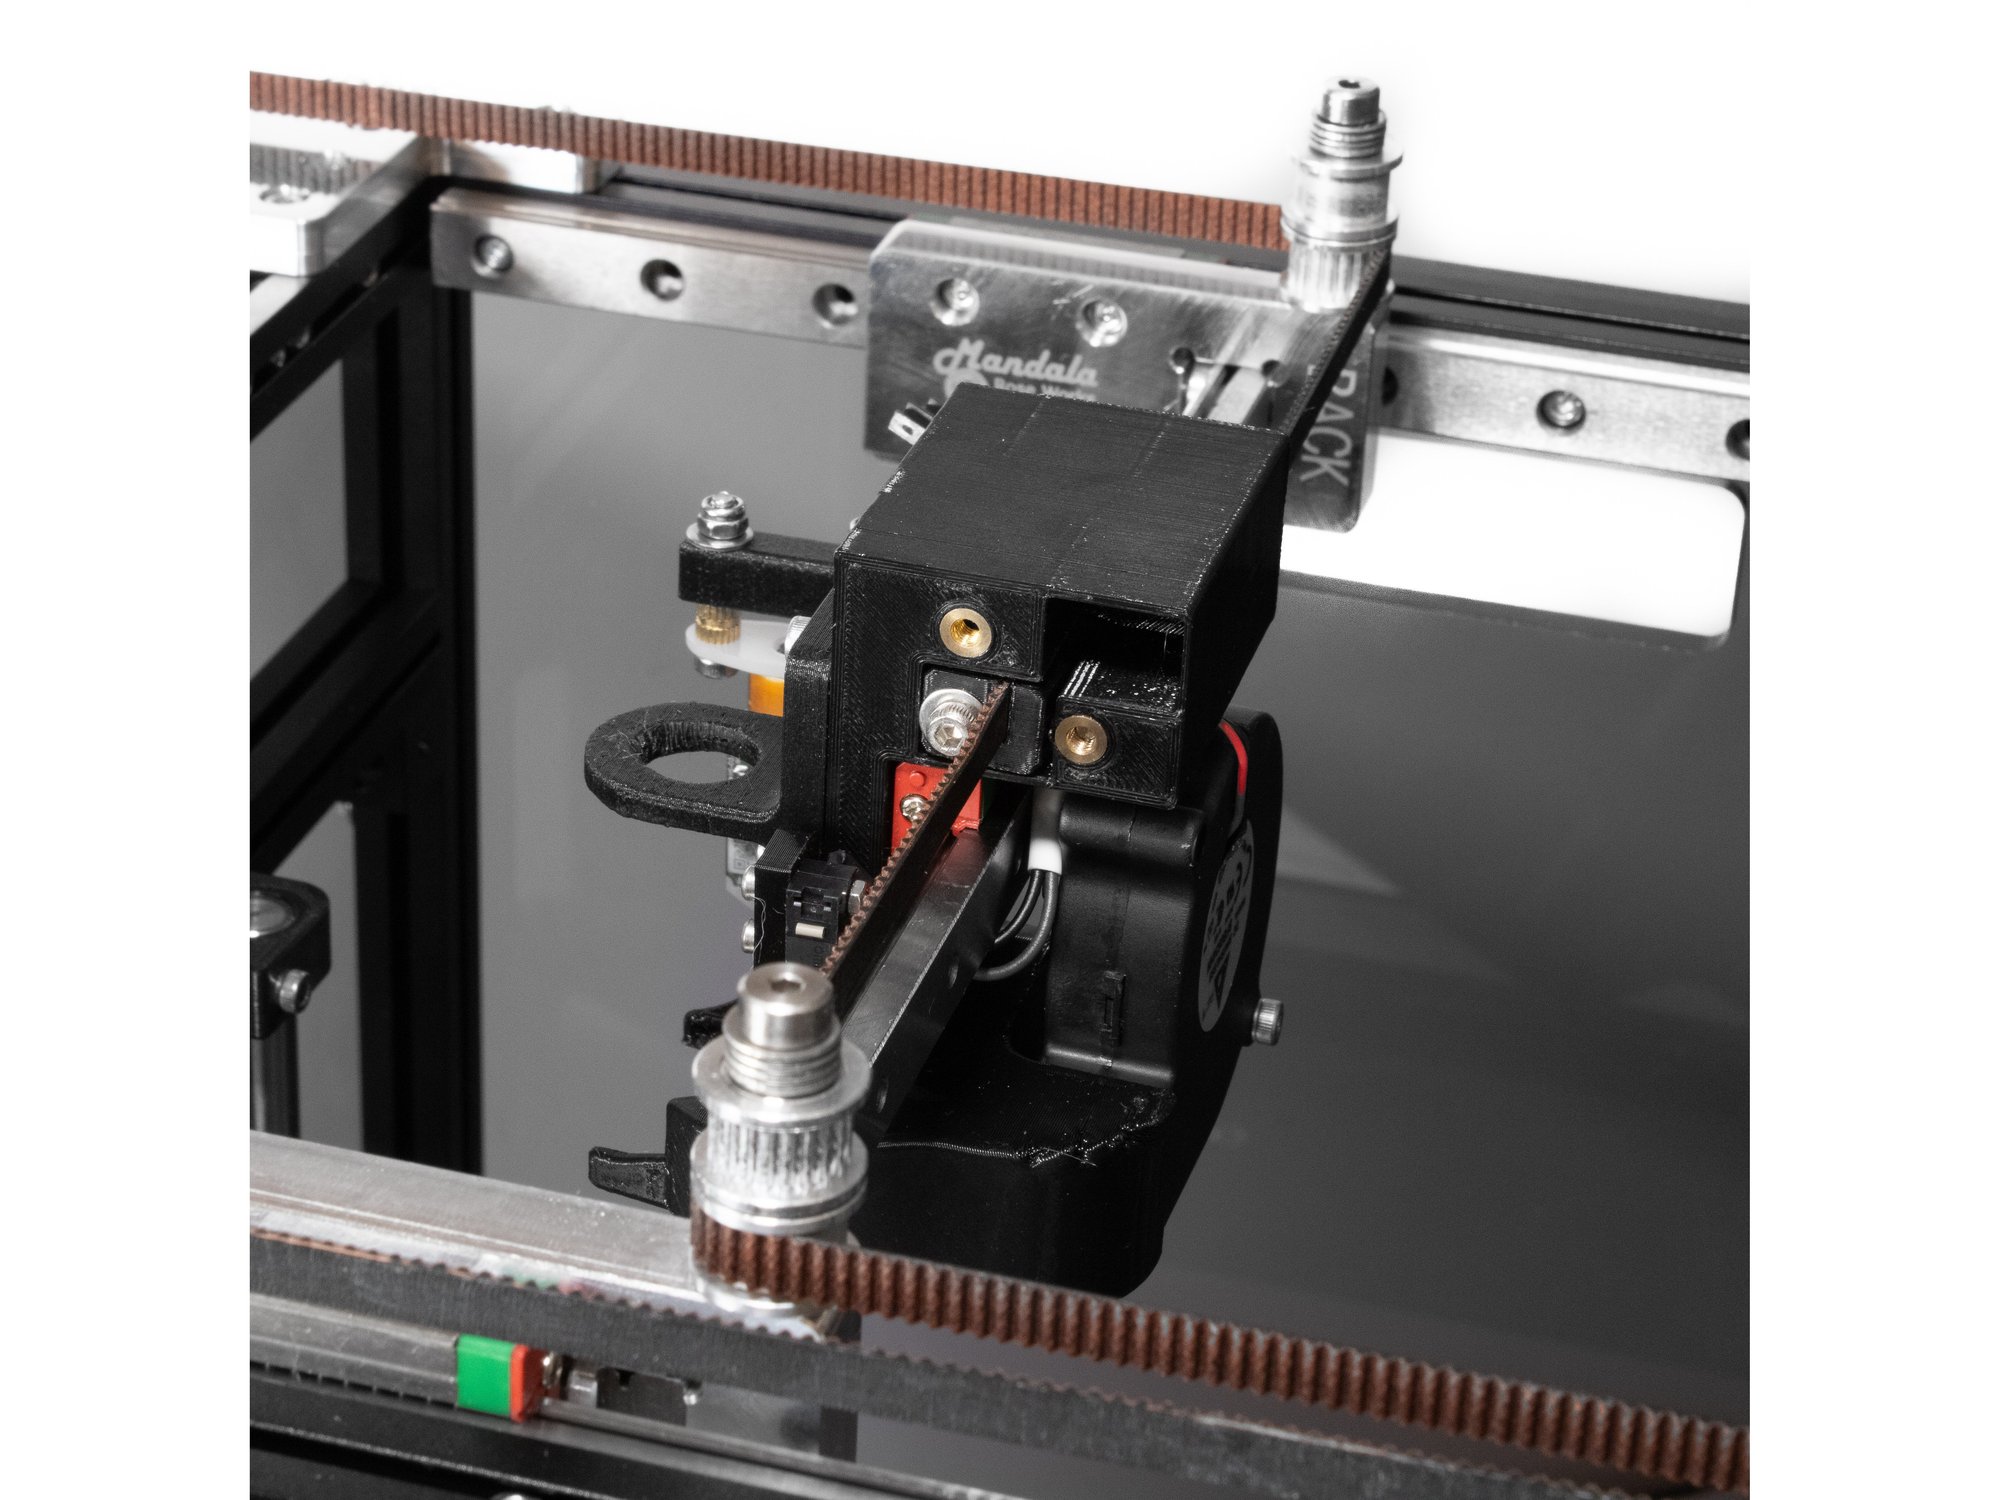
  • Start with the front or "Y" belt. Insert the clip with the belt on it into the lower left hole at the front of the Y carriage. Make sure the bolt hole lines up properly.
  • Attach the clip using (1) M3 x 45socket head screw and (1) M3 washer.
  • Caution The Belt teeth should be facing the left of the printer.
  • Note Use the pictures in this guide to ensure the belt clips are oriented the correct way.

Step 3 — Y Belt Installation Continued

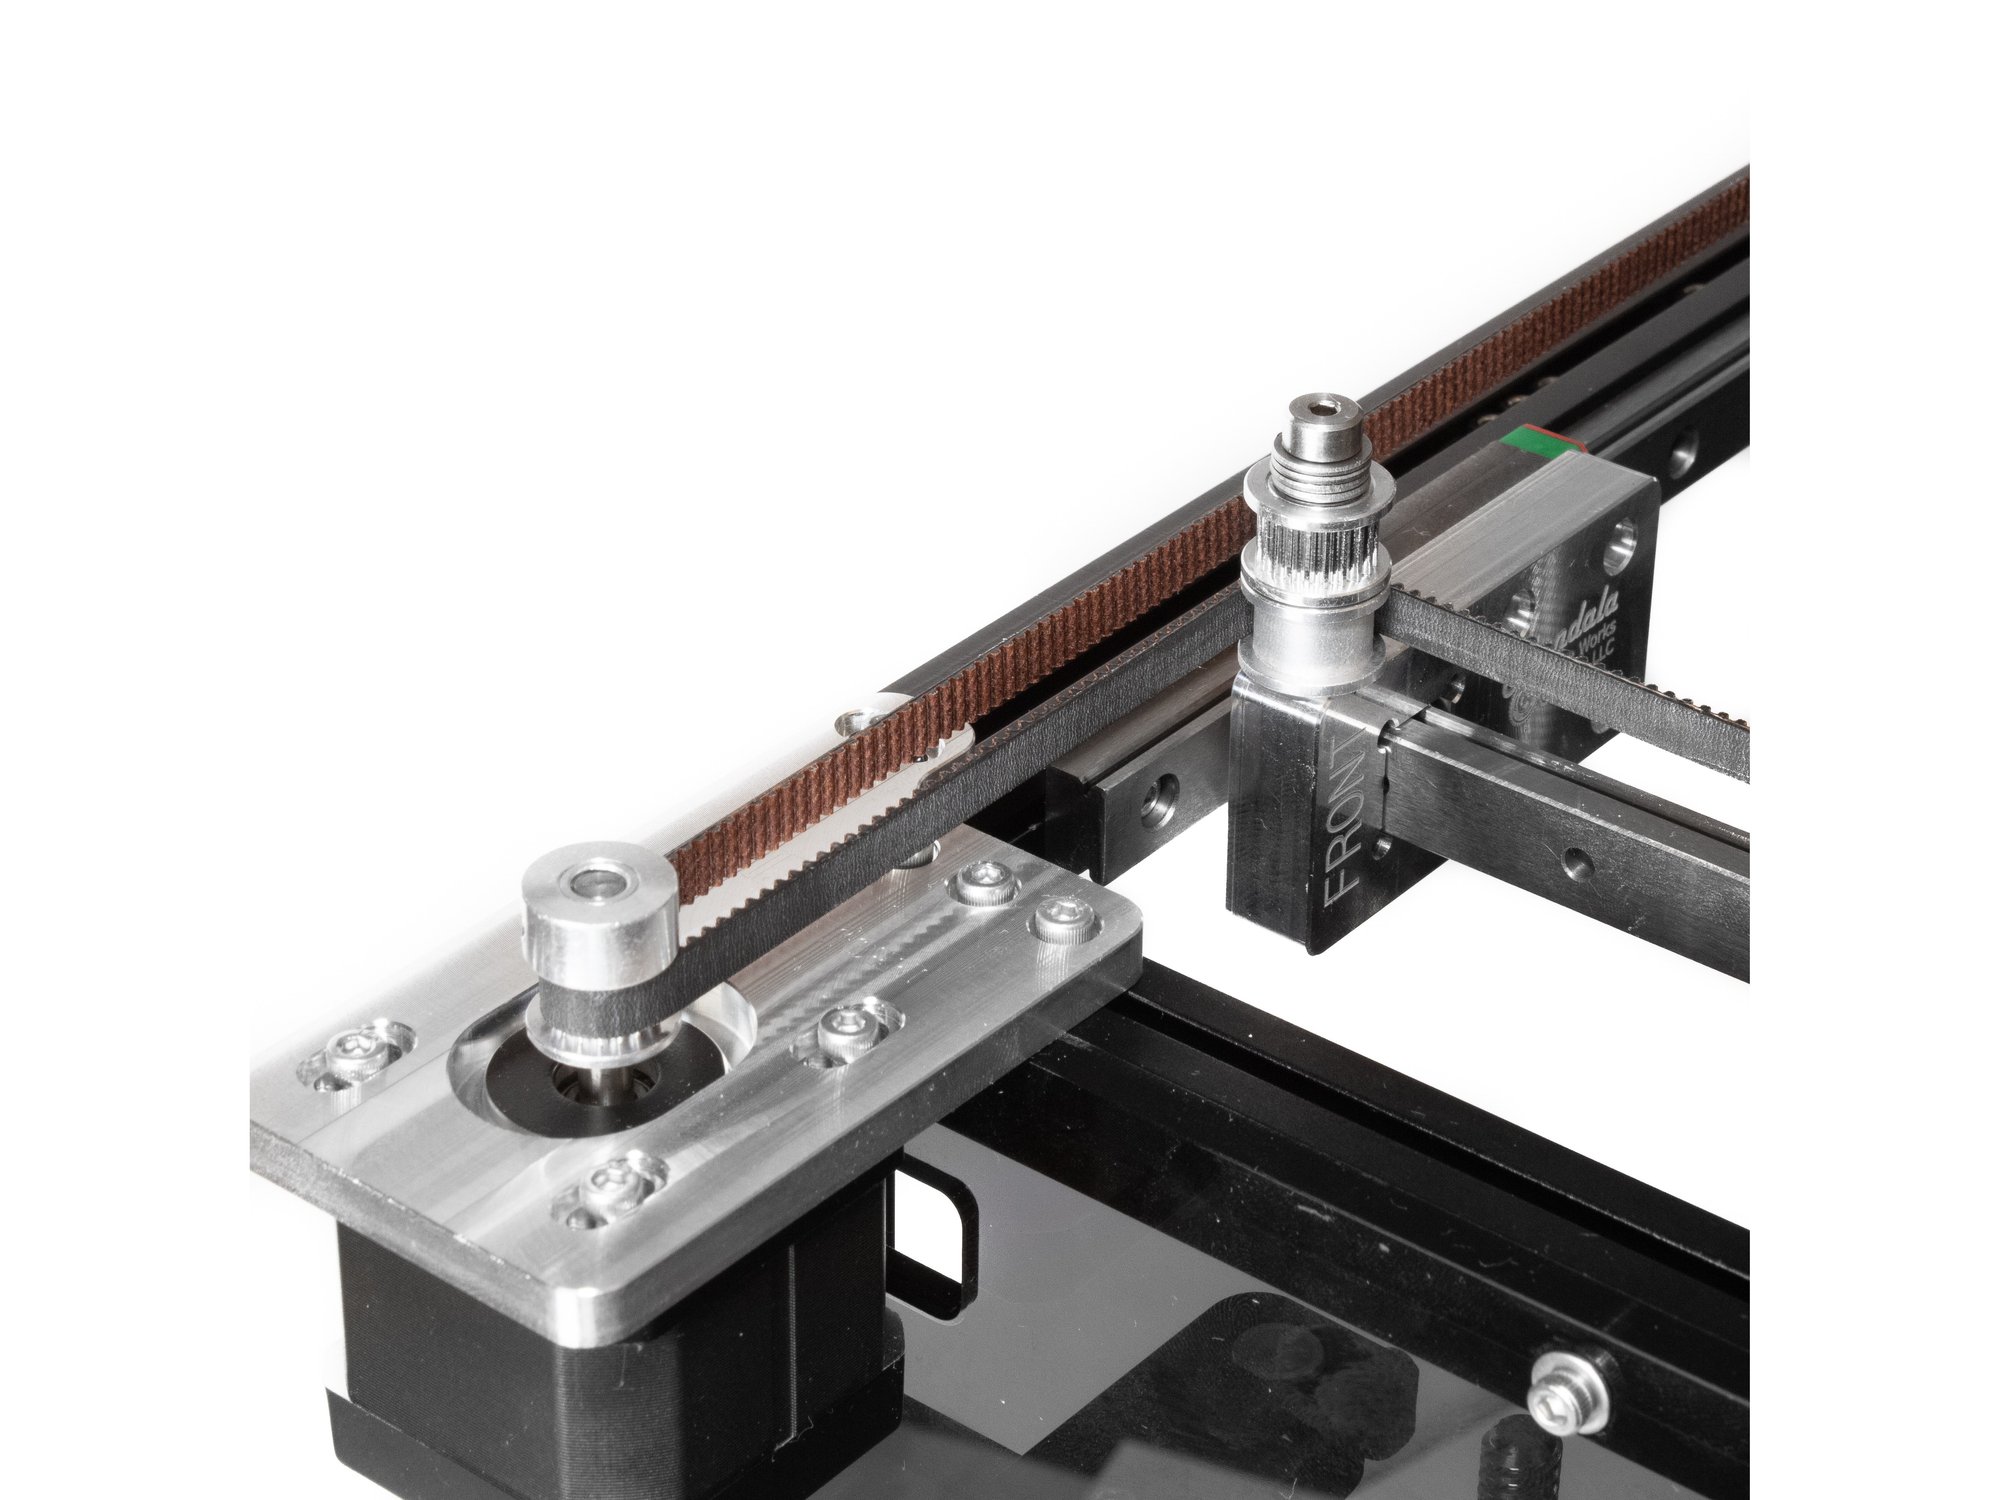
  • The lower belt should go from the Y carriage and then around the lower smooth idler on the front X carriage.
  • From the idler the belt should turn to the right and loop around the front stepper pulley.
  • Caution The teeth should engage the pulley.
  • From the stepper the belt goes across the front of the printer and around the toothed idler on the outside, shorter shoulder bolt.

Step 4 — Finishing Y Belt Installation

  • The belt should cross to the left of the printer, and the teeth should engage the toothed idler on the shorter, inside shoulder bolt on the rear idler mount.
  • From there the belt should follow along the back of the printer, with the toothed side wrapping around the lower toothed idler on the X carriage.
  • Put another belt clip on, and insert the bolt into the lower rear hole on the Y carriage. Attach it with (1) M3 x 45 socket head bolt and (1) M3 washer.
  • Caution Be sure the belt is properly seated around the idlers and pulley, and not twisted along its length.
  • Don't worry about the belt being tight - we'll tension it later. For now "close" is good enough.
  • Cut the belt, leaving an approximately 1" tail in case you need to adjust it.

Step 5 — X / Rear Belt Installation

  • To install the rear or "X" belt, start by installing a belt clip on the end of the belt, and insert it into the top hole on the front of the Y carriage.
  • Attach the belt clip using (1) M3 x 45 socket head screw and (1) M3 washer.
  • Caution The belt teeth should be facing the left of the printer.

Step 6 — X Belt Installation Continued

  • To route the belt it should leave the Y carriage and wrap around the toothed idler at the top of the stay on the front X carriage.
  • From the X carriage the belt follows along the front of the printer to the toothed idler at the top of the tall stack on the front idler mount.

Step 7 — X Belt Installation Continued

  • The belt crosses the left side of the printer, to the toothed idler on the tall stack of the rear idler mount.
  • From the rear idler mount the belt extends along the back of the printer, all the way to the rear stepper pulley.
  • The belt wraps around the rear stepper pulley, and goes back to the rear X carriage, with the back of the belt against the smooth idler at the top of the rear X carriage idler stack.

Step 8 — Finishing X Belt Installation

  • From the Rear X carriage the belt goes back to the Y carriage block.
  • Put another belt clip on, and insert the belt and clip into the top hole on the Y carriage. Attach it with (1) M3 x 45 socket head screw and (1) M3 washer.
  • Be sure the belt is properly seated around the idlers and pulley, and not twisted along its length.
  • Don't worry about the belt being tight - we'll tension it later. For now "close" is good enough.

Step 9

  • At this point both belts should not have any major slack in them. Test tightening them by pulling the X/Y steppers in their grooves, you should be unable to easily pull the steppers to the end of the grooves in the mounts. If you can, remove a belt clip and adjust it a couple teeth, then try again.
  • It is best if both belts are the same length and now is a great time to do it, once the clips are adjusted.
    • To do so, remove both belts (Mark the front clip for each so you know which was which), lay them out on the floor side by side, and adjust the clips to be the same number of teeth apart.
    • Reinstall the belts.

M) Hotend and Extruder

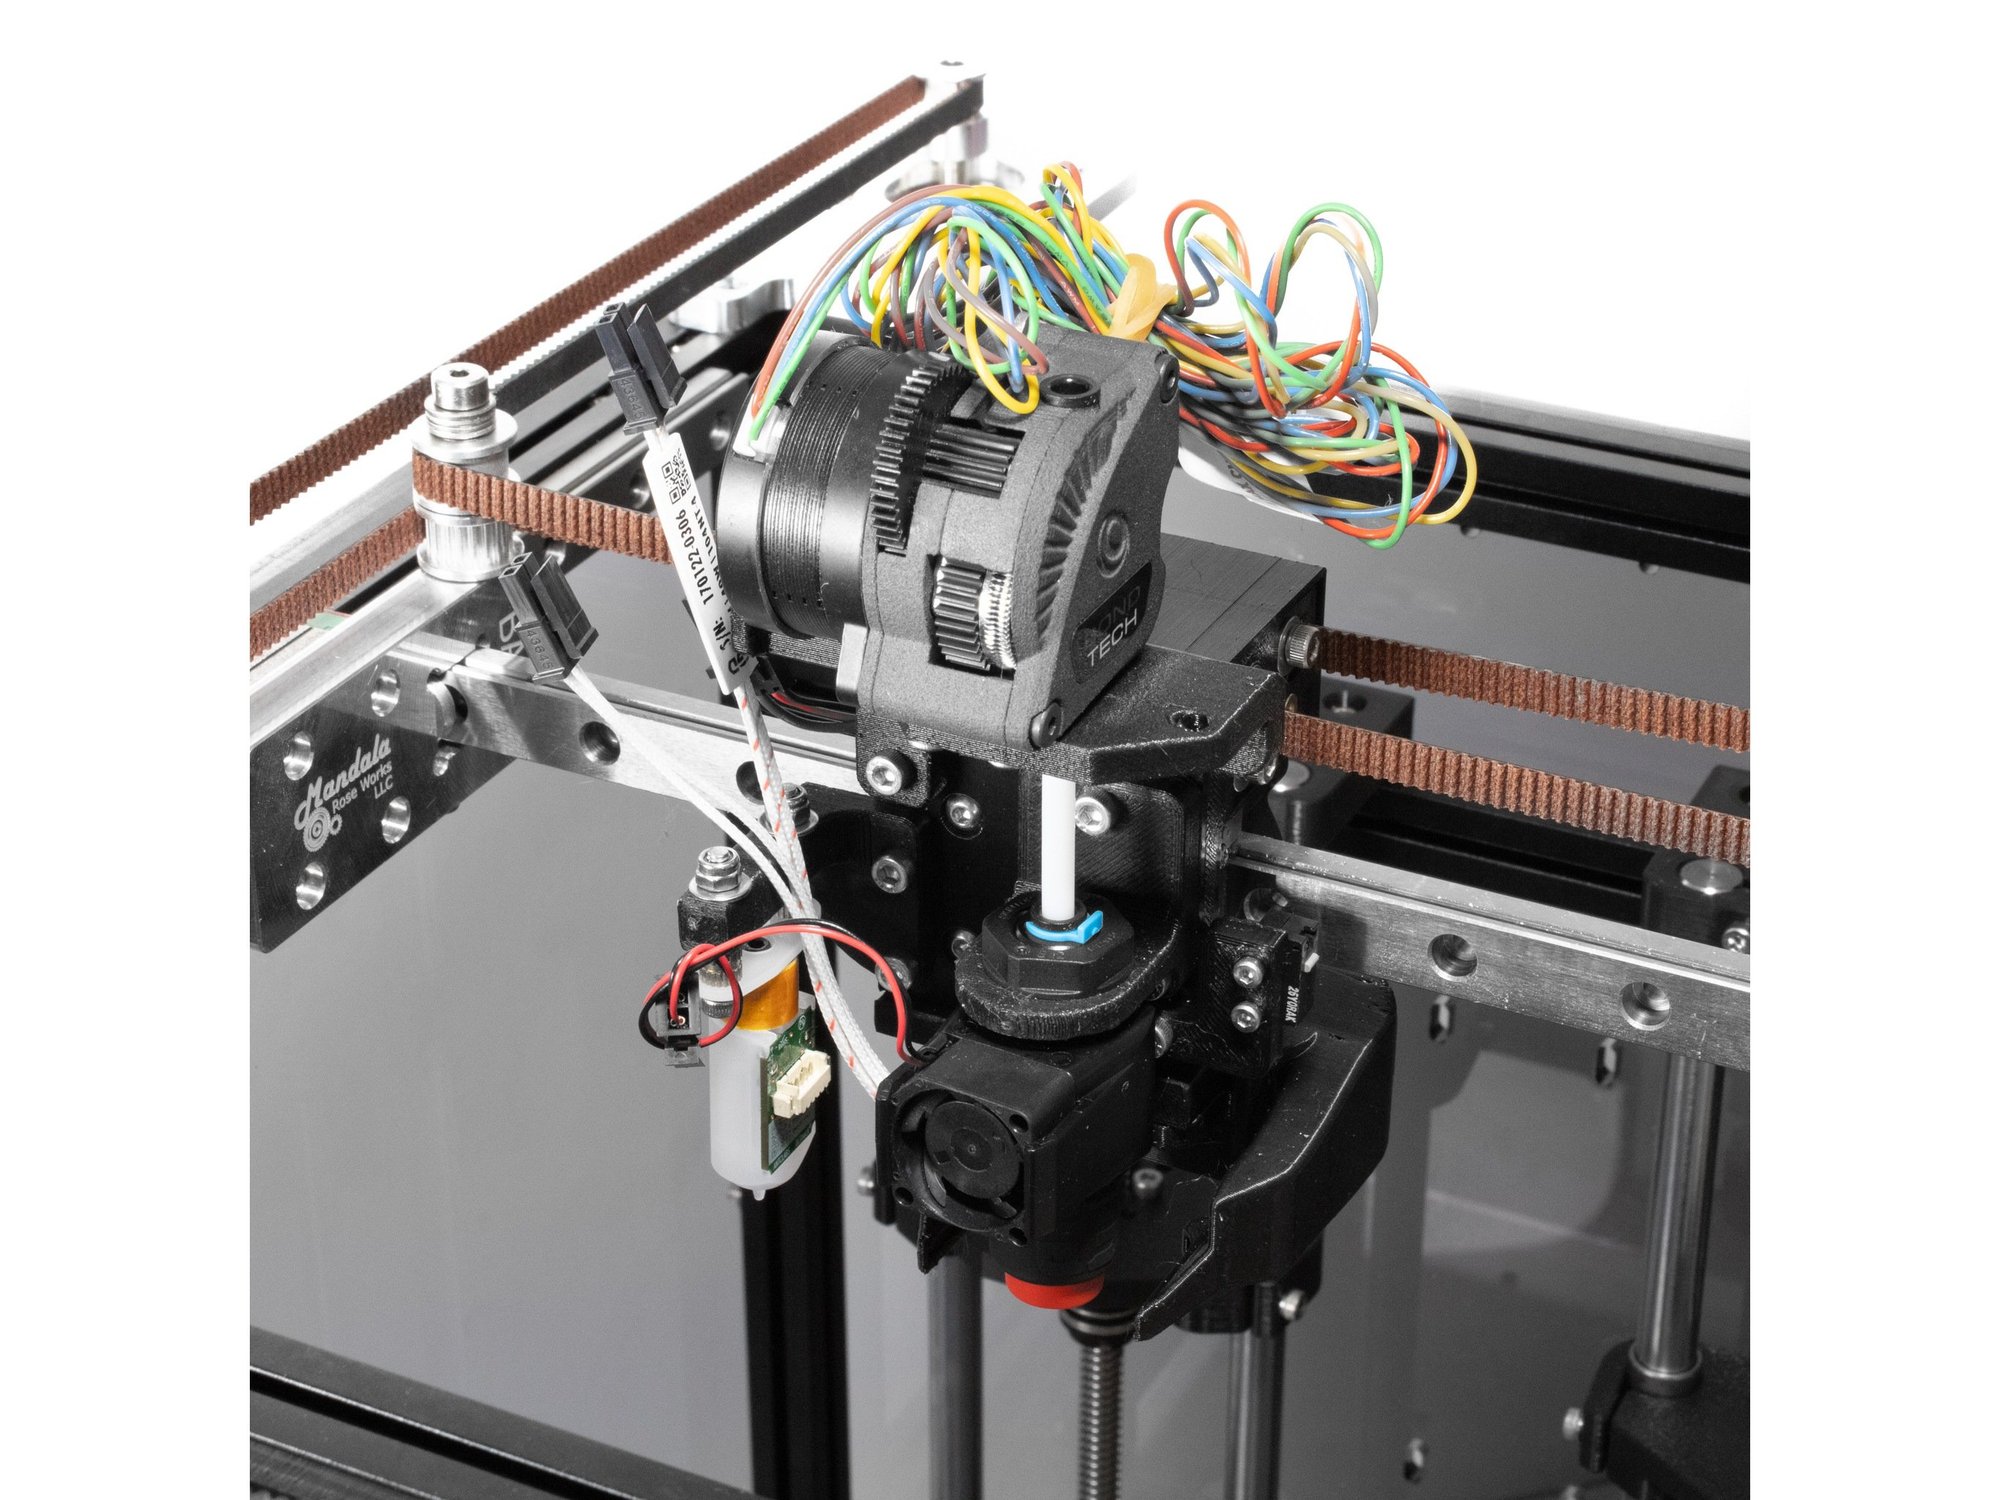
Step 1 — E3D Revo Micro Install

  • Remove the M12 nut from the Revo and insert the threaded side into the printed mount and re-attach the M12 retaining nut.
  • Remove the collet and insert a portion of 50mm PTFE tube and reinstall the collet.

Step 2 — Bondtech LGX Lite Install

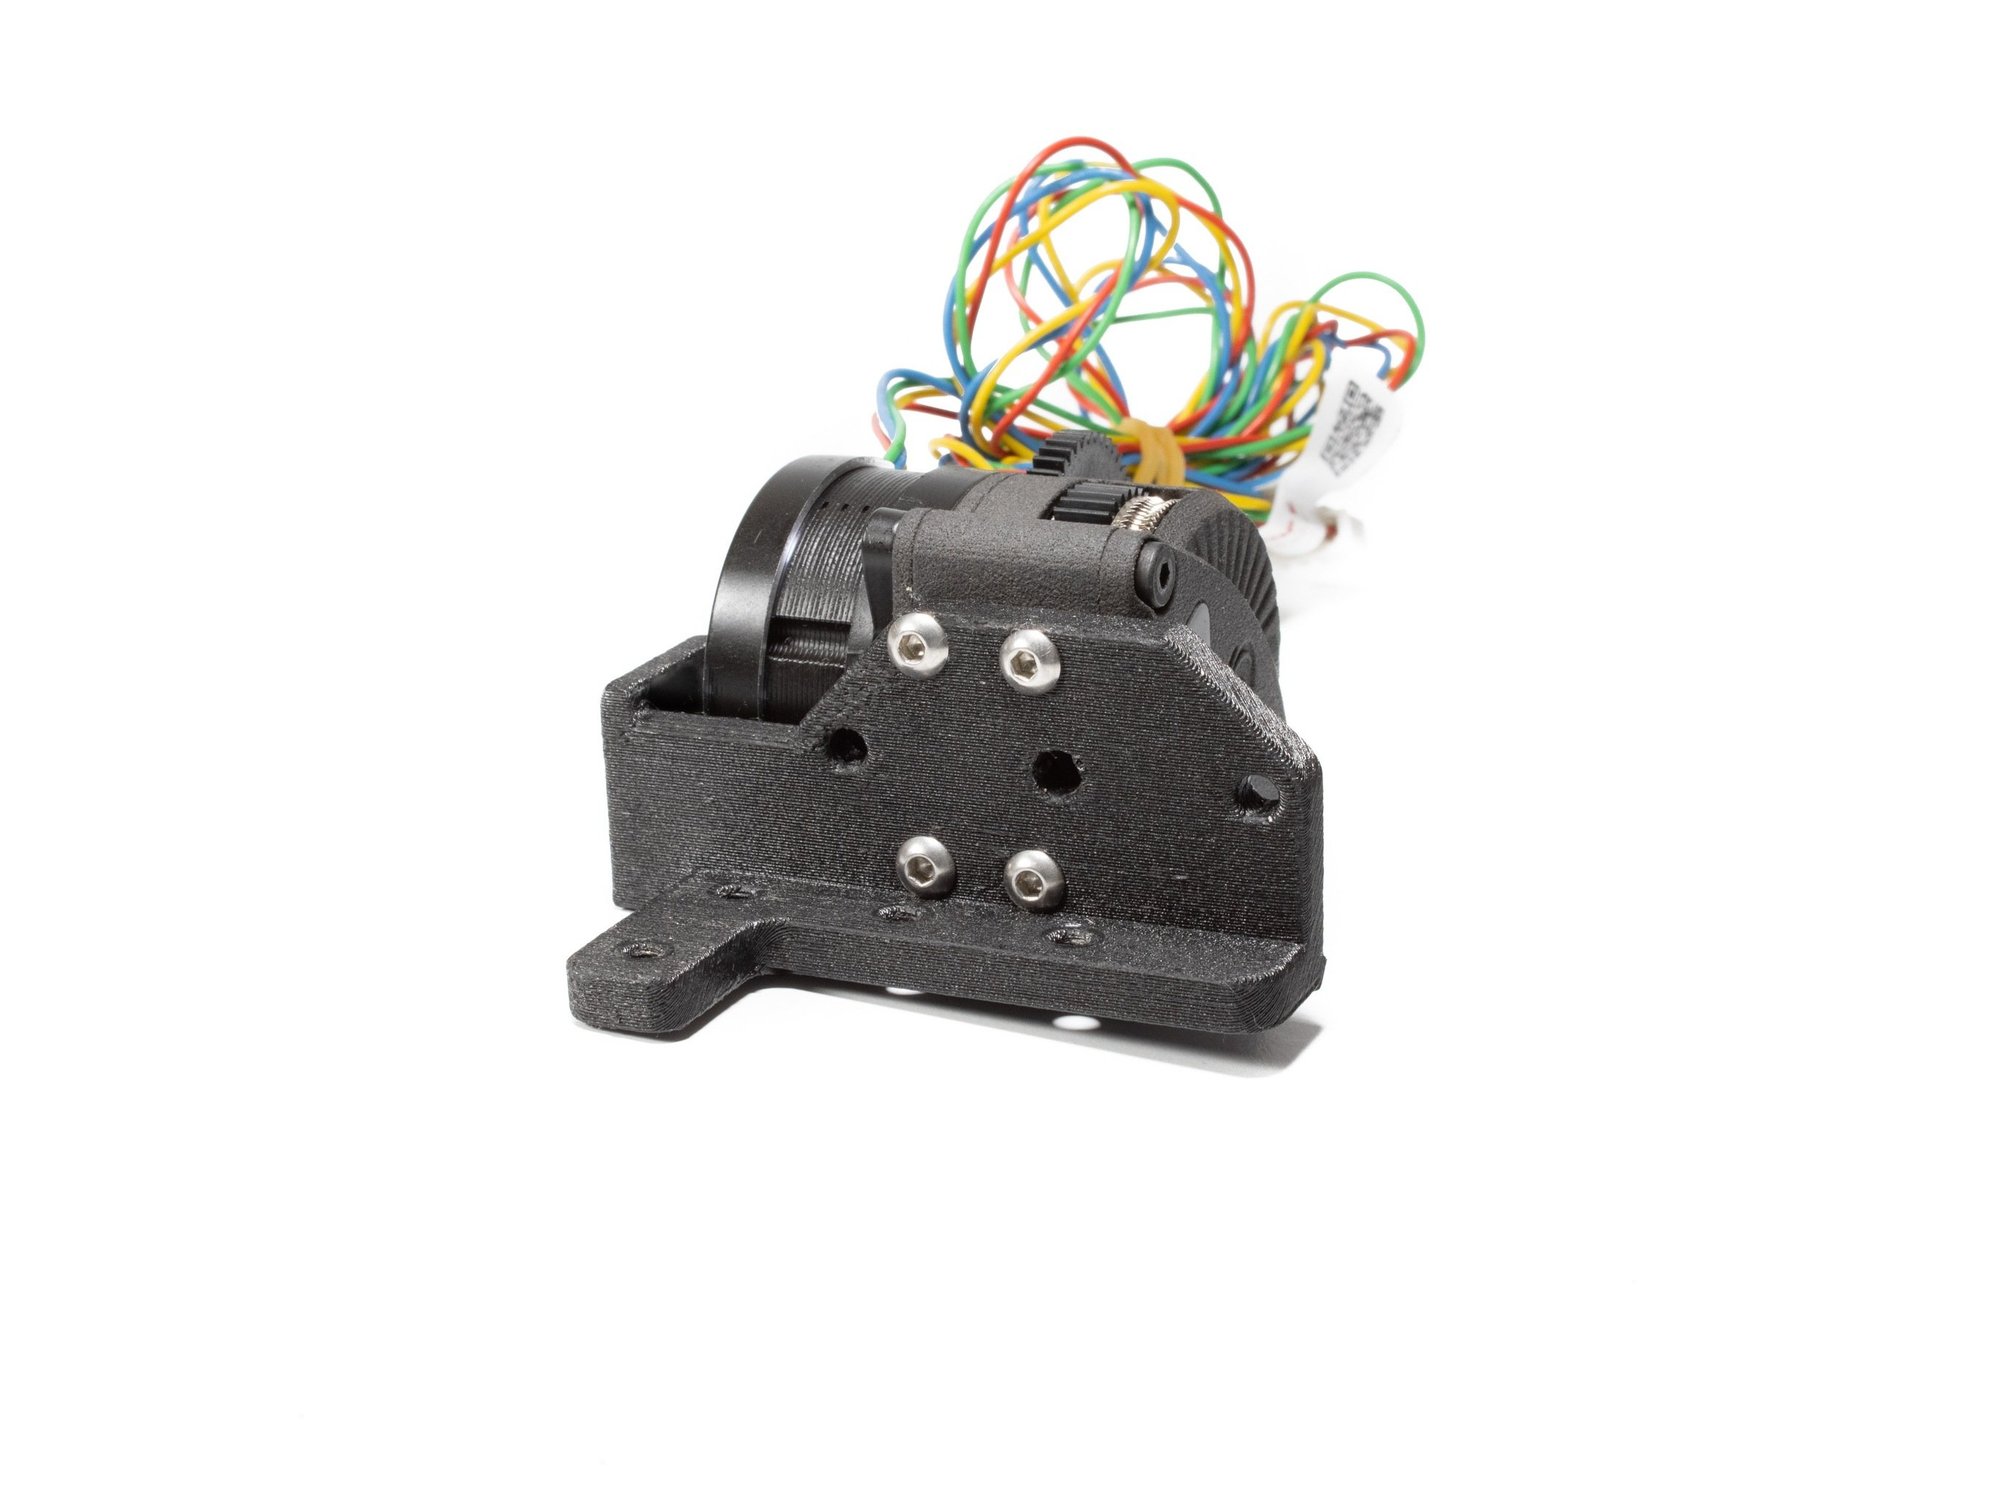
  • Using 4 M3 x 12 button head screws, install the LGX Lite on the printed extruder mount in the orientation shown in the pictures.
  • Caution Button head screws must be used for the previous step.
  • Install the assembled extuder and mount on the printed carriage using 4 M3 x 10 socket head screws.

Step 3 — X Endstop Assembly

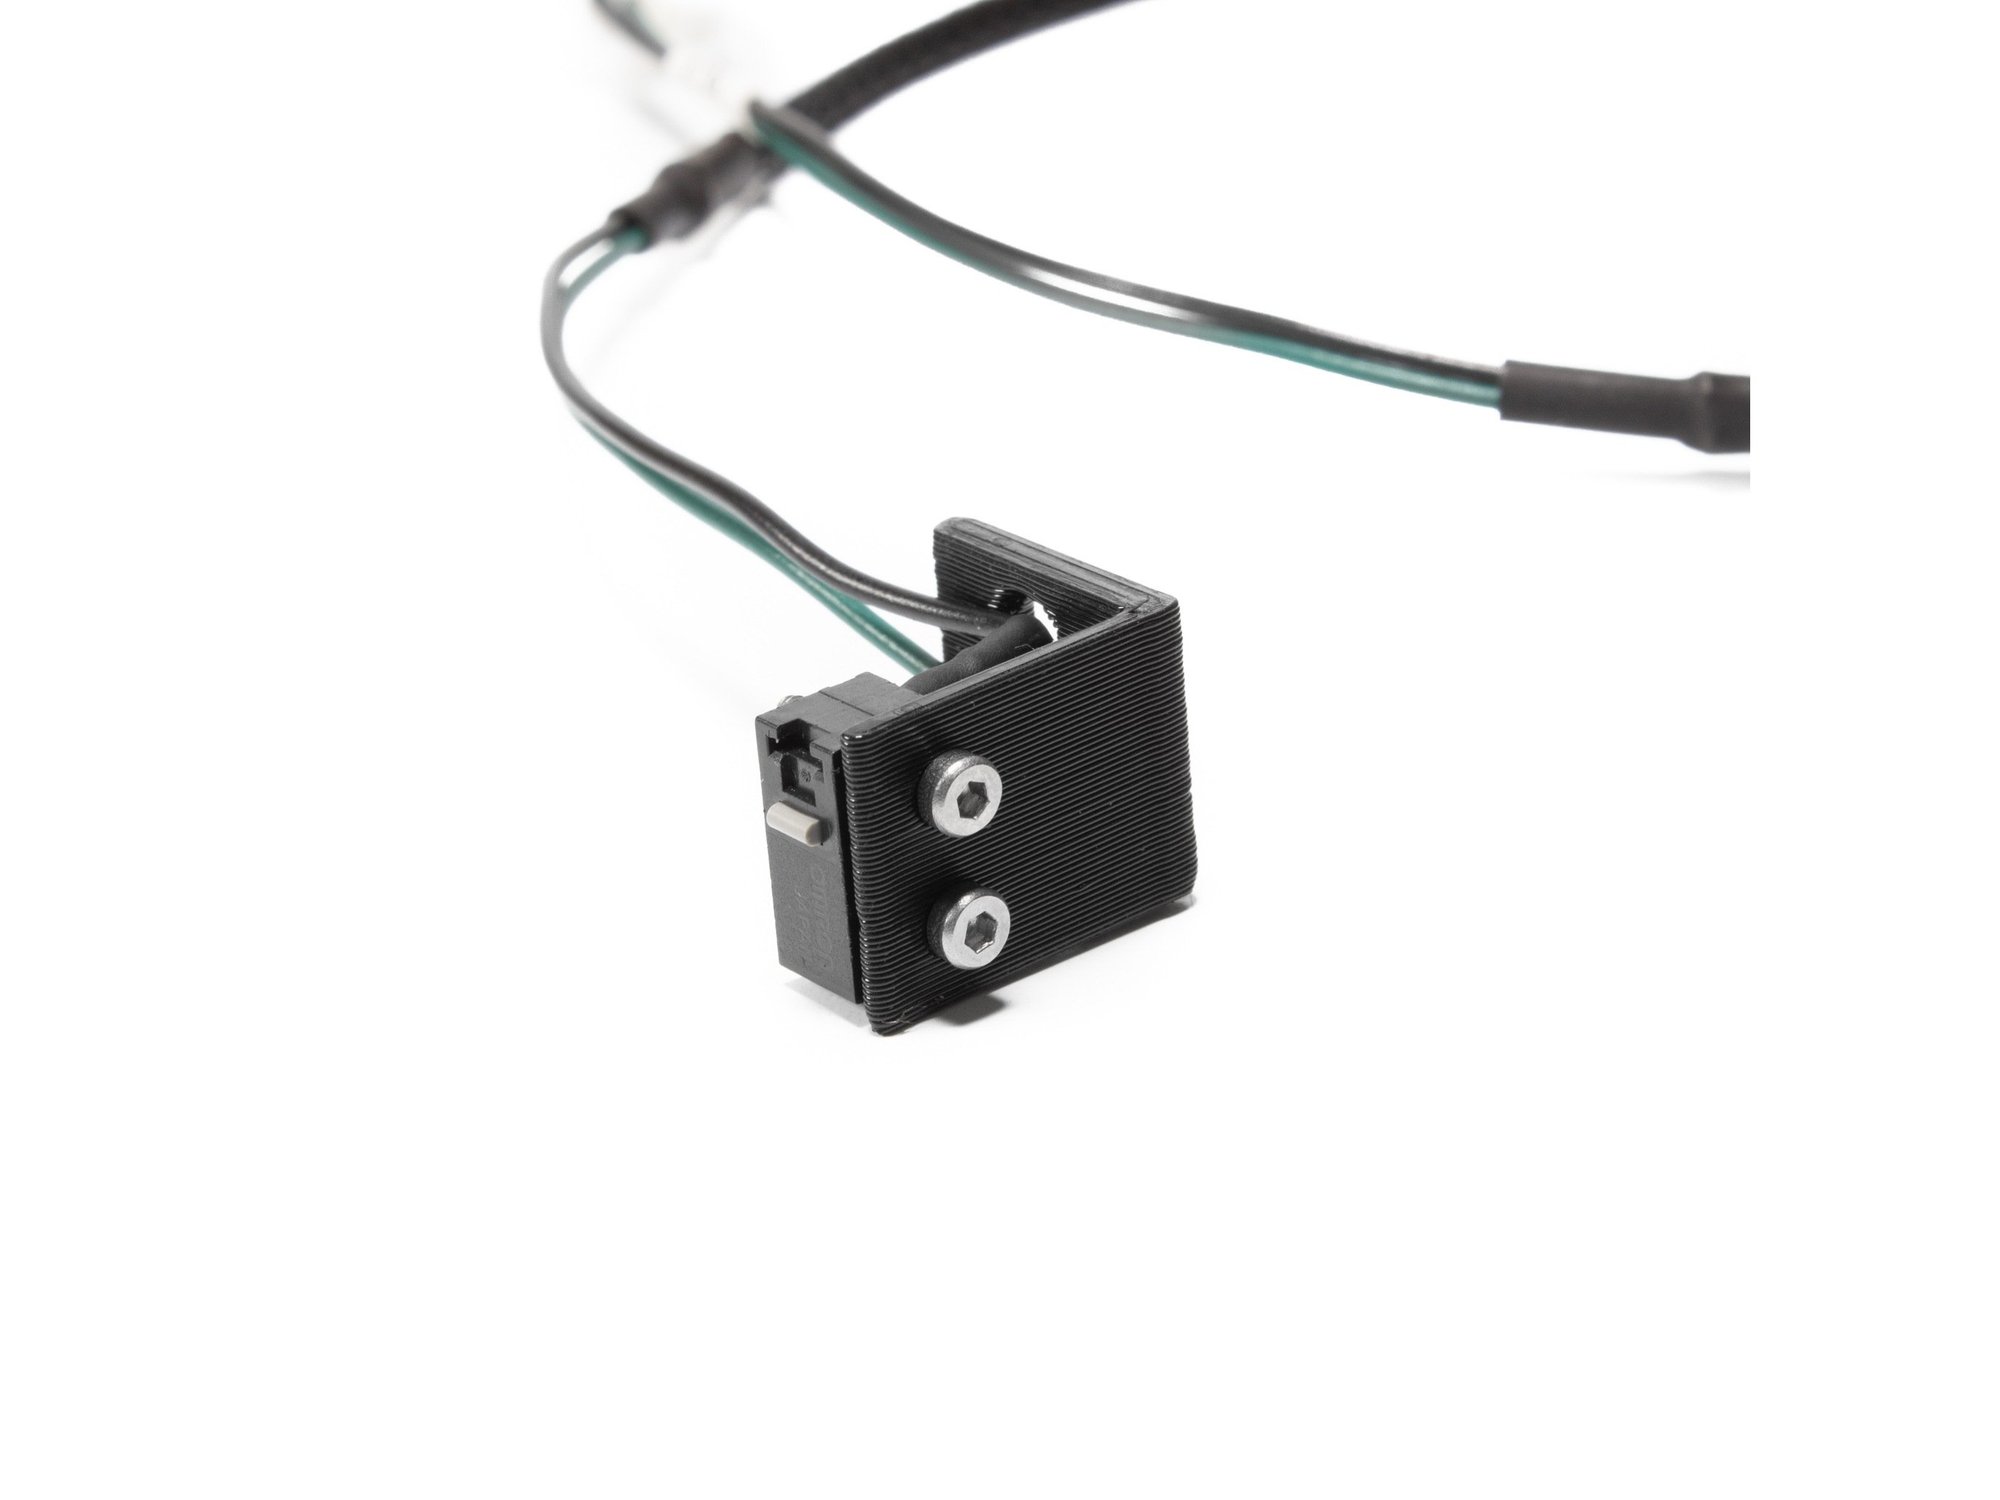
  • Attach the X endstop (it comes pre-wired) to the printed X endstop mount using (2) M2 x 12 socket head screws and (2) M2 Nuts
  • Note Don't worry about the wire for now, it's routed later.
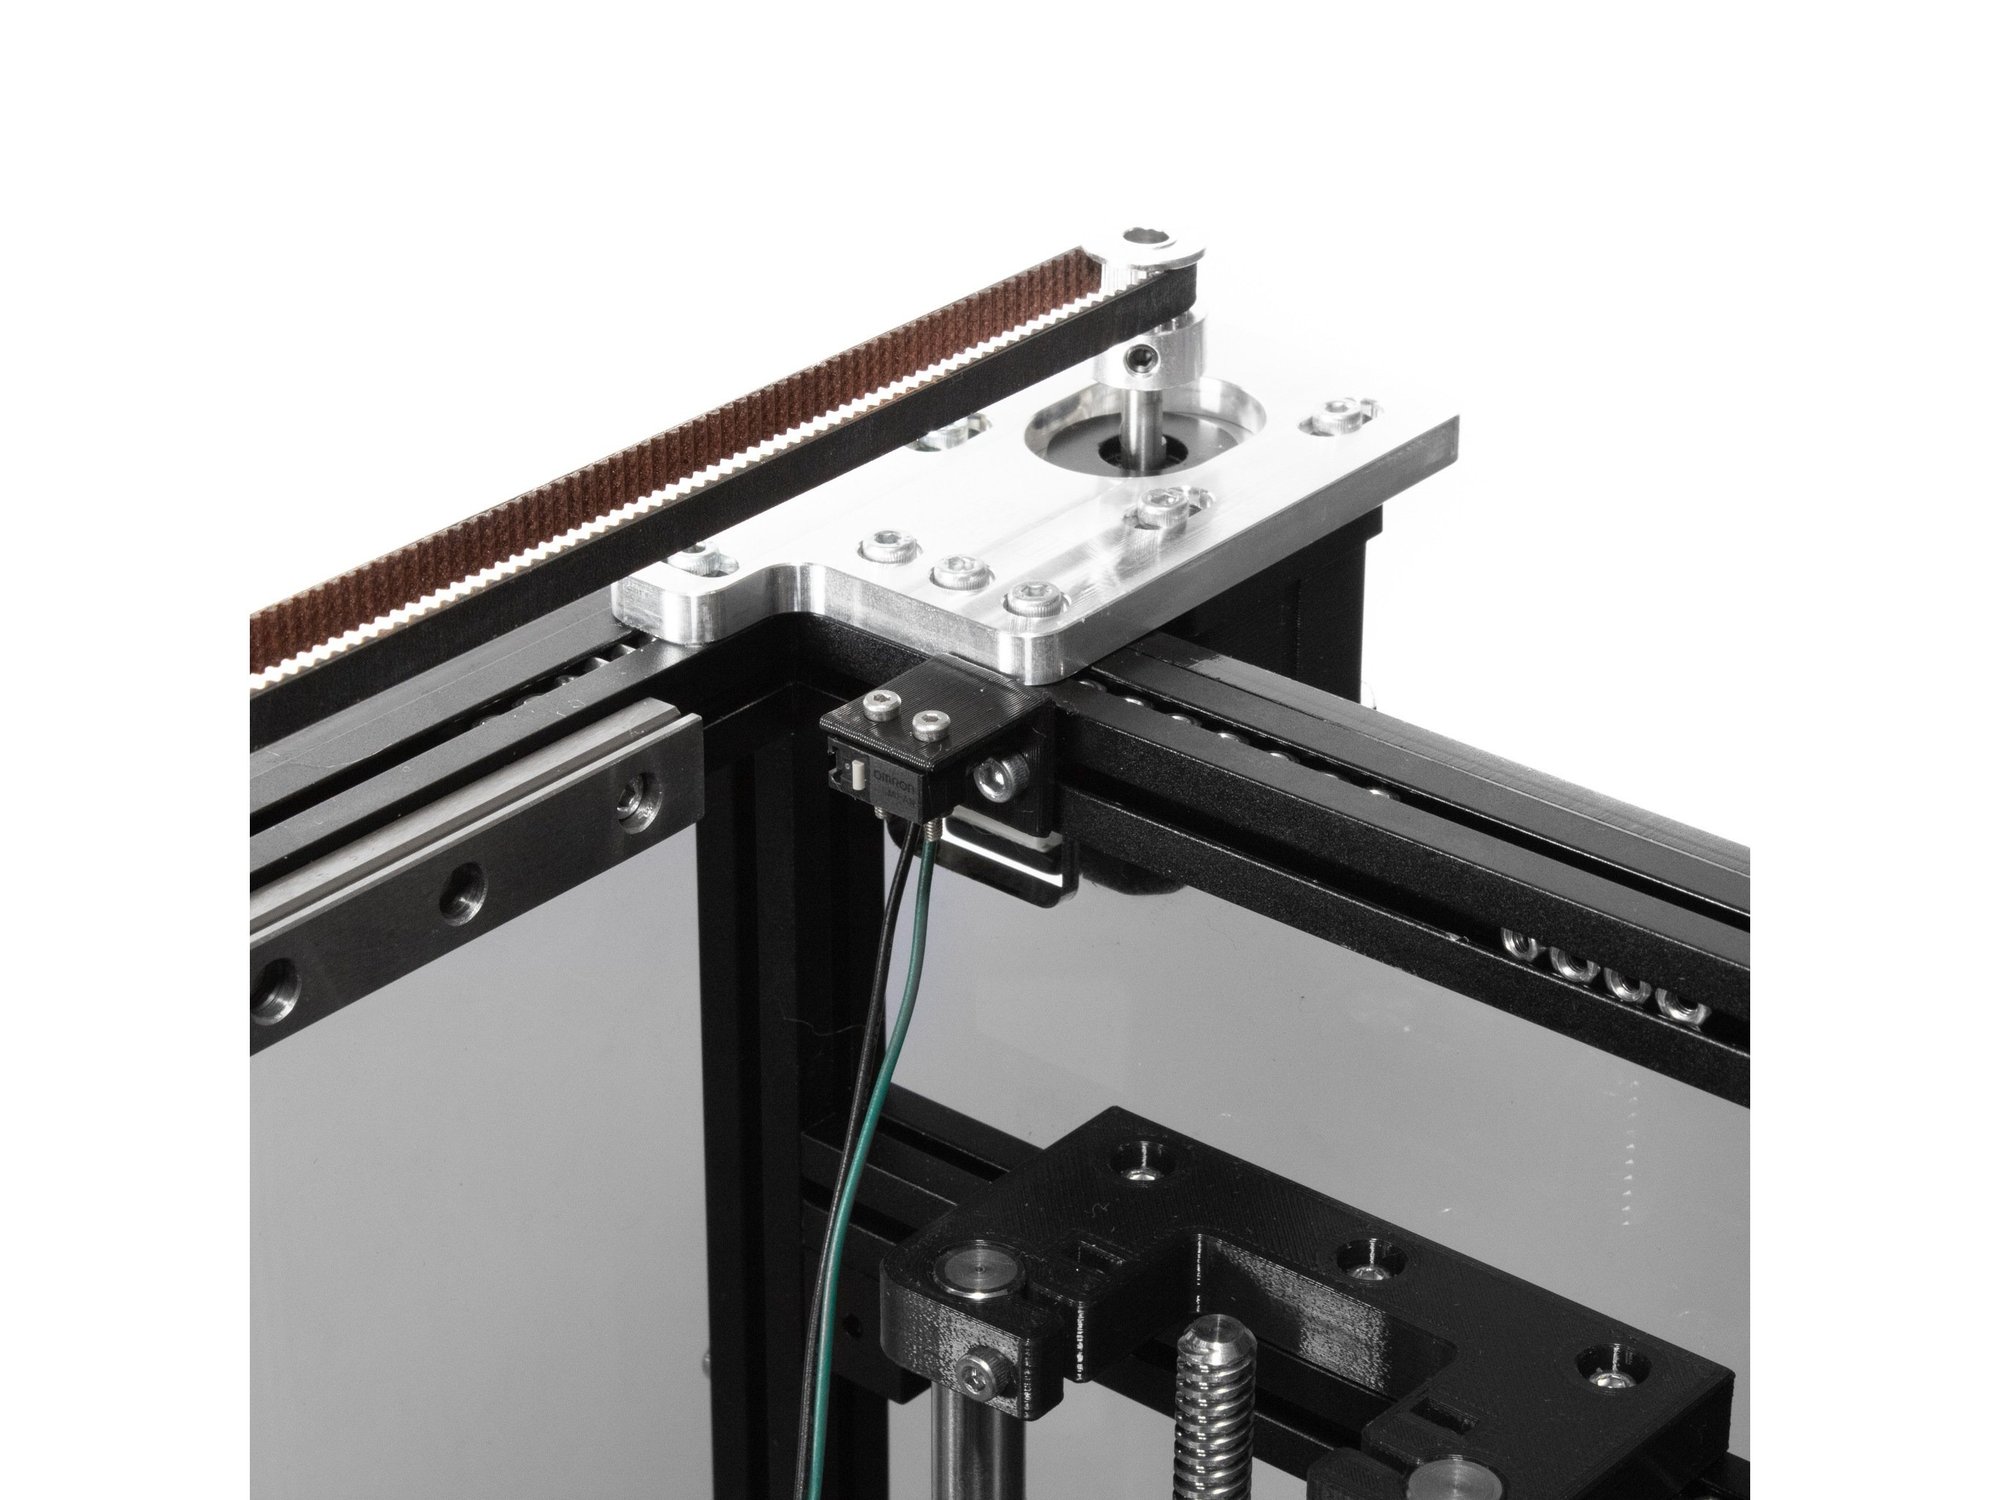
  • Mount the X endstop to the rear right corner of the frame, on the right inside extrusion, using (2) M3 x 8mm socket head screws and (2) M3 washers.
  • Note Don't worry about exact placement for now, it will be adjusted later.

N) Aligning your RailCore

Step 1 — Align the Belts

  • The first step is to align your belts. Adjust the steppers so there's some tension, it doesn't take much, just enough that the belts are straight.
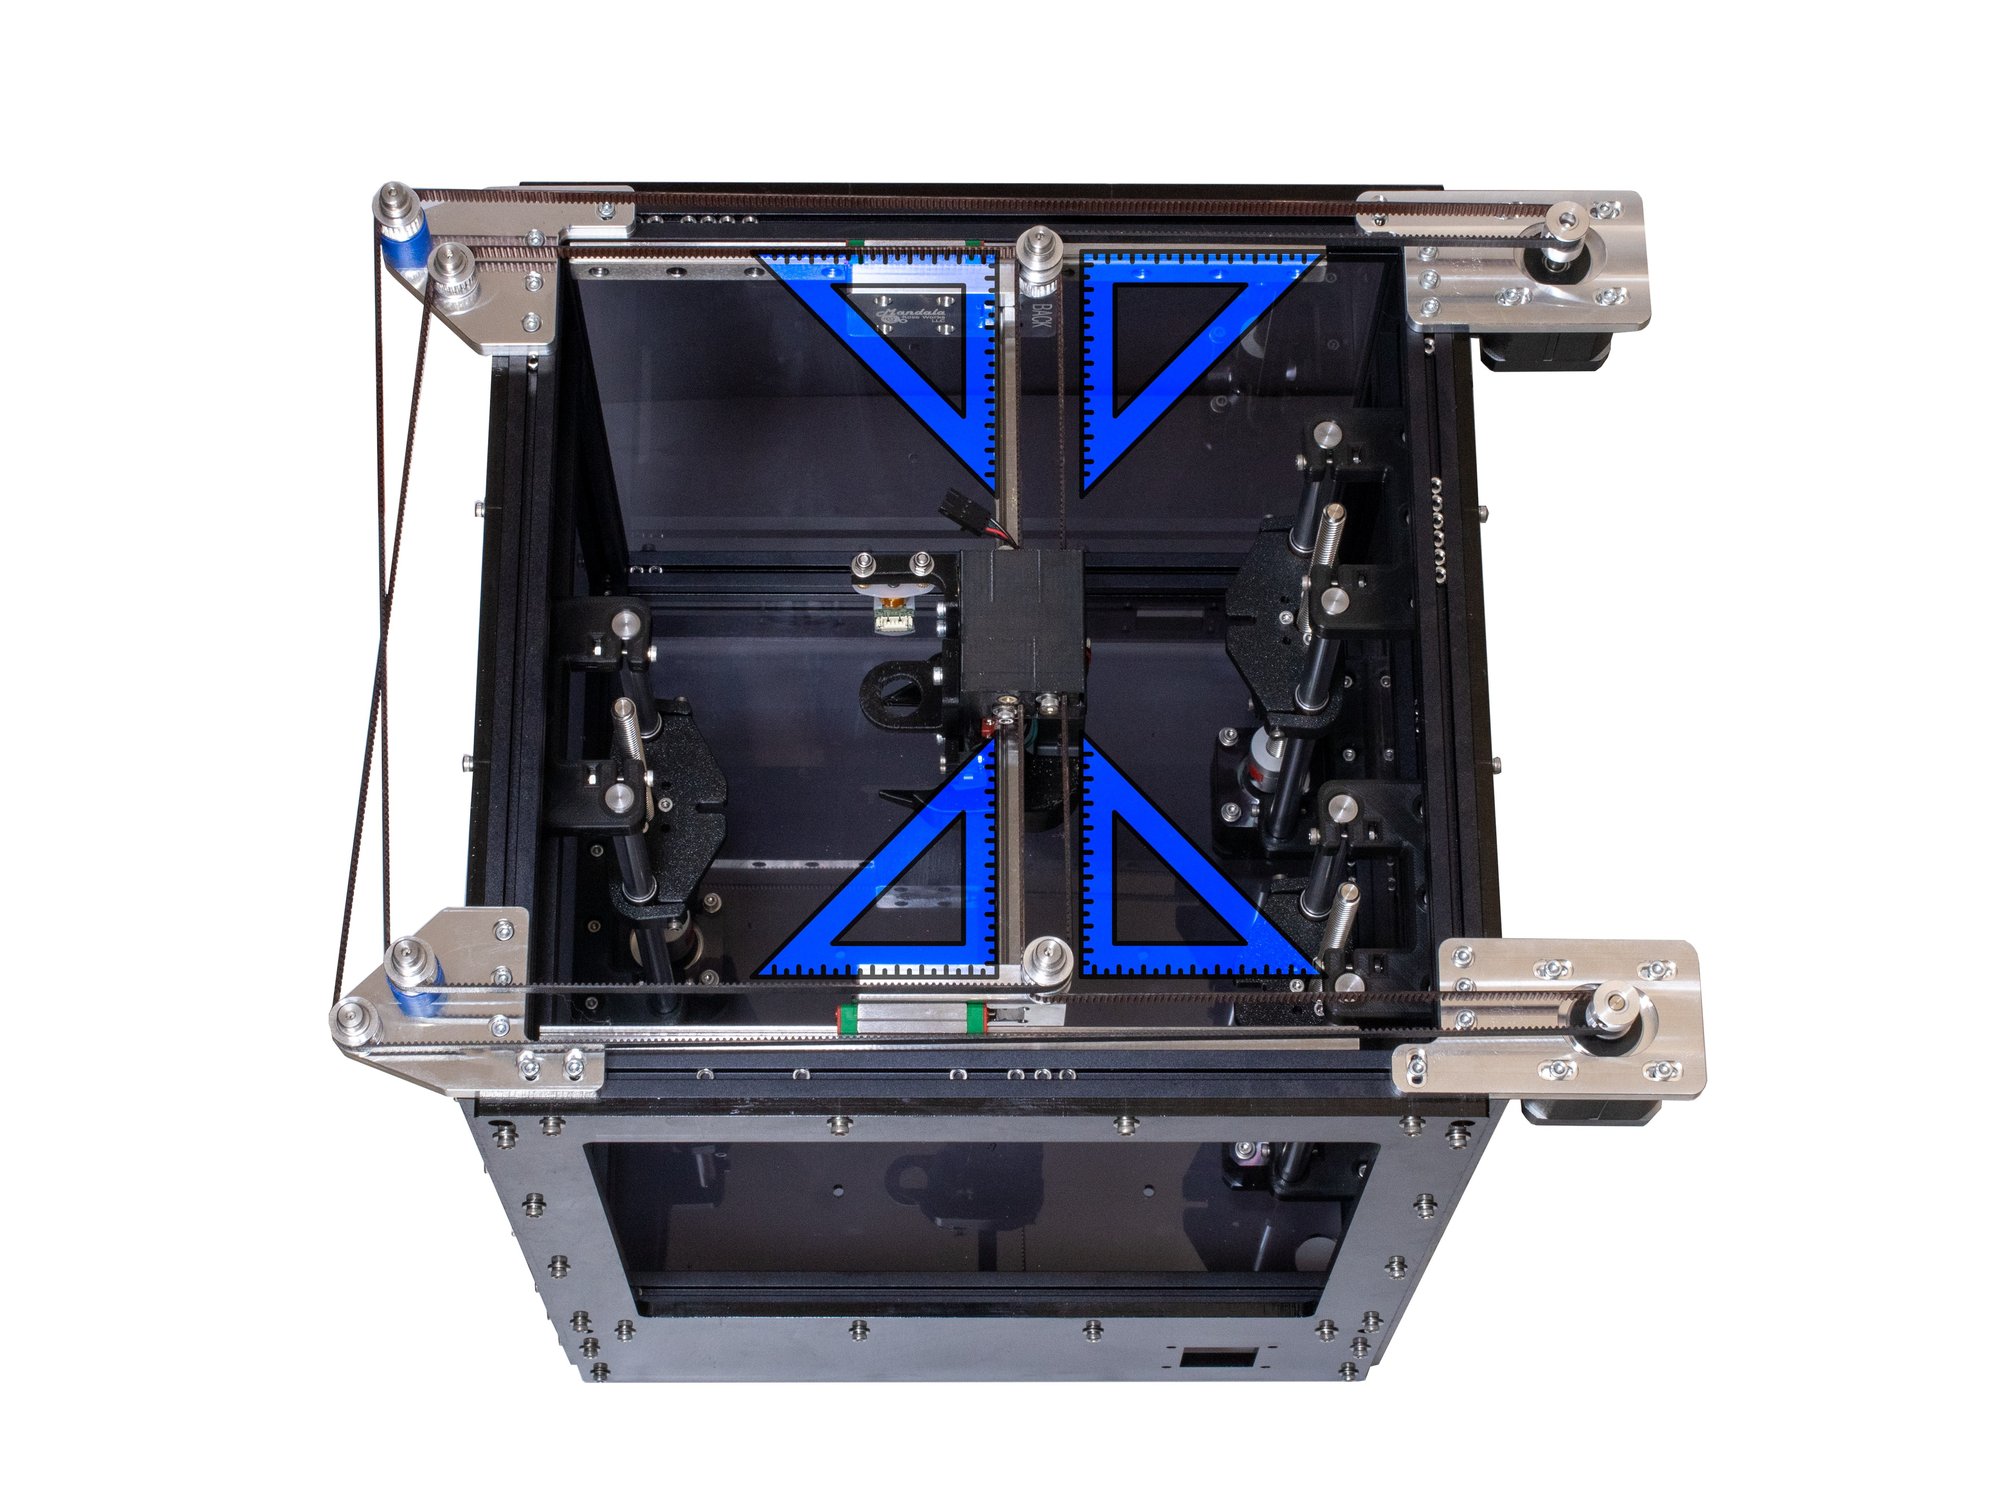
  • Loosen the bolts holding each stepper and idler mount, and move them on the frame until the belts form 90 degree angles to each other.

Step 2 — Tension the Belts

  • Earlier in the process you should have made sure your belts are equal lengths, if you did, that will make getting proper tension easier.
  • Caution Each X Carriage has two bolts retaining the Y rail in place. Loosen those bolts in both carriages just a little before proceeding. (They should still keep the rail in position, but should not be tight)
  • Pull on the Front stepper in the mounts to lightly tension the front belt. You don't need too much tension.
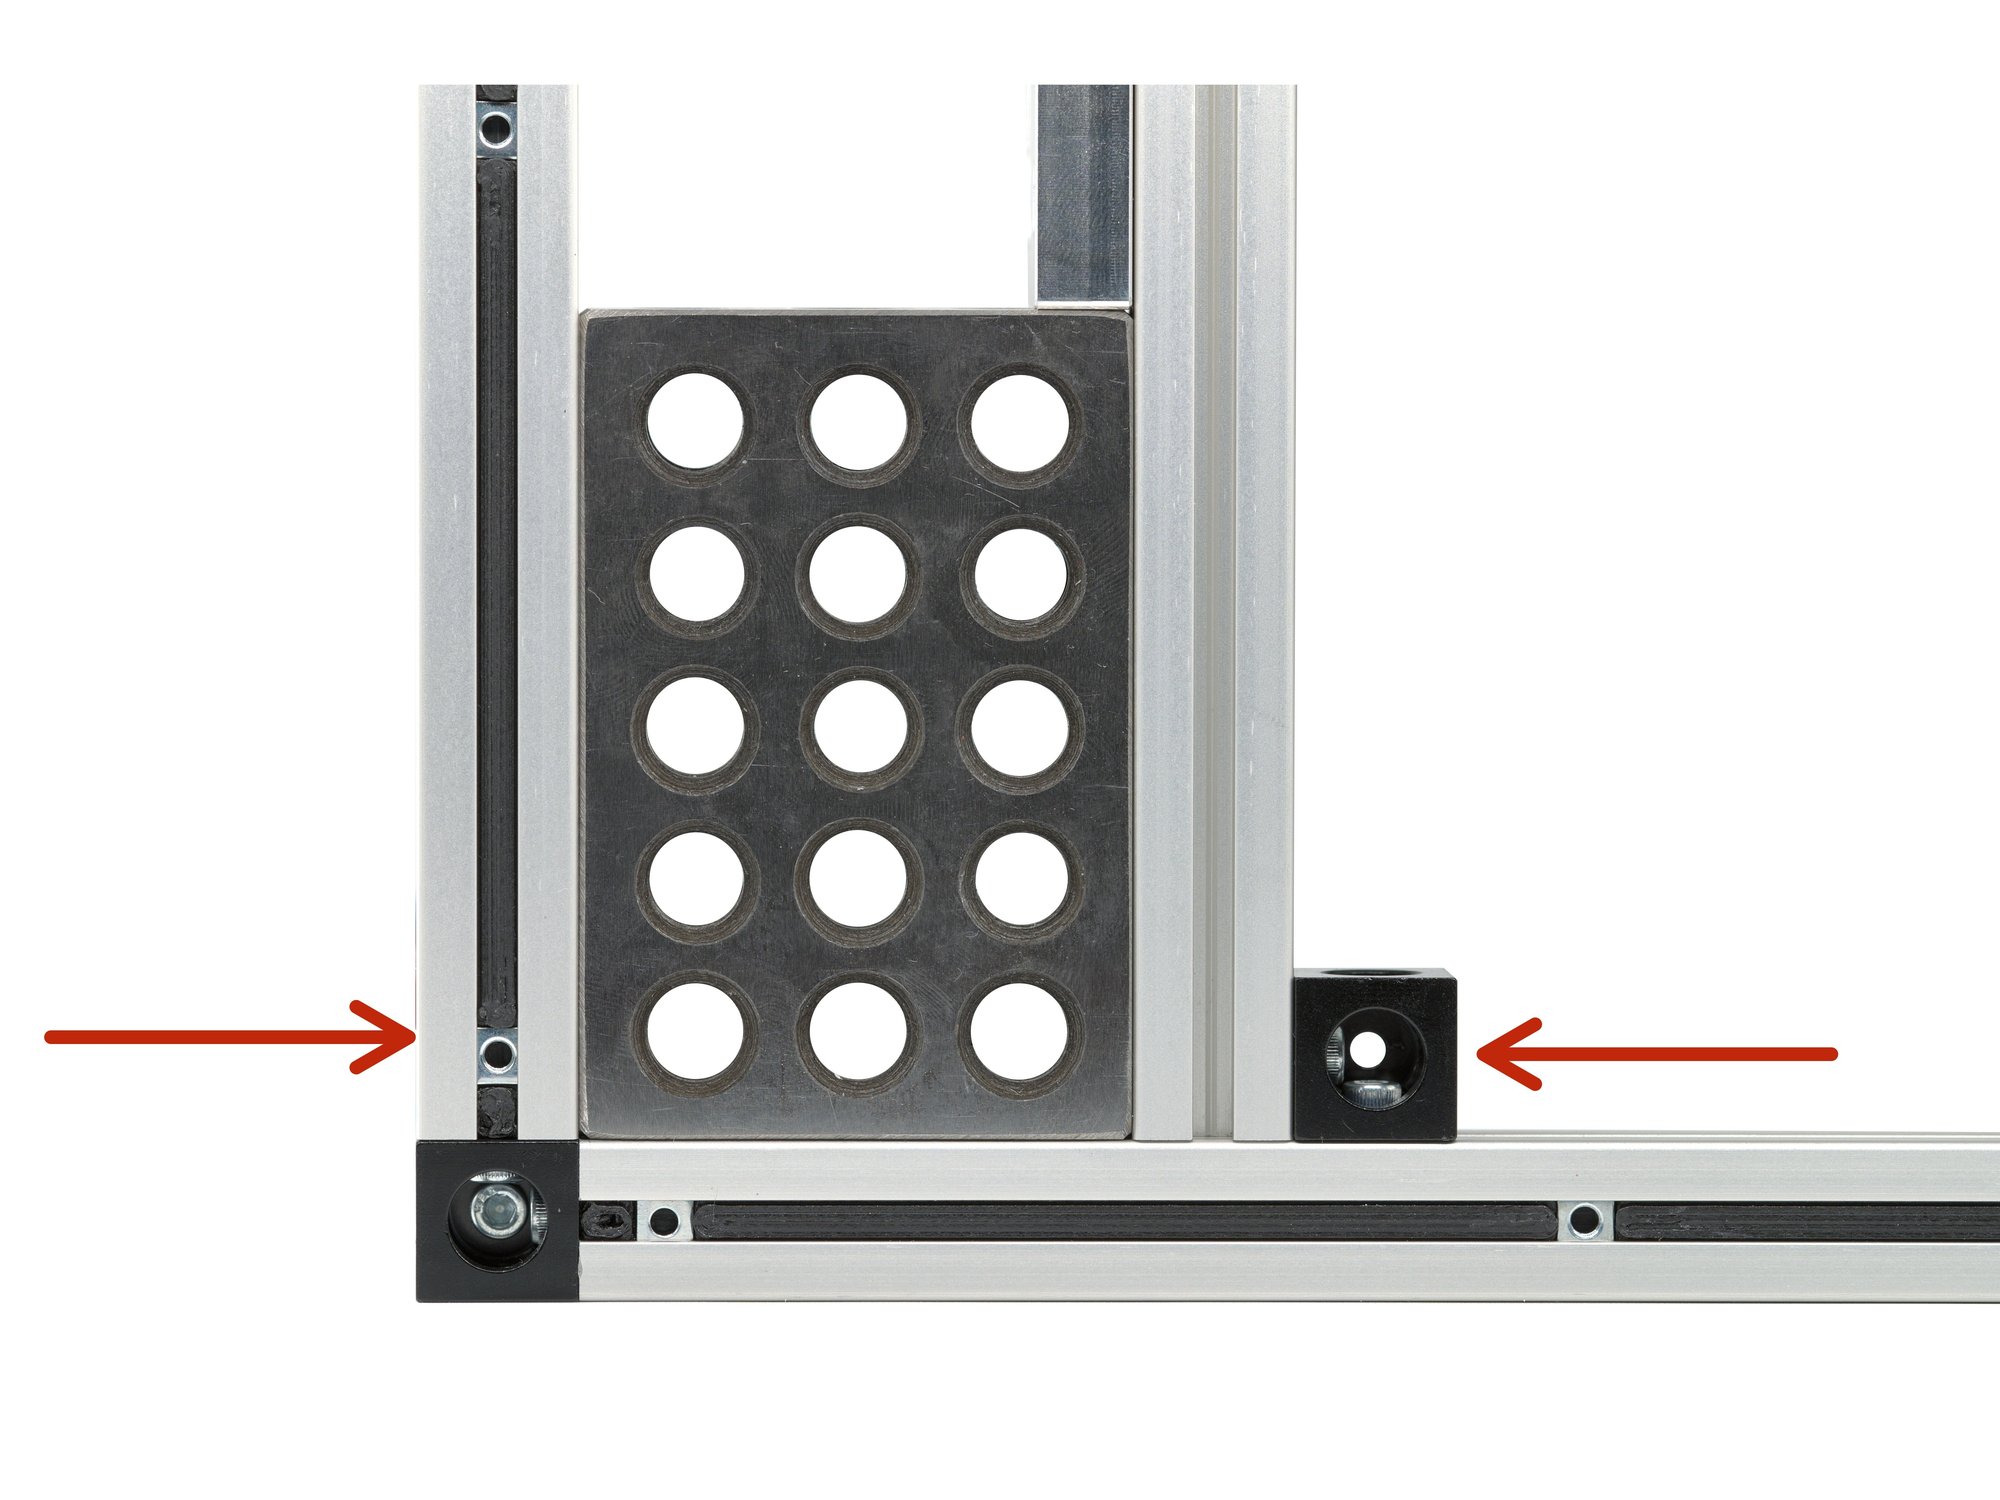
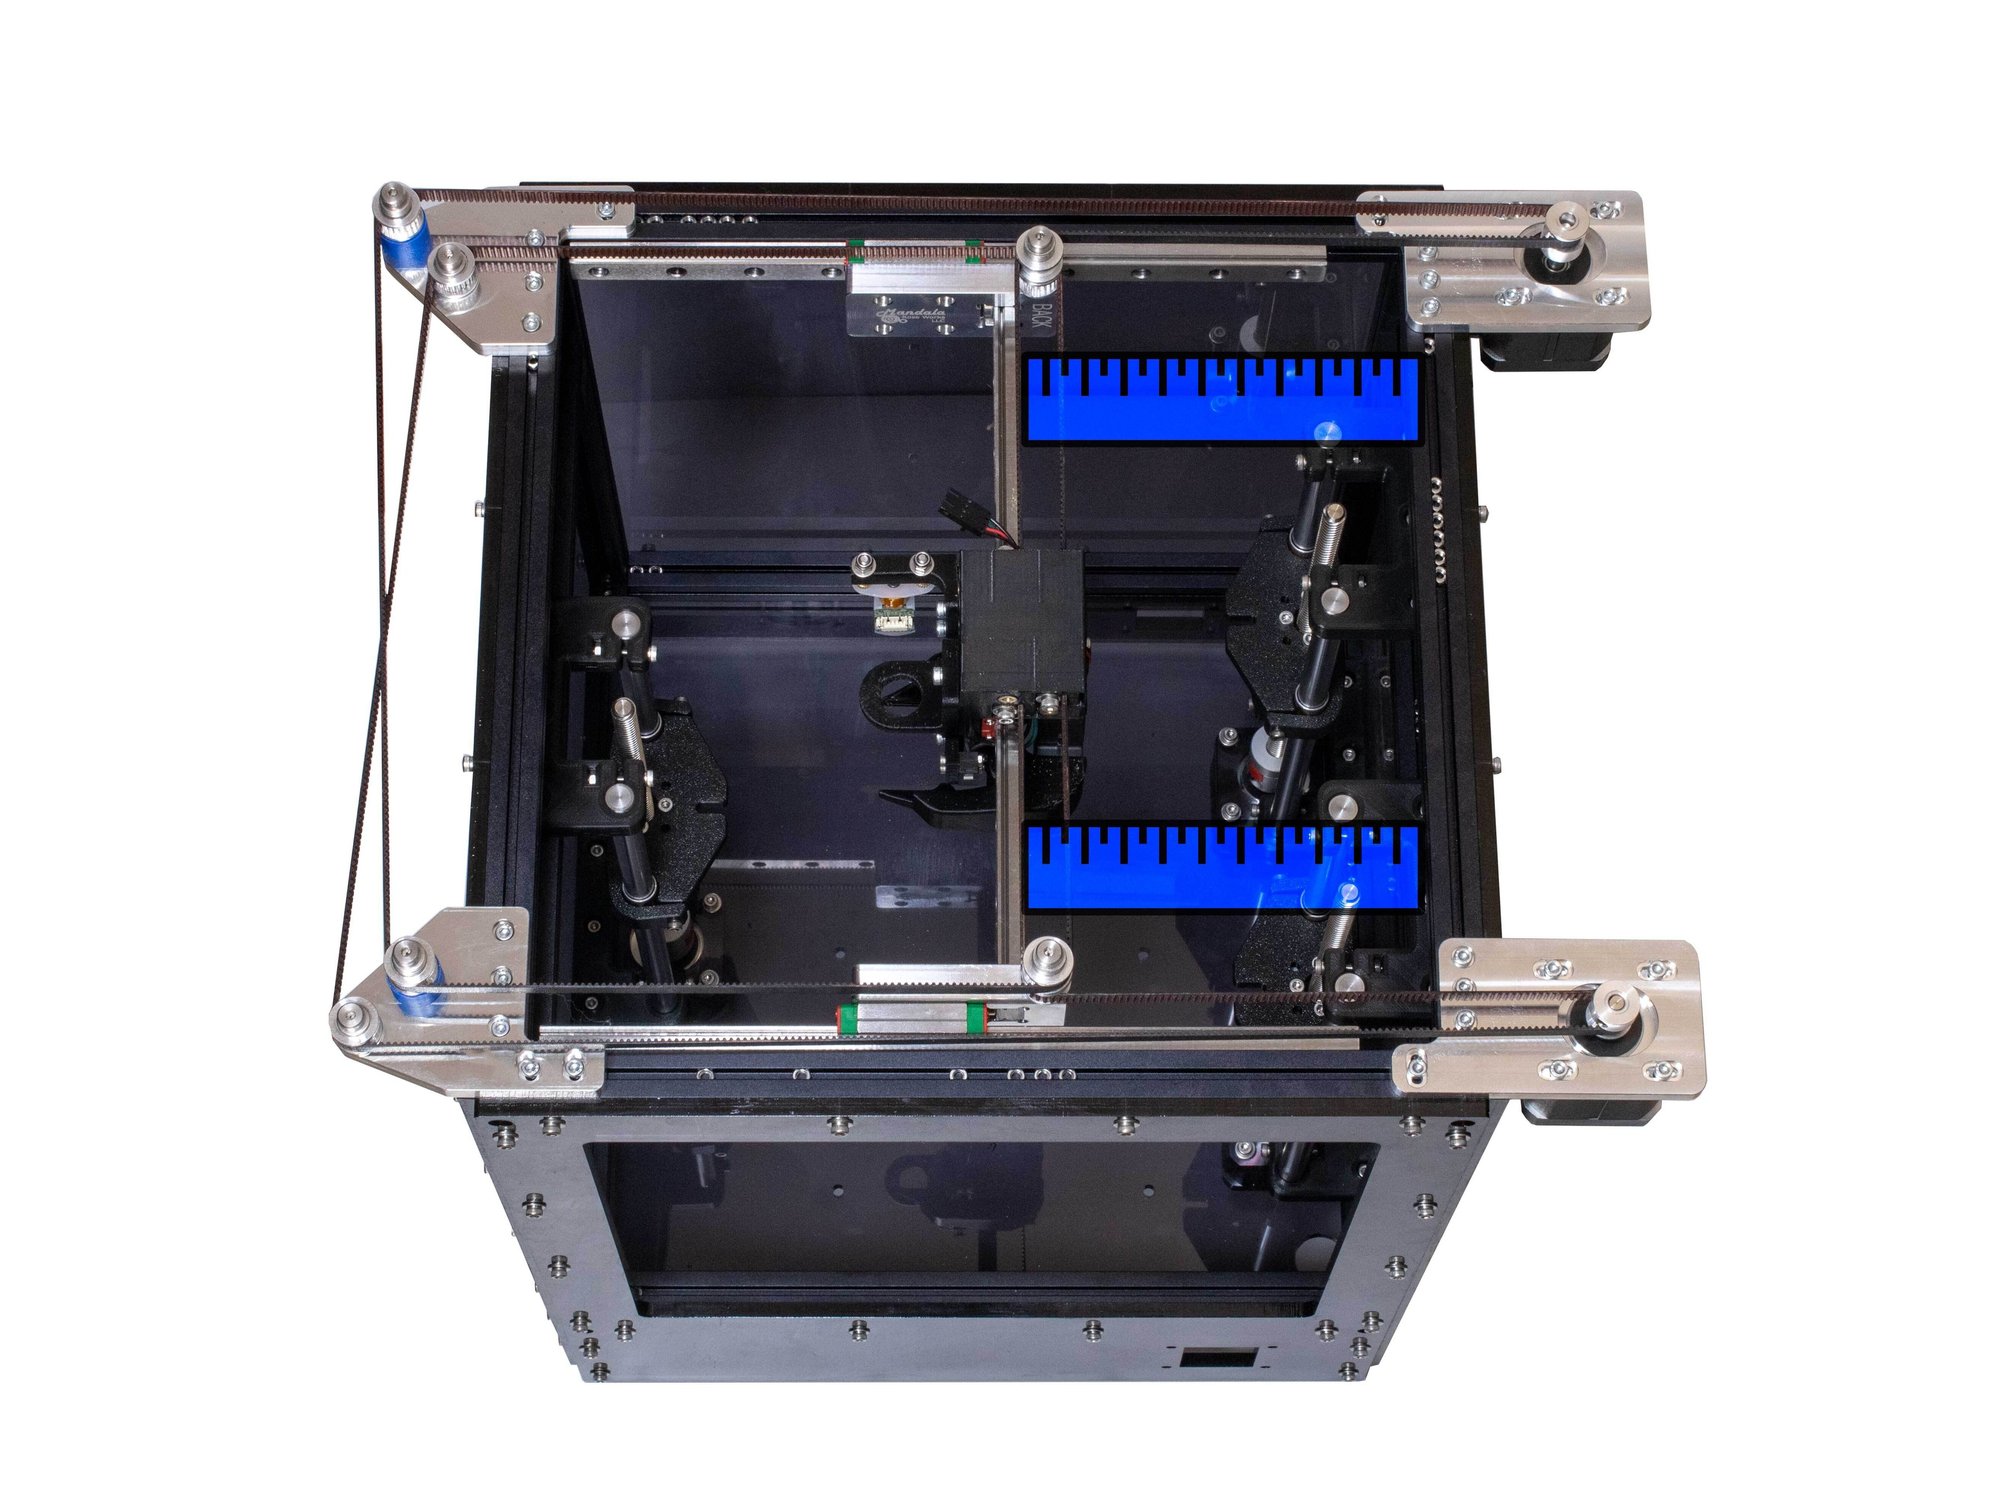
  • Pull the rear stepper back in the mount until the measurements marked in red on the image are equal. (Measure from the right side of the Y rail marked in red, to the left side of the top right extrusion where marked in red).
  • Caution 1-2-3 blocks can be used in place of measuring.
  • Once the Y rail is squared you should re-tighten the bolts in the X carriages to retain the Y rail.
  • Note Ideal belt tension is between 40 - 50hz as measured on the short spans on the left of the printer between the idler mounts.

Step 3 — Centering the Linear Rails

  • Center your X rails by loosening the retaining bolts and installing the alignment jigs on opposite sides of the rail.
  • Tighten the rail back to the extrusion and repeat for the next X rail.

Step 4 — Aligning the Z Towers

  • Loosen the bolts in the Z brackets for one tower, so it can move freely.
  • Lower the Z yoke by spinning the lead screw, until the yoke is just above the leadscrew coupler.
  • Tighten down the lower Z bracket, be sure the Z extrusion is pushed flush against the side extrusions as you tighten the brackets.
  • Move the yoke into the center of the Z tower.
  • Use a calipers or a ruler to measure from your front panel to the Z extrusion at the bottom.
  • Repeat the same measurement near the top of the Z tower, and adjust until it's equal.
  • Tighten the top of the Z tower. Repeat for all 3 towers.

Step 5 — Adjust X Endstop

  • Loosen your X endstop mount. Move it to back side of the right extrusion.
  • Move the X endstop to be against the rear X carriage, be sure the switch triggers.
  • Tighten down the X endstop.

O) Bed

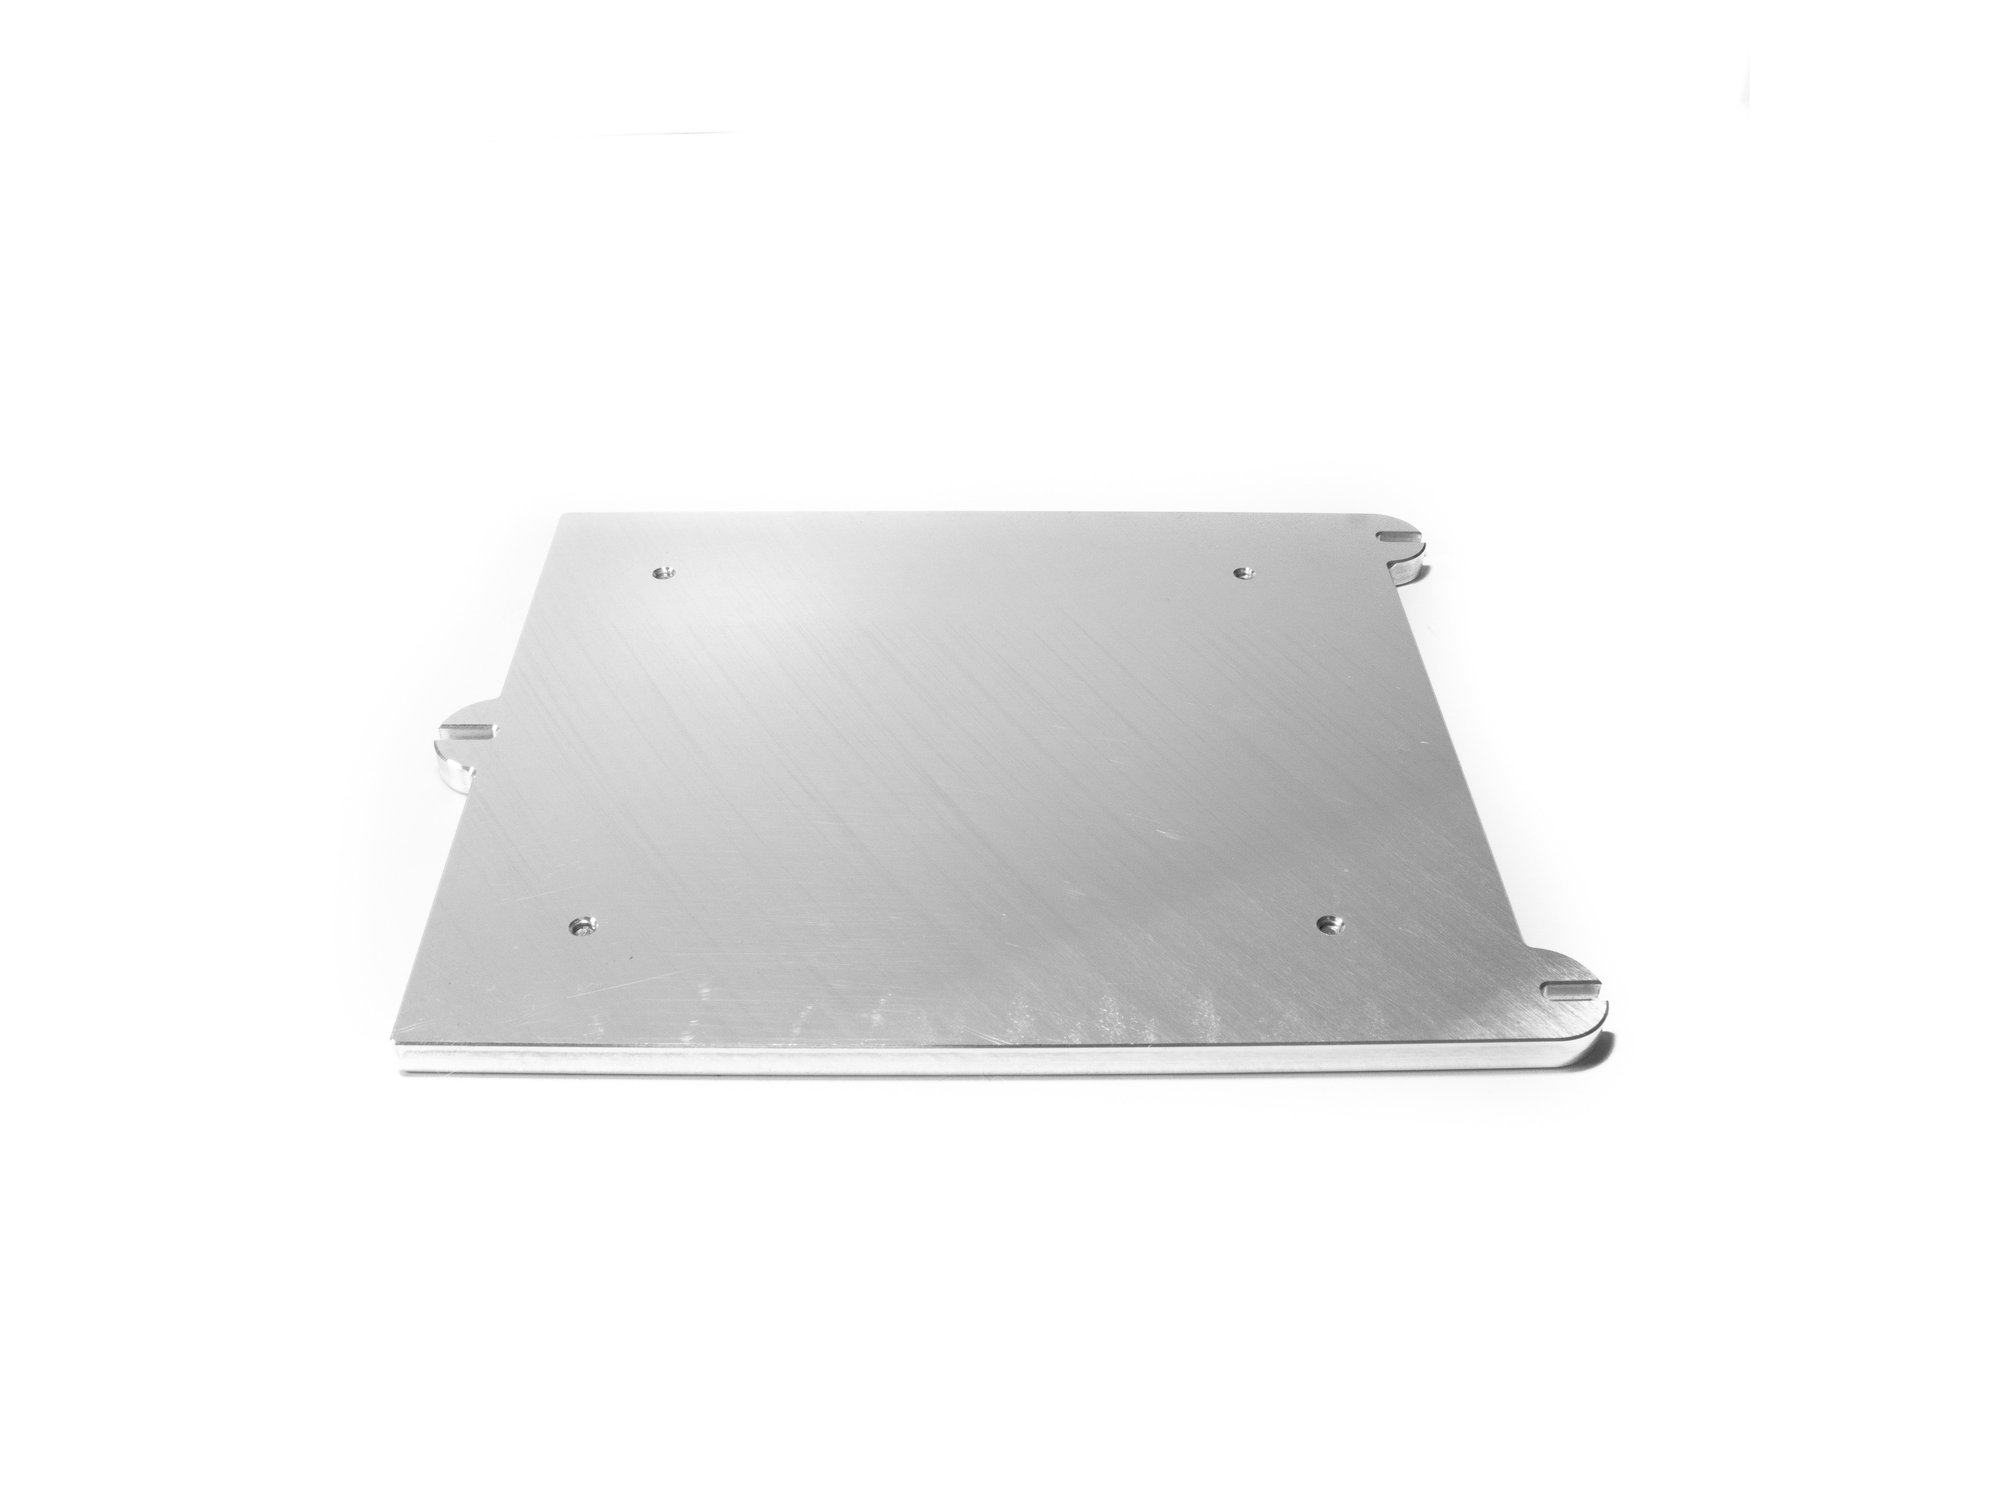
Step 1 — Install Heater

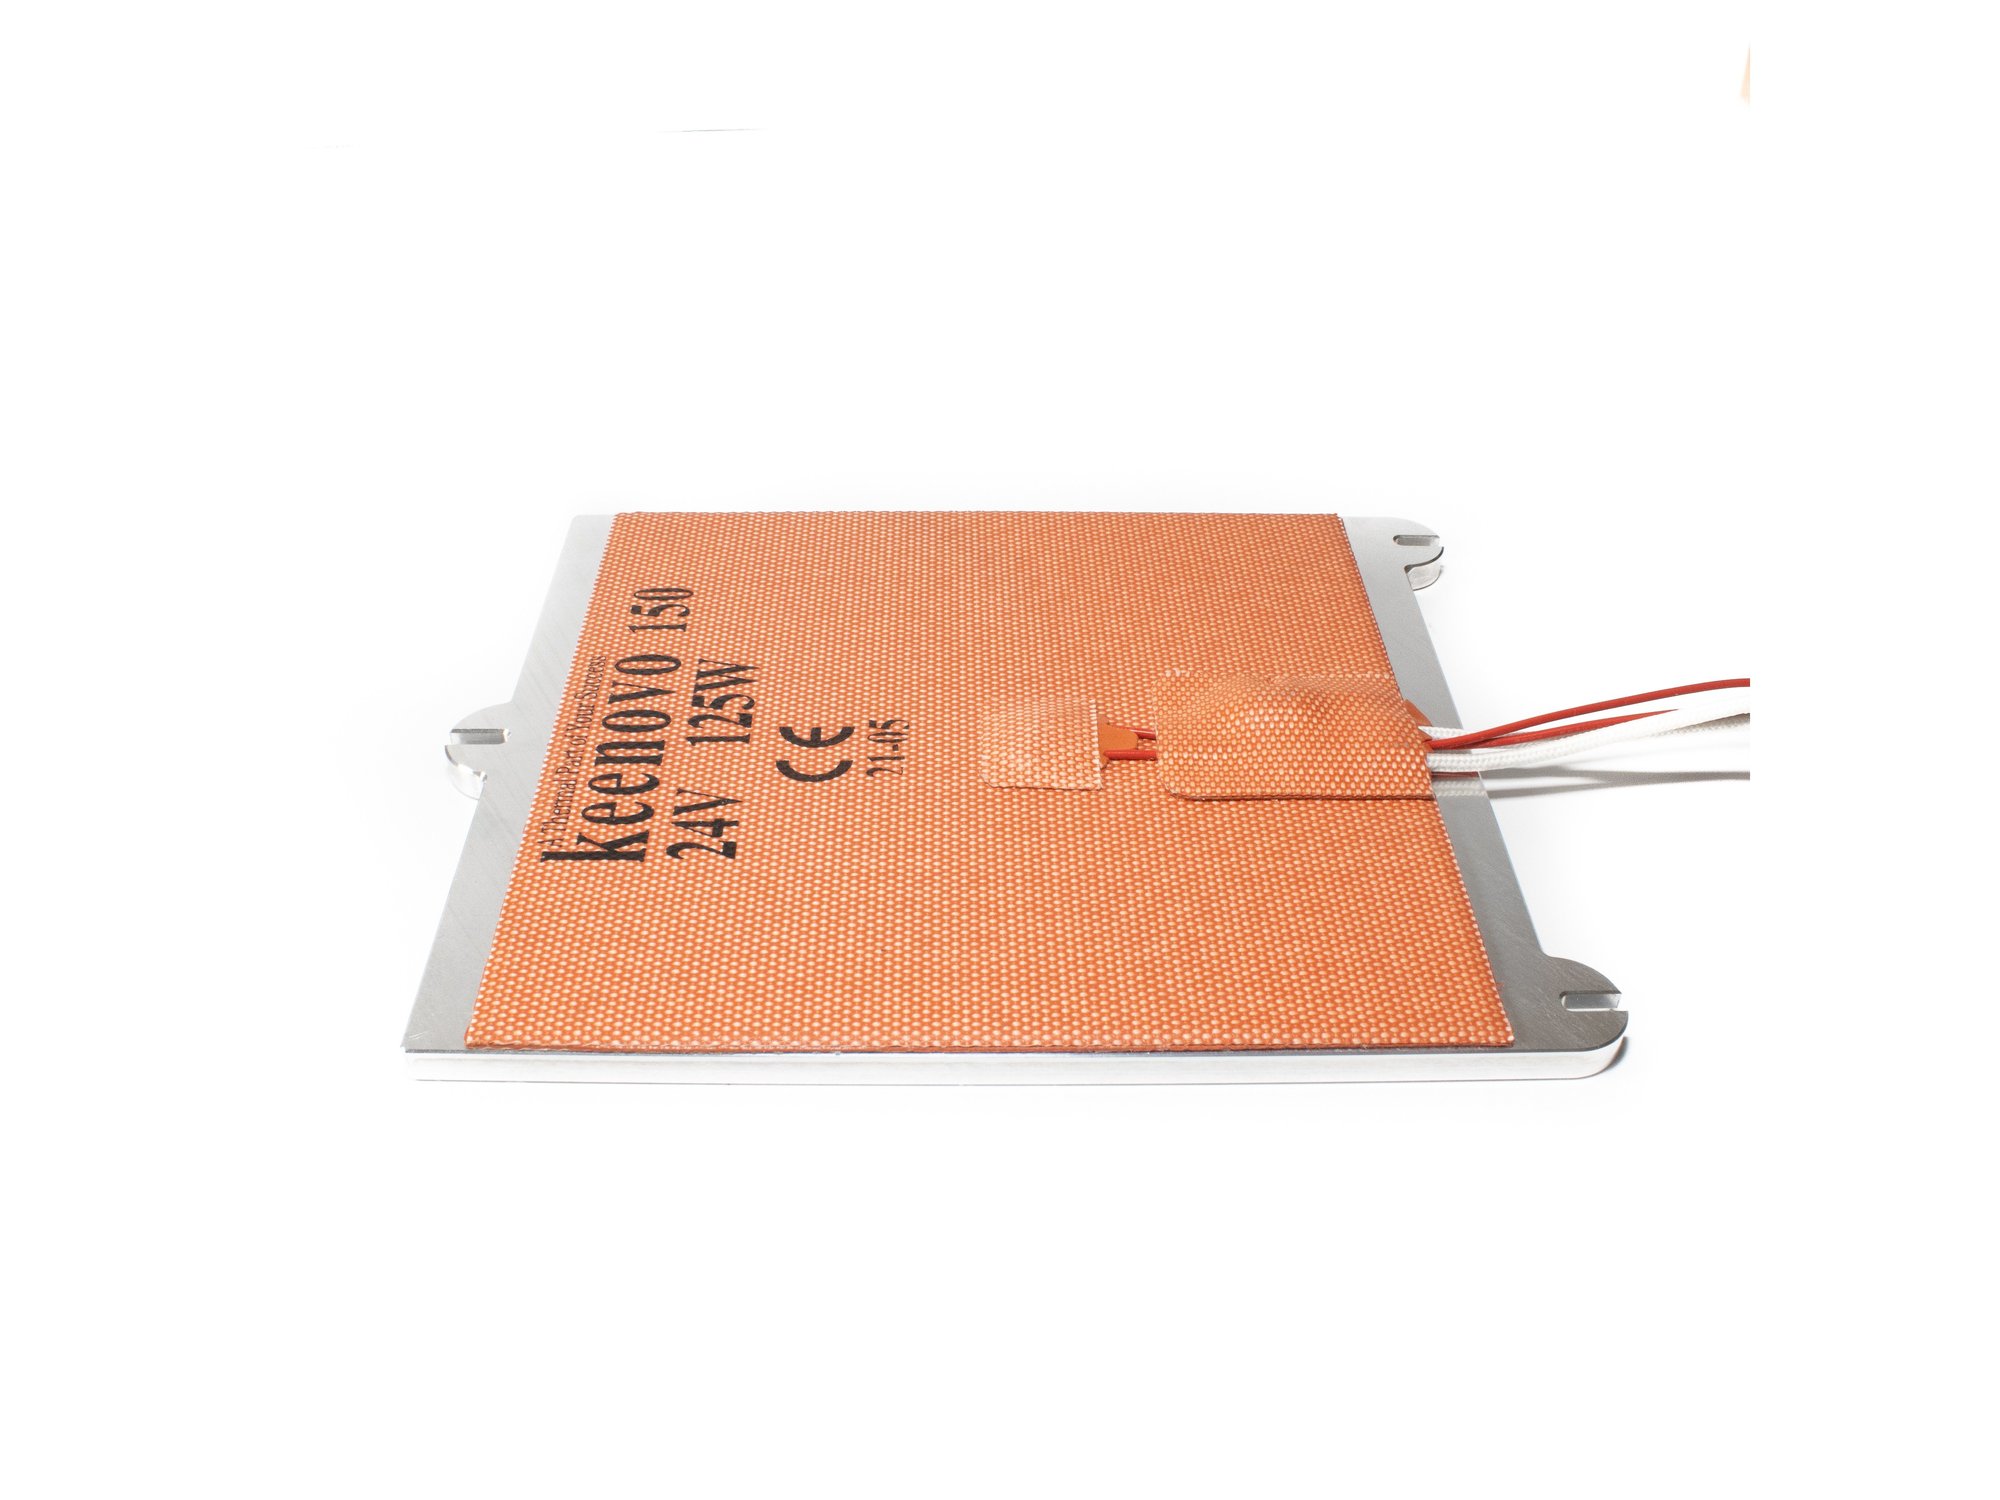
  • Remove backing revealing 3M adhesive and install the silicon heater as shown in the image.

Step 2 — Install Bed

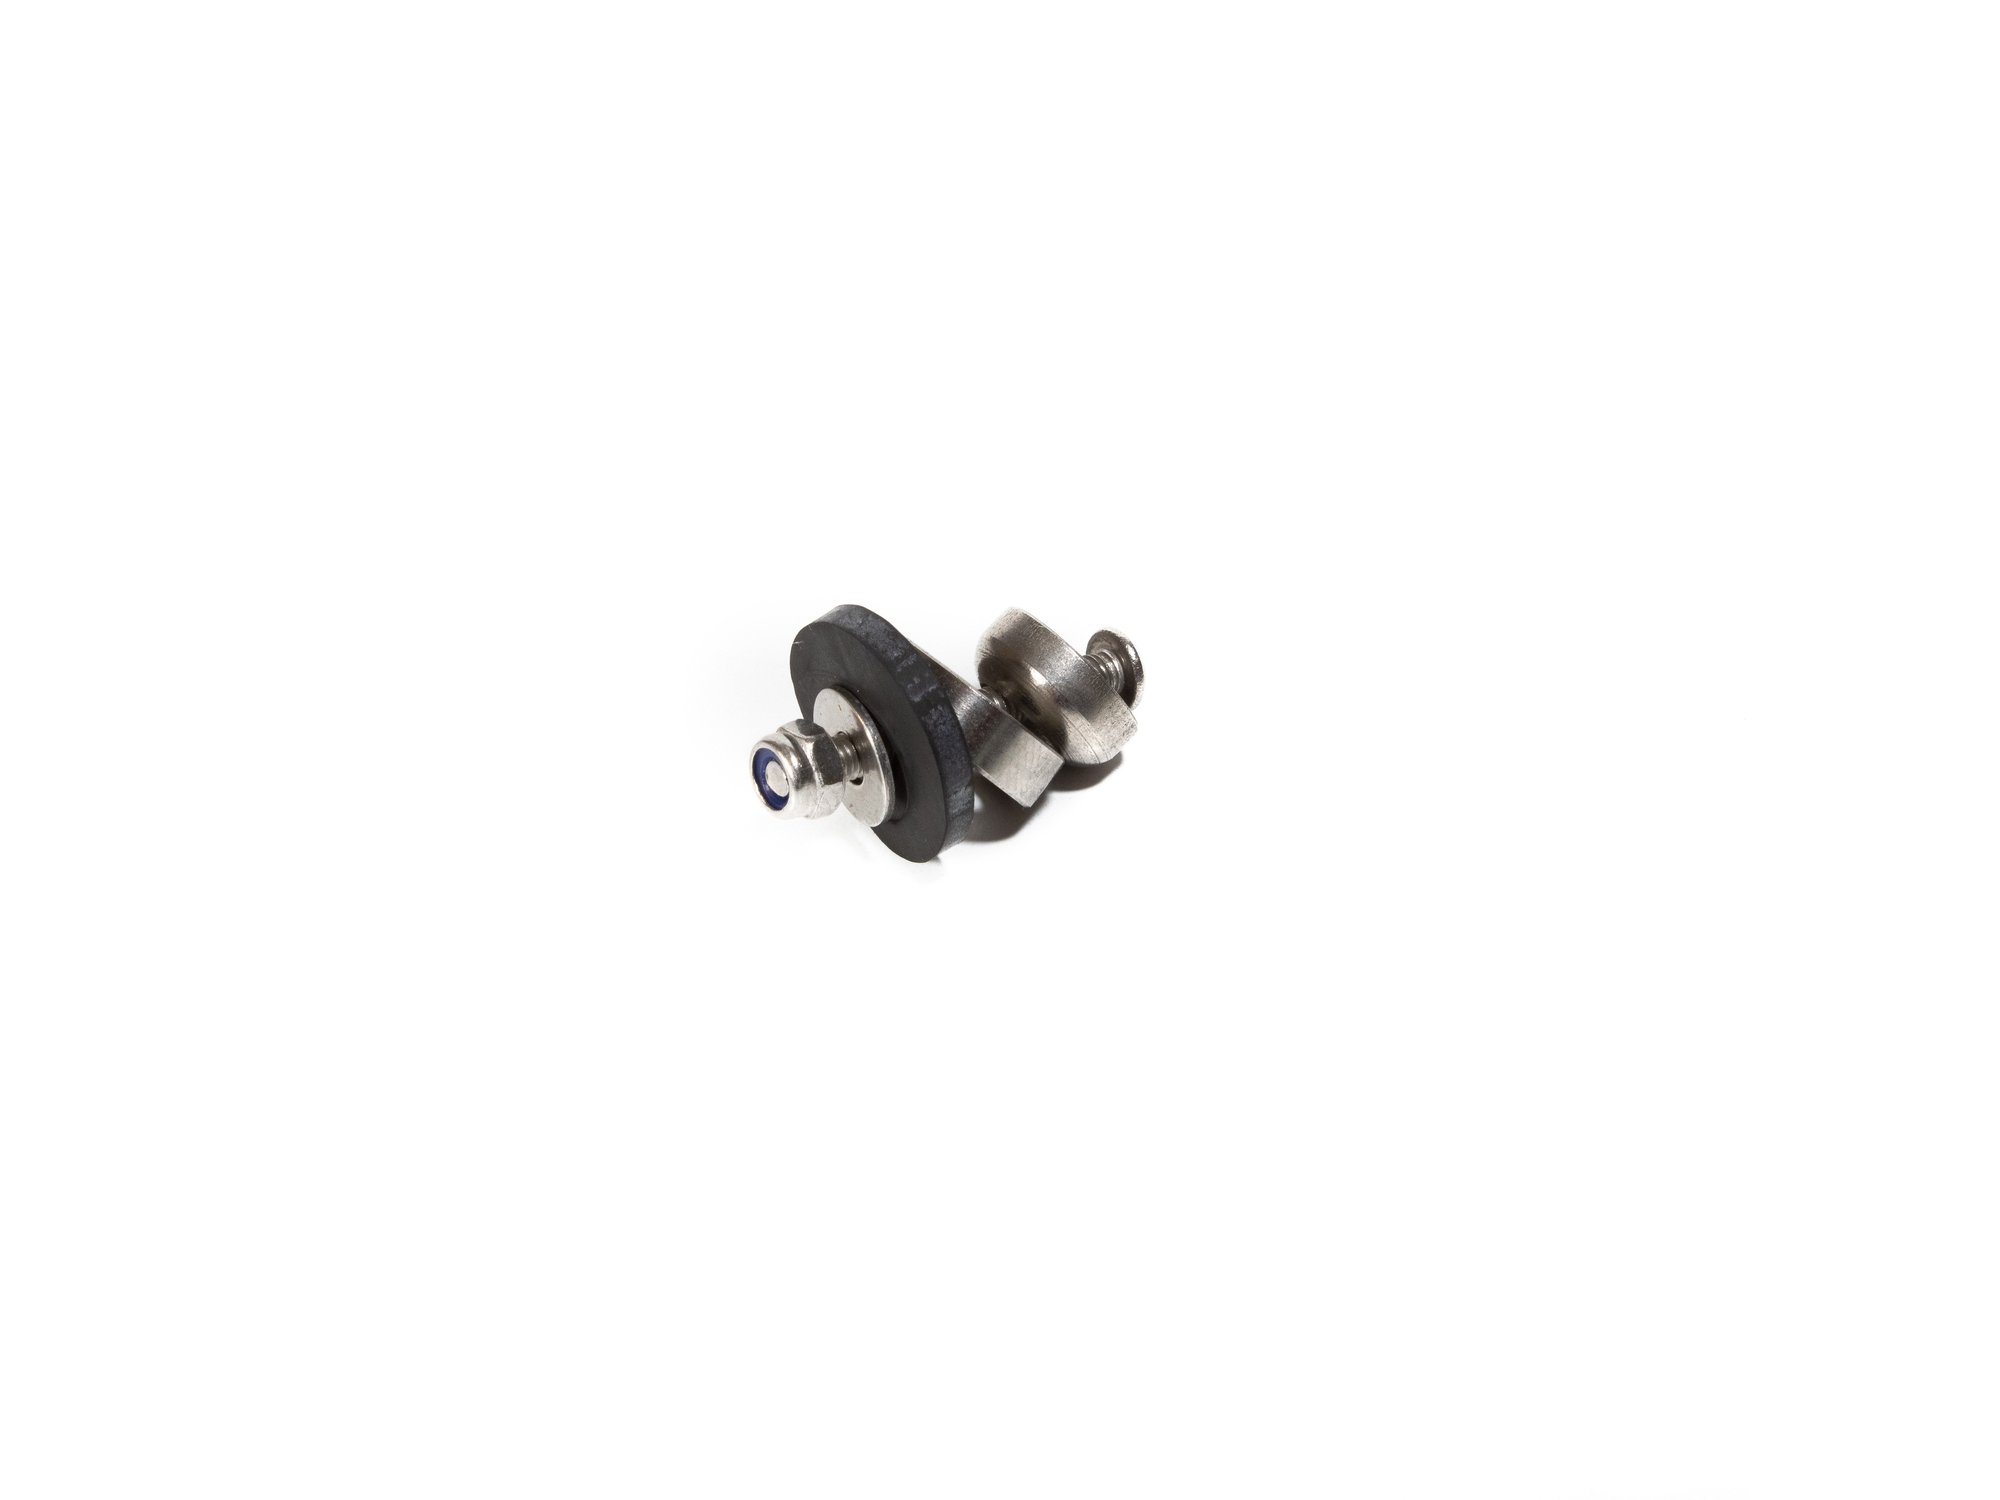
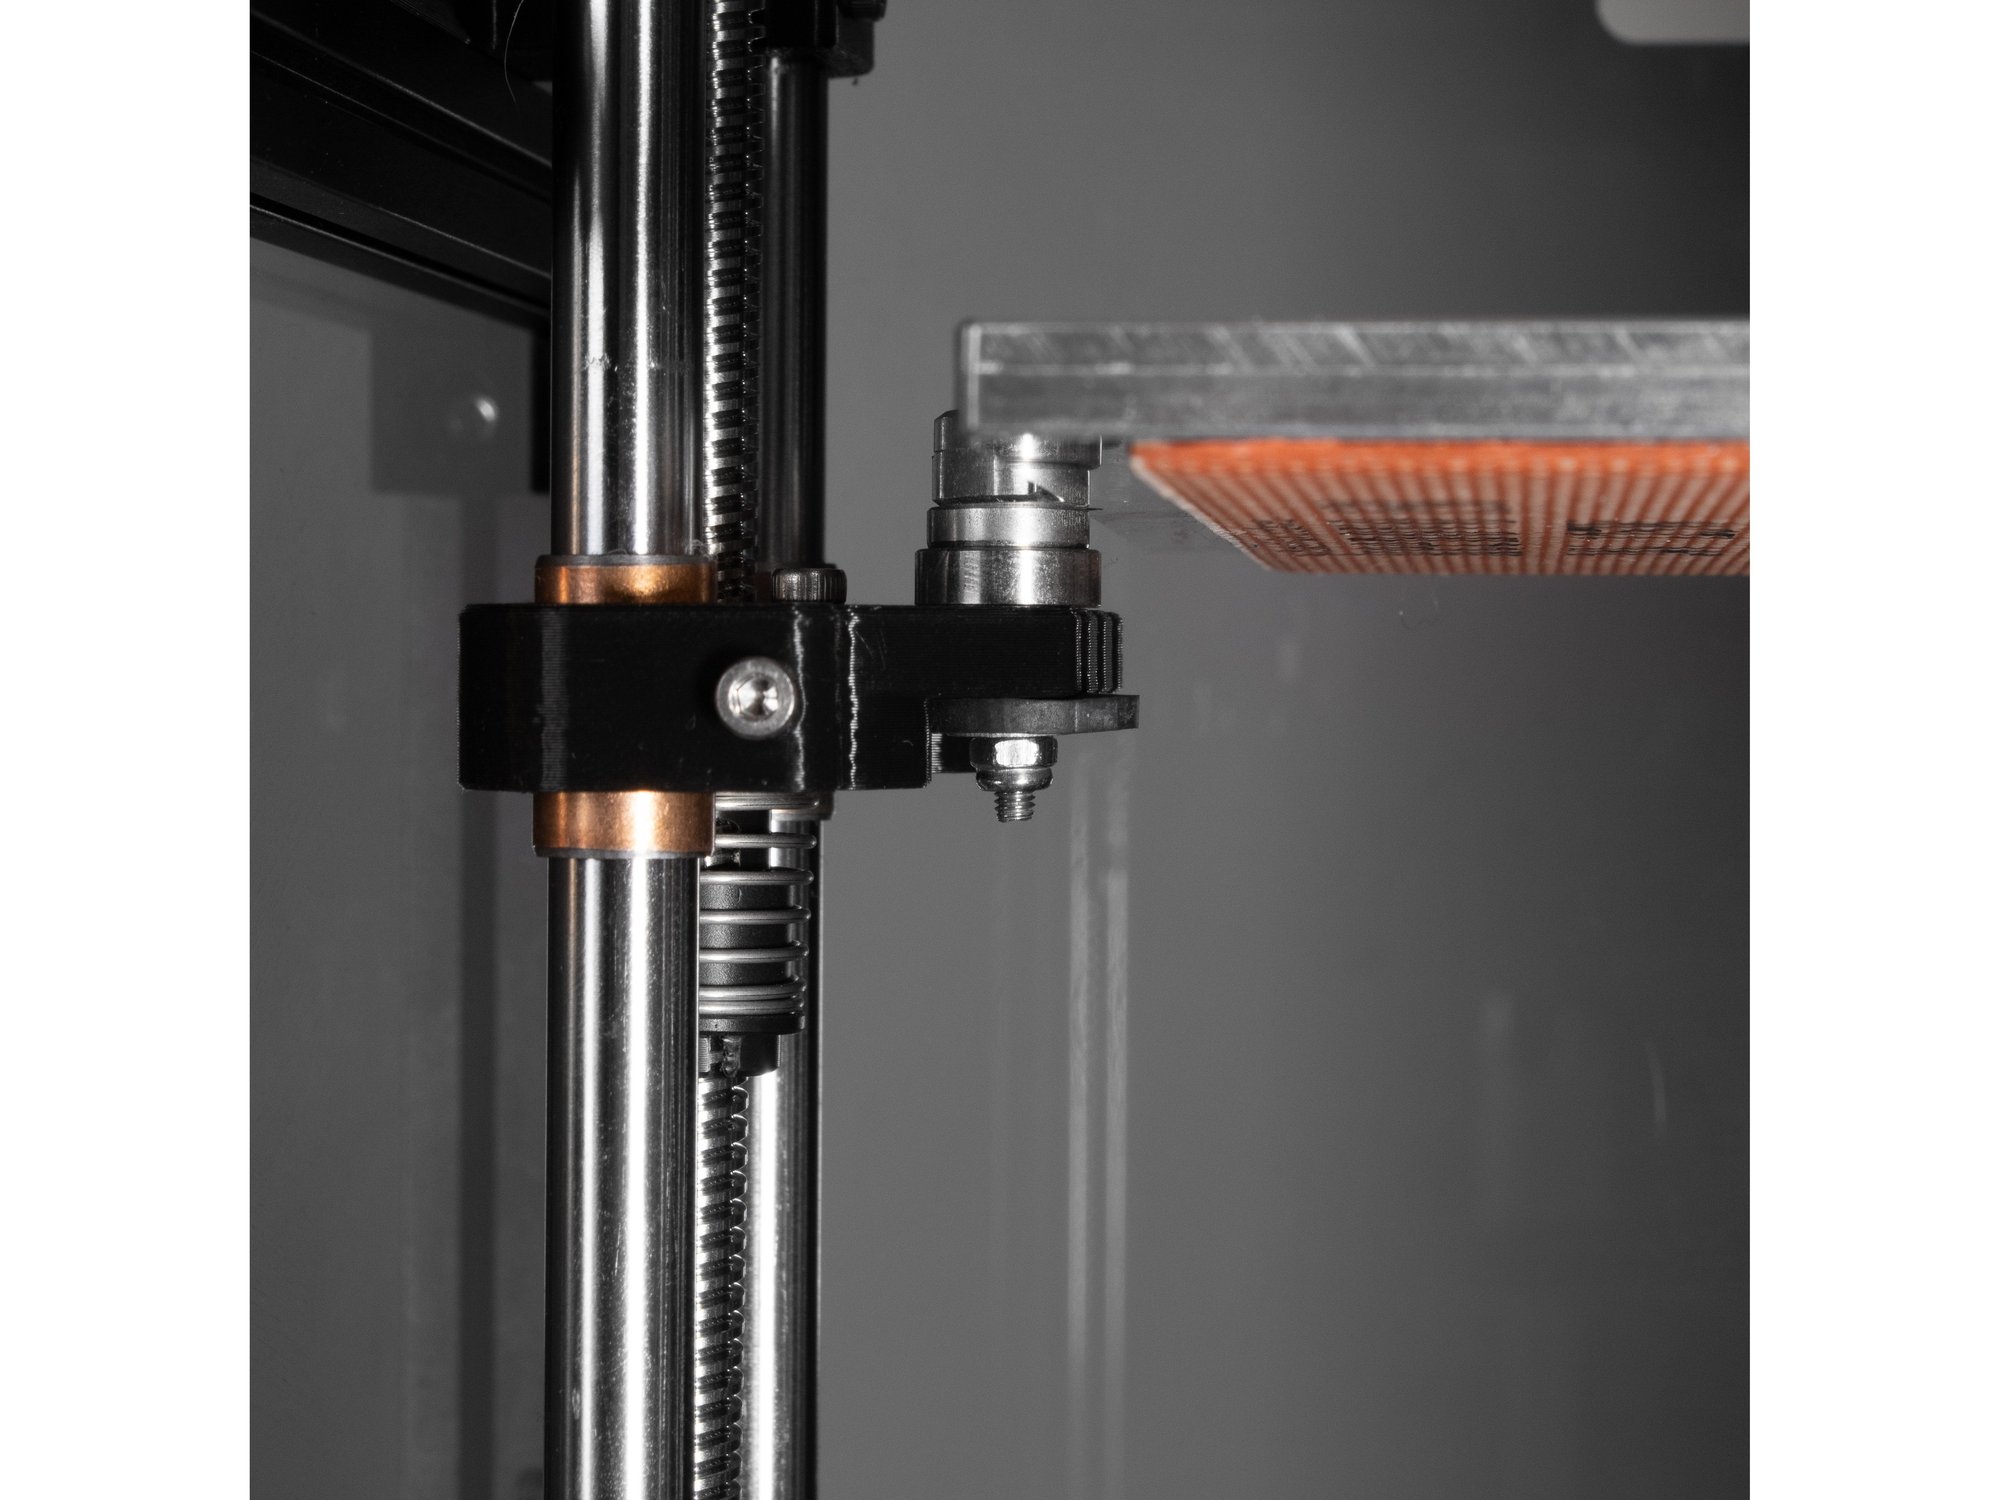
  • The bolt stack for mounting the bed is made up of (1) M3 x 25 socket head screw, (1) set of leveling washers, (1) 1/4" rubber washer, (1) M3 washer, and (1) nylock M3 nut.
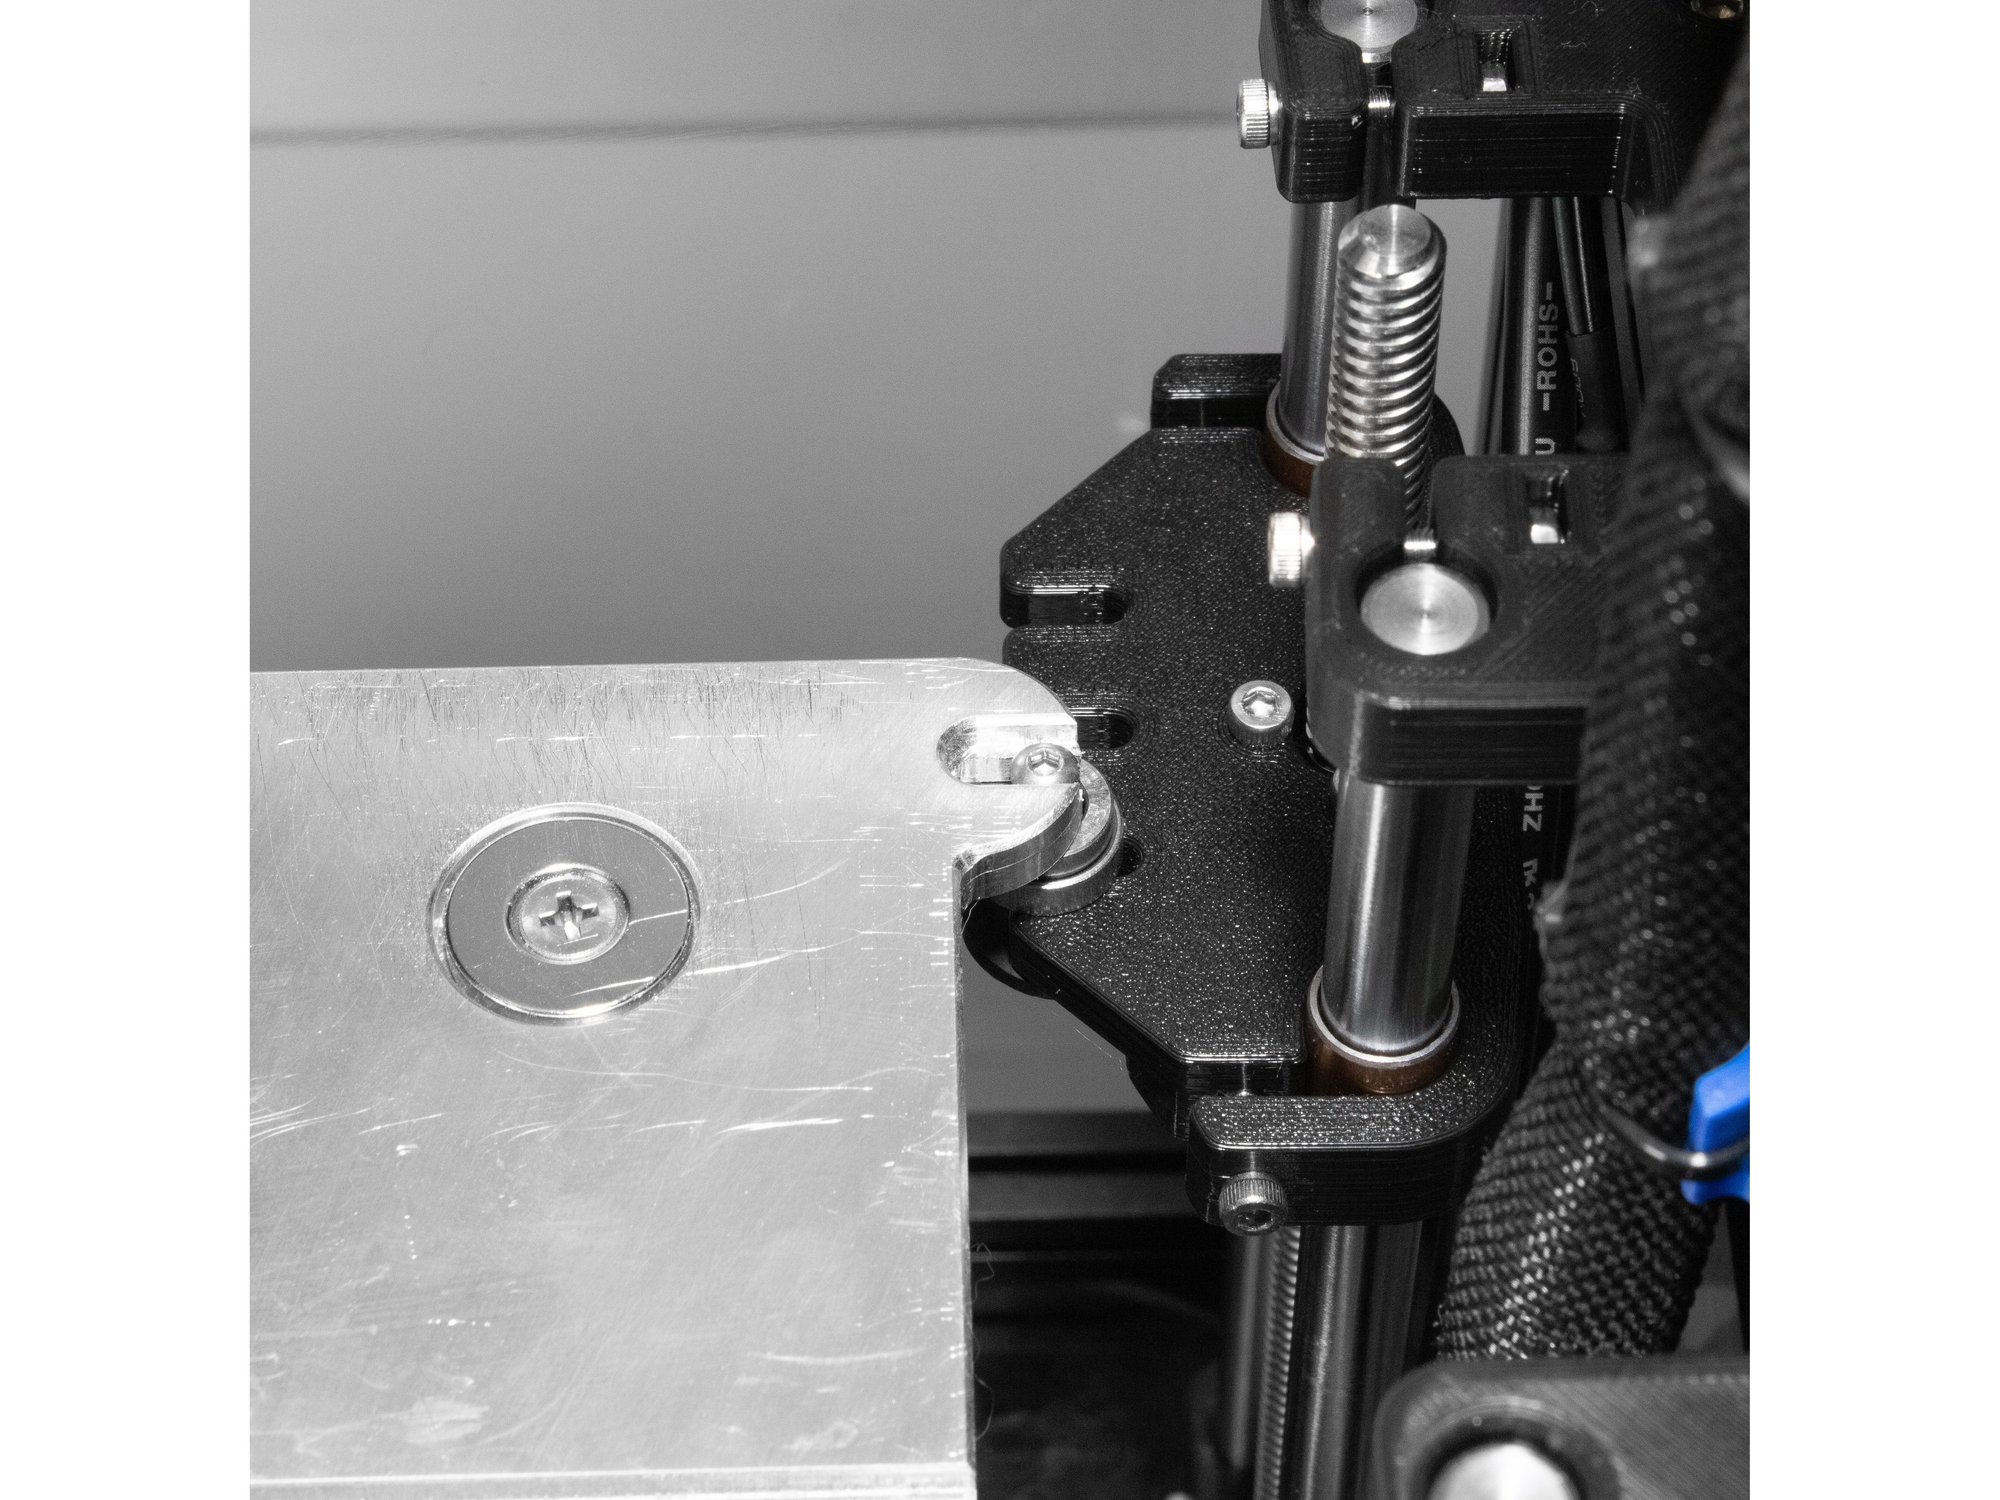
  • The socket head should go in the milled cutout of the bed, and the bed should sit on the stack of the leveling washers on top of the Z yoke.
  • The rubber washer, M3 washer and M3 nylock nut will be below the Z yoke.
  • Caution The latest version of the Z yokes have three slots. To match the kit configuration, attach the bed to the yokes using the mounting slots closest to the front of the printer.
  • Note Wiring should hang off the right side of the bed when installed.
  • Tighten the nylock nuts, attaching the bed to the three Z yokes.

P) Electronics

Step 1 — Safety

  • Caution The RailCore Mini is a "DIY" project, build safe, build smart, and be responsible.
  • Caution Build at your own risk.
  • Caution When in doubt, double check things.
  • Caution 3D Printers can get very hot, use common sense and quality components.
  • Note If you need help, find us at the RailCore Facebook page or RailCore Discord channel. Both are linked from RailCore.org.

Step 2 — Power Switch Reference

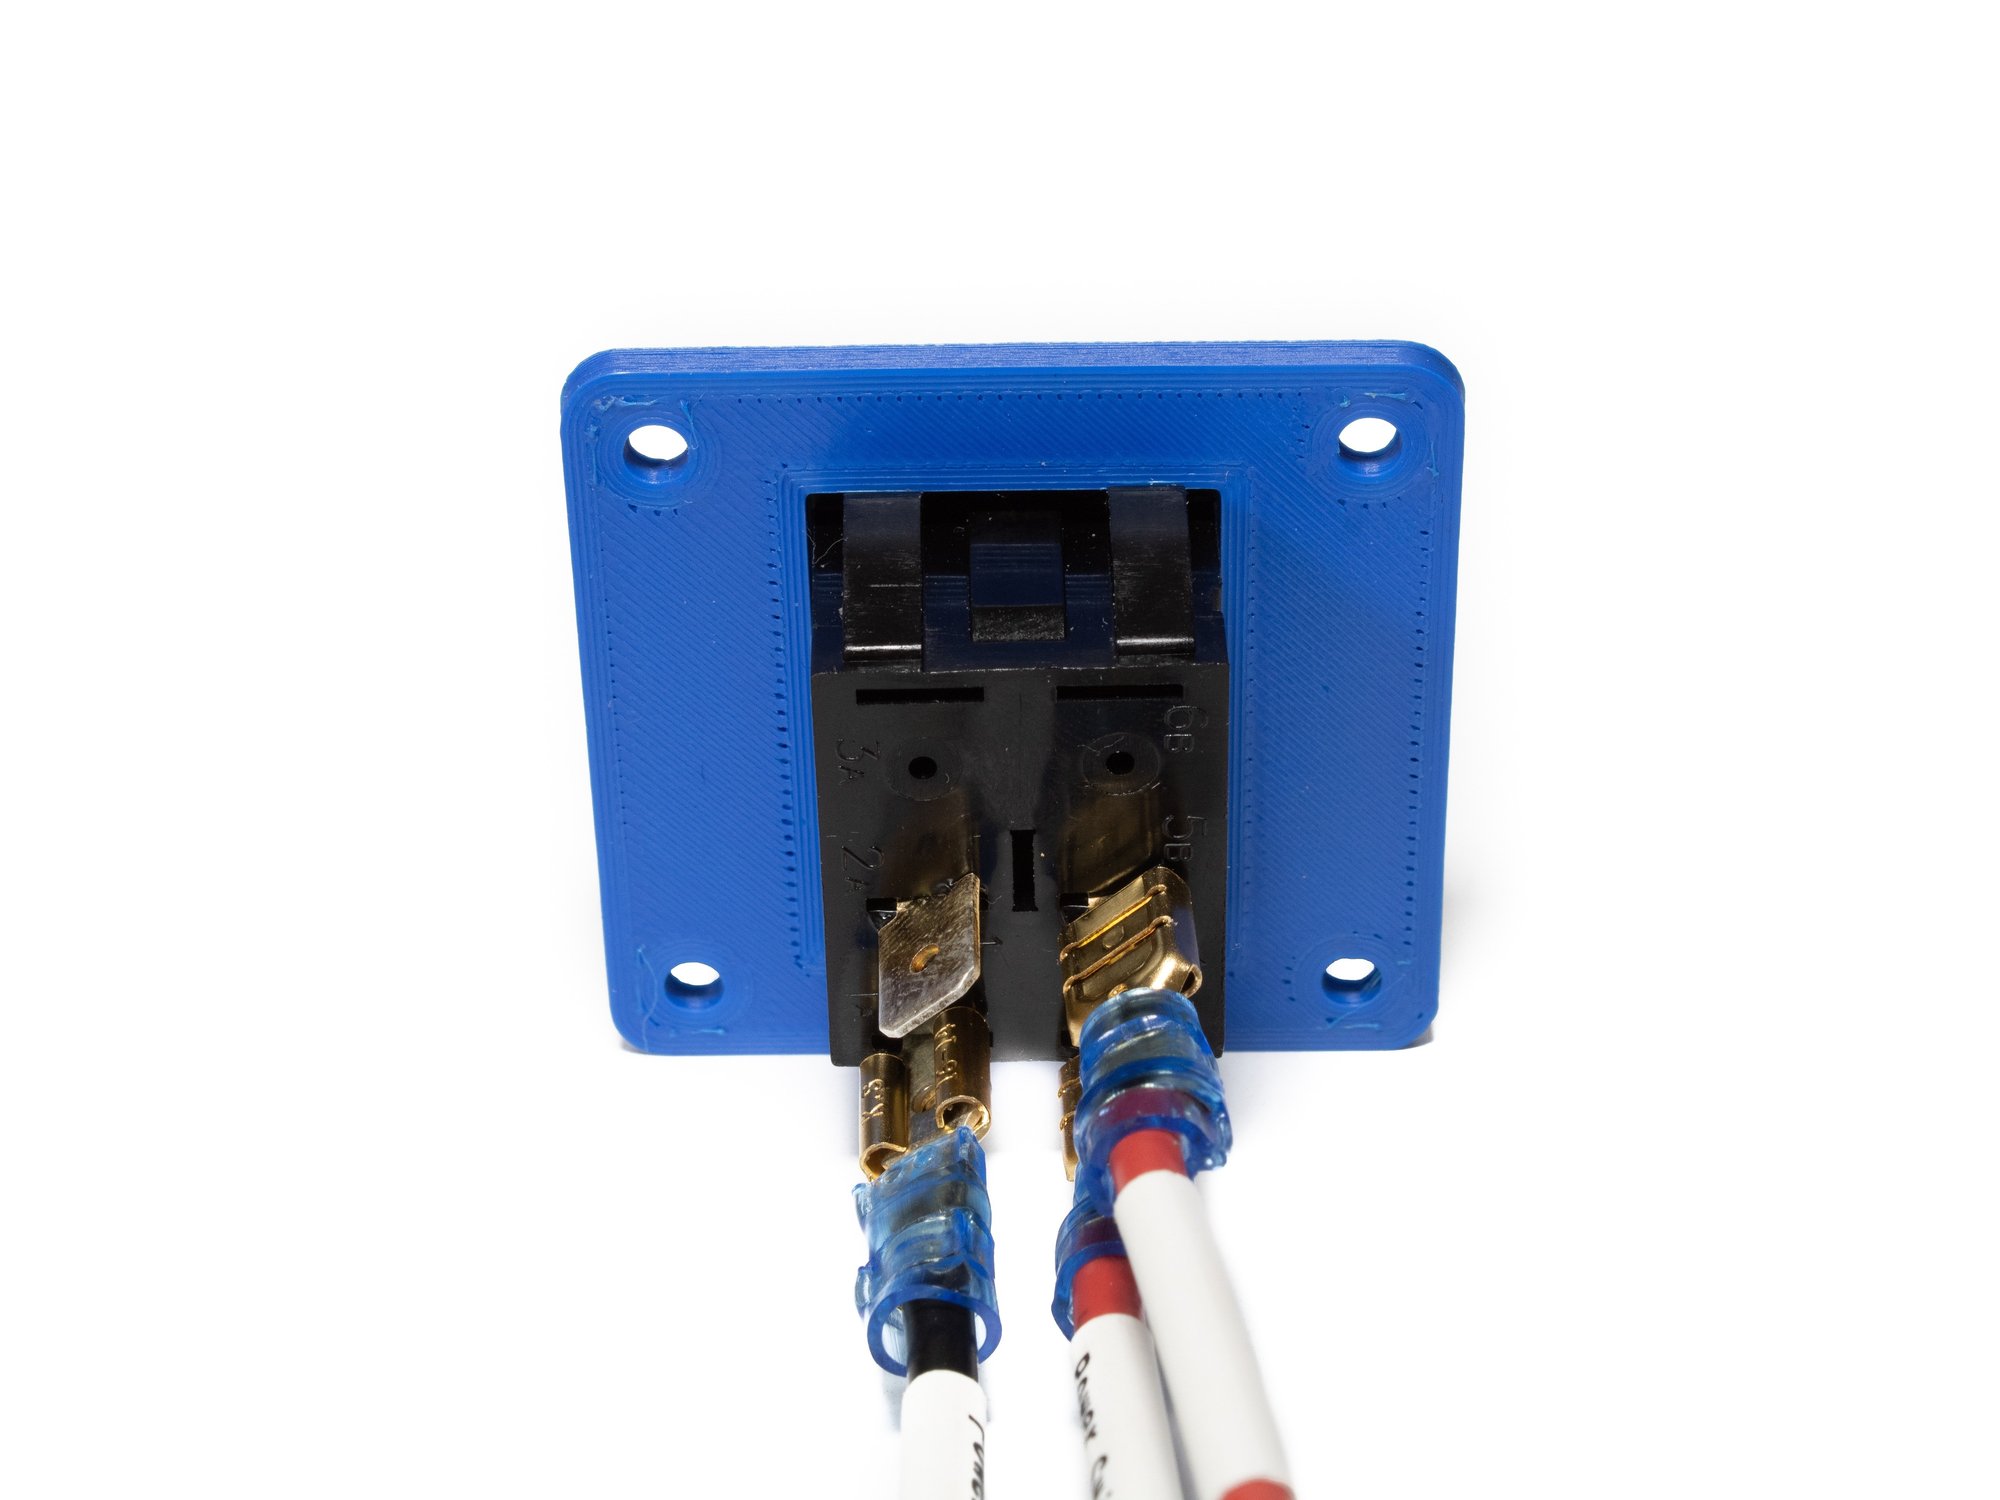
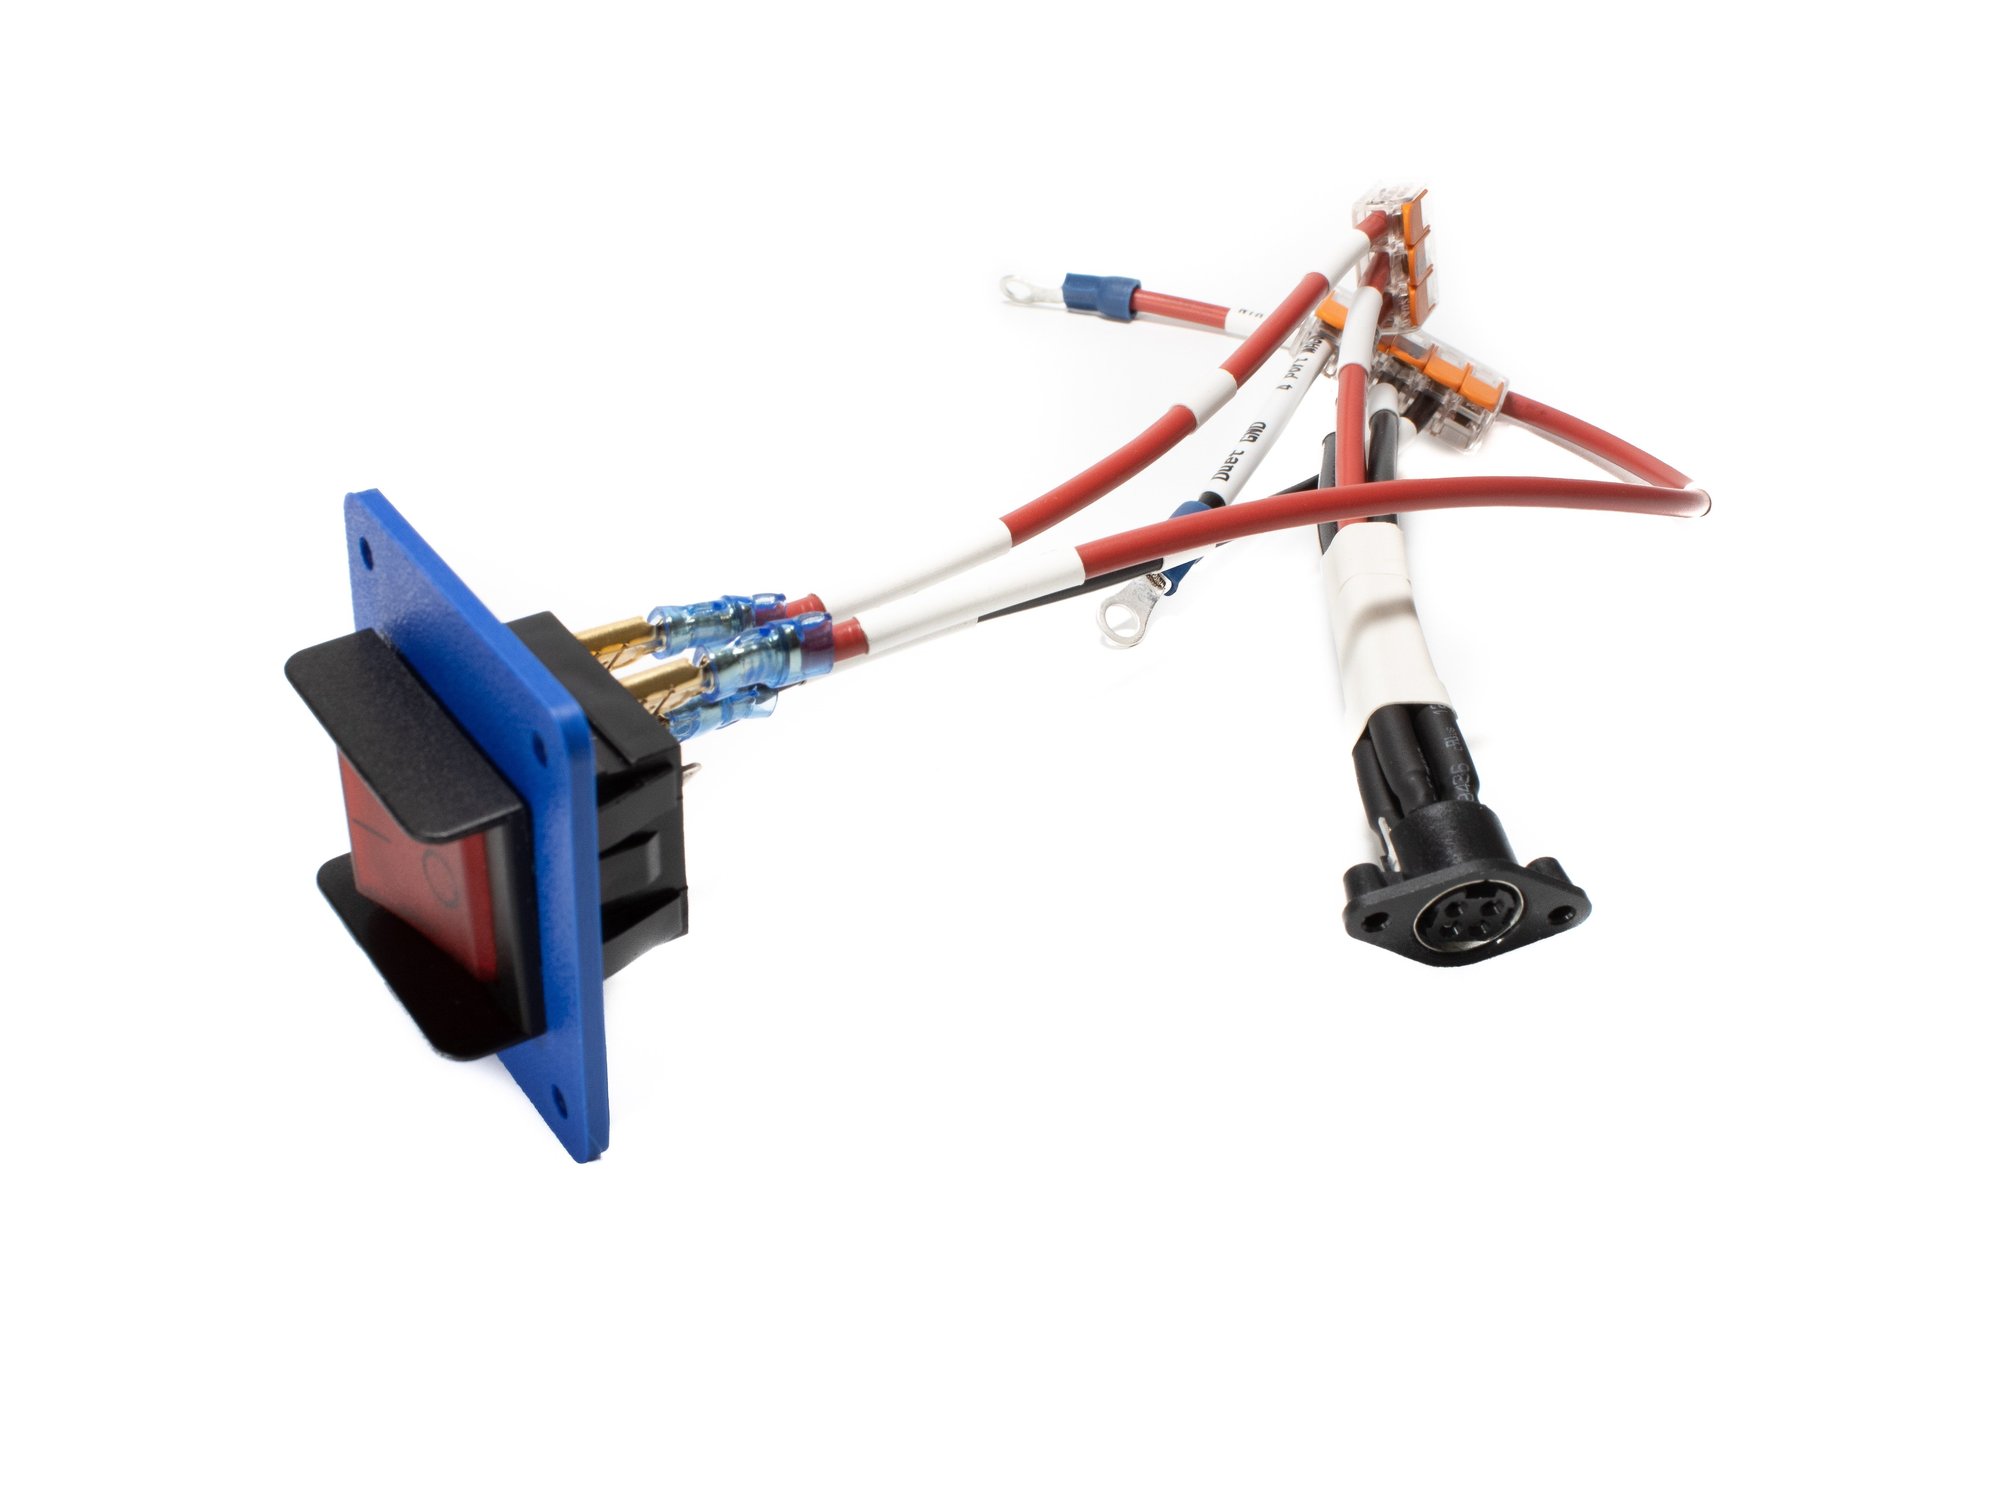
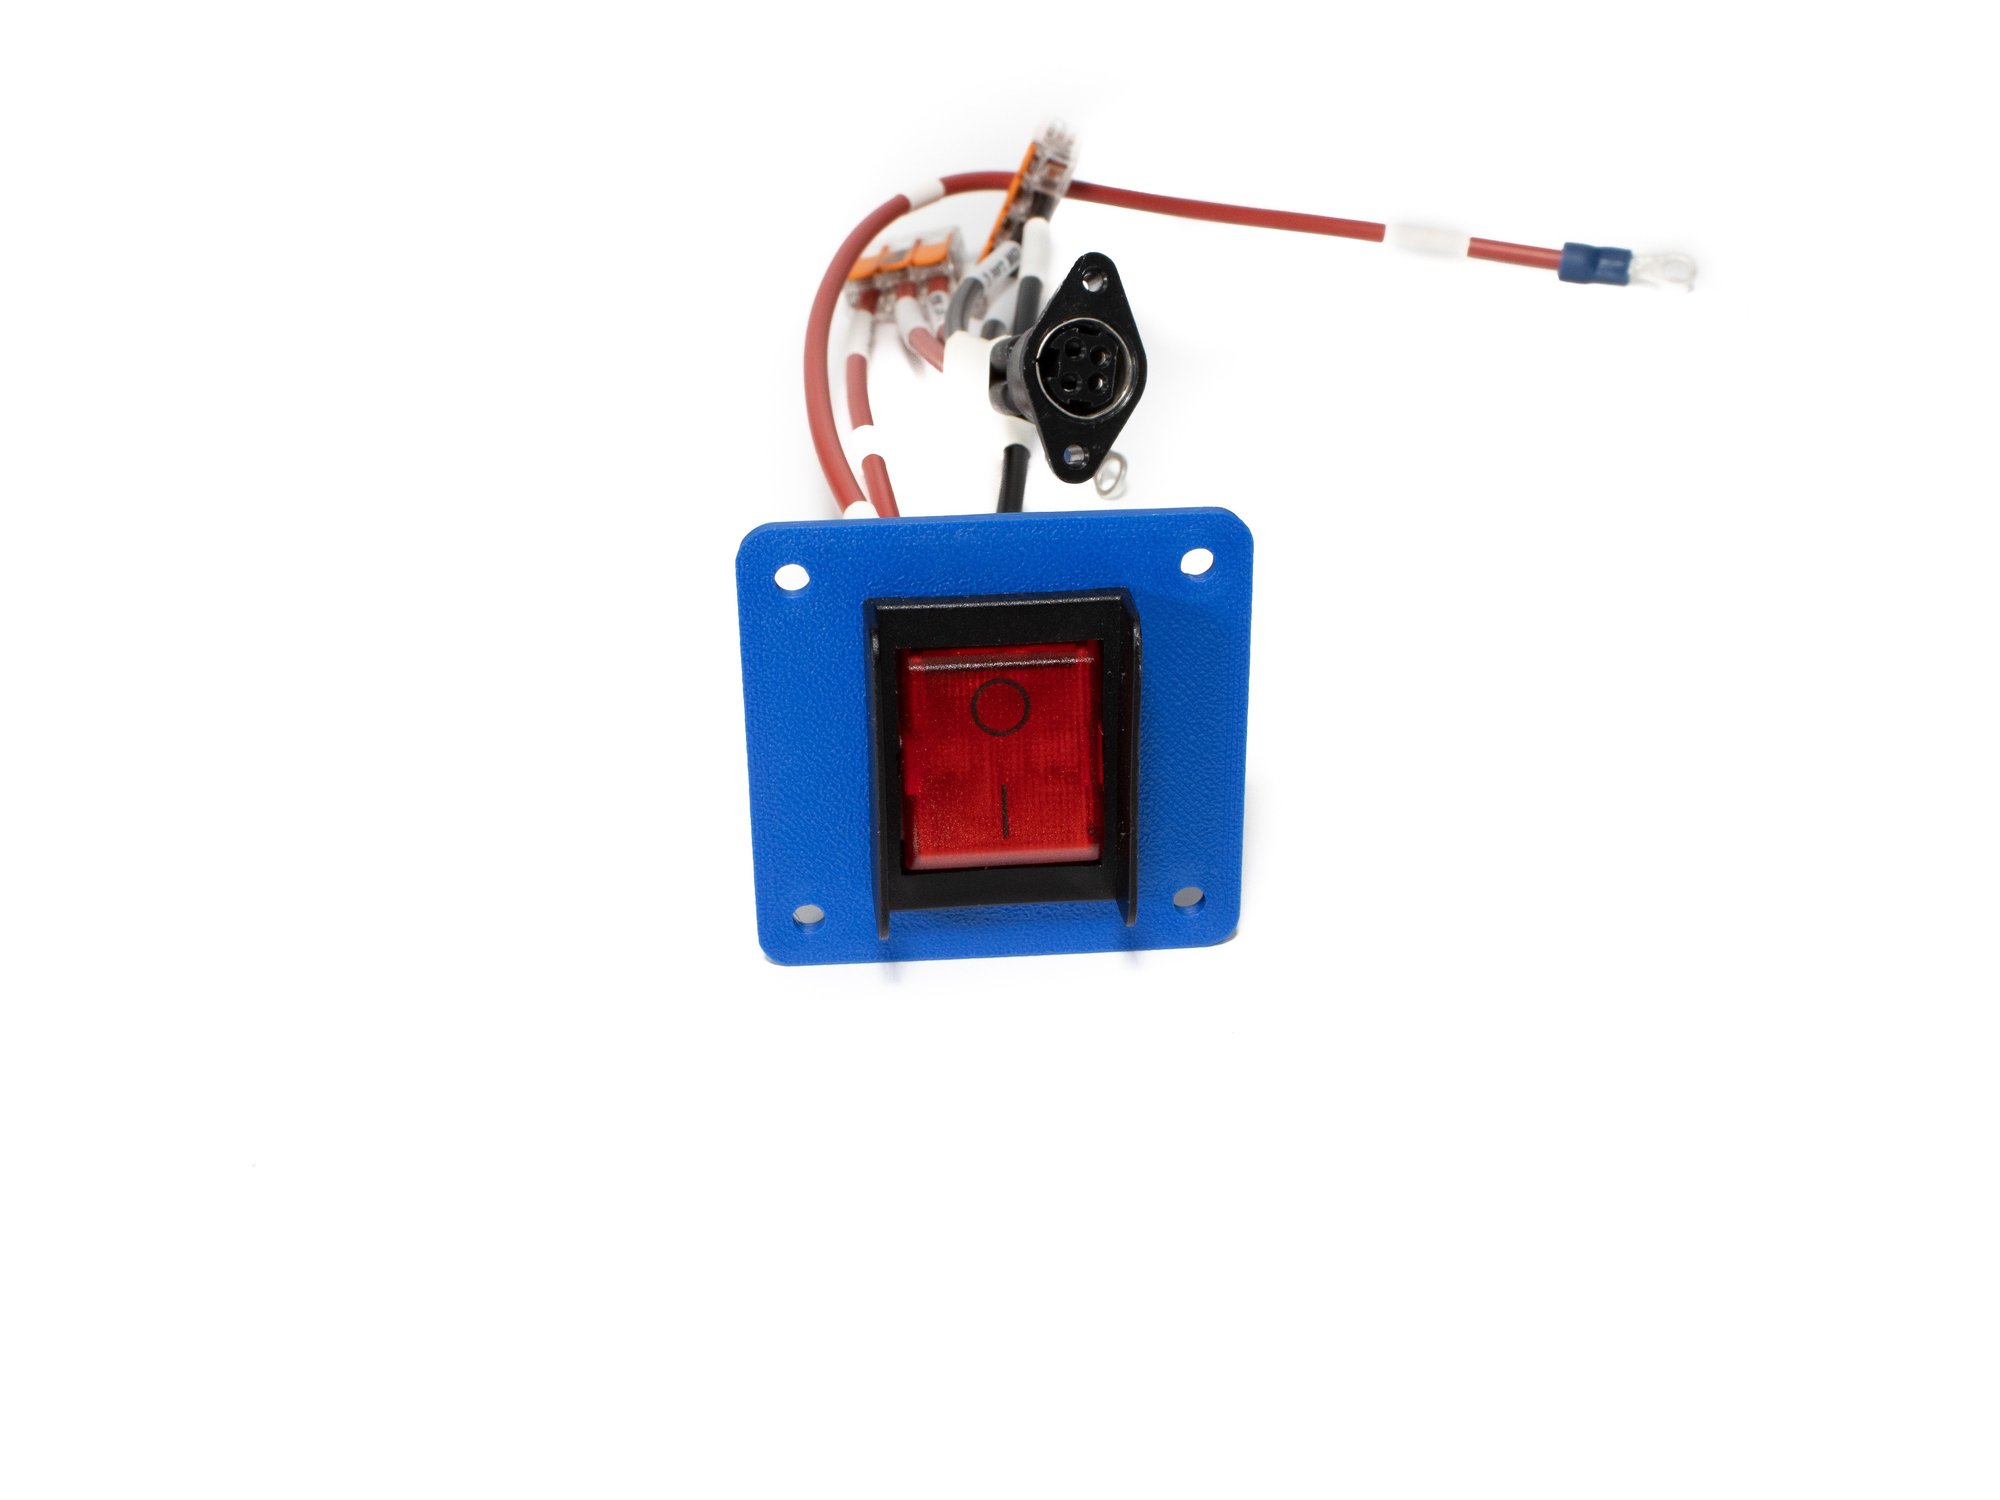
  • The power switch in your kit should come pre-wired. Below is a cable reference, and also serves as a way to double check it.
    • Pin 1A -> Black, Wago (6 Port) / 150mm
    • Pin 4B -> Red, Wago (3 Port) / 150mm
    • Pin 5B -> Red, Duet VIN (24v) / 250mm

Step 3 — Power Input Reference

  • The power input plug in your kit should come pre-wired. Below is a cable reference, and also serves as a way to double check it.
    • Pin 1 -> Black, Wago (6 Port) / 120mm
    • Pin 2 -> Red, Wago (3 Port) / 120mm
    • Pin 3 -> Red, Wago (3 Port) / 120mm
    • Pin 4 -> Black, Wago (6 Port) / 120mm

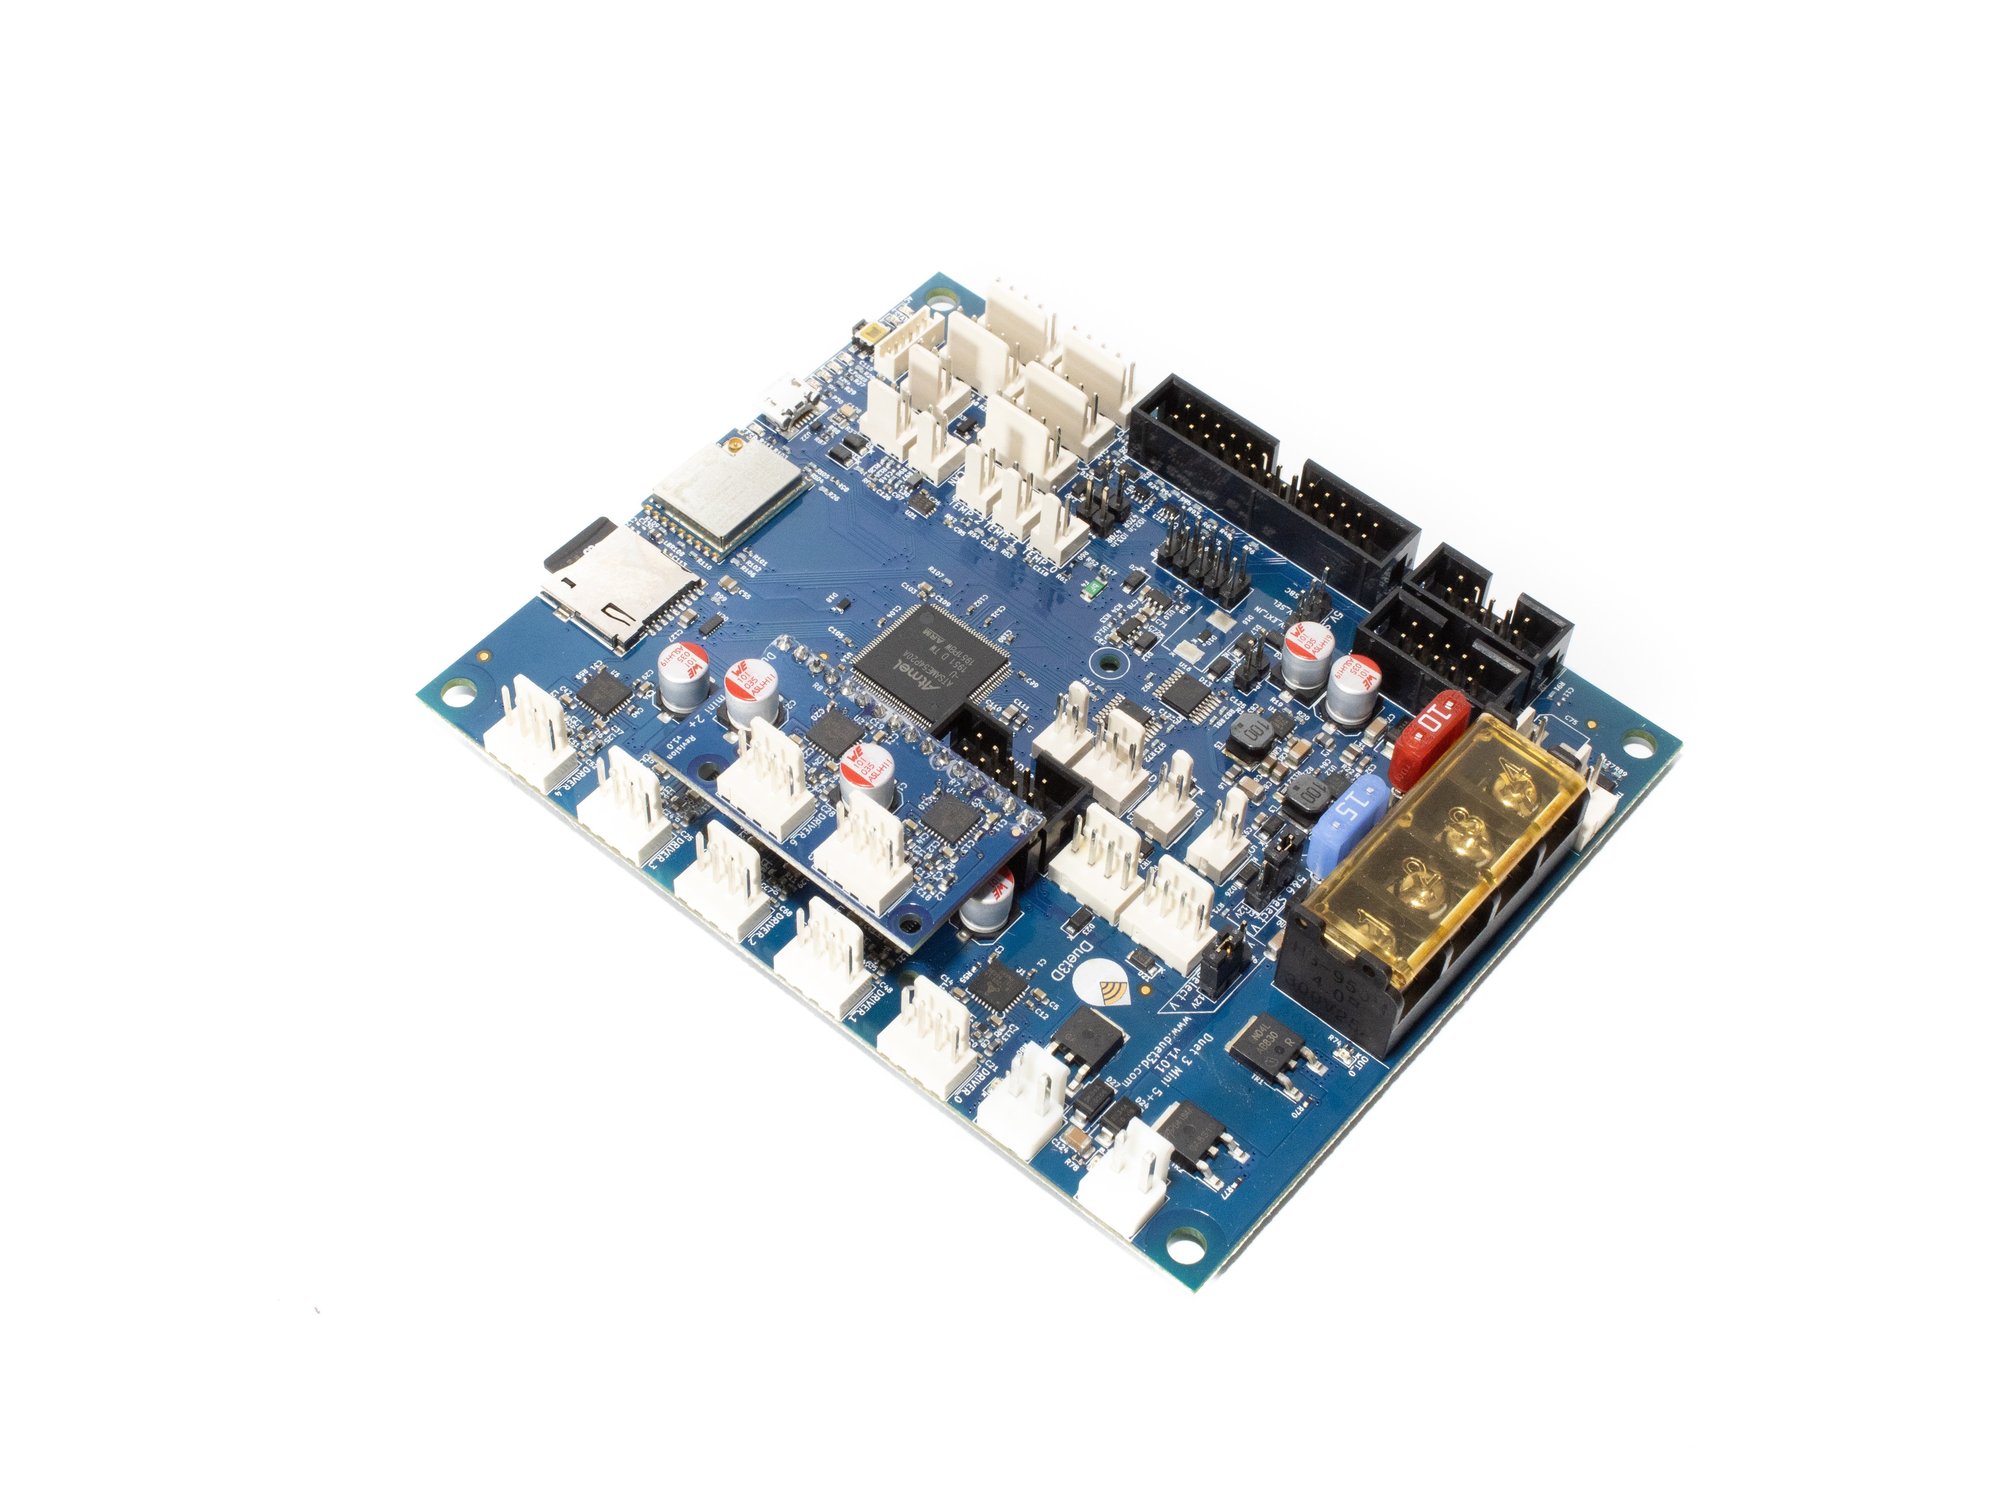
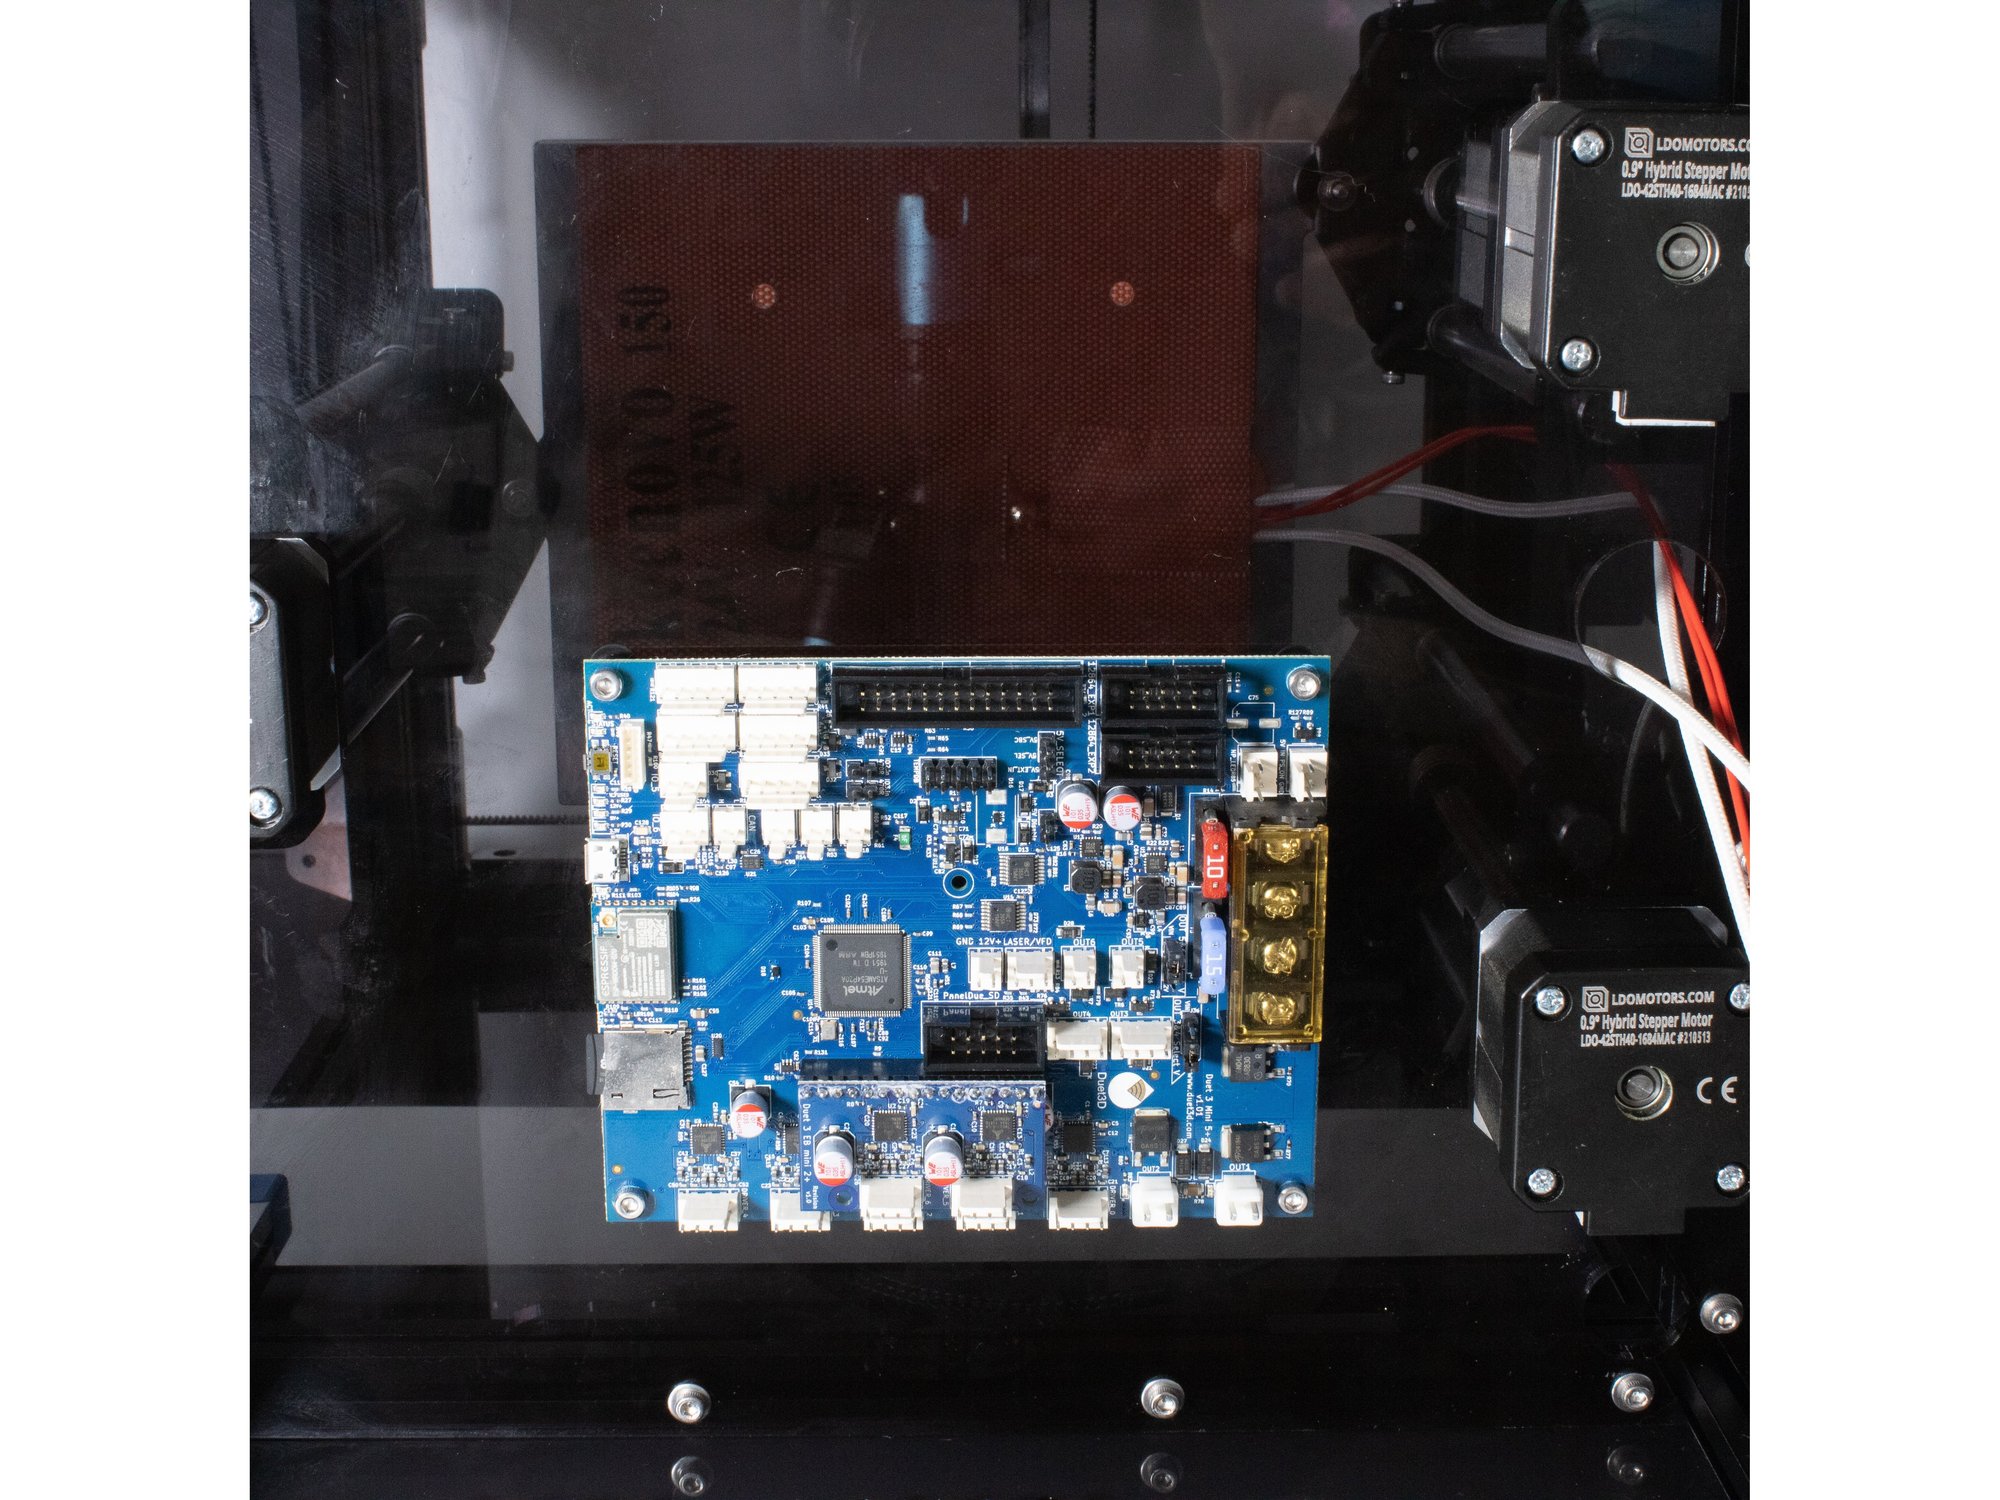
Step 4 — Install Duet 3 Mini 5+

  • Install the Duet +2 expansion board on the Duet board as shown in the image.
  • Using (4) nylon standoffs, M3 x 16 socket head screws, and M3 washers, attach the Duet to the base of the printer.

Step 5 — Install Power Switch

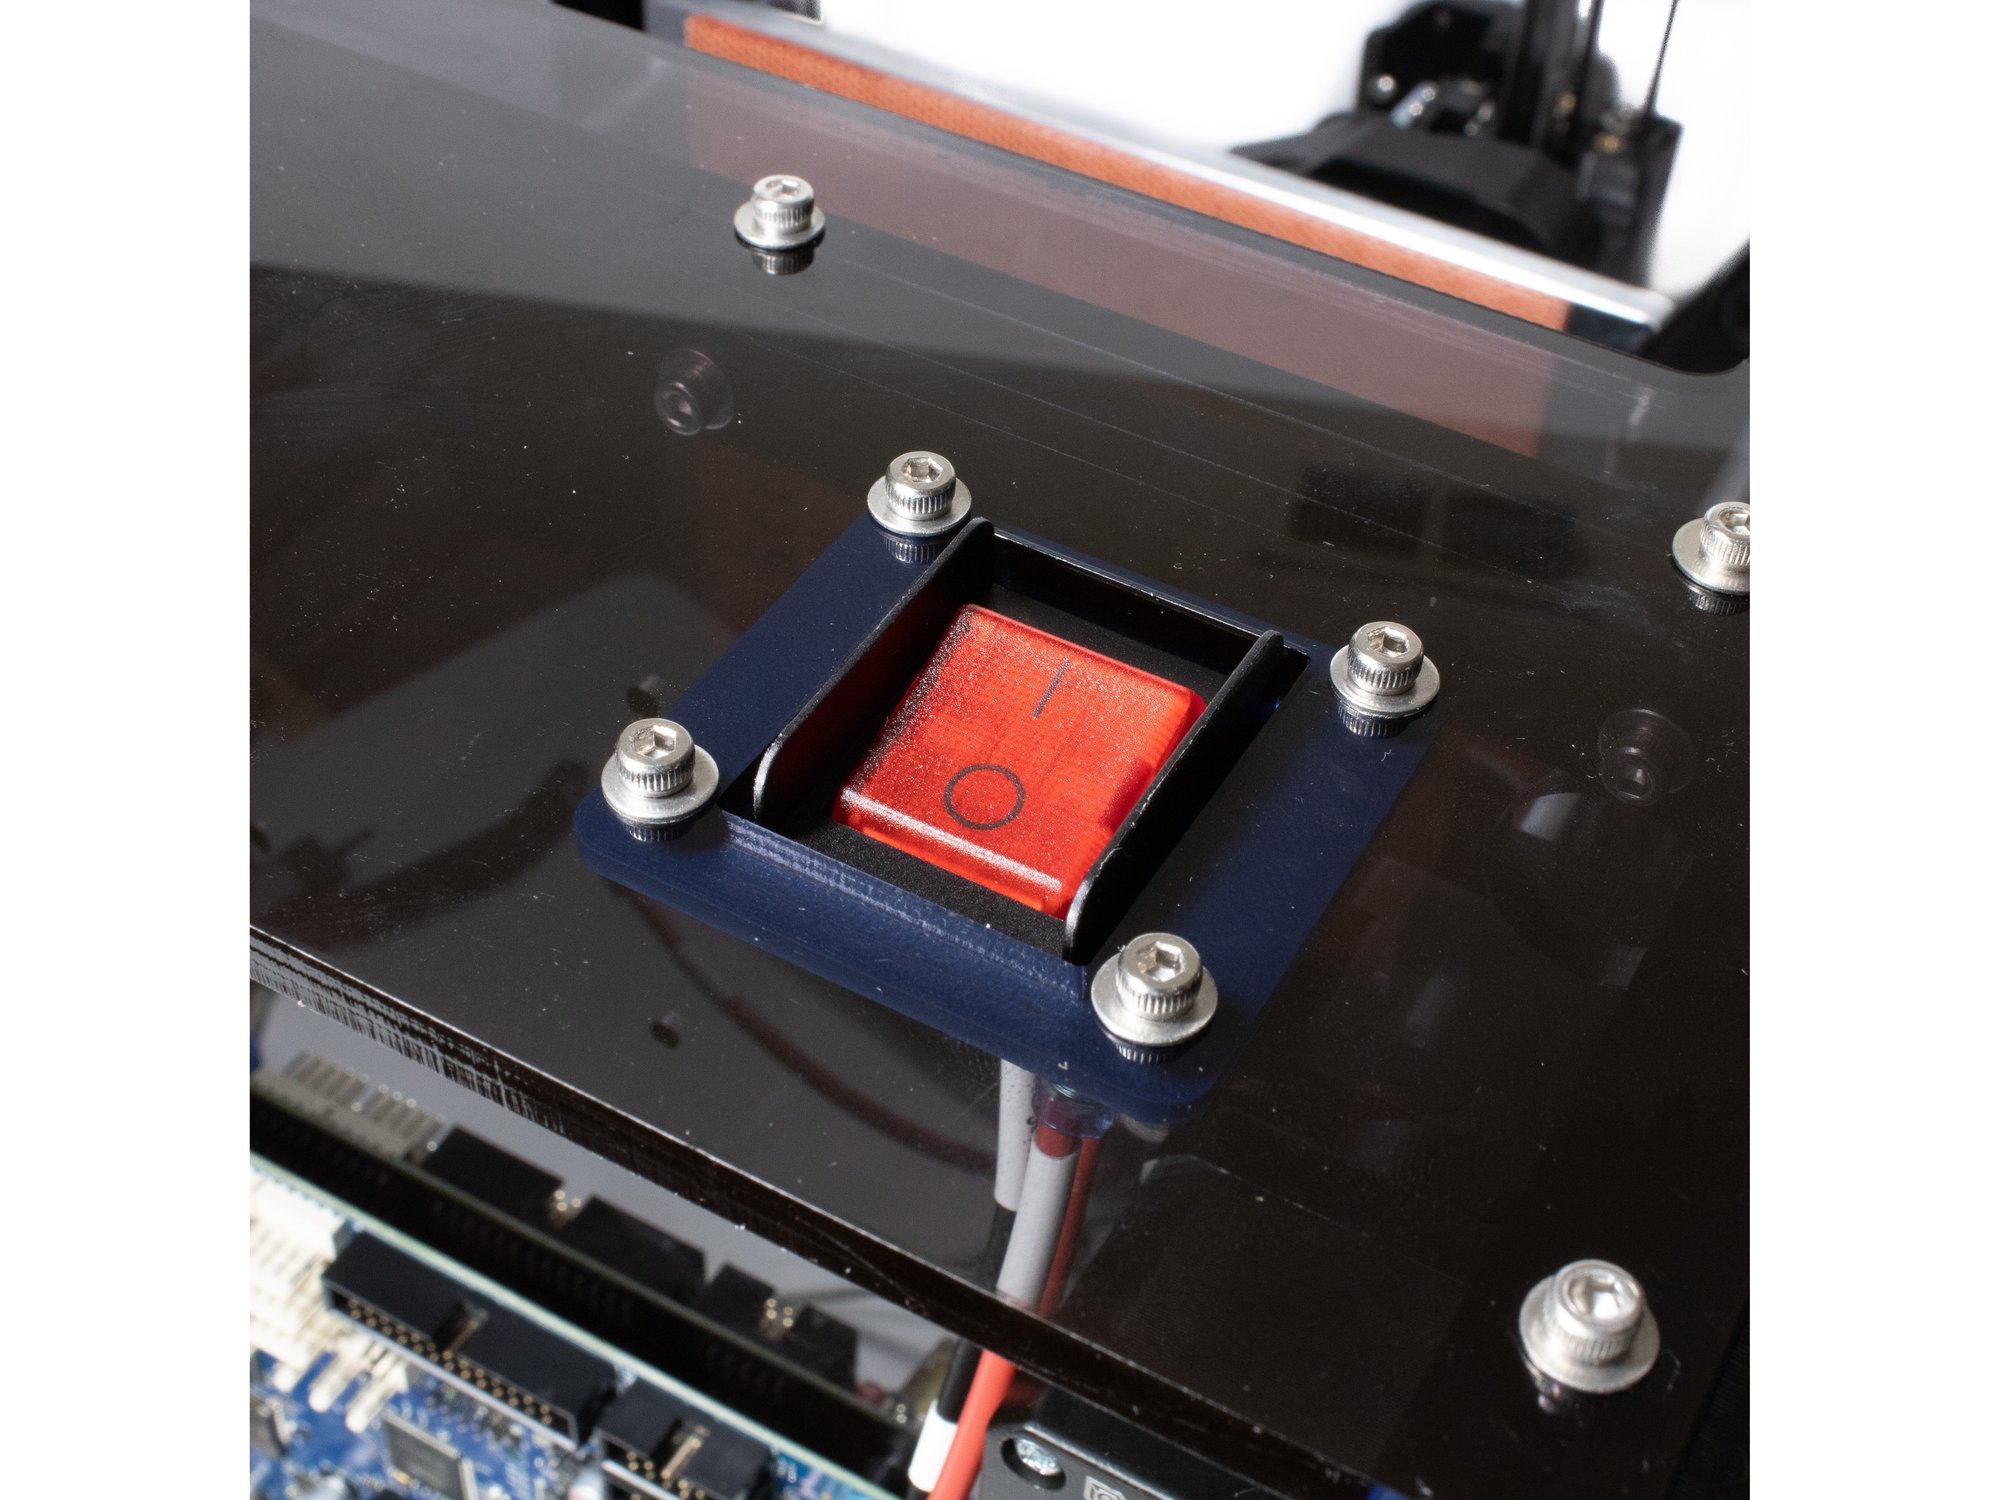
  • Using (4) M3 x 12 socket head screws, M3 washers, and M3 nuts, install the power switch under the panel.
  • Note Off position should be towards the top of the printer.

Step 6 — Install Power Plug

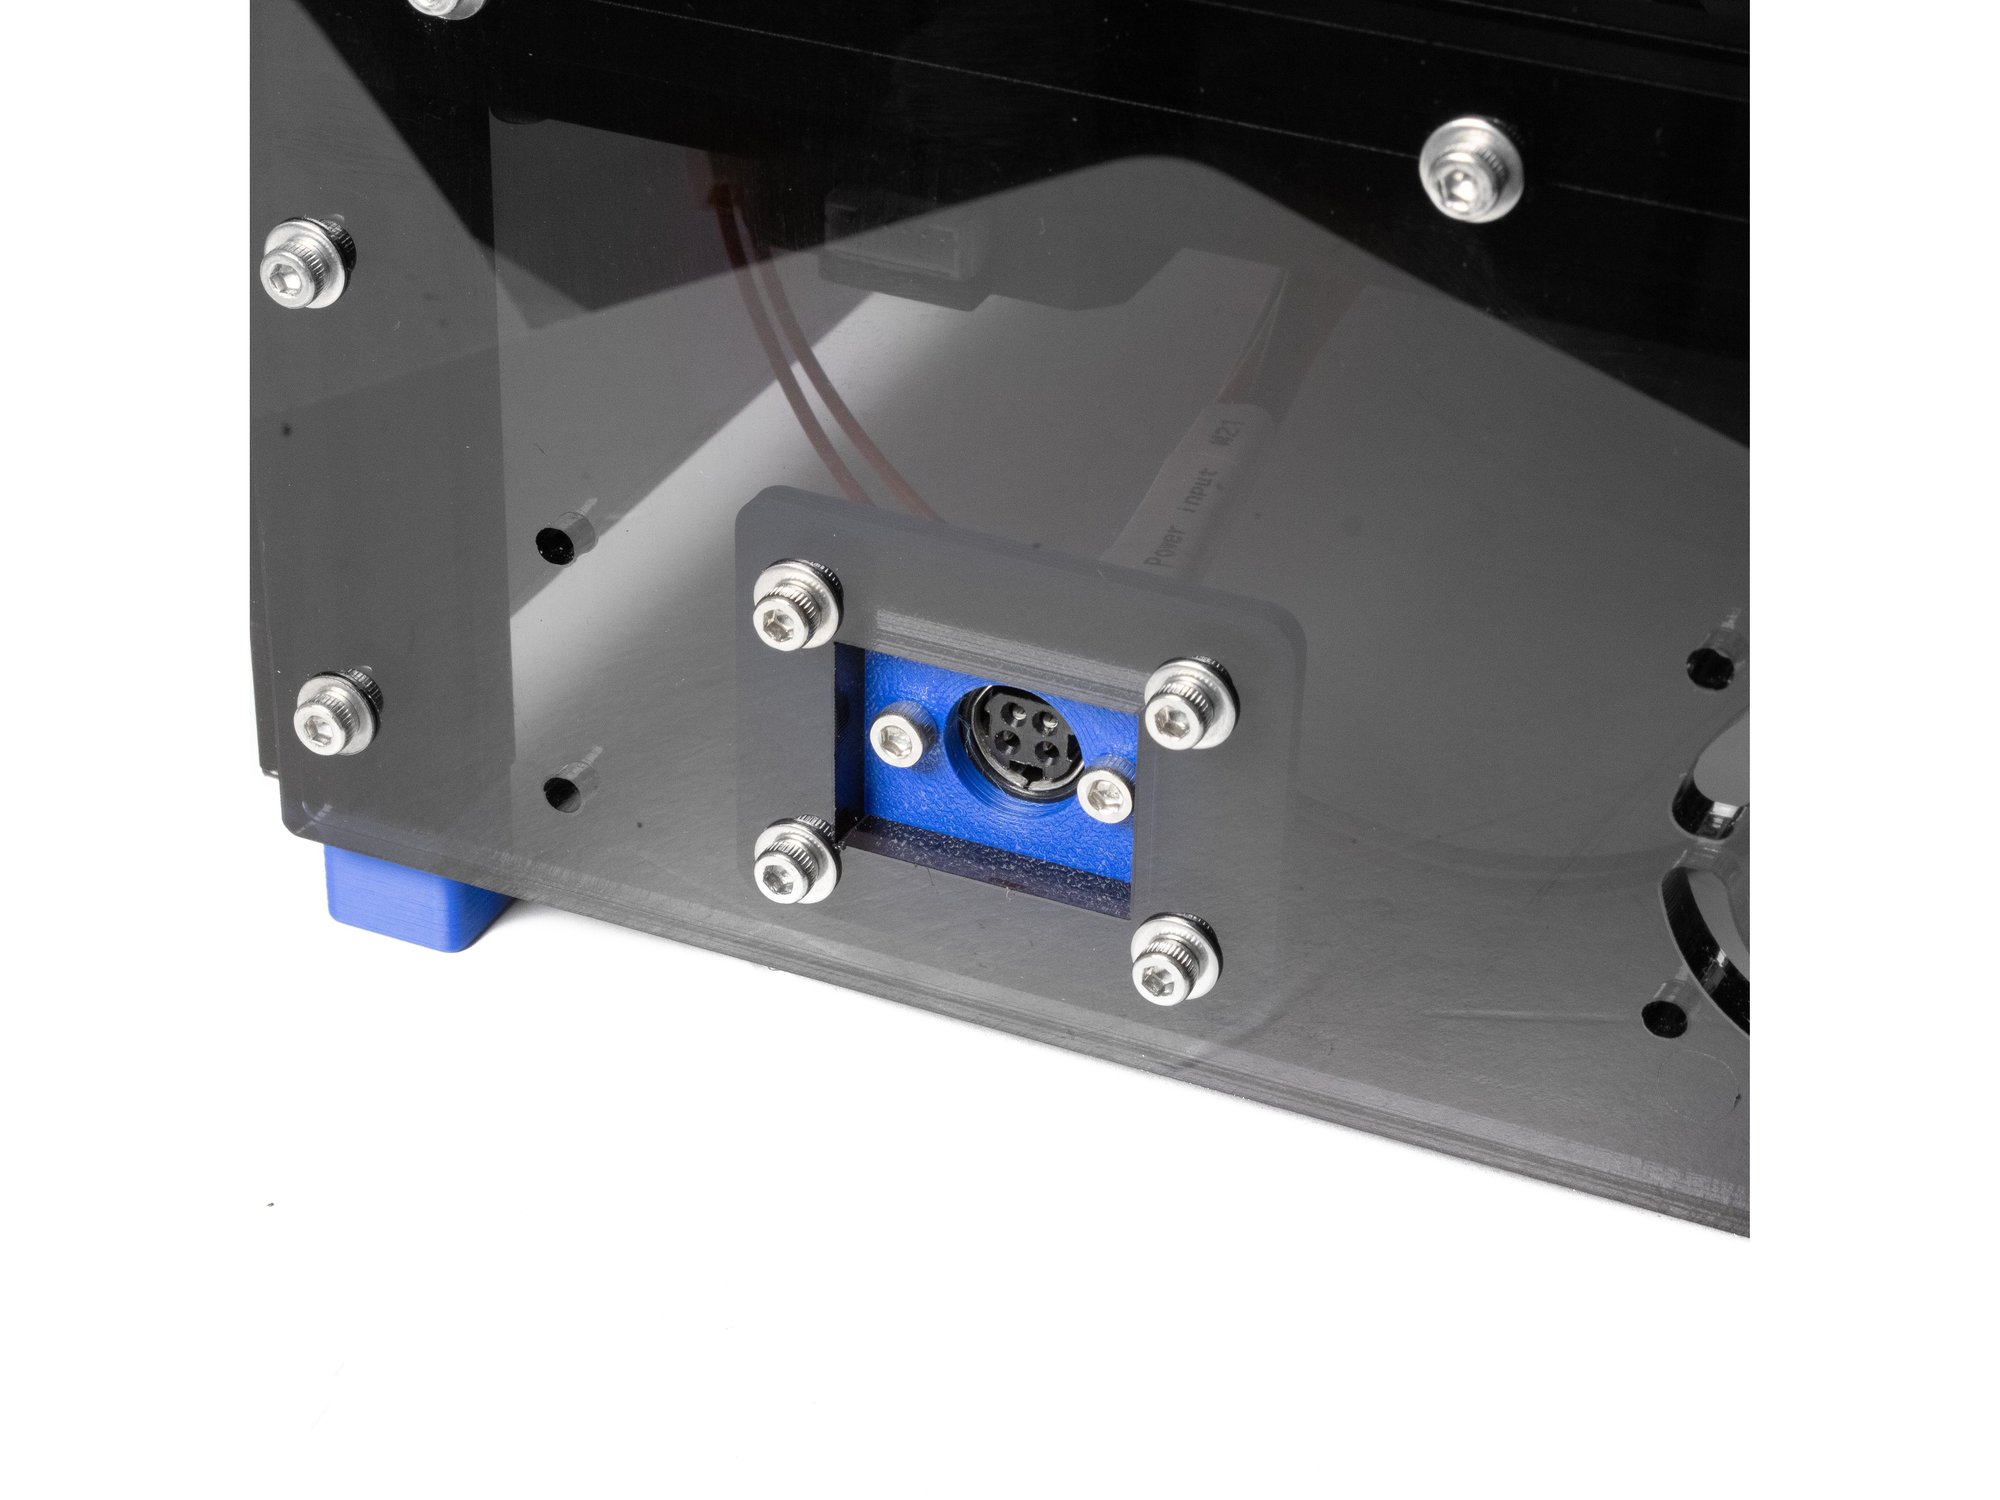
  • Using (2) M3 x 10 self tapping screws, attach the power plug to the printed mount.
  • Note The material the plug is made out of can also be tapped for M3.
  • Using (4) M3 x 12 socket head screws, M3 washers, and M3 nuts, install the power plug under the panel.

Step 7 — Install Panel Fans

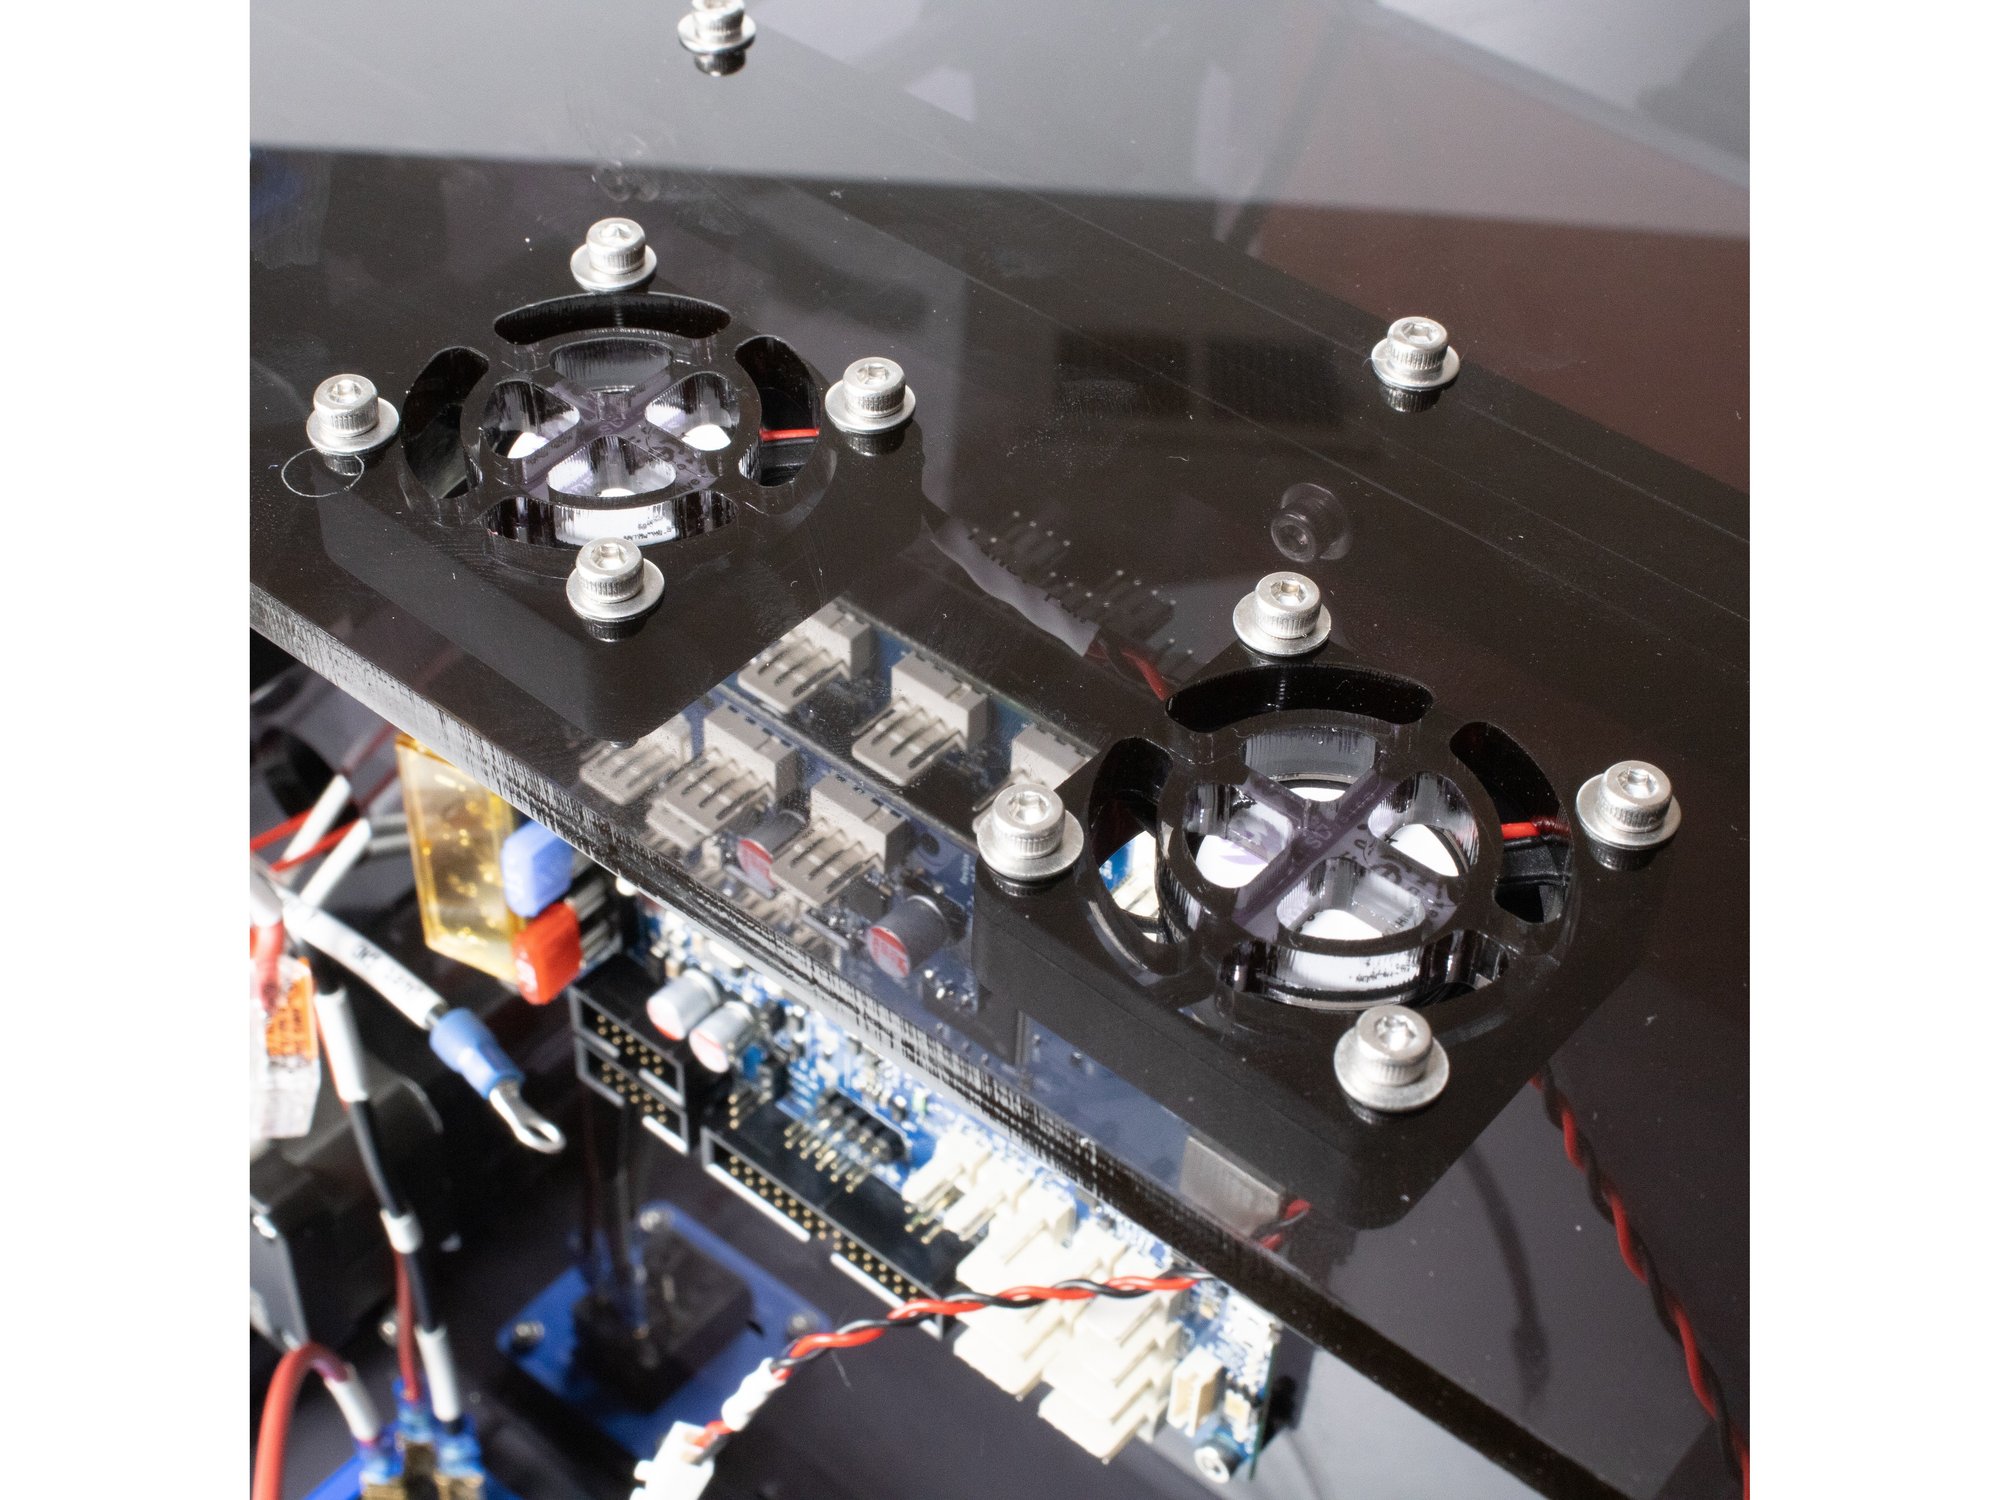
  • Using (4) M3 x 20 socket head screws, M3 washers, and M3 nuts, install the (2) panel fans under the rear panel.

Q) Wiring the Electronics

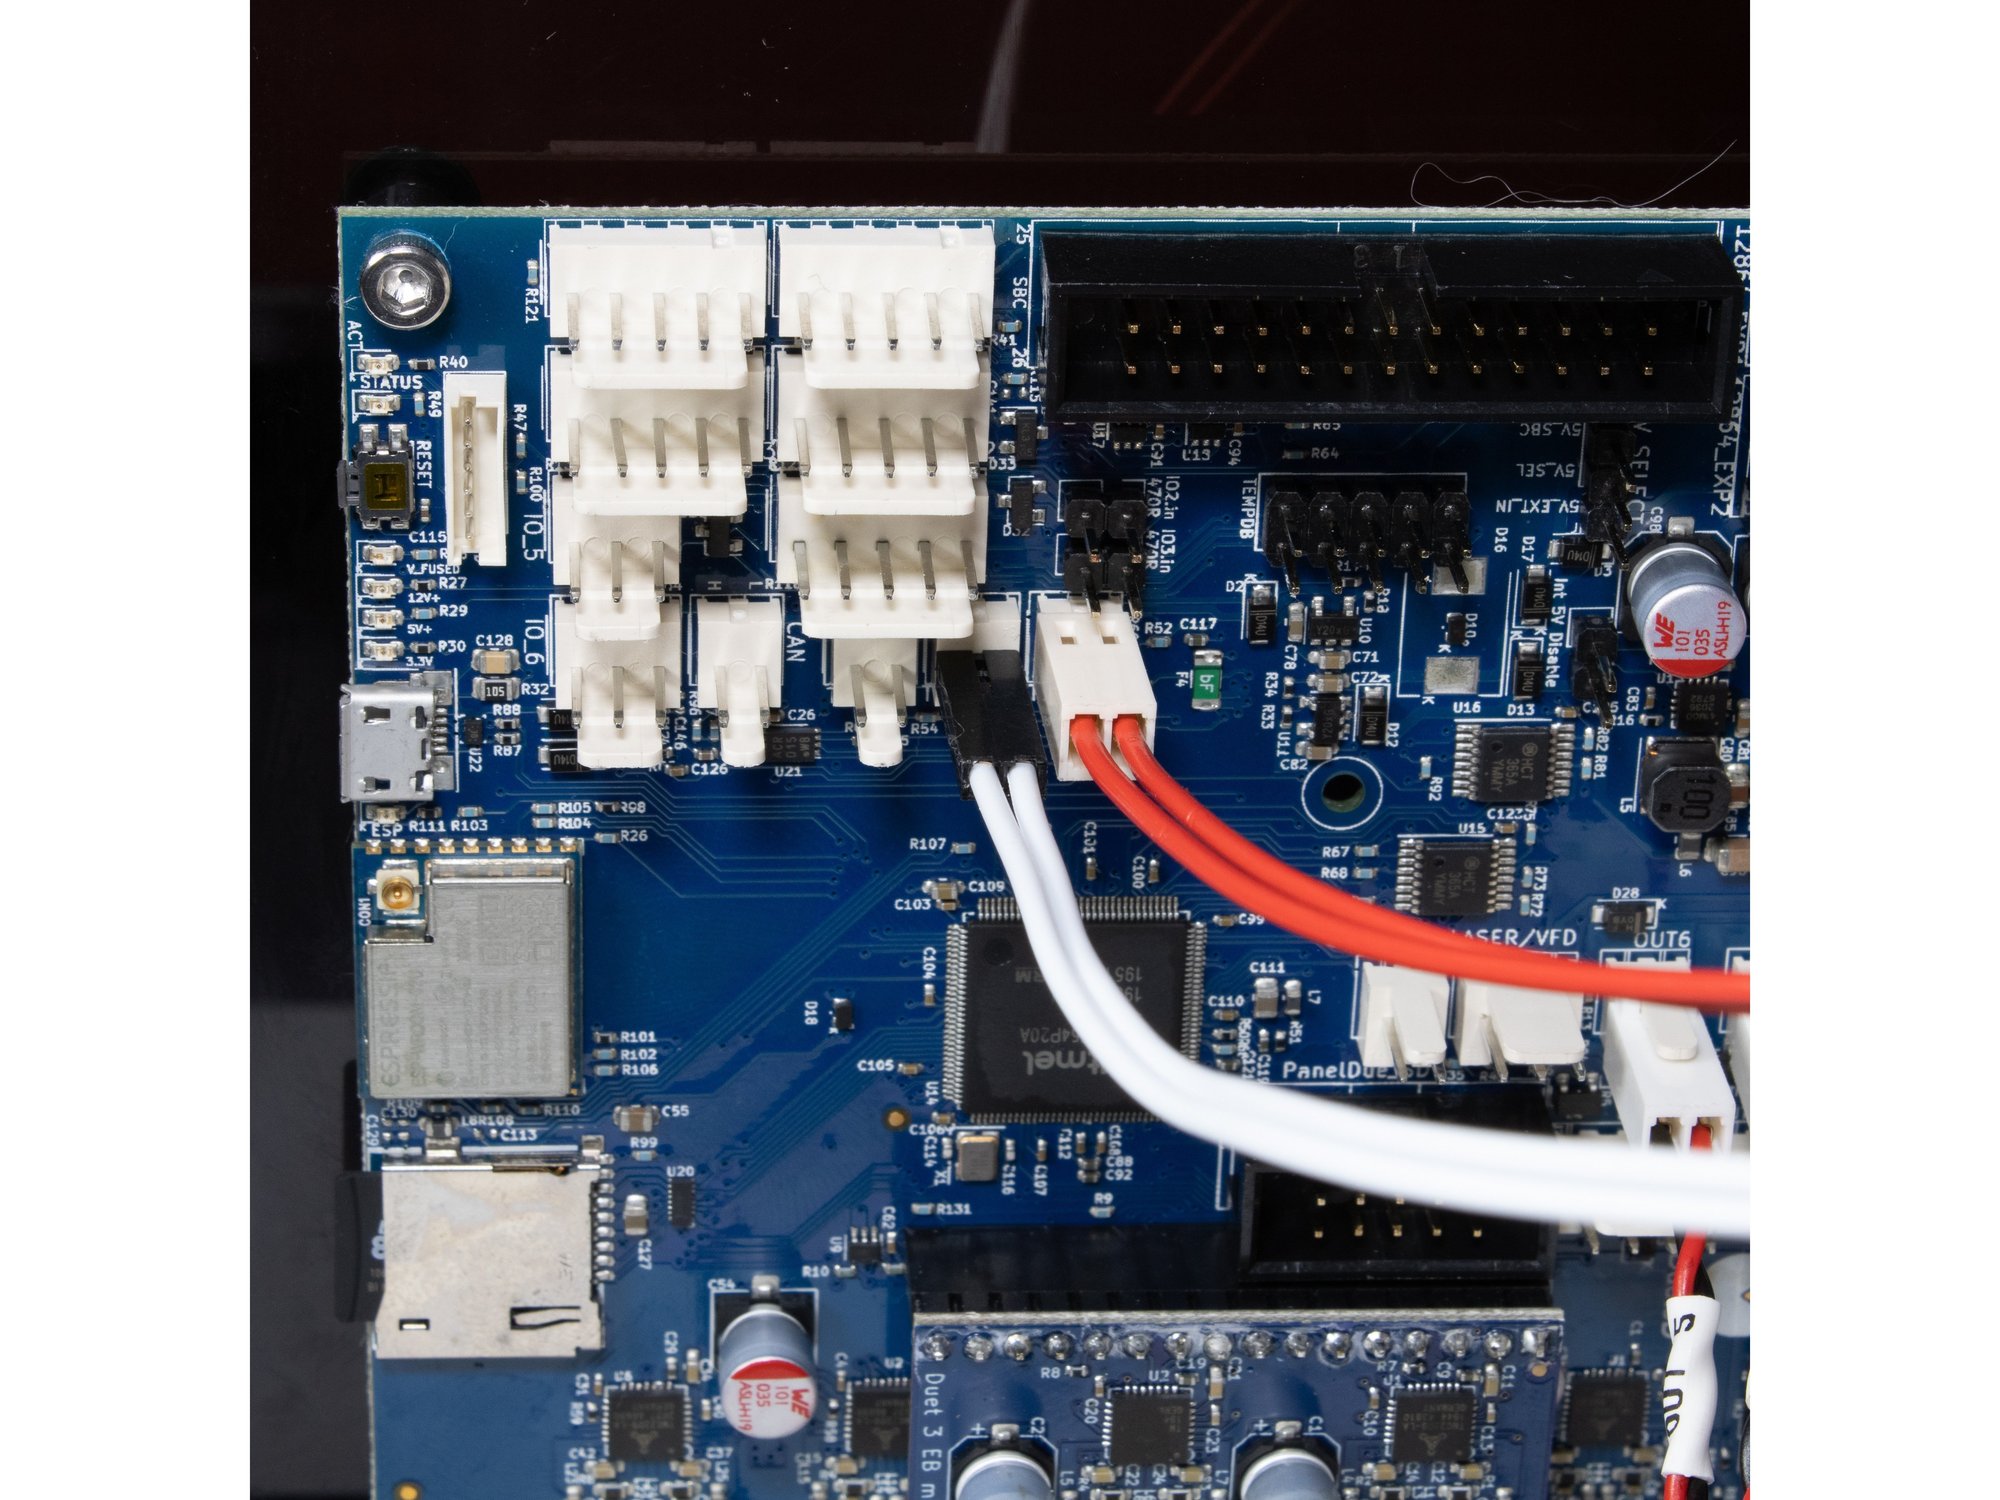
Step 1 — Power Duet

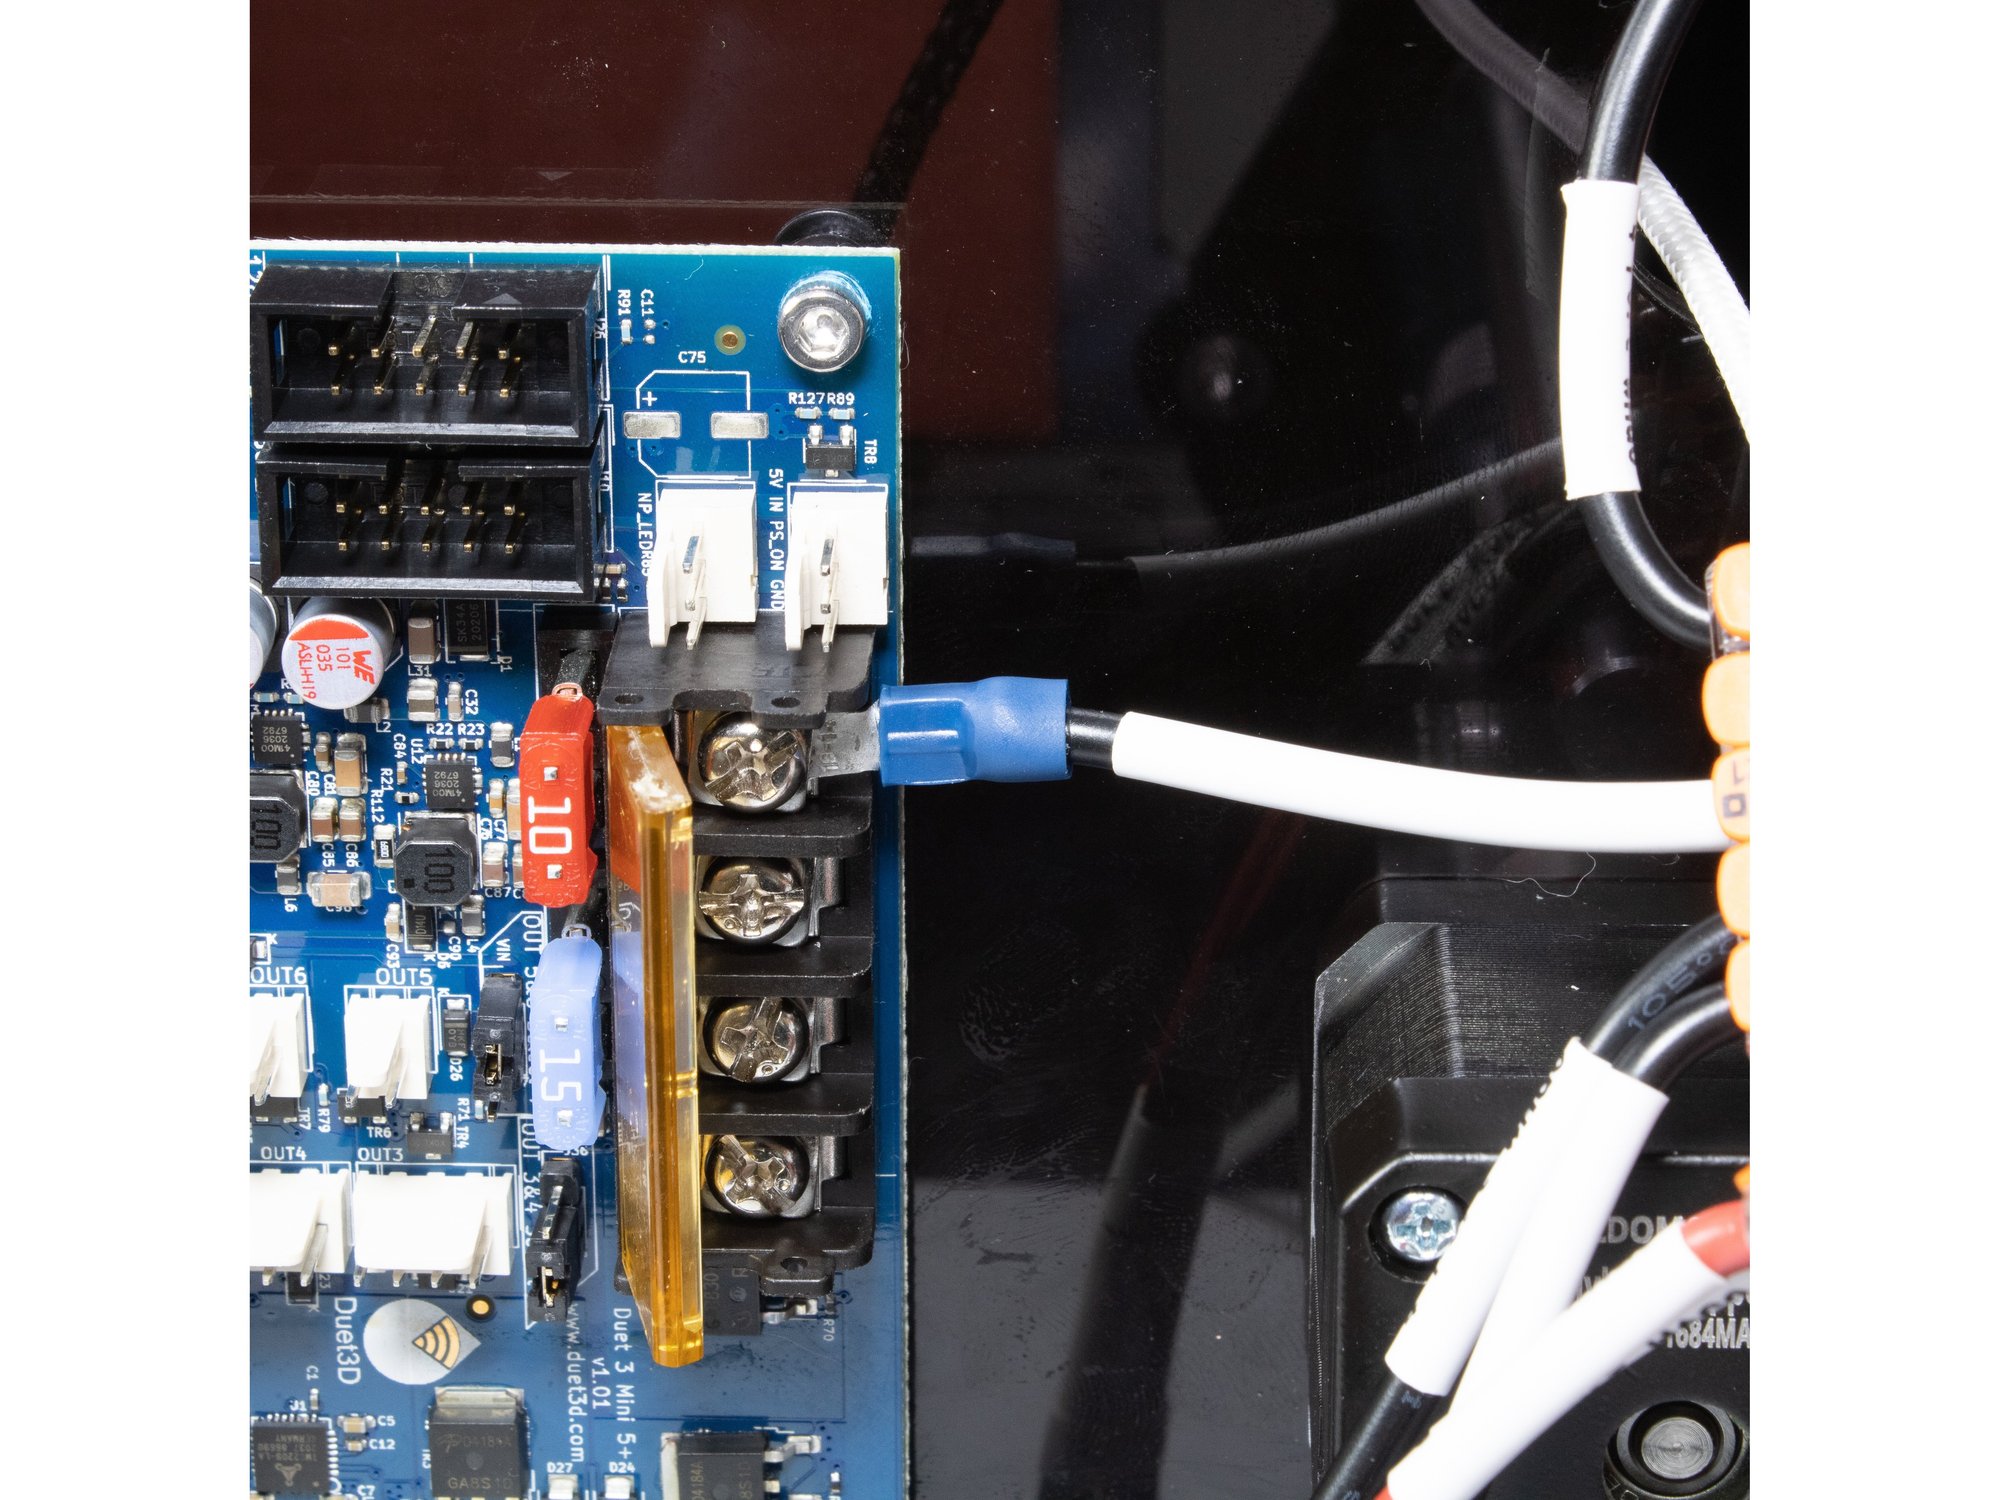
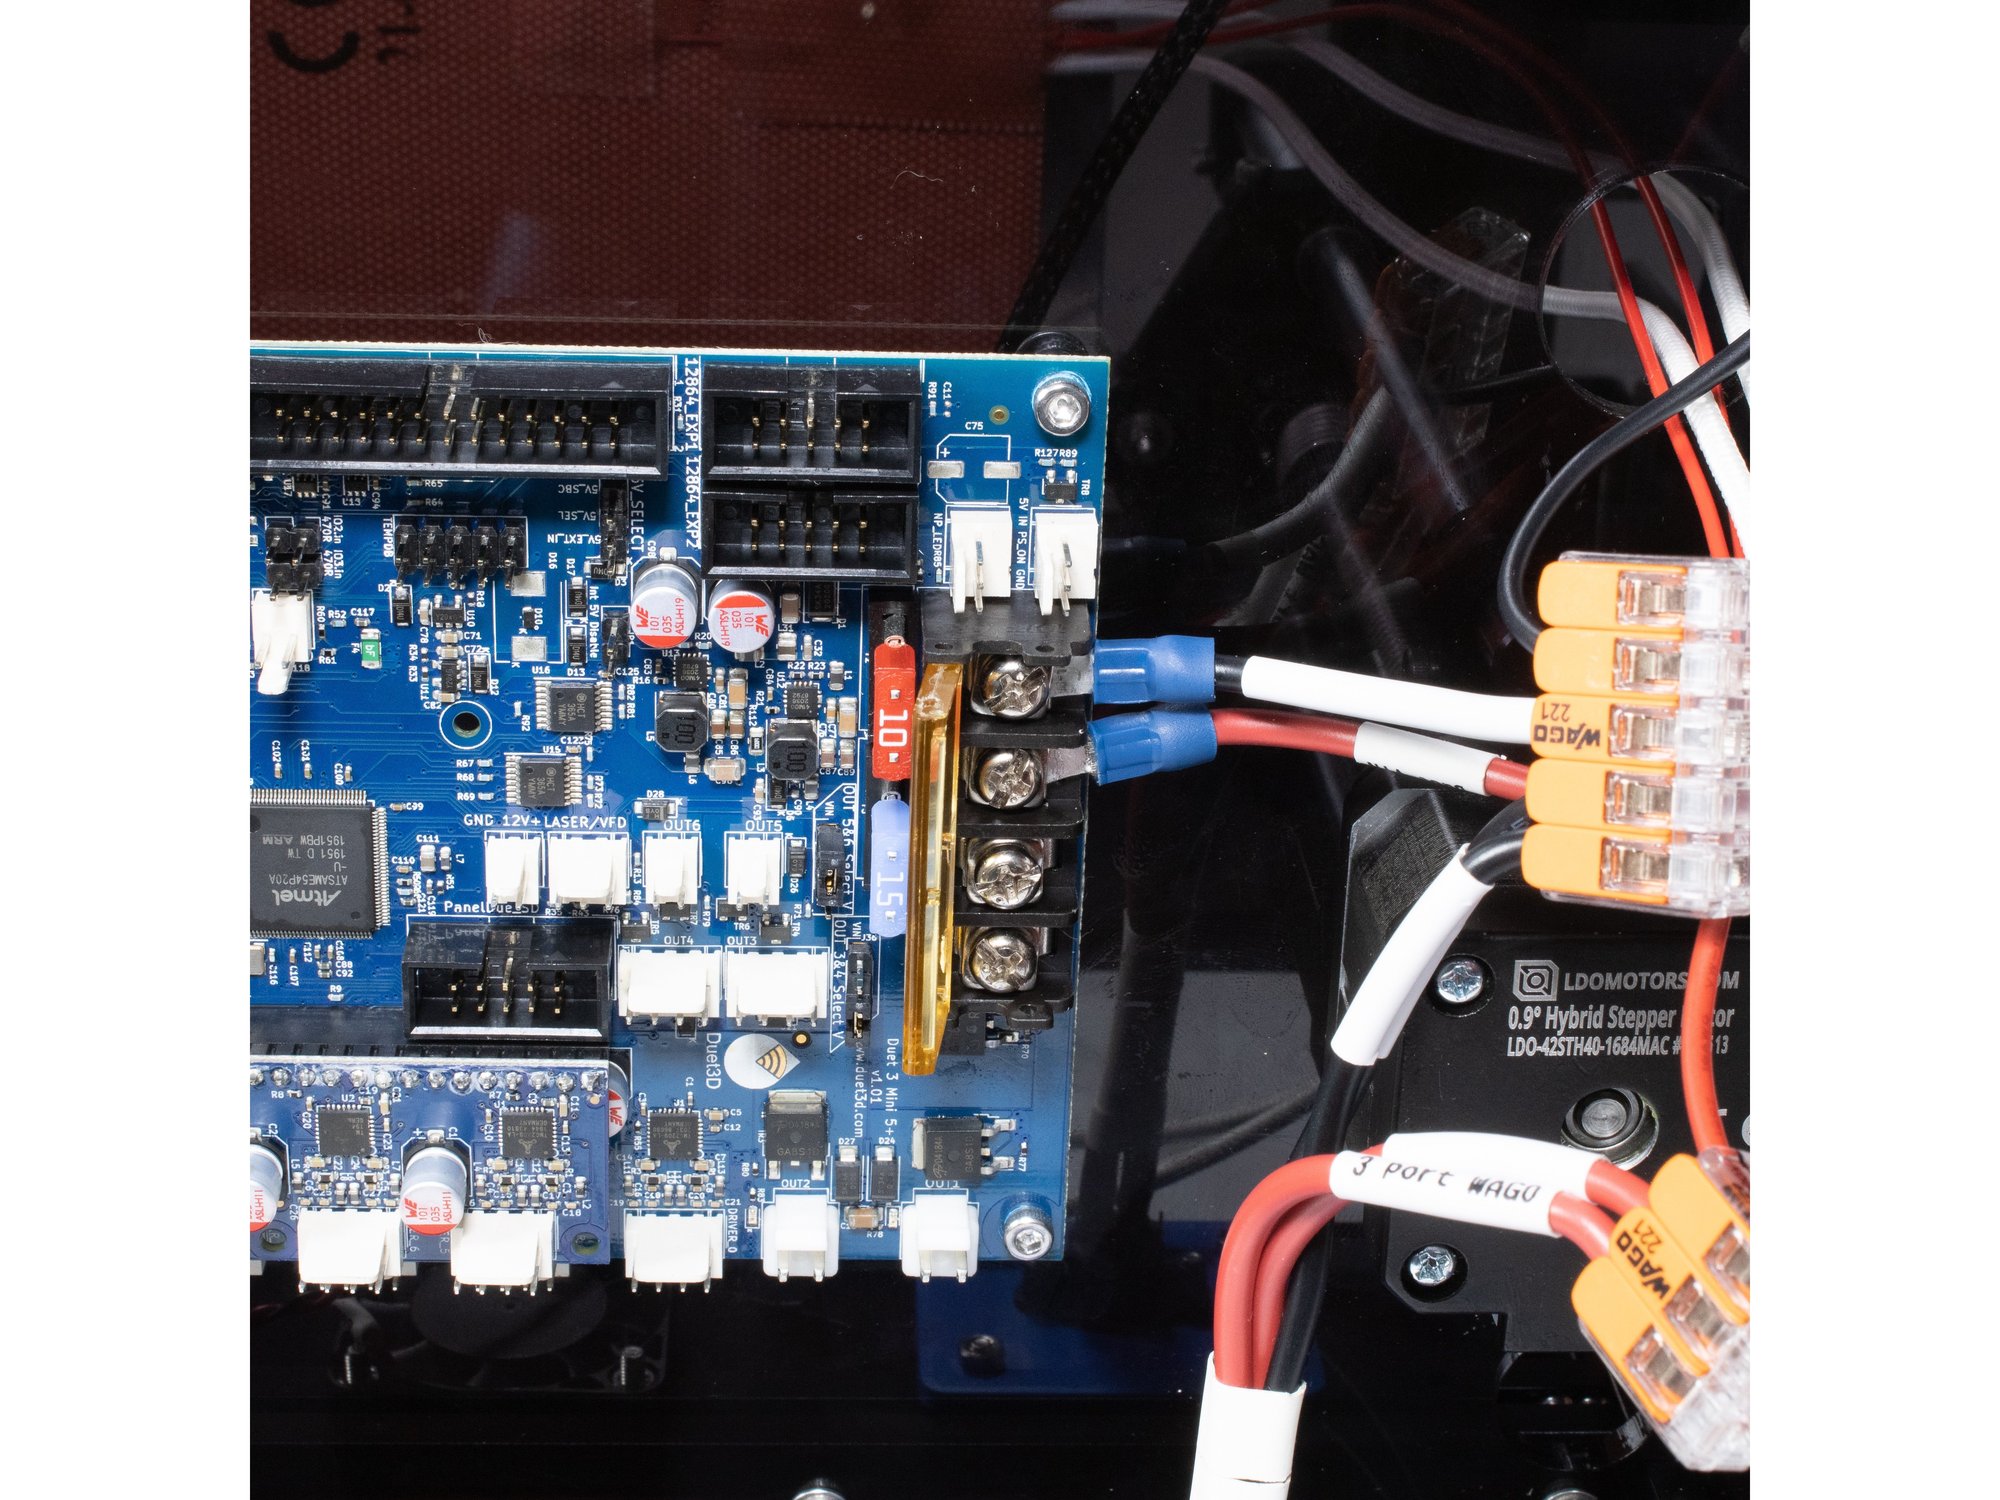
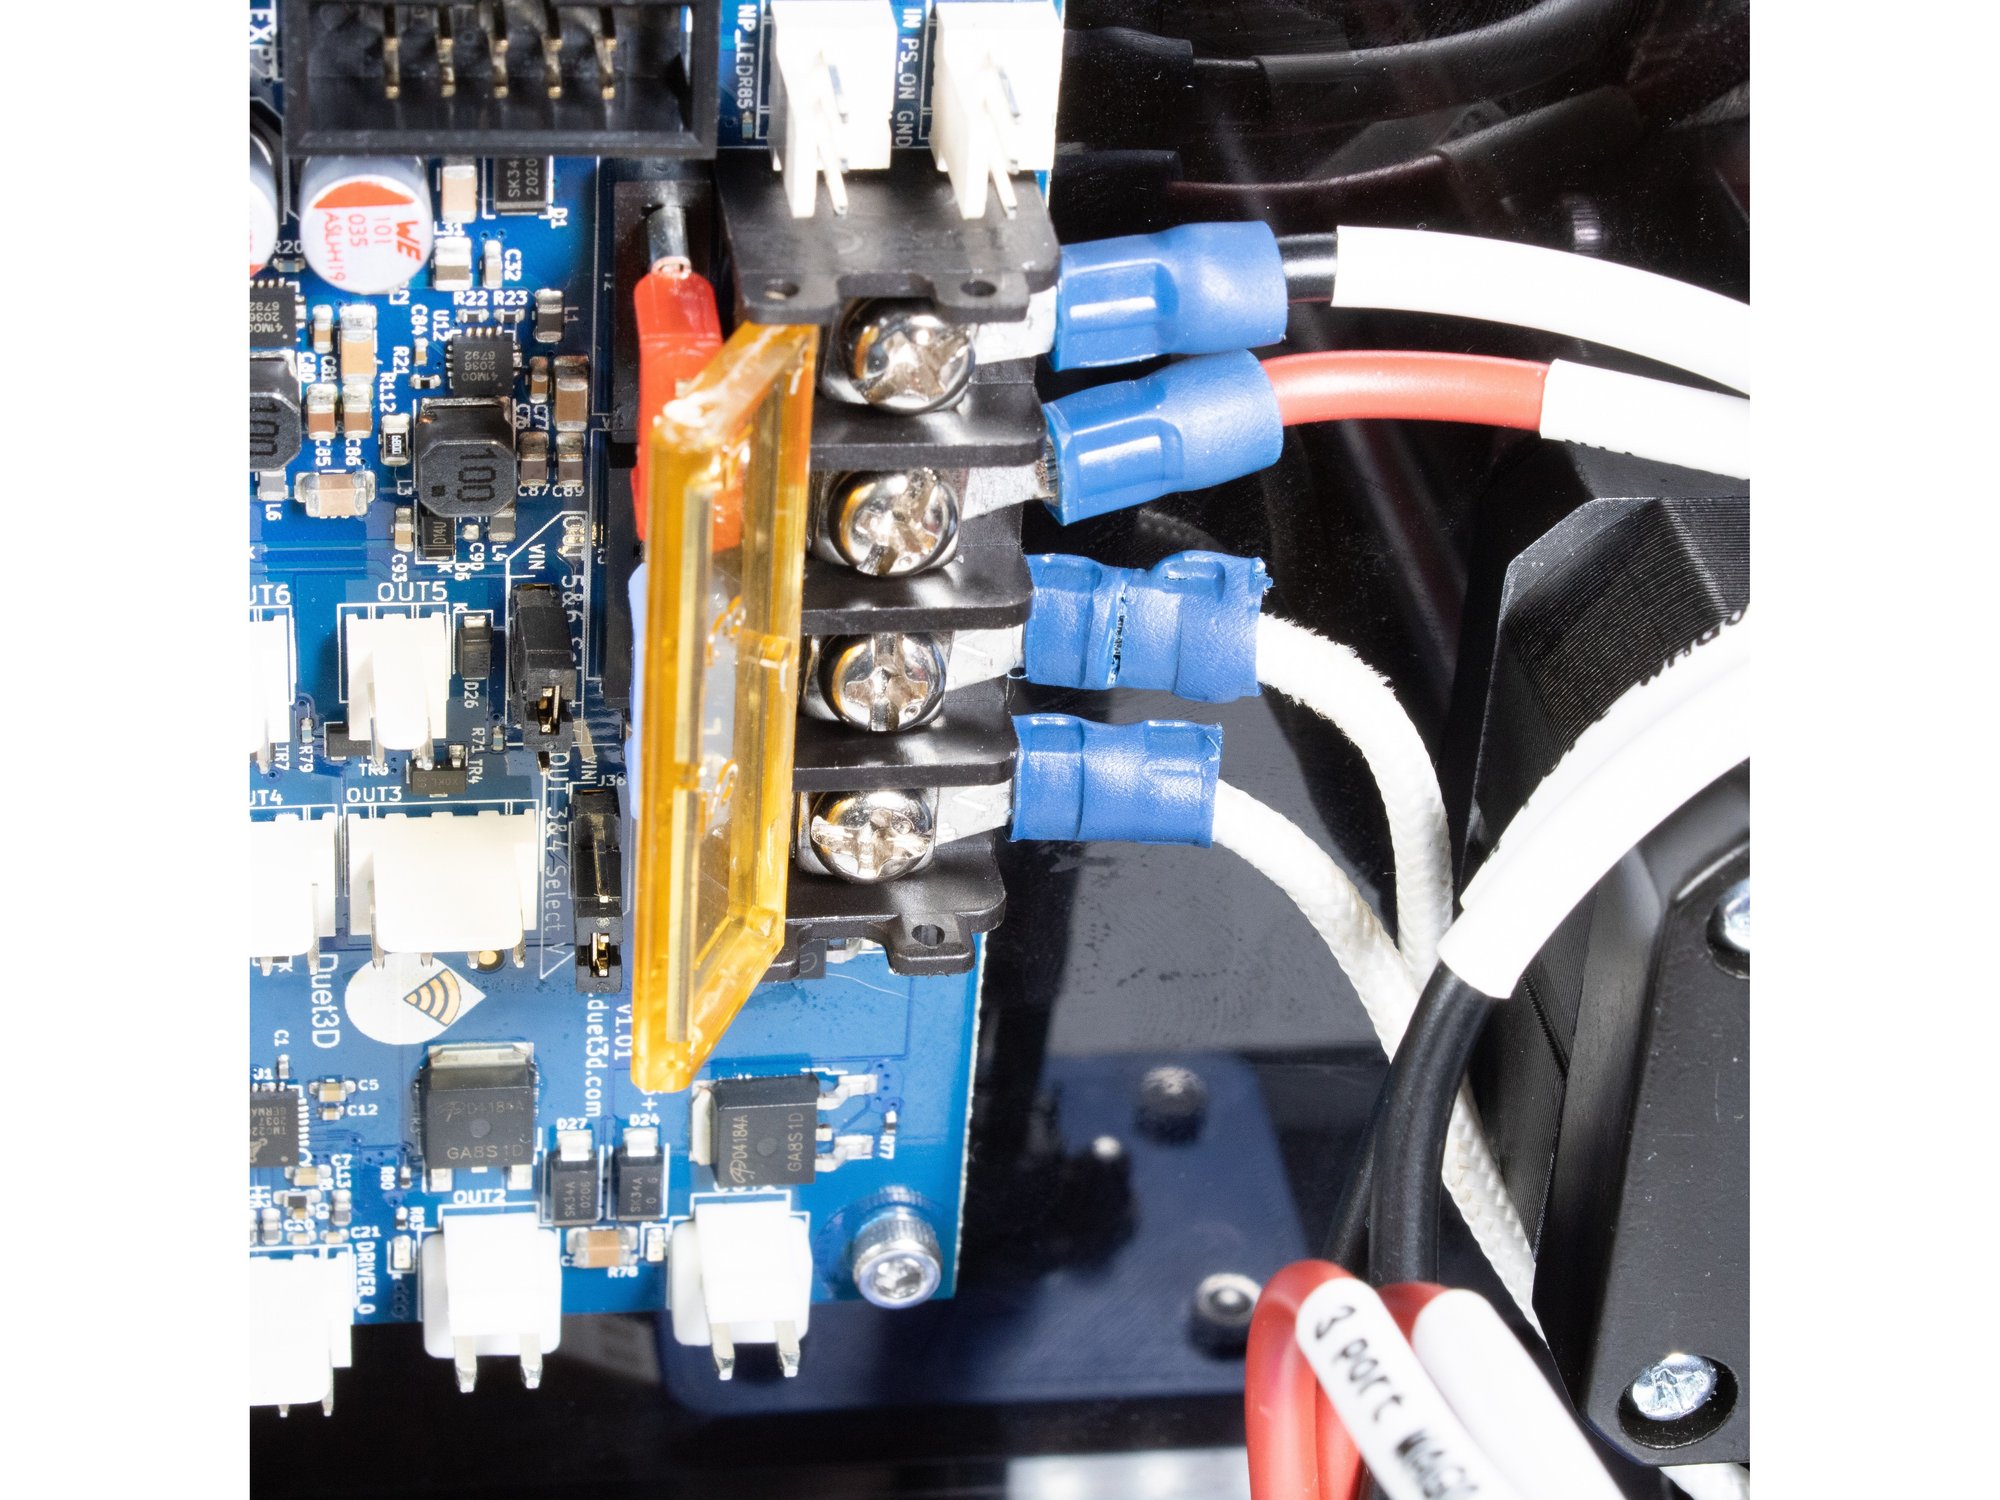
  • The black wire labeled Duet GND from the 6 slot Wago connector attaches to the first GND on the Duet.
  • The red wire labeled Duet 24v from the 3 slot Wago connector attaches to the first VIN terminal on the Duet.

Step 2 — Power Bed

  • The ring terminals coming from the bed should attach to the remaining terminals (OUT 0).

Step 3 — Bed Thermistor

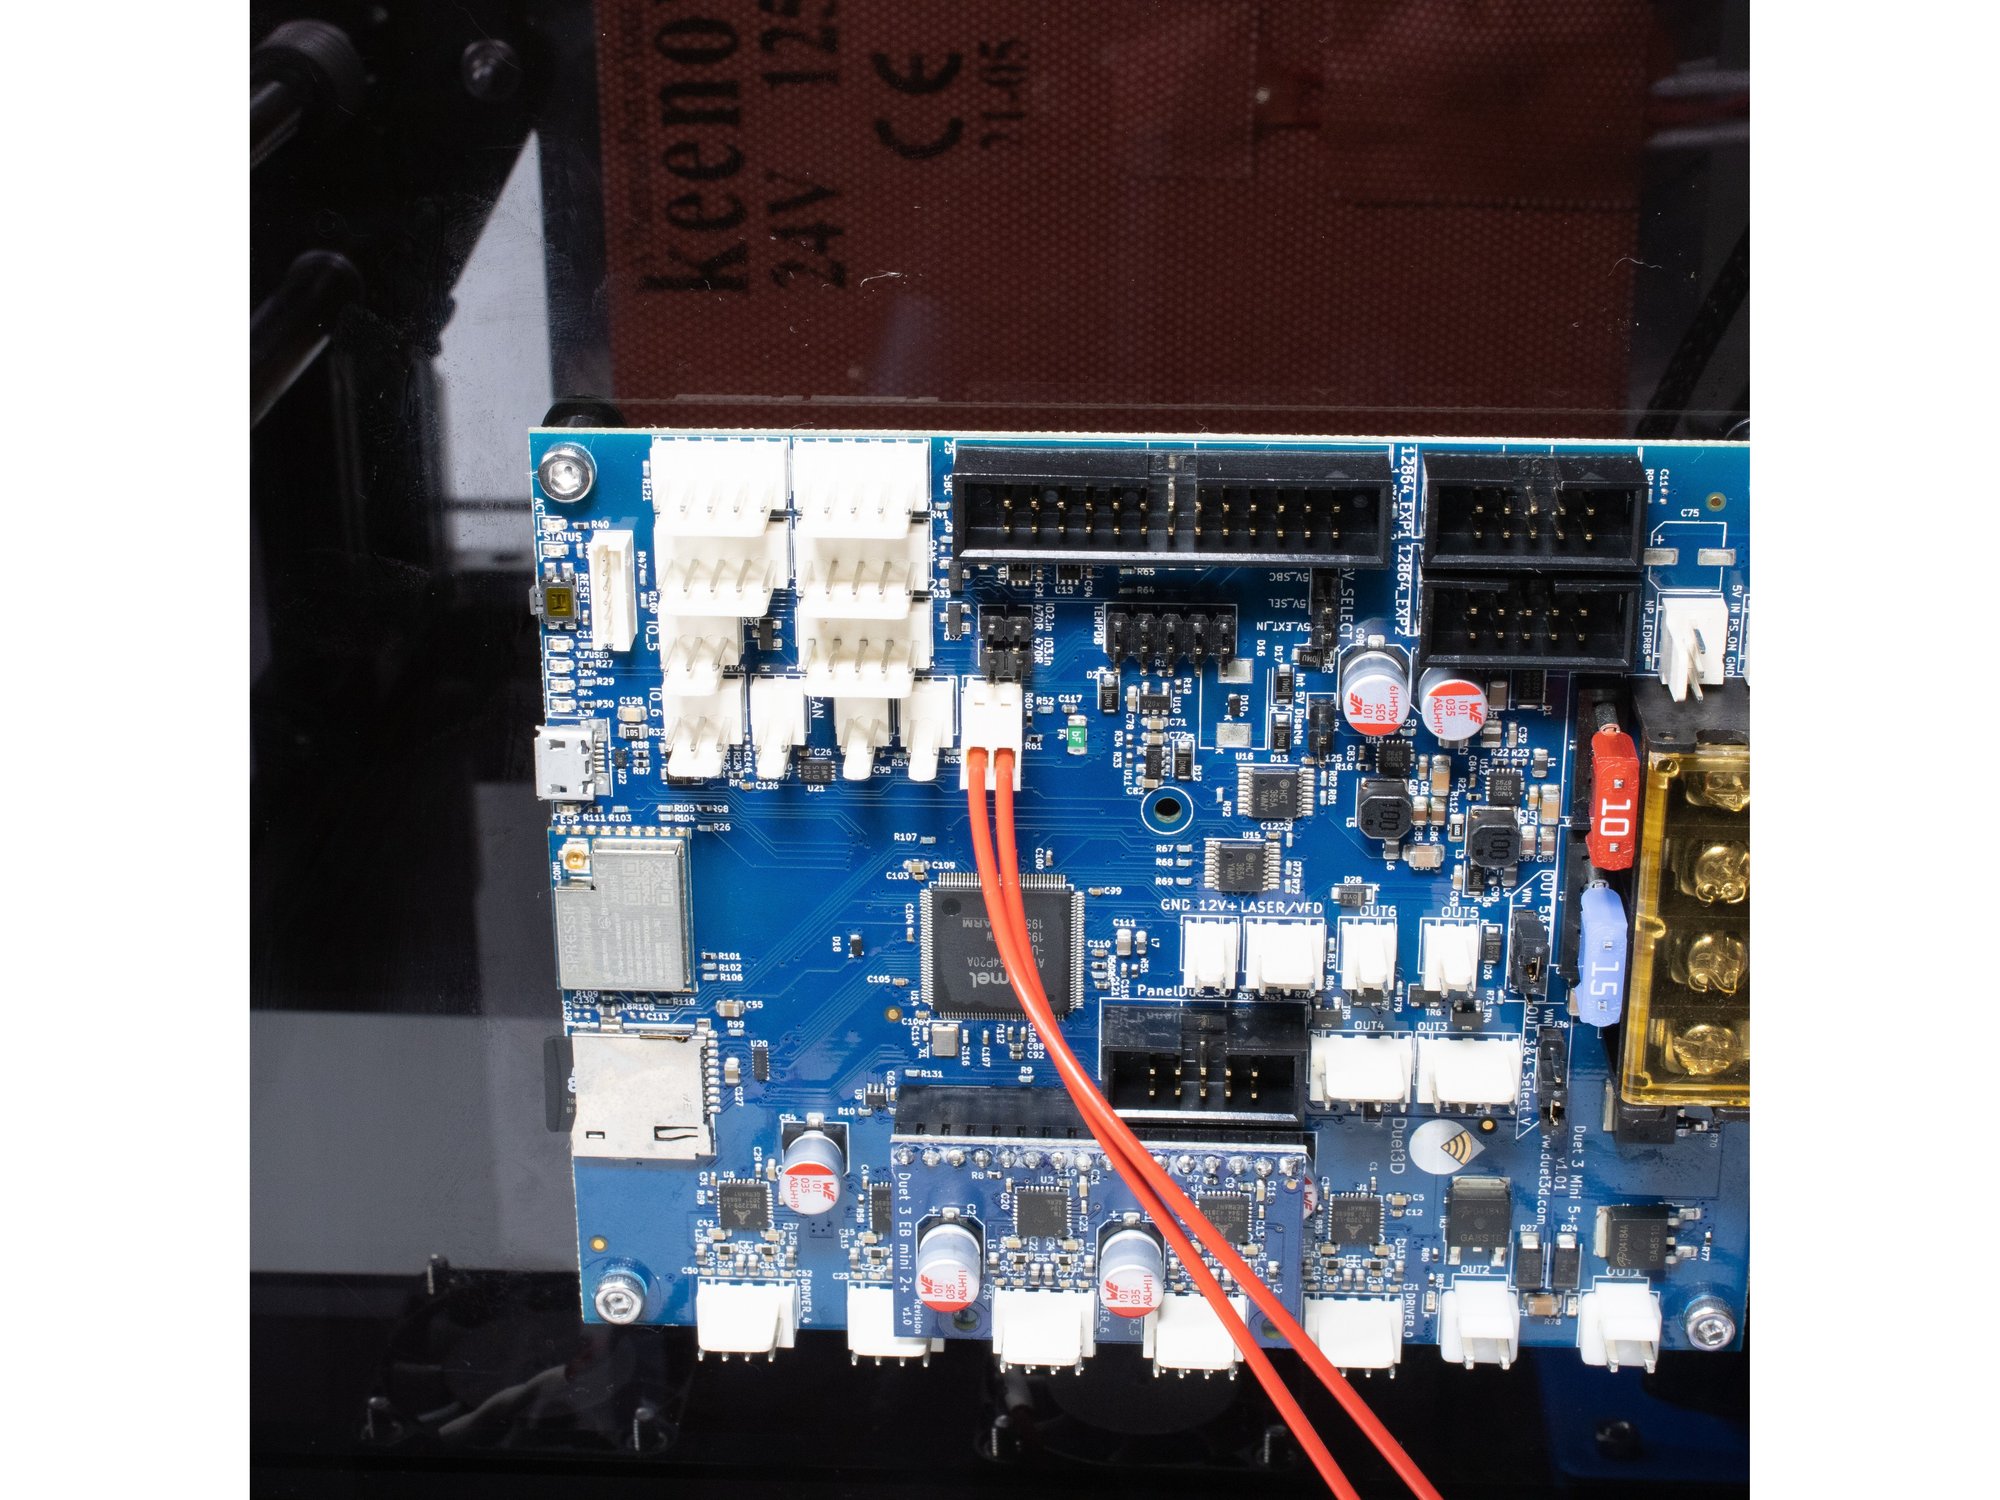
  • The bed thermistor connects to Temp 0.

Step 4 — Hotend Thermistor

  • The hotend thermistor plugs into temp1 .

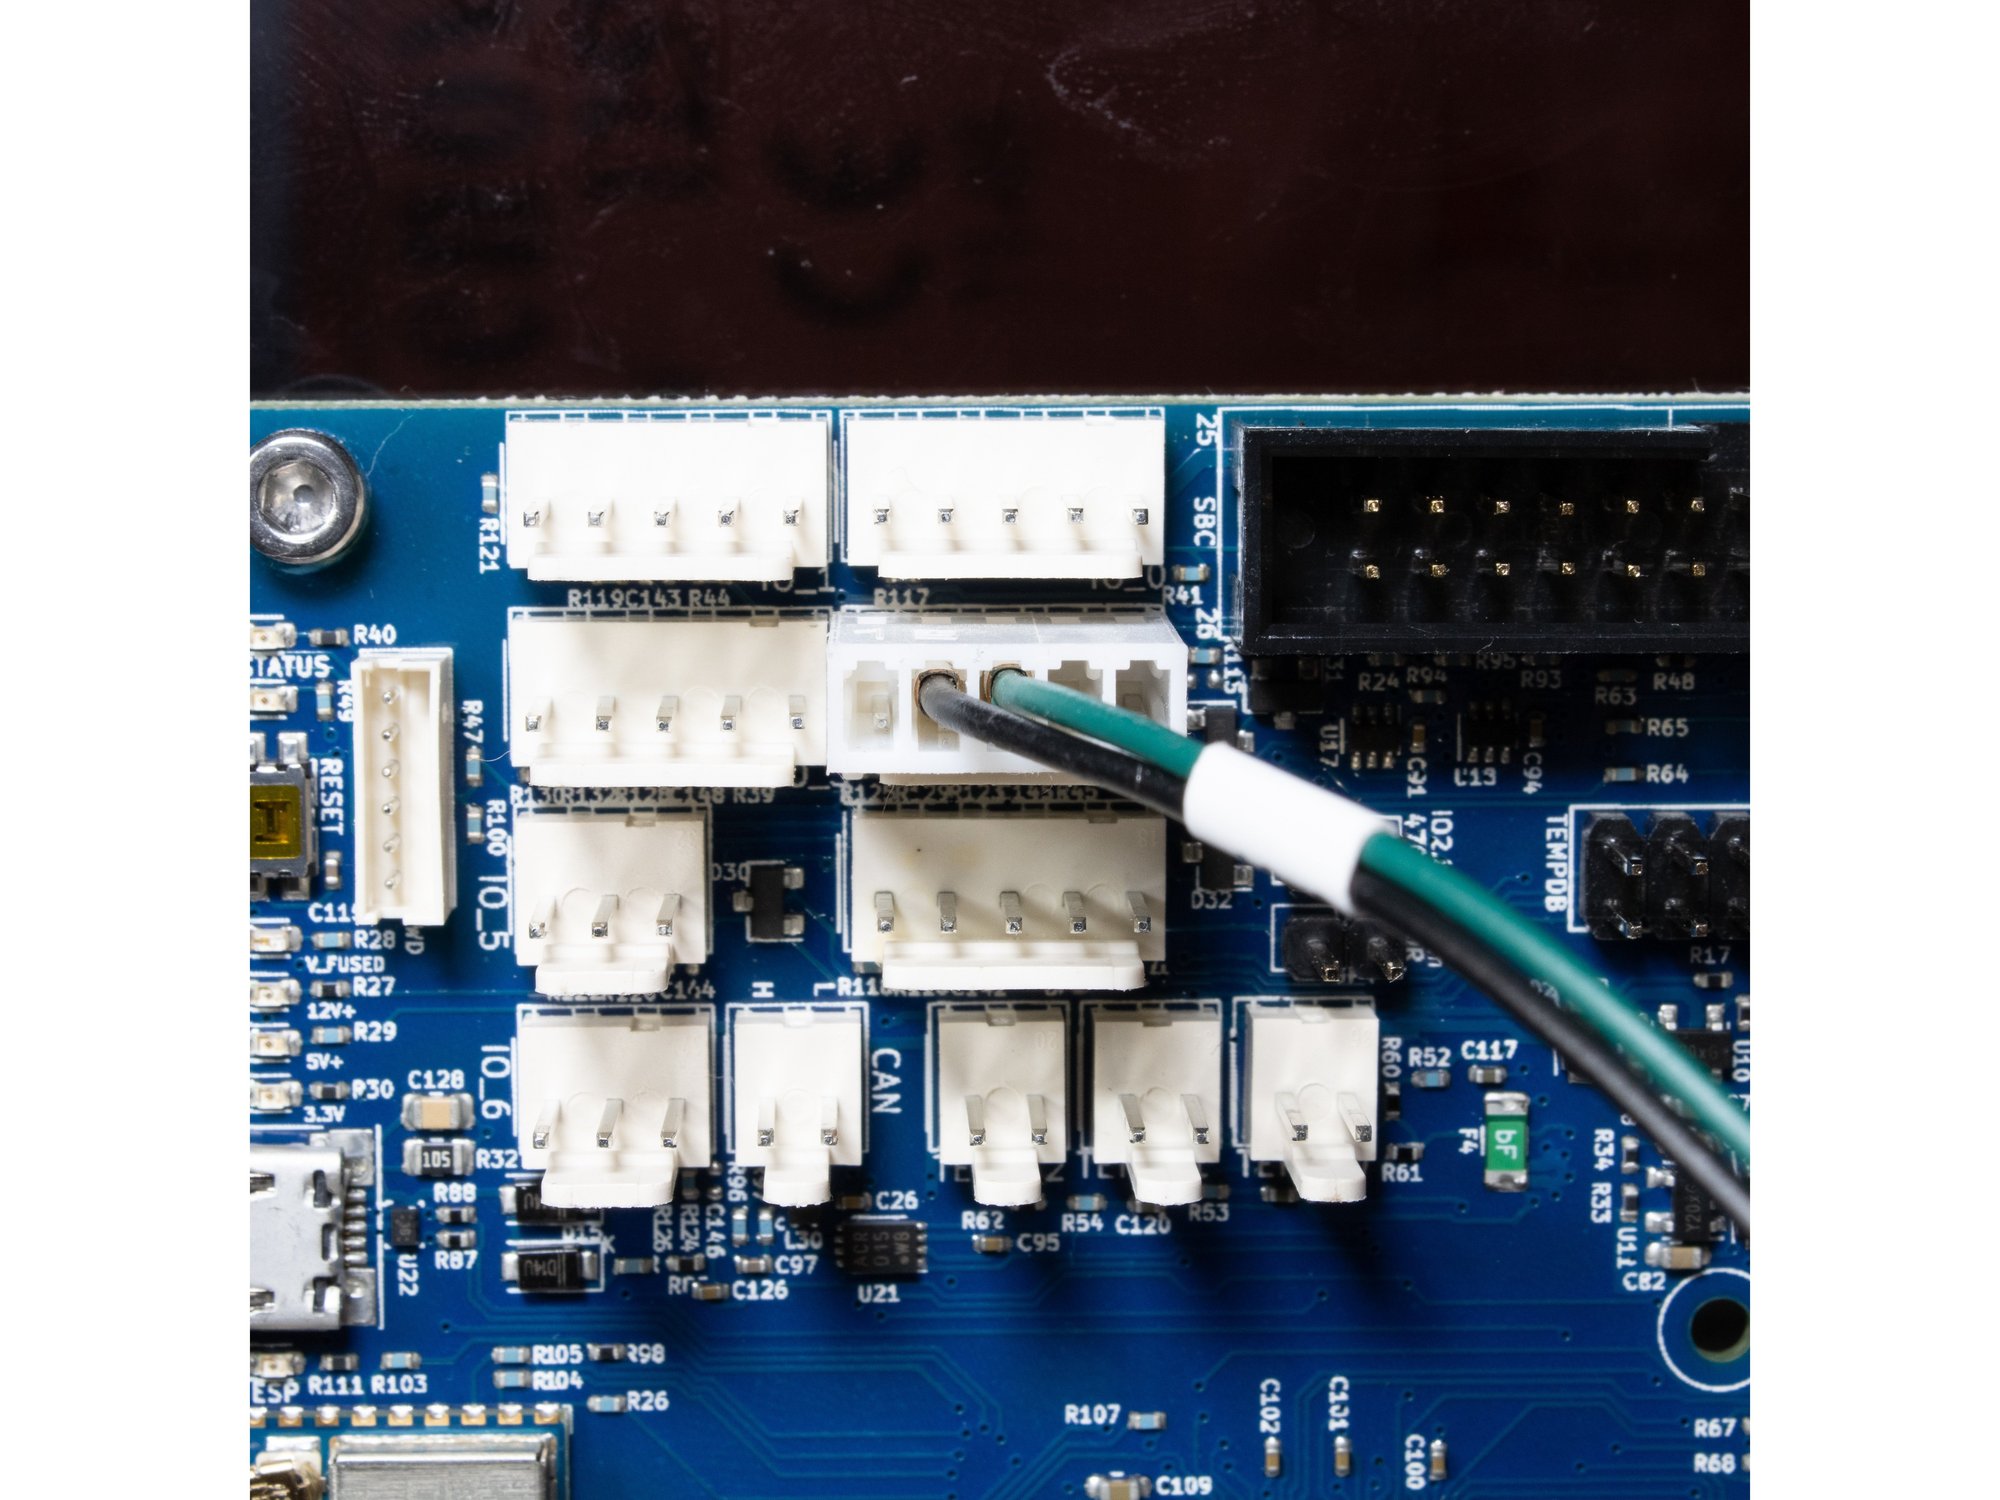
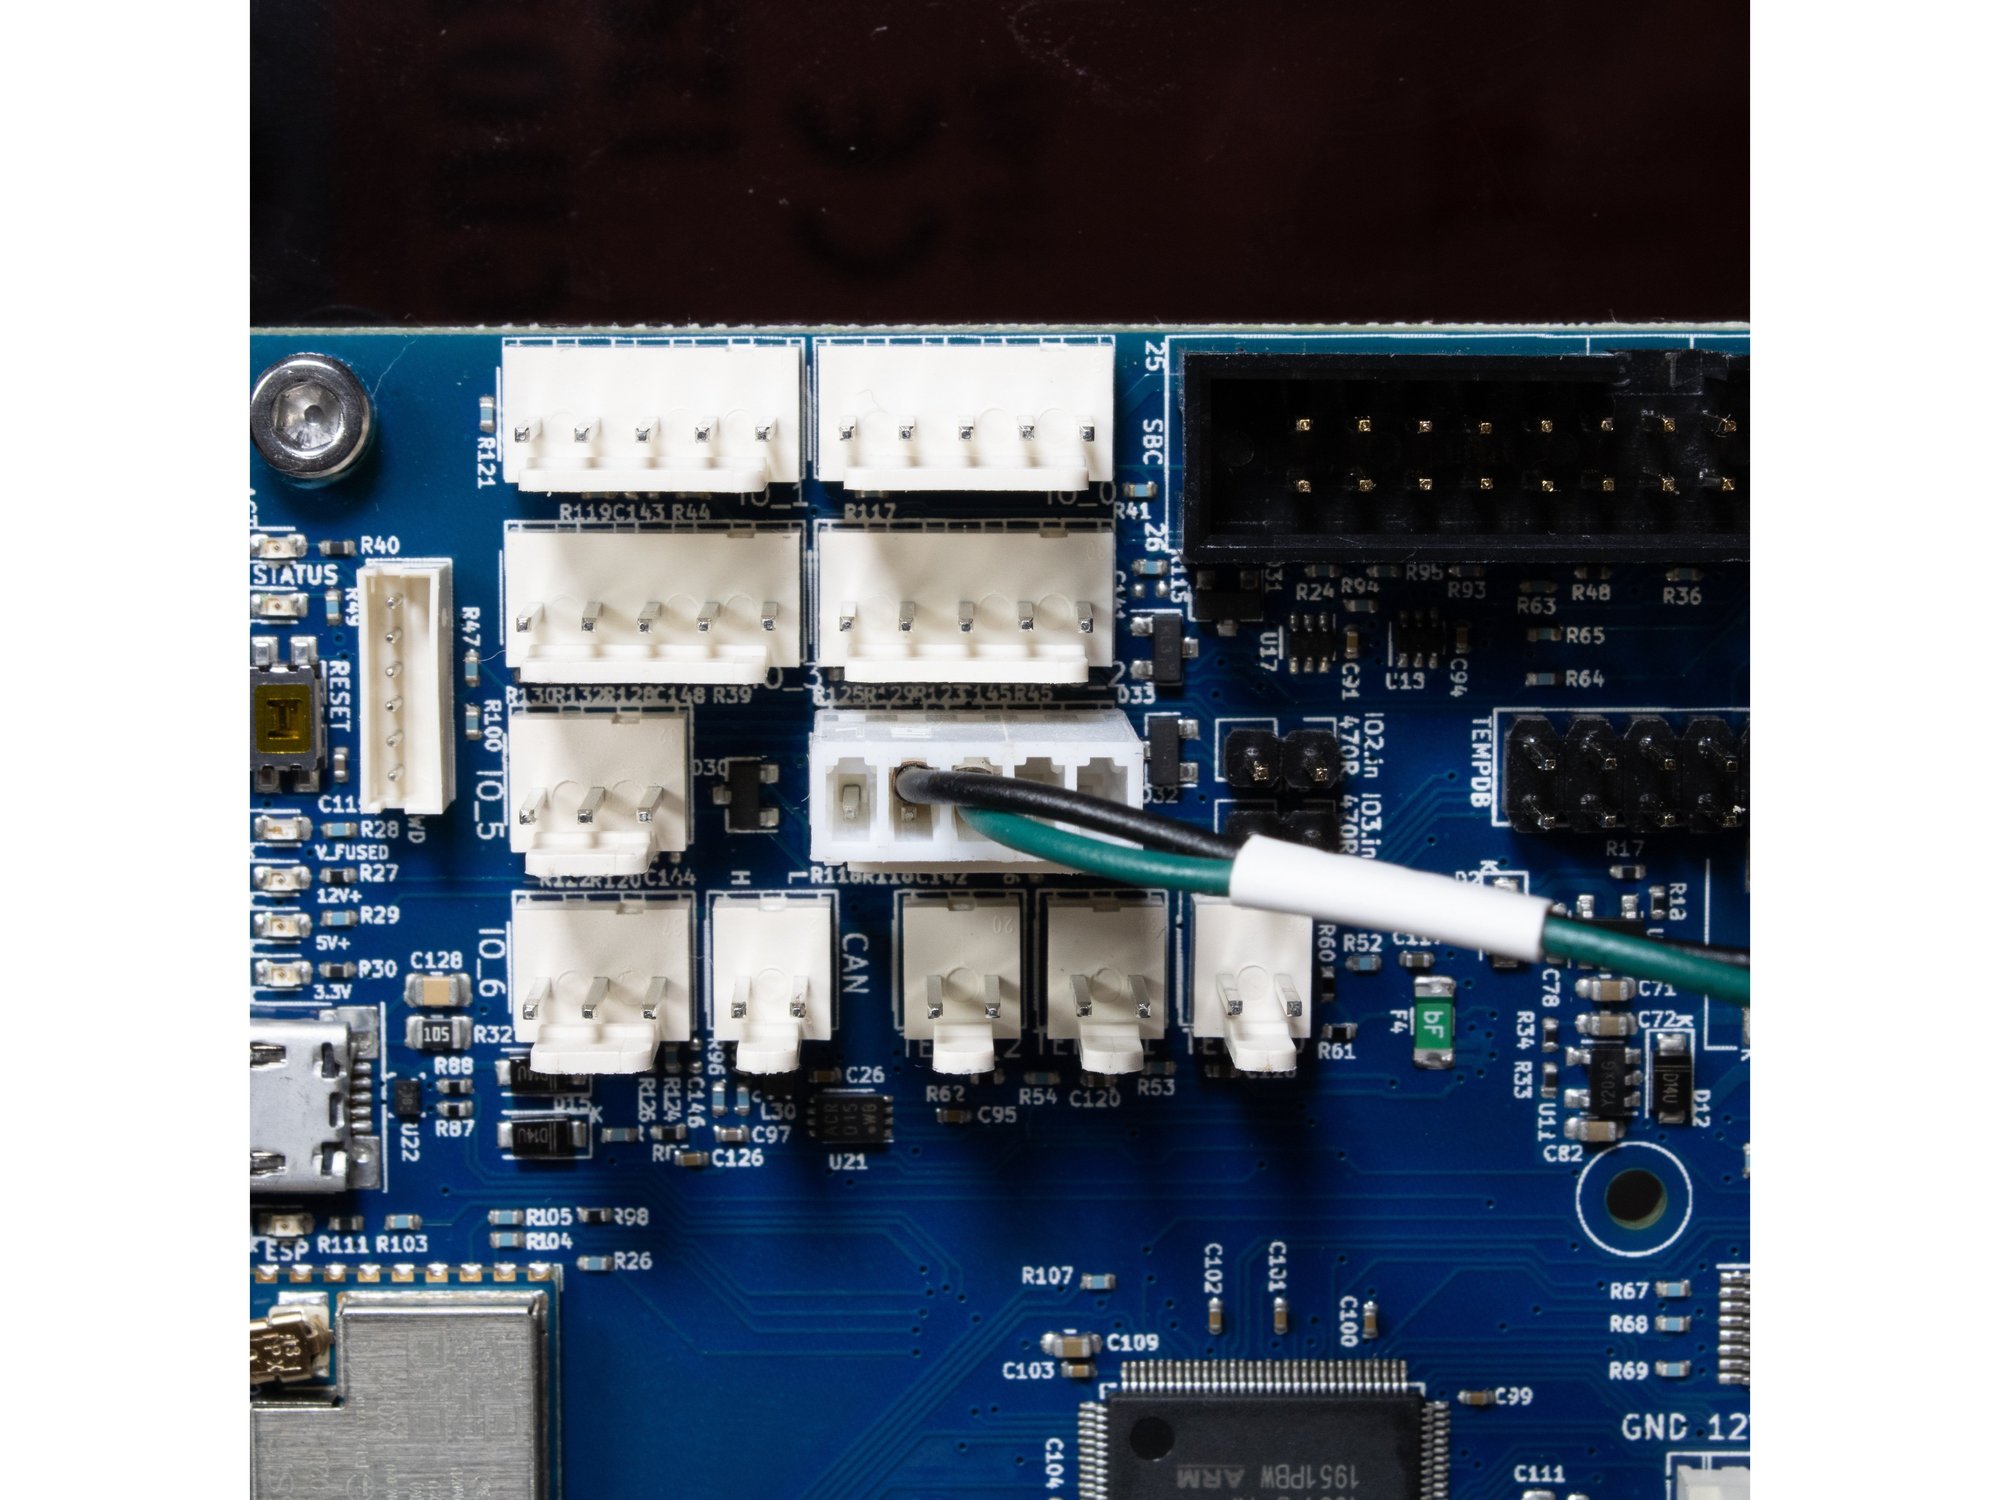
Step 5 — End Stops

  • Wire the X endstop to io.2.
  • Wire the Y endstop to io.4.

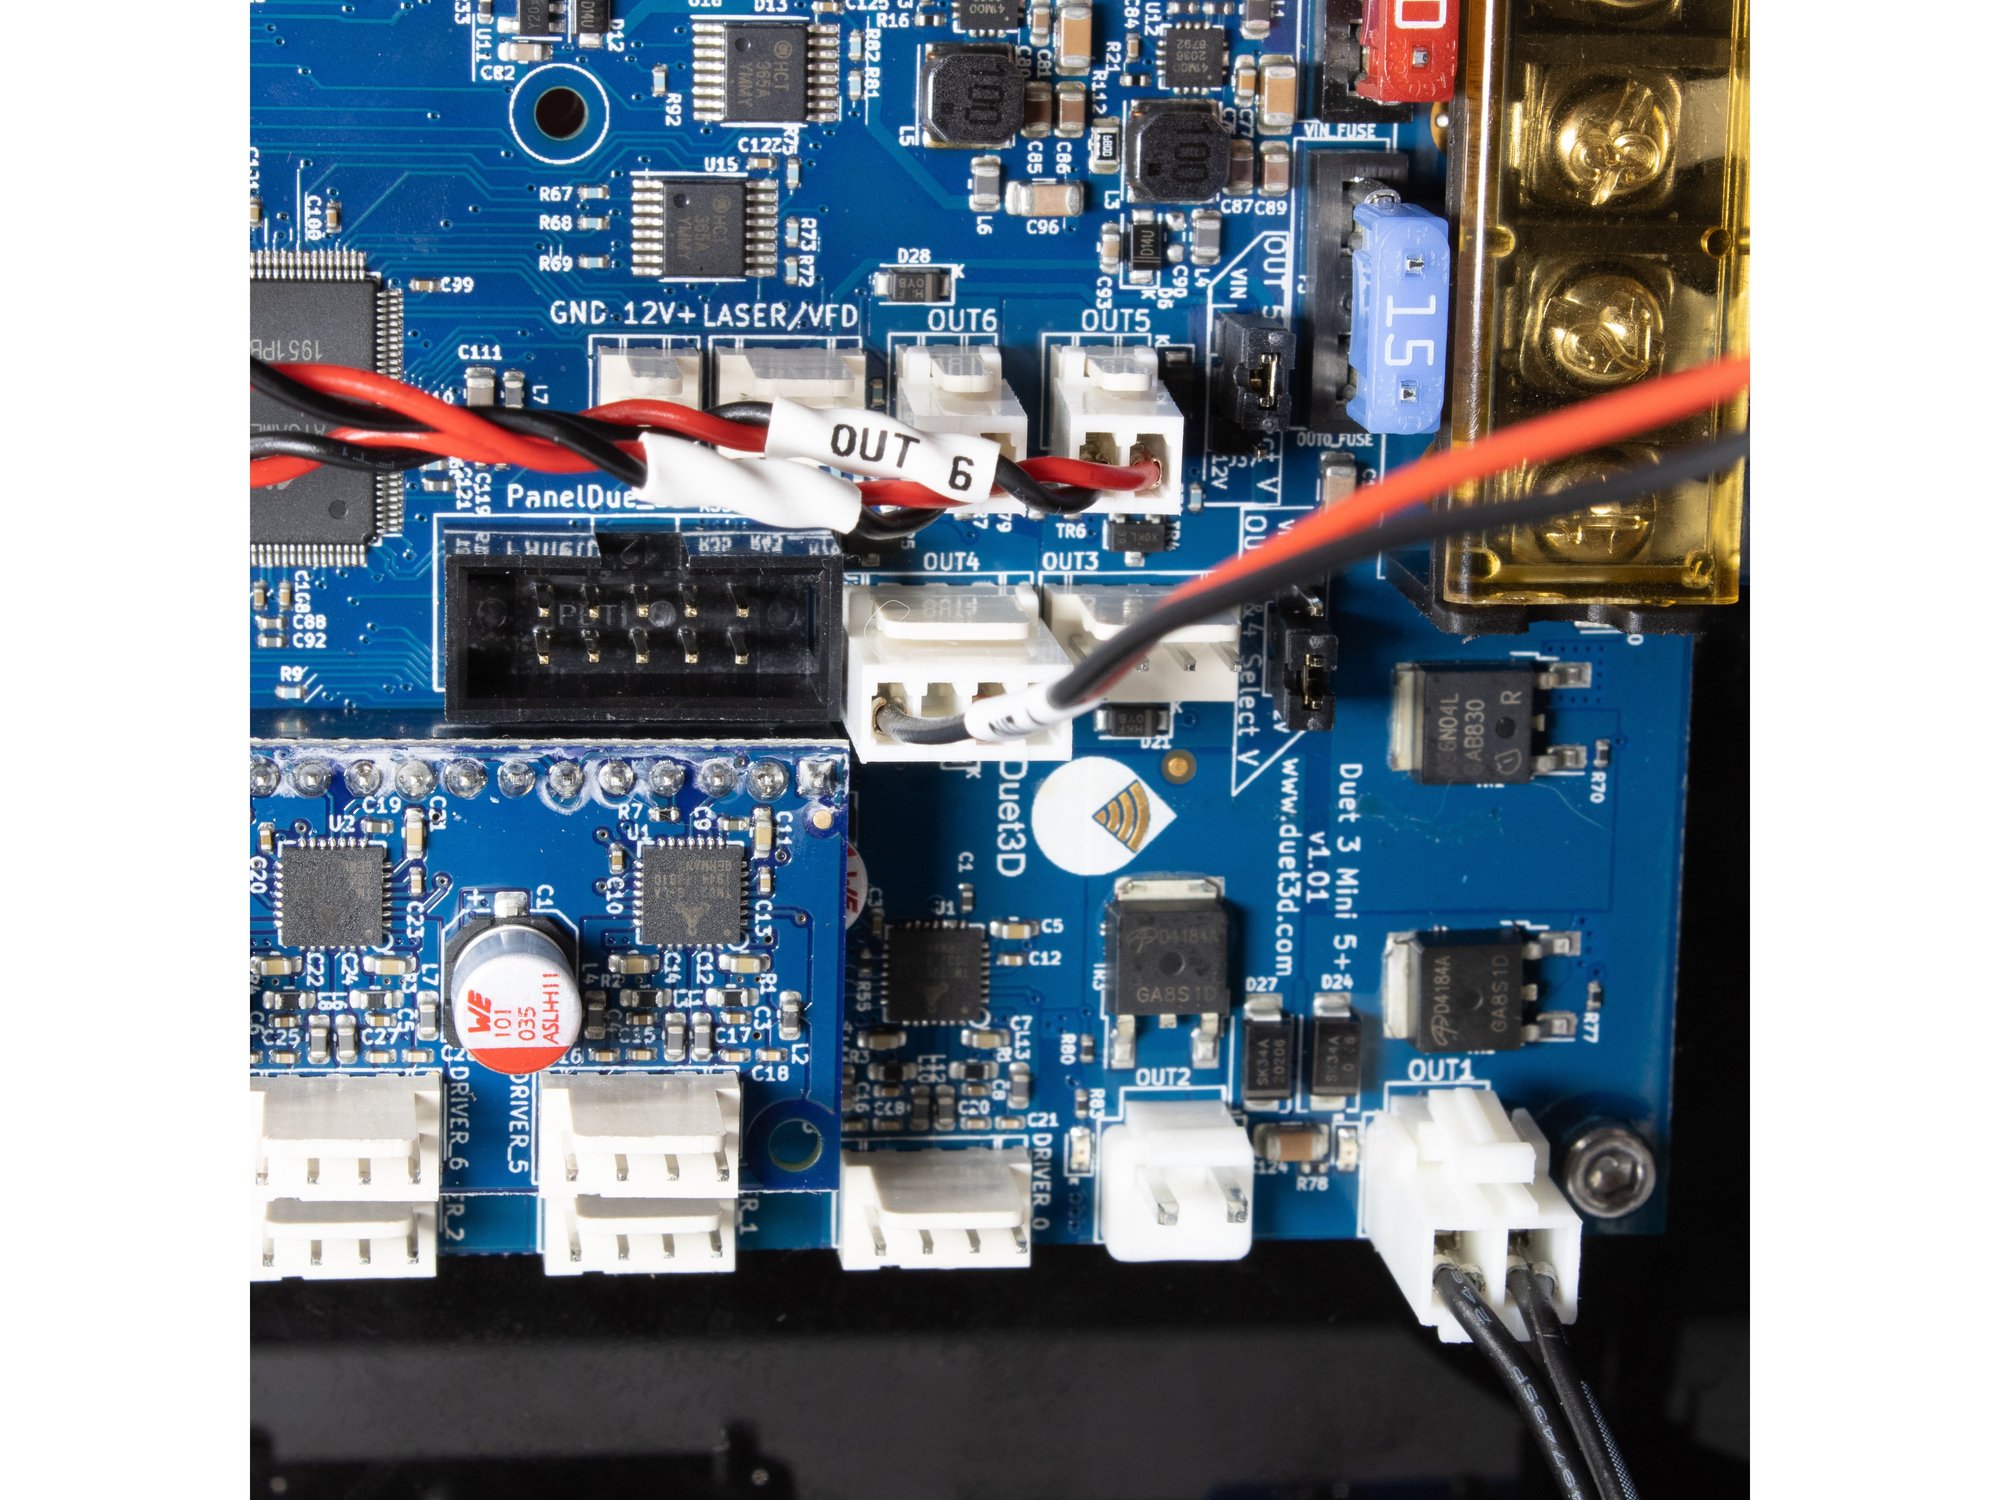
Step 6 — Fans

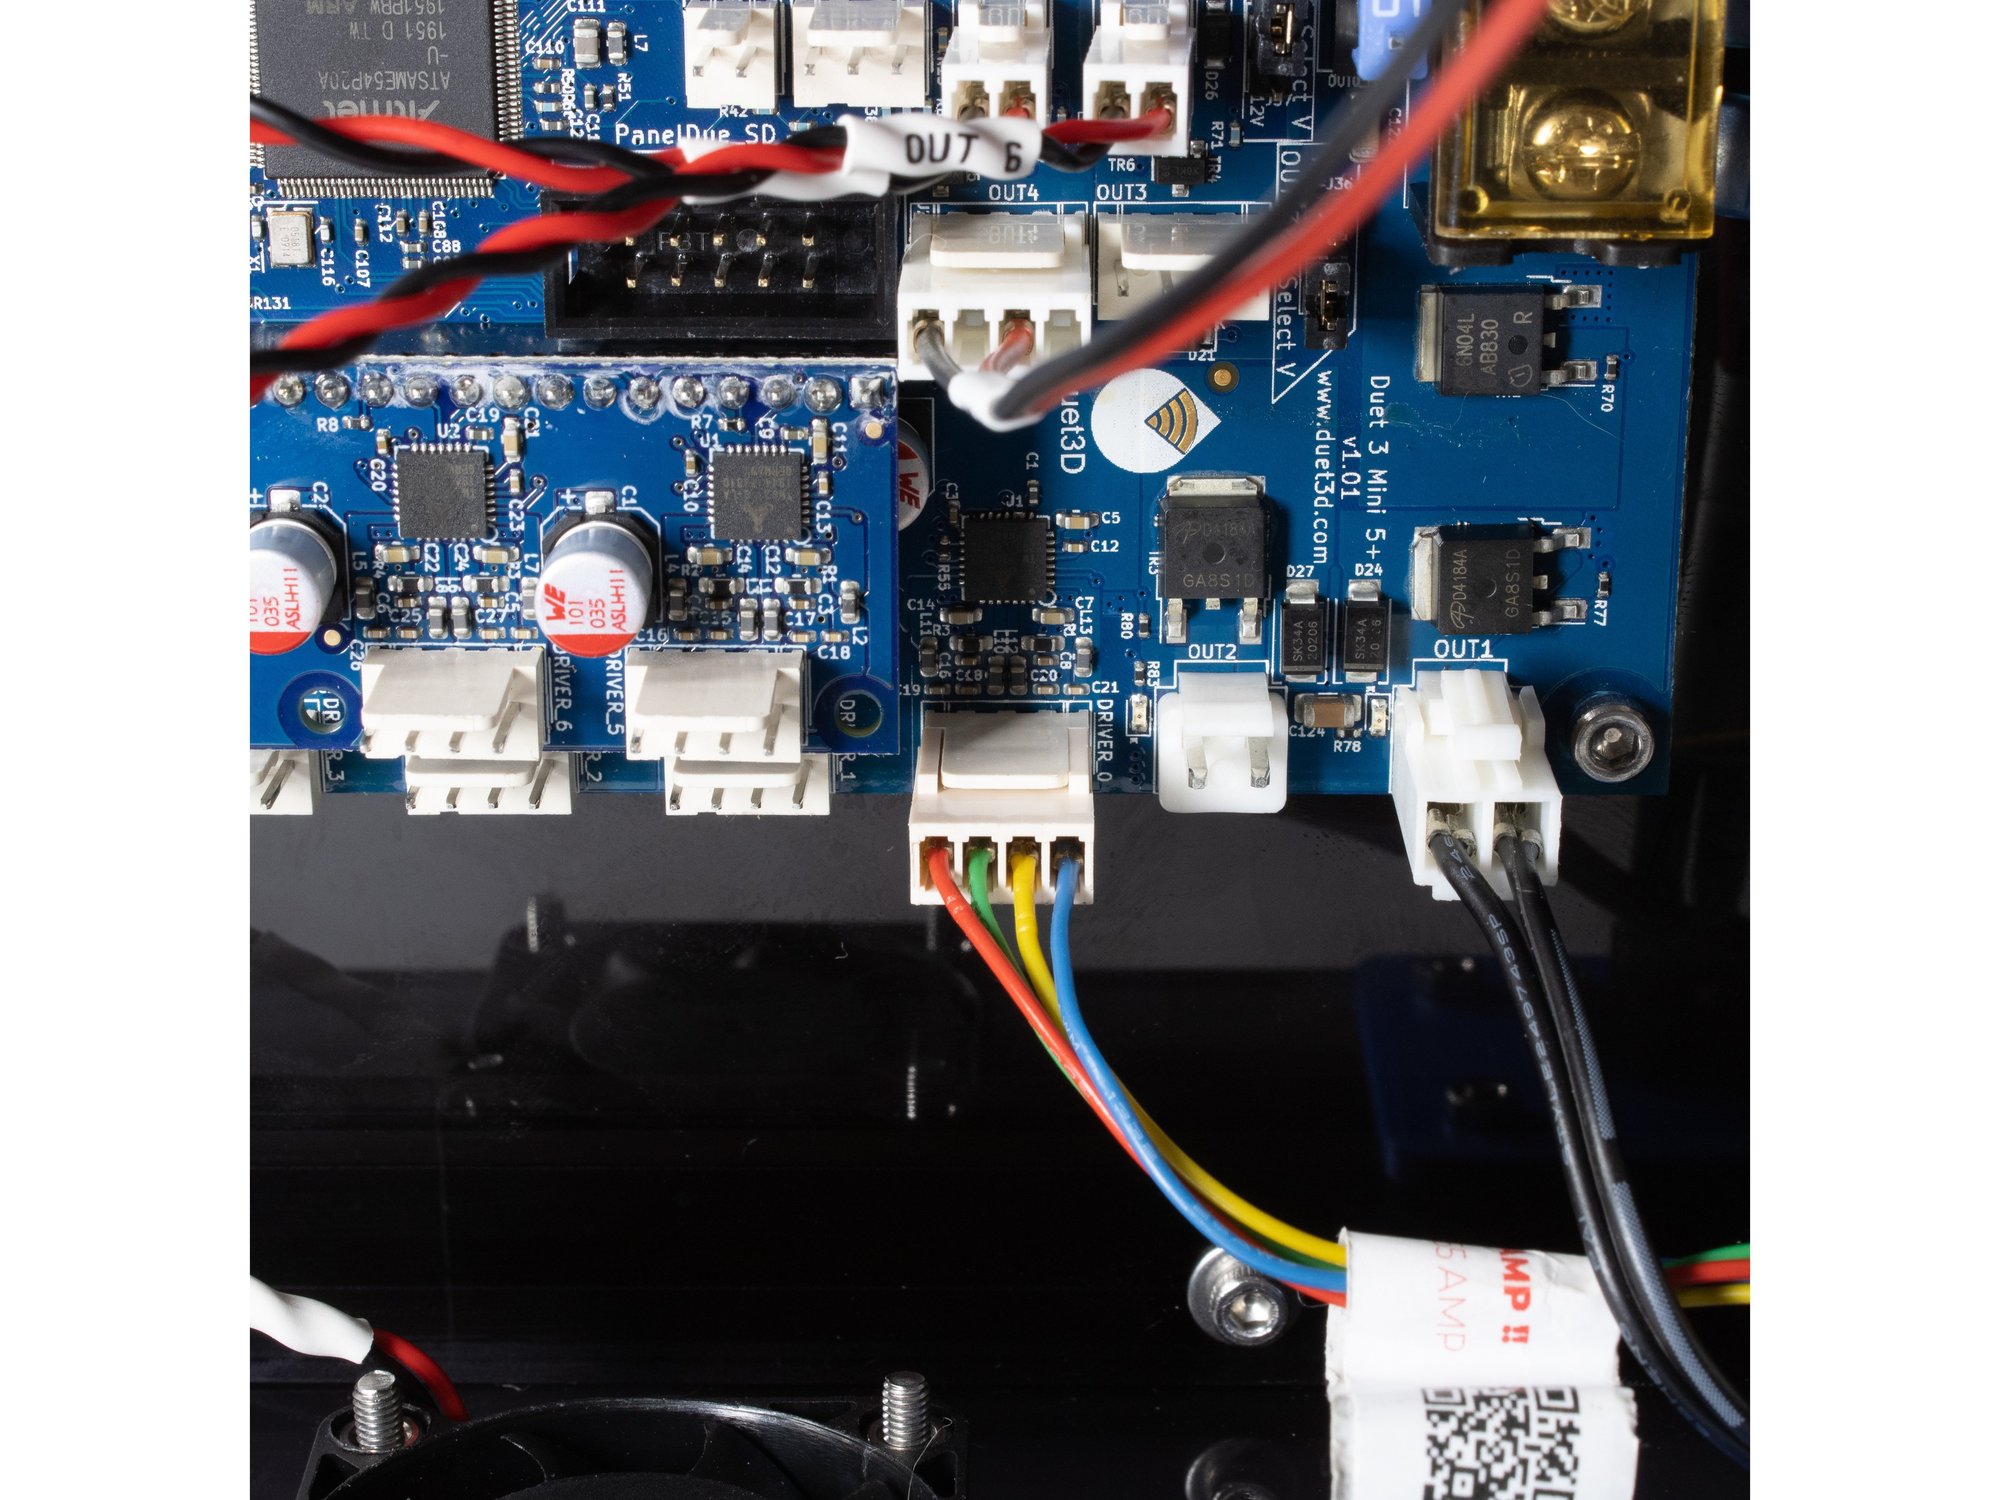
  • Wire the layer fan to out4.
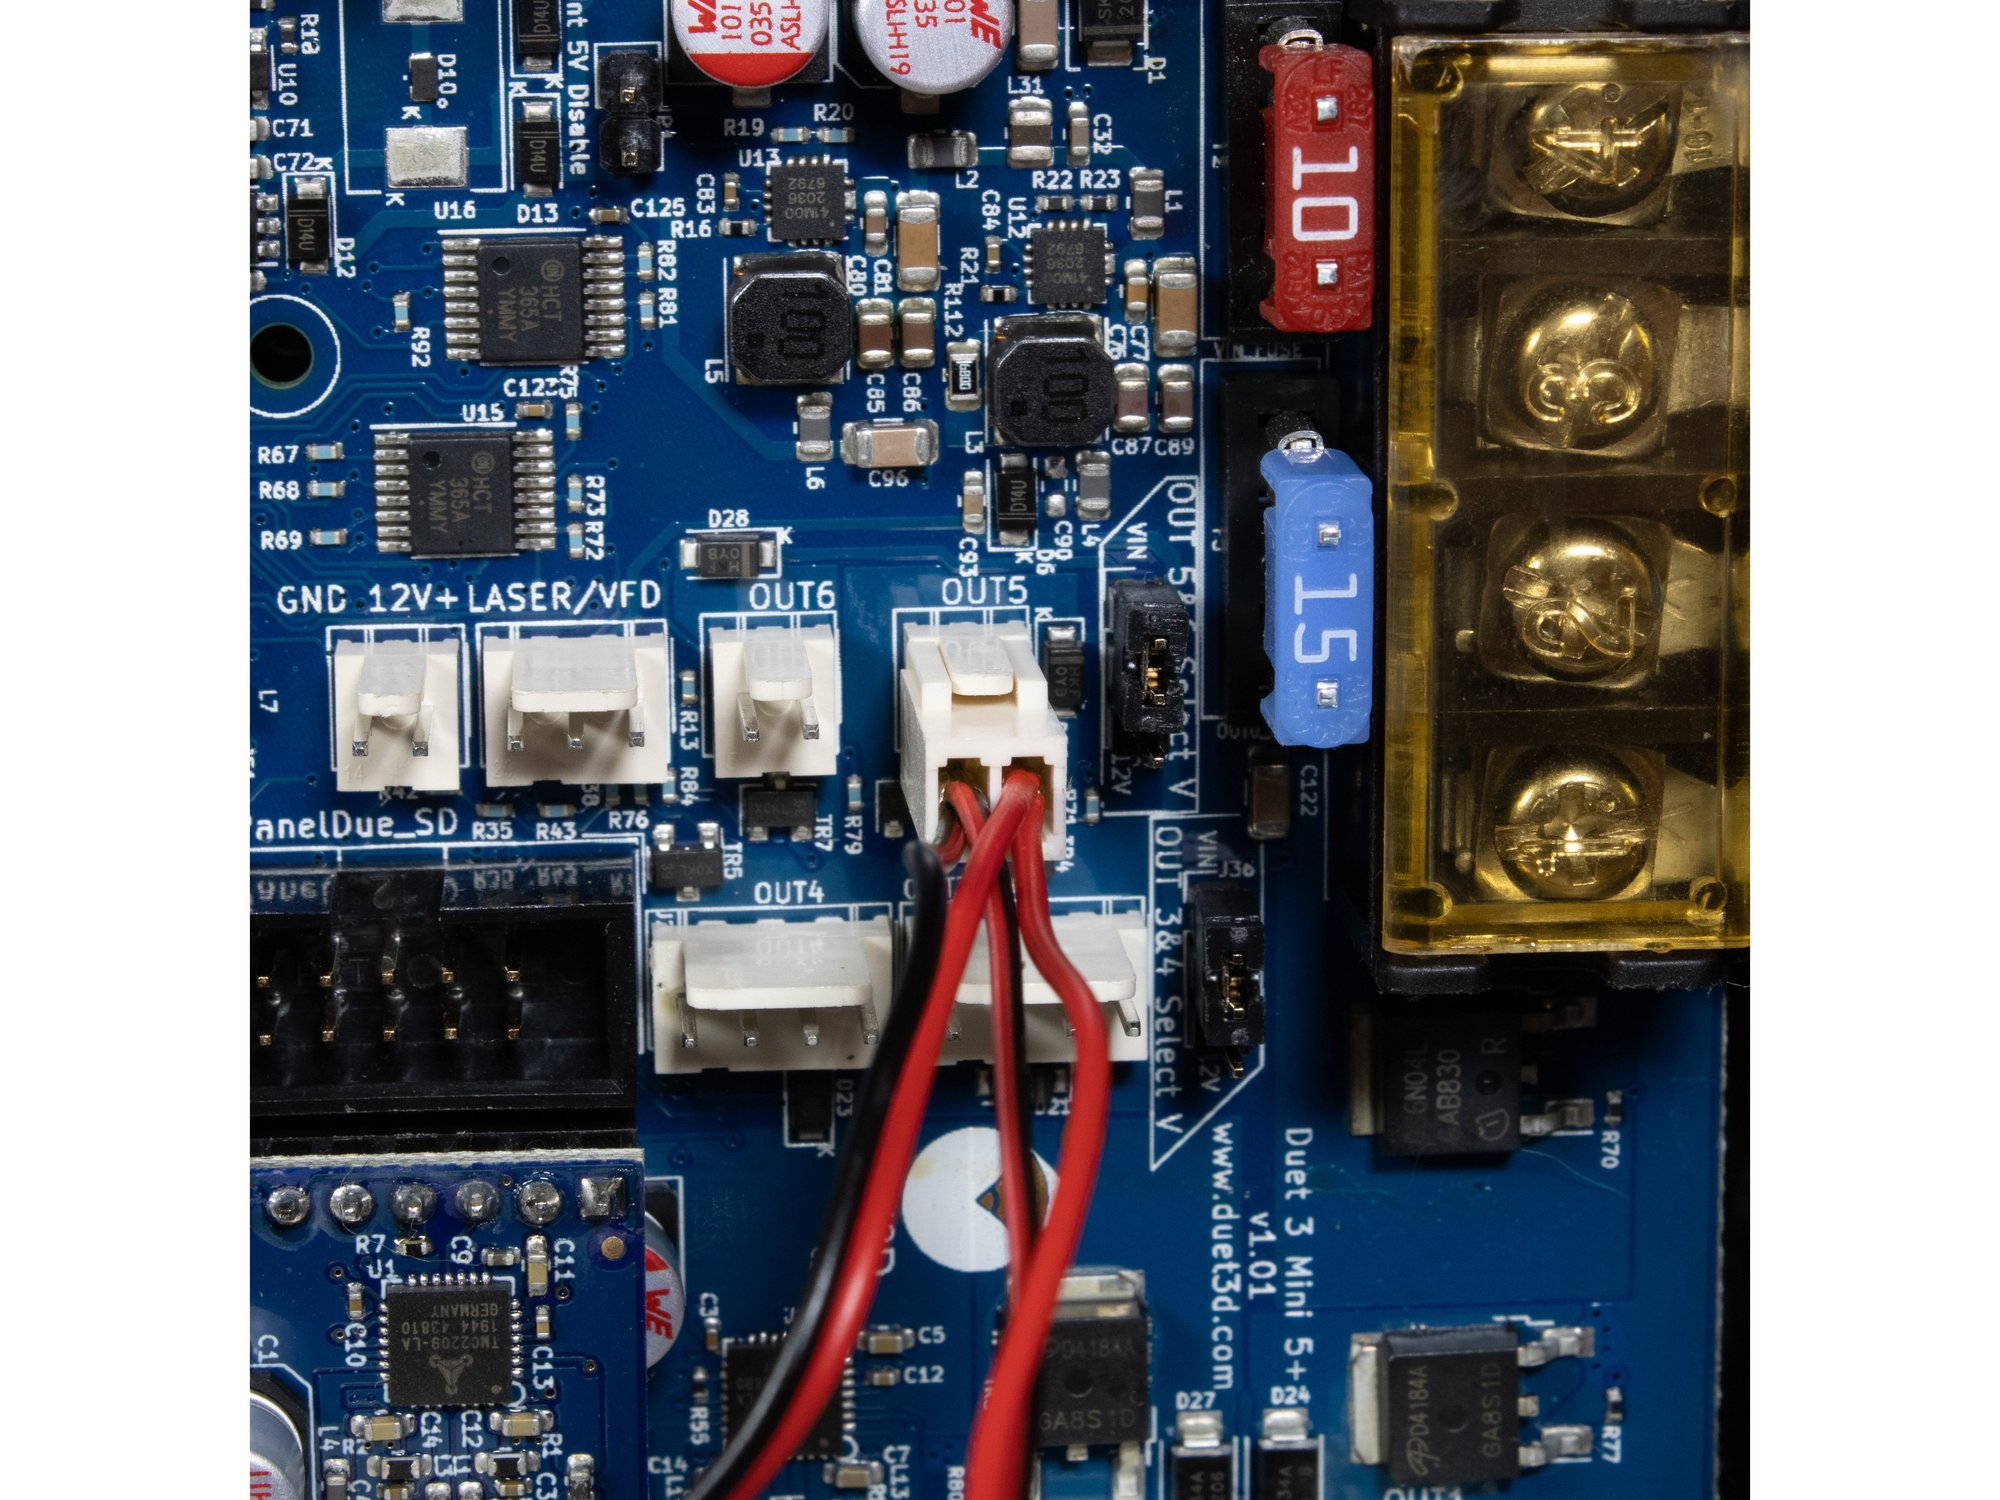
  • Panel fans are wired to out5.
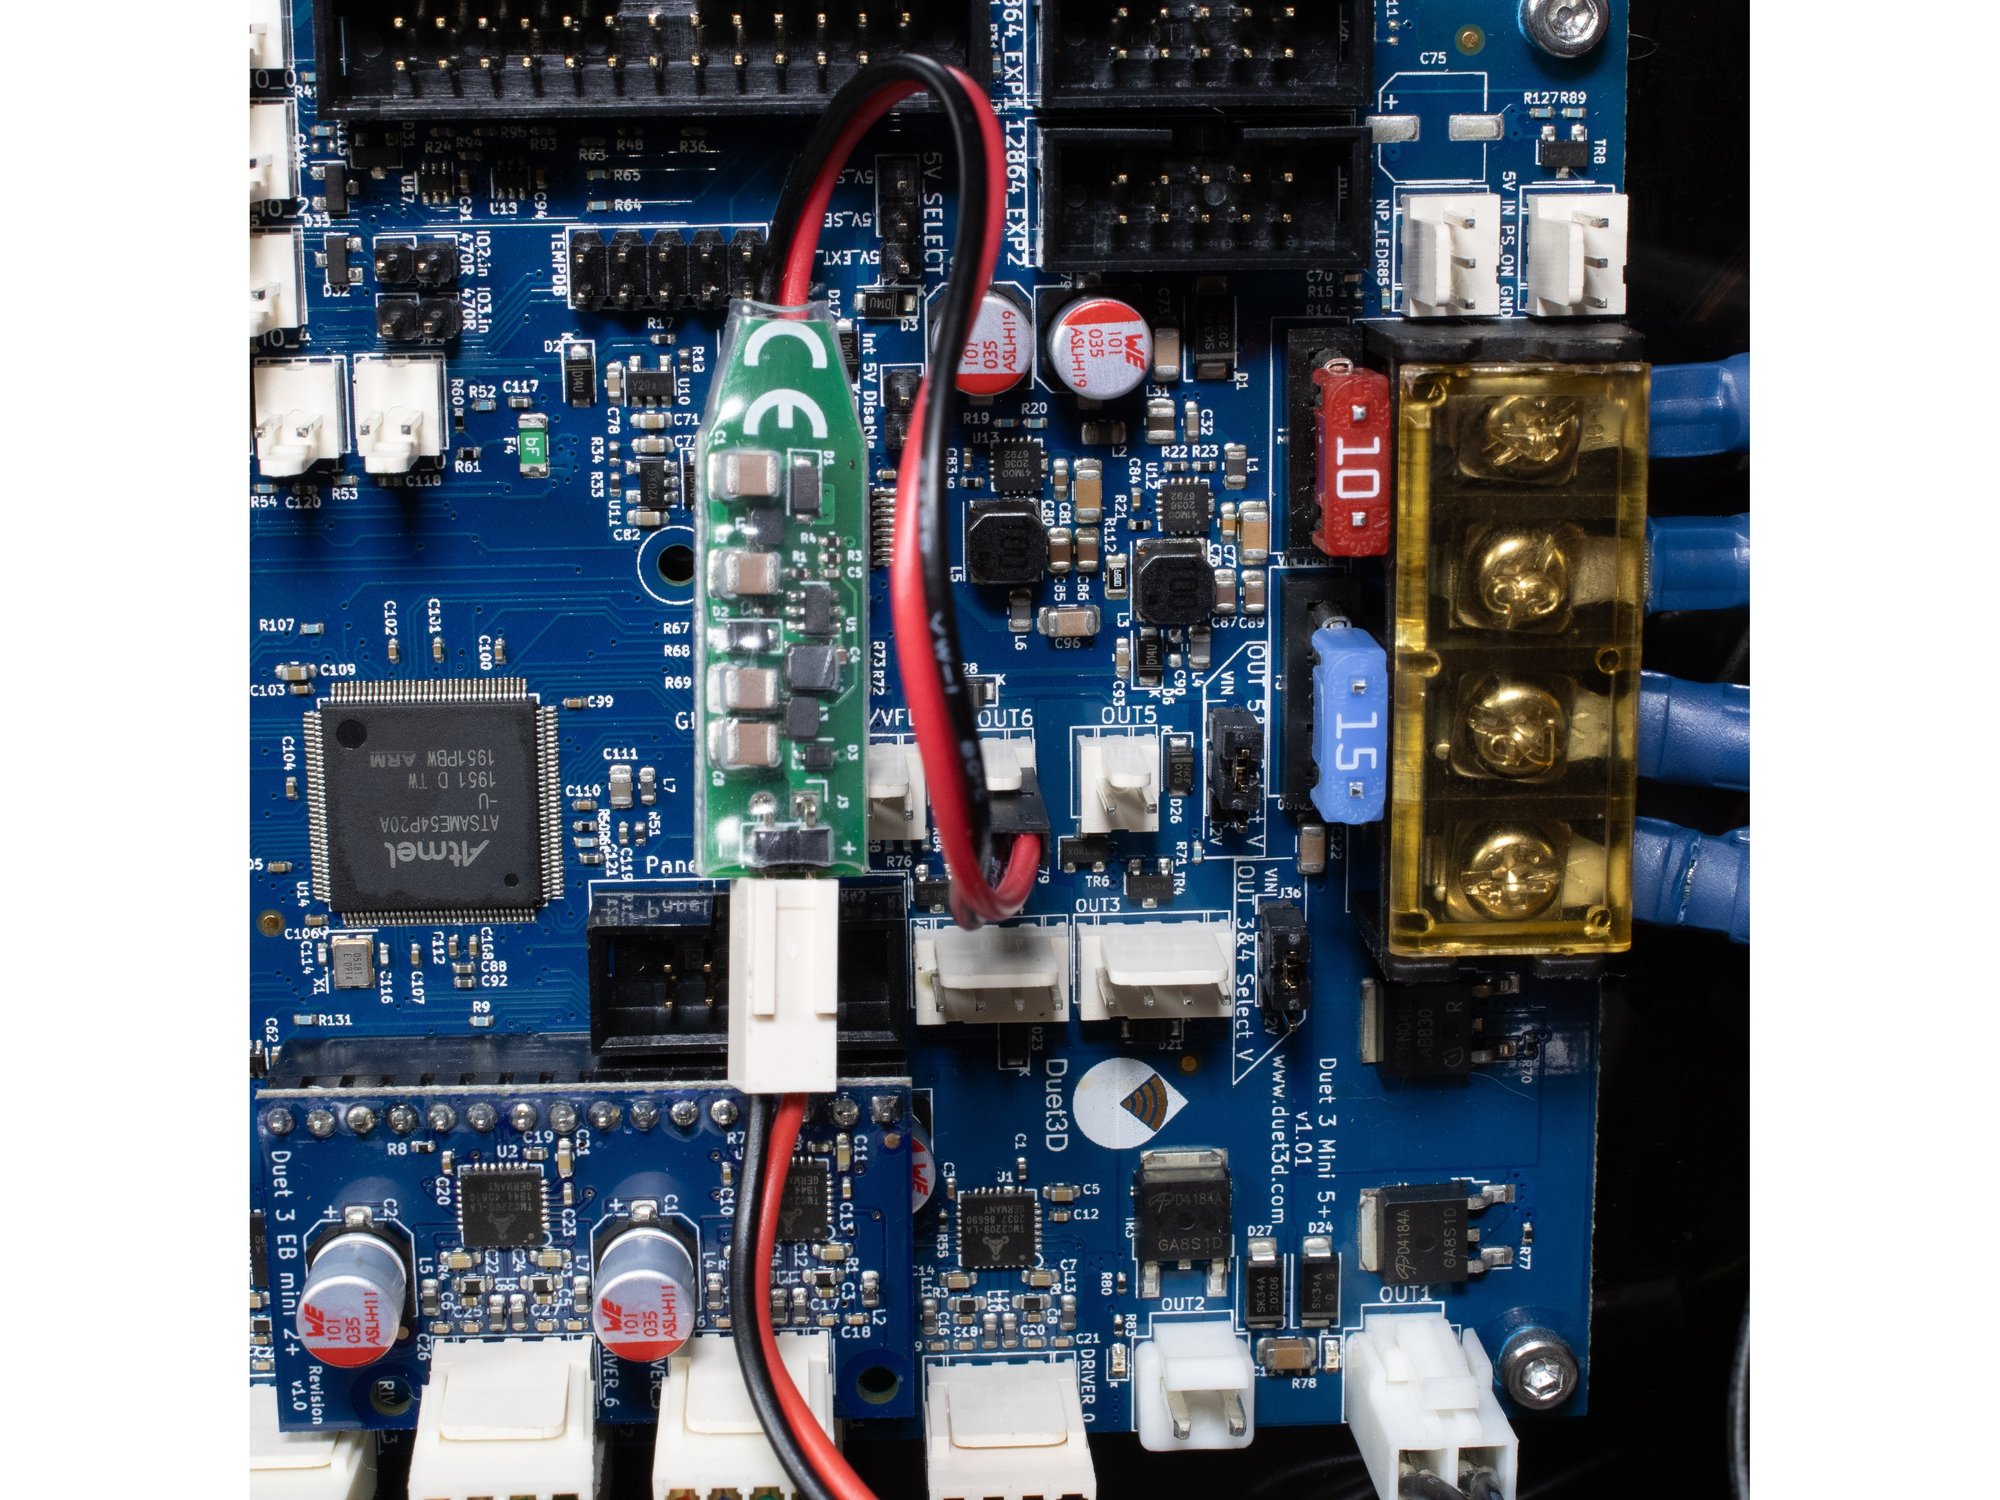
  • Hotend fan is wired to out6.
  • Caution If you are using the E3D Revo Micro, your hotend fan must use the included 24v -> 5v buck converter.

Step 7 — Hotend Heater

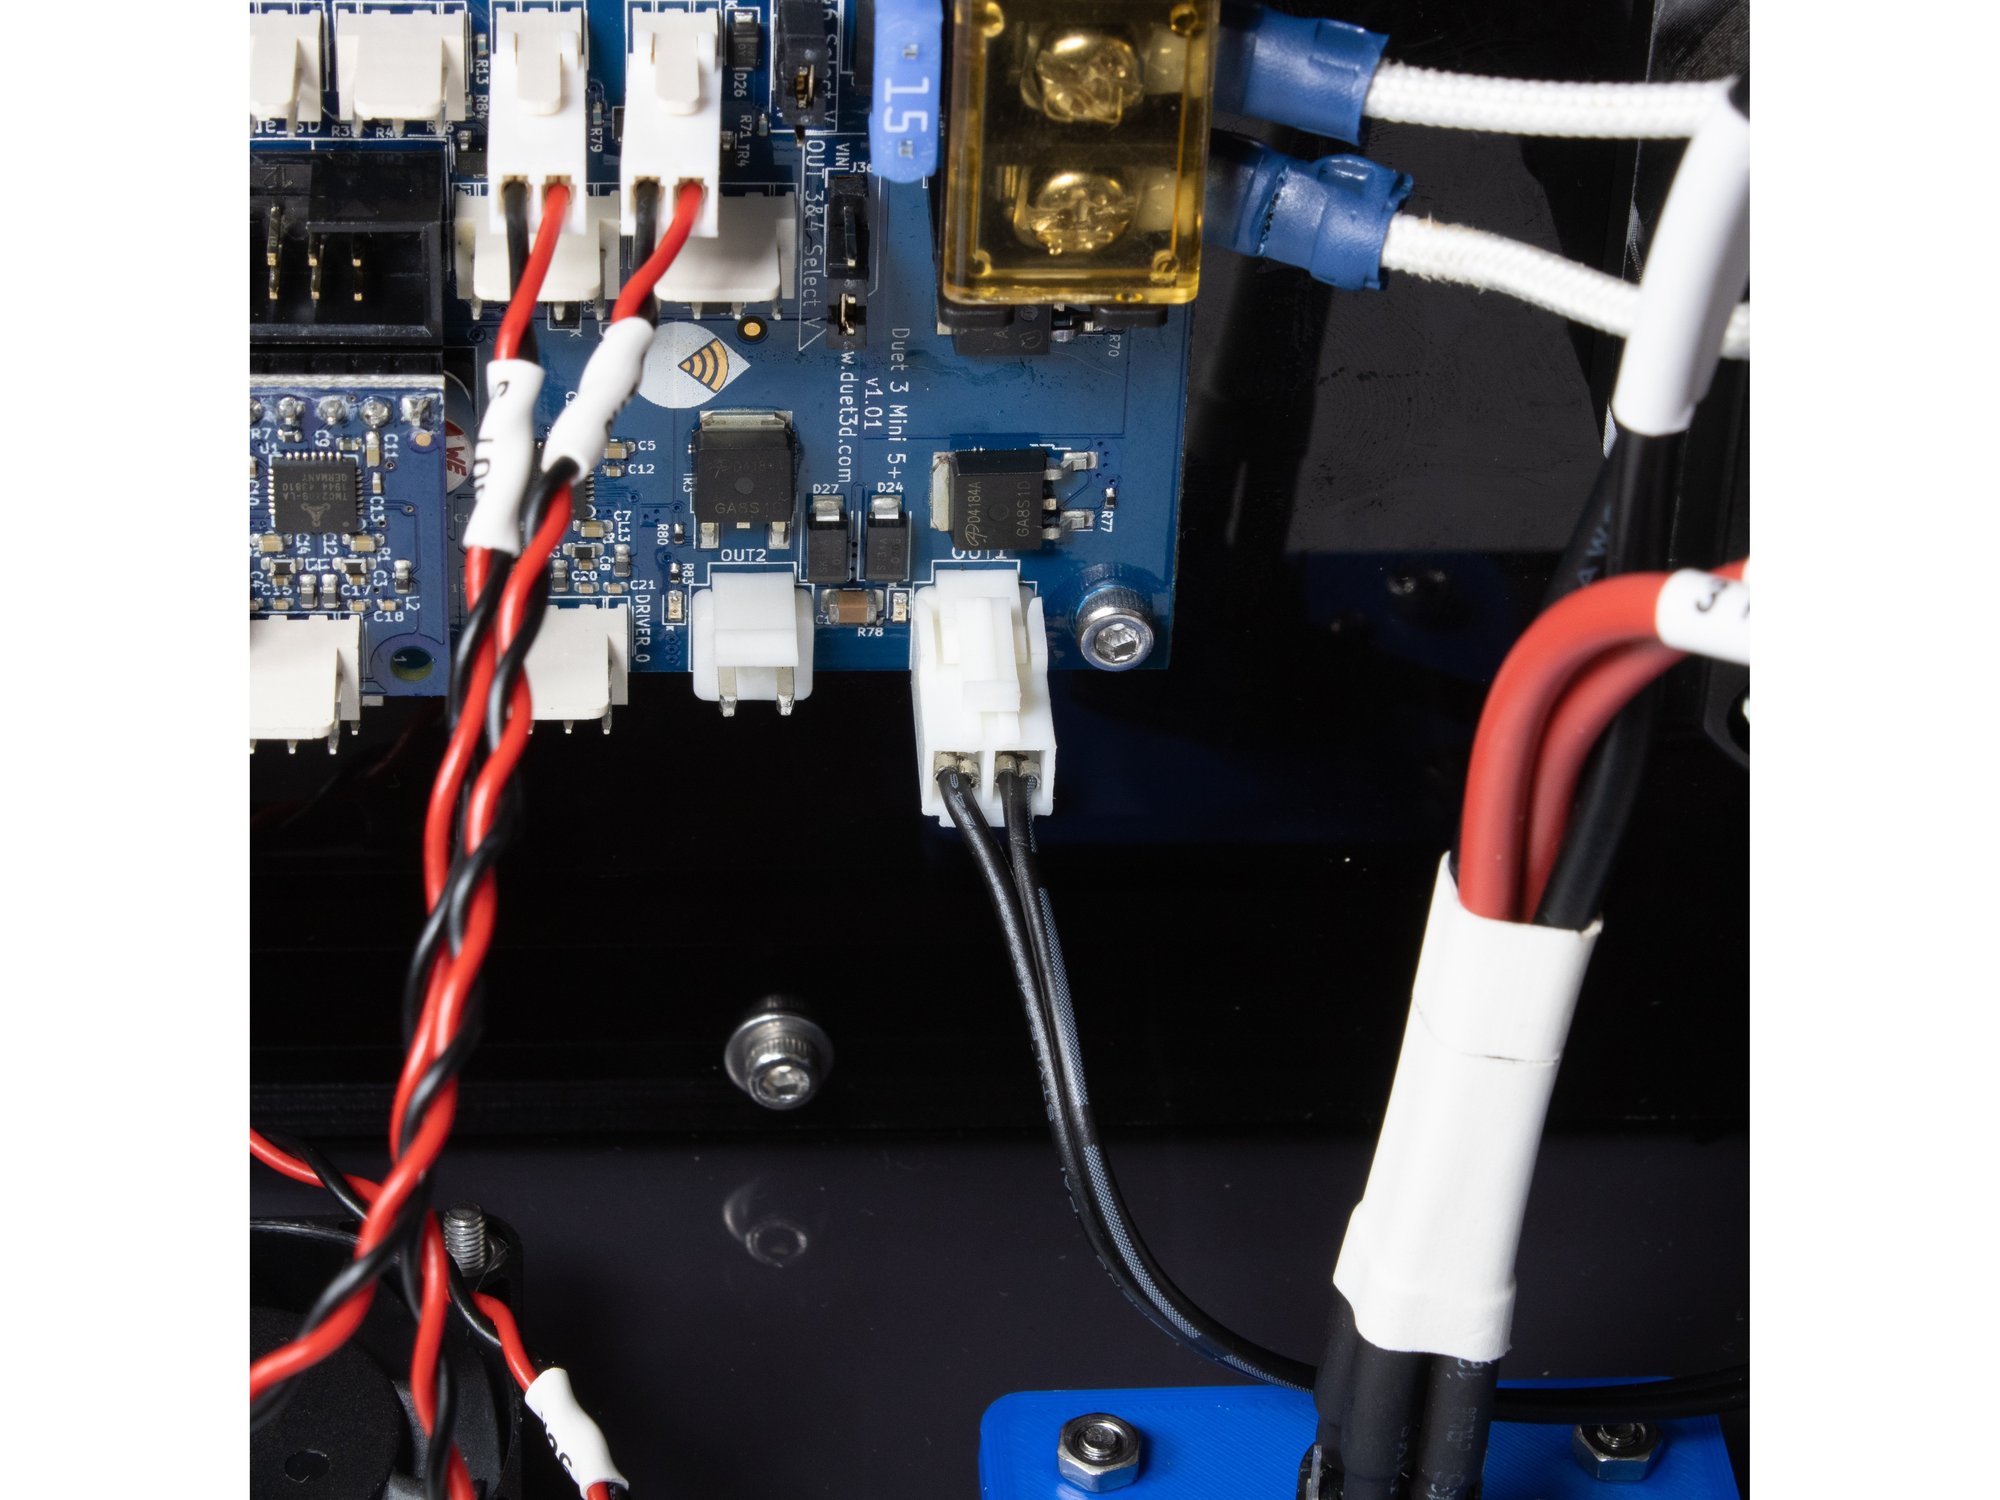
  • The hotend heater is wired to out1.

Step 8 — BLTouch

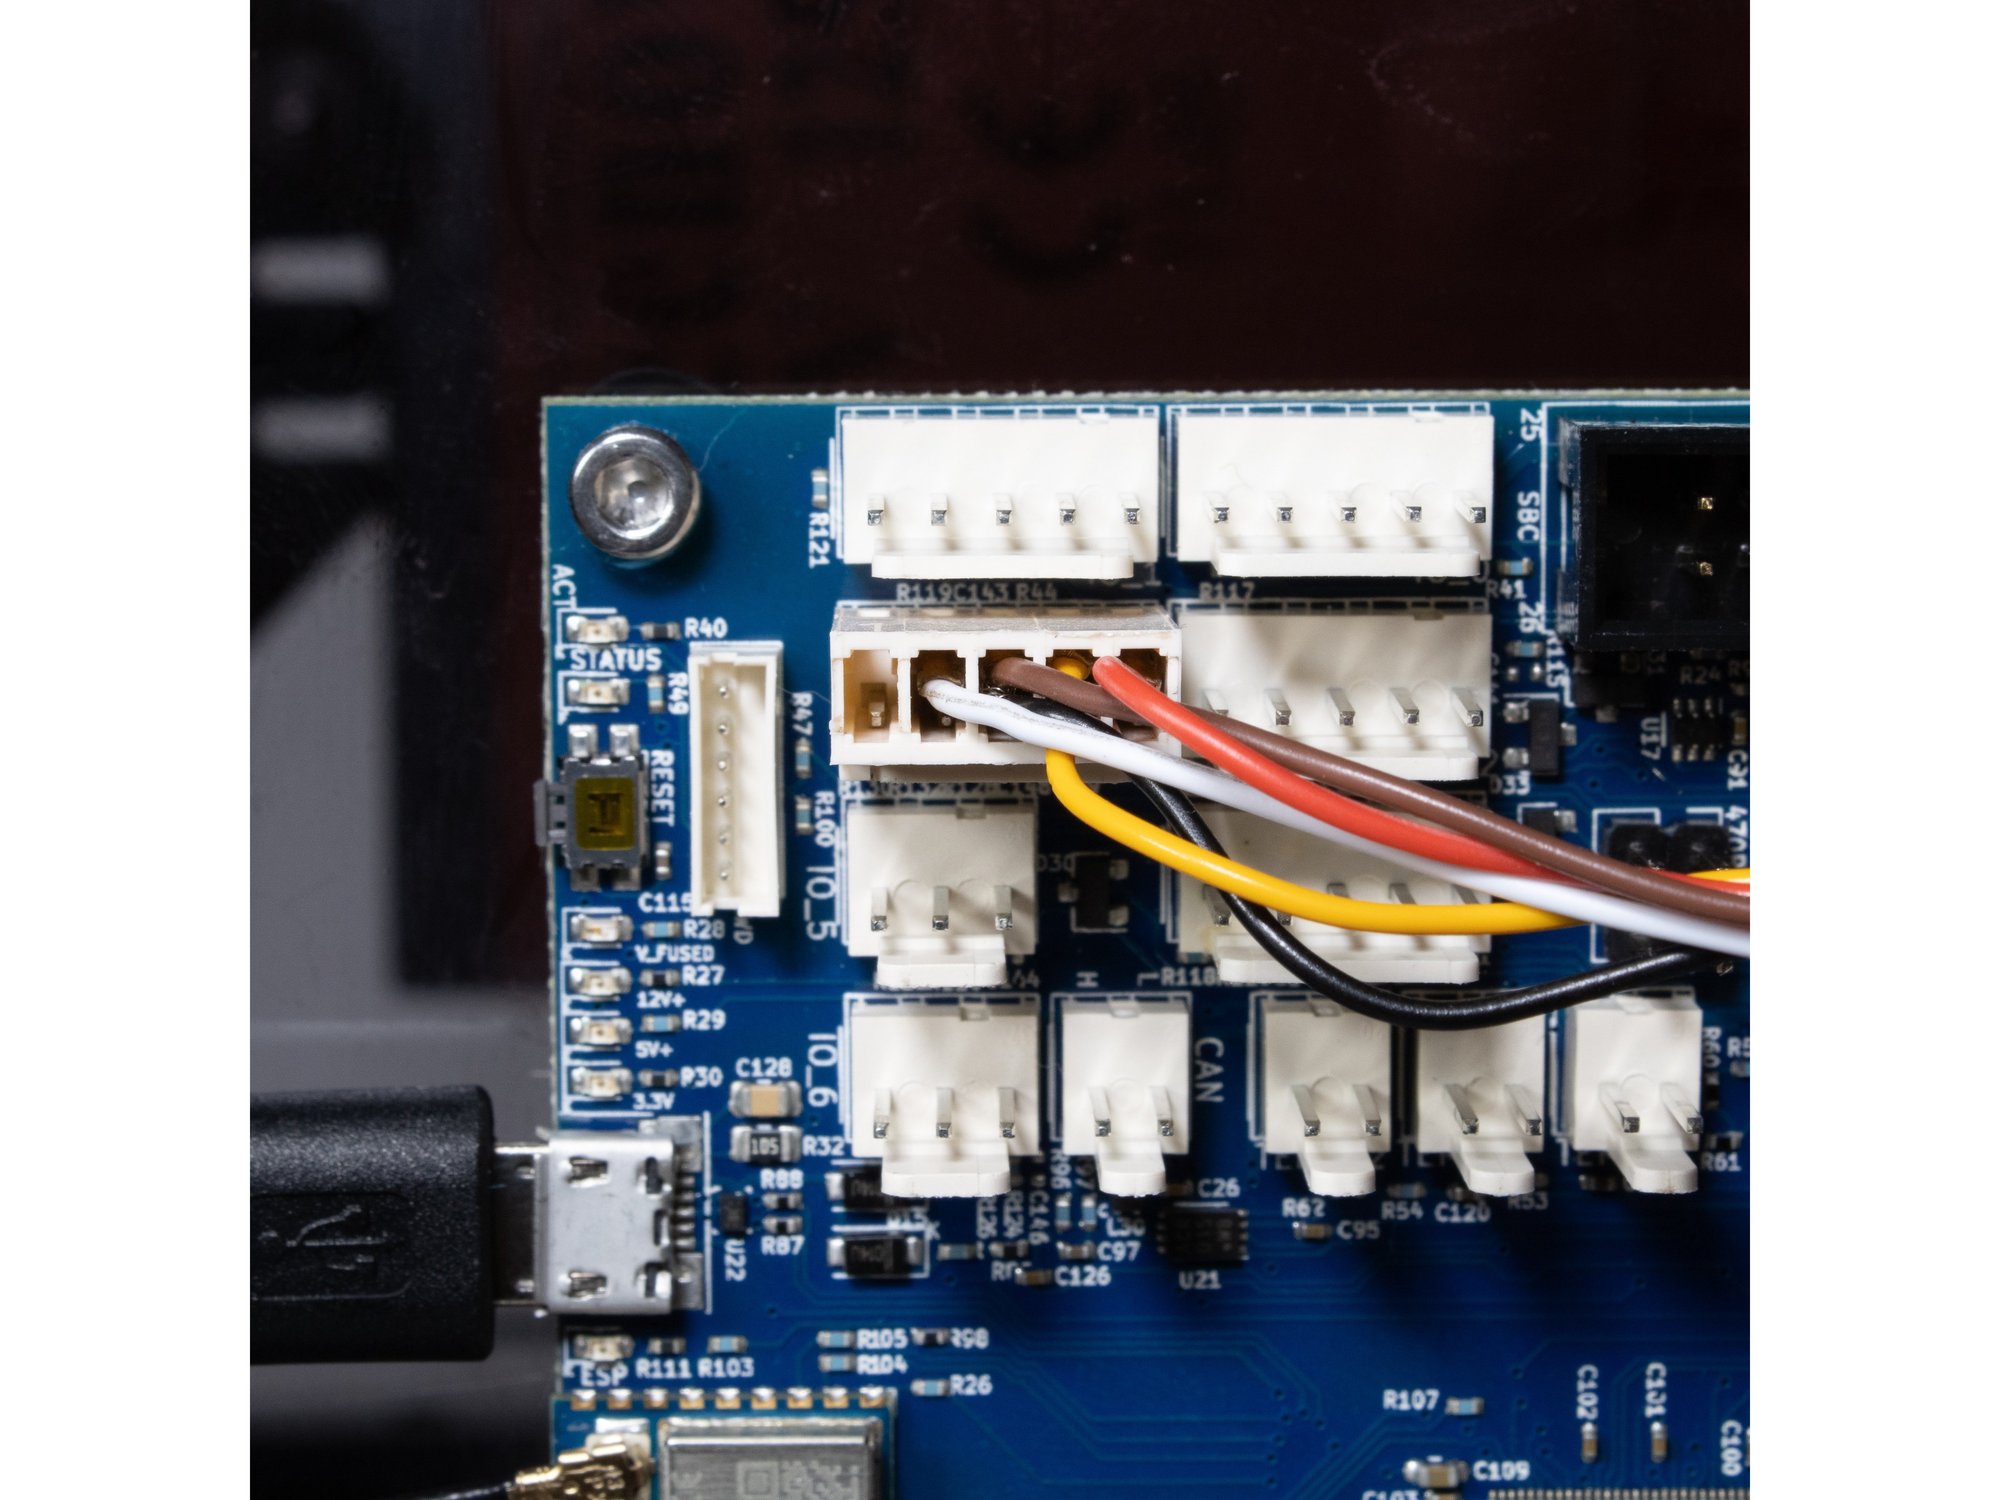
  • The BLTouch is wired to io3.

Step 9 — Extruder

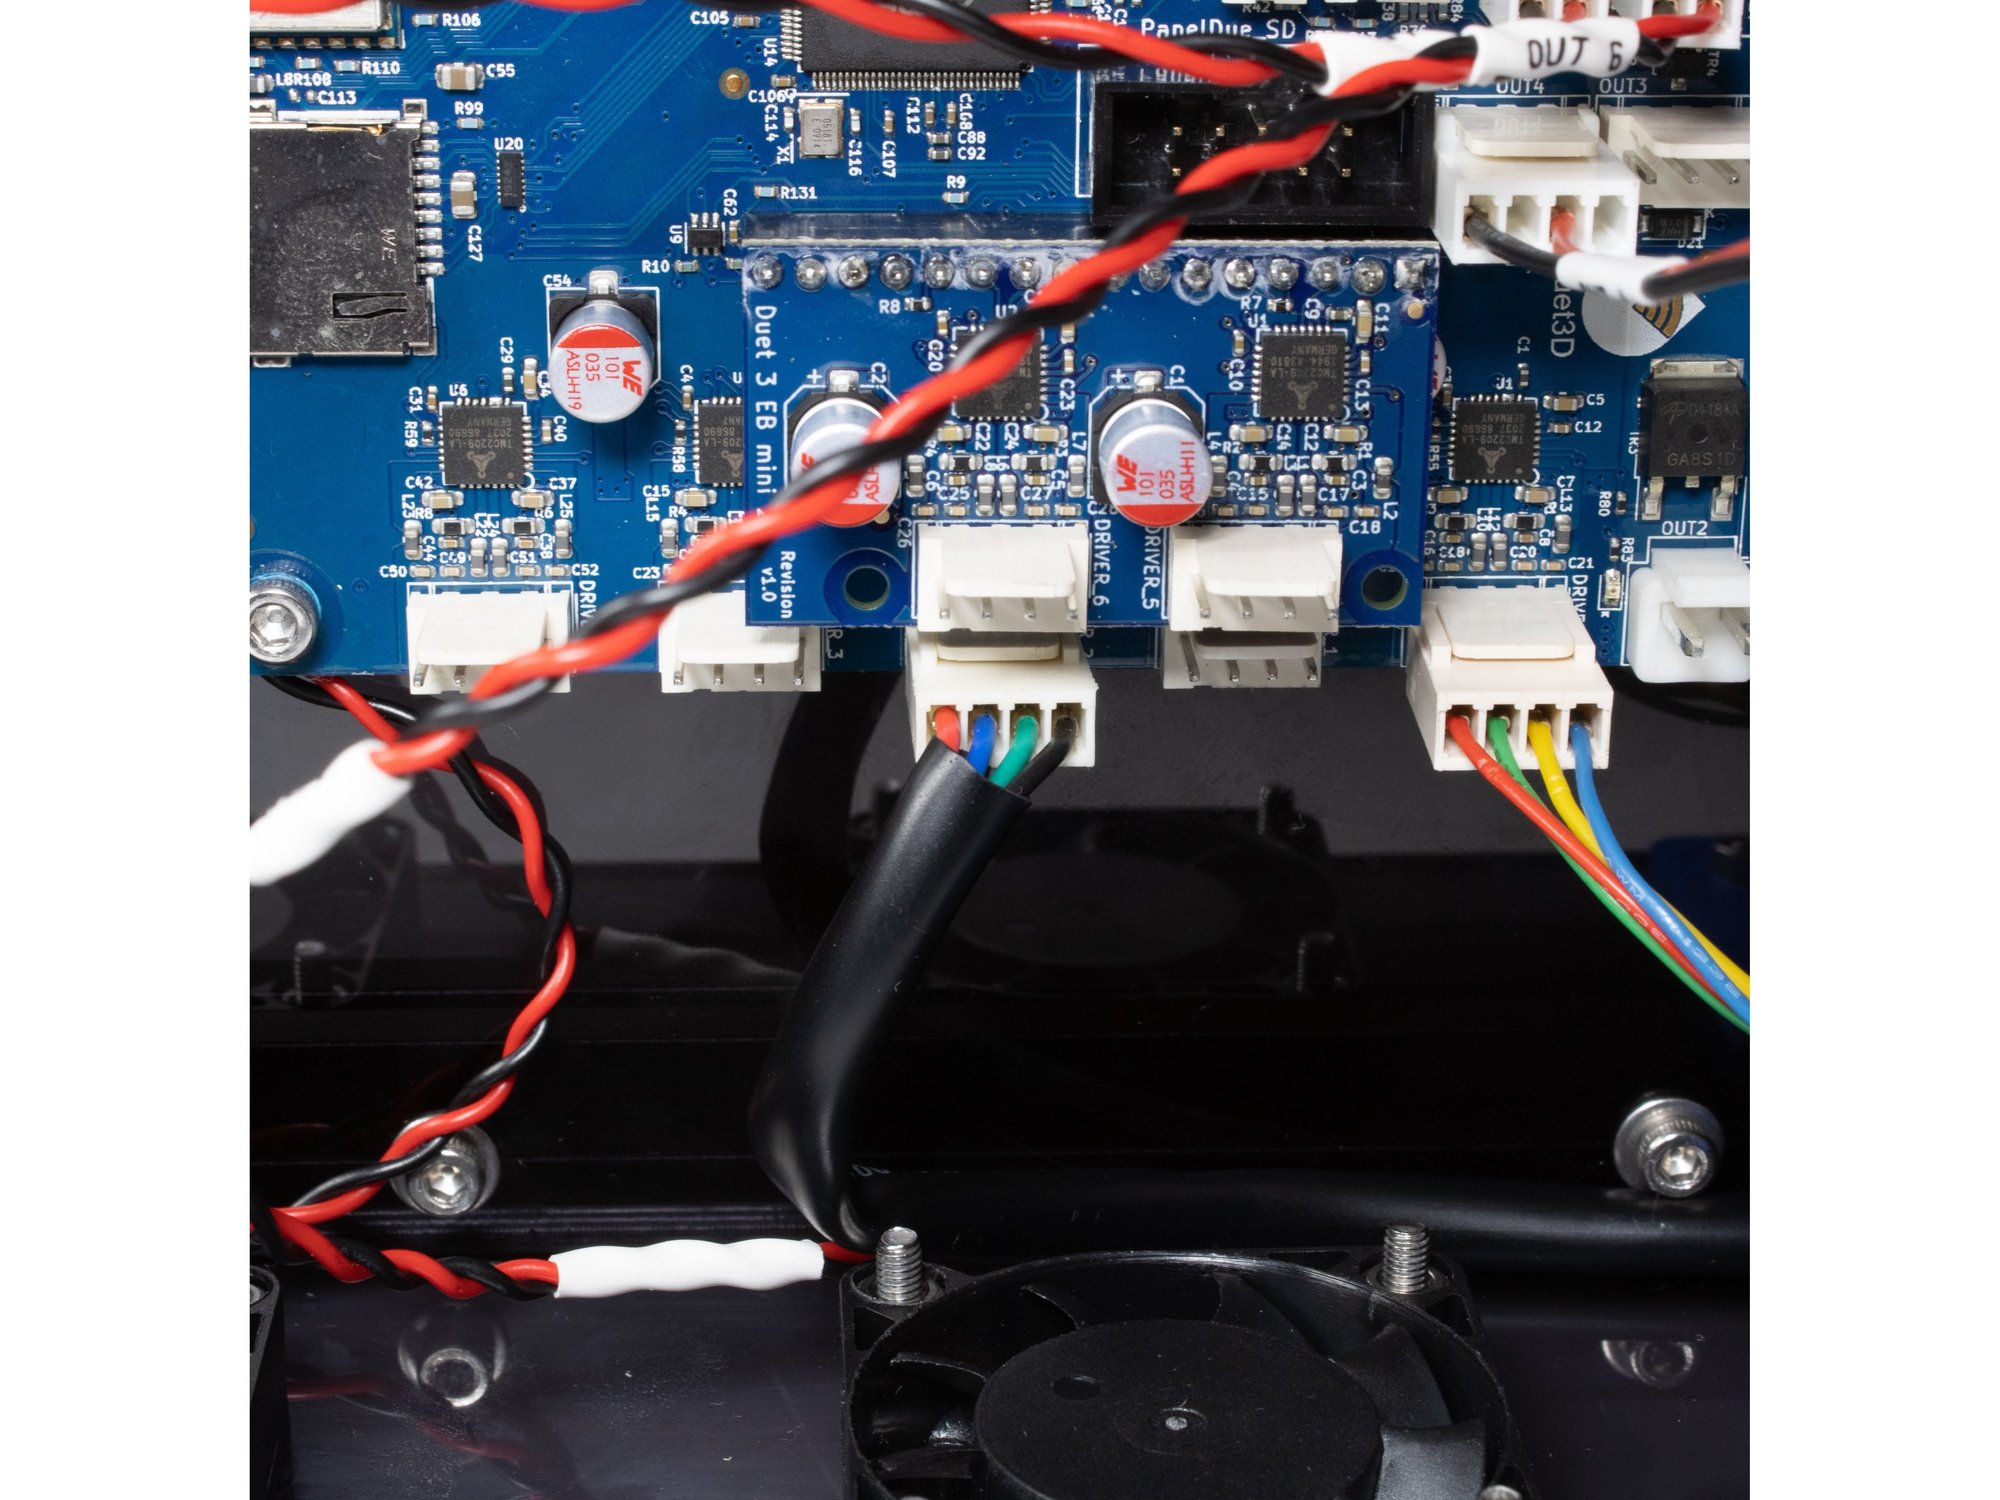
  • The extruder is wired to Drive 0.

Step 10 — Z Axis

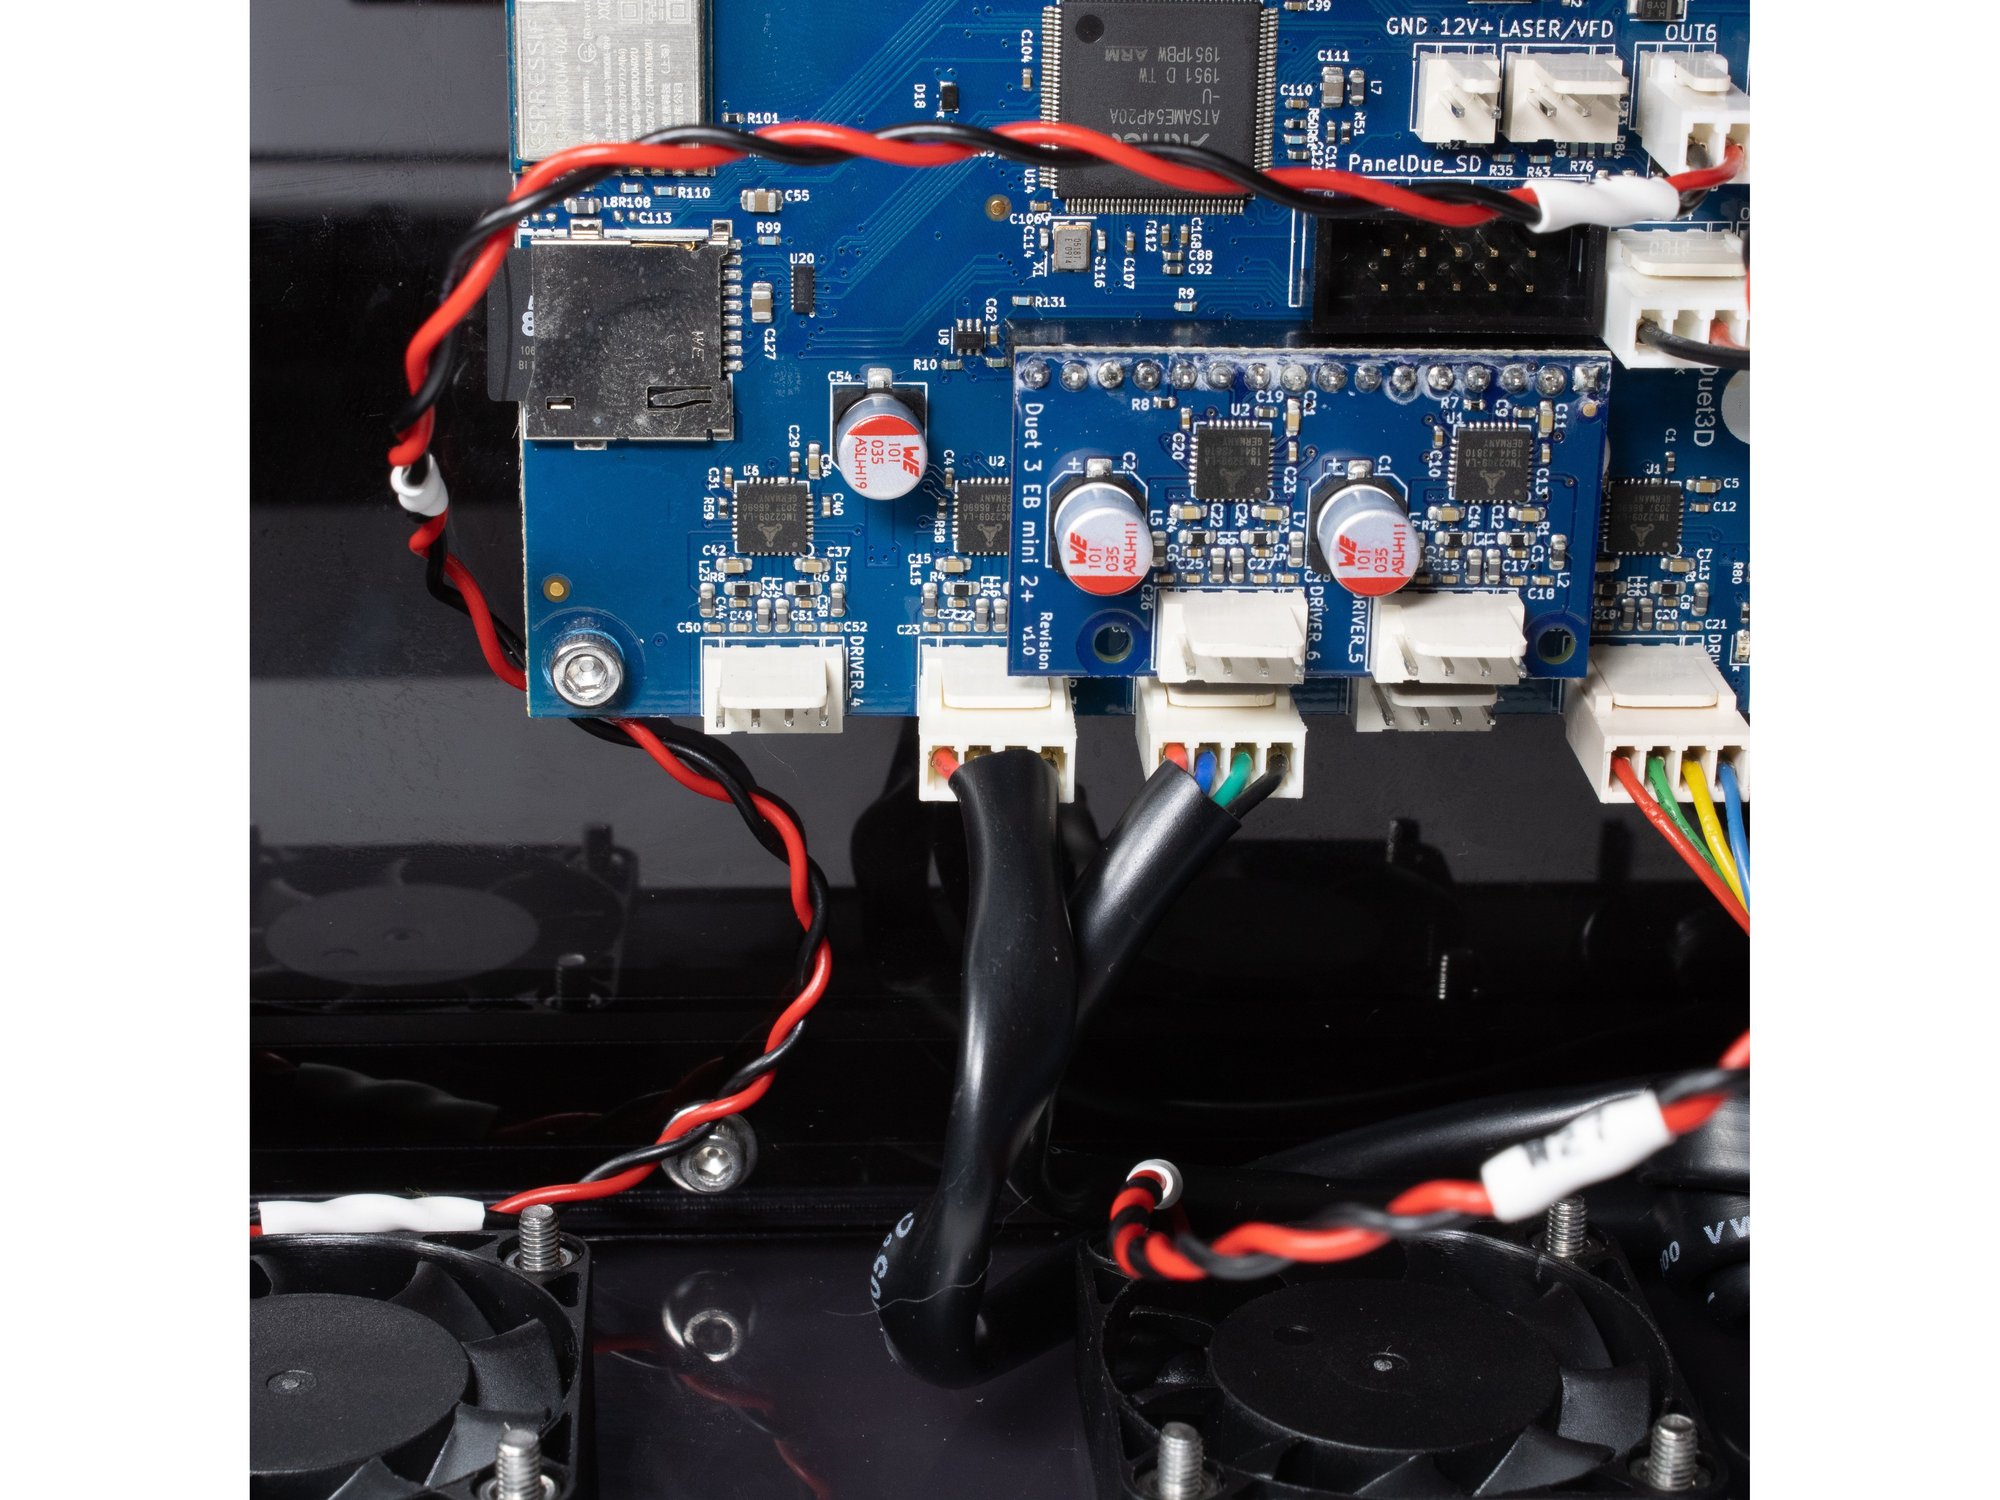
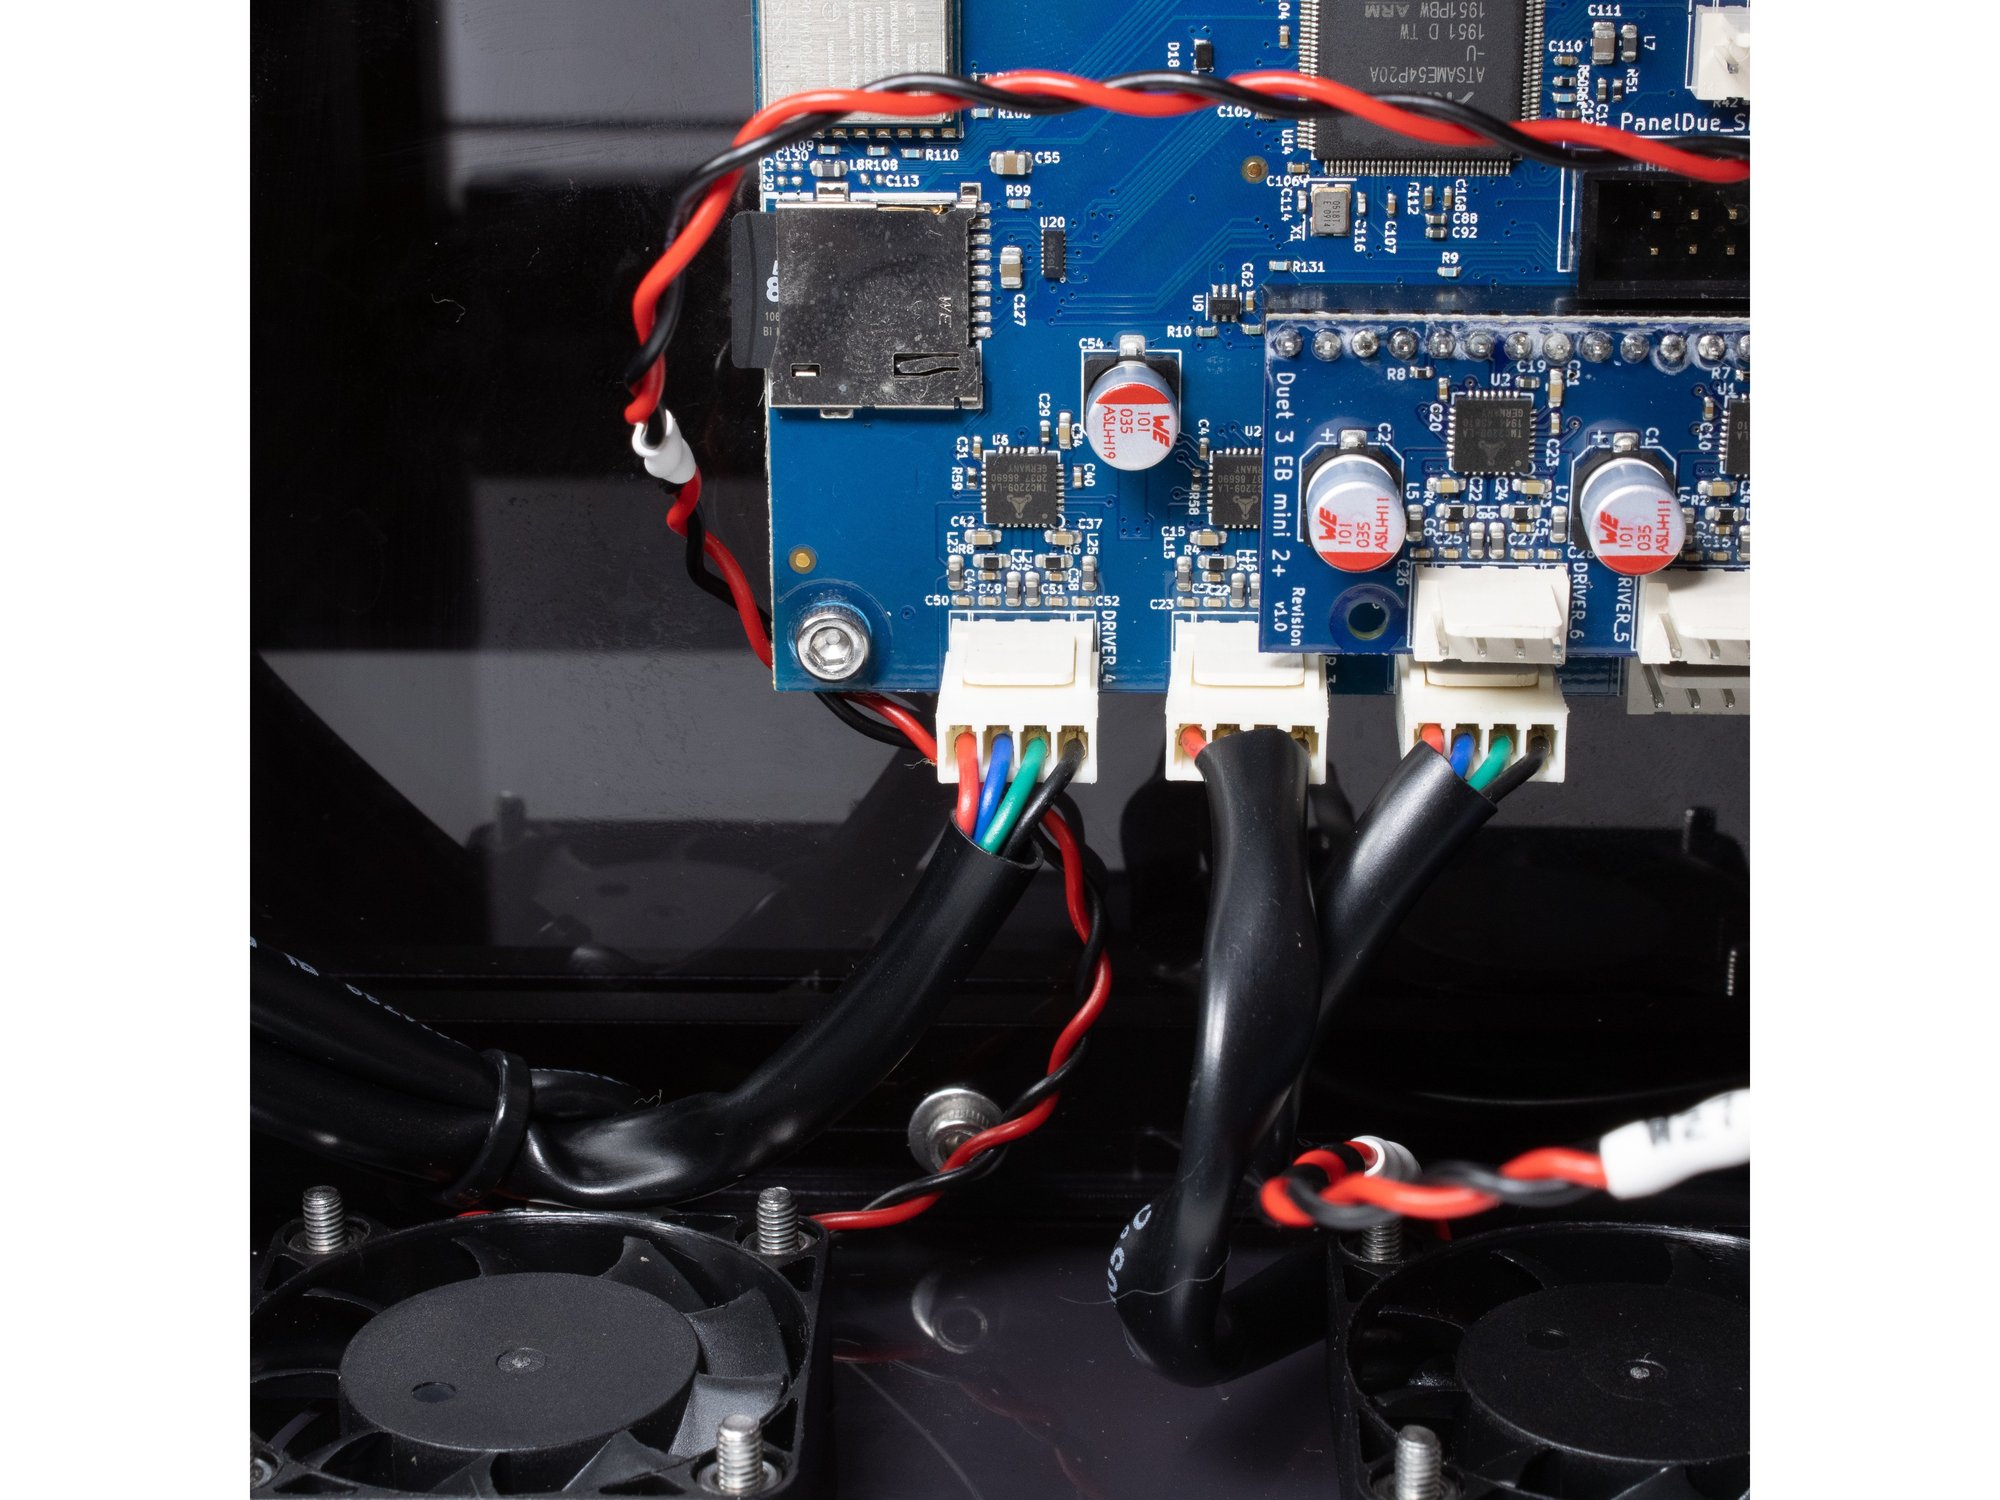
  • Front right Z stepper is wired to Drive 2.
  • Rear right Z stepper is wired to Drive 3.
  • Left Z stepper is wired to Drive 4.

Step 11 — X/Y Axis

  • X stepper (front) is wired to Drive 5 on the expansion board.
  • Y stepper (rear) is wired to Drive 6 on the expansion board. This is the last free driver on the expansion board.

Step 12 — WiFi Antenna

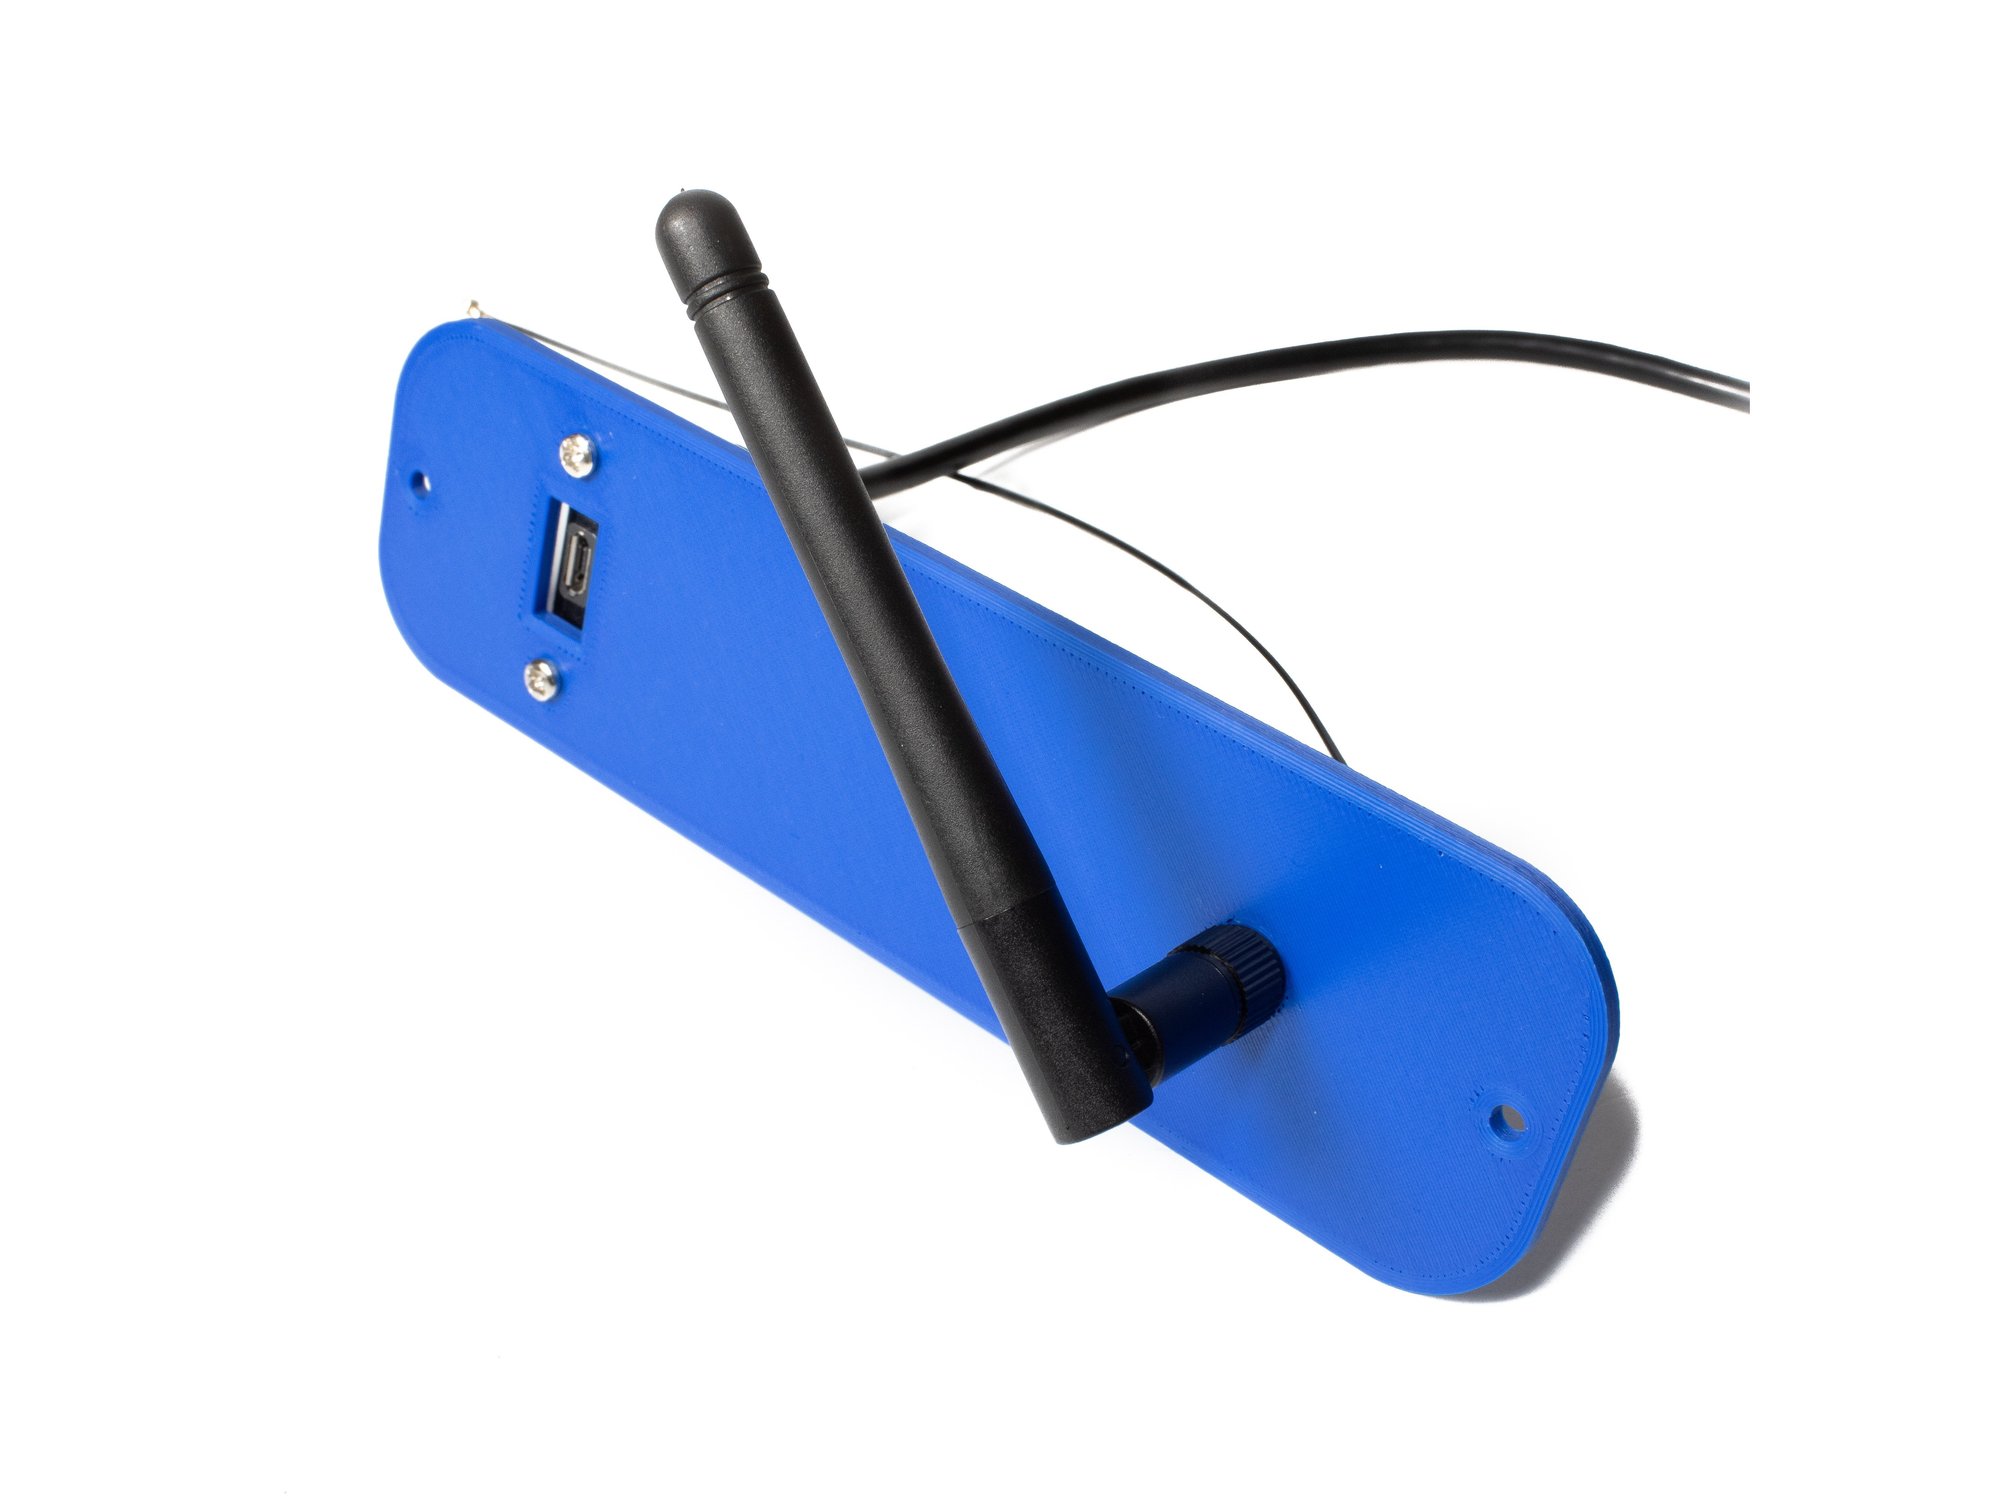
  • Using (2) M3 x 10 socket head screws, washers and nuts, attach the antenna and USB extender to the outside of the printer panels.
  • Plug the USB extension and WiFi pigtails into the Duet.
  • Note https://duet3d.dozuki.com/Wiki/Getting_S...

R) Firmware, Config, and Smoke Test

Step 1 — A Word of Warning

  • Caution It can be tempting to rush ahead - you're almost done, after all, and you want to see your printer print. Don't rush these steps.
  • Caution Read each step carefully, and follow the instructions closely, you'll save yourself a lot of time and headache.
  • Caution If at any point you feel over your head here, stop and ask questions in the RailCore Discord (Best option) or RailCore Facebook group.
  • Caution Be very careful near your electronics with the cover off. You can install the cover first, but it can be difficult to adjust things, so I install it after the smoke test.
  • Caution NEVER UNPLUG ANYTHING FROM YOUR DUET WITH THE POWER ON, ESPECIALLY STEPPERS.

Step 2 — Default Config Files

  • Your Duet comes with an SD Card pre-loaded with configuration files. We need to change those to the RailCore default files.
  • Remove the SD card and put it in your PC. On it you'll find a series of folders.
  • Make a copy of the "sys" folder, and call it "sys_original".
  • Copy all of the files from here into your sys folder, overwriting the original files:
  • Copy the files here into the /macros folder:
  • Eject the SD card from your PC, and put it back in the Duet.

Step 3 — Connecting to your Duet

  • Before powering-on the first time, You need to connect to your duet with a microUSB cable.
  • Follow the instructions here for getting connected to your Duet: https://duet3d.dozuki.com/Guide/1.)+Gett... You can use YAT as suggested, or any other serial console program.
  • Don't worry about upgrading your firmware yet, but take note of the version installed.
  • Send an M115 command to your Duet, be sure you see "Duet 3 Mini5plus WiFi" in the output.
  • Continue following the instructions to get the Duet connected to your network.
  • Ensure that you can reach your Duet via Duet Web Control before disconnecting the USB. When you unplug the USB the duet will lose power.

Step 4 — Smoke Test

  • Double check all your connections.
  • Double check them again.
  • Once the printer is powered, do not work on the electronics until you power it off. Keep your fingers entirely away from the electronics area while the printer is on.
  • Connect the power cord to the IEC inlet plug.
  • Power on the printer.
  • You should be able to connect to the web interface you set up earlier.

Step 5 — Updating Duet 3 Firmware

  • You can update all firmware and DWC files by uploading the main zip file from the latest stable RRF release.
  • Upload the zip file to the system tab. Do not extract it first.
  • It should be detected and extracted automatically to the correct locations and prompt you to update and reboot.
  • Note The zip files for upgrading the firmware can be found here: https://github.com/Duet3D/RepRapFirmware...

S) First Moves

Step 1 — Safety Warning

  • Caution This section is written to be followed in order. DO NOT SKIP STEPS. Complete each step before moving on to the next.
  • Caution Your hotend fan should be turning when power is on if you connected it to an always on fan port as instructed. If not stop, power off, and fix it.

Step 2 — X (Rear) Stepper Direction

  • These instructions are documented here as well: https://reprap.org/wiki/Configuring_RepR...
  • Starting with the hotend over the center of the bed, issue the following in the "console" window of the Duet Web Control.
    • G91
    • G1 H2 X10 F3000
  • That should move your Hotend in +X +Y (towards the right and back of the printer)
  • If your hotend moves -X -Y (Left and front), find this line in the config.g and change the S0 to S1:
    • M569 P6 S0 D3
  • Caution If the Y (front) stepper moves, you have the steppers in the wrong ports. Power Down and change the cables to the correct ports - see the wiring instructions.

Step 3 — Y (Front) Stepper Direction

  • This is much the same as the X stepper.
  • In the console window of Duet Web Control, run the following:
    • G91
    • G1 H2 Y10 F3000
  • This should move the hotend in the +X and -Y Directions (towards the right side of the printer, and front of the printer)
  • If it does not, find this line in your config.g value, and change the S1 to S0
    • M569 P5 S1 D3

Step 4 — Z Stepper Direction

  • Caution Be sure your bed is not close to your hotend before doing this. If it is, power down and move your bed down at least 15mm by turning the leadscrews.
  • In the gcode console in duet web control, run this:
    • G1 Z10 H2
  • This should move your bed DOWN away from the hotend 10mm.
  • If your Bed moves up, find the M569 P2-4 lines in your config.g file, and change the S0 to S1 for all 3 lines.
  • Caution If only some steppers move the wrong direction, skewing the bed, you need to edit the lines only for those steppers.

Step 5 — Test X Endstop

  • In the console for Duet Web Control, issue this gcode:
    • M119
  • It should return: Endstops - X: not stopped, Y: not stopped, Z: no endstop, Z probe: not stopped
  • Hold in the button on the X endstop switch (the one to the rear left of the printer, and run M119 again.
  • You should now get : Endstops - X: at max stop, Y: not stopped, Z: no endstop, Z probe: not stopped
  • Caution If none of the endstops show as stopped, check your X endstop connection
  • Caution If the Y endstop shows as stopped, you have the endstops in the wrong ports. Power down and double check they're plugged in correctly.

Step 6 — Test Y Endstop

  • In the console for Duet Web Control, issue this gcode:
    • M119
  • It should return: Endstops - X: not stopped, Y: not stopped, Z: no endstop, Z probe: not stopped
  • Hold in the button on the Y endstop switch (the one to the rear left of the printer, and run M119 again.
  • You should now get : Endstops - X:not stopped, Y: at max stop, Z: no endstop, Z probe: not stopped
  • If none of the endstops show as stopped, check your Y endstop connection
  • If the X endstop shows as stopped, you have the endstops in the wrong ports. Power down and double check they're plugged in correctly.

Step 7 — BLTouch Testing

  • Your BLTouch should be on, with a solid red light. If it's flashing, power off and check its wiring.
  • Run the following gcode in the console in duet web control:
    • M401
    • Slightly tap the pin with your finger and the DWC interface should show 1000 on the dashboard under Z-Probe.
  • Send the following to retract the probe:
    • M402
  • The Z Probe value in DWC should now read zero.

Step 8 — X Homing Test

  • Caution When running the following commands, a lot can go wrong. Keep your finger near the power switch just in case. Read all of the instructions before beginnging.
  • Test homing X by running the following in the gcode console:
    • G28 X
  • Your printer should move to the left until it contacts the X endstop.

Step 9 — Y Homing Test

  • Caution When running the following commands, a lot can go wrong. Keep your finger near the power switch just in case. Read all of the instructions before beginnging.
  • Test Homing Y by running the following in the gcode console:
    • G28 Y
  • Your hotend should move towards the front of the printer until the Y endstop triggers against the front X carriage.

Step 10 — Z Homing Test

  • Caution When running the following commands, a lot can go wrong. Keep your finger near the power switch just in case. Read all of the instructions before beginnging.
  • Move the bed at least 50mm below the nozzle by running this command in the gcode console (if it's already low enough, skip this)
    • G1 H2 Z50
  • Trigger the homing of the bed by running this in the gcode console:
    • G28 Z
  • The bltouch pin should drop, and the bed should start to move up. Tap the bltouch pin with your fingertip. It will raise and lower, tap it again. This should stop the bed.
  • Caution If the bed does not stop, flip the power switch immediately.
  • If the bed stops as expected, re-run G28 Z to properly home the bed. Keep ready to hit the power switch in case something does not work.

Step 11 — Bed leveling

  • Assuming all of the previous homing tests have worked, or any issues encountered have been resolved, you can now proceed with automated homing and bed leveling.
  • Power off the printer, and adjust the bed manually by turning the leadscrews until it's close to level. It does not have to be perfect, but should be close.
  • Power on the printer, and run the following to home all 3 axis:
    • G28
  • To level the bed, send the following gcode:
    • G32
  • The printer should probe 4 points on the bed, and return a status of the adjustments made.

T) Adjusting Your Configuration

Step 1 — Adjusting the Z probe height

  • Home all 3 axis, and level the bed. Run G32 at least 3 times, so your bed is as level as it can be.
  • Run G28 Z to return to the center of the bed. Your bed will move to Z10.
  • Run the following gcode, so we can move below Z0 if needed:
    • G92 Z12
  • Place a sheet of paper on your bed.
  • Using the jog buttons in duet web control, slowly jog down until your nozzle just contacts the paper (slide the paper around until you can feel the nozzle touching it. Use the smallest steps as you get close)
  • Remove the piece of paper, and run the "Probe Point" macro (click on the macro and it will ask you if you want to run it)
  • The printer will re-home Z, stopping when the probe triggers.

Step 2 — Adjusting the Z Probe Height - Continued

  • In duet web control, find the current Z height value, and record it.
  • Edit your config.g file, towards the end of it find the following line
    • G31 X2 Y42 Z2.65 P25
  • Edit the Z value, put in the value from Duet Web control.
  • Save the config.g and restart.

Step 3 — Adjusting Max X / Y / Z

  • Caution You can break your printer with this step, be cautious.
  • Run this command to allow movement beyond what the printer is physically capable:
    • M208 X400 Y400 Z700
  • Use the jog buttons in duet web control to slowly jog the hotend to max Y. Stop just before it hits the rear X carriage, and record the value.
  • Use the jog buttons in duet web control to slowly jog the hotend to max X, near a leadscrew. Stop before it contacts a leadscrew with the fan. Record the X value.
  • Use the jog buttons in duet web control to slowly move the bed down by increasing the Z height. Stop before the bed contacts the Z couplers, and record the Z height.
  • Jog the bed back up, and center the hotend.
  • Find this line in your config.g and replace the values with the ones you recorded: M208 X290 Y290 Z280

Step 4 — Hotend PID tuning

  • Caution This will heat your hotend up. Stay near your printer in case of problems.
  • Caution Be sure your hotend is not near your bed, or touching anything.
  • Run this command:
    • M303 T0 S250
  • Your hotend will go through a PID tuning cycle. When it's done, run M307 H1 to see the values, it will report something like this:
    • Auto tuning heater 1 completed after 3 idle and 13 tuning cycles in 308 seconds. This heater needs the following M307 command: M307 H1 R4.275 K0.605:0.651 D2.29 E1.35 S1.00 B0 V23.9
  • Using that as an example, find the M307 H1 line in your config.g and adjust it as follows, using the values for gain, time constant, dead time, and voltage from your M307 output.
    • M307 H1 R4.275 K0.605:0.651 D2.29 E1.35 S1.00 B0 V23.9

Step 5 — Bed PID Tuning

  • Caution This will heat your bed up. Stay near your printer in case of problems.
  • Caution Be sure nothing is on your bed.
  • Run this command:
    • M303 H0 S60
  • Your bed will go through a PID tuning cycle. When it's done, run M307 H0 to see the values, it will report something like this:
    • Heater 0: heating rate 0.427, cooling rate 0.344, dead time 6.25, max PWM 1.00, mode PID Predicted max temperature rise 117°C PID parameters: heating P66.9 I1.494 D292.5, steady P66.9 I3.509 D292.5
  • Using that as an example, find the M307 H0 line in your config.g and adjust it as follows, using the values for gain, time constant, dead time, and voltage from your M307 output.
    • M307 H0 R0.427 K0.344:0.000 D6.25 E1.35 S1.00 B0

Step 6 — Test the Extruder Direction

  • Attach the PTFE guide tube to the extruder input, and pass the other end through the PTFE holder on the right side of the printer.
  • Set your hotend to an appropriate temperature for your filament.
  • Feed some filament in through the feed tube, until it reaches the extruder.
  • Using the DWC interface, slowly extrude some filament, it should grab the filament and pull it in.
  • If instead it pushes the filament back out, find this line in your config.g and change the S0 to an S1
    • M569 P3 S0