O) Bed
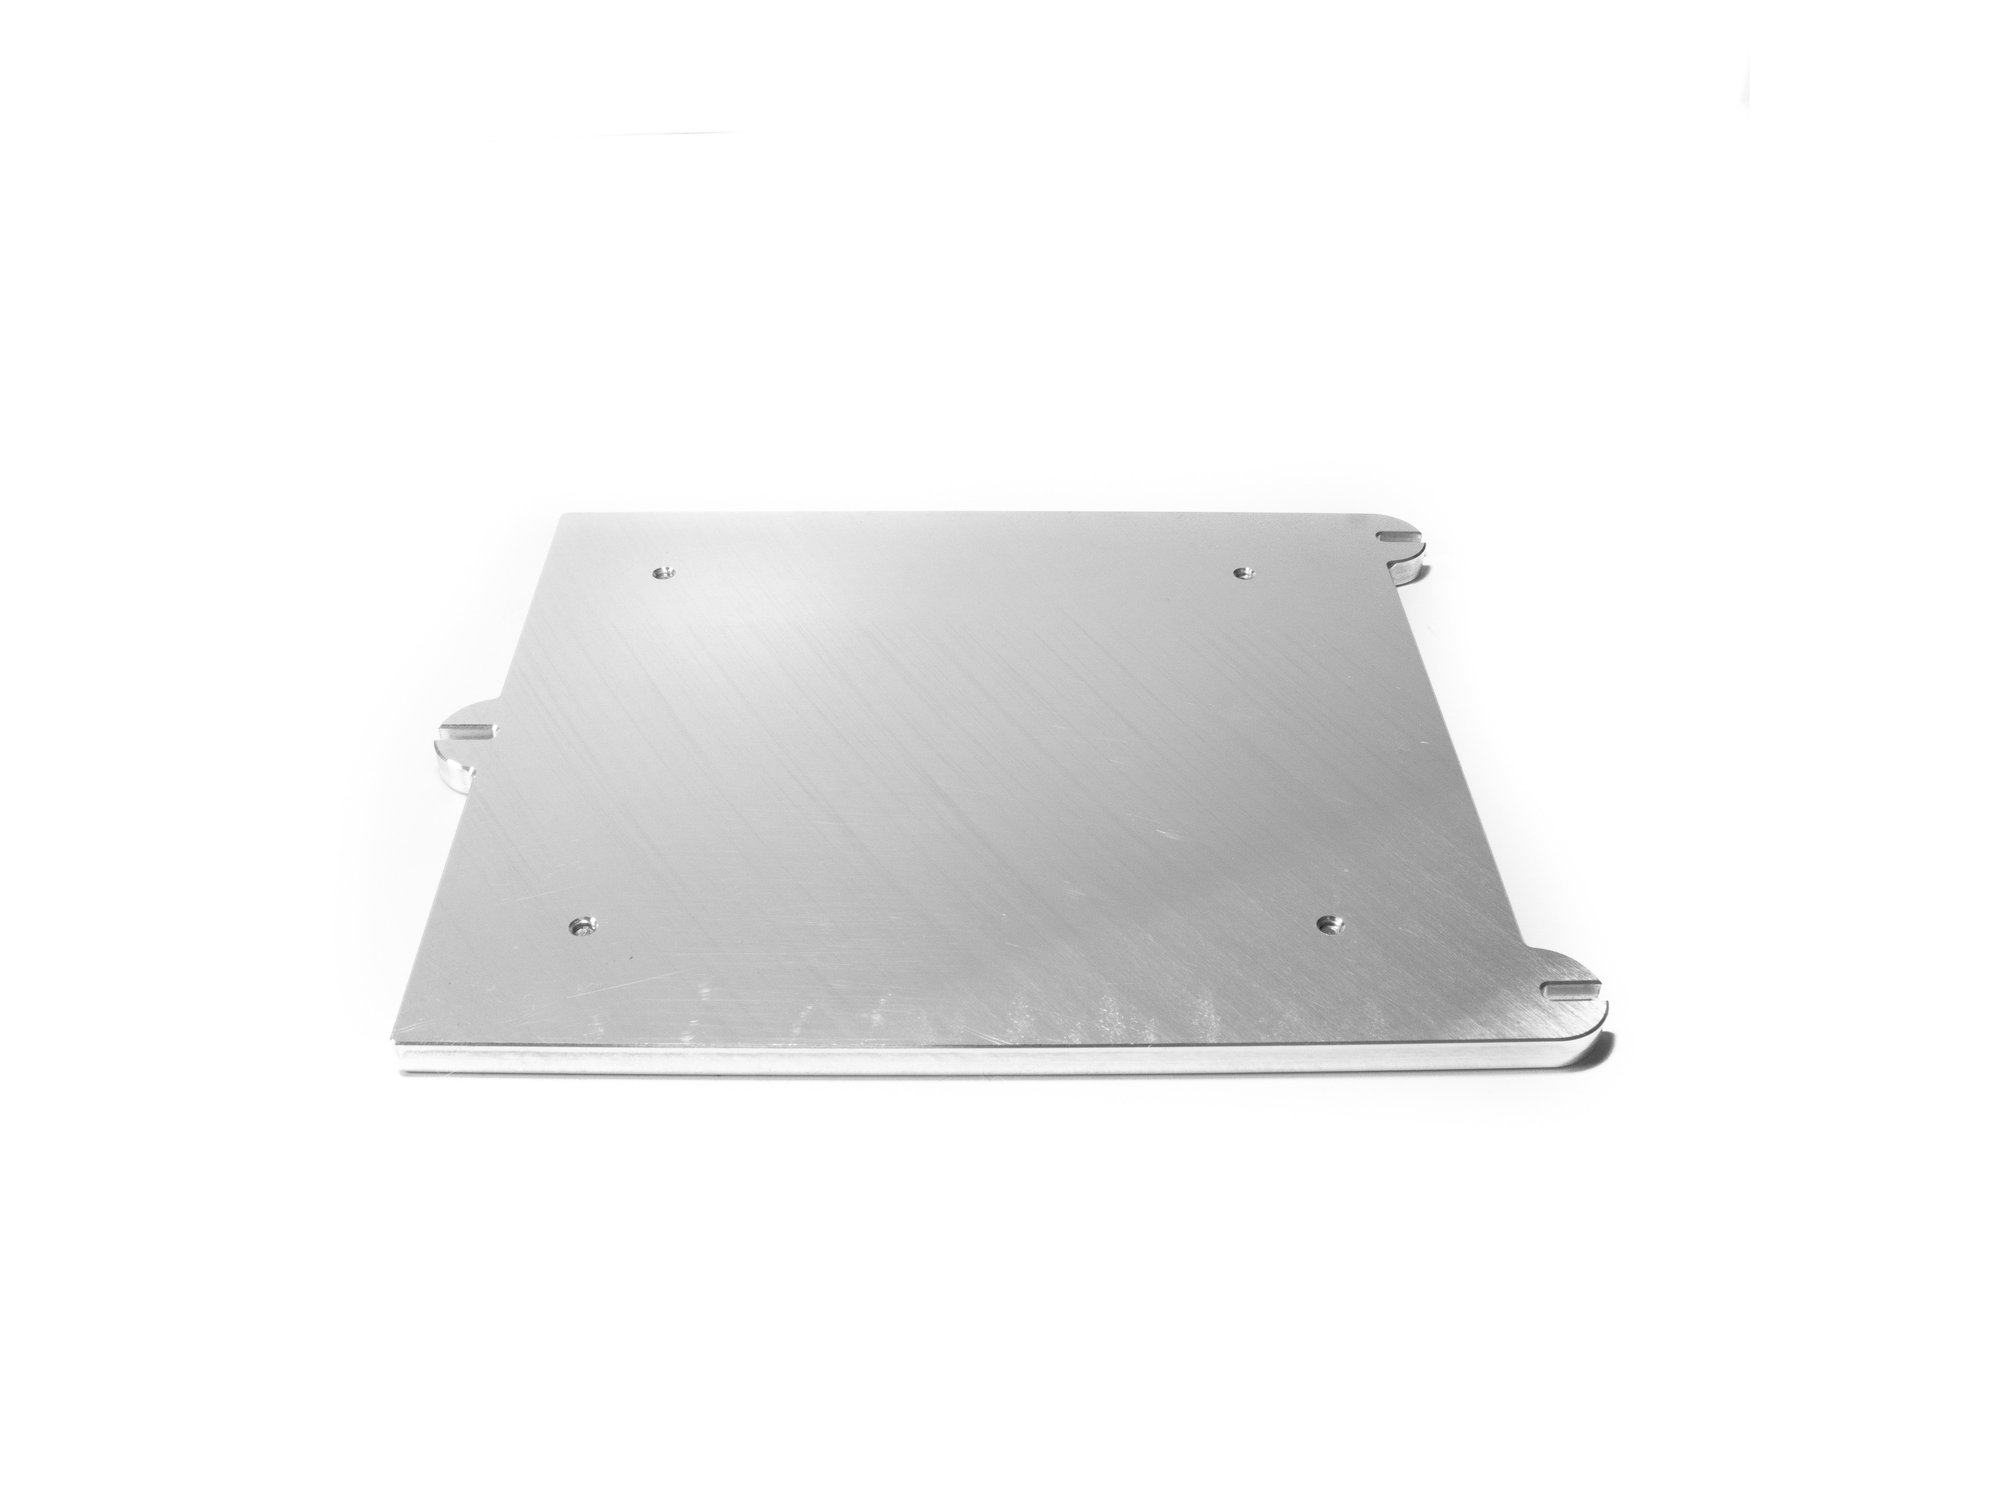
Parts
Step 1 — Install Heater
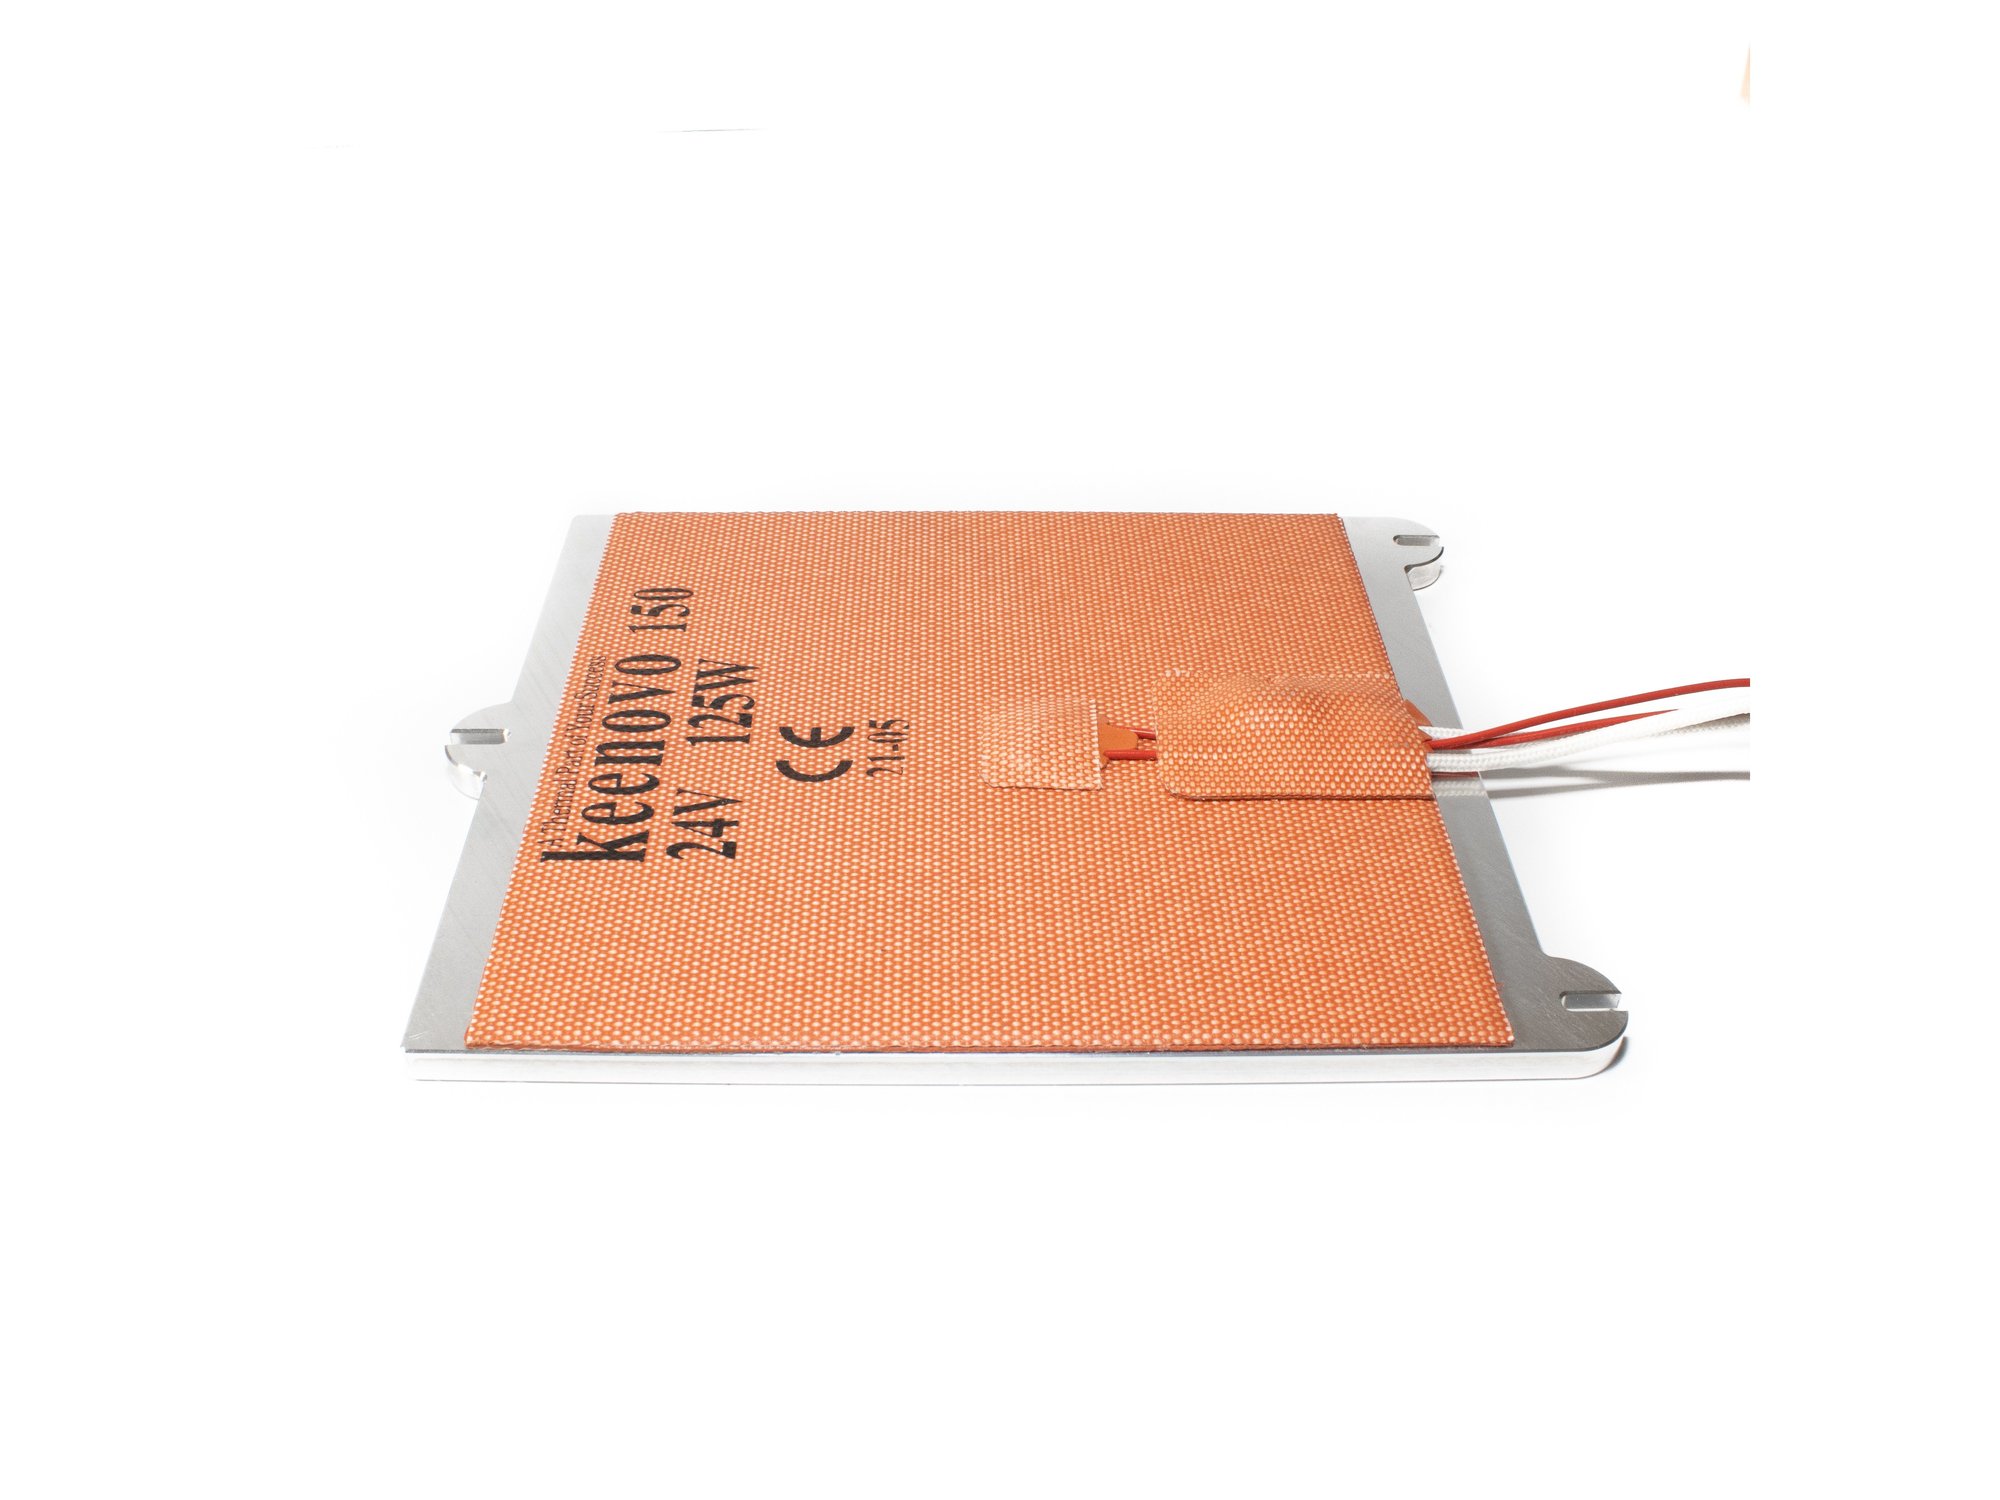
- Remove backing revealing 3M adhesive and install the silicon heater as shown in the image.
Step 2 — Install Bed
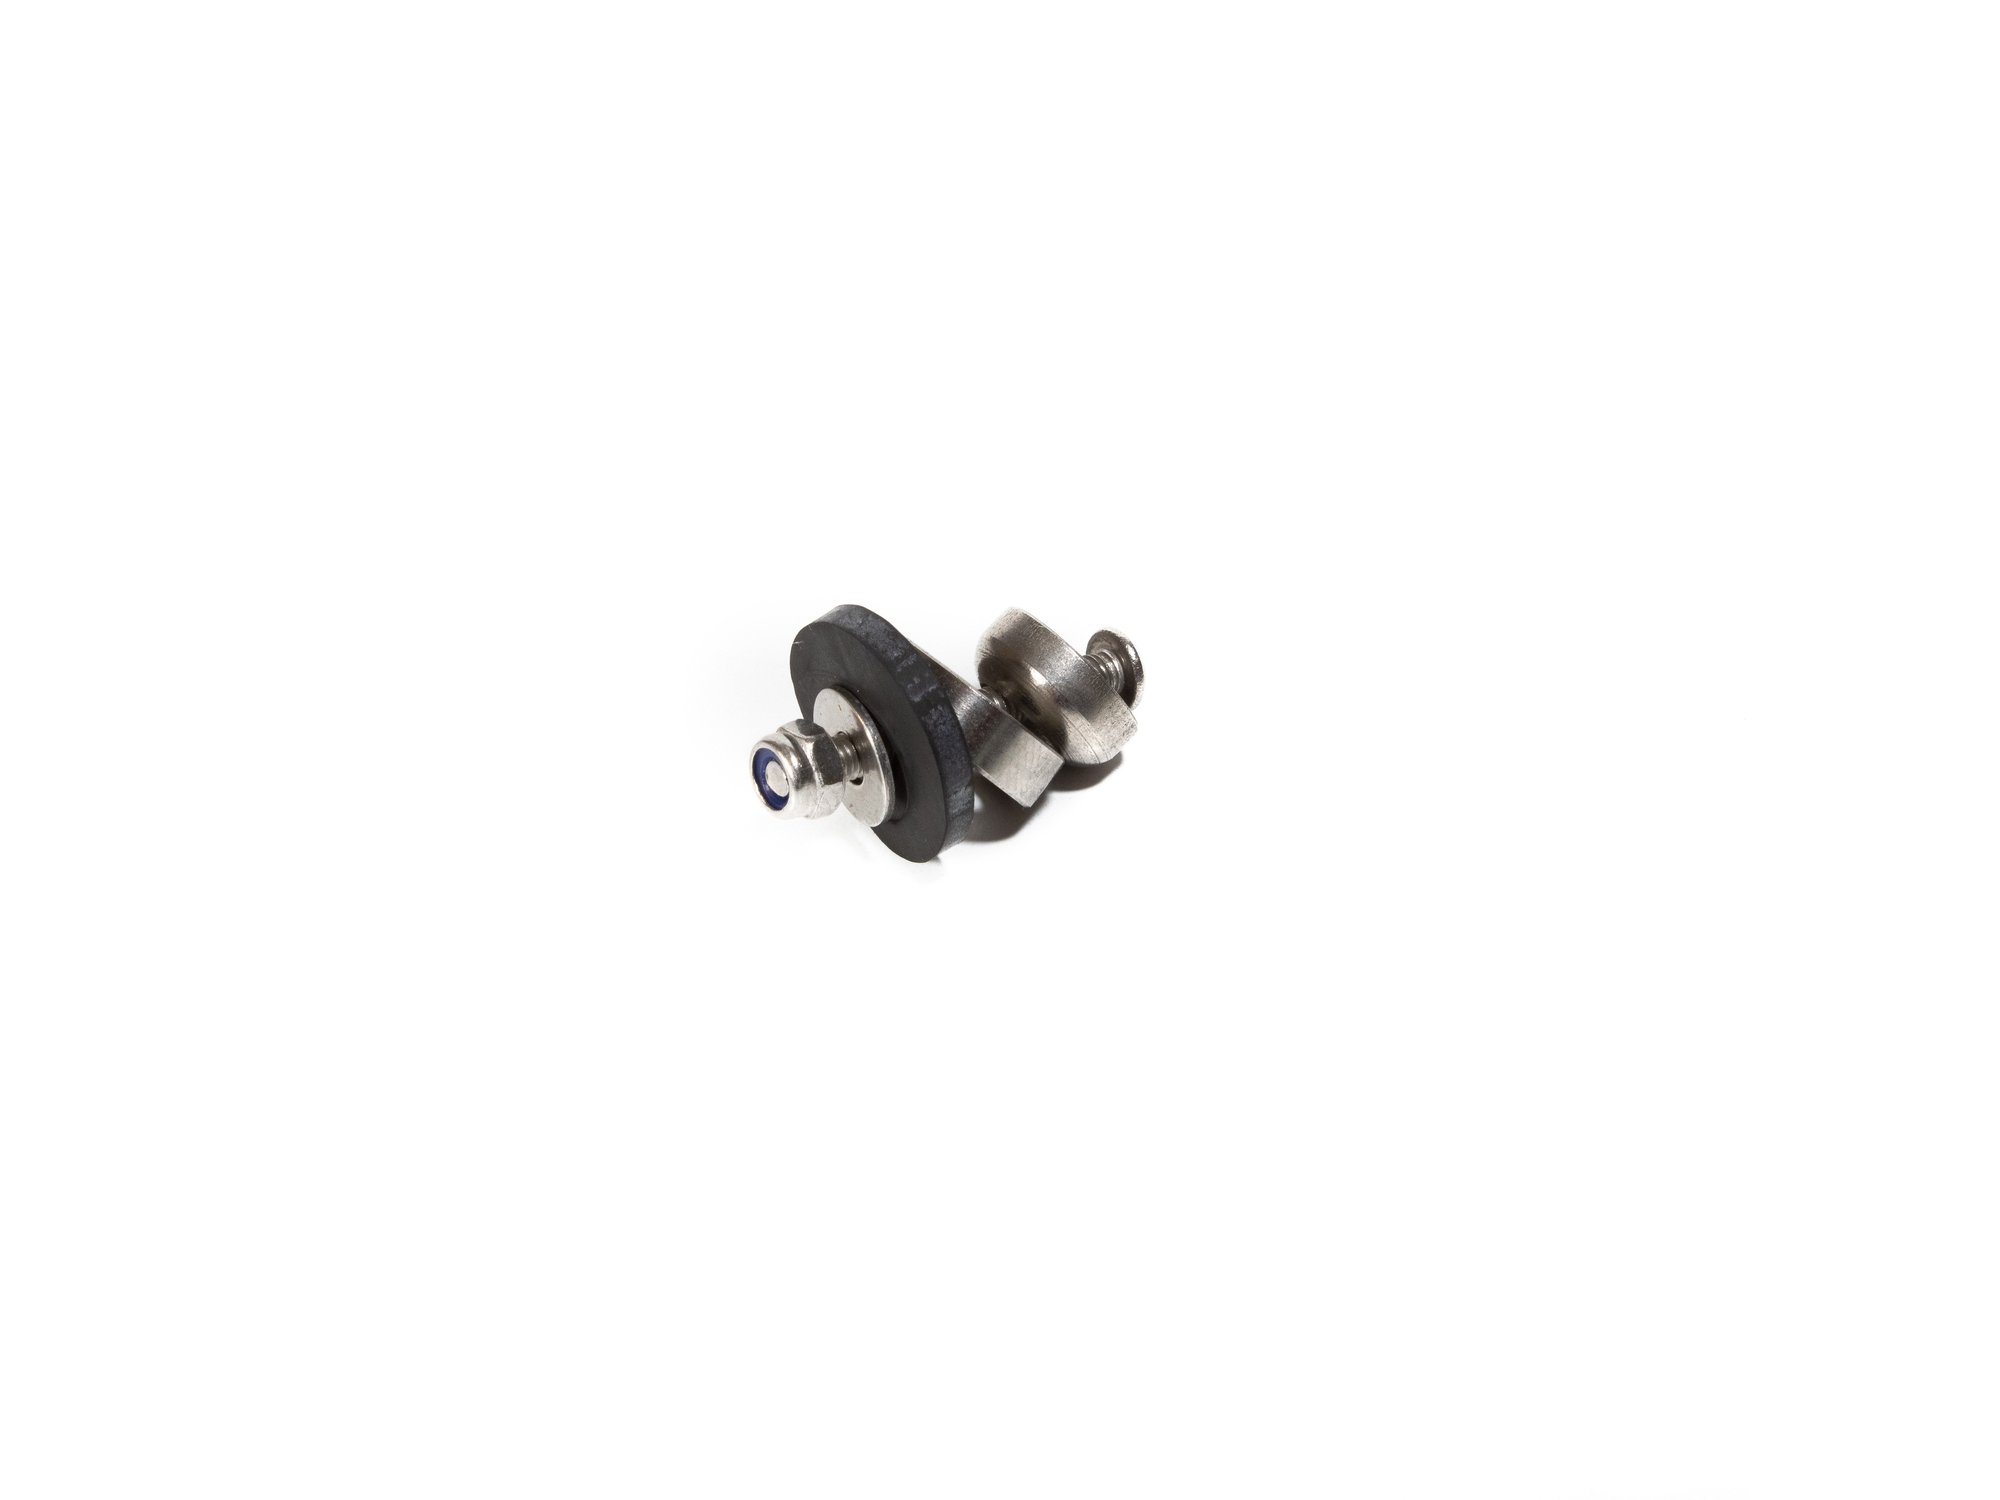
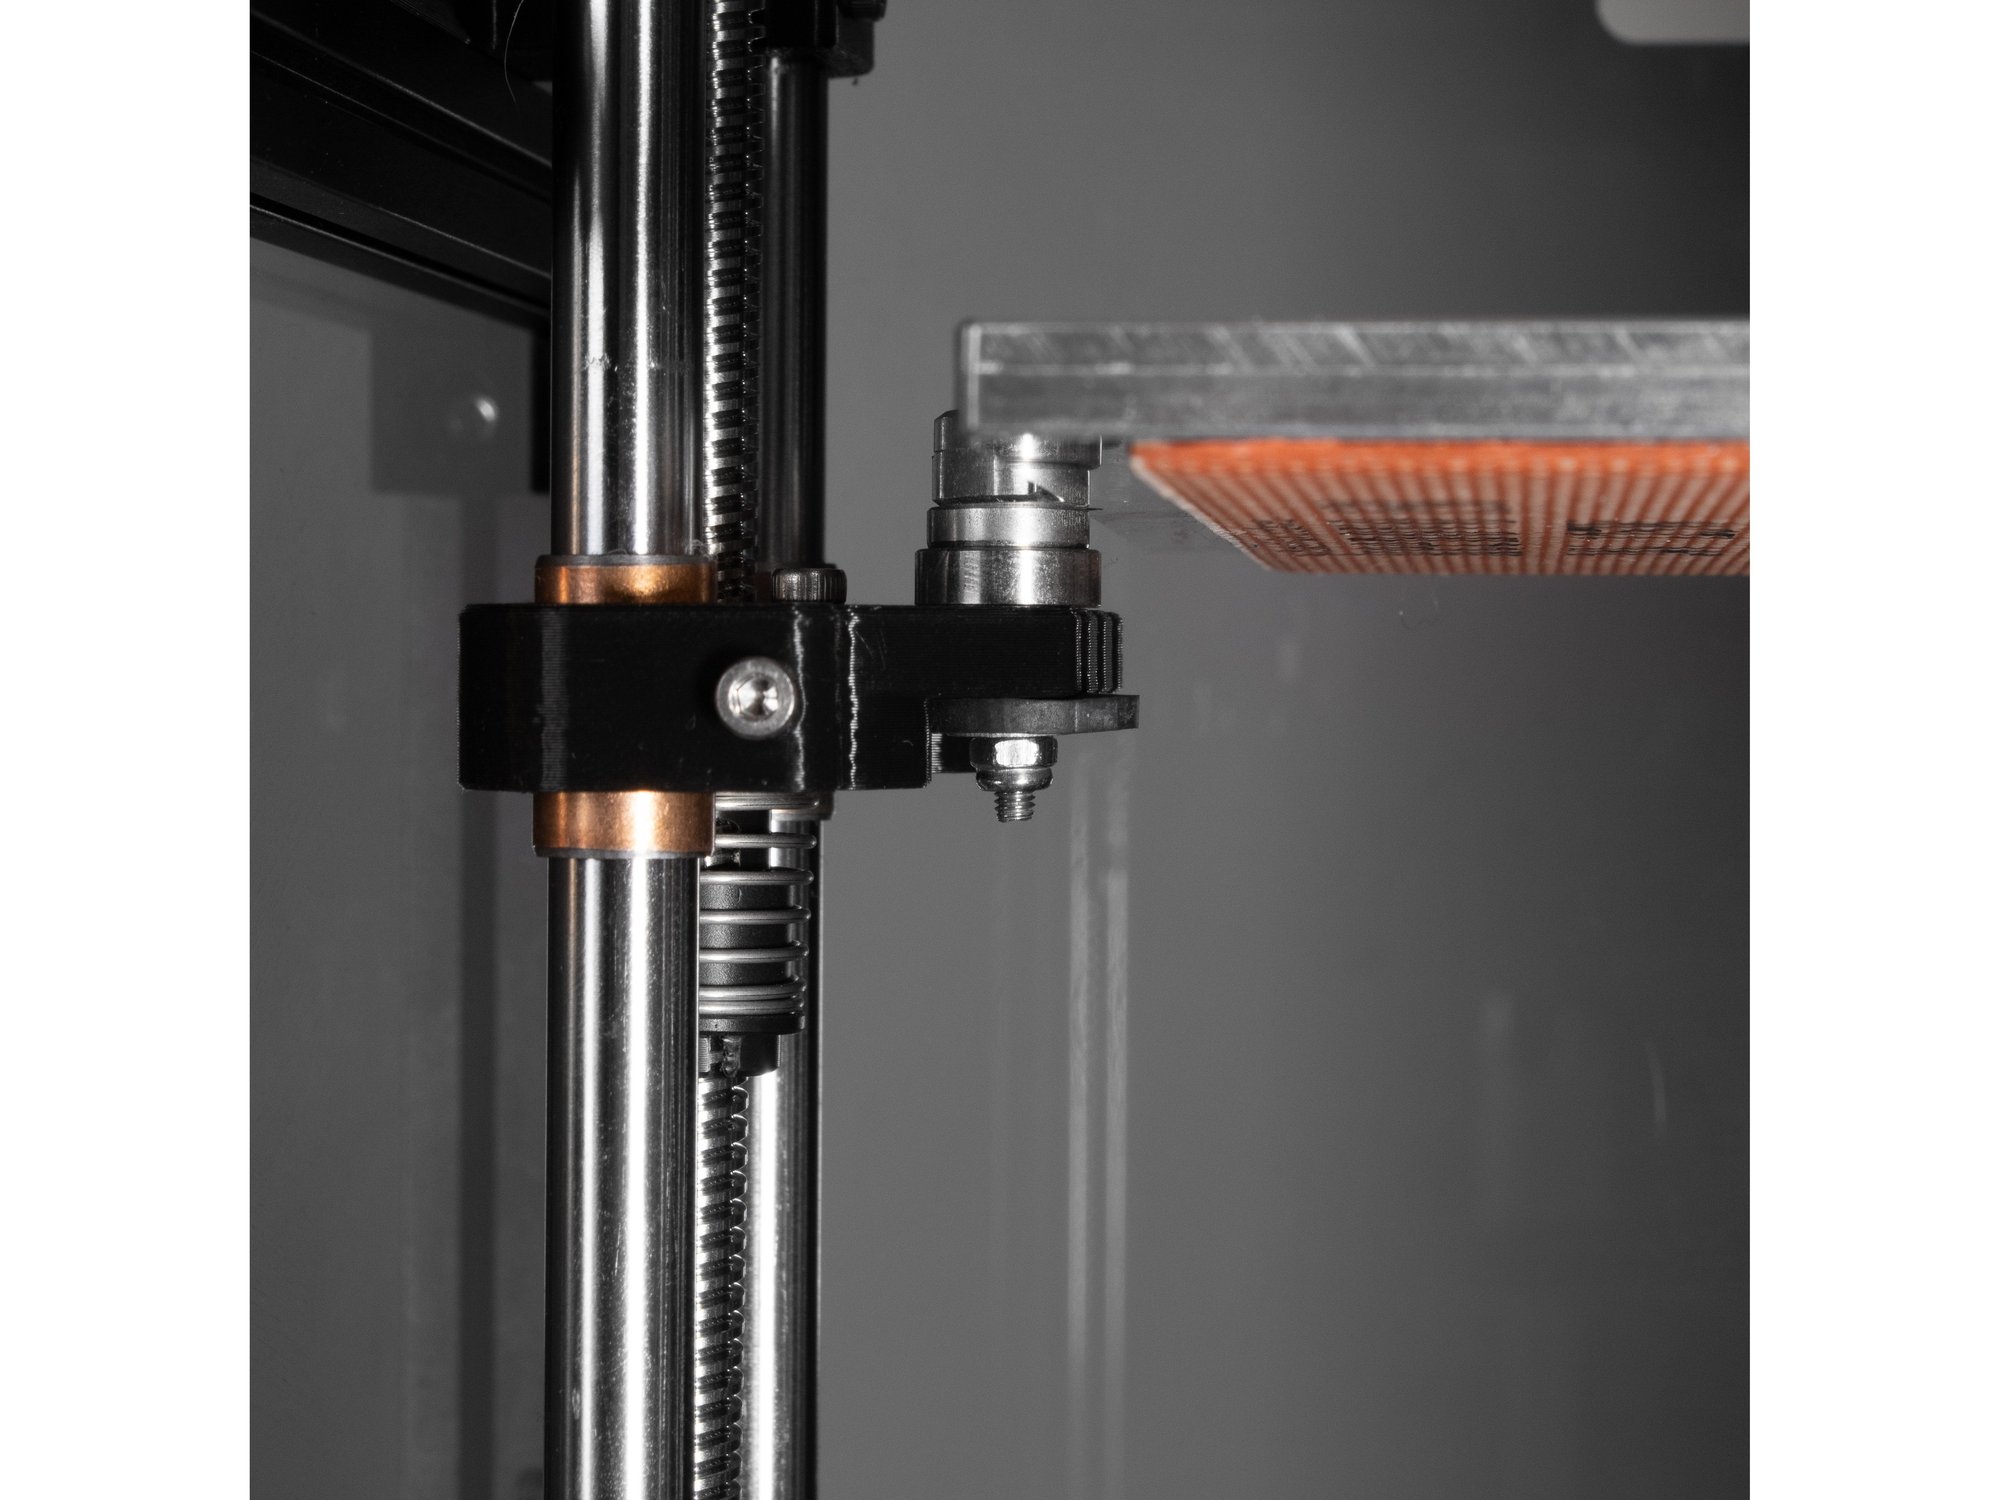
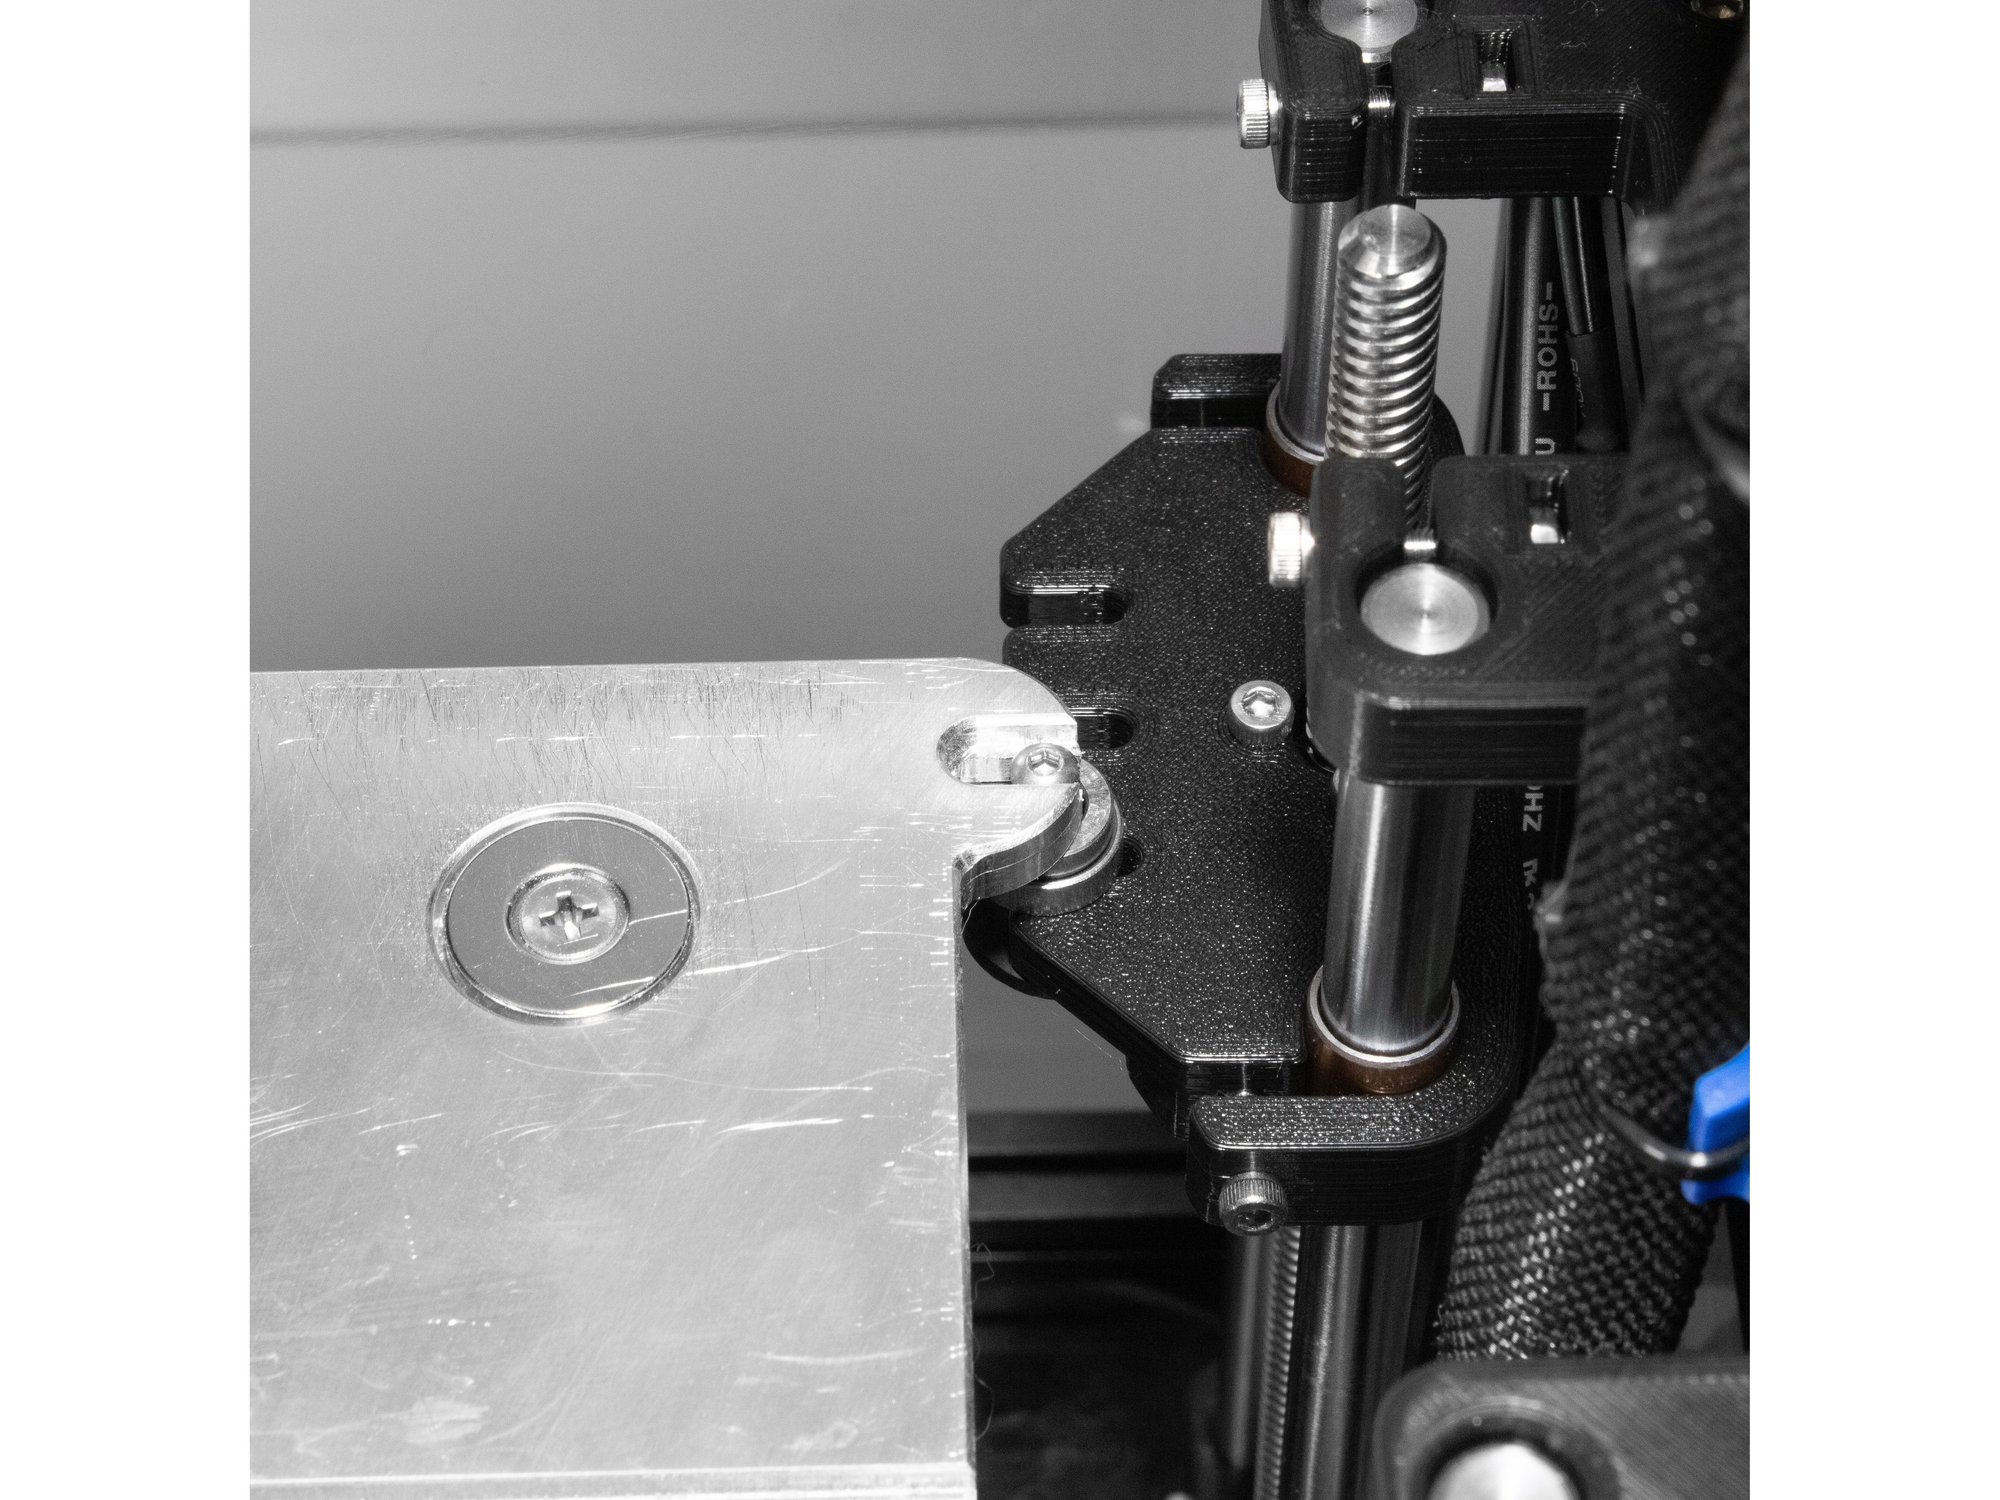
- The bolt stack for mounting the bed is made up of (1) M3 x 25 socket head screw, (1) set of leveling washers, (1) 1/4" rubber washer, (1) M3 washer, and (1) nylock M3 nut.
- The socket head should go in the milled cutout of the bed, and the bed should sit on the stack of the leveling washers on top of the Z yoke.
- The rubber washer, M3 washer and M3 nylock nut will be below the Z yoke.
- Caution The latest version of the Z yokes have three slots. To match the kit configuration, attach the bed to the yokes using the mounting slots closest to the front of the printer.
- Note Wiring should hang off the right side of the bed when installed.
- Tighten the nylock nuts, attaching the bed to the three Z yokes.
Originally at https://railcore.dozuki.com/Guide/O)+Bed/37