P) Electronics
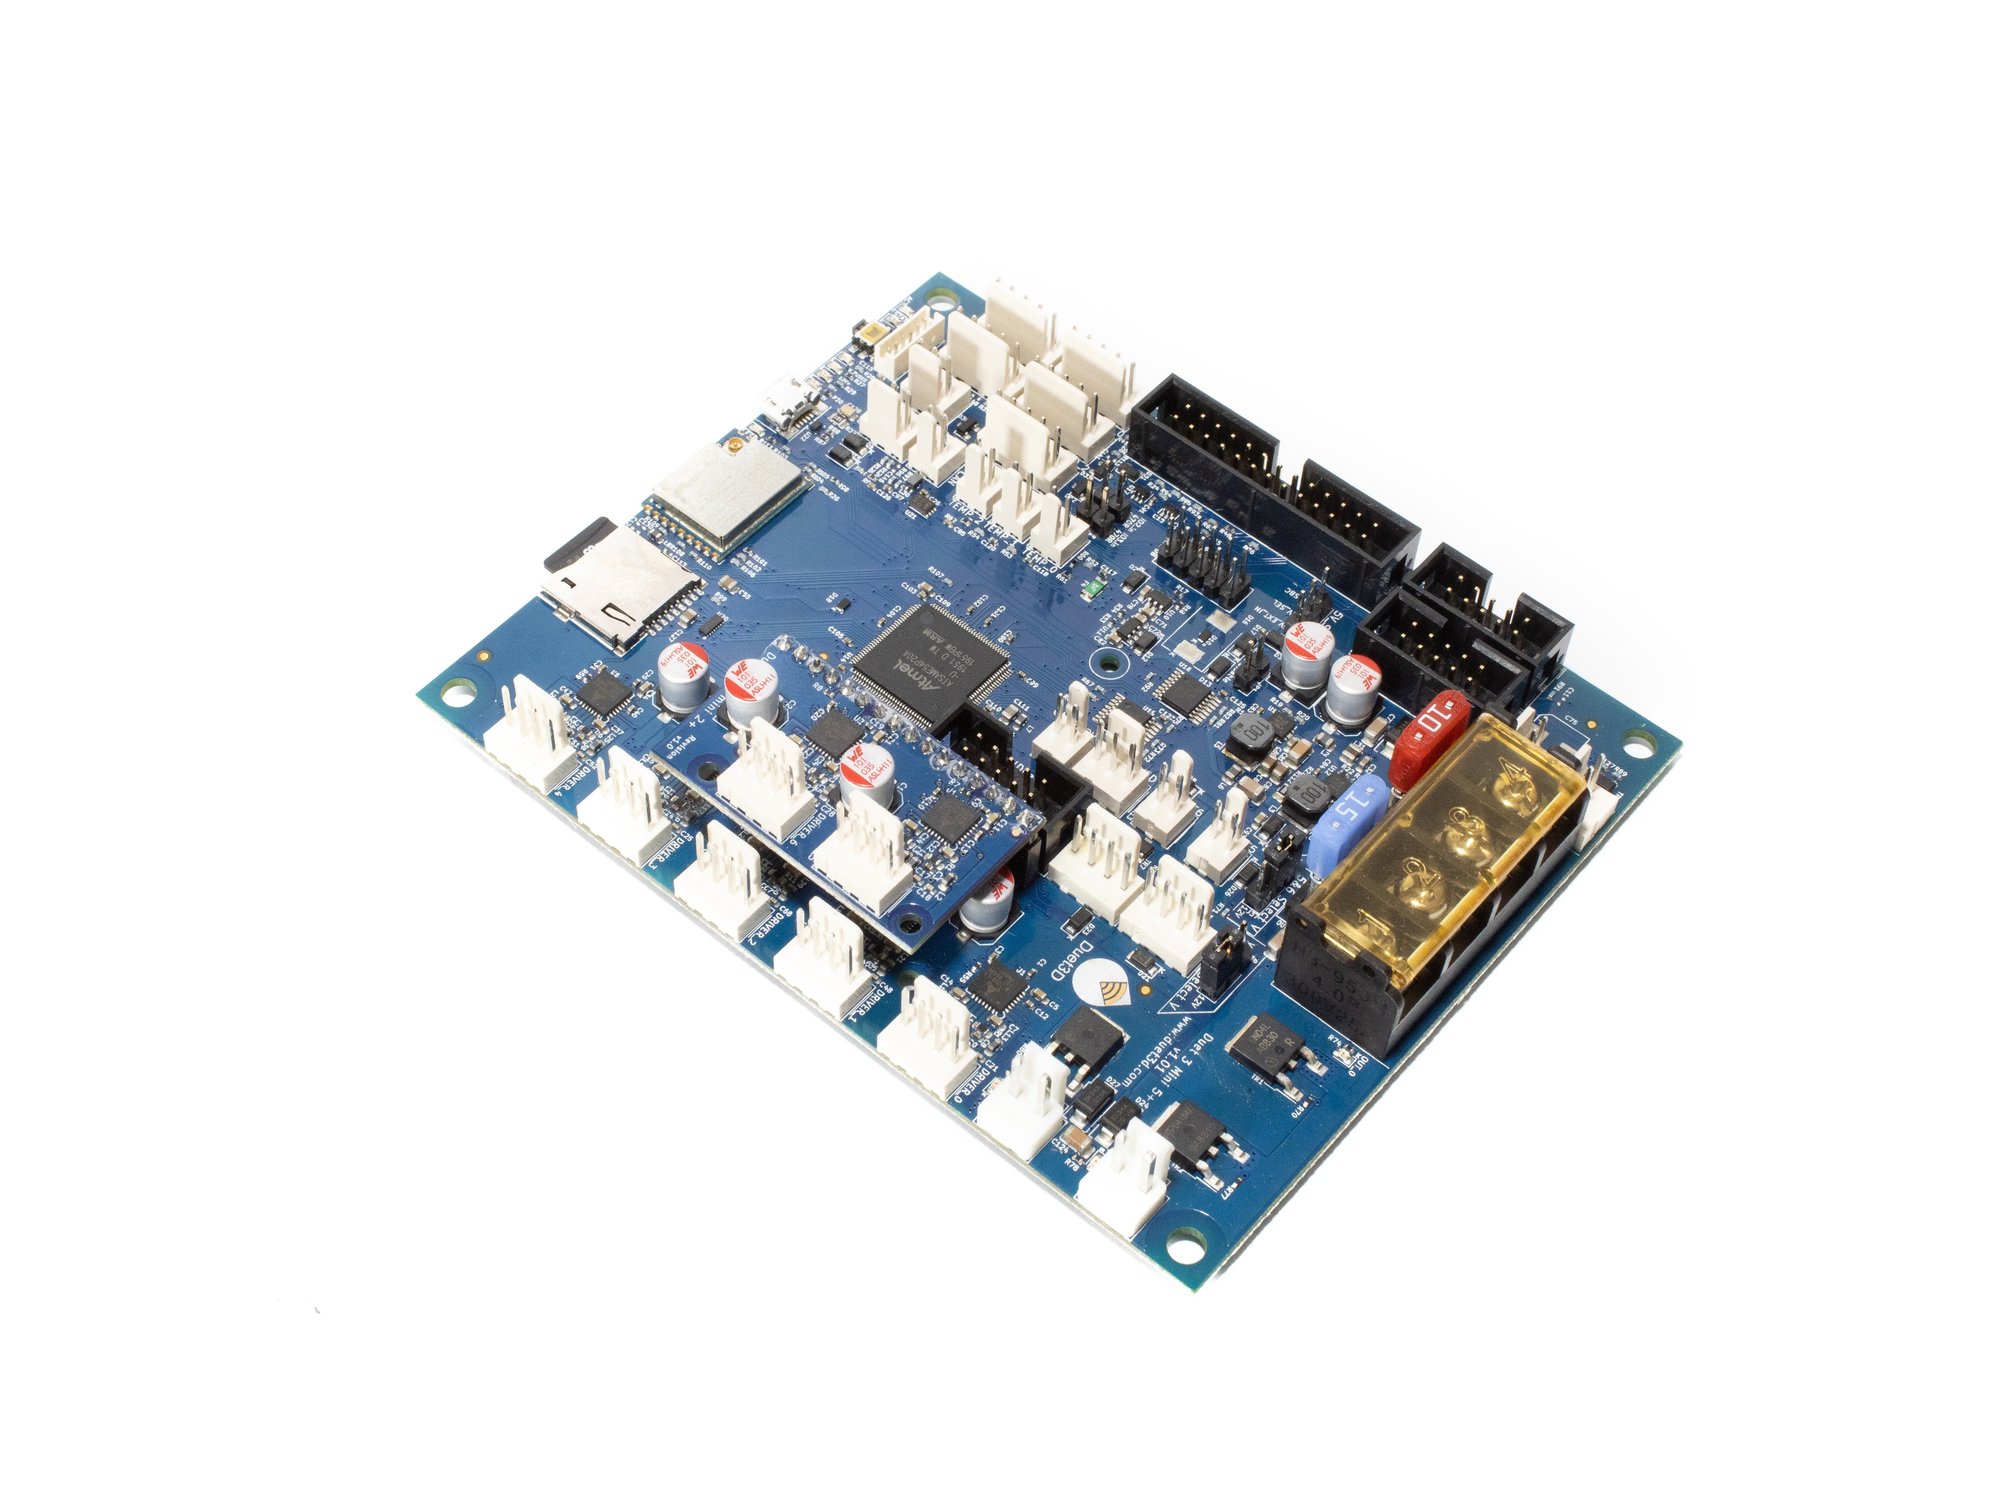
Parts
Step 1 — Safety
- Caution The RailCore Mini is a "DIY" project, build safe, build smart, and be responsible.
- Caution Build at your own risk.
- Caution When in doubt, double check things.
- Caution 3D Printers can get very hot, use common sense and quality components.
- Note If you need help, find us at the RailCore Facebook page or RailCore Discord channel. Both are linked from RailCore.org.
Step 2 — Power Switch Reference
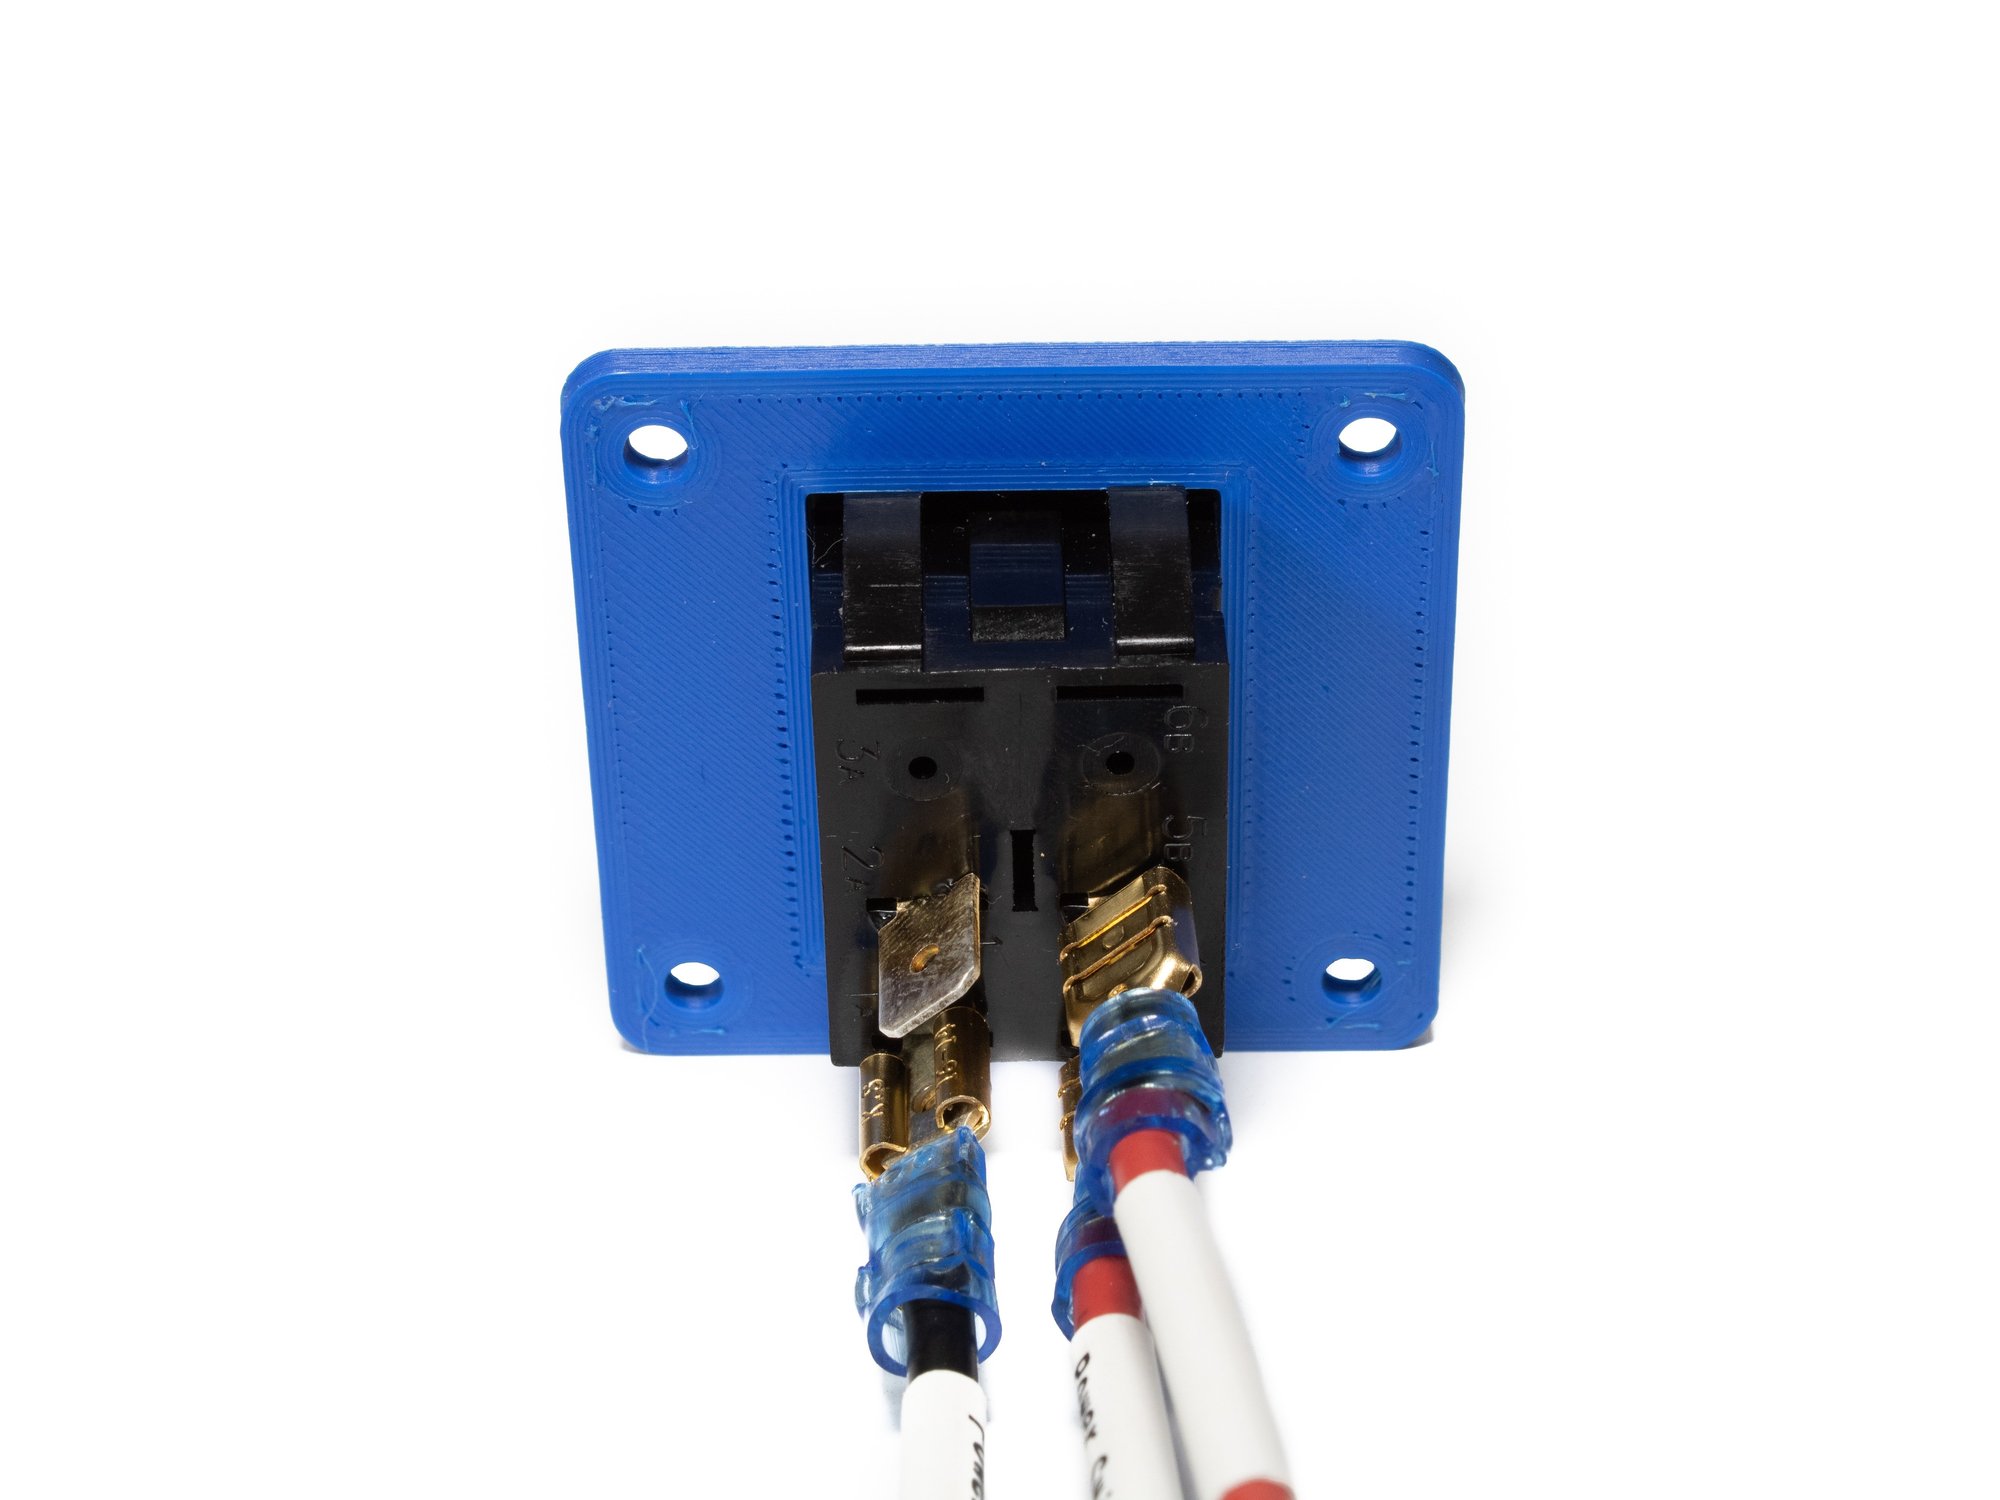
- The power switch in your kit should come pre-wired. Below is a cable reference, and also serves as a way to double check it.
- Pin 1A -> Black, Wago (6 Port) / 150mm
- Pin 4B -> Red, Wago (3 Port) / 150mm
- Pin 5B -> Red, Duet VIN (24v) / 250mm
Step 3 — Power Input Reference
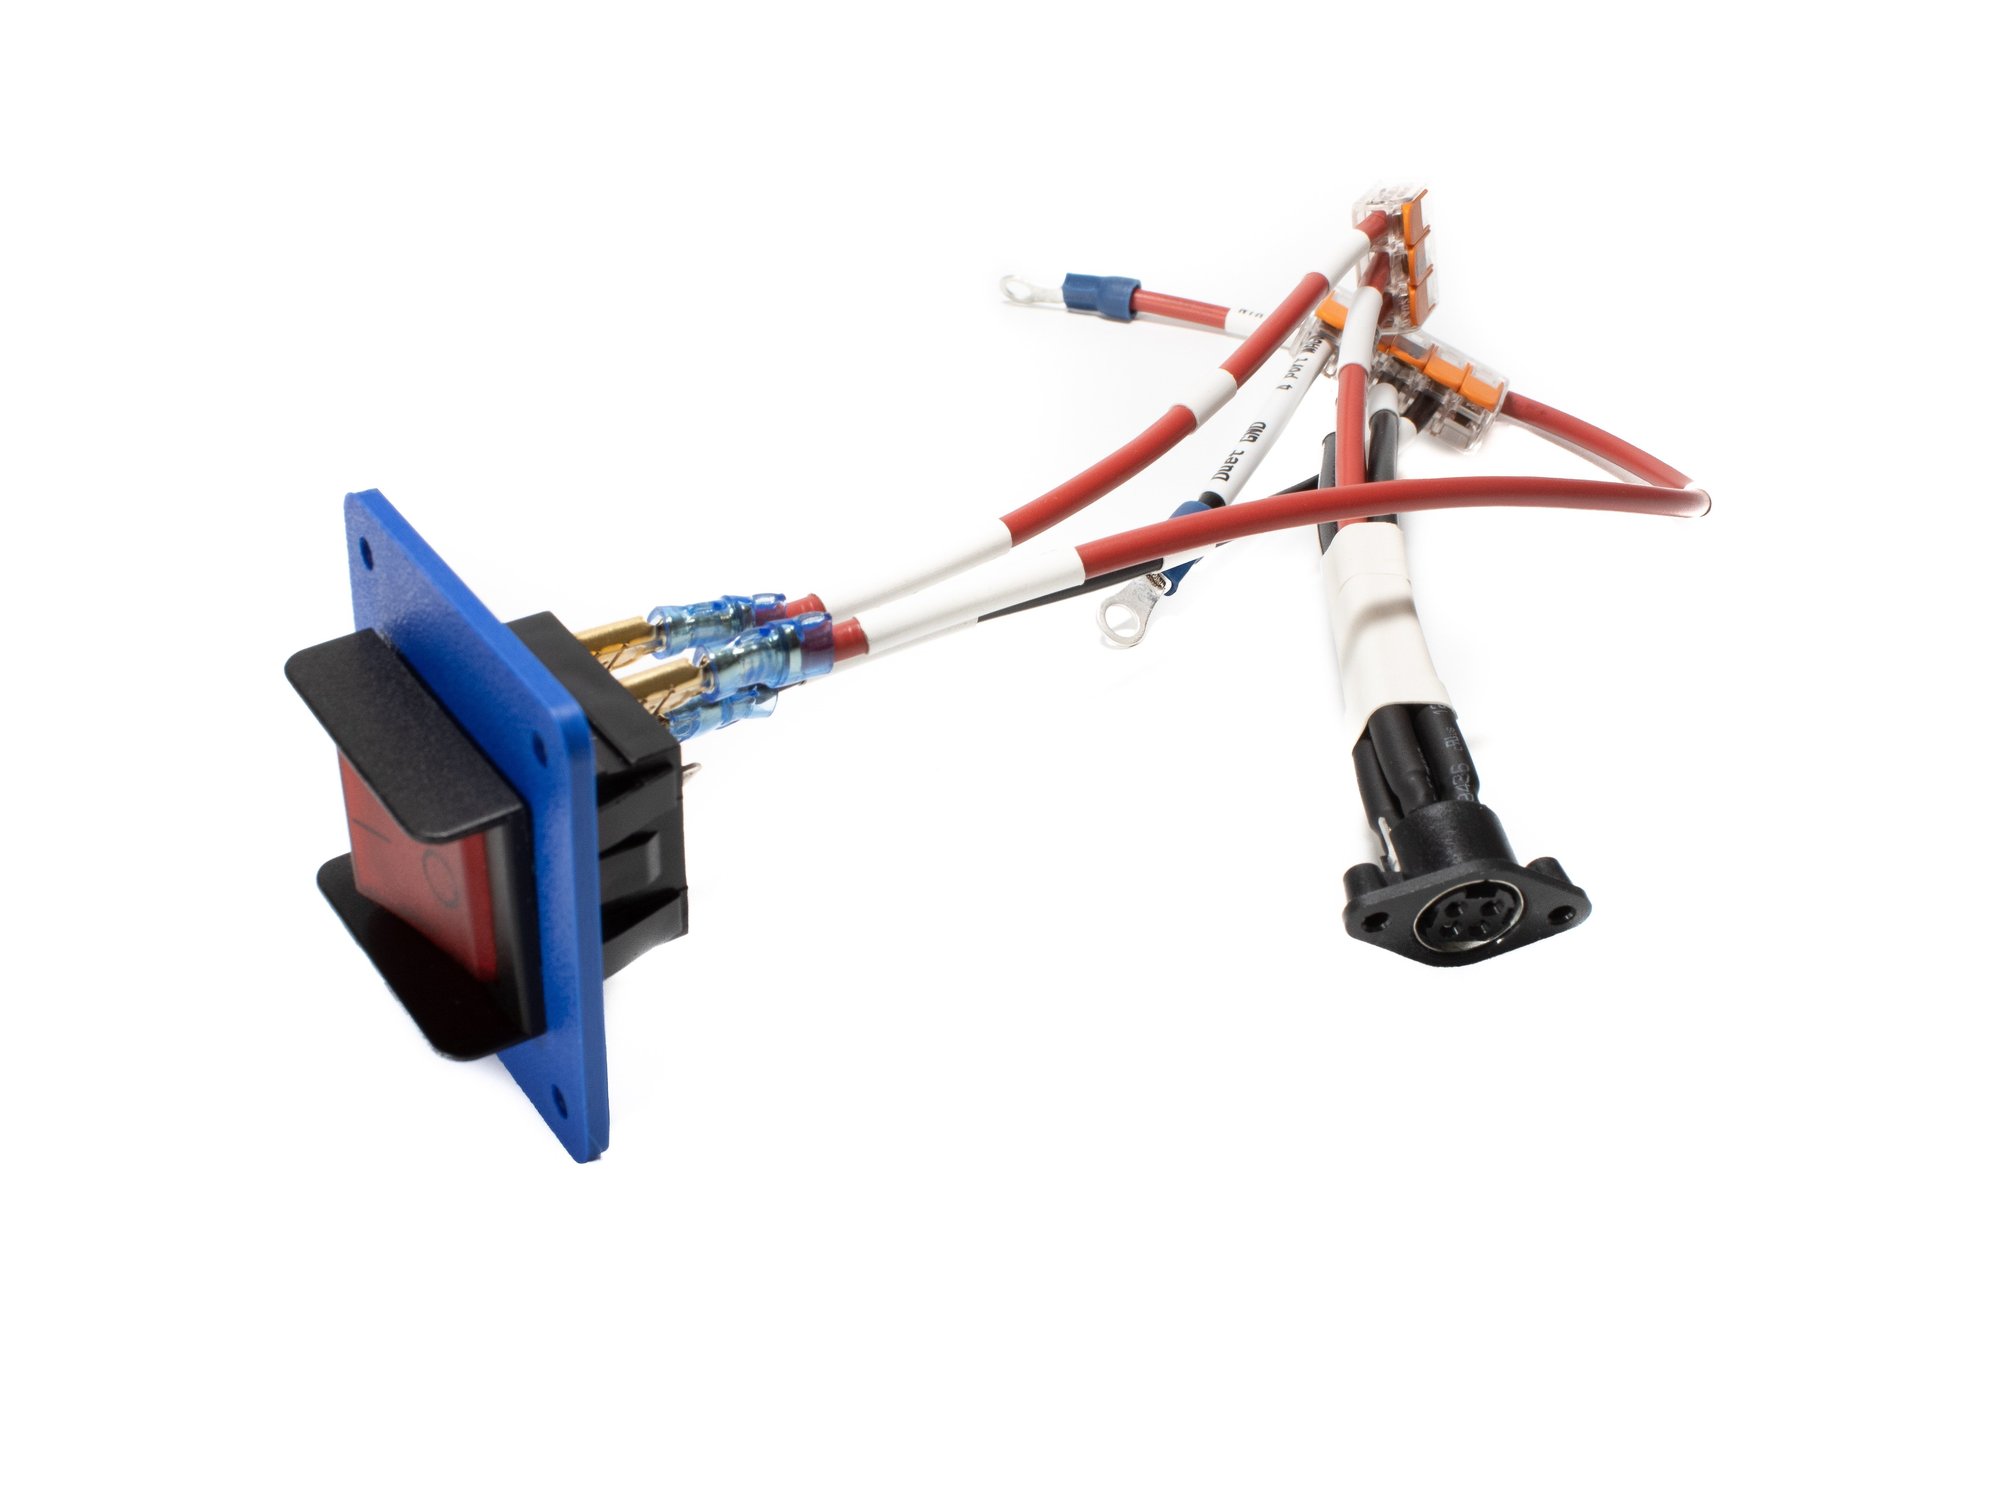
- The power input plug in your kit should come pre-wired. Below is a cable reference, and also serves as a way to double check it.
- Pin 1 -> Black, Wago (6 Port) / 120mm
- Pin 2 -> Red, Wago (3 Port) / 120mm
- Pin 3 -> Red, Wago (3 Port) / 120mm
- Pin 4 -> Black, Wago (6 Port) / 120mm
Step 4 — Install Duet 3 Mini 5+
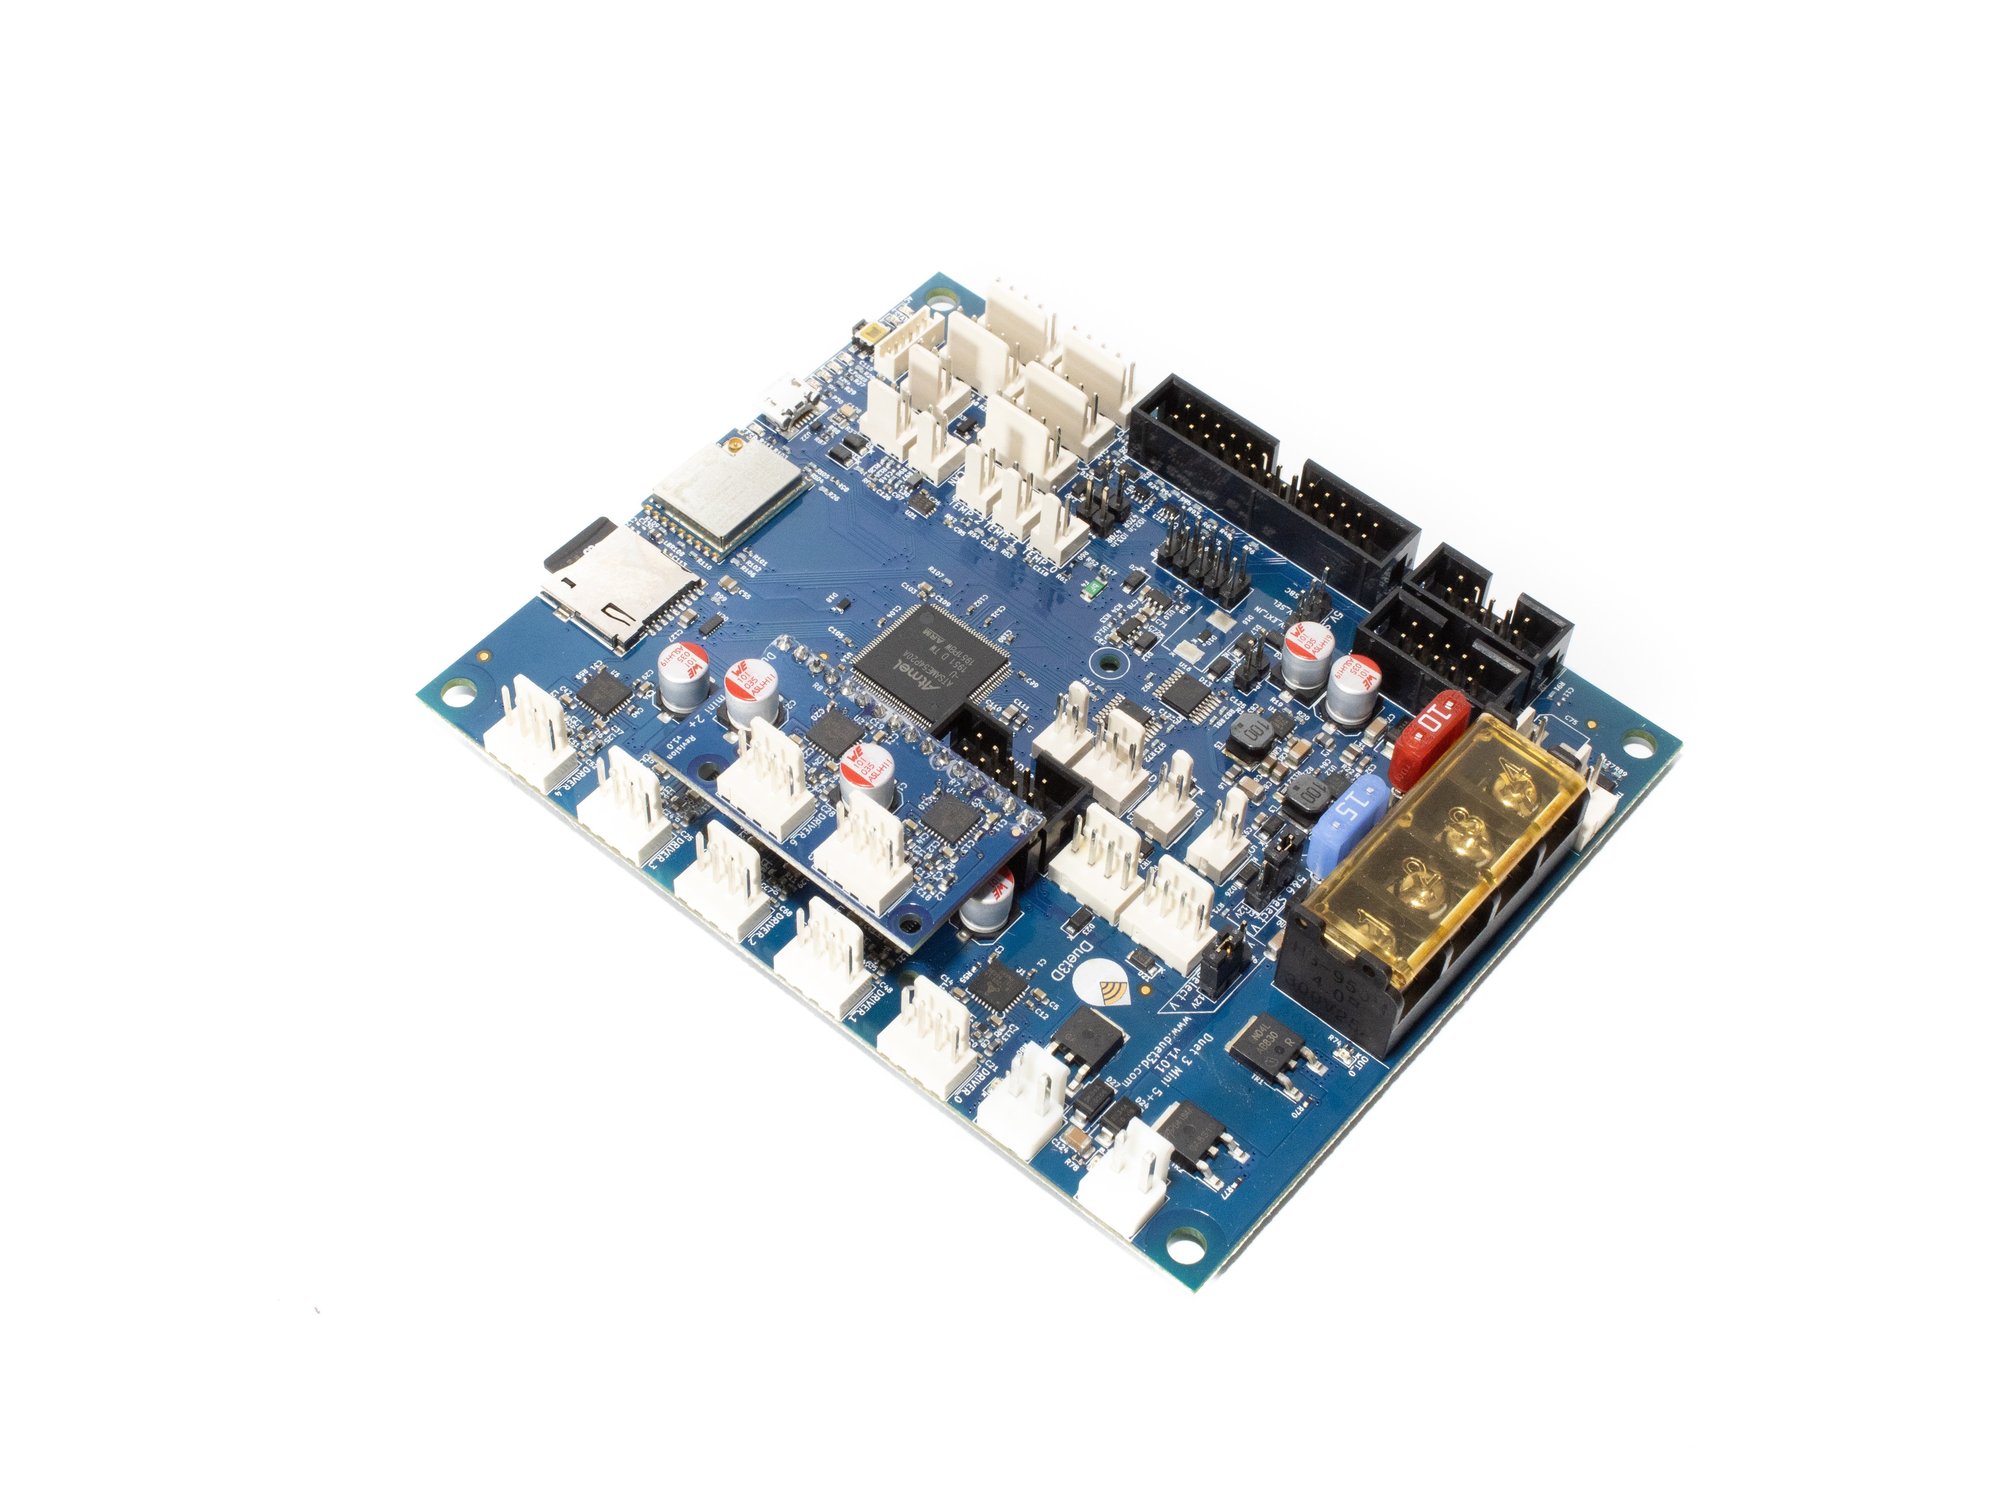
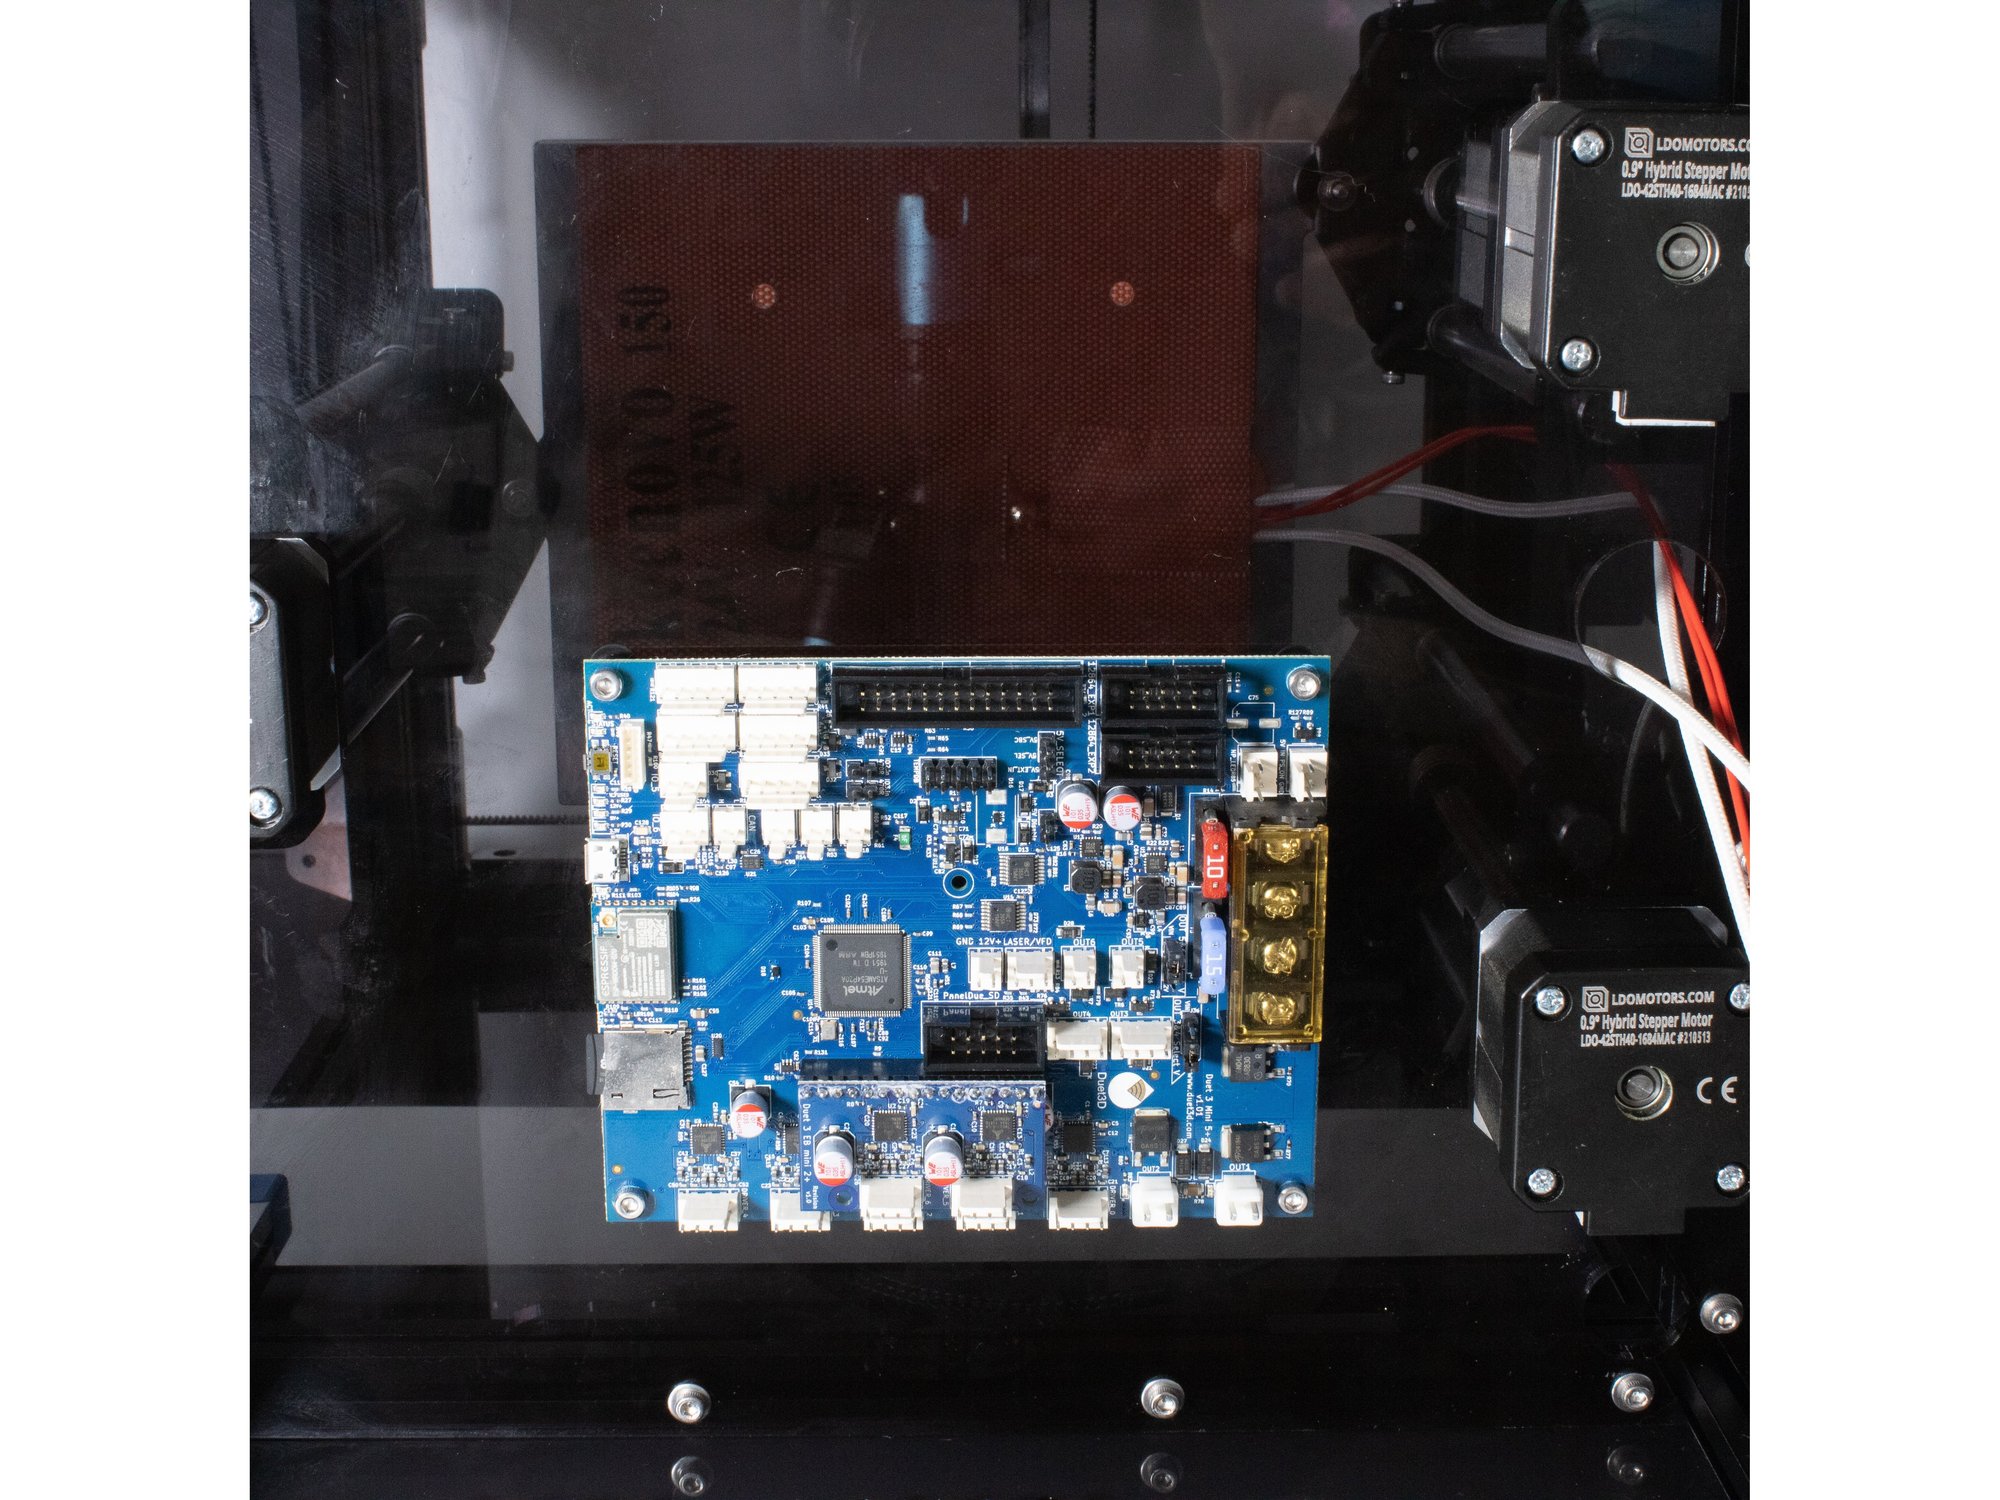
- Install the Duet +2 expansion board on the Duet board as shown in the image.
- Using (4) nylon standoffs, M3 x 16 socket head screws, and M3 washers, attach the Duet to the base of the printer.
Step 5 — Install Power Switch
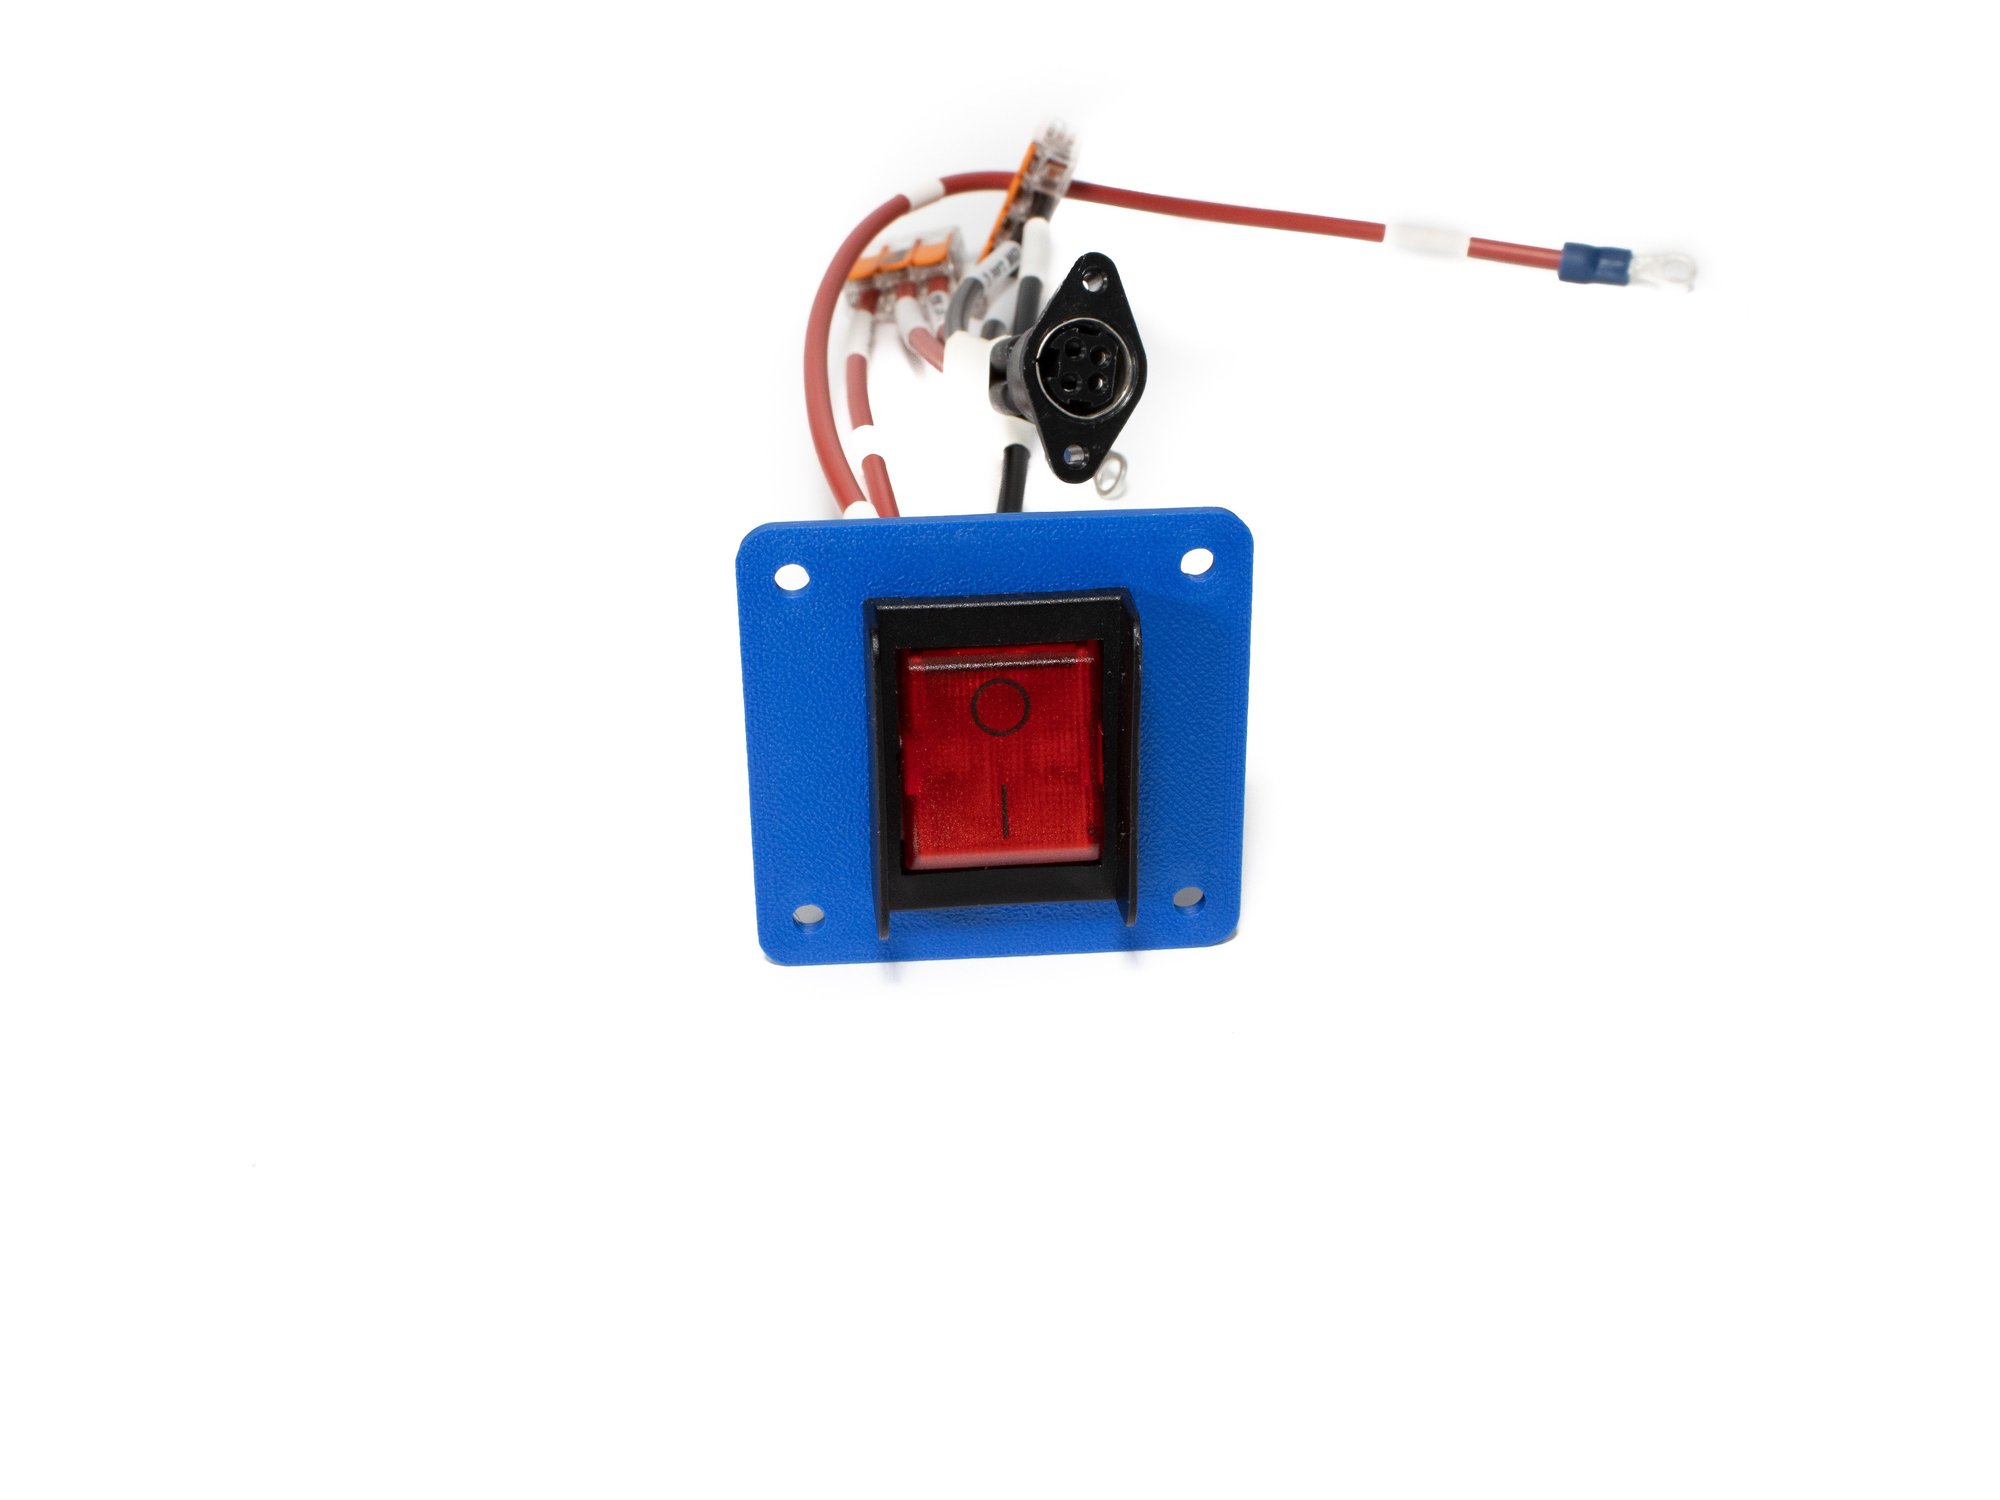
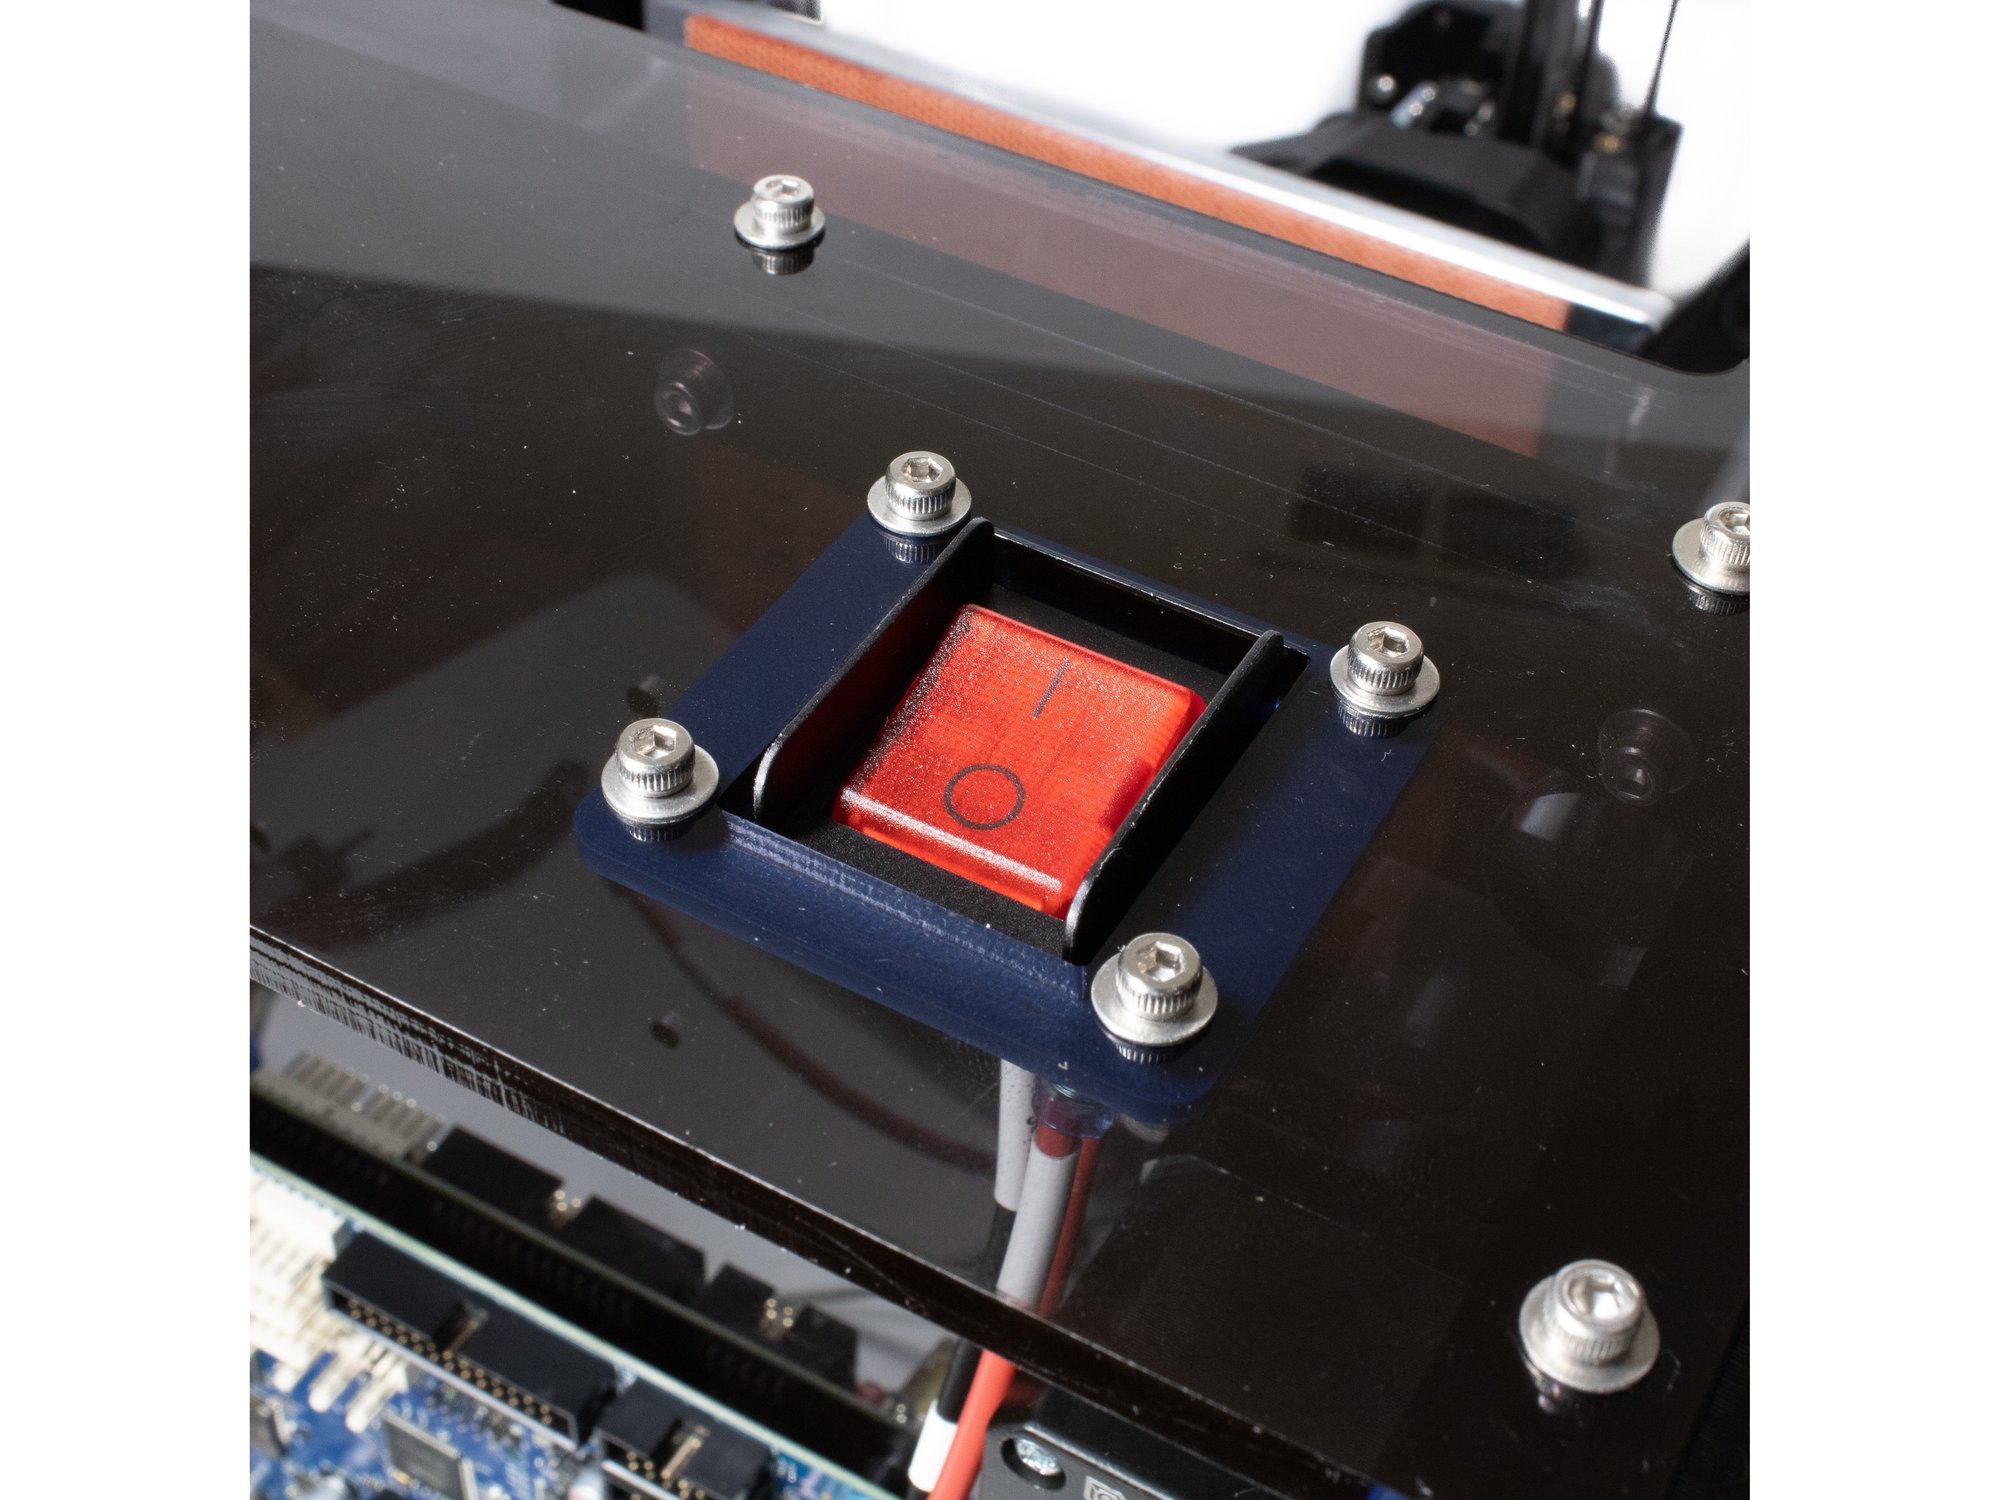
- Using (4) M3 x 12 socket head screws, M3 washers, and M3 nuts, install the power switch under the panel.
- Note Off position should be towards the top of the printer.
Step 6 — Install Power Plug
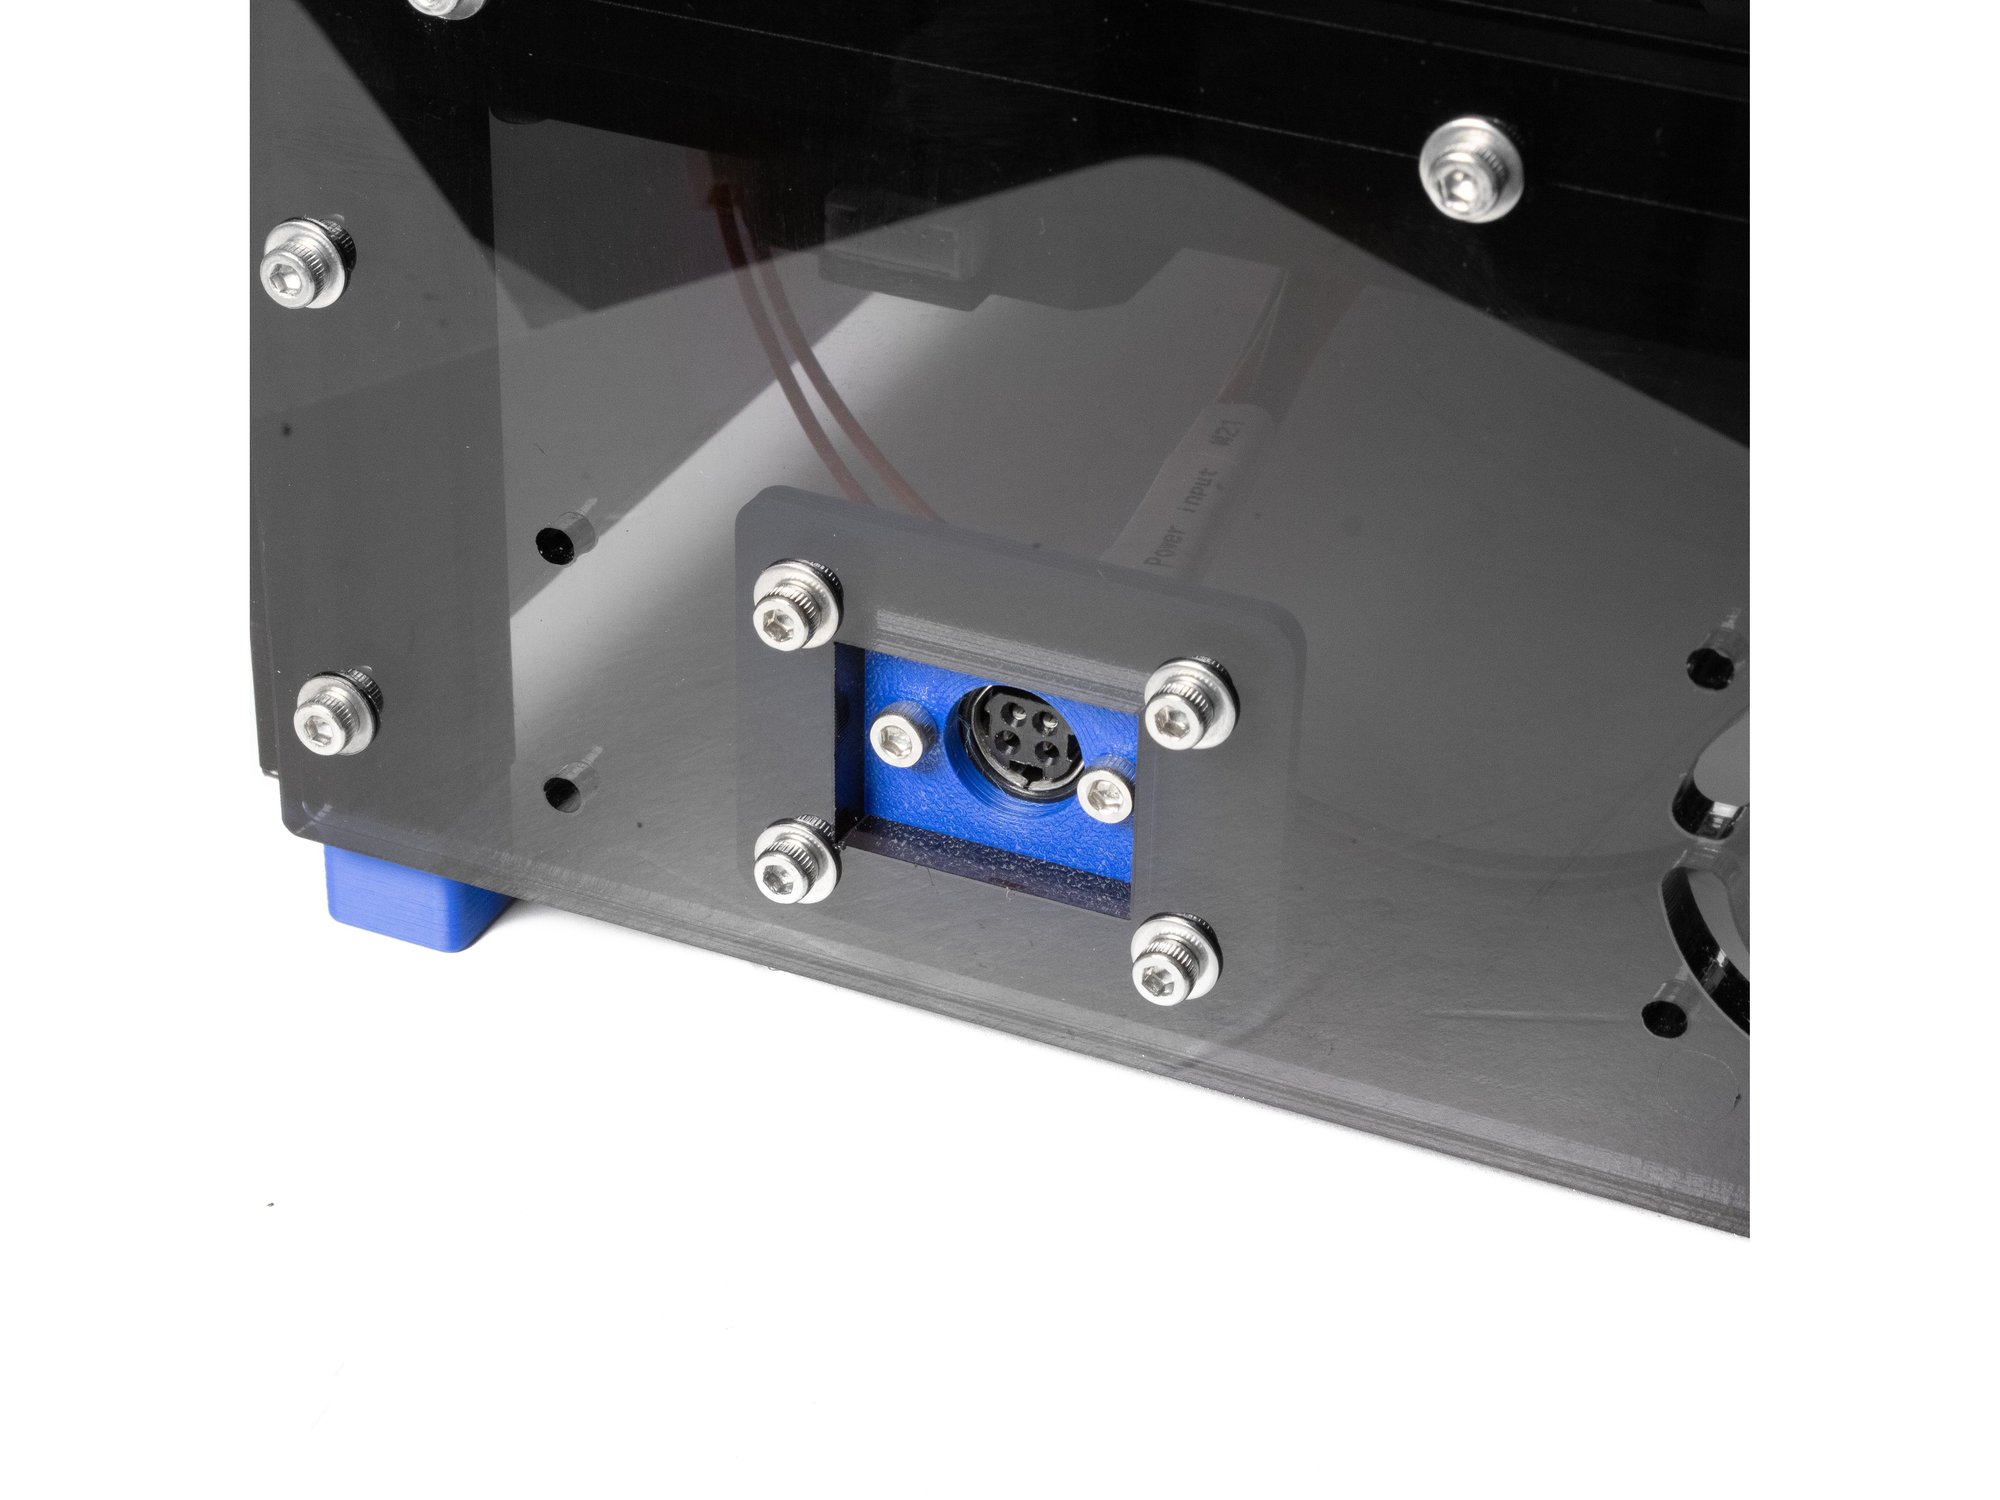
- Using (2) M3 x 10 self tapping screws, attach the power plug to the printed mount.
- Note The material the plug is made out of can also be tapped for M3.
- Using (4) M3 x 12 socket head screws, M3 washers, and M3 nuts, install the power plug under the panel.
Step 7 — Install Panel Fans
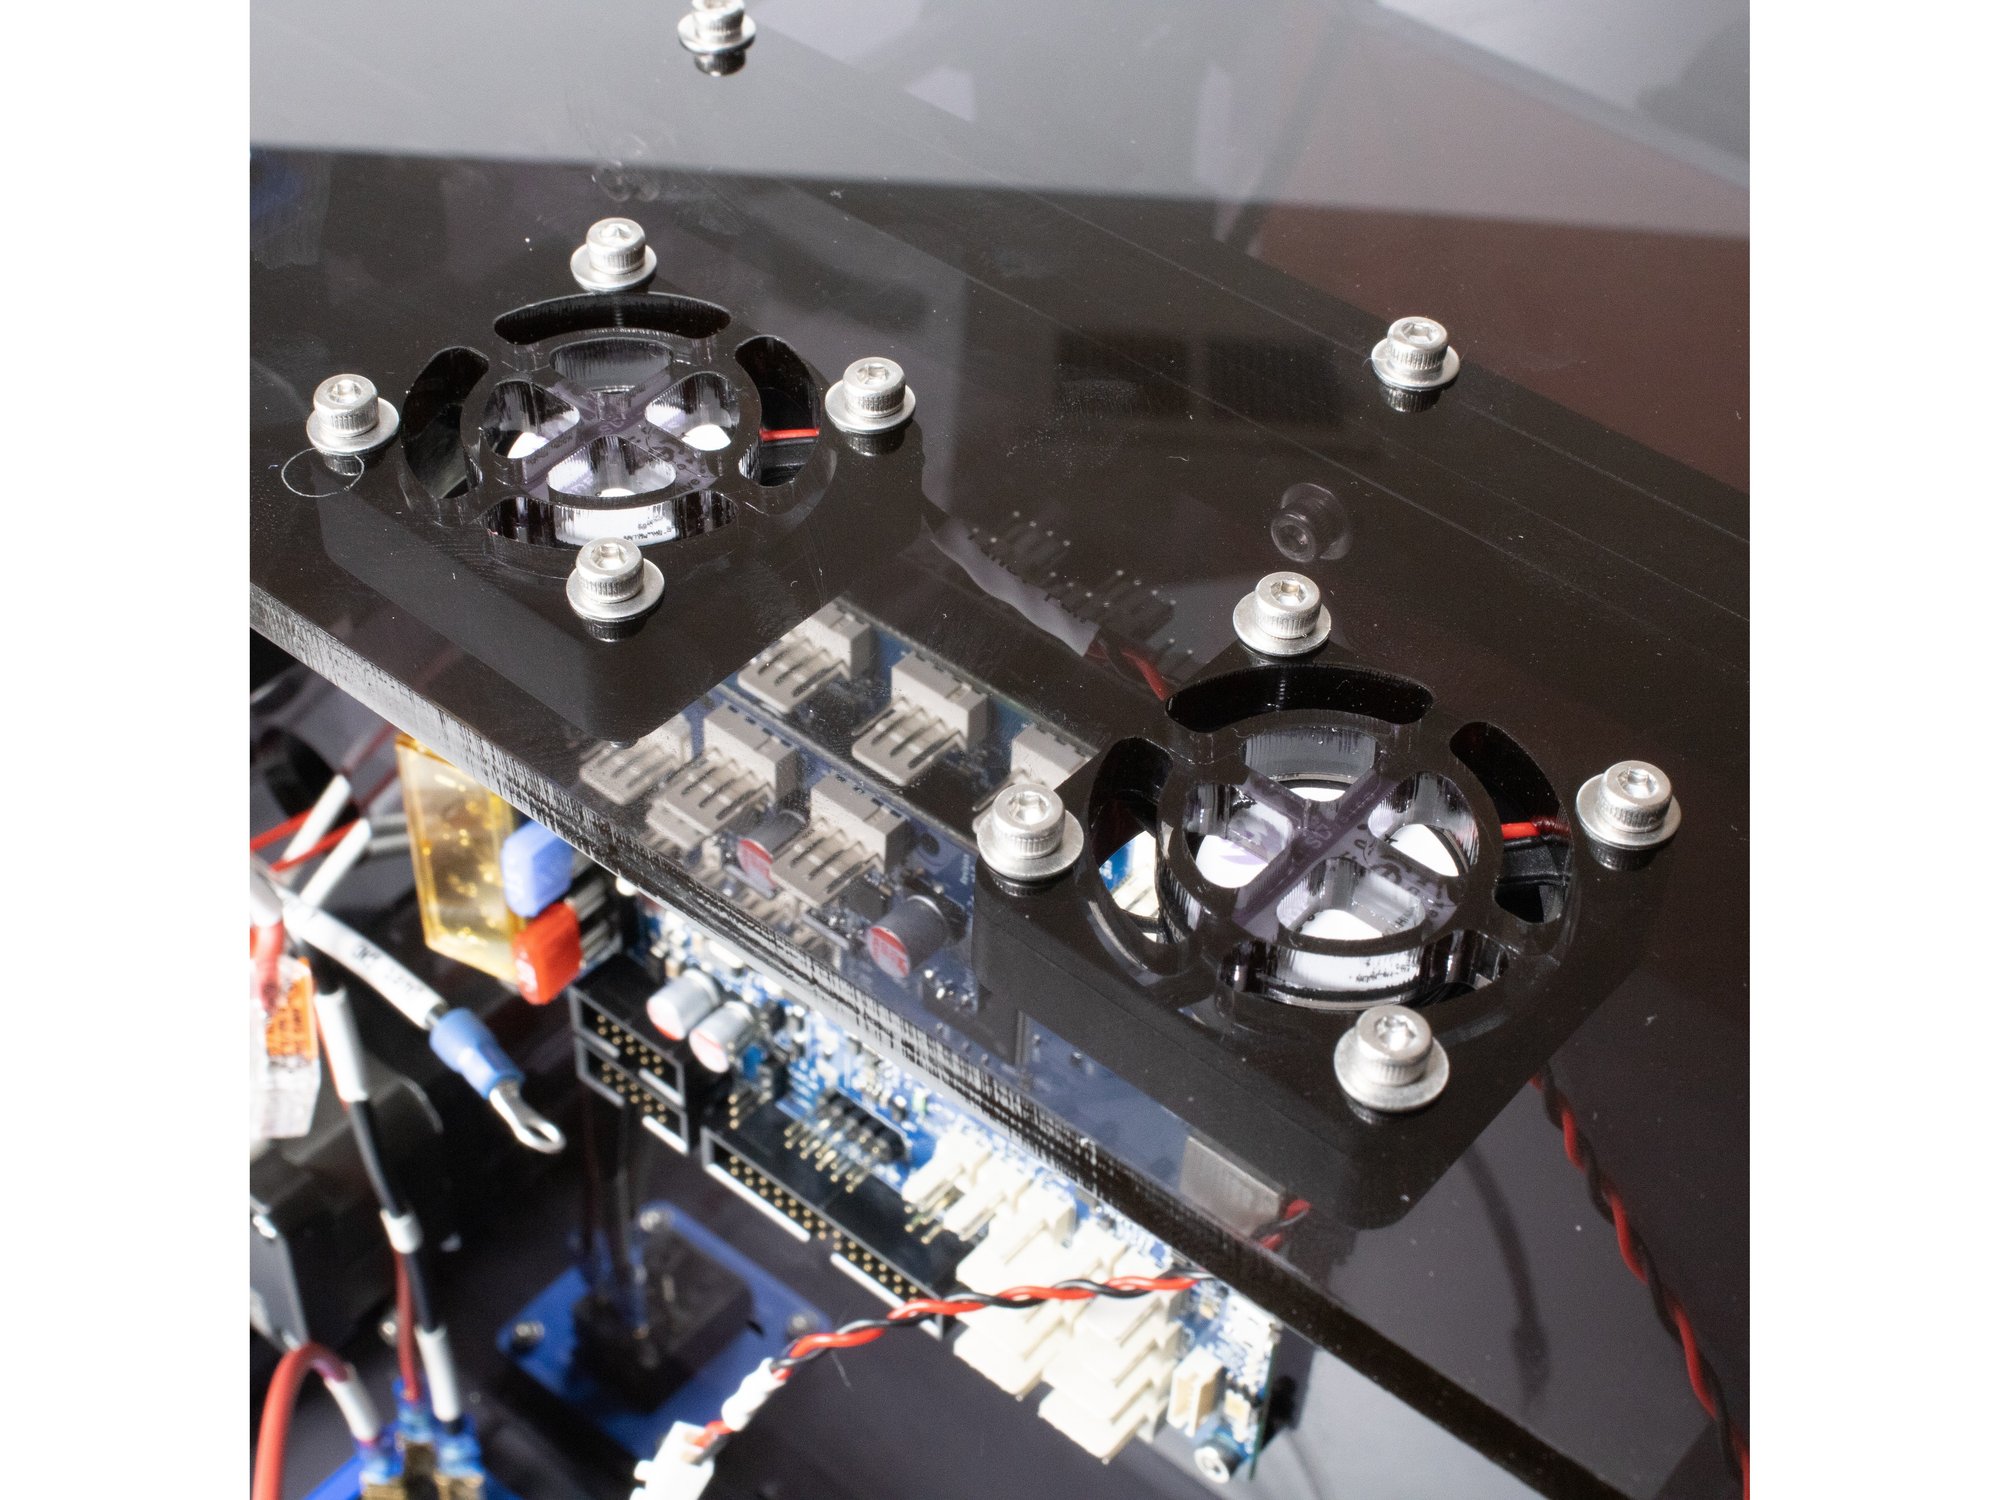
- Using (4) M3 x 20 socket head screws, M3 washers, and M3 nuts, install the (2) panel fans under the rear panel.
Originally at https://railcore.dozuki.com/Guide/P)+Electronics/38