R) Firmware, Config, and Smoke Test
Step 1 — A Word of Warning
- Caution It can be tempting to rush ahead - you're almost done, after all, and you want to see your printer print. Don't rush these steps.
- Caution Read each step carefully, and follow the instructions closely, you'll save yourself a lot of time and headache.
- Caution If at any point you feel over your head here, stop and ask questions in the RailCore Discord (Best option) or RailCore Facebook group.
- Caution Be very careful near your electronics with the cover off. You can install the cover first, but it can be difficult to adjust things, so I install it after the smoke test.
- Caution NEVER UNPLUG ANYTHING FROM YOUR DUET WITH THE POWER ON, ESPECIALLY STEPPERS.
Step 2 — Default Config Files
- Your Duet comes with an SD Card pre-loaded with configuration files. We need to change those to the RailCore default files.
- Remove the SD card and put it in your PC. On it you'll find a series of folders.
- Make a copy of the "sys" folder, and call it "sys_original".
- Copy all of the files from here into your sys folder, overwriting the original files:
- Copy the files here into the /macros folder:
- Eject the SD card from your PC, and put it back in the Duet.
Step 3 — Connecting to your Duet
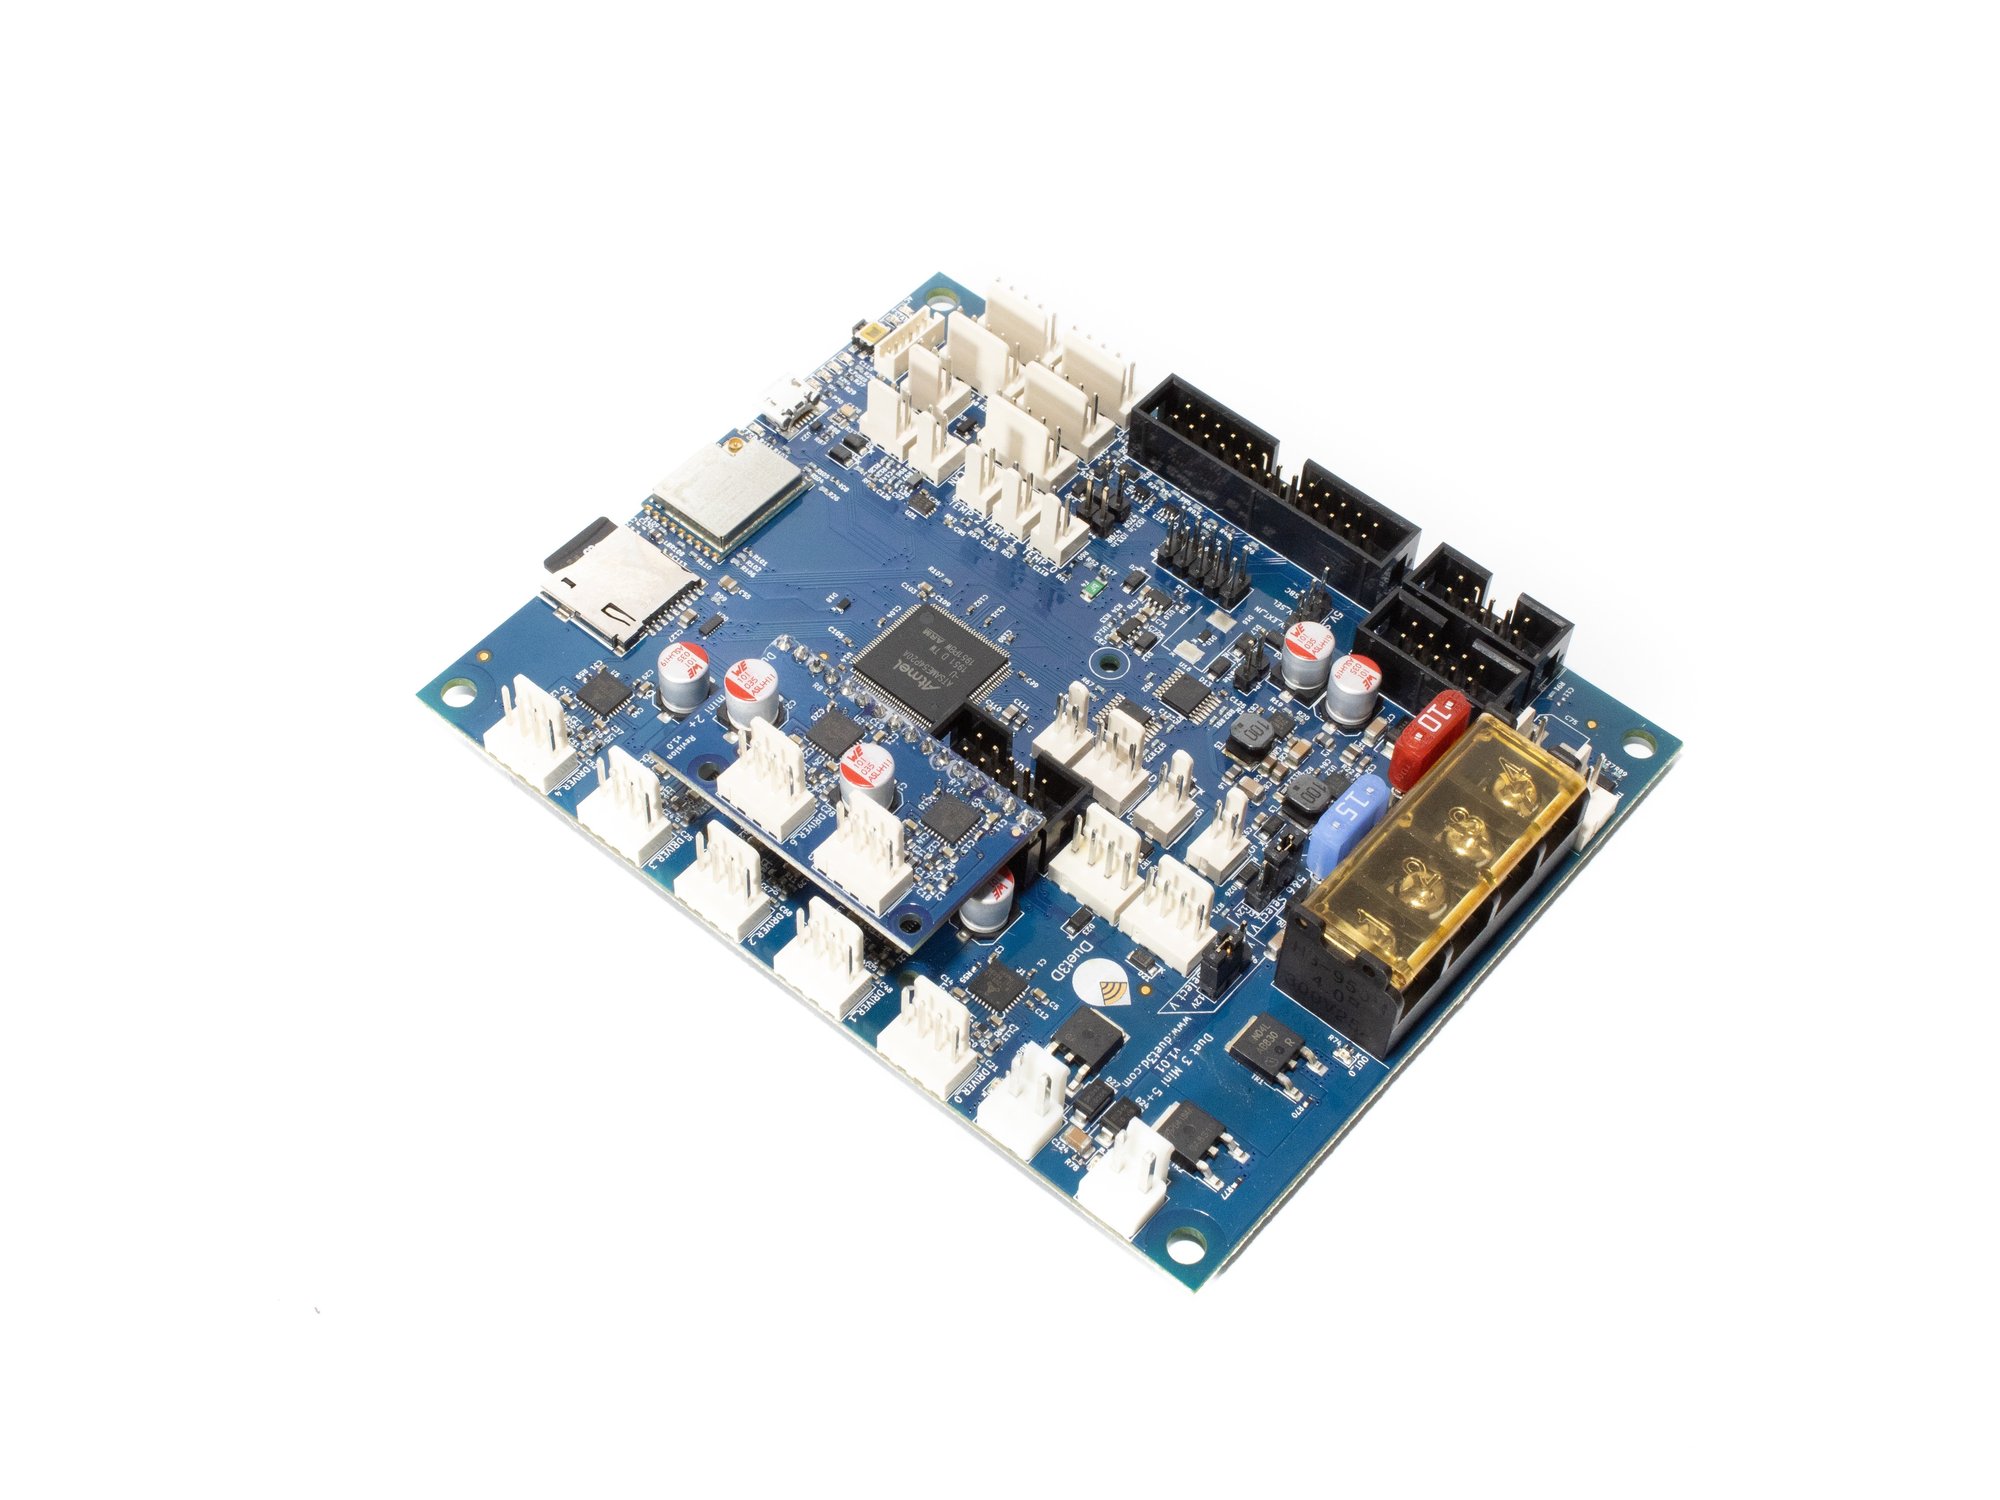
- Before powering-on the first time, You need to connect to your duet with a microUSB cable.
- Follow the instructions here for getting connected to your Duet: https://duet3d.dozuki.com/Guide/1.)+Gett... You can use YAT as suggested, or any other serial console program.
- Don't worry about upgrading your firmware yet, but take note of the version installed.
- Send an M115 command to your Duet, be sure you see "Duet 3 Mini5plus WiFi" in the output.
- Continue following the instructions to get the Duet connected to your network.
- Ensure that you can reach your Duet via Duet Web Control before disconnecting the USB. When you unplug the USB the duet will lose power.
Step 4 — Smoke Test
- Double check all your connections.
- Double check them again.
- Once the printer is powered, do not work on the electronics until you power it off. Keep your fingers entirely away from the electronics area while the printer is on.
- Connect the power cord to the IEC inlet plug.
- Power on the printer.
- You should be able to connect to the web interface you set up earlier.
Step 5 — Updating Duet 3 Firmware
- You can update all firmware and DWC files by uploading the main zip file from the latest stable RRF release.
- Upload the zip file to the system tab. Do not extract it first.
- It should be detected and extracted automatically to the correct locations and prompt you to update and reboot.
- Note The zip files for upgrading the firmware can be found here: https://github.com/Duet3D/RepRapFirmware...
Originally at https://railcore.dozuki.com/Guide/R)+Firmware+Config+and+Smoke+Test/40