RailCore® Labs
RailCore® is a family of Core-XY based Reprap 3D printers designed by J. Steve White, Tony Akens, and Ben Withem.
Choice of Z-probe on the RailCore is one with no single right answer, as with any 3d printer. There are always tradeoffs. The most important factor is repeatability, you want to choose a probe that will give you consistent results at a given location.
IR Probe
Need data.
BLTouch
A Bltouch can be using using the BLTouch in the main Thingiverse page. You’ll need to space the height out to match your particular hotend. For a V6 having a pair of the brass threaded inserts between the mount and BLTouch is near perfect. See the picture. I also used a bit of belt to dampen vibrations since mine was somewhat noisy.

To connect to the duet you need to use 2 wires off the Z-Probe port, and 3 off of the duex5’s PWM1 port.
The full BLTouch Duet guide is here: https://duet3d.dozuki.com/Wiki/Connecting_a_Z_probe
Settings
The settings I use for my BLTouch in my config.g are (Comment out the IR Probe lines, adjust the Z trigger height as needed):
M558 P9 H5 R1 F50 T6000 A5 S0.02 B1
G31 X2 Y42 Z2.68 P25
You also need to make sure the deployprobeg.g and retractprobe.g are in your /sys folder
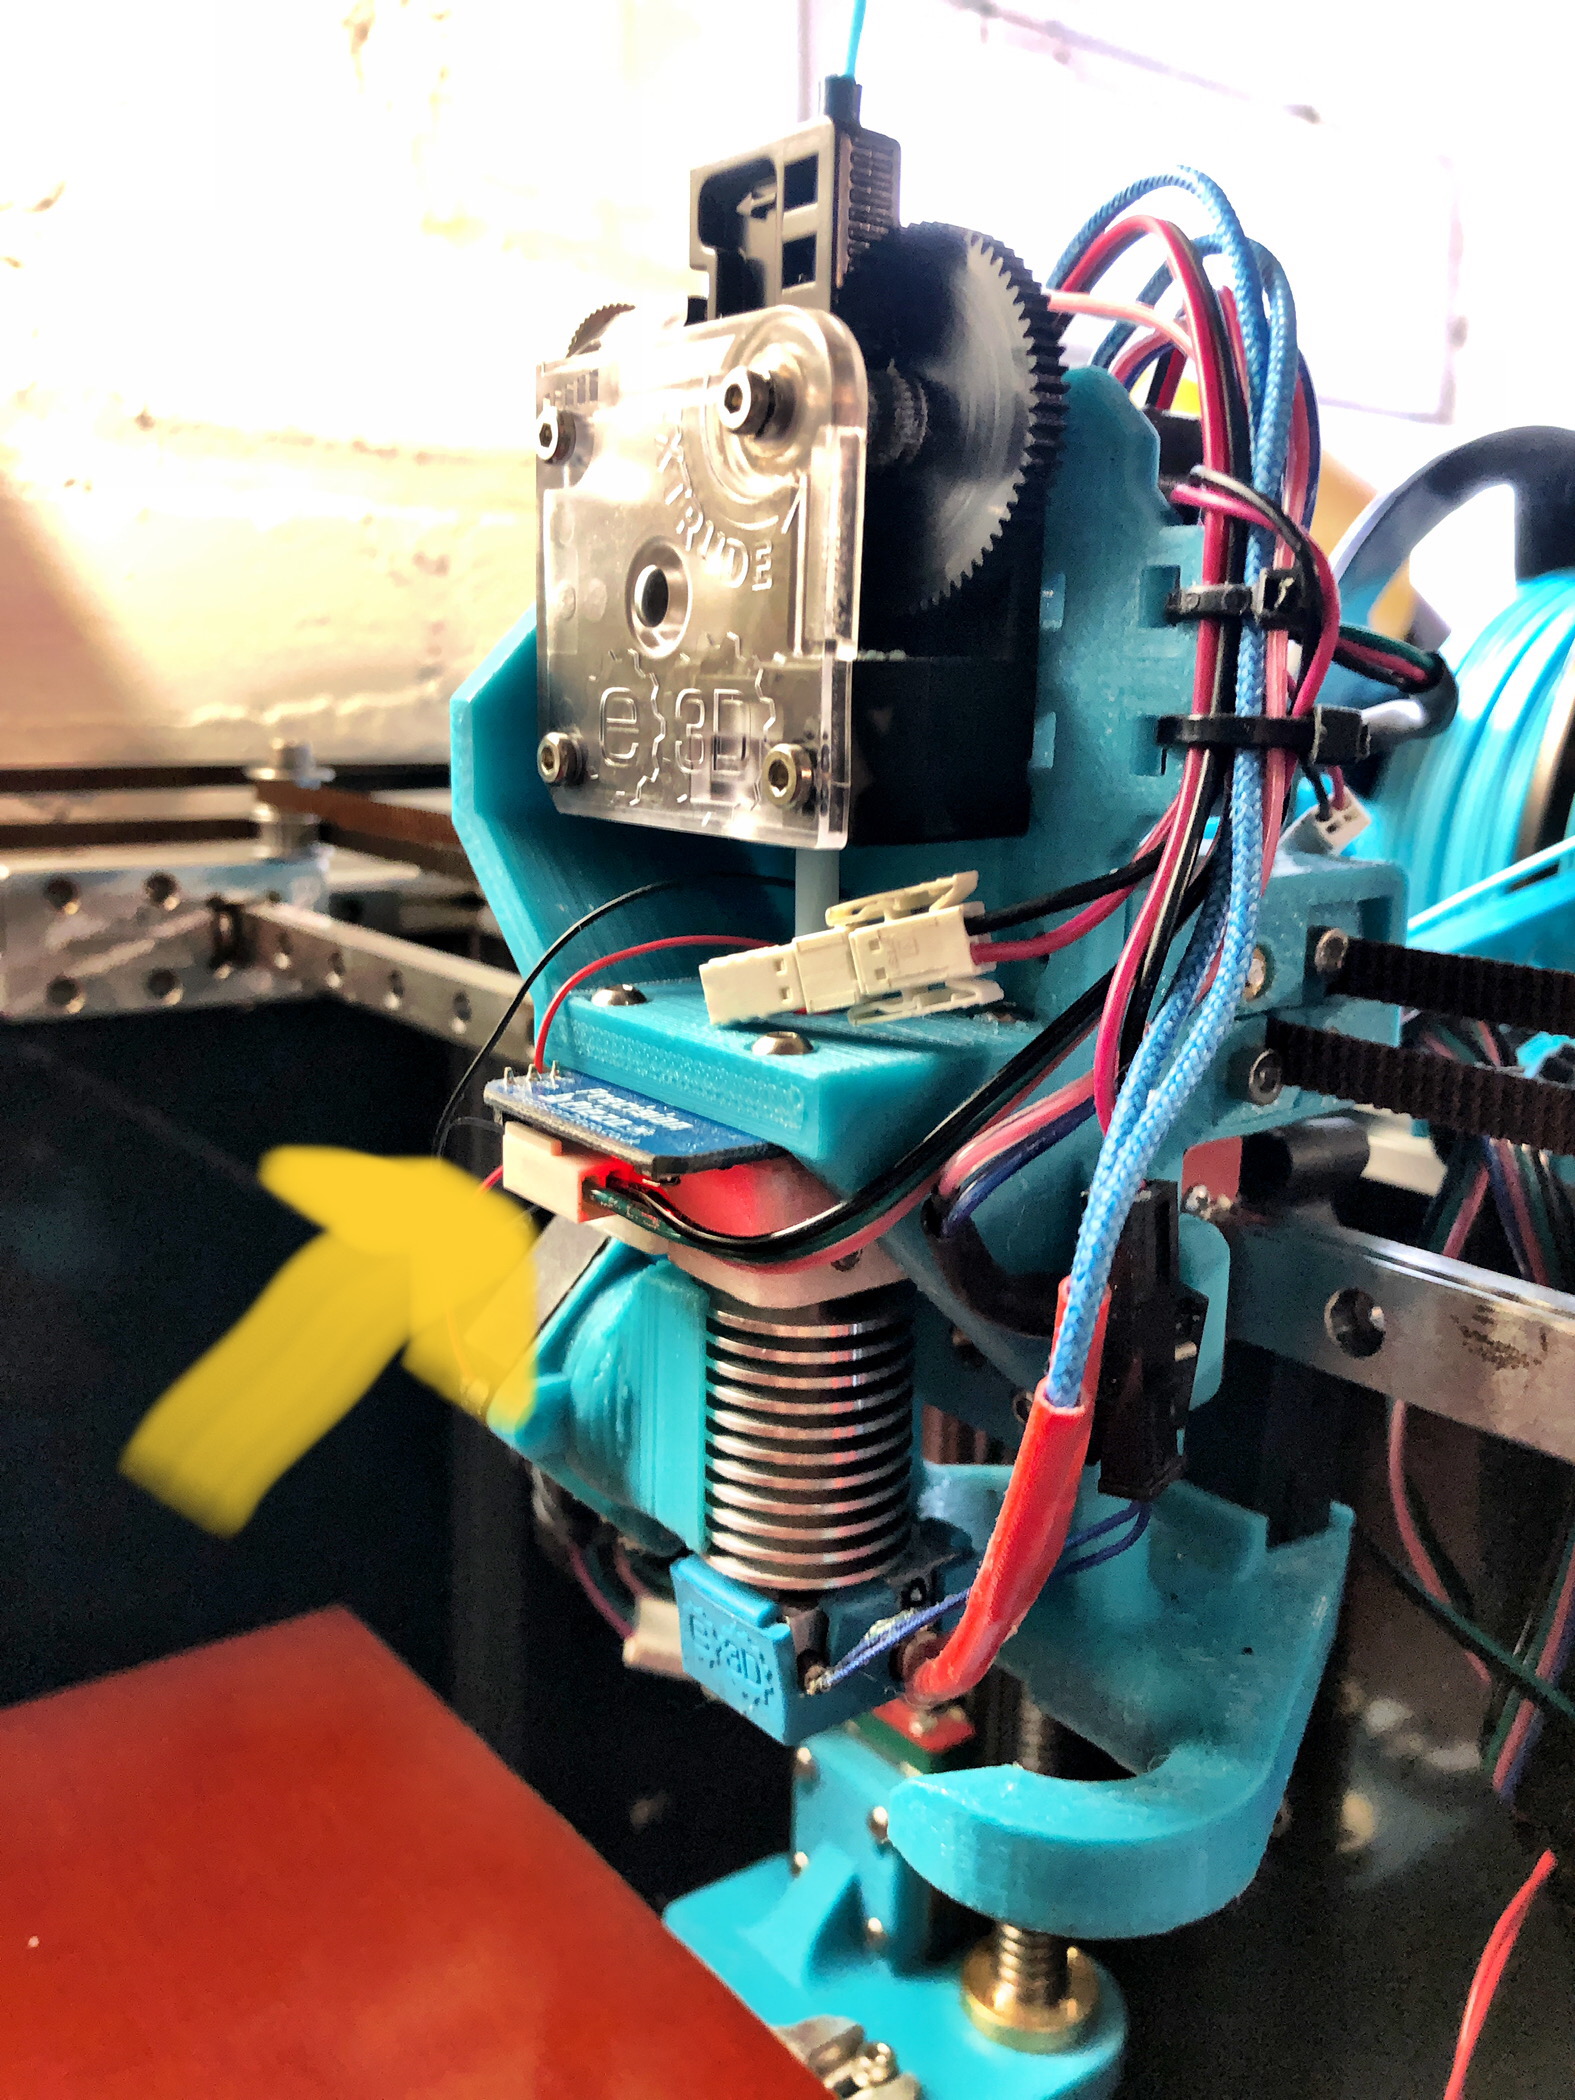
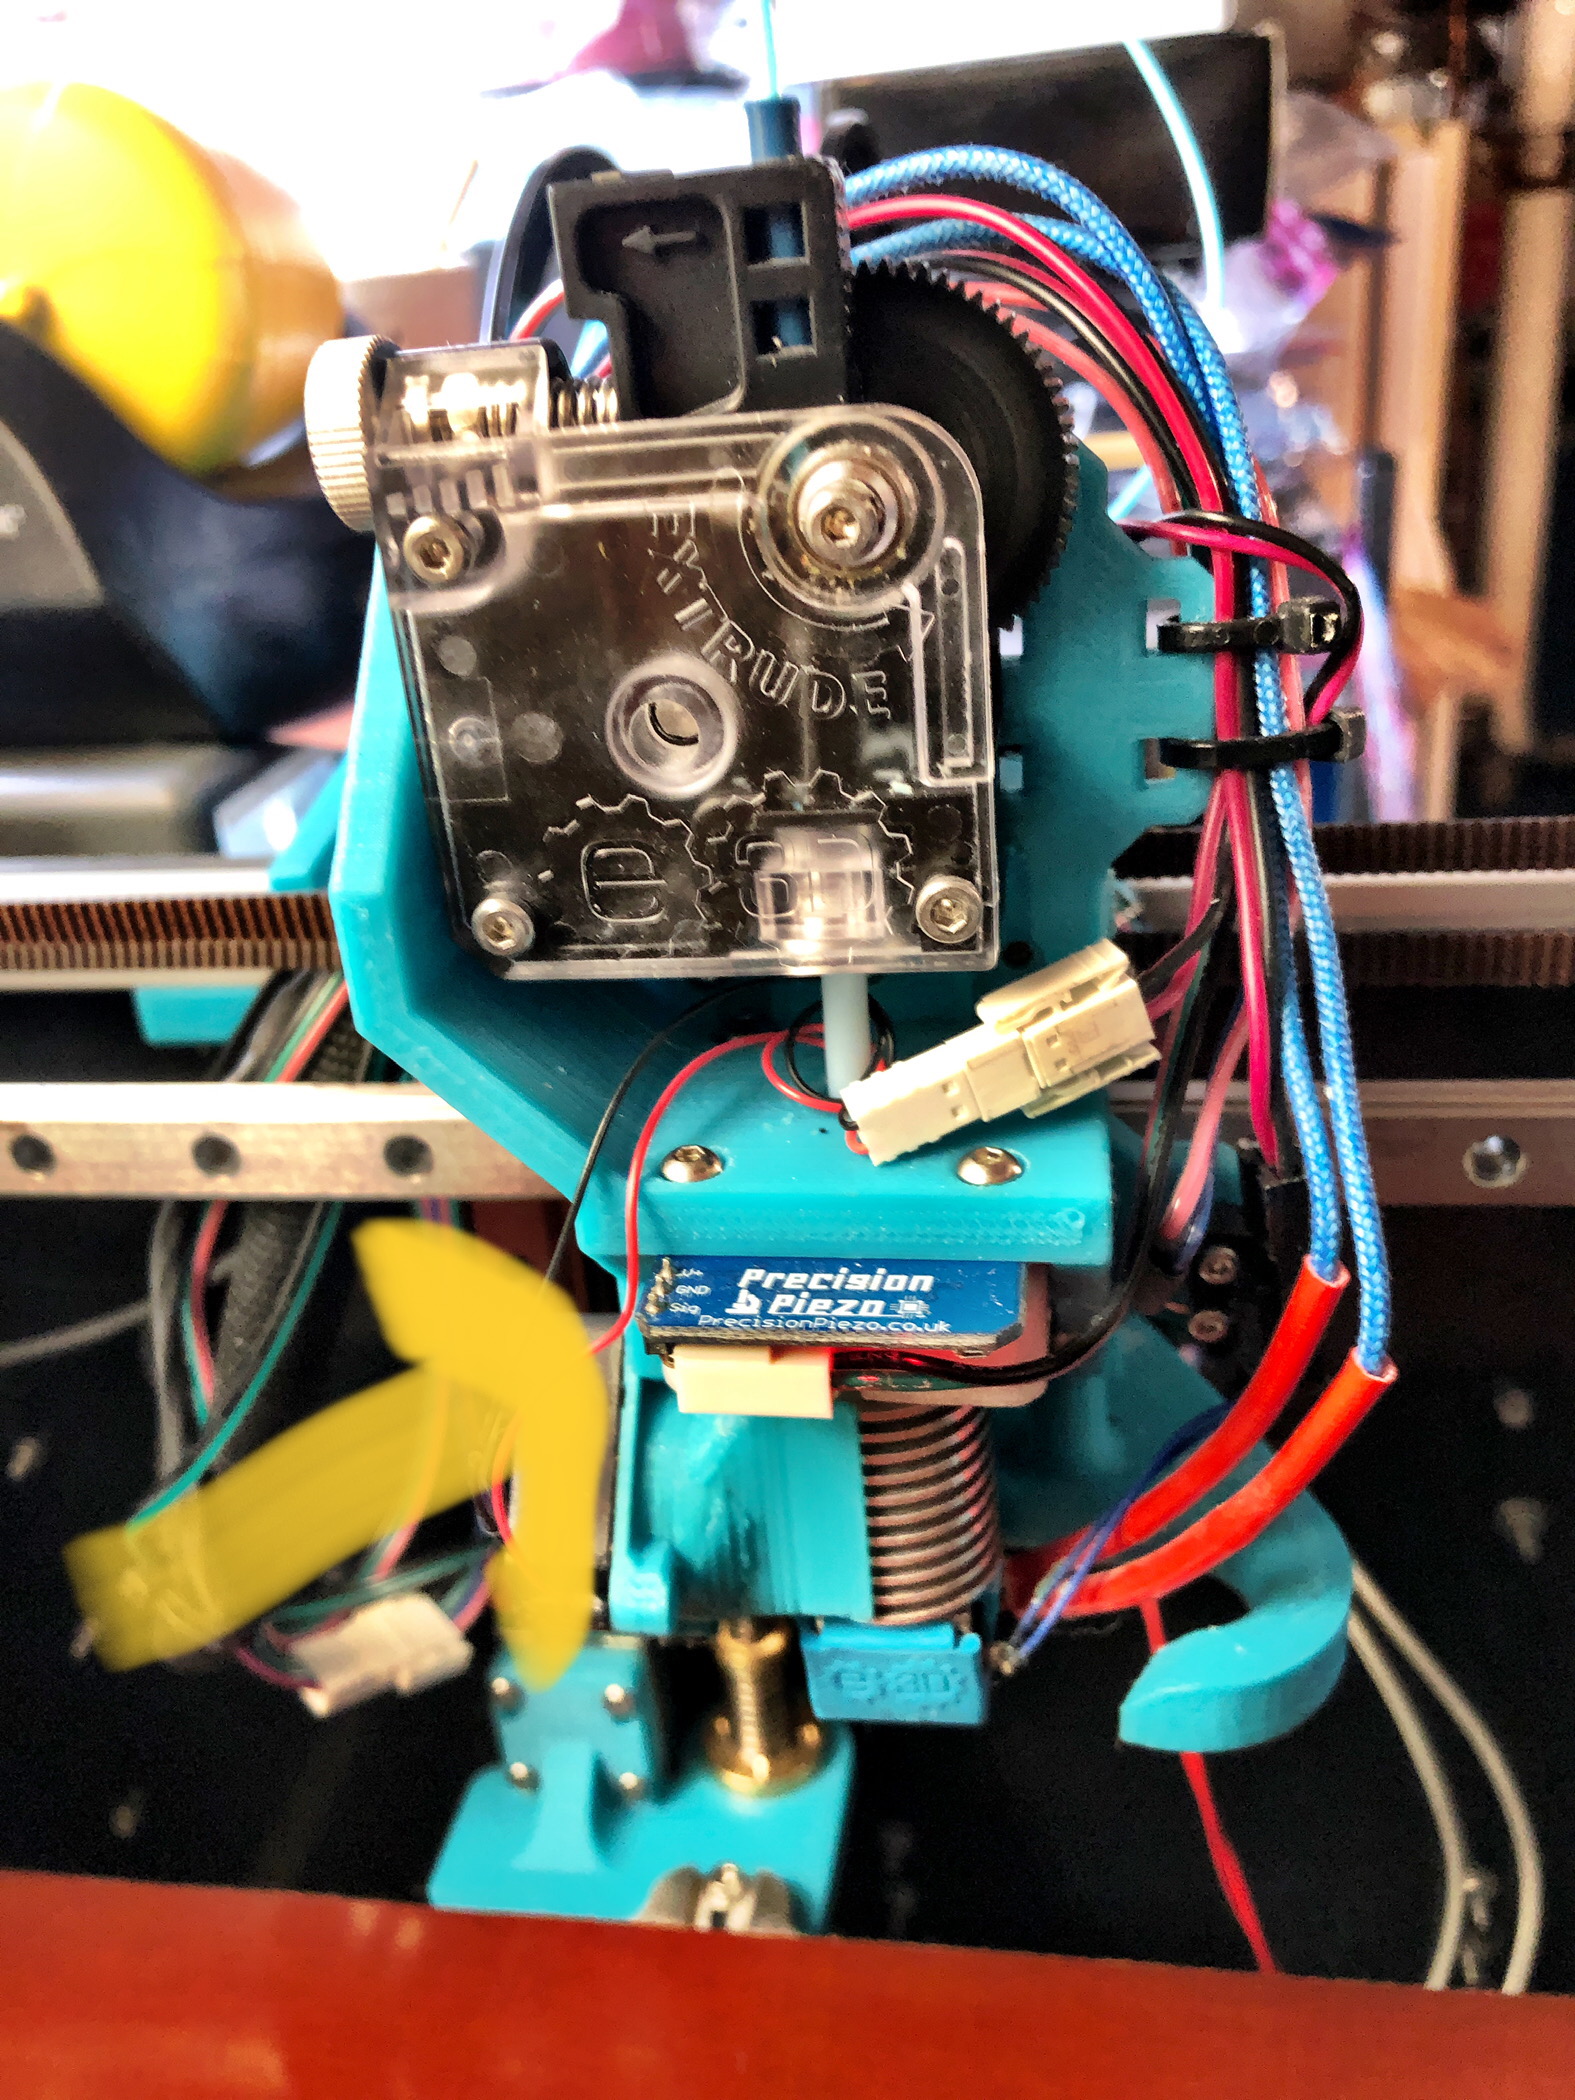
Precision Piezo Orion
The Orion piezo probe from Precision Piezo can be used with the RailCore and is used by several in the community. The benefits of a piezo probe are: no mechanical parts (no servo), rapid and repeatable response, and absolute 0.0 z-placement. Information about the Precision Piezo can be found here:
https://www.precisionpiezo.co.uk/
For the RailCore, you will want to download and print (or ask someone to print for you if this is your first printer) a replacement mount to attach to your y-carriage. You can find that STL file on Thingiverse here:
https://www.thingiverse.com/thing:2957477
Here are some example shots of the Orion and mount on a RailCore II 300ZL:
Settings
;Precision Piezo Orion
M558 P8 I1 H3 R0.5 F250
G31 X0 Y0 Z-0.10 P50
Tips
The sensitivity of the Orion is also modifyable using a small POT on the PCB itself. I recommend connecting assembled and mounted hot end to power, turning on the printer, and tapping up at the nozzle with your finger (like a light flick). If this sets off the LED flash, you should be good. If it does not, try adjusting sensitivity OR adjusting how tightly the PCB is bound in the assembly. Overly tightened screws will prevent a light read.
The first time you home your Z-axis, keep a finger on the power switch. if it’s not set sensitive enough, you don’t want your bed to crash your hot end.