RailCore® Labs
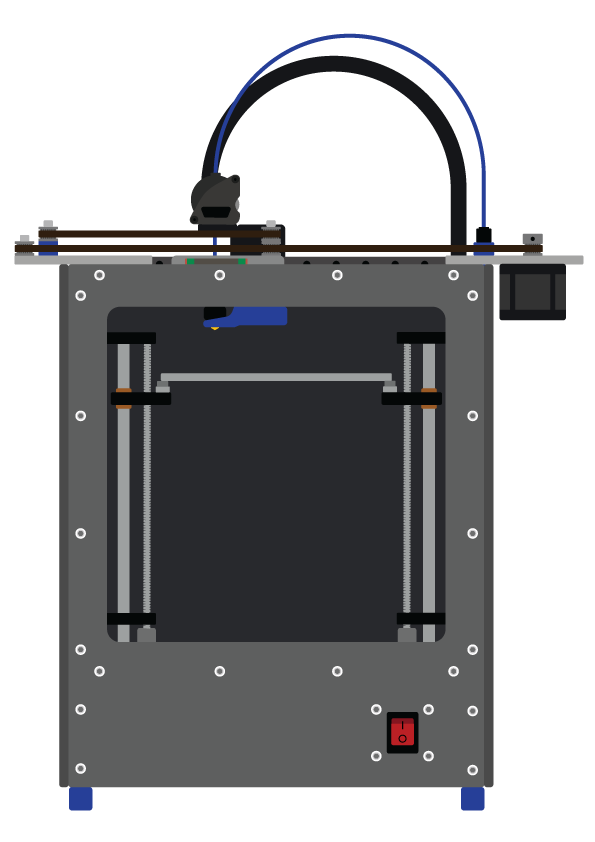
RailCore® is a family of Core-XY based Reprap 3D printers designed by J. Steve White, Tony Akens, and Ben Withem.
Q. How tight should the belts be?
A. See Belts
Q. What is the best fan shroud?
A. The fan shroud is specific to your chosen carriage and hot-end arrangement. Currently recommended is the Cooling Shroud by James Tongue and the Remix oriented for easier printing setup.
There are several versions, and you will need the one that fits your configuration. The “Alu_” versions fit the aluminum Y carriages from Mandala Rose Works or 713Maker.com. There is also a version for the Hemera Extruder.
Further, you will need an adapter to mount the fan shroud to the bottom of the Y carriage, and likely one or more spacers to set the correct height for the blower nozzle.
Note that the Filastruder Kit includes an excellent MFJ Nylon James Tongue shroud, but it fits only the printed Y carriage.
Q. which printed parts should I replace with aluminum parts first?
A.See Recommended priority of Aluminium Parts
Q. How do I align the X Carriages & Y Rail?
A. See Aligning the X Carriages & Y Rail
Q. How do I best find the Z-offset?
A. Standard way (Duet3D wiki) or newer way
Q. Where can I find models for the aluminium parts?
A. No aluminium parts models have been released, as they have not been designed by the RailCore team. Please do design your own and release them though!
Q. How do I download the files I want from Github?
A. The simplest method is to go to the particular repository(section) you want from https://github.com/railcore and click the green “Clone or download” and then “download zip”. You will then get all the files in that section as a zip file.
Q. I need more help! Where do I go next?
A. There are discussion and chat options for help. Please DO NOT message people directly about issues on Facebook messenger, e-mail, hangouts or twitter, without being specifically invited first.
Q. Problems with ringing or banding, where should I look?
A. Post to the Facebook group. But here are the typical questions. Check your jerk/acceleration settings. Are they high? Did you lubricate your leadscrews? Do you notice any wobbling significantly? Did you PID tune your hotend as well (with the fan running). Watch your bed & hotend temps during a print, and verify they’re stable within 0.2C +/-. Loosen your belts a little and spin each x and y stepper by hand and see if there is a weird grinding resistance, if so you may have a bad stepper motor. Check inside belt is lined up and parallel to the extrusion. Try to slow it down to 60 mm/s (or 50 or 40 if you really want) to help try to isolate the issue. Check belt tension. make sure all your bolts for holding the frame together is tight. Check to see if the bottom panel is slightly convex (or concave) with a dip in the middle.
Q. My prints are out of square. What would cause this?
A. Run M556 and see what it says. Should be all zeros. Then check to make sure your Y rail is still perpendicular to the x rails. If you tightened one side more than the other, it might be out of alignment. Run your rail to X=0 and Y=150 (just in the middle, and measure from the frame extrusion on the left to the Y rail. If they measure differently, that’s your issue.
Q, My Duet uploads are really slow.
The Duet Wifi hardware can repsond badly to distance (small aerial) and MIMO technology. Check to see if it improves by using an old router/access point nearby (or cellphone hotspot)
Q. My mesh level is terrible! What do I need to do?
A. If using a BL-touch with a magnetic bed, you can see a very bumpy mesh, as the BL-touch is magnetic. You have to probe between the magnets. With the bed levelling you must also probe at these points. See “bltouch-magbed-bed.g” in the sys folder.
Q. Will there be a toolchanger for Railcore?
A. A toolchanger was in development; the work in progress is in the toolchanger repository.
Q. How do I align my lead screws with the steppers?
A. Each Z tower has to sit directly over its stepper so the leadscrew runs straight. With the tower’s Z bracket bolts loose, lower the yoke until it sits just above the leadscrew coupler, then tighten the lower bracket with the Z extrusion pushed flush against the frame; square up the top and tighten it. See Aligning the Z Towers in build guide N (Mini: guide N). Fitting the leadscrews themselves is guide H, step 6 (Mini: guide H, step 3).
If you still see Z banding afterwards, the new Z alignment procedure uses a printed tool on the stepper shaft for a more rigid reference.
Q. How do I square the frame?
A. Square it while you fit the panels. With the printer on its back, centre the bottom panel, tighten the nuts along one side, square the bottom extrusions with a square or 123 blocks, then tighten the rest. Repeat for each side panel, bottom edge first. See Squaring your Frame in build guide G. On the Mini the acrylic panels pull the frame square, so loosen the corner cubes before you bolt the panels on (guide F, step 1). Once the frame is square, guide N aligns the belts, linear rails and Z towers to it.
Q. How do I align the upper z-brackets?
A. See the new Z alignment procedure and Tony’s RailCore II ZL Z axis Alignment Live Stream